7 Reasons Cricut Beginners Are Finally Creating Handmade Crafts They Are Proud Of Without the Overwhelm
Rated 4.9 by 847 Crafty Club members
Rated 4.9 by 847 Crafty Club members
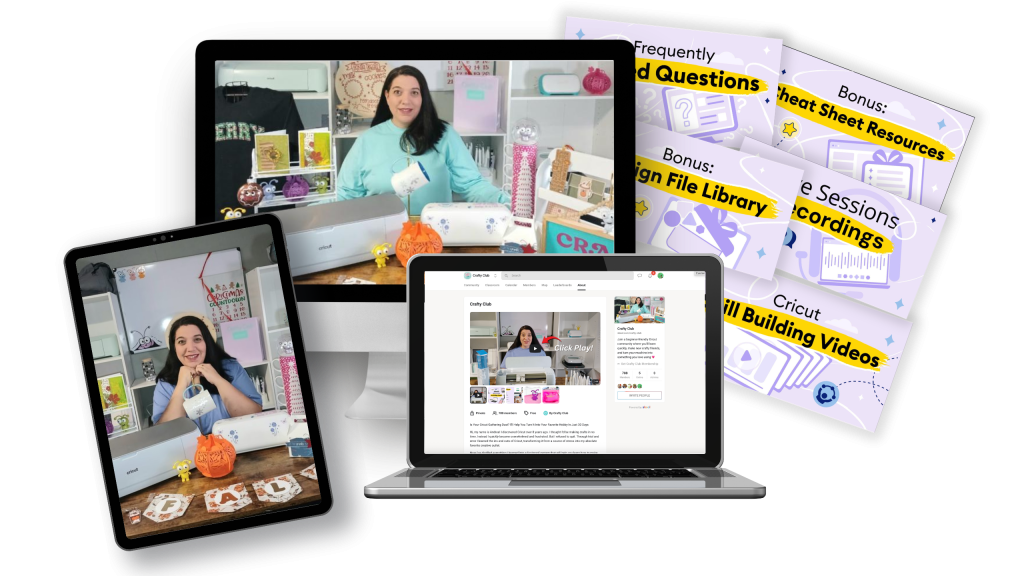
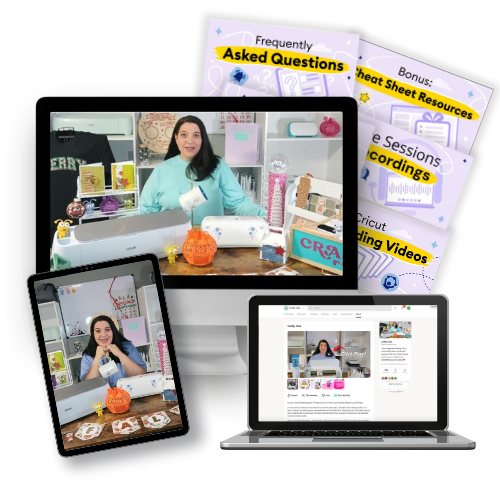
The Crafty Club is a structured, skill-by-skill training system and crafter community designed specifically for new Cricut owners who are ready to move from “why is nothing working” to cutting with confidence and creating handmade projects they are genuinely proud to use, gift, or share.
7 Reasons Cricut Beginners Are Finally Creating Handmade Crafts They Are Proud Of Without the Overwhelm
The Crafty Club is a structured, skill-by-skill training system and crafter community designed specifically for new Cricut owners who are ready to move from “why is nothing working” to cutting with confidence and creating handmade projects they are genuinely proud to use, gift, or share.
Your Cricut Is Not Broken. You Just Need the Right Starting Point.
Most beginners open the box, open YouTube, and end up 47 minutes deep into a tutorial that assumes they already know what a test cut is. That ends here.
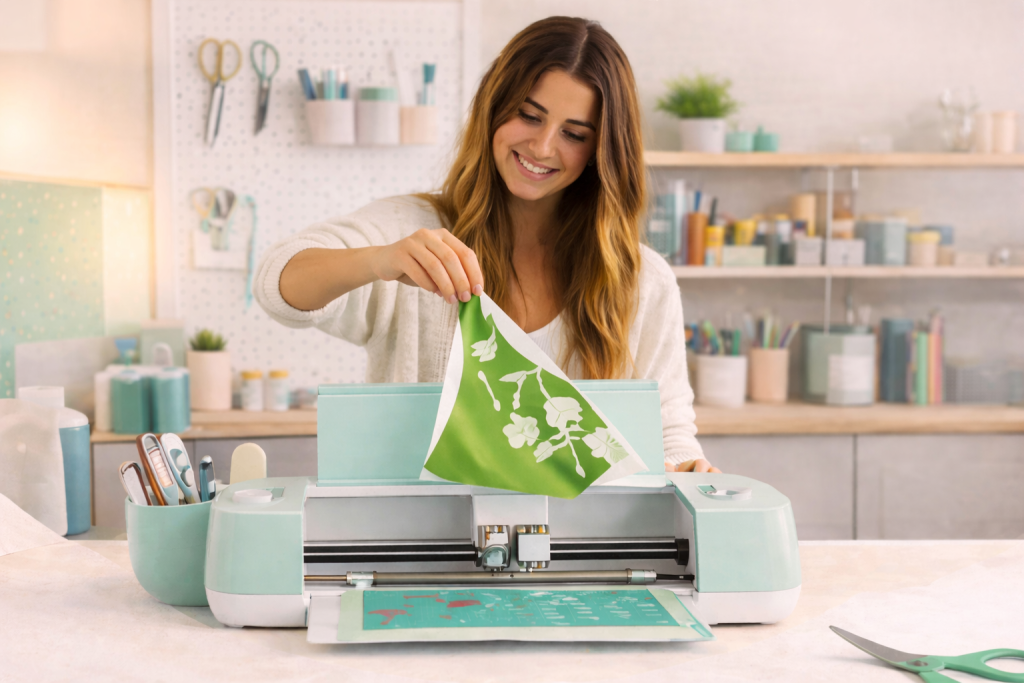
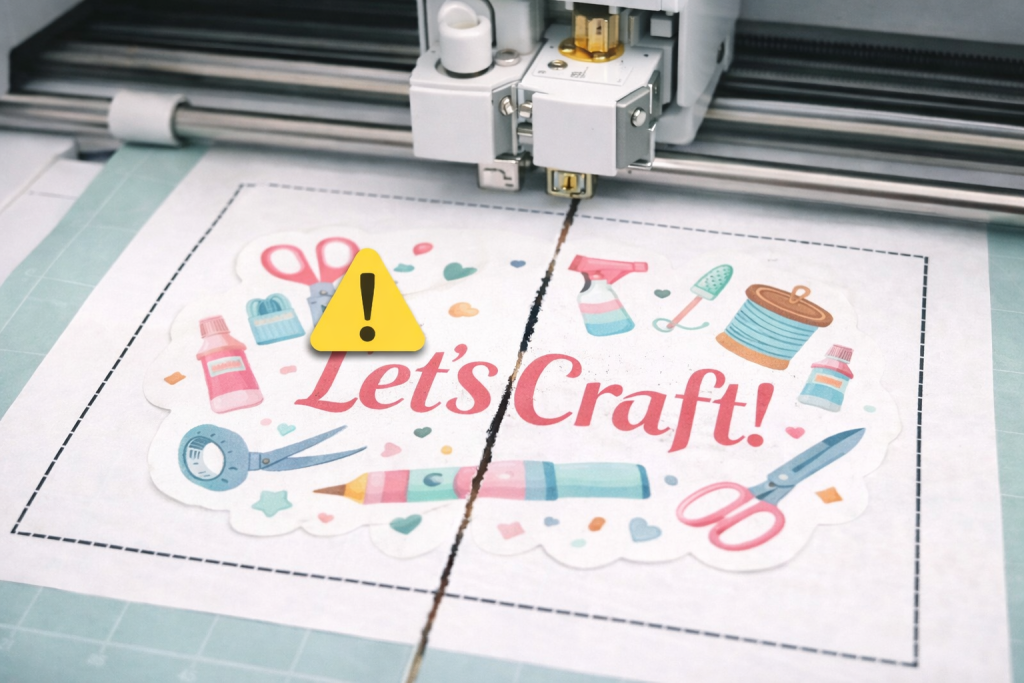
1. Stop Choosing the Wrong Material Setting and Watching Your Cut Turn Into Confetti
When a cut tears, drags, or barely scratches the surface of your vinyl, the problem is almost never the machine. It is the material setting. Cricut has over 300 of them, and most beginners just pick whatever looks closest and cross their fingers. Sound familiar? That ends here.
Inside the Crafty Club, you will learn how to run a test cut before committing a full sheet, how to read whether your blade is pressing too hard or barely touching, and how to adjust blade pressure in the custom materials panel when the presets are giving you poor results.
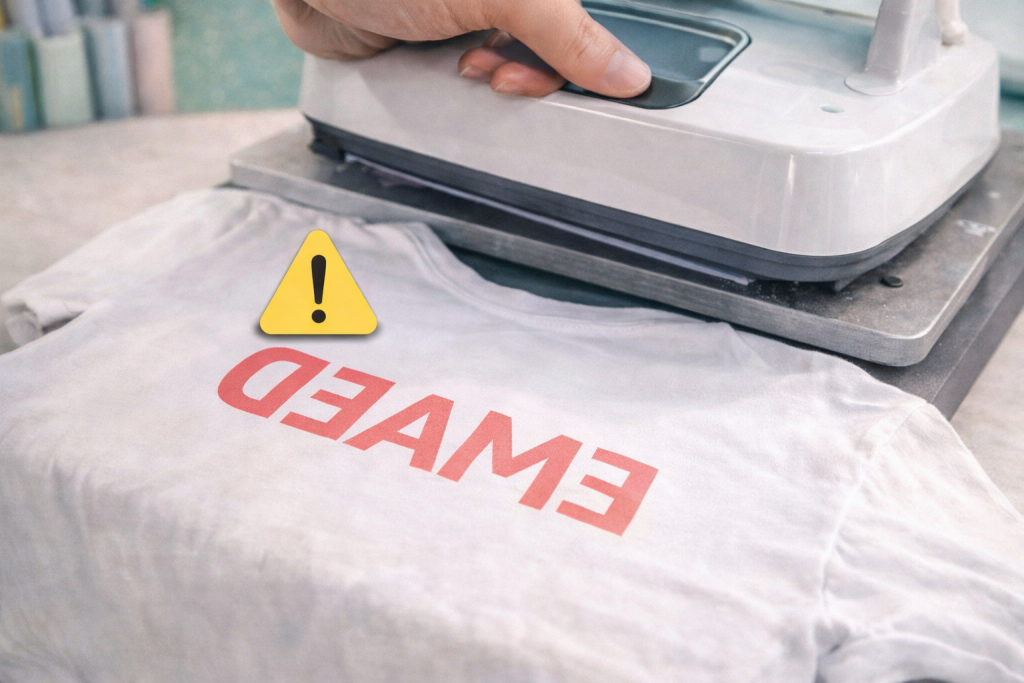
2. Never Press a Backwards Shirt Again. Yes, That Happened. Yes, It Hurts.
Forgetting to mirror your heat transfer vinyl before cutting is one of those things that happens to almost everyone once, and after that, never again.
You cut a beautiful design. You press it onto the shirt. You peel it back. And the text reads backwards.
A full sheet of HTV, gone.
The Crafty Club walks you through exactly when mirroring is required, how to position your HTV shiny side down on the mat, the correct press temperature and time for different HTV types, and how to do a warm peel versus a cold peel without lifting the edges off.
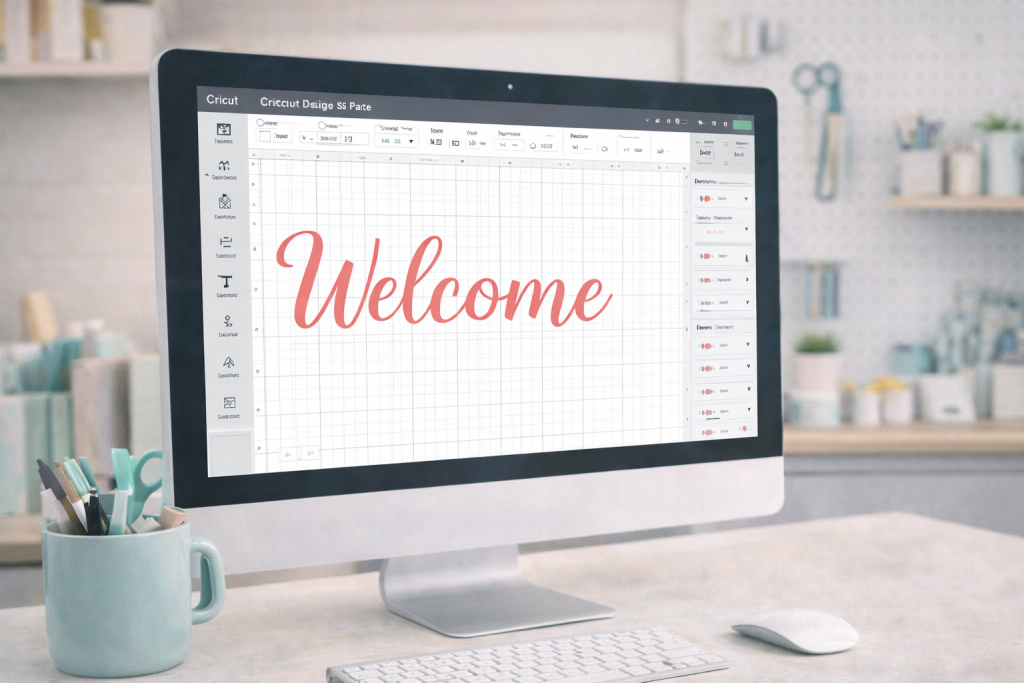
3. Finally, Someone Who Gets It. Design Space Does Not Have to Be a Mystery
Design Space is not exactly intuitive for someone who has never used it before, and Cricut’s own instructions are not always the clearest.
Beginners spend hours trying to figure out why their text is cutting as one solid block instead of individual letters, why their uploaded image came in at a completely different size, or why Attach and Group behave nothing like they expected.
Inside the Crafty Club, you get a clear, sequential walkthrough of the Design Space functions you actually need first. How to upload and clean up an image. How to size it correctly before you cut. When to use Weld, Attach, and Flatten, because choosing the wrong one can send your whole project in the wrong direction.
4. Get Print Then Cut to Actually Line Up Because Cutting Through the Middle of Your Sticker Gets Old Fast
Print Then Cut is the feature that lets you print a design from your home printer and have the Cricut cut precisely around it. When it works, it is deeply satisfying. When the calibration is off, the blade cuts straight through the middle of your design instead of around it. Very much been there.
The Crafty Club covers the full calibration process step by step, how to run it correctly, which printer settings affect the outcome, how to adjust your bleed margins, and how to troubleshoot when the cuts consistently land a few millimetres off. You also learn which sticker paper and laminate combinations work well before you waste an entire pack finding out.
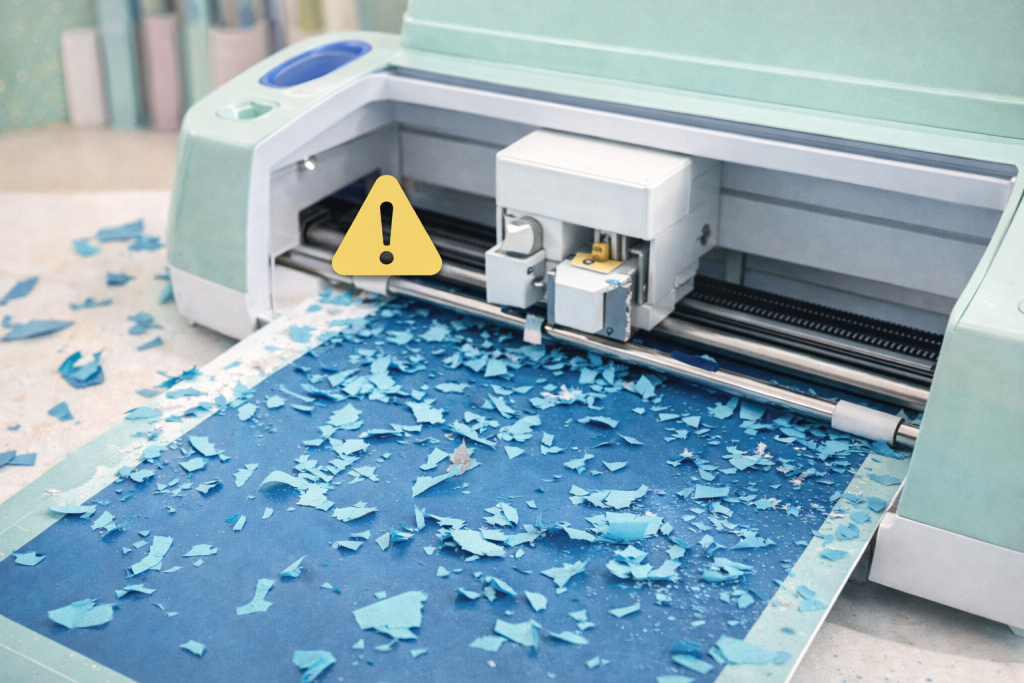
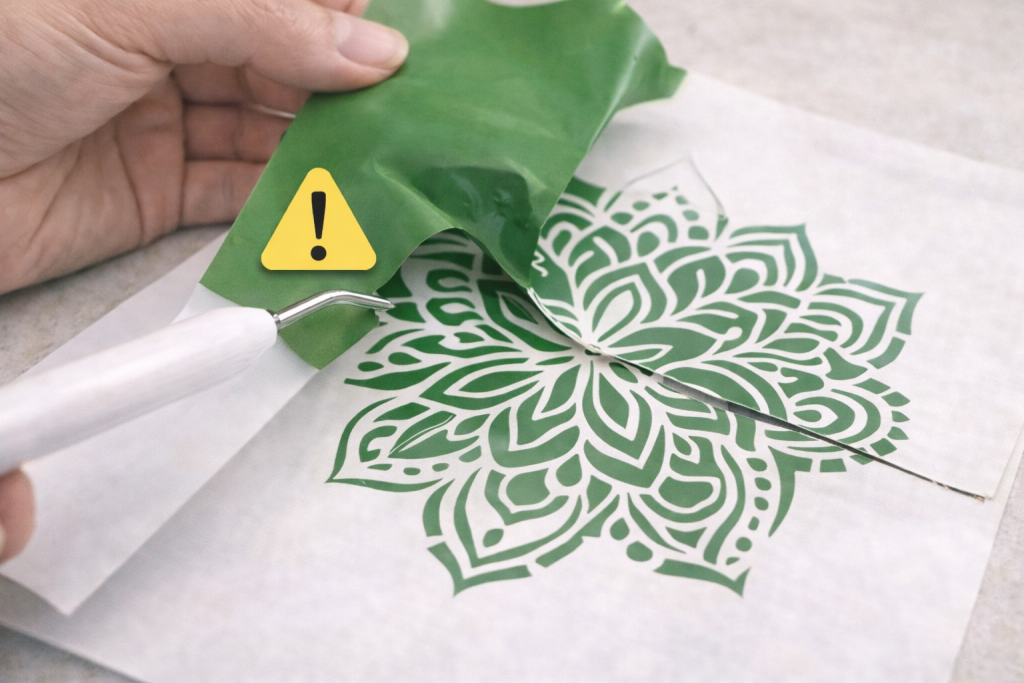
5. Weed Your Vinyl Cleanly Without Pulling Up the Actual Design and Having a Small Meltdown About It
Weeding is the process of removing the excess vinyl that surrounds your cut design before you transfer it. Done wrong, you pull up parts of the design along with the waste, or you leave tiny scraps in all the wrong places and only notice after it is already stuck down.
Inside the Crafty Club, you learn how to adjust your cut depth so weeding becomes easier before you even pick up the weeding tool. You learn how to handle intricate designs with fine detail without destroying the cut. And you learn how to apply transfer tape evenly so your vinyl does not bubble, lift, or shift when you place it.
6. Make Things That Actually Get Used.
Not Just Photographed and Forgotten.
The Crafty Club is built around practical, repeatable projects. Pantry labels that match your containers. Cable labels so you stop unplugging the wrong thing. Custom vinyl decals for water bottles, storage bins, and packaging. The kind
7. A Community of Crafters Where People Actually Help.
You know the kind of thread. You post a photo of your cut result, ask what went wrong, and someone replies with “turn it off and on again.” Not helpful.
The Crafty Club community is made up of people who have been exactly where you are and genuinely want to help you get unstuck.
Post a photo of your mat. Post a screenshot of your Design Space settings. Post a picture of the vinyl edge that keeps lifting. You will get a specific, practical response the same day from someone who has seen that exact issue before and knows how to fix it.
7. A Community of Crafters Where People Actually Help. No More Scrolling Through 200 Comments to Find One Useful Answer.
You know the kind of thread. You post a photo of your cut result, ask what went wrong, and someone replies with “turn it off and on again.” Not helpful.
The Crafty Club community is made up of people who have been exactly where you are and genuinely want to help you get unstuck.
Post a photo of your mat. Post a screenshot of your Design Space settings. Post a picture of the vinyl edge that keeps lifting. You will get a specific, practical response the same day from someone who has seen that exact issue before and knows how to fix it.
Most beginners expect the Cricut learning curve to take months of wasted materials, confusing tutorials, and projects that do not turn out the way they pictured…
Inside the Crafty Club, members follow a clear progression so every skill builds on the one before it.
Most beginners expect the Cricut learning curve to take months of wasted materials, confusing tutorials, and projects that do not turn out the way they pictured…
Inside the Crafty Club, members follow a clear progression so every skill builds on the one before it.
HERE'S WHAT THE PROGRESS LOOK LIKE.
Day 1
Understand Your Machine and Run Your First Test Cut
Members learn how to set up their machine correctly, place their mat properly, and run a test cut before committing a full sheet of vinyl.
Instead of scrolling through material settings and choosing blindly, they learn how to read the result of a test cut and adjust blade pressure with confidence.
The result is a clean cut that is ready to use with confidence.
Week 1
Finish Your First Clean Vinyl Project
Within the first week, most members complete a clean vinyl project such as pantry labels, storage decals, or a simple wall quote.
They learn how to: ● Choose the correct material setting ● Weed vinyl cleanly ● Apply transfer tape without distortion
94% of Crafty Club members complete their first successful vinyl cut within their first week.
Week 1
Finish Your First Clean Vinyl Project
Within the first week, most members complete a clean vinyl project such as pantry labels, storage decals, or a simple wall quote.
They learn how to:
● Choose the correct material setting ● Weed vinyl cleanly ● Apply transfer tape without distortion
94% of Crafty Club members complete their first successful vinyl cut within their first week.
Week 2
Press Your First Iron-On Project
By week two, members create their first iron-on project using heat transfer vinyl.
They learn how to:
• Mirror designs before cutting •Place HTV shiny side down on the mat
• Use the correct press temperature for different fabrics
• Perform a warm peel or cold peel correctly
The result is a shirt design that stays intact after the first wash.
The result is a shirt design that stays intact after the first wash.
Week 2
Press Your First Iron-On Project
By week two, members create their first iron-on project using heat transfer vinyl.
They learn how to:
⬤ Mirror designs before cutting ⬤ Place HTV shiny side down on the mat ⬤ Use the correct press temperature for different fabrics ⬤ Perform a warm peel or cold peel correctly
The result is a shirt design that stays intact after the first wash.
The result is a shirt design that stays intact after the first wash.
Week 3
Print Then Cut That Actually Lines Up
Members calibrate their machine and complete their first sticker or label sheet using Print Then Cut.
They learn how to:
● Calibrate their Cricut correctly
● Adjust printer settings for alignment
● Correct offset cuts
● Position sticker paper properly on the mat
The blade cuts around the design instead of through it.
Week 3
Print Then Cut That Actually Lines Up
Members calibrate their machine and complete their first sticker or label sheet using Print Then Cut.
They learn how to:
⬤ Calibrate their Cricut correctly ⬤ Adjust printer settings for alignment ⬤ Correct offset cuts ⬤ Position sticker paper properly on the mat
The blade cuts around the design instead of through it.
Month 1
Create Layered Vinyl Projects With Clean Alignment
By the end of the first month, members combine their skills to create layered vinyl projects.
They learn how to:
● Align multiple vinyl colors
●Position designs accurately
● Apply vinyl without bubbles
● Finish edges cleanly
This is usually the point where crafting starts to feel natural instead of stressful.
Month 1
Create Layered Vinyl Projects With Clean Alignment
By the end of the first month, members combine their skills to create layered vinyl projects.
They learn how to:
⬤ Align multiple vinyl colors ⬤ Position designs accurately ⬤ Apply vinyl without bubbles ⬤ Finish edges cleanly
This is usually the point where crafting starts to feel natural instead of stressful.
Month 3
Use Your Cricut With Confidence
After a few months inside the Crafty Club, members no longer hesitate before pressing “Make It.”
They know how to:
● select the correct material setting
● run a test cut when using a new material
● adjust blade pressure ● troubleshoot common cutting issues
The machine finally feels predictable.
And crafting becomes enjoyable instead of frustrating.
This is usually the point where crafting starts to feel natural instead of stressful.
Month 3
Use Your Cricut With Confidence
After a few months inside the Crafty Club, members no longer hesitate before pressing “Make It.”
They know how to:
⬤ select the correct material setting ⬤ run a test cut when using a new material ⬤ adjust blade pressure ⬤ troubleshoot common cutting issues
The machine finally feels predictable.
And crafting becomes enjoyable instead of frustrating.
This is usually the point where crafting starts to feel natural instead of stressful.
Cricut educator · Community founder · Craft obsessed
Here is what I wish someone had told me before I touched my first sheet of vinyl.
Here is what I wish someone had told me before I touched my first sheet of vinyl.
Eight years ago, I was exactly where you are. I had wasted hundreds of sheets of vinyl, cut through more than a few mats, and spent way too much time wondering whether I had made a mistake buying the machine in the first place.
“The problem was not the machine.
The problem was the order I was learning things.”
I was learning from YouTube videos that assumed I already knew what a test cut was. From Facebook groups where the real answer was buried under 200 comments.
From trial and error that cost far more in supplies than anyone warned me about.
So I built the Crafty Club.
It is the hands-on training and crafter community I needed when I was standing at my cutting mat with no idea what I was doing wrong and no one to ask who actually understood the problem.
I built this so you can skip straight to the part where you know what you are doing and start creating things you are proud of.
As soon as you join, you get access to the full training library starting with Module 1. No waiting period. No onboarding call. Just open it up and start.
2. Follow the Skill Sequence
Start with your machine setup and first test cut, then work through each skill in the order it was designed. Each module includes written steps, video walkthroughs, and a reference sheet you can actually keep open while you cut.
3. Post Your Problem. Get an Answer Today.
The community is active every day. Post a photo of your mat, your cut result, or your Design Space screen and get a specific, practical response from members who have seen that exact situation before.
How We Compare
The Crafty Club versus YouTube
What You Need as a Beginner
YouTube + Google
Crafty Club
Skills taught in the correct sequence
Print Then Cut calibration walkthrough
Same-day answers to your specific problem
New project tutorials added monthly
Cost
Free + wasted supplies
LOWEST PRICE
💎 Join the Crafty Club
Go From Confused Crafter
To Confident Creator And Make Projects That Turn Heads.