Now that our design is resized and attached, we’re ready to start cutting!
- Click on the ‘Make’ button in the top right-hand side of your canvas screen, this will take you to the Project Preview screen.
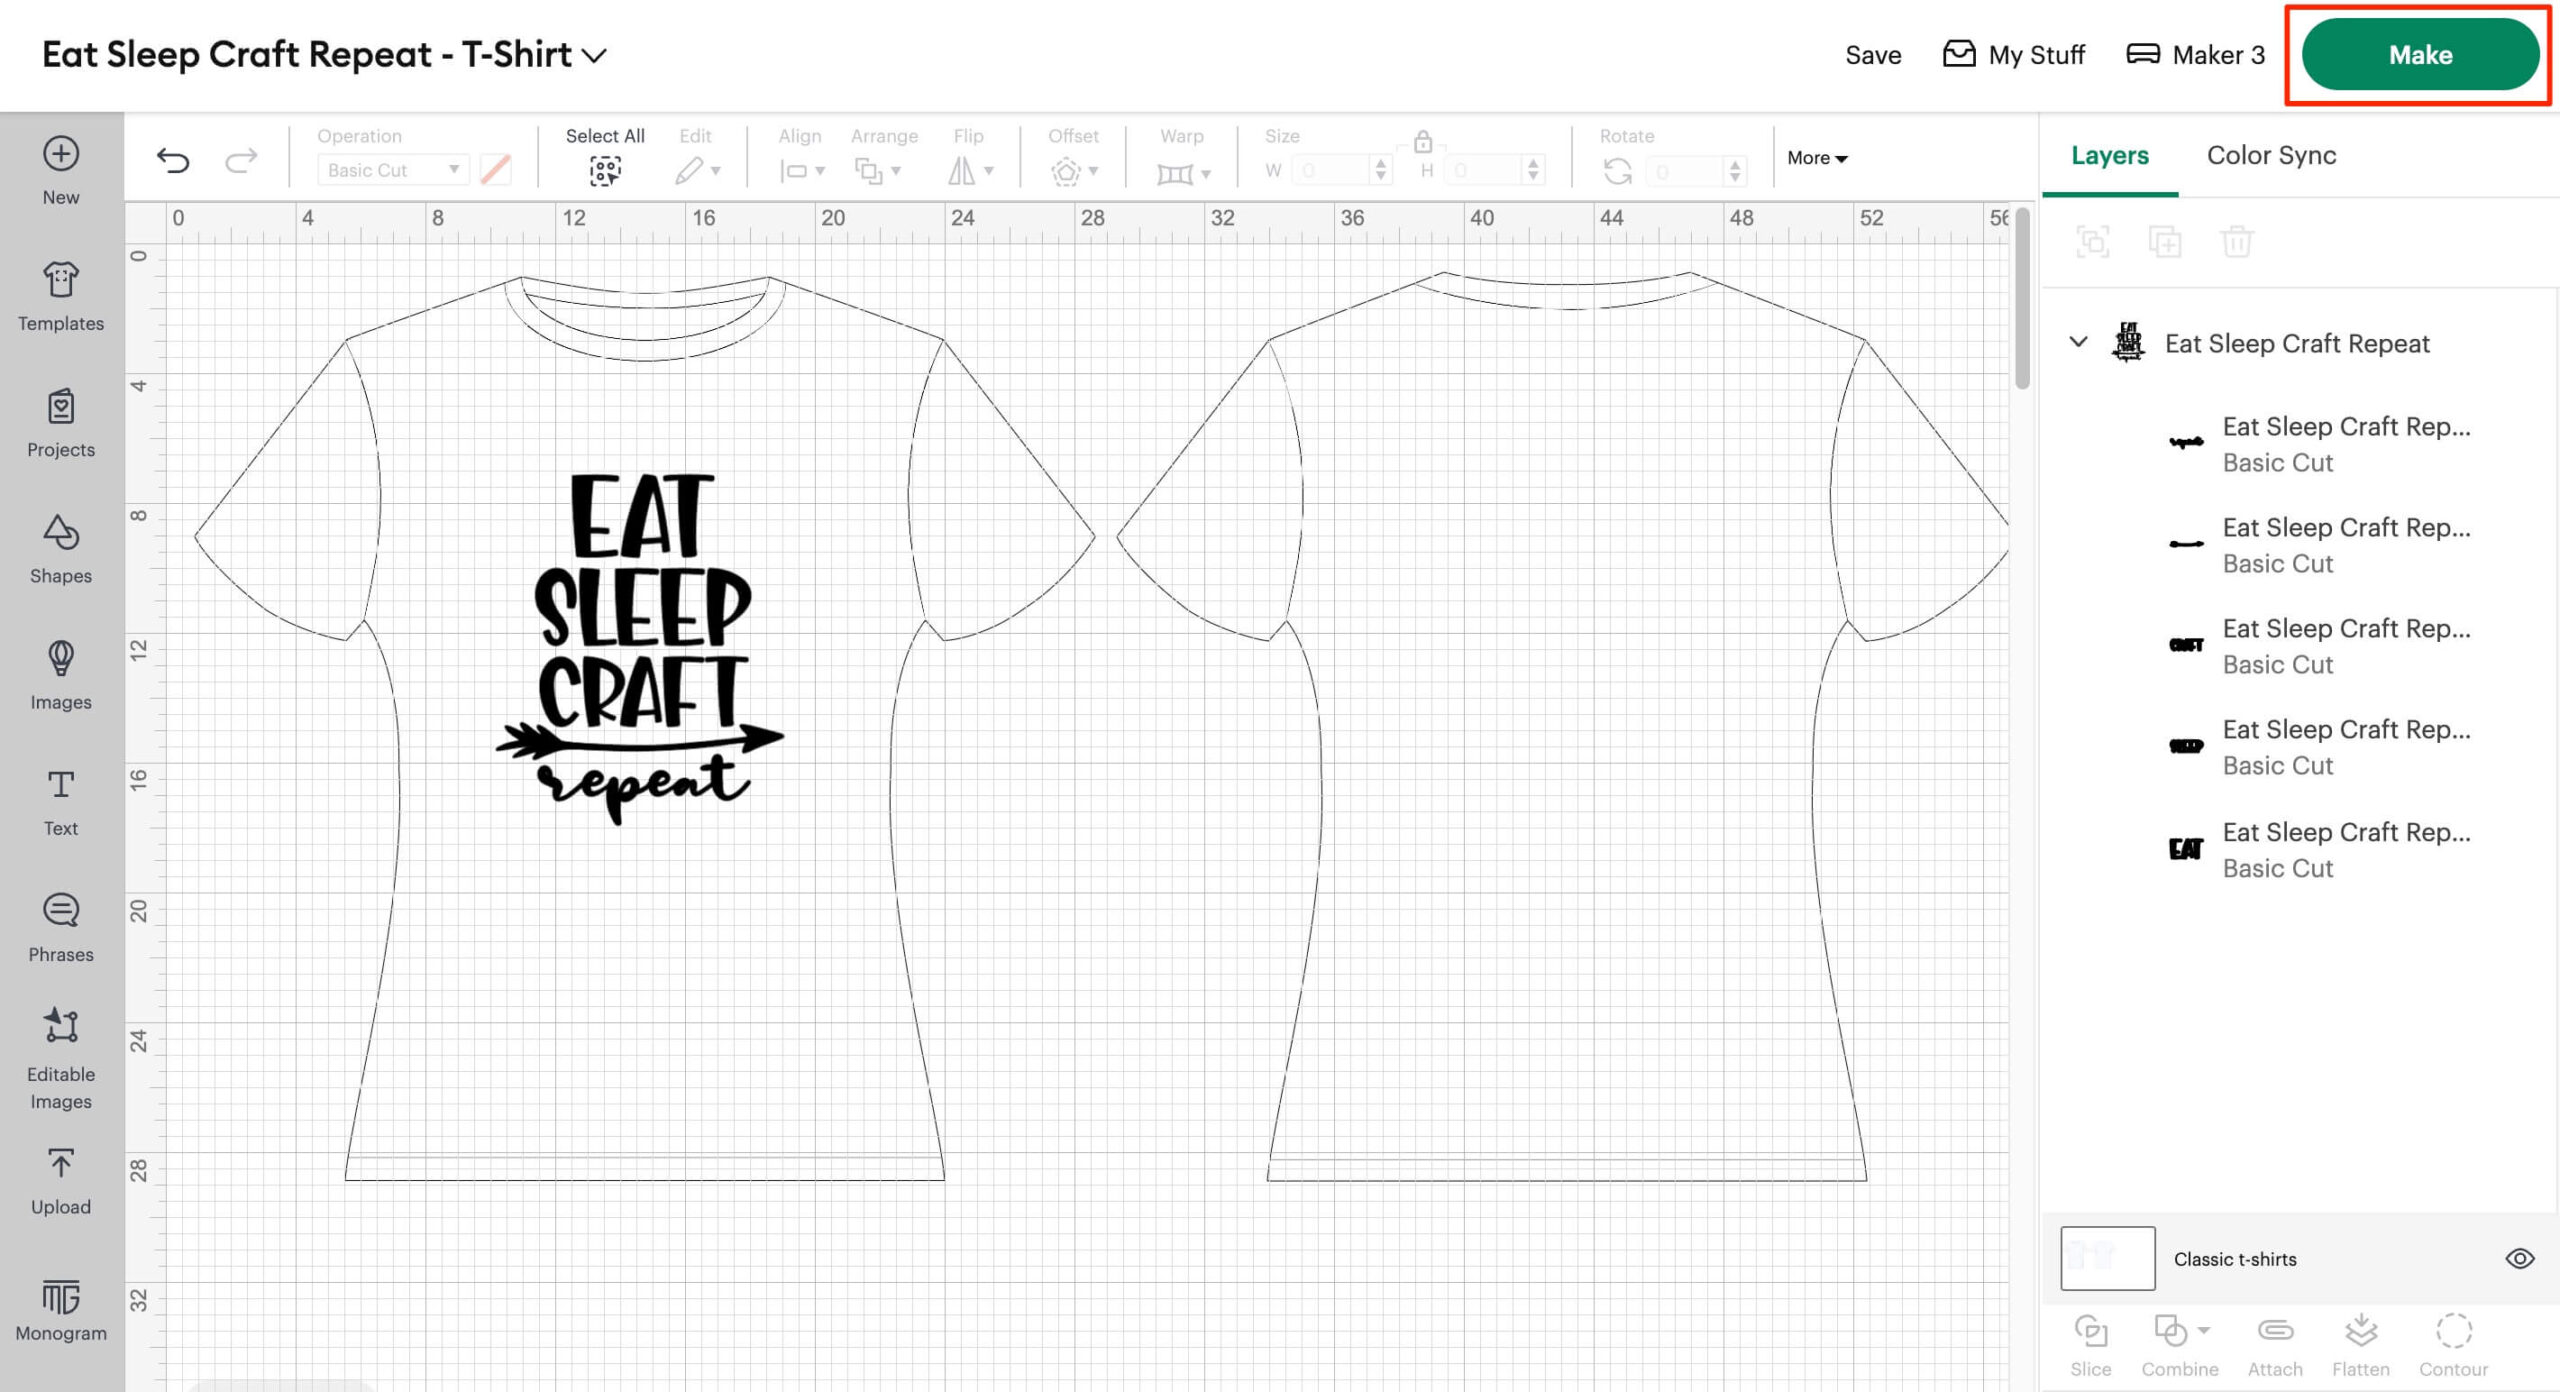
This screen allows you to move your design around on the mat. When working with Iron-On HTV it’s important to remember to mirror your design as HTV is cut on the reverse of the material.
- Click the ‘Mirror’ button and then click ‘Continue’ on the bottom right of the screen.

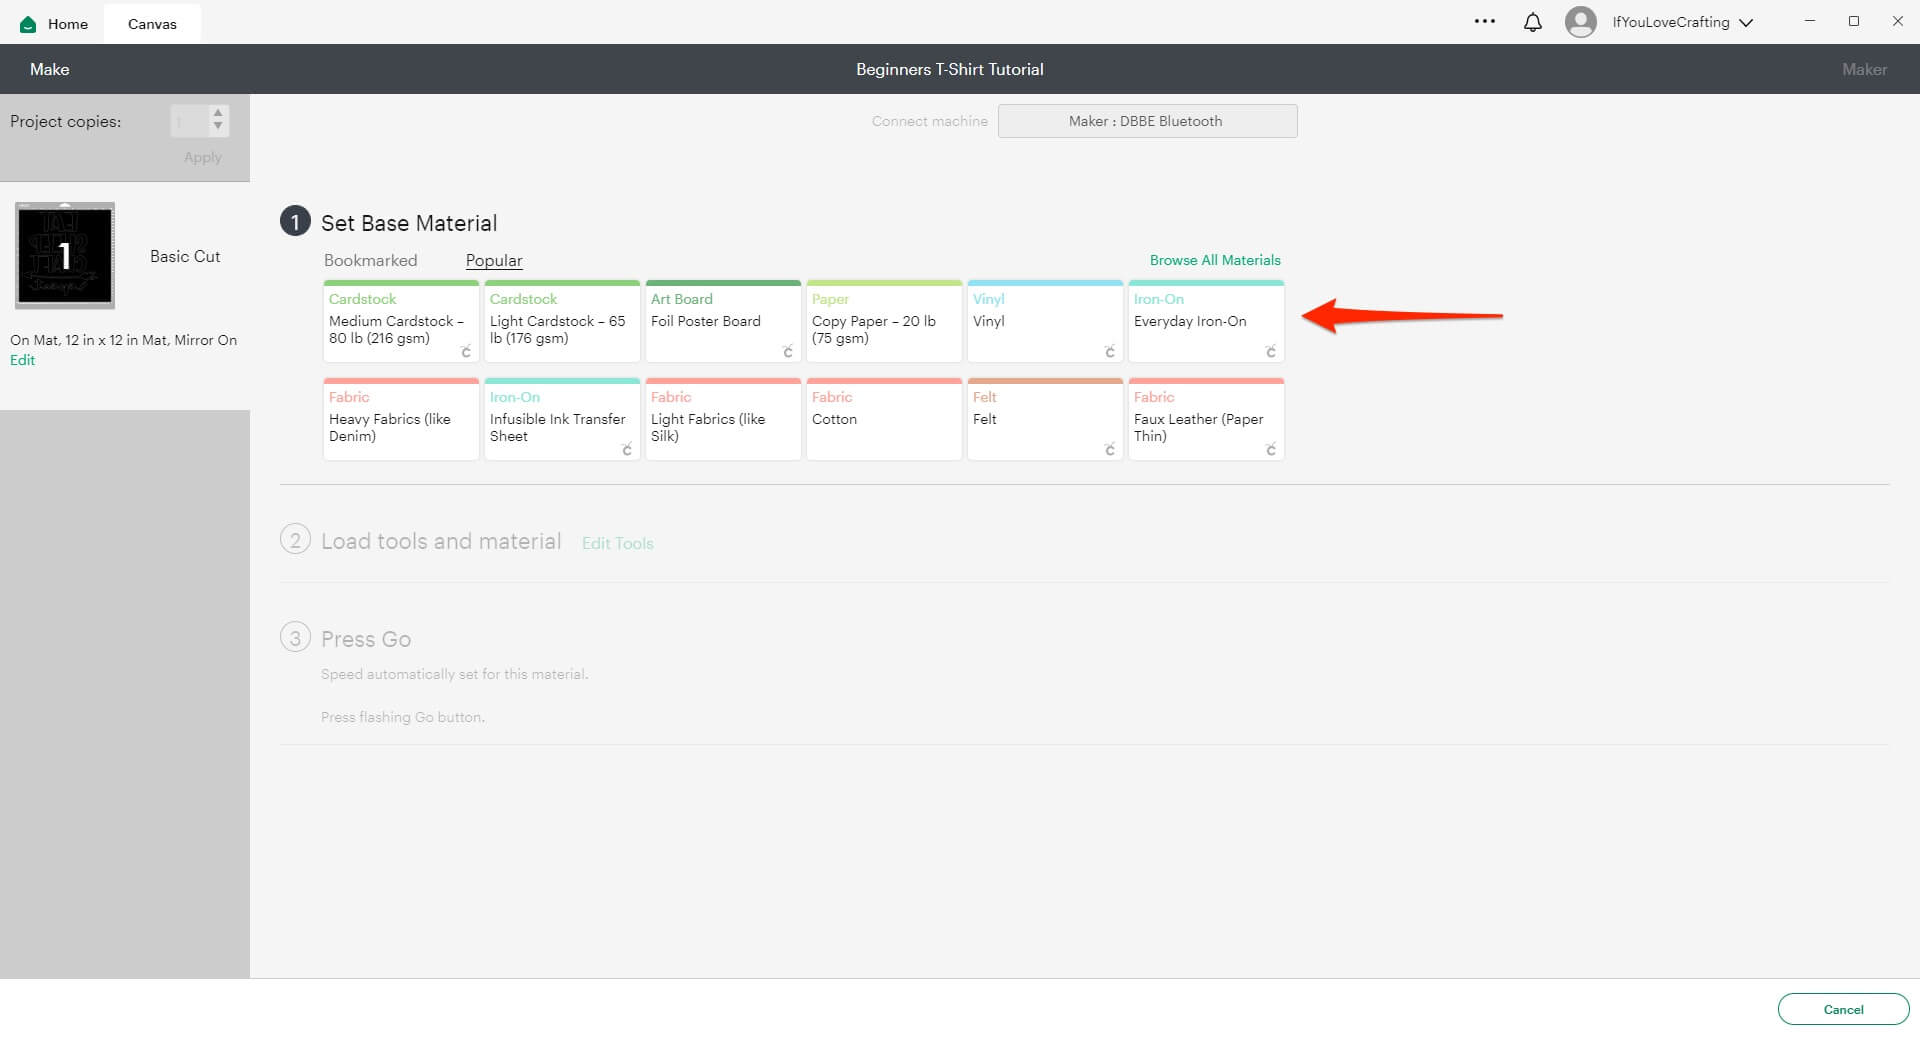
This next screen is where we select our material. The 10 most popular material options are shown to us by default. If you want to browse the full library of material options, you can click on the ‘Browse All Materials’ text), we will be using the Everyday Iron-On setting.
- Select Everyday Iron-On
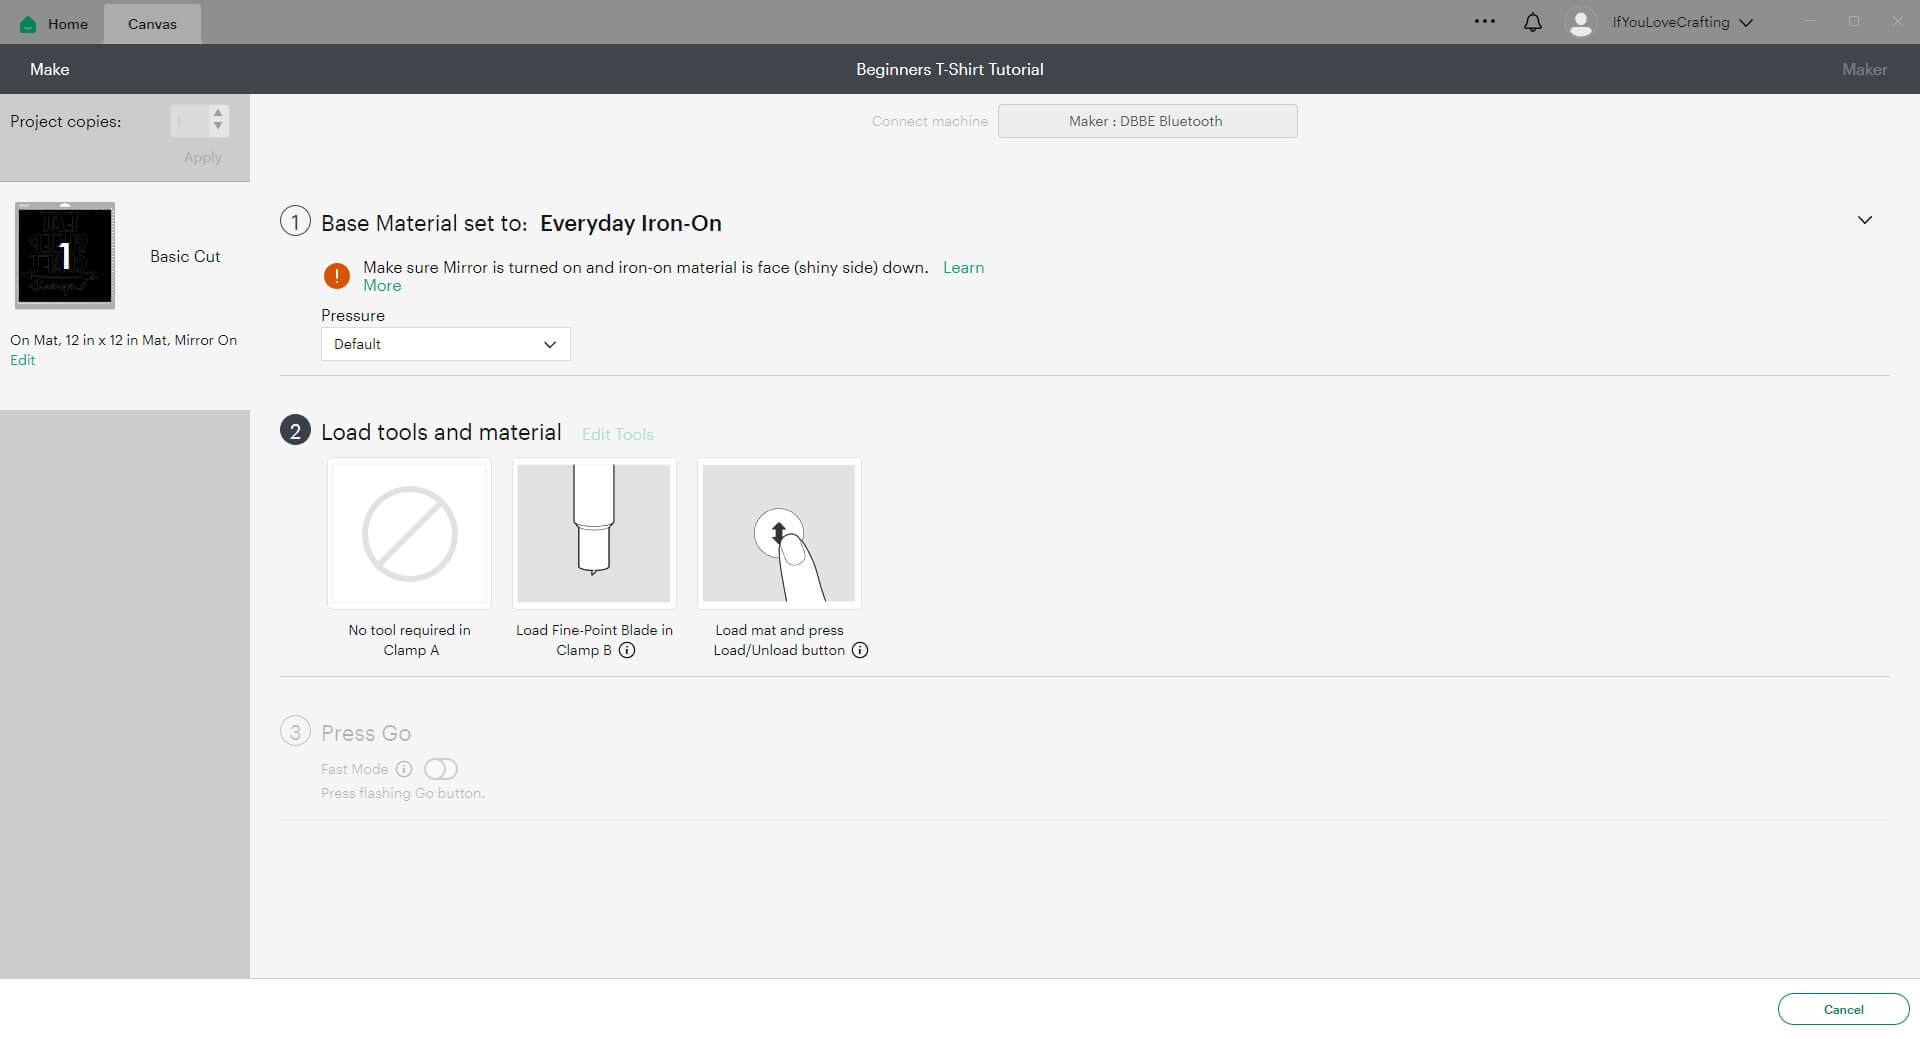
Once we’ve selected our material option, we will then be shown what tools we need to load into our machine, (we’re using the standard fine point blade that comes with all Cricut machines, so there is no need to worry about changing anything) and will also be prompted to load our mat into the machine.
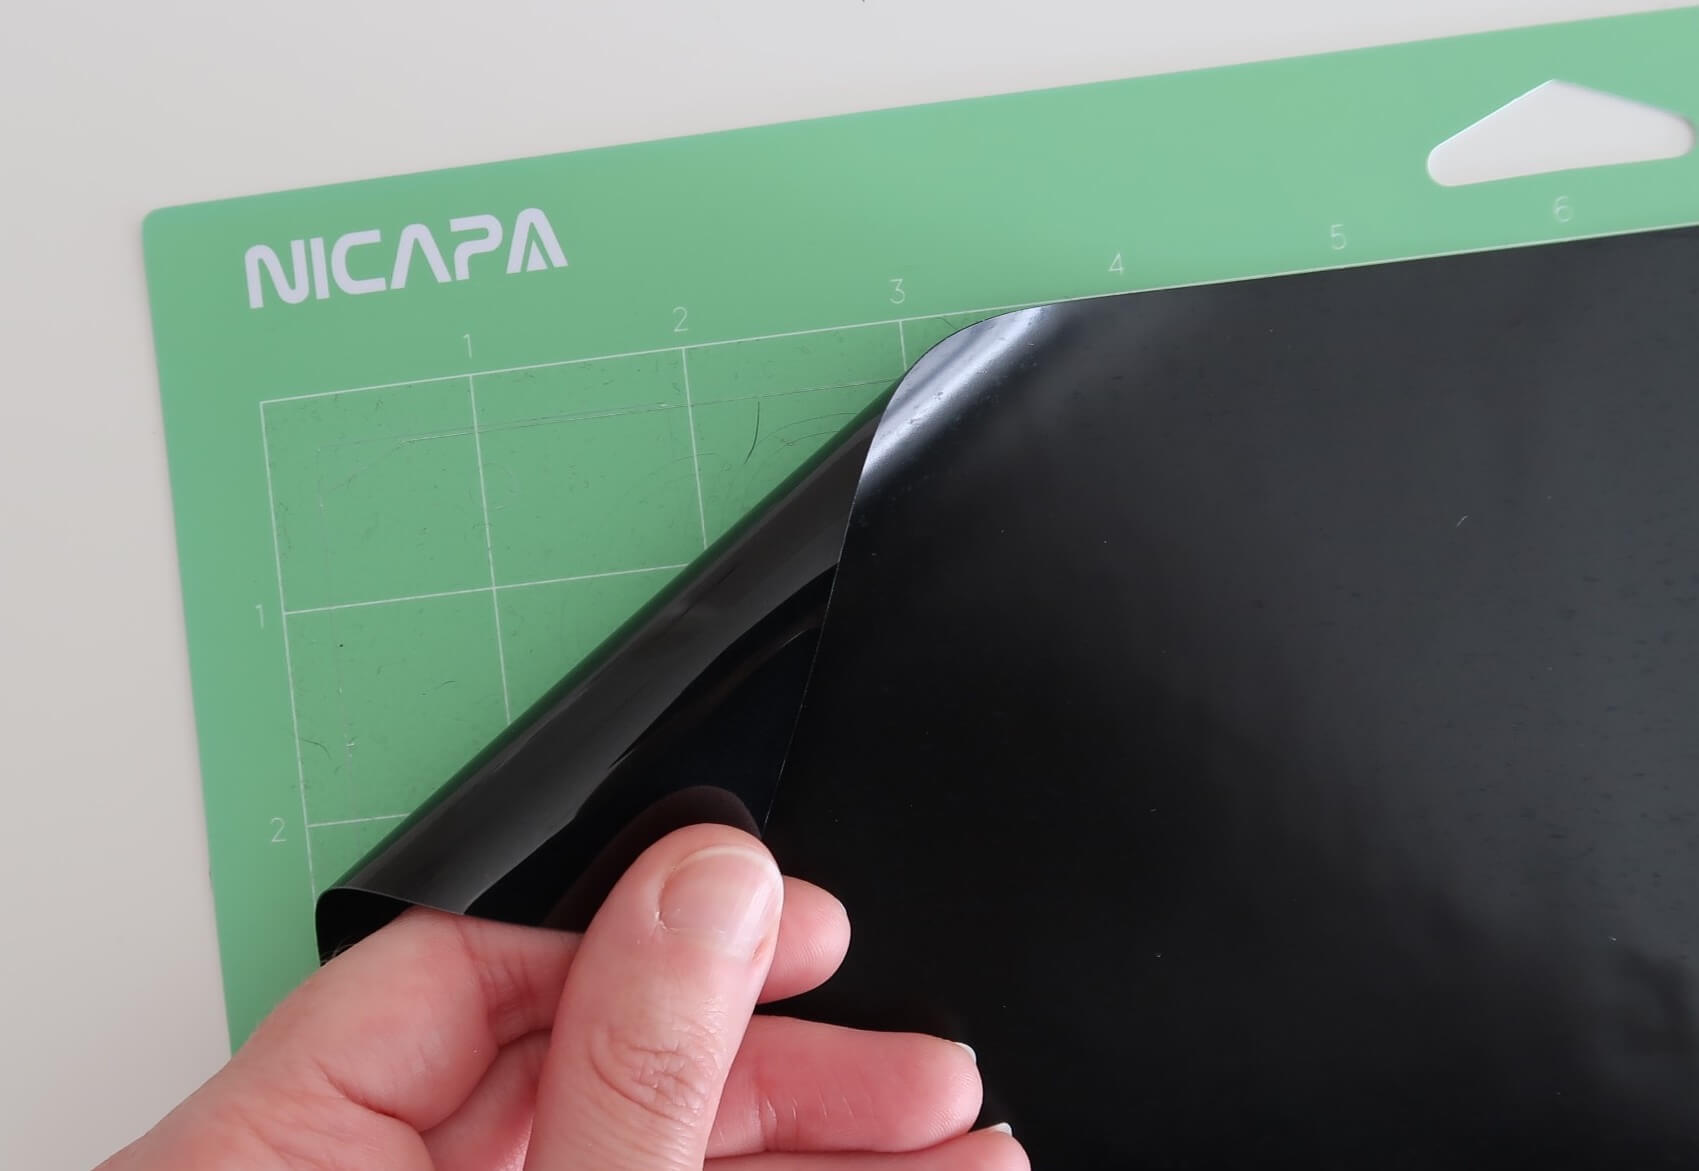
Iron-On HTV needs to be applied to your cutting mat with the shiny plastic side down and the matte side facing up.
- Make sure the standard Fine-Point blade is loaded into your Cricut
- Apply your HTV shiny side down on the mat
- Load your mat into your Cricut
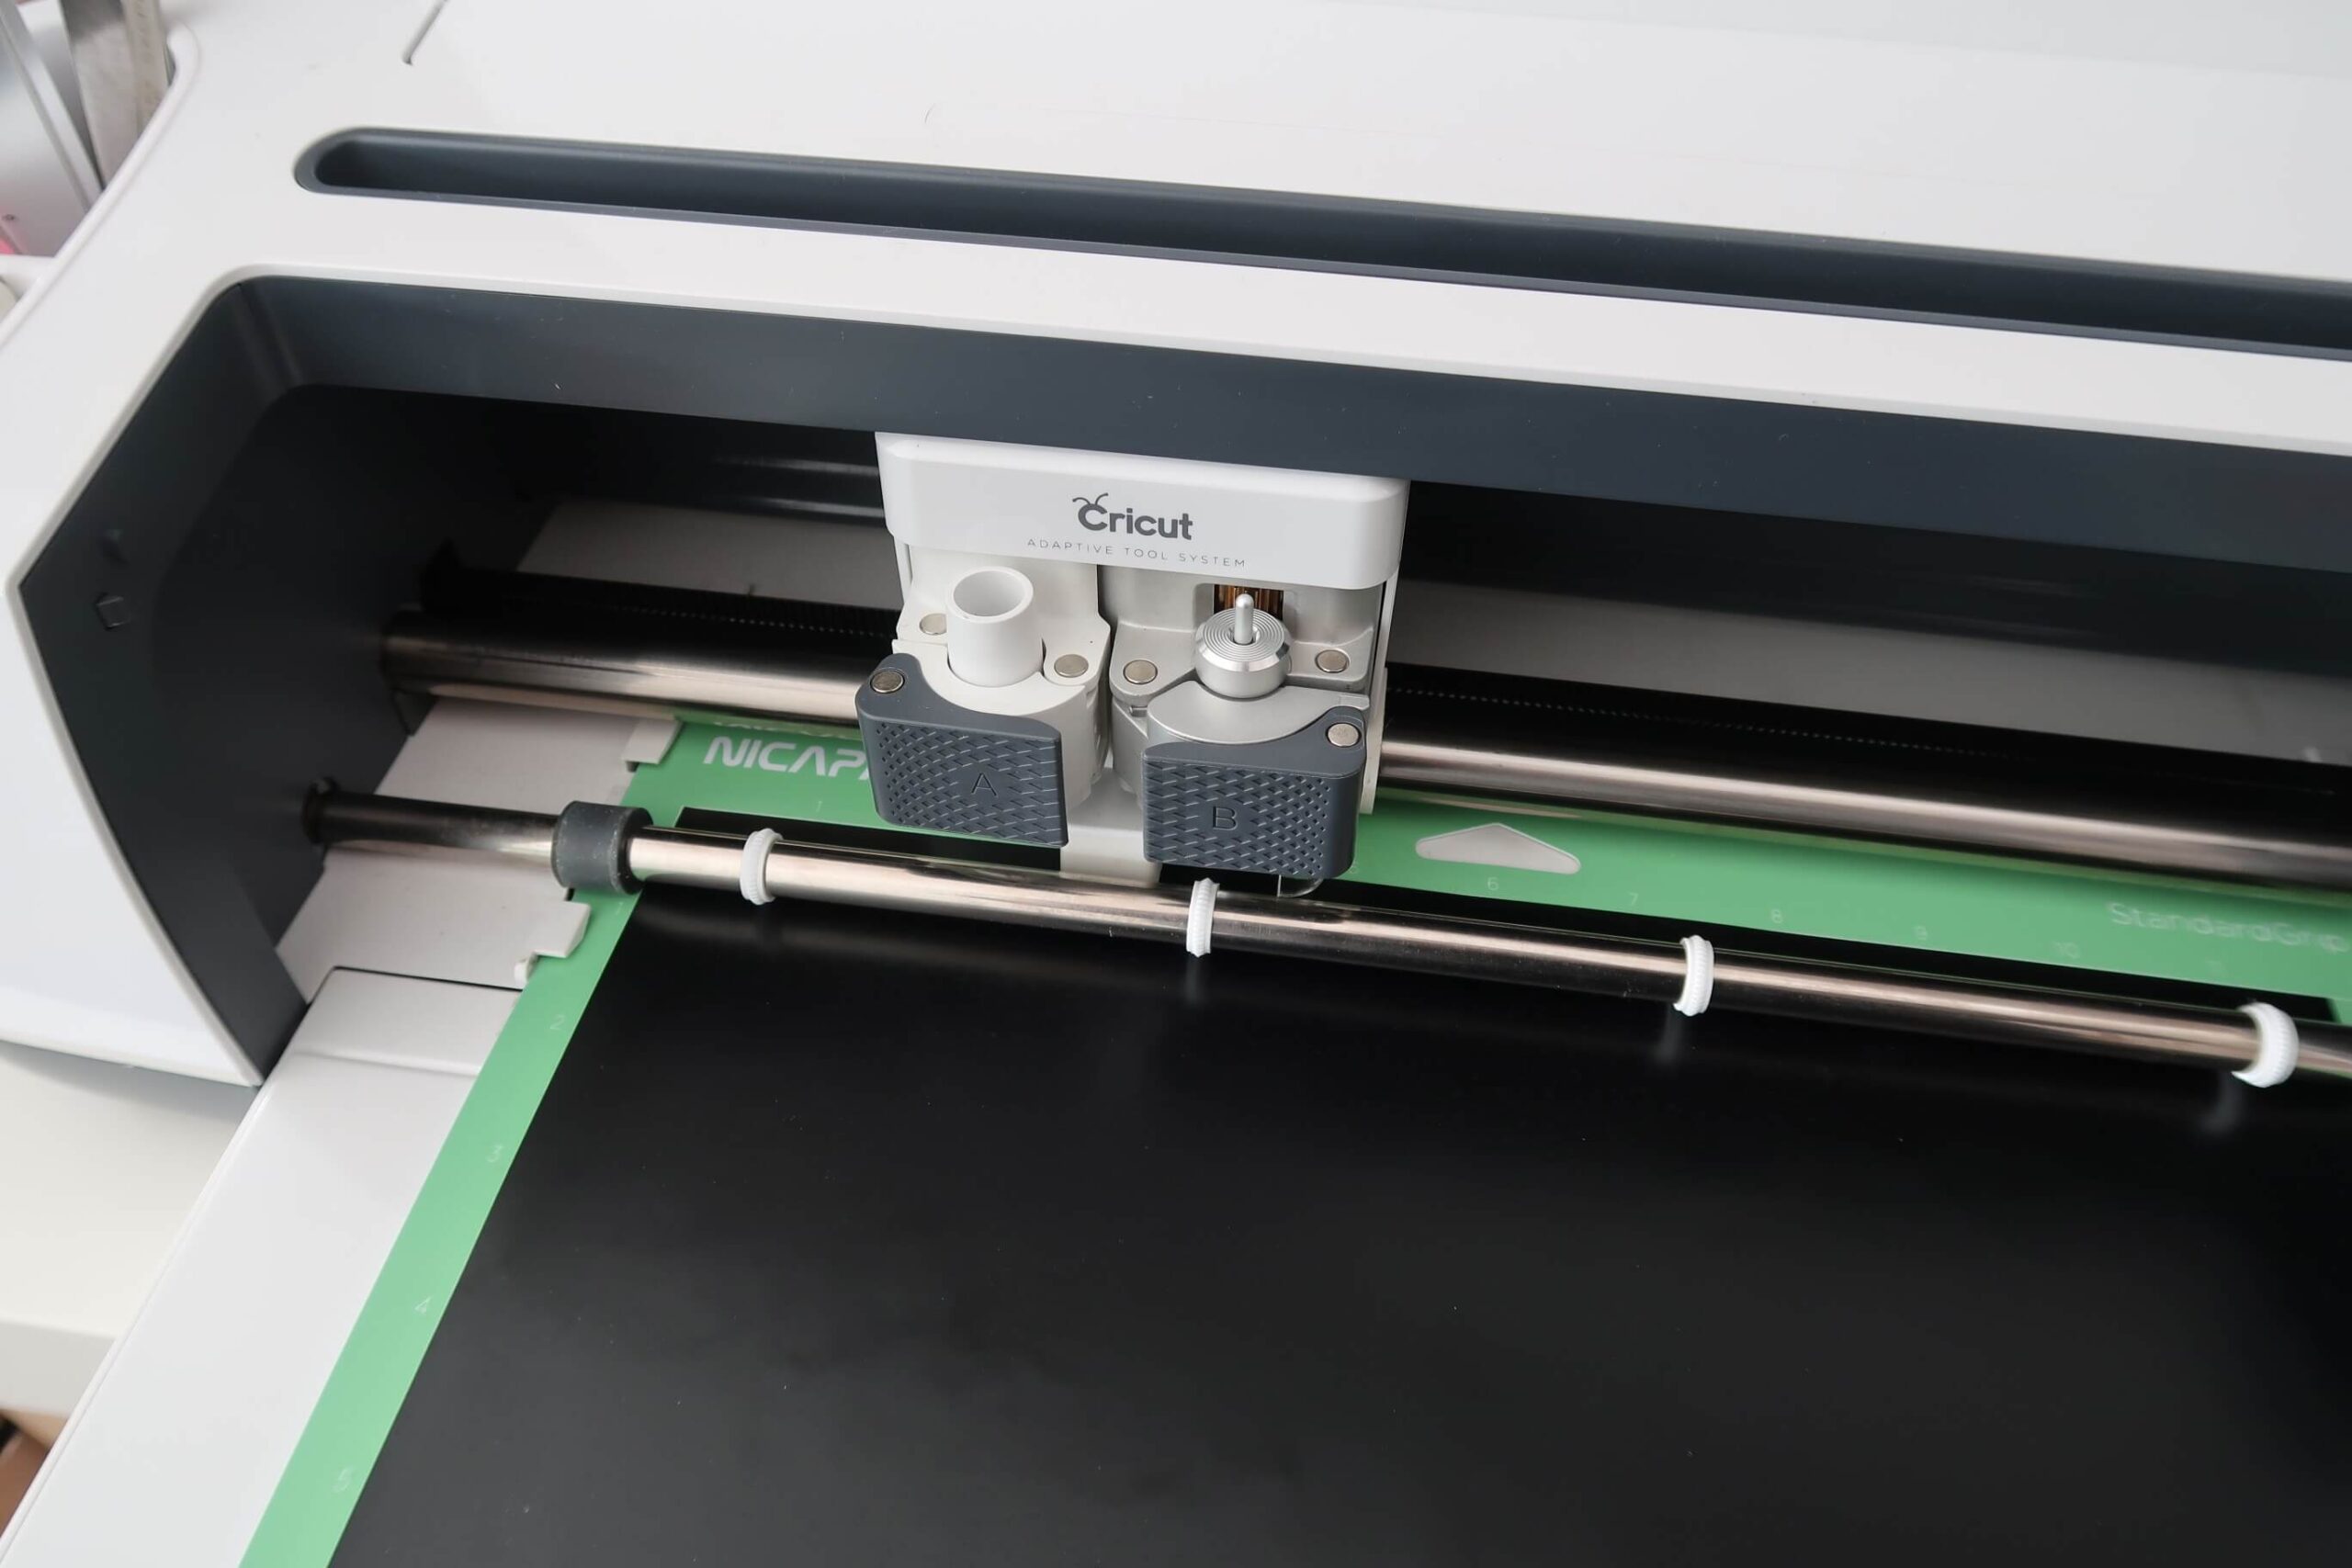
- Press the flashing Go button on your Cricut to start cutting!
