Cricut Beginner Tips · By Andrea
5 Things I Wish Someone Had Told Me When I Got My Cricut
If your Cricut is still sitting unused, you're not behind — and you're definitely not alone. Here's what finally makes it click.
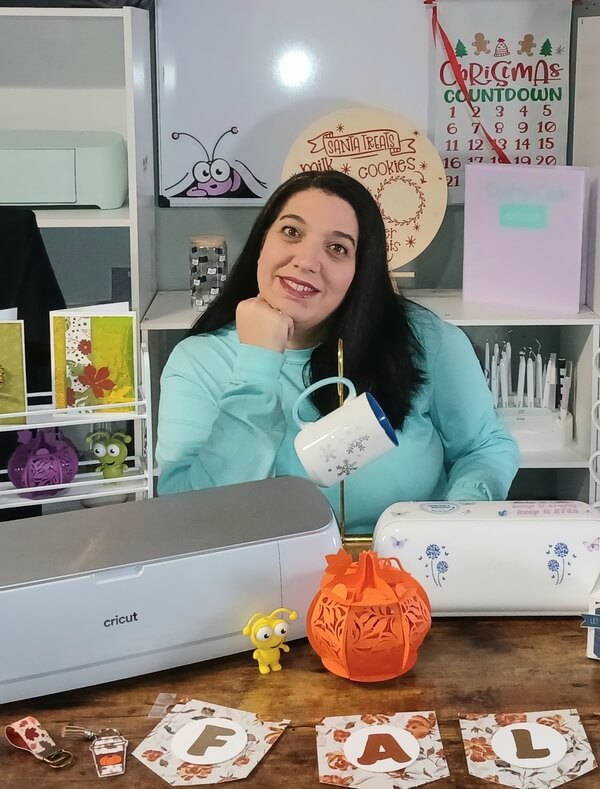

"The first time I wasted a full sheet of premium vinyl, I just stood there staring at it. $12 of holographic vinyl, ruined in four seconds. It was completely preventable — I just didn't know that yet. Everything I learned the hard way is what I want to tell you right now."
— Andrea, Crafty ClubI talk to women every week who bought a Cricut full of excitement... and then froze. The box felt heavy. The software looked confusing. Every YouTube video seemed to say something different.
If that's you, take a breath. You are not "bad with technology." You were just never shown the simple way. These five things are exactly what I wish every new owner knew from day one.
Start here, not there
Your first project should be boring — on purpose
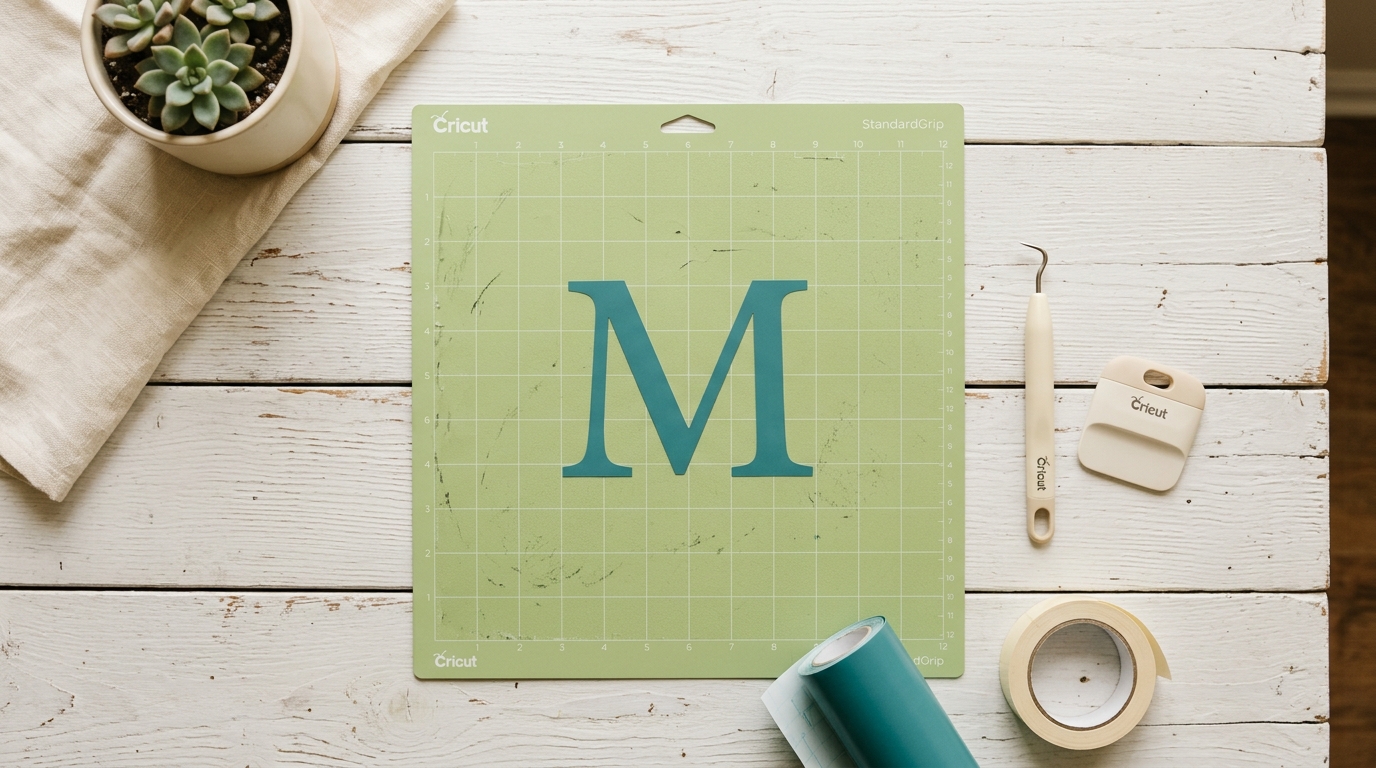
"My first real attempt was a three-color iron-on design. Six hours, two ruined sheets, one very crooked hoodie."
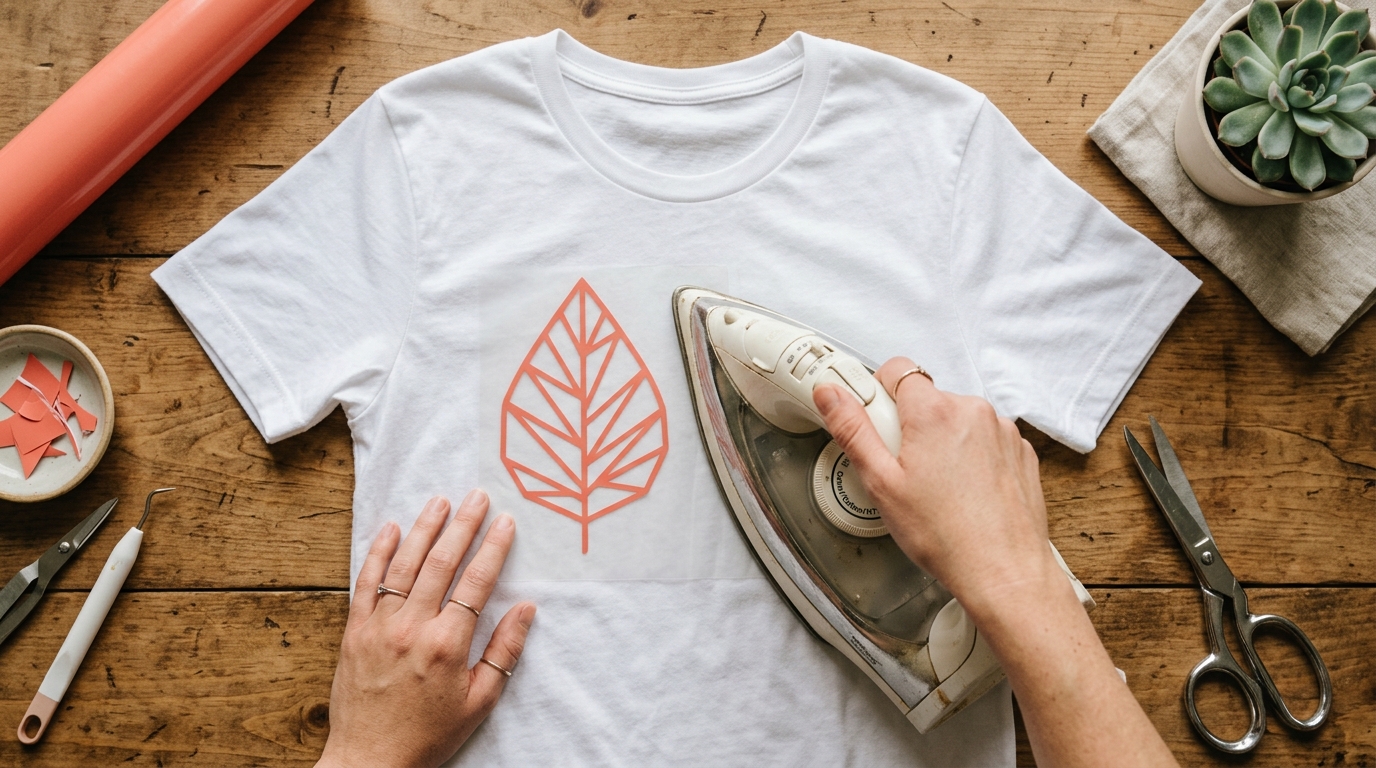
Start with one color, one material, one simple shape. A vinyl decal on a tumbler. A single-color iron-on on a plain t-shirt. Something you can finish in under an hour.
One finished project — even a boring one — will teach you more than ten complicated failures ever will.
The thing nobody explains at the store
The mat you use matters as much as the material
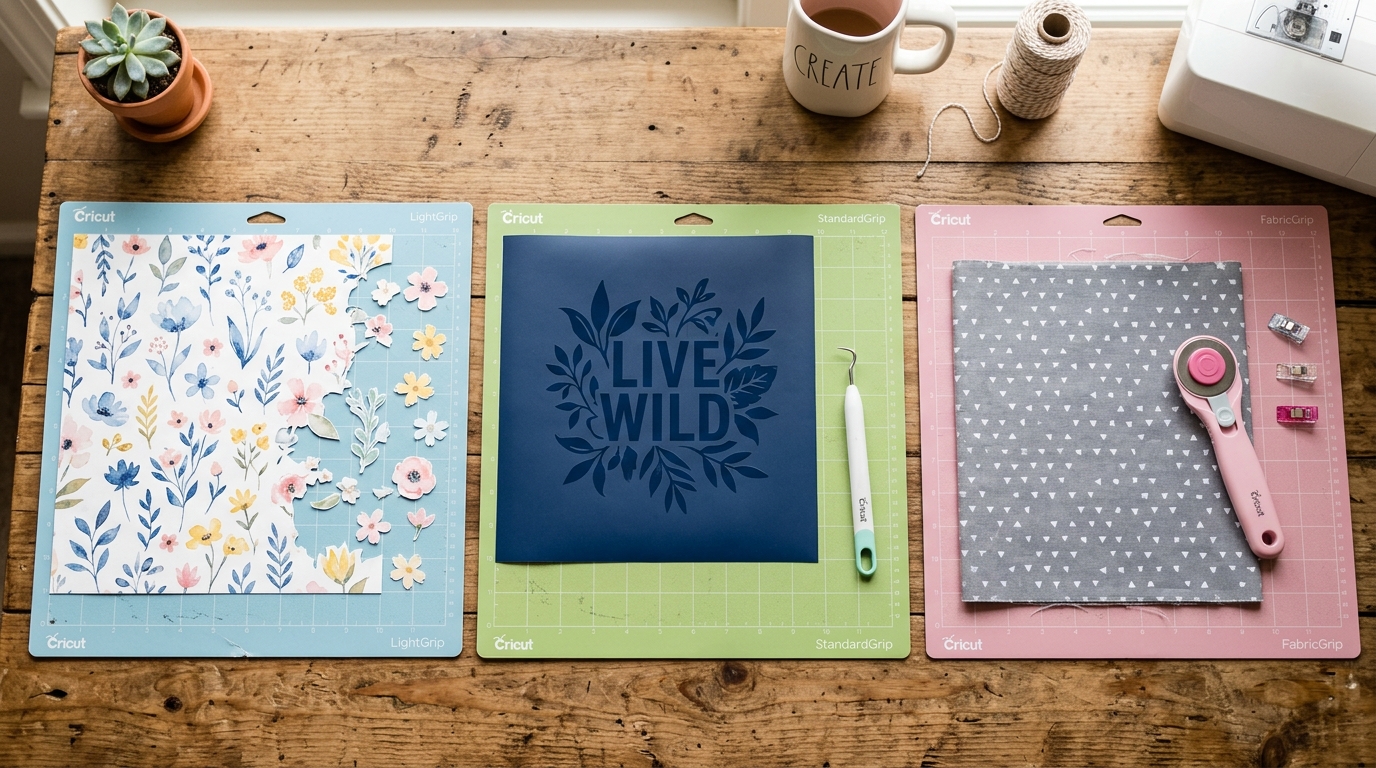
"I used my blue LightGrip mat for cardstock. It stuck so hard I tore it trying to remove it."
There are four mats, each built for specific materials. Blue LightGrip for delicate paper. Green StandardGrip for vinyl and iron-on. Purple StrongGrip for thick materials. Pink FabricGrip for fabric.
Using the wrong one doesn't just make the project harder — it ruins the material and damages the mat.
Two minutes that save everything
Pressure settings are not one-size-fits-all
"For my first three months, I used the default pressure for everything. Sometimes it worked. Sometimes it didn't. I had no idea why."
Every material has its own sweet spot for cut pressure. Too little and it doesn't cut through. Too much and it cuts through the mat too.
Always do a test cut on a scrap piece first. Two minutes. Every time. No exceptions.
The one that breaks hearts
Mirror your design before cutting iron-on — every single time
"I made a personalized tote bag for my sister's birthday. Her name came out backwards. There is no fixing a backwards iron-on once it's pressed."
Iron-on vinyl goes on the mat shiny side down — which means your design needs to be flipped before you cut, or it comes out backwards on your shirt.
In Design Space, there's a mirror toggle in the "Make It" screen. One second. Check it every single time you cut iron-on.
Everything I learned the hard way — including this — is inside the Confidence Kit. All of it in plain English, all in one place.
See the Confidence Kit →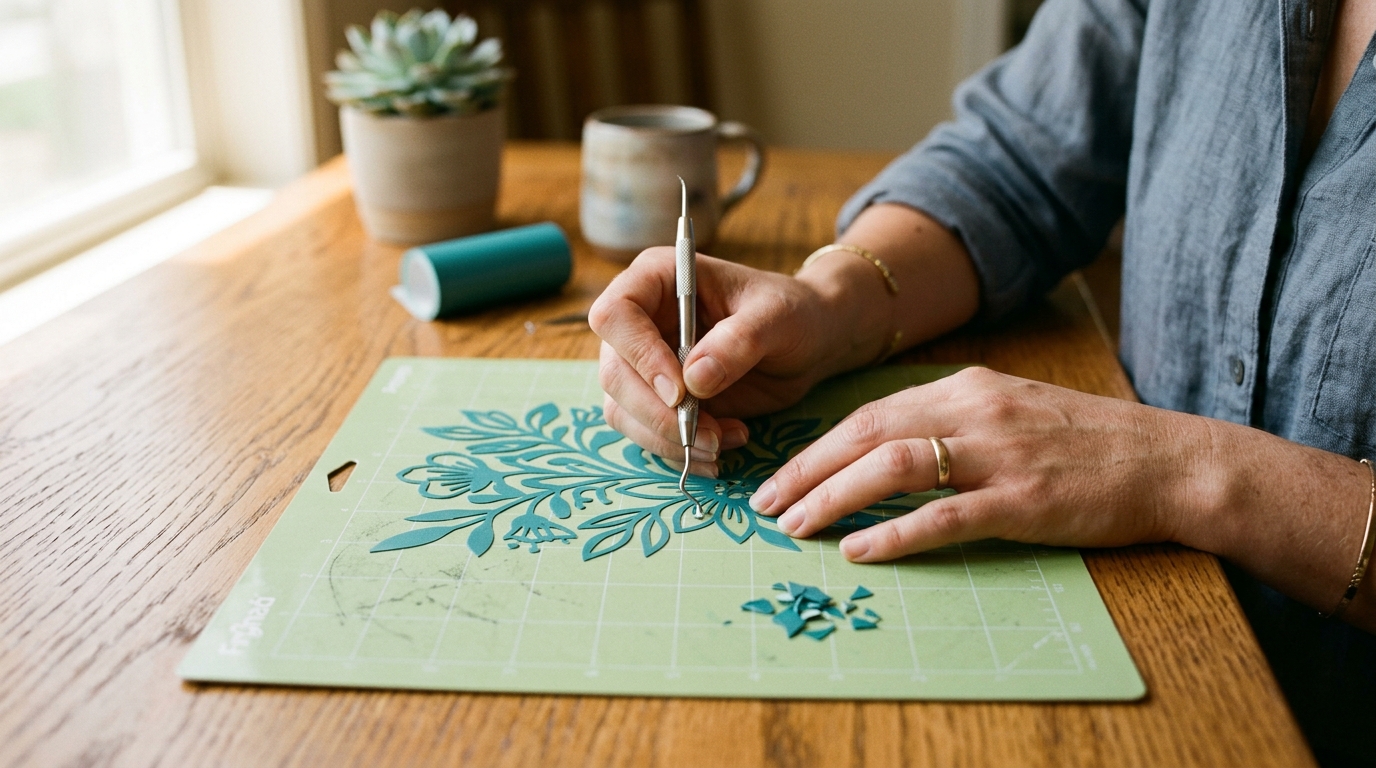
The last step most beginners rush
Slow down when you weed — the project isn't finished until it's finished
"I used to pull too fast, too hard. I'd lift a corner of my design along with the waste. I ruined more projects weeding than cutting."
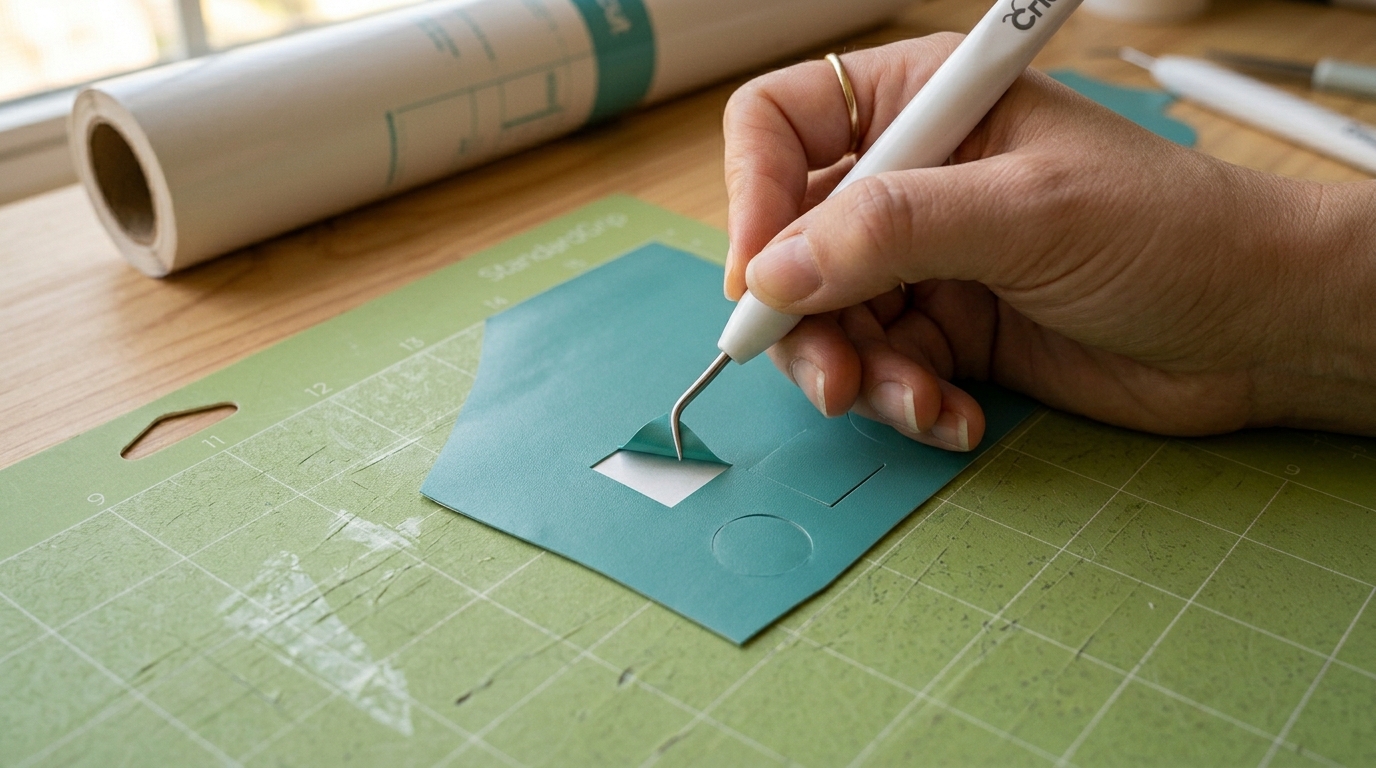
Weeding is removing the excess vinyl around your design after cutting. Pull the excess back at a 45-degree angle — close to the mat, not up and away from it.
That angle change alone saved more of my projects than I can count.
The machine is not the problem. The software is not the problem. The problem is that nobody sits down with you and shows you the things that actually matter, in the right order, before you make the expensive mistakes.
That's the only reason I put together the Confidence Kit. Everything I wish I'd had on day one — so you don't have to learn it the hard way.
What's inside
The Confidence Kit
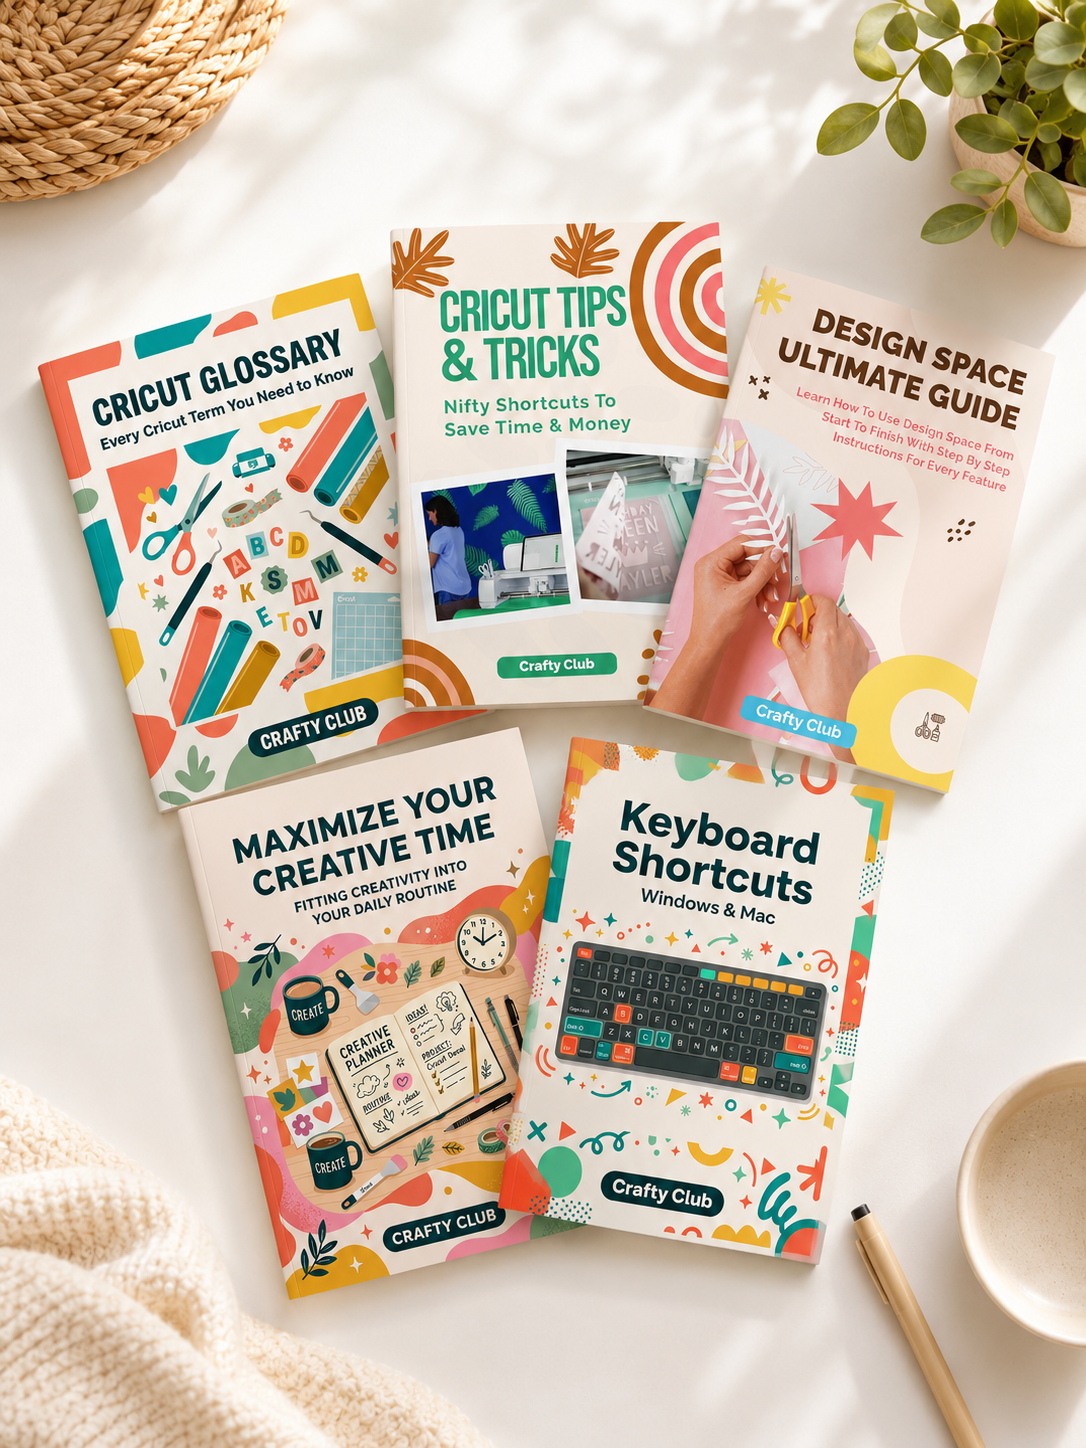
- 🖥Design Space Ultimate Guide EbookStart Here
- 📘Cricut Glossary Ebook — every term in plain English
- 💡Tips & Tricks Cheat Sheet — shortcuts & common fixes
- ⌨️Keyboard Shortcuts Cheat Sheet — work faster
- ⏱️Maximize Your Creative Time Ebook
🎉 You save $20 — limited time offer
Get the Confidence Kit — $29 →30-day money-back guarantee · all Cricut machines
Compatible with Cricut Maker, Explore, Joy & Maker 3
Your Cricut is not collecting dust because you're bad at this. It's collecting dust because nobody showed you the right things yet.
That changes today.