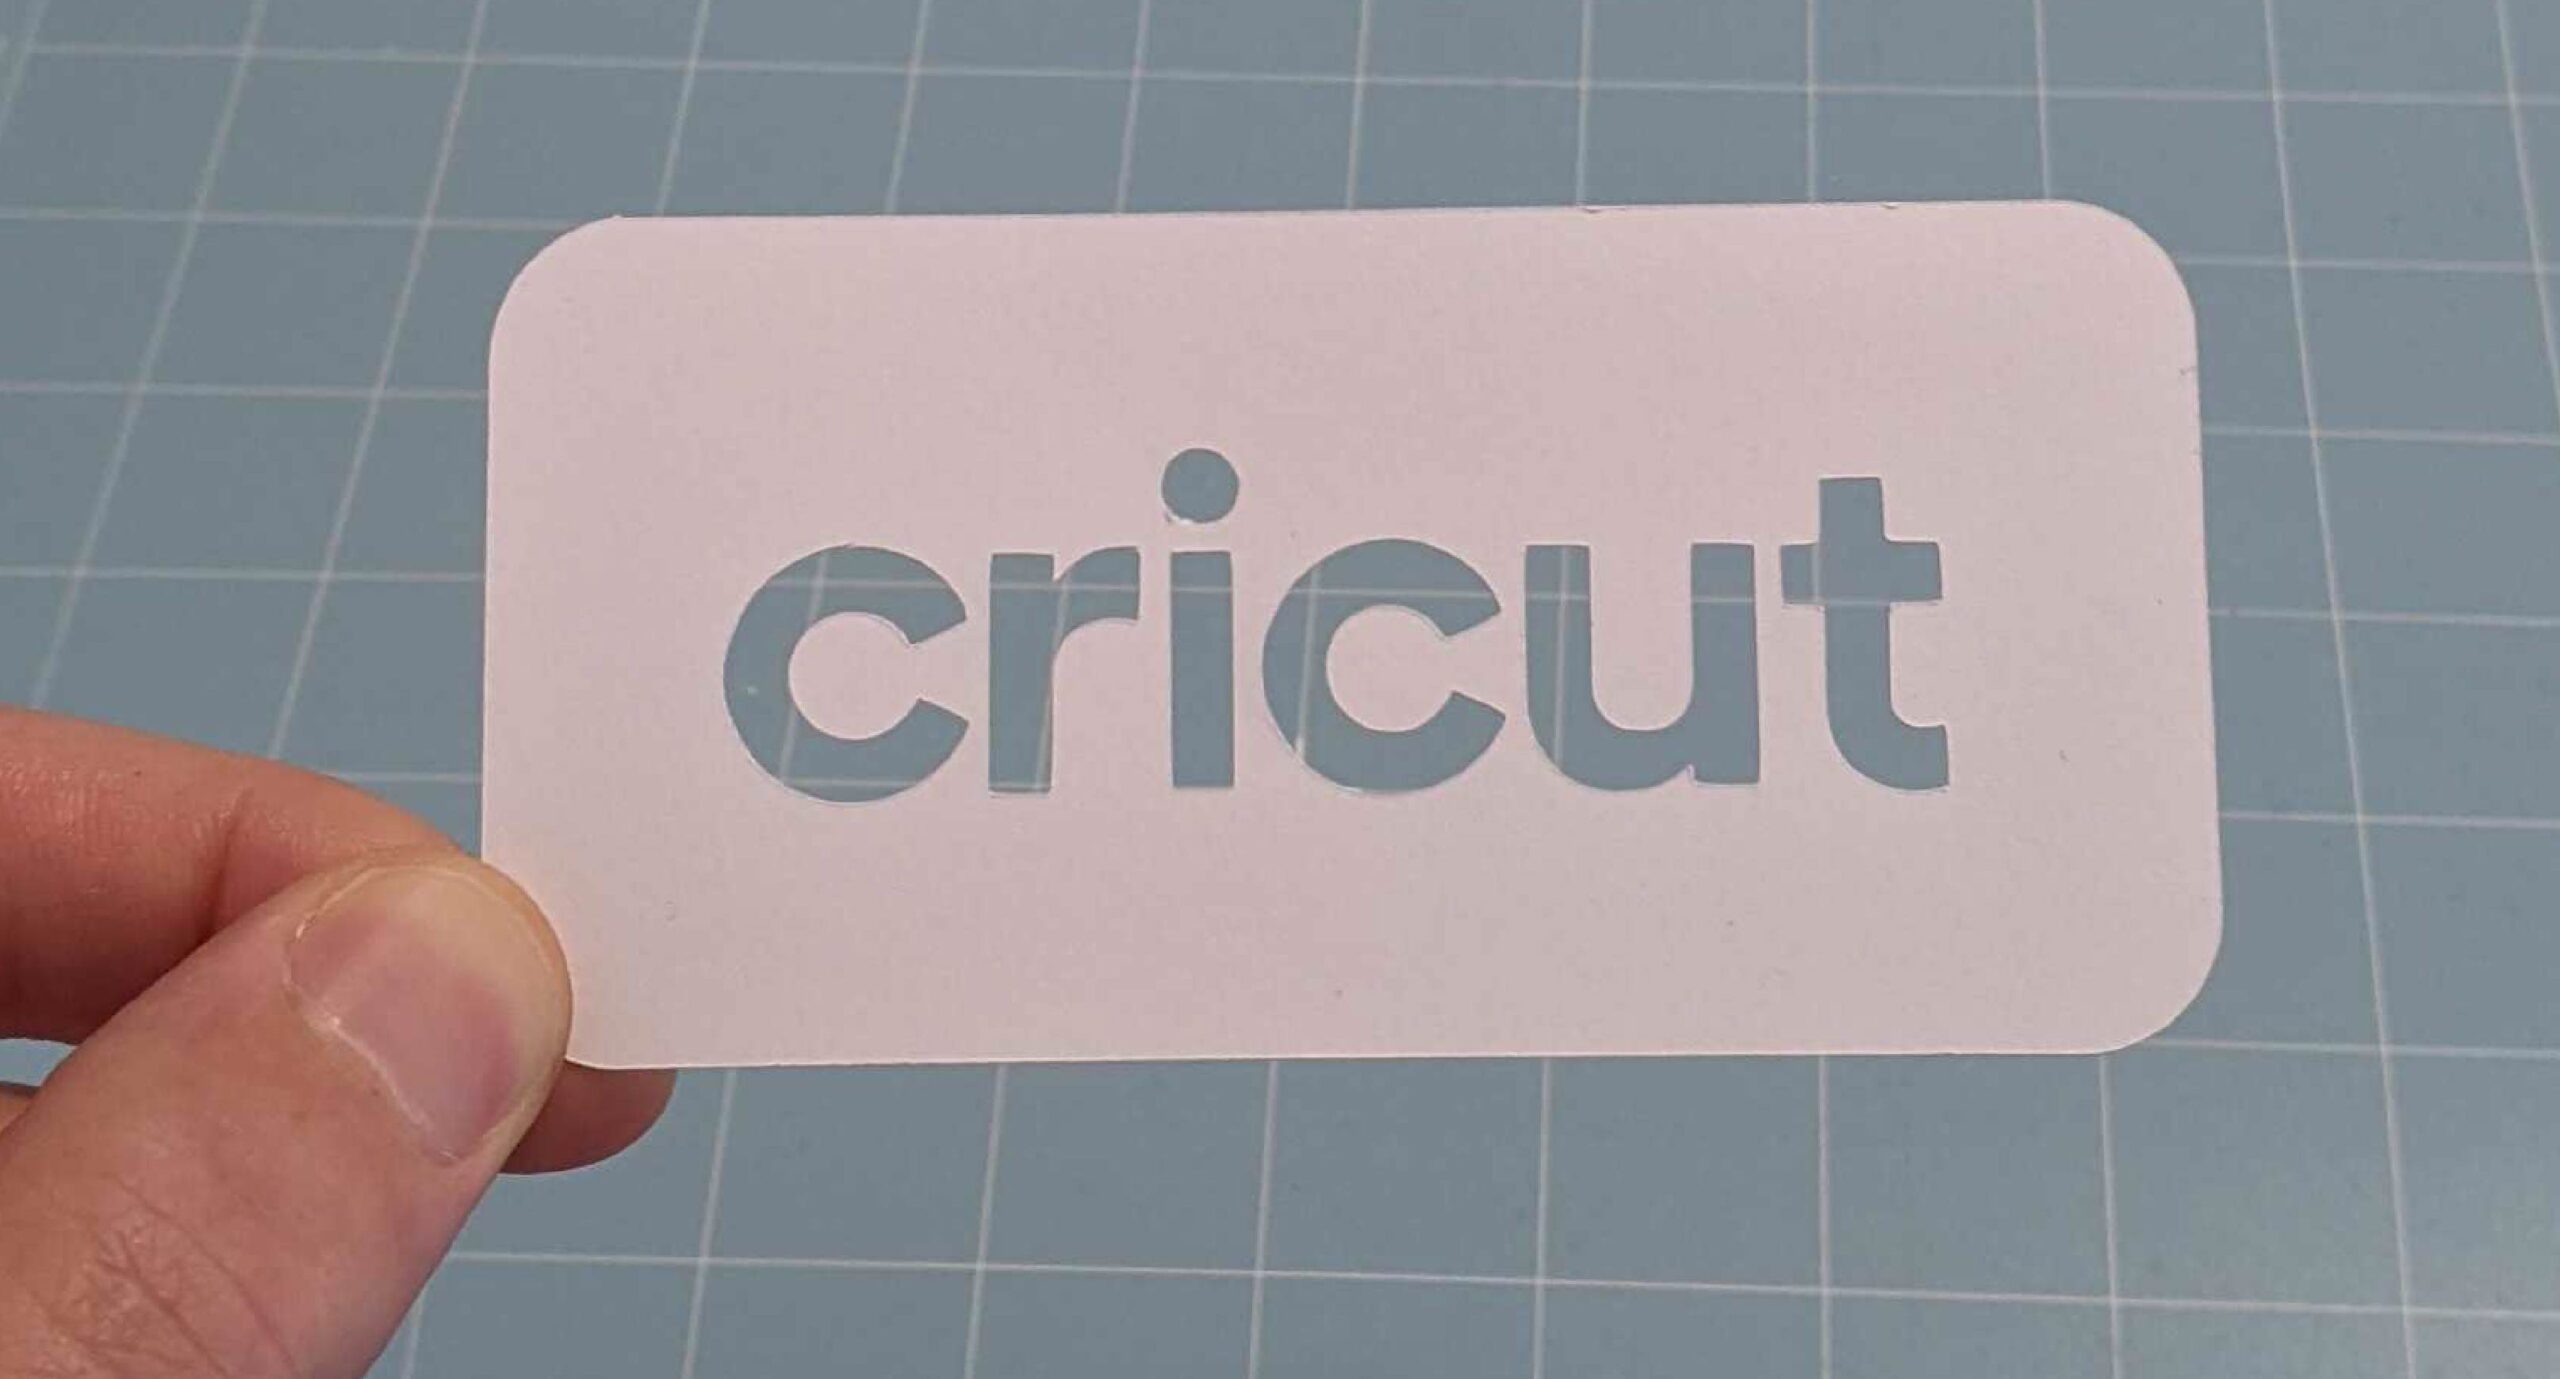
After you’ve set up and connected your Cricut it’s a good idea to perform a test cut to check everything is working correctly. For this you’ll just need some cardstock.
Step 1: Carrying on from the previous page, you should see this screen. Click Next.
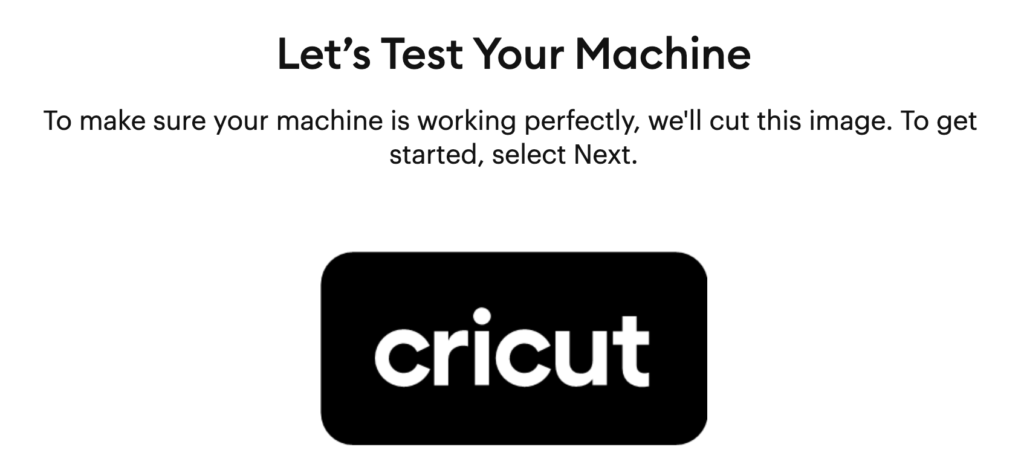
Note: If you don’t see this screen just go through the New Product Setup instructions from the previous page.
Step 2: Now follow the instructions on the screen.
Step 3: Take a blue LightGrip mat and remove the protective plastic sheet layer. (A green Standard Grip mat is also ok.)
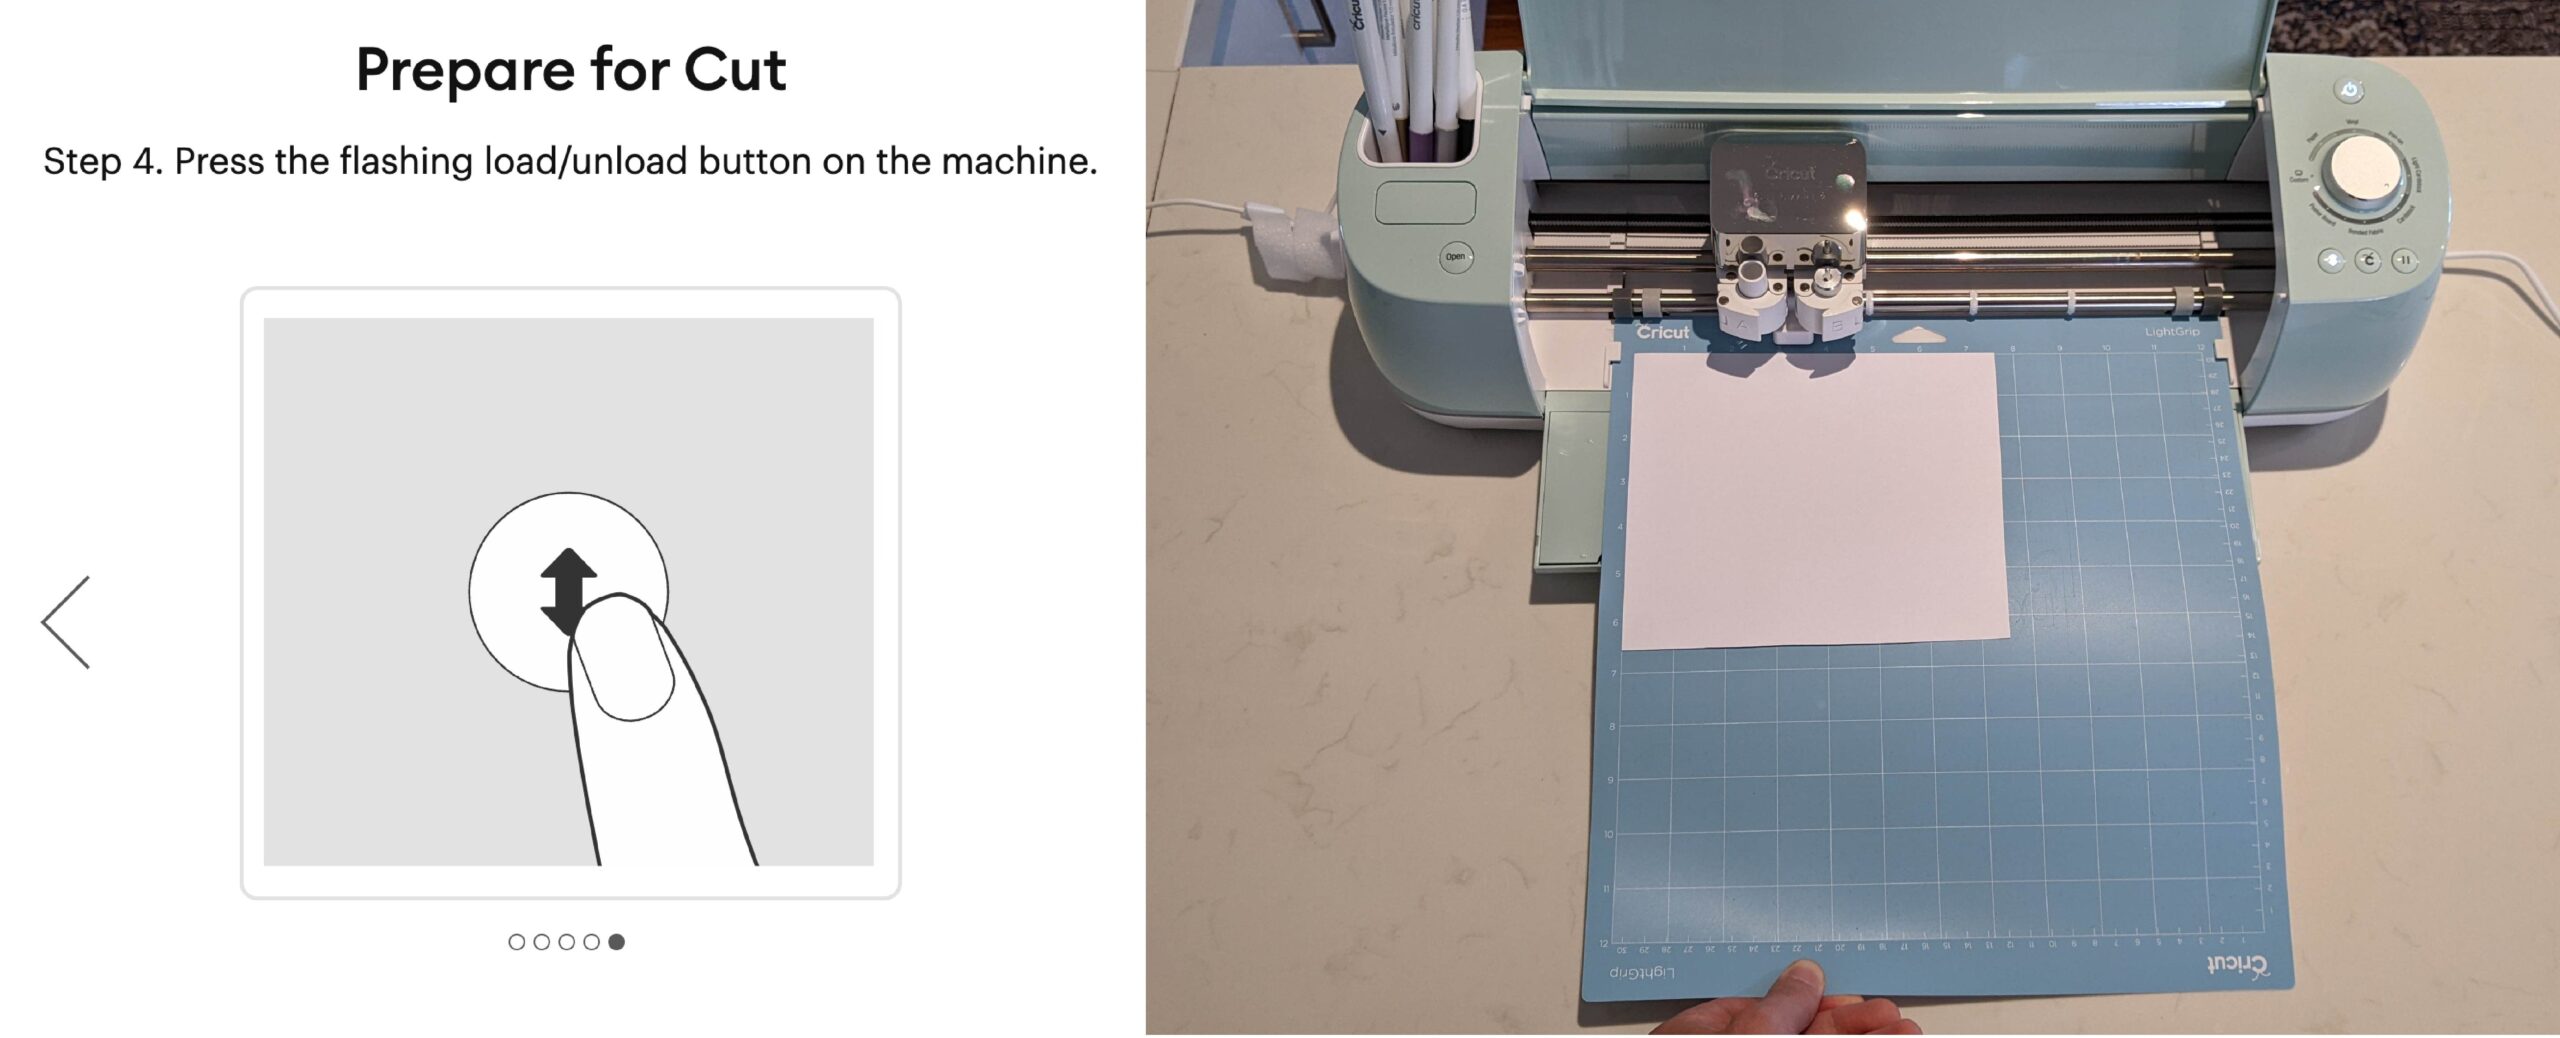
Step 4: Place a piece of cardstock in the top left hand corner of your mat, and press it down to make sure it’s attached properly.
Click through the steps in Design Space and you will get to the ‘Prepare for Cut’ screen. Load your mat into your Cricut, under the guides, toward the rollers.
Step 5: Lightly push the mat into your Cricut and press the flashing load button. Your Cricut should draw the mat in.
Step 6: Once the Cricut has finished moving, press the Go button. Your Cricut will begin cutting the design.
Step 7: Once it’s done, press the flashing Unload button.
Now remove the mat, turn it upside down and peel the mat away from the cardstock.
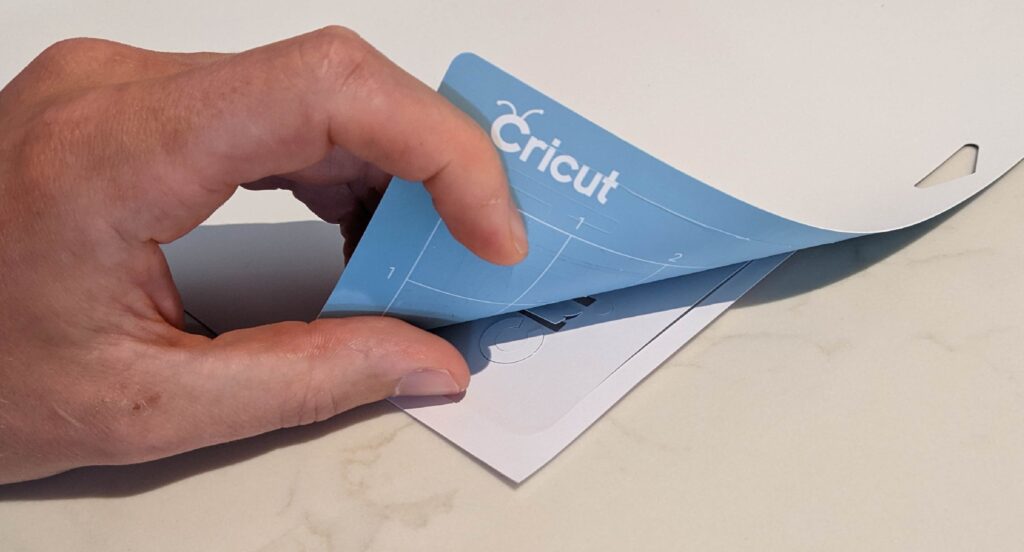
Congratulations, you’ve completed your first cut! Don’t forget to re-apply the protective plastic sheet to your mat once you’re done
