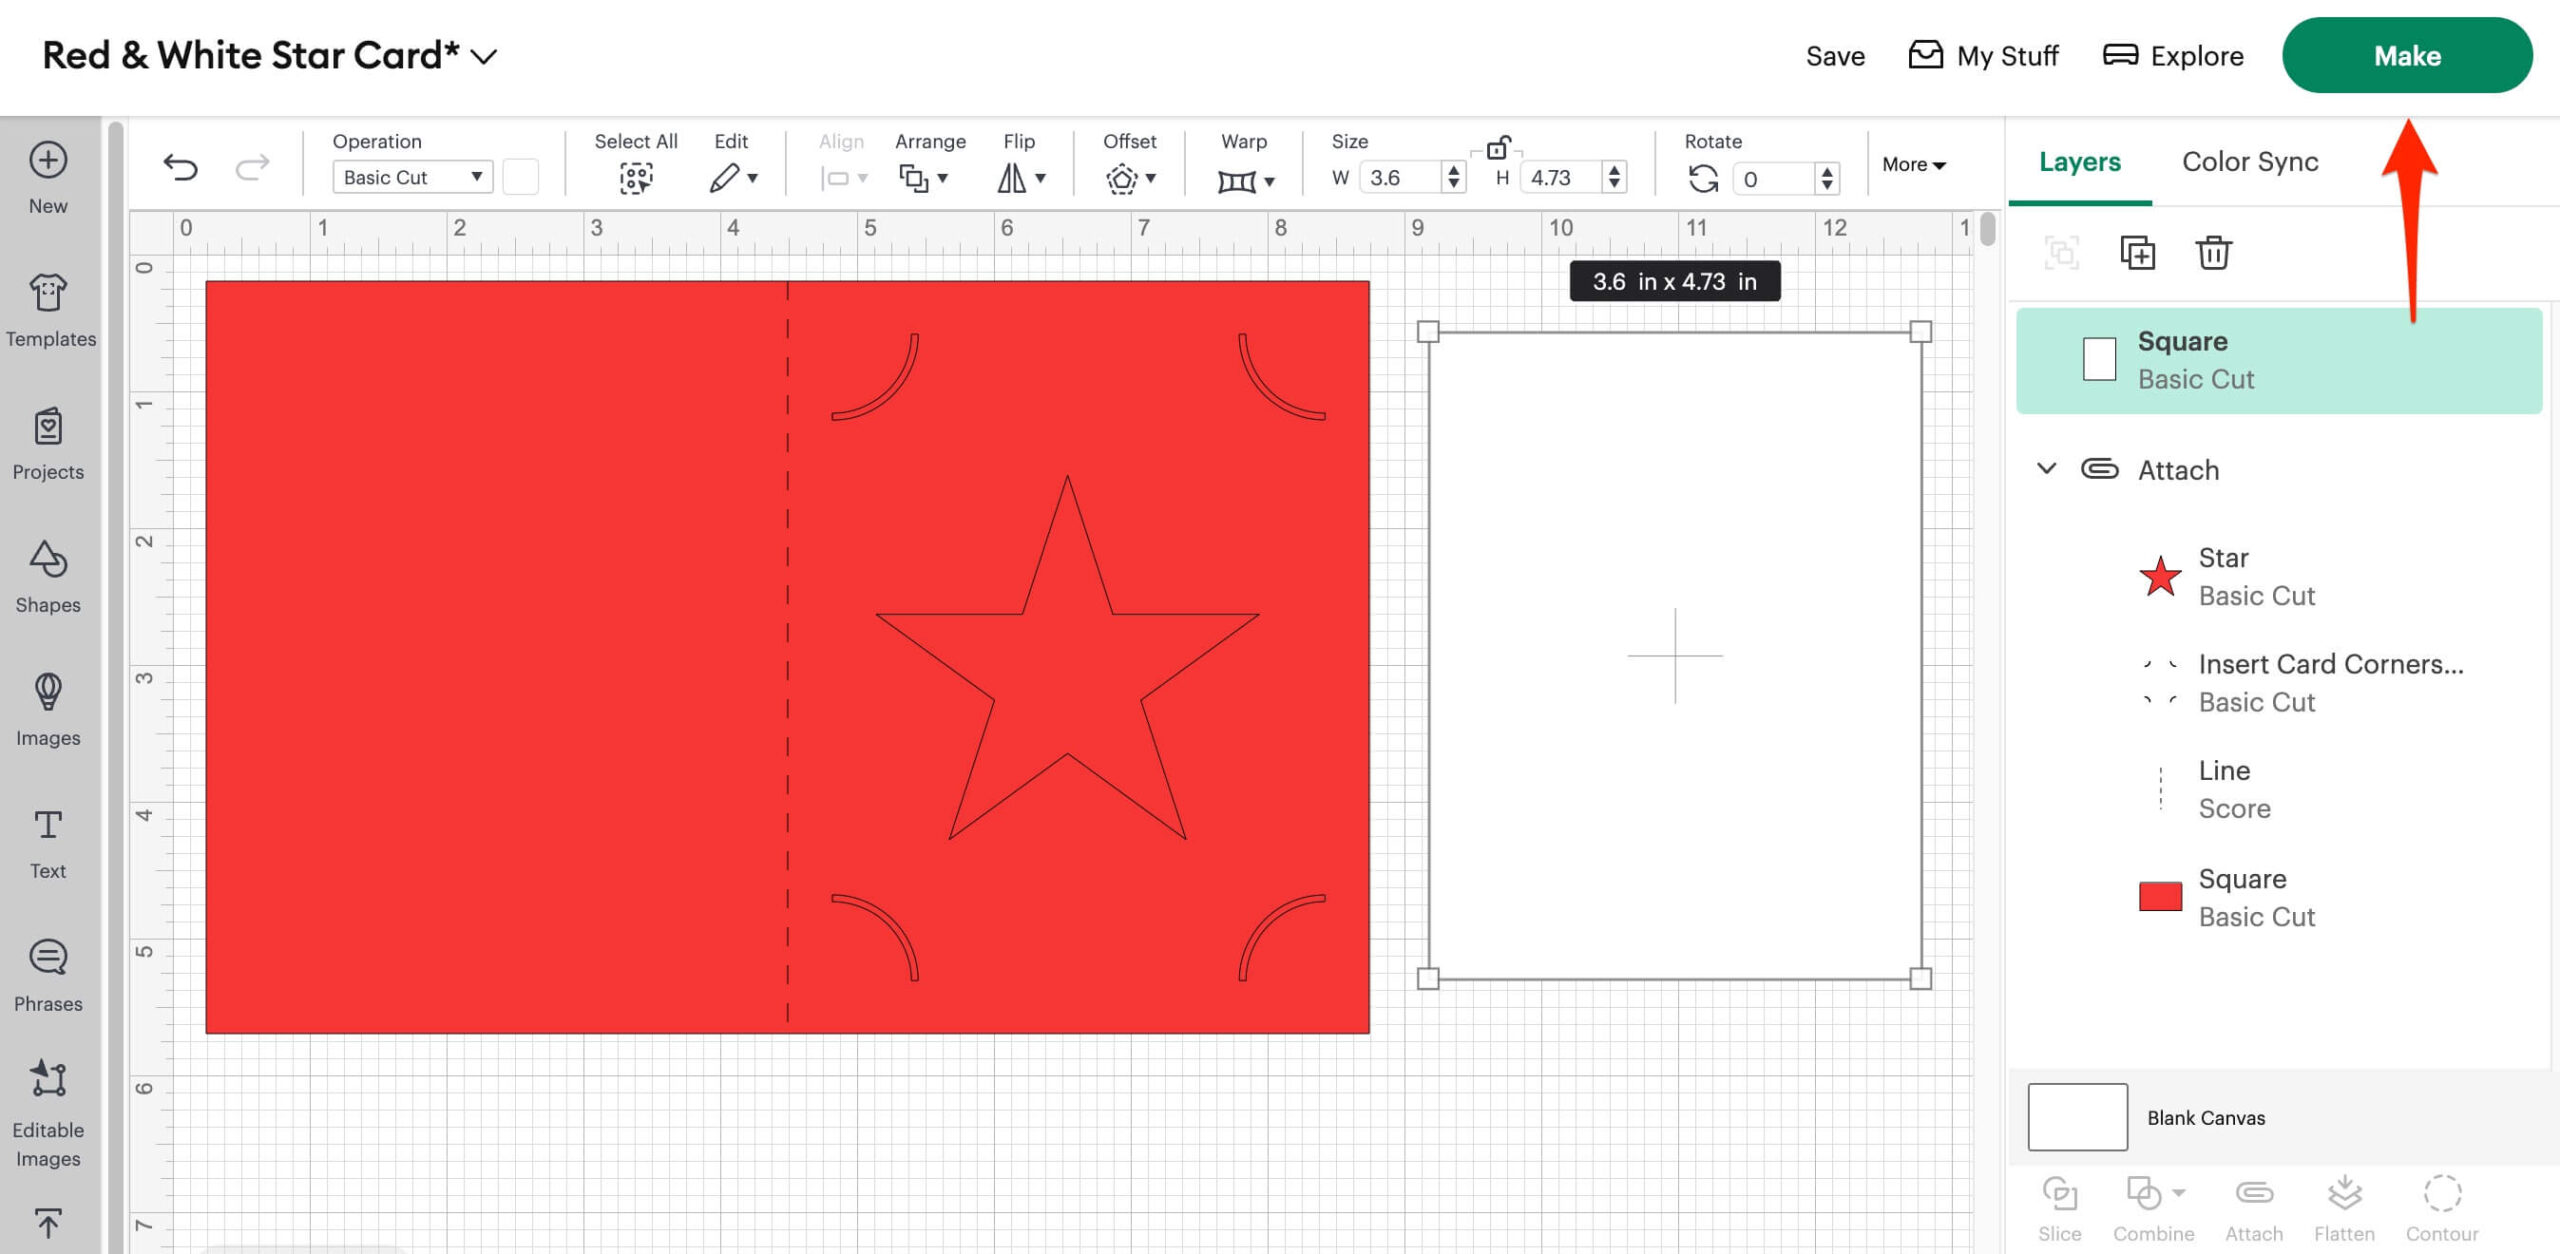
- In the top right of you canvas, click Make
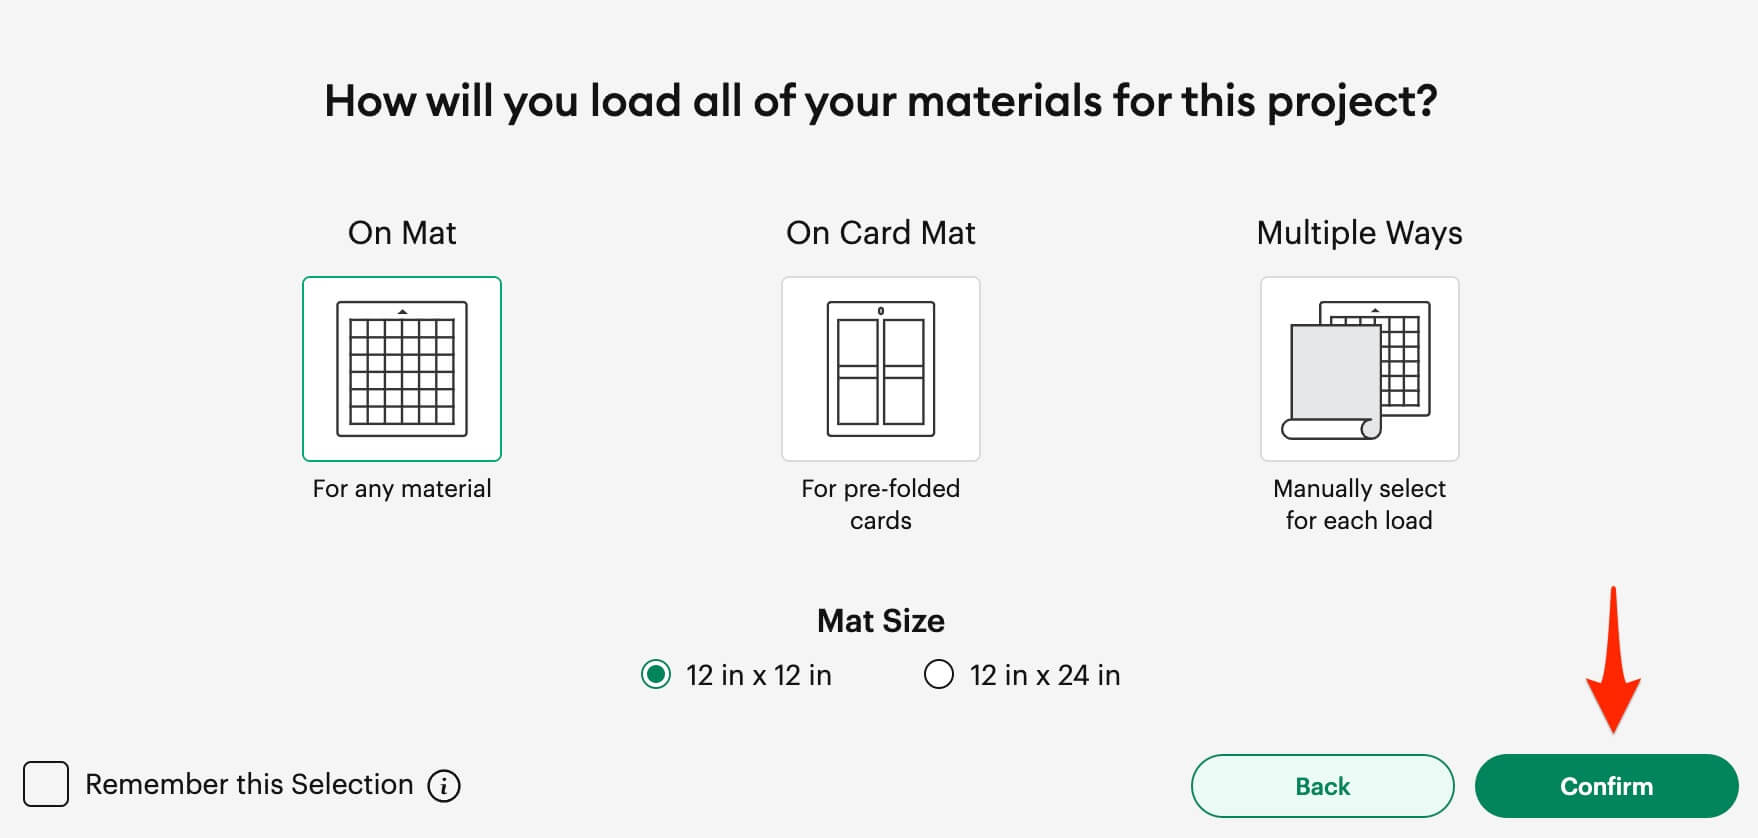
- Choose how you will load your materials. If you have an Explore or Maker then I suggest using ‘on Mat’ and whichever mat size you have. Click Confirm.
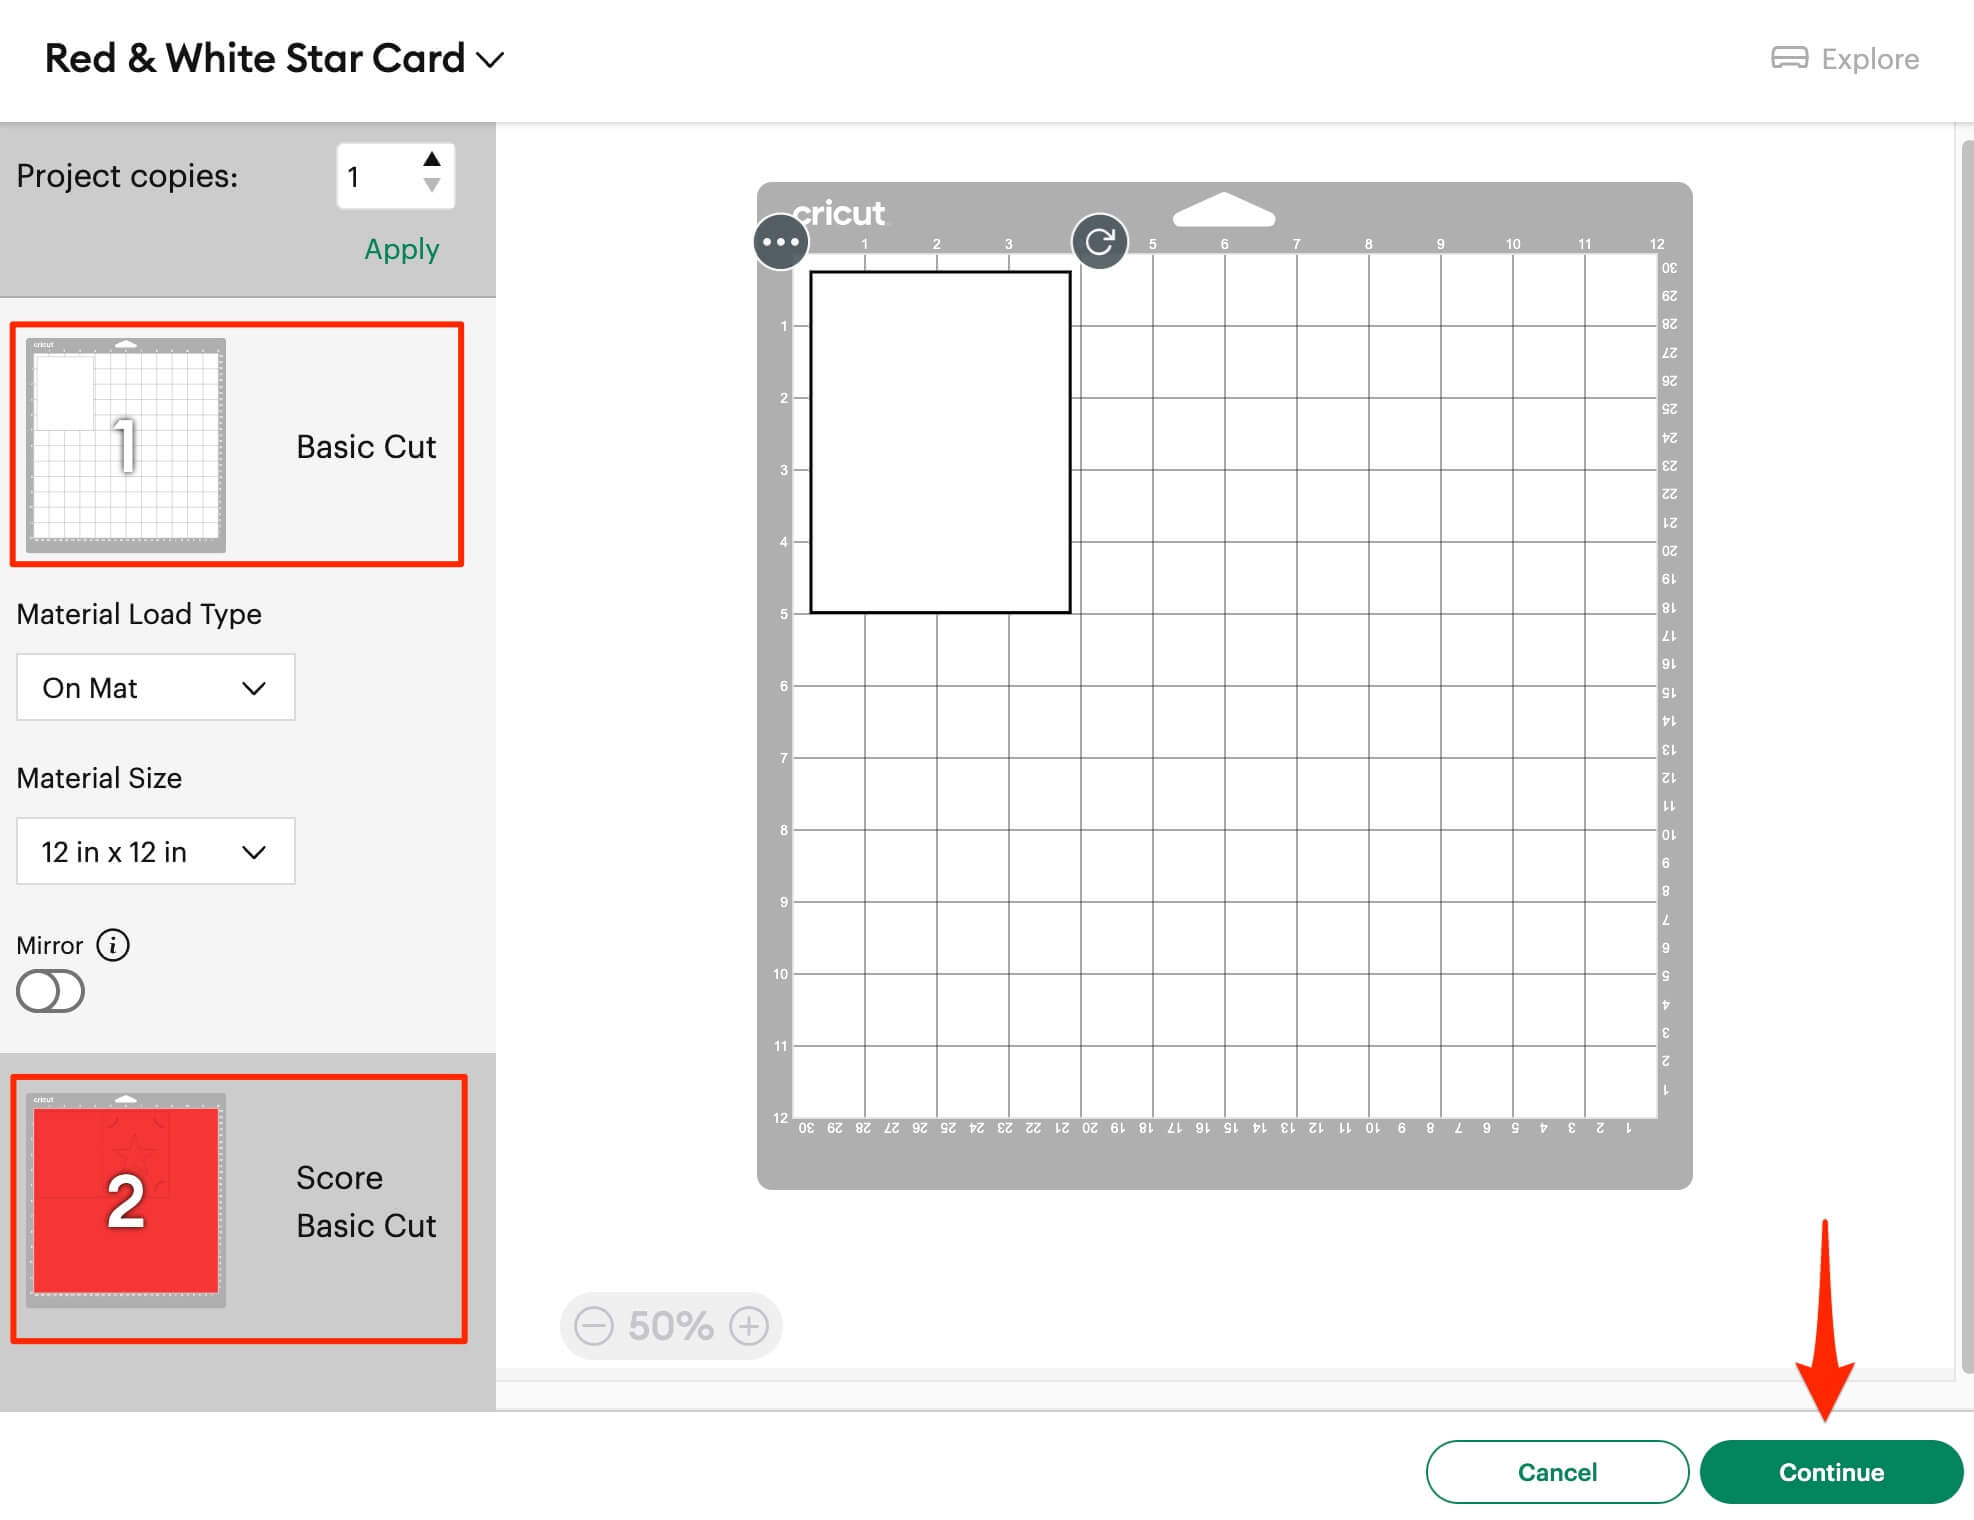
Next you’ll be taken to the Prepare screen. Here you see that 2 mats are being used. On Mat 1 we’ll be cutting the white insert, just using Basic Cut.
On Mat 2, we’ll be cutting the card itself, and that will require Score and Basic Cut. Click Continue in the bottom right.
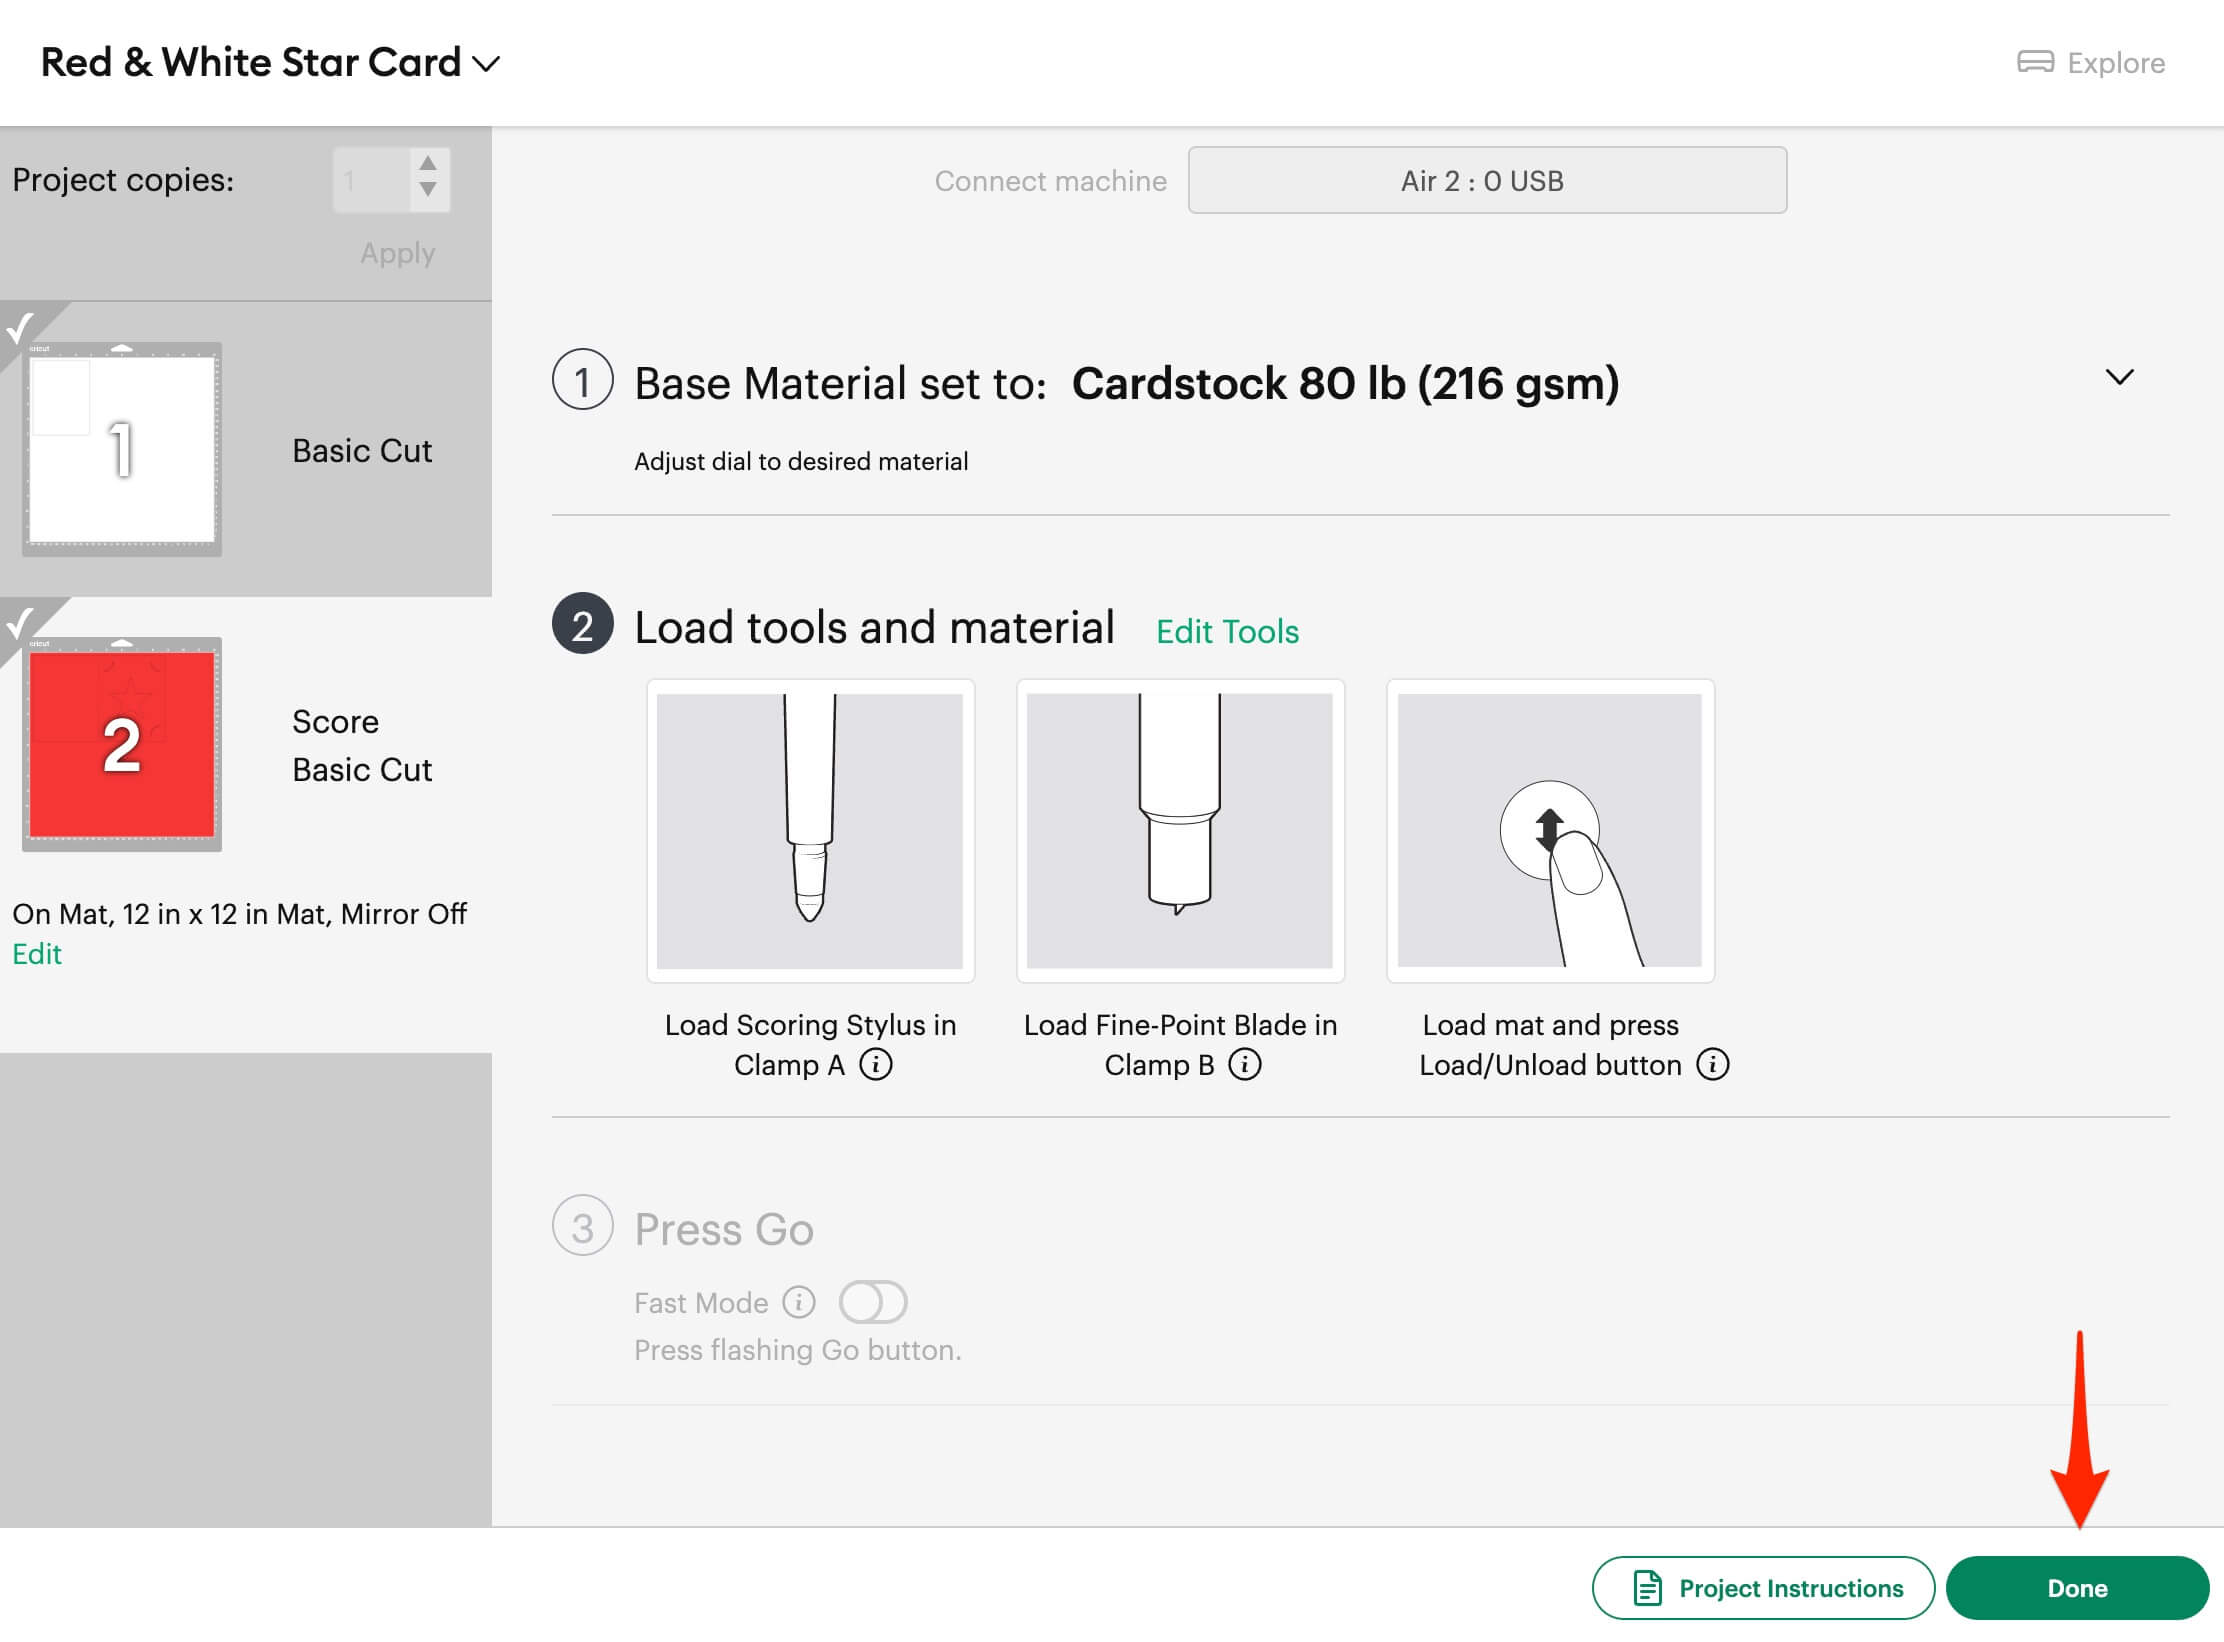
3. Make sure your Base Material is correct. In this case it should be Cardstock 80lb (216 gsm). In this example we’re using an Explore Air 2, so we need:
- No tool in Clamp A
- Fine-Point Blade in Clamp B.

4. Next take your LightGrip mat and remove the protective plastic sheet.
- Apply your white cardstock to the top left hand corner of the mat.
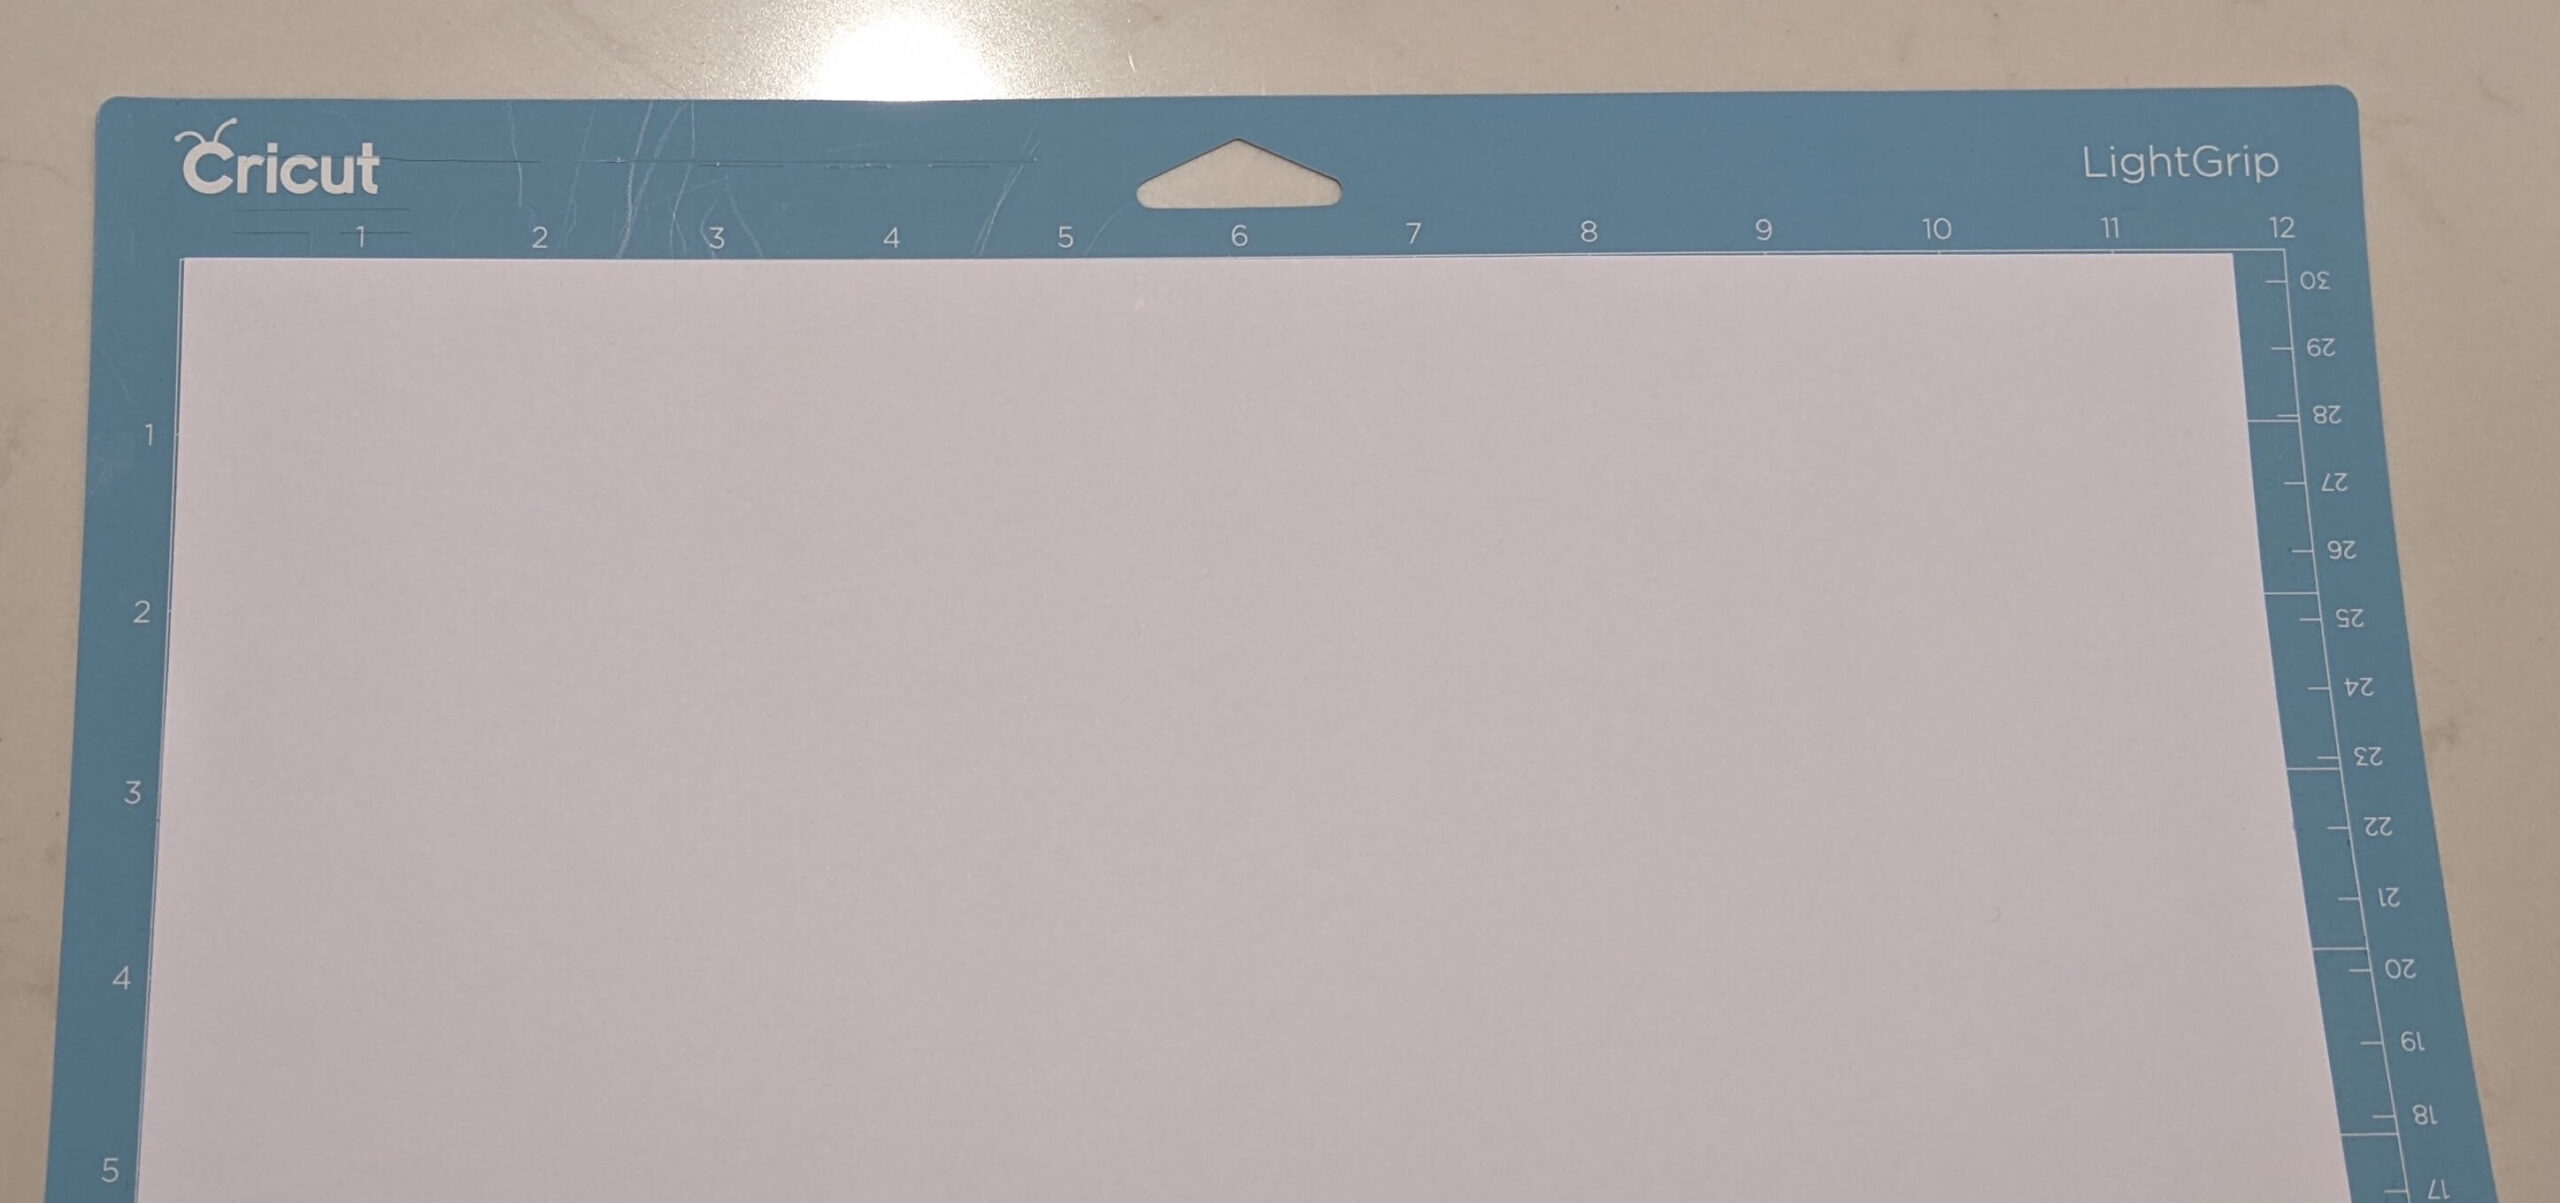
- Load your mat into your Cricut. Make sure that the edges are under the side guides and that the top edge is resting against the rollers. Gently press the mat into the Cricut and then press the load button.
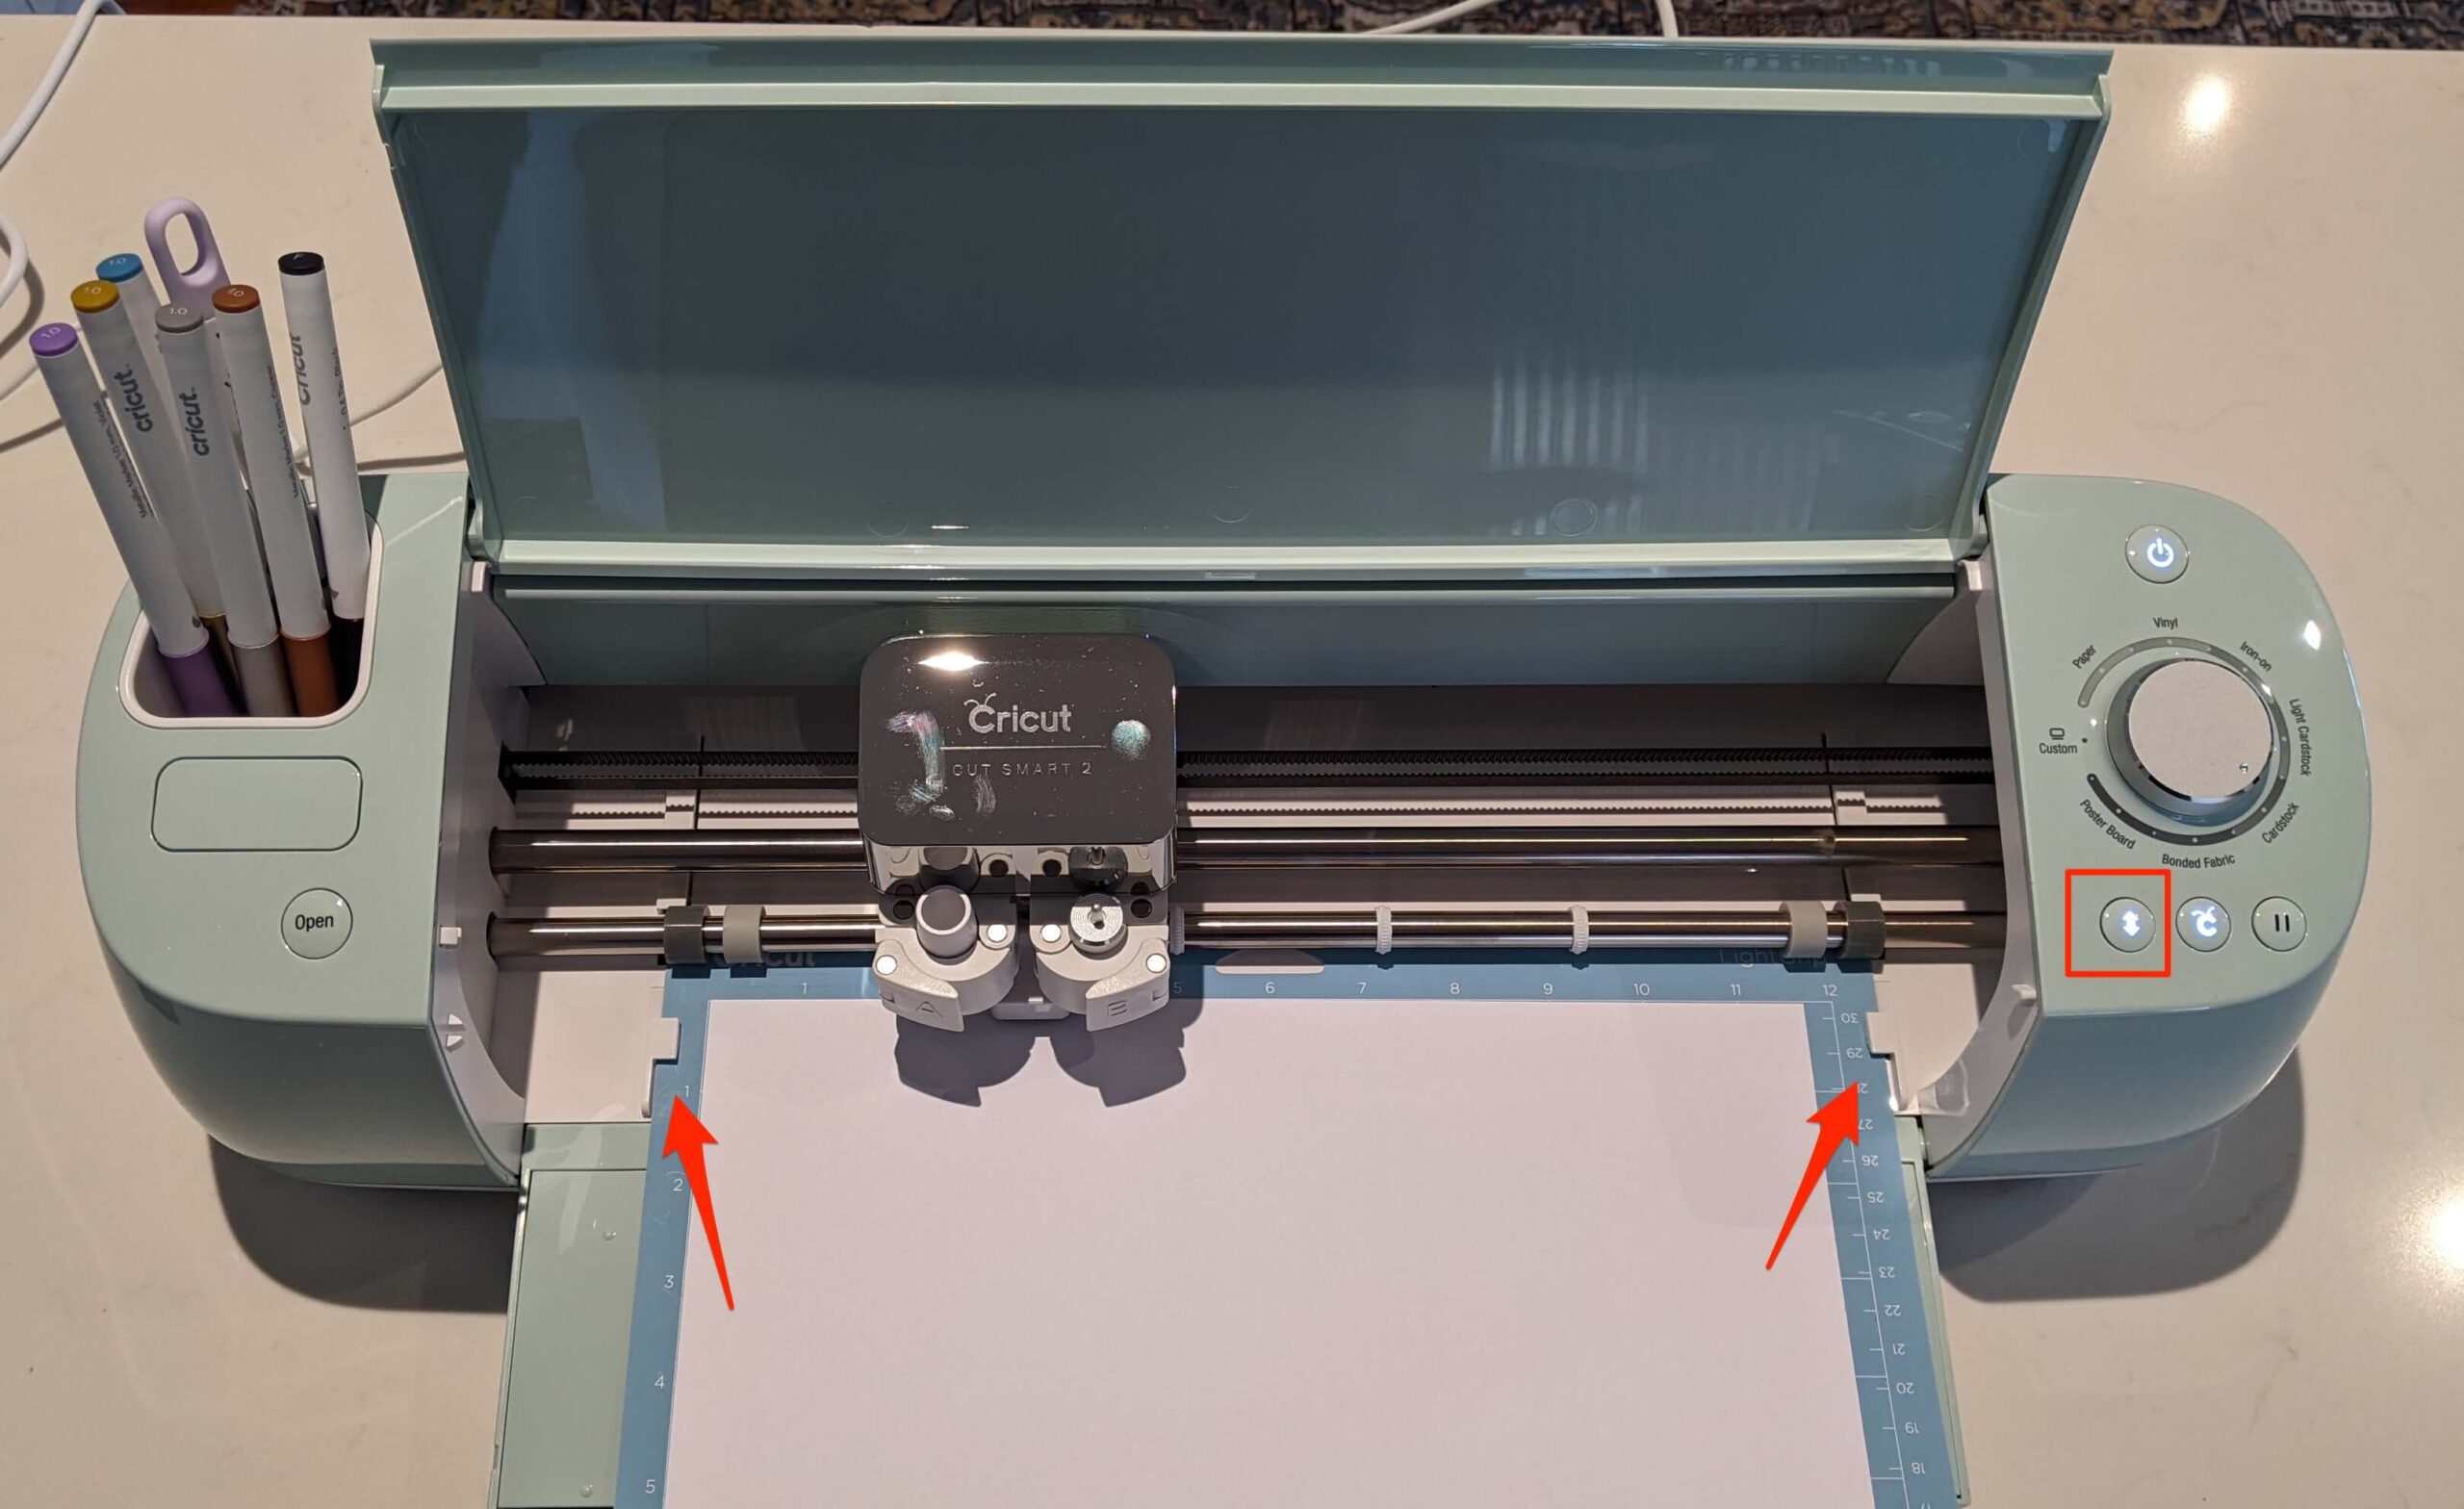
The head of your Cricut will move around a bit and the rollers will bring the mat in. If the mat is not up against the Cricut rollers then it won’t load or cut properly.
- Once the load is complete, press the flashing Cricut Go button. Now your Cricut will begin cutting the cardstock. Once it’s finished you will be able to see the rectangle outline.
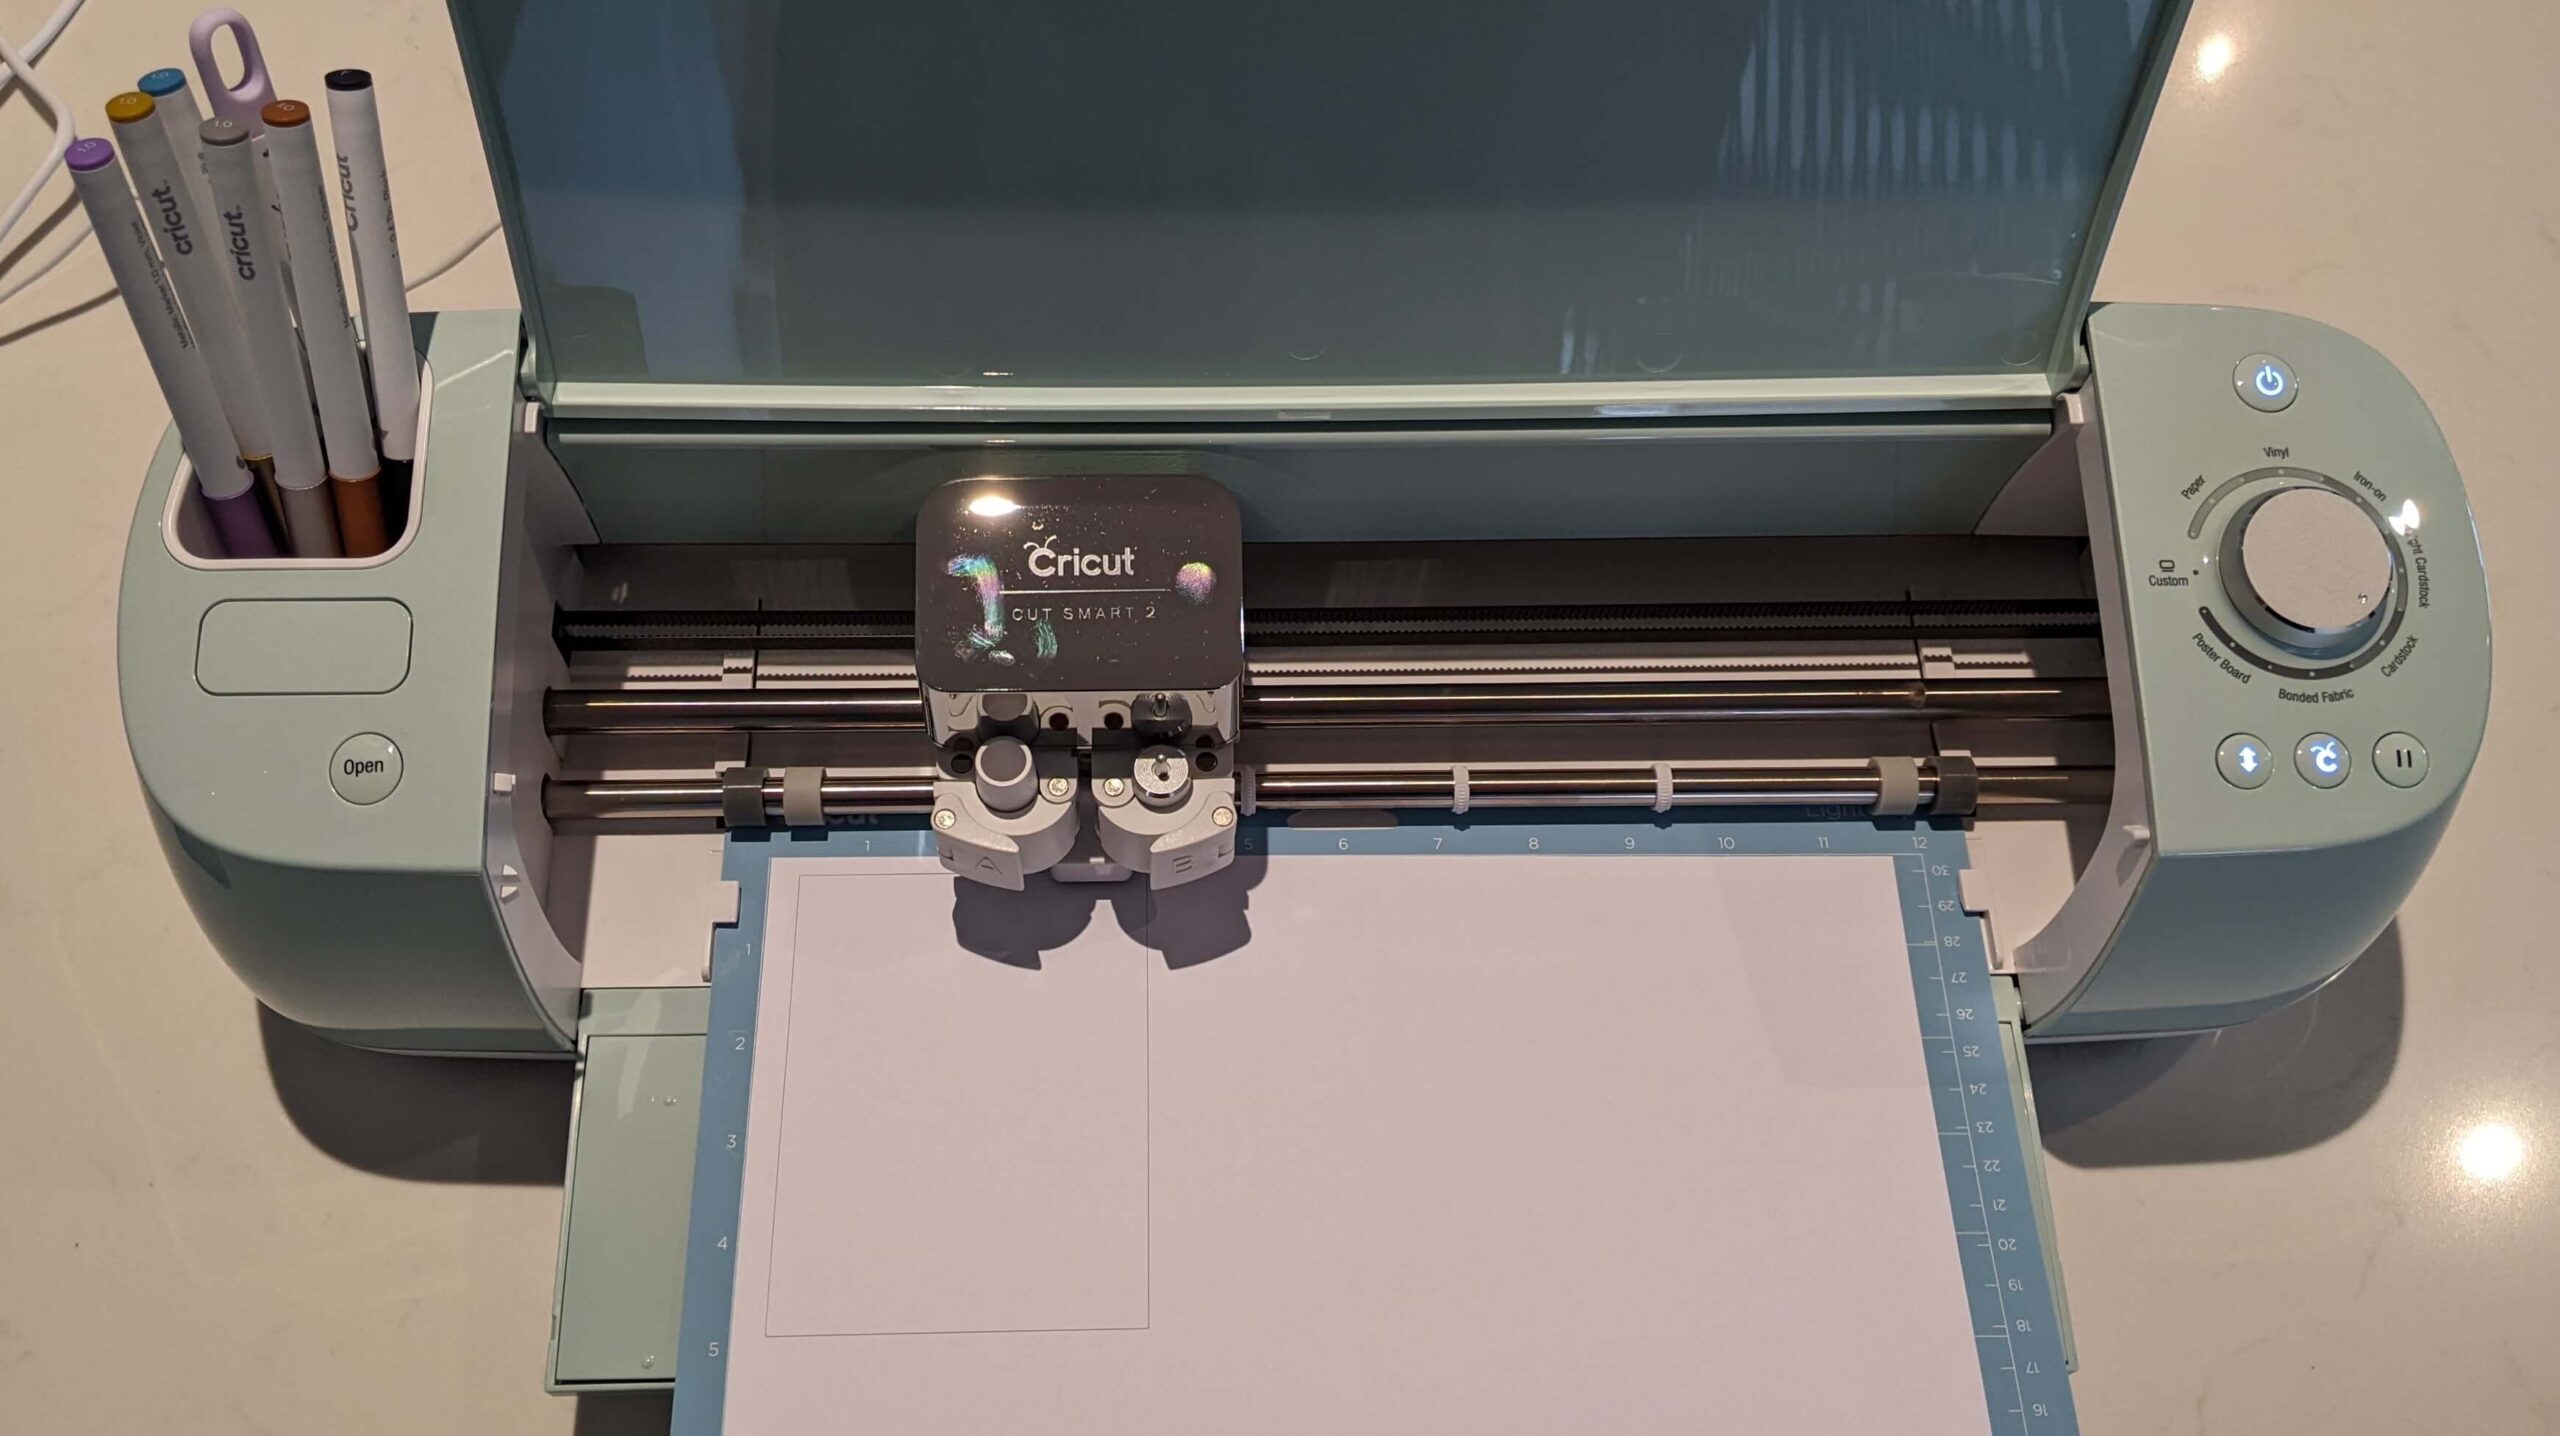
- Press the load / unload button to eject the mat.
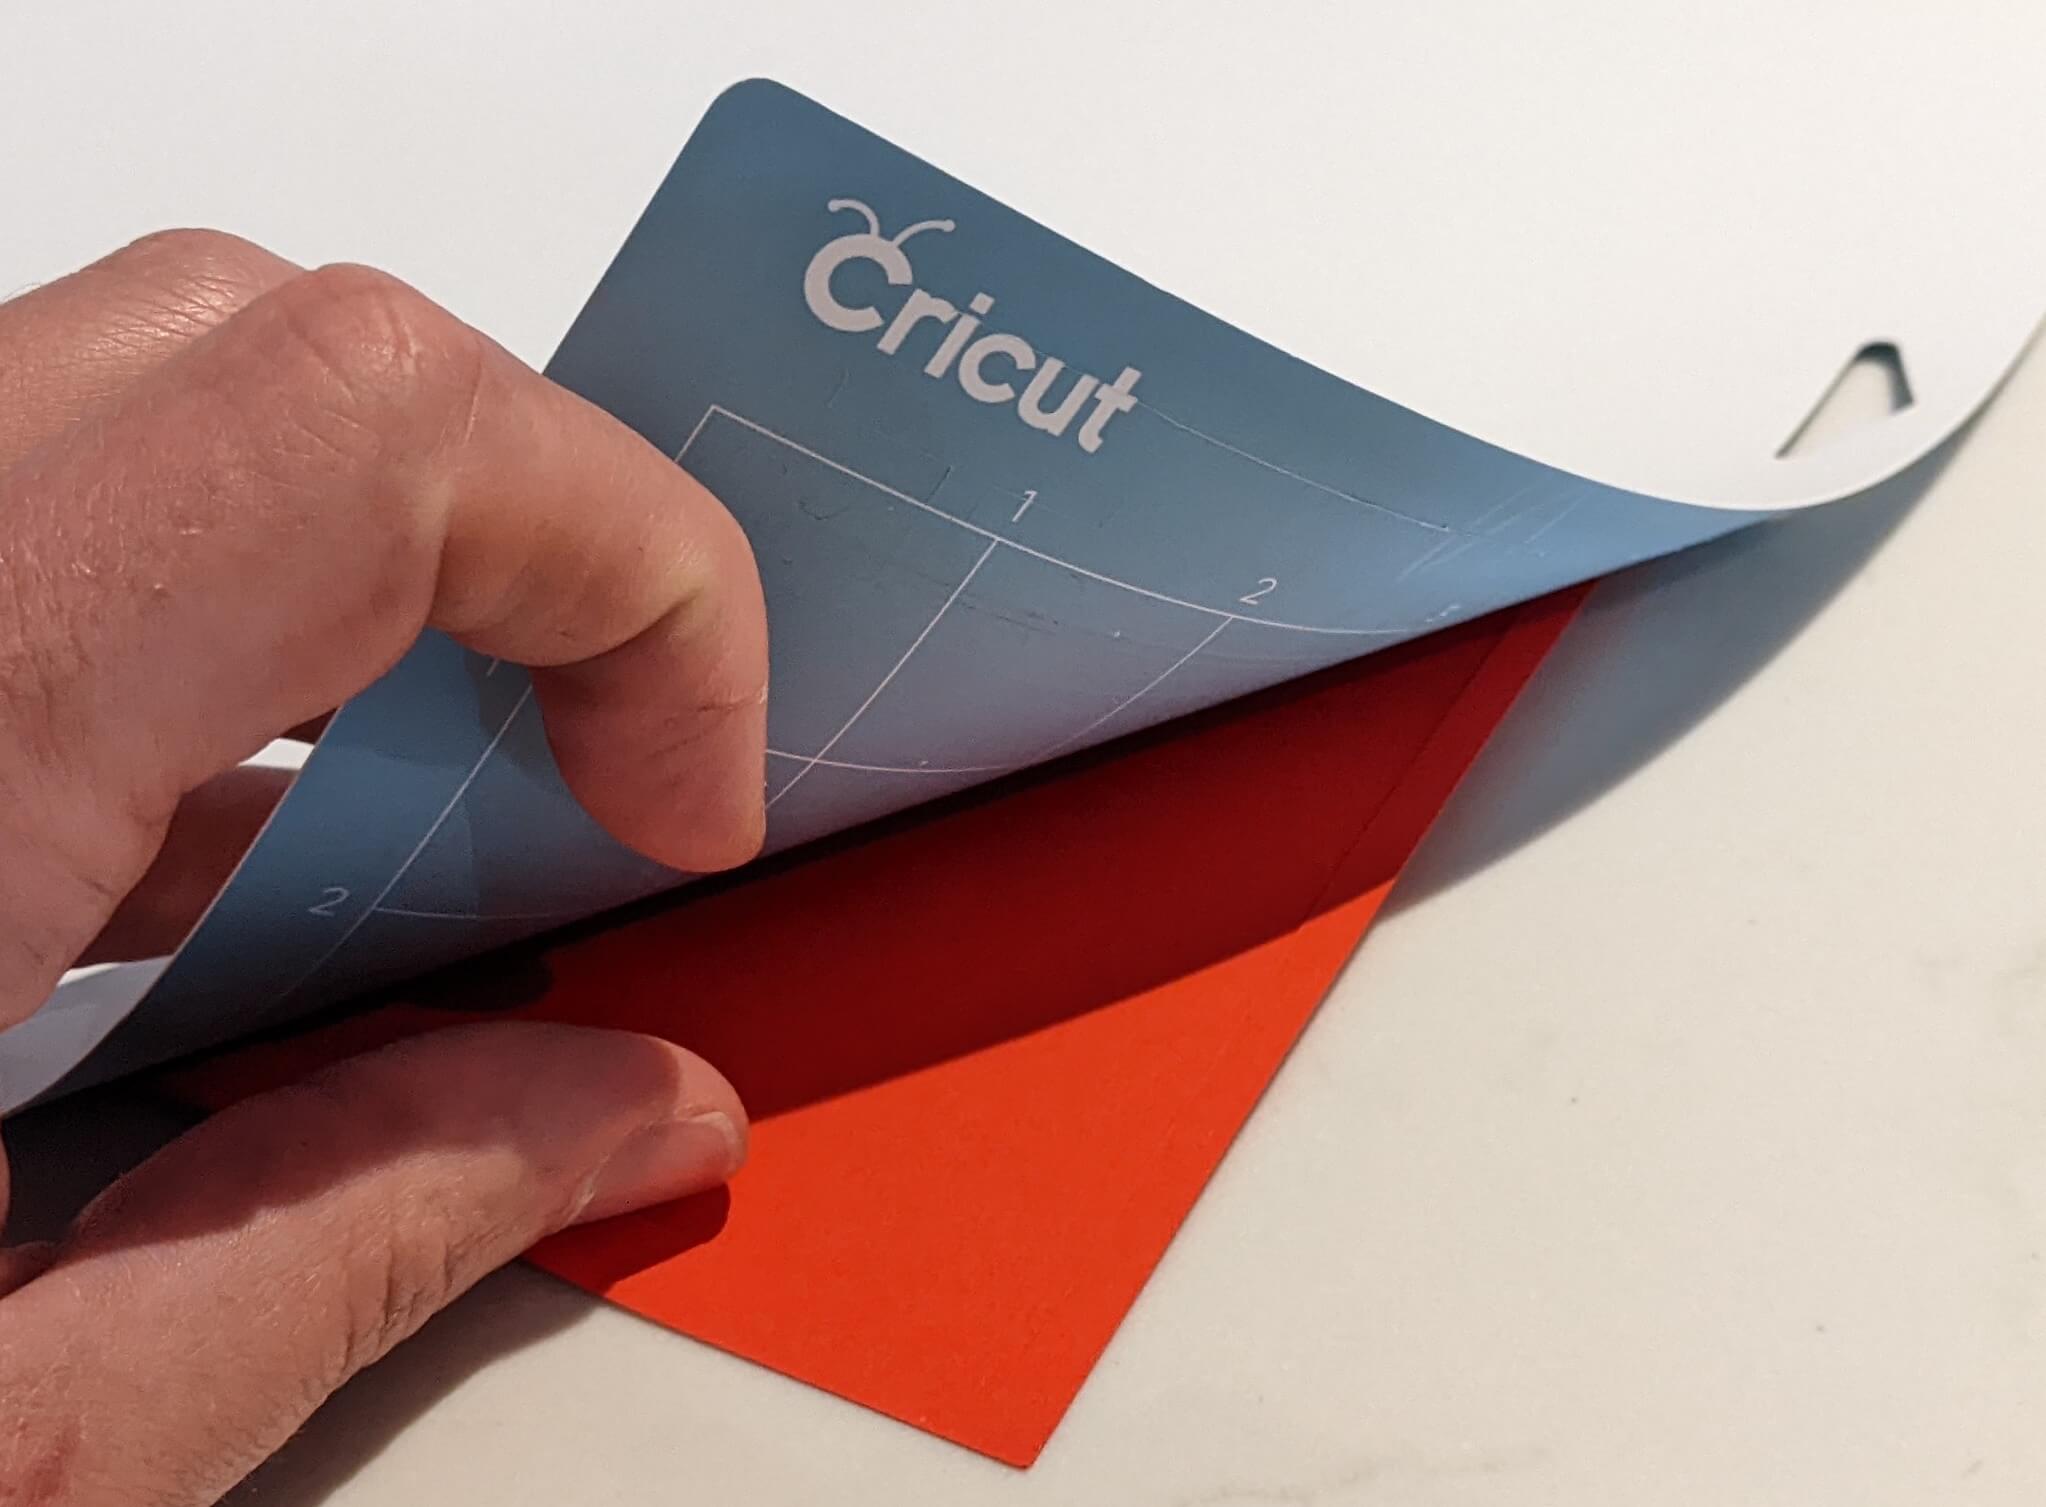
- Turn the mat upside down and begin peeling the mat upward whilst keeping the cardstock flat.
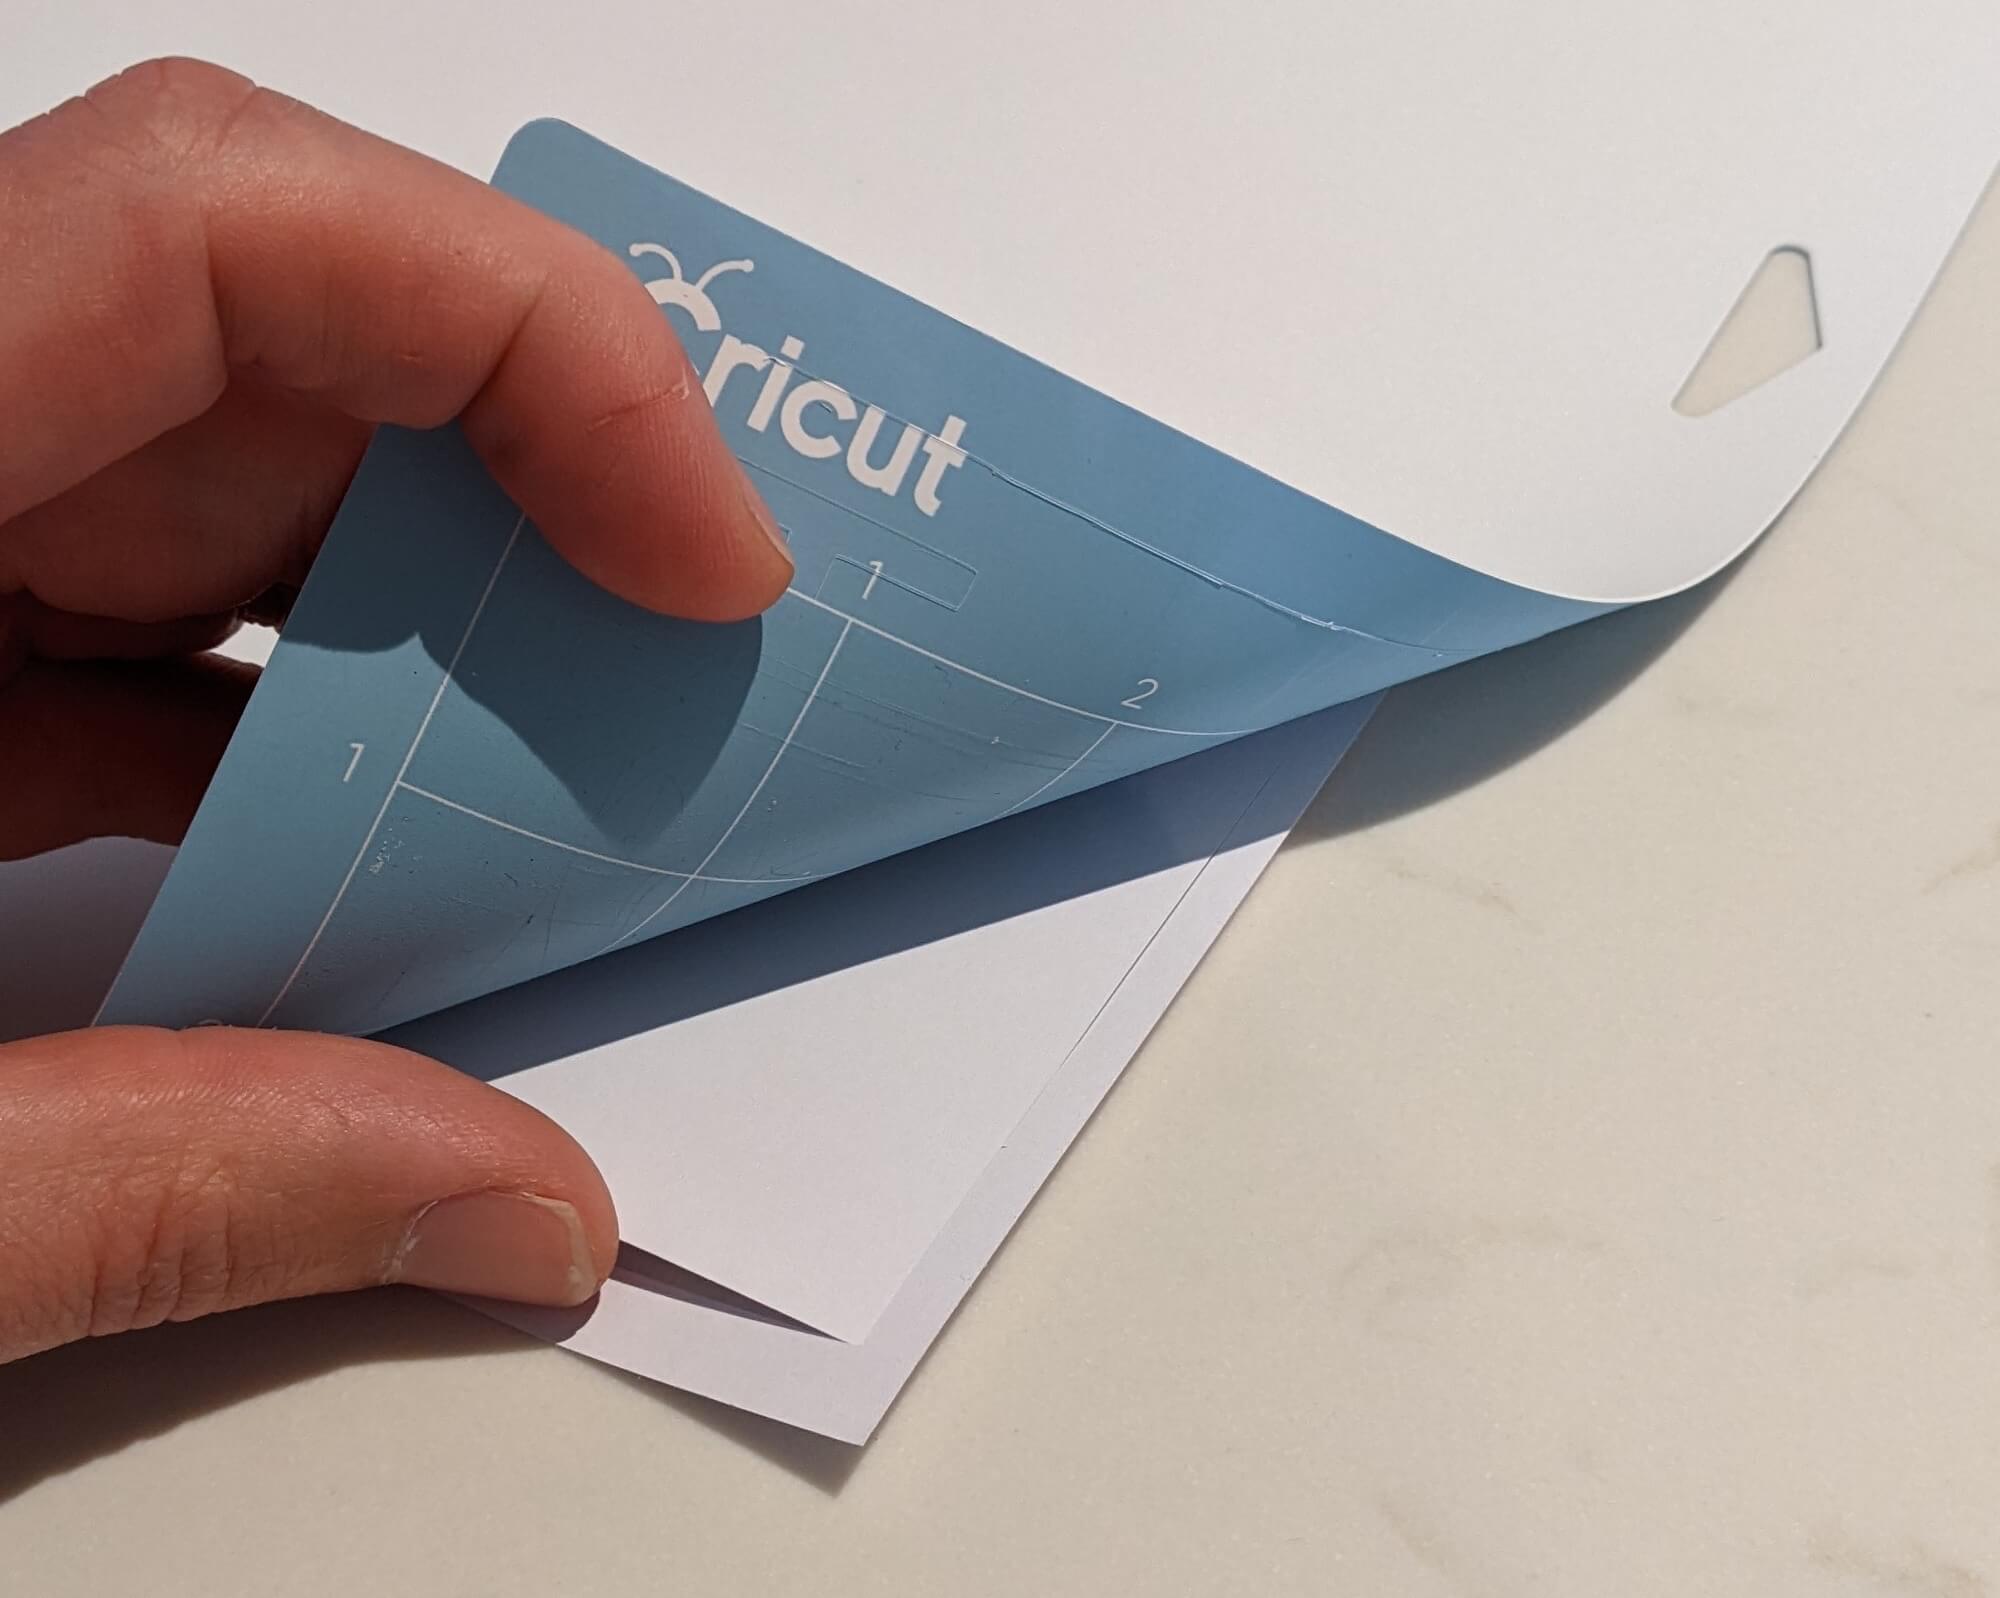
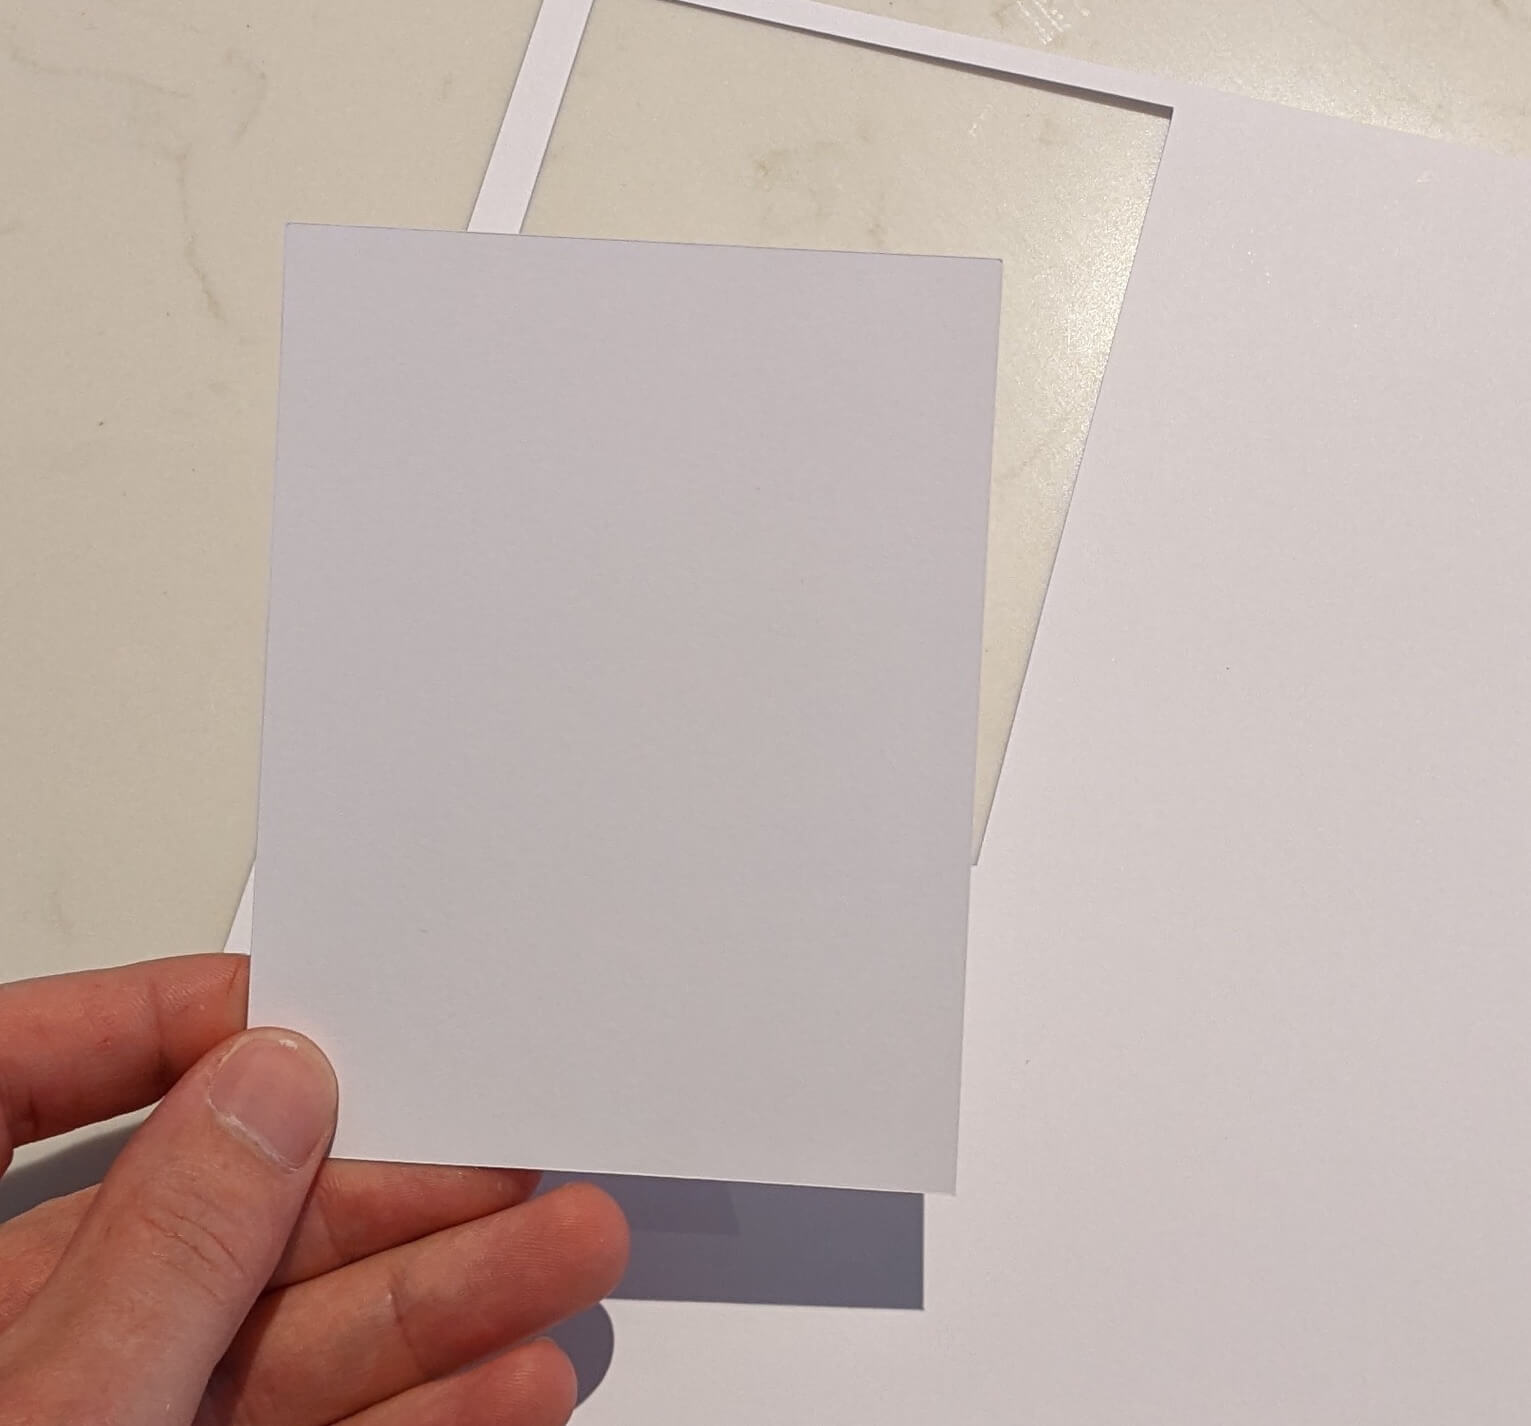
Once completely peeled you’ll be left with the white rectangle.
- Now we move onto cutting the second mat with the red cardstock. Go back to Design Space and check the settings for this cut.
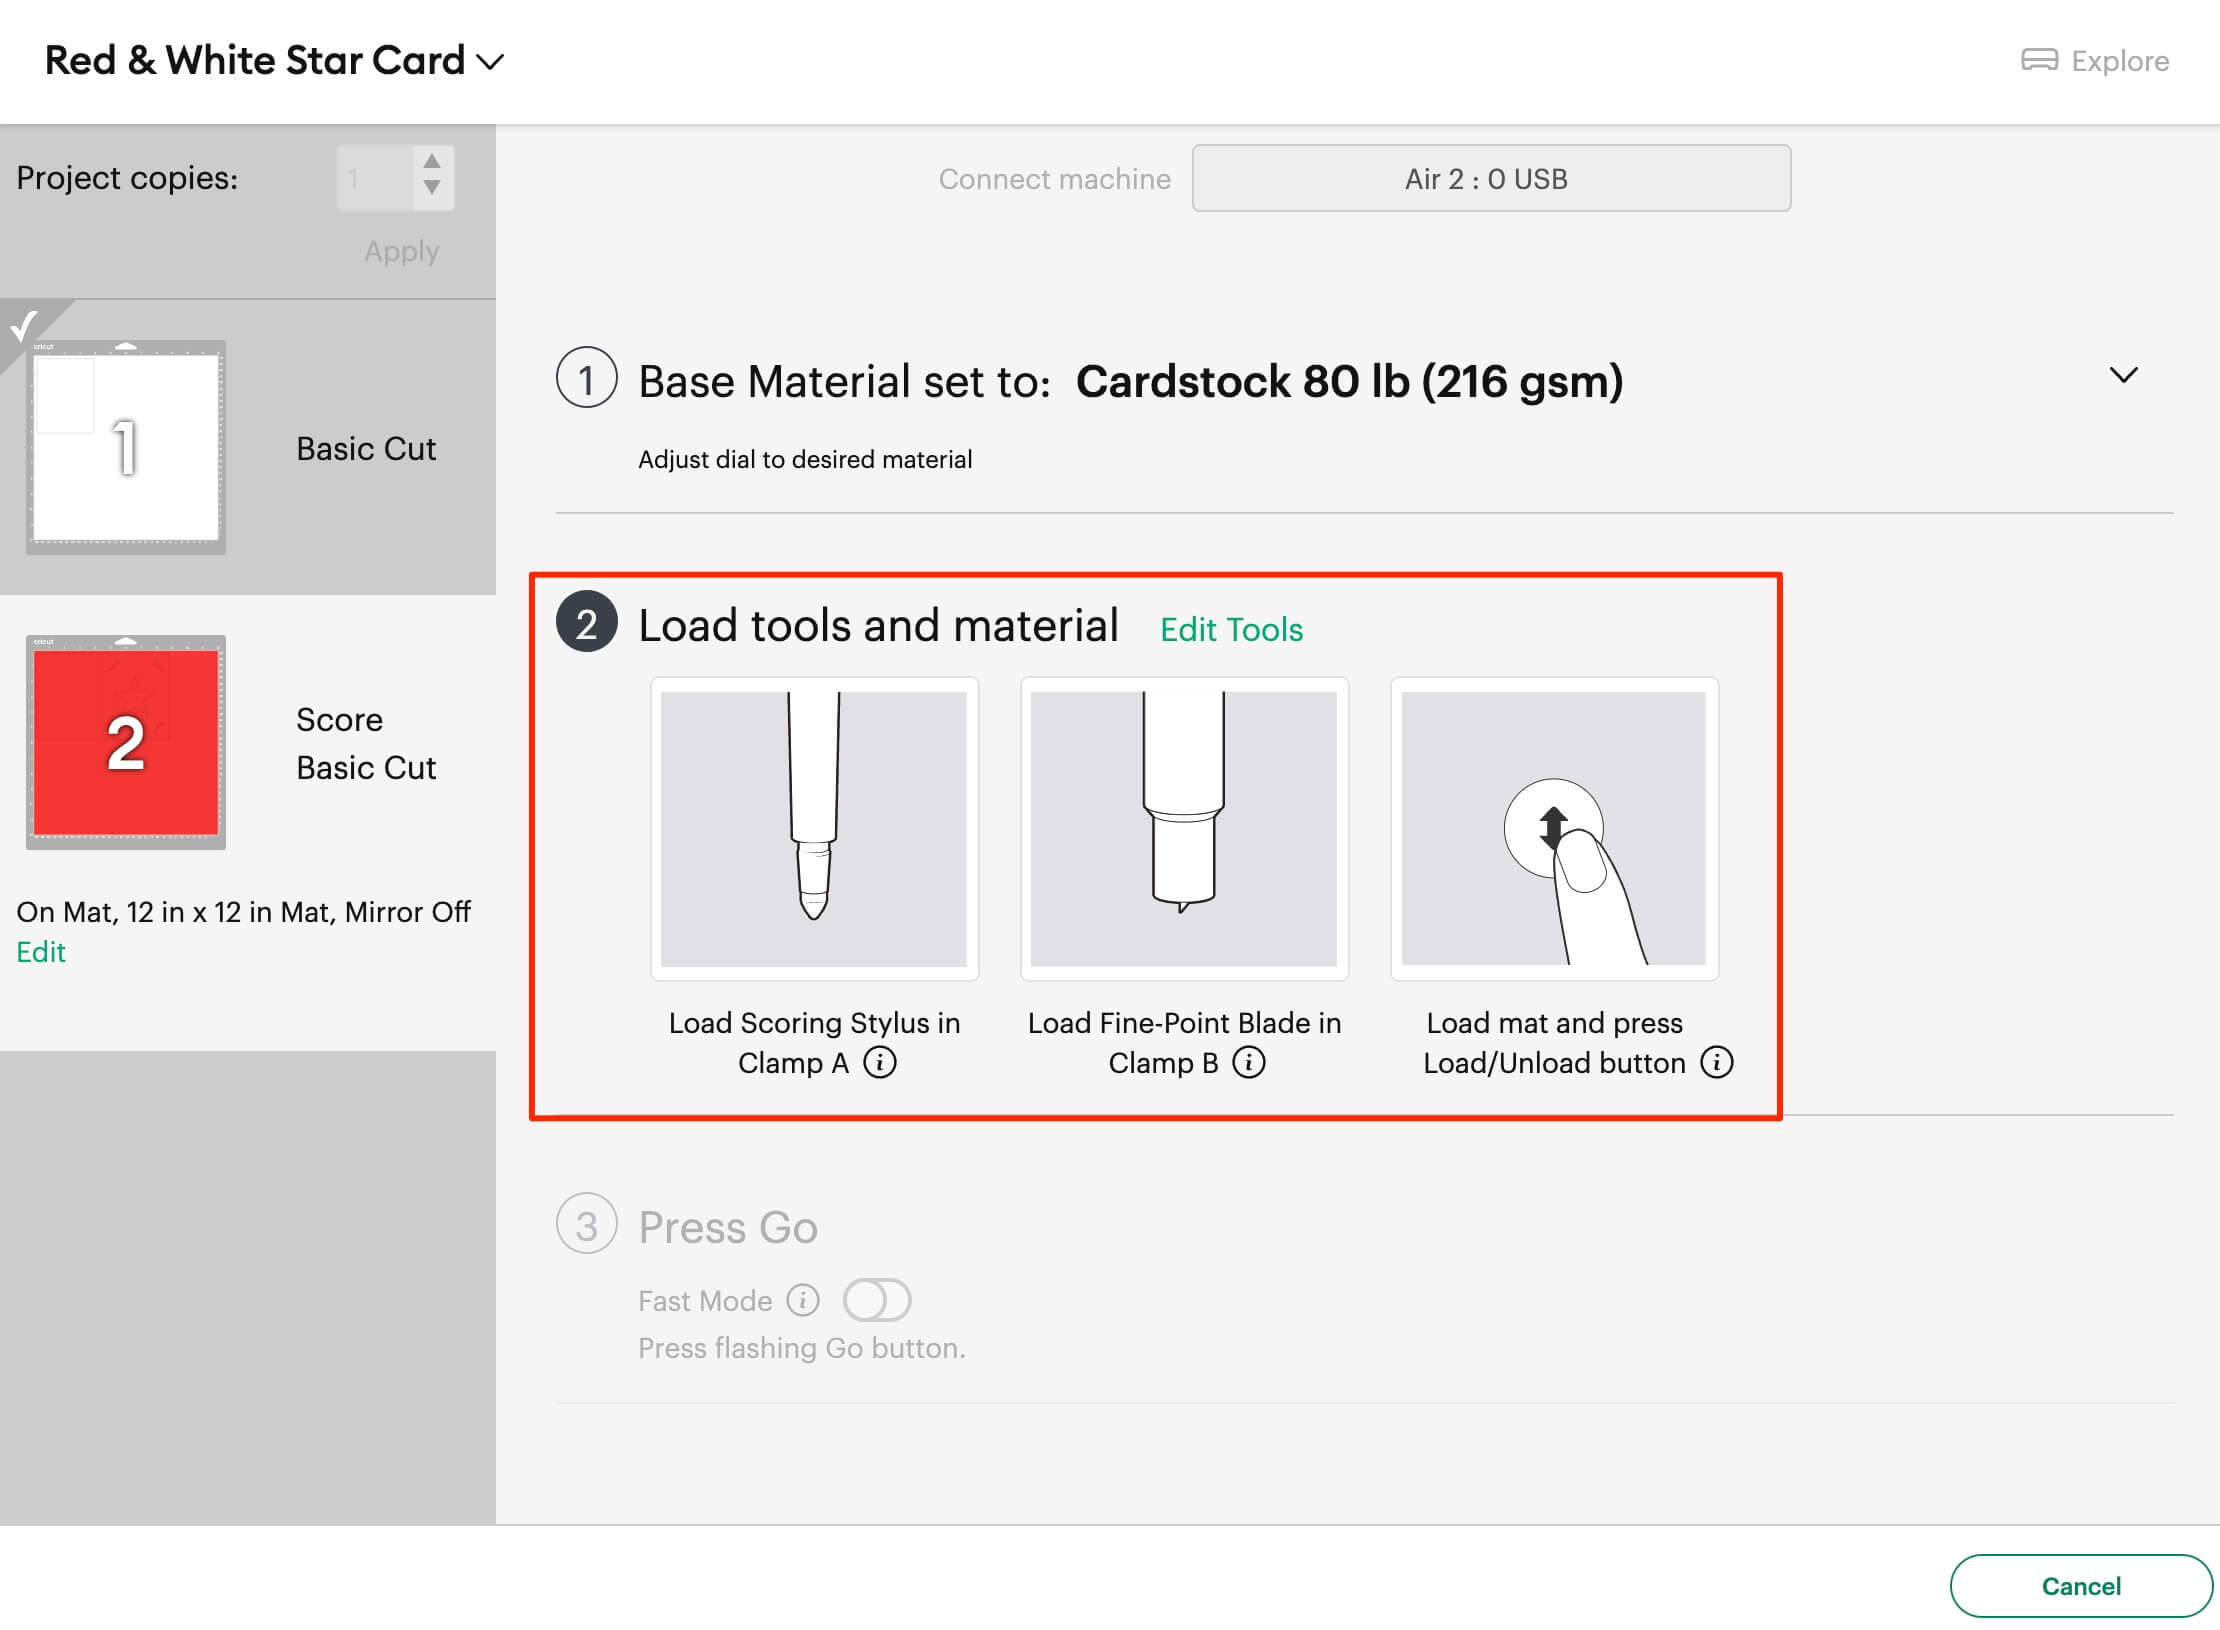
All you need to do is load the Scoring Stylus in Clamp A.
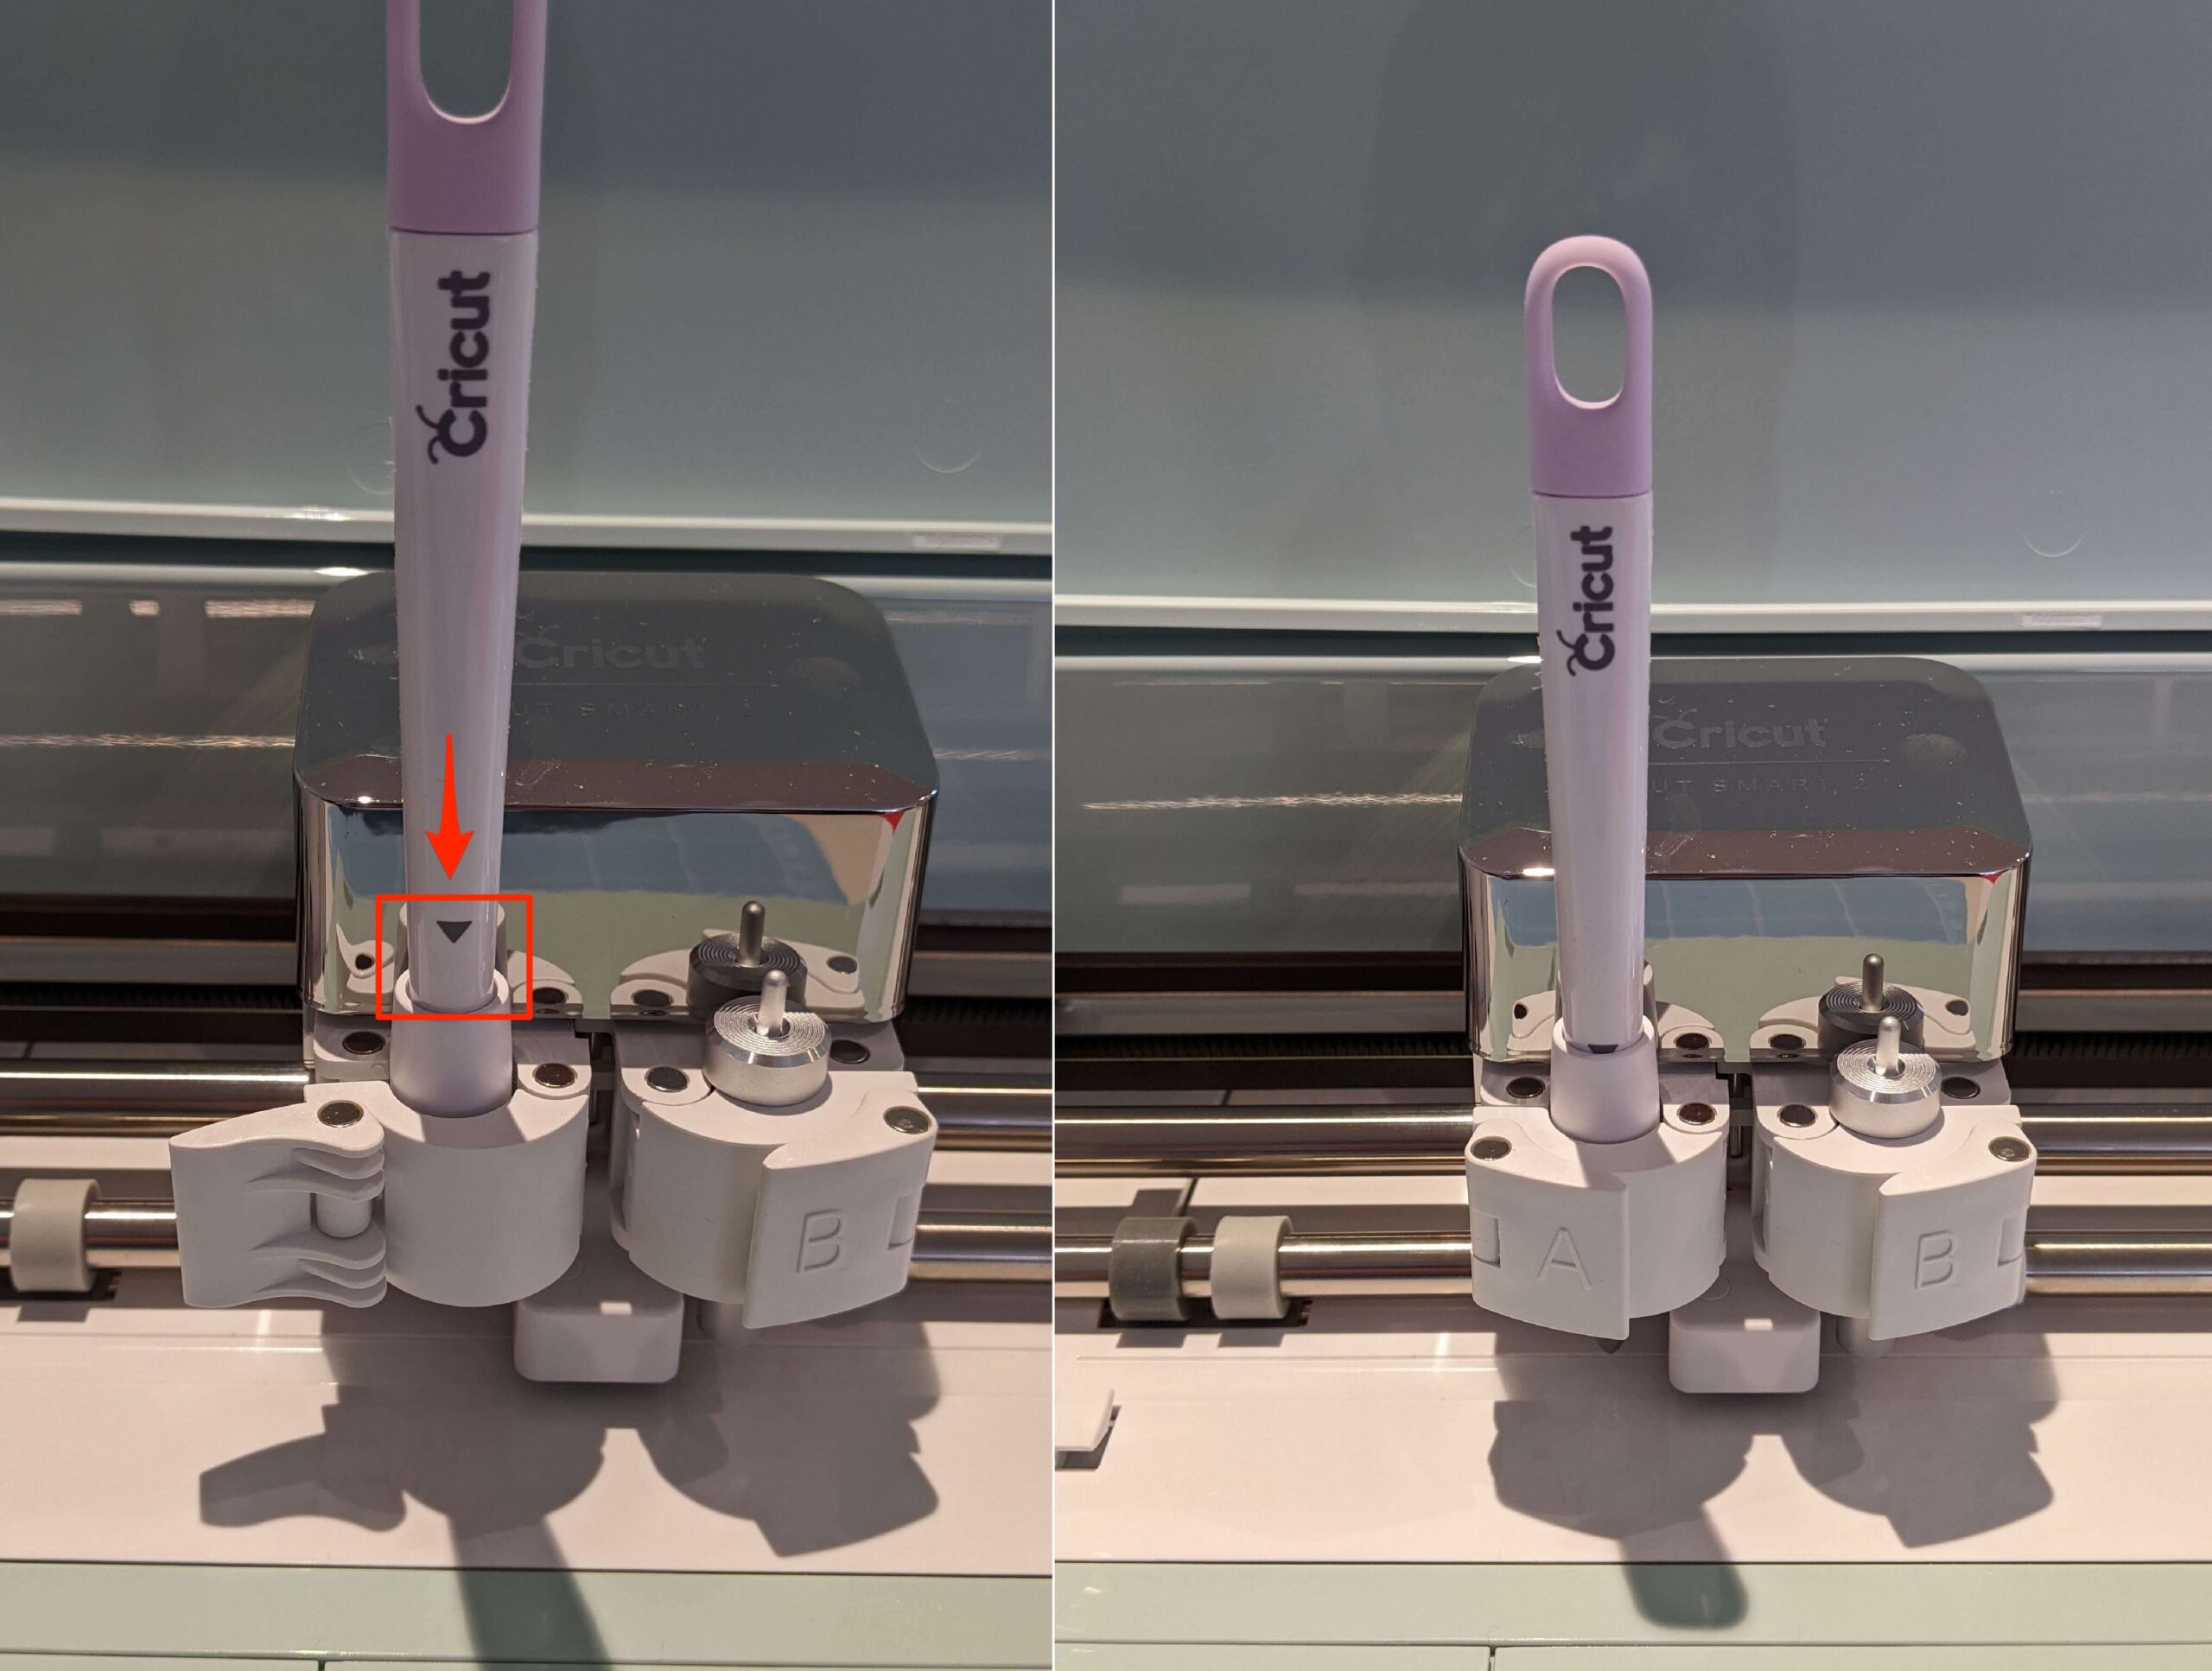
- Place the Scoring Stylus in Clamp A. Then press it down so the triangle is covered up, then close the latch.
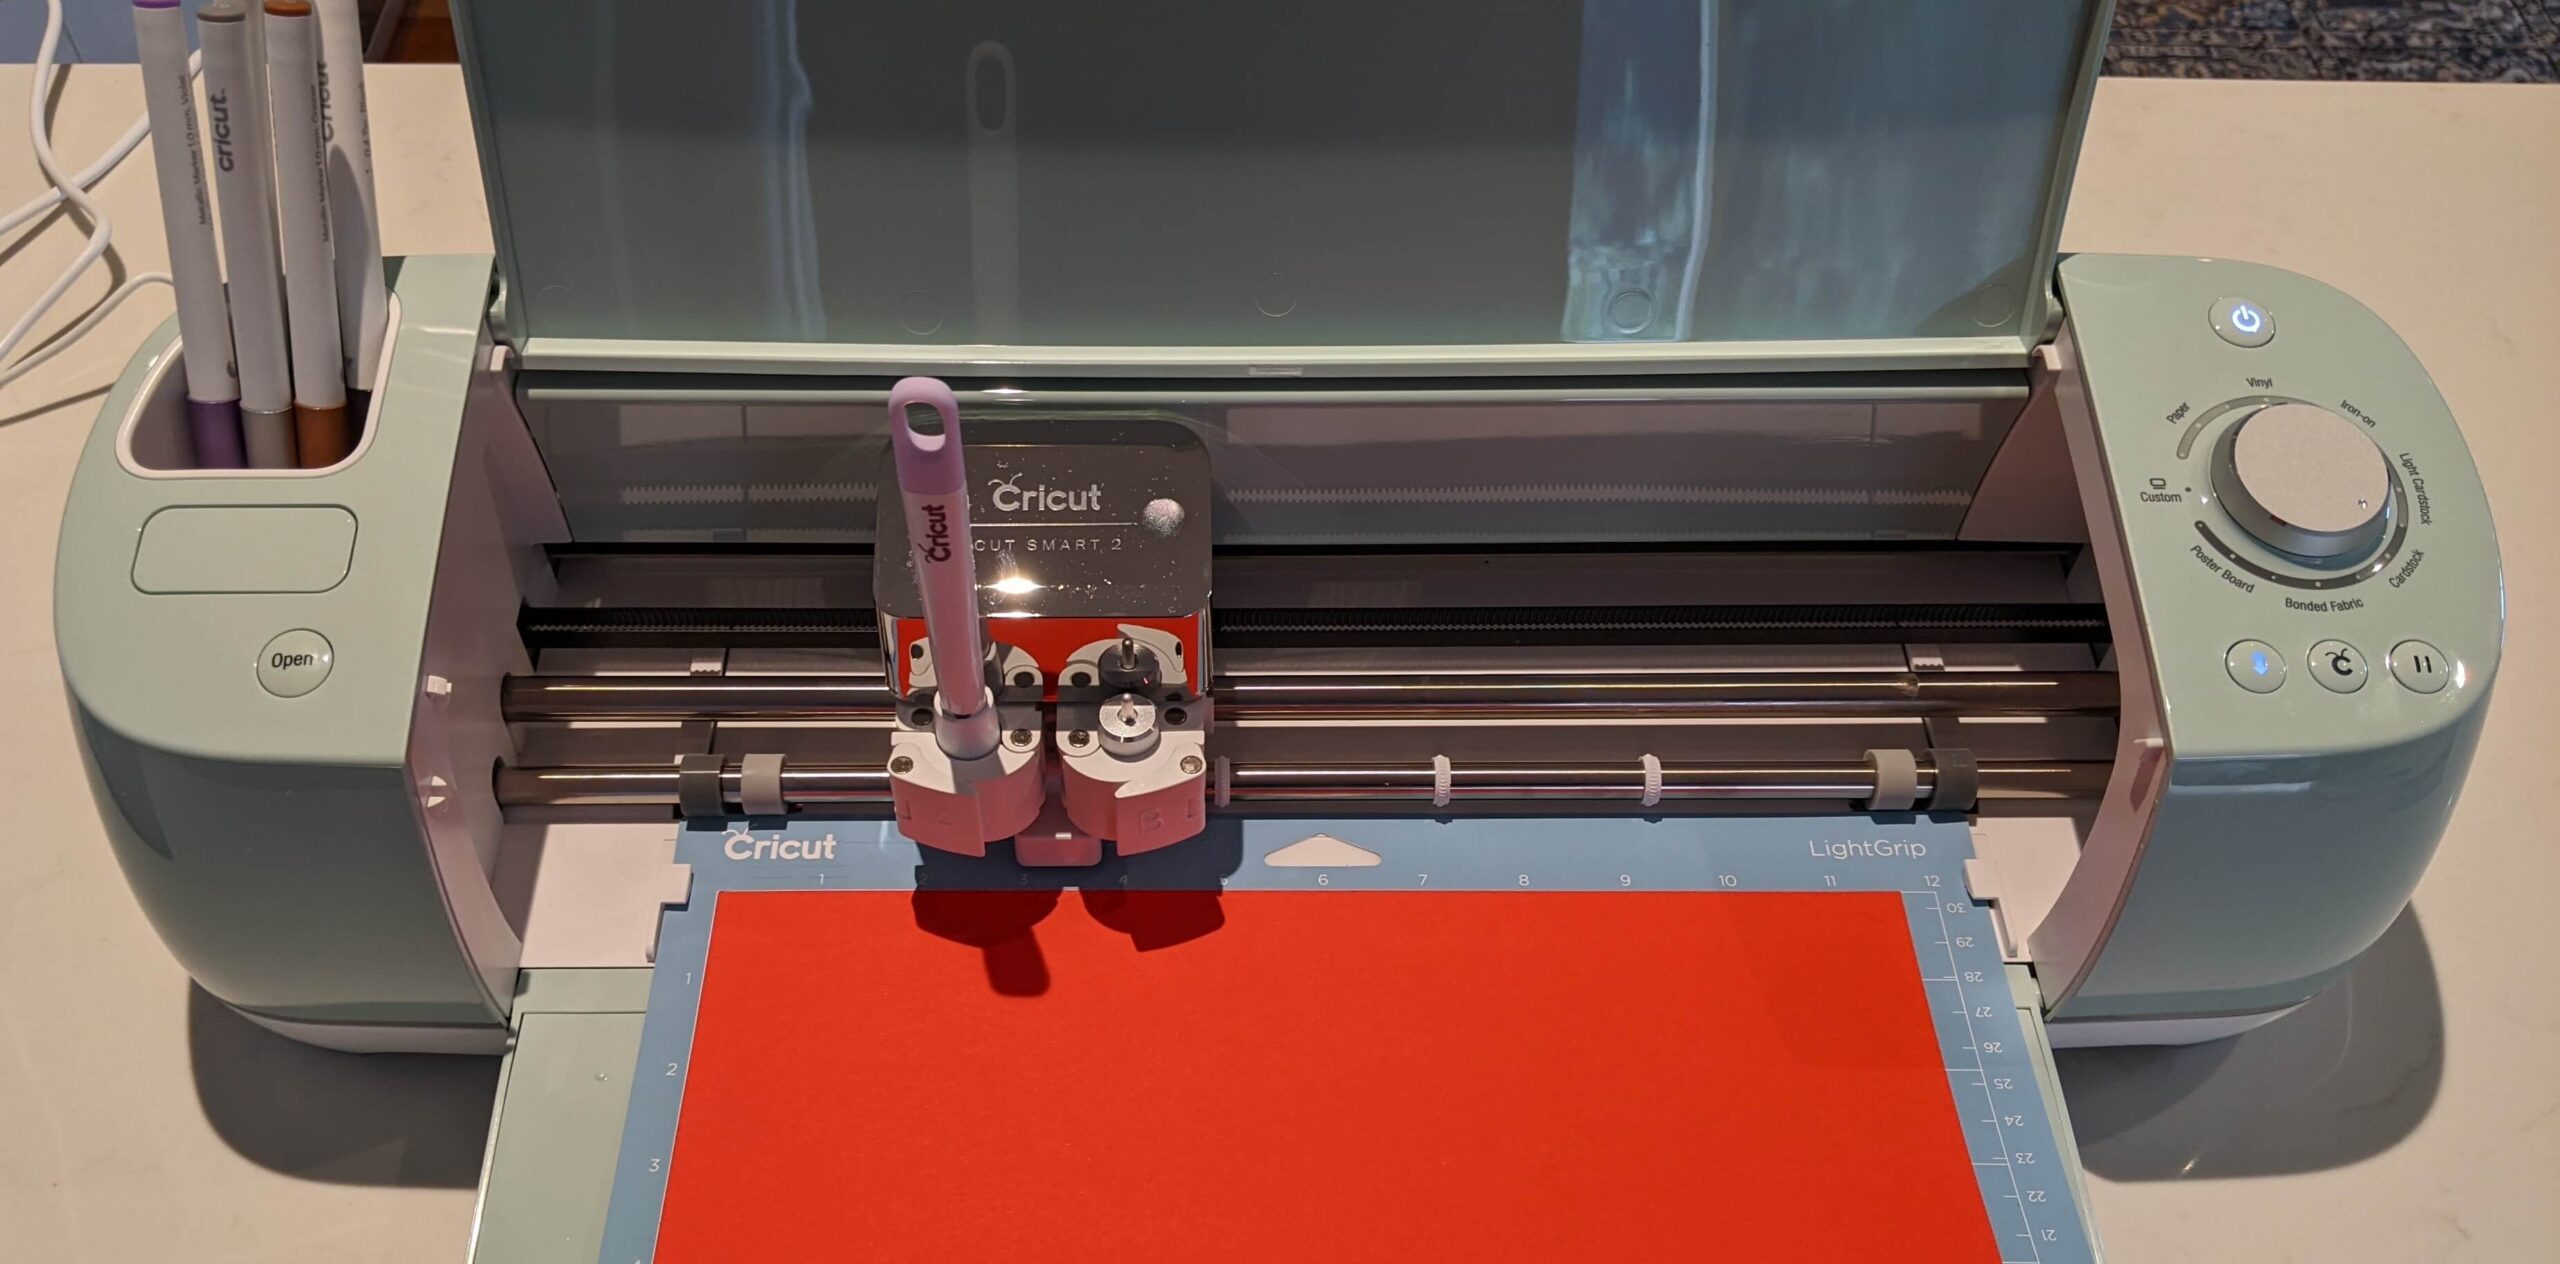
- Place the red cardstock in the top left hand corner of the mat, and then load it into your Cricut. Press the load button.
- Press the flashing Cricut Go button
Your Cricut will begin scoring and then cutting the design.
- Once it’s complete, press the Unload button.
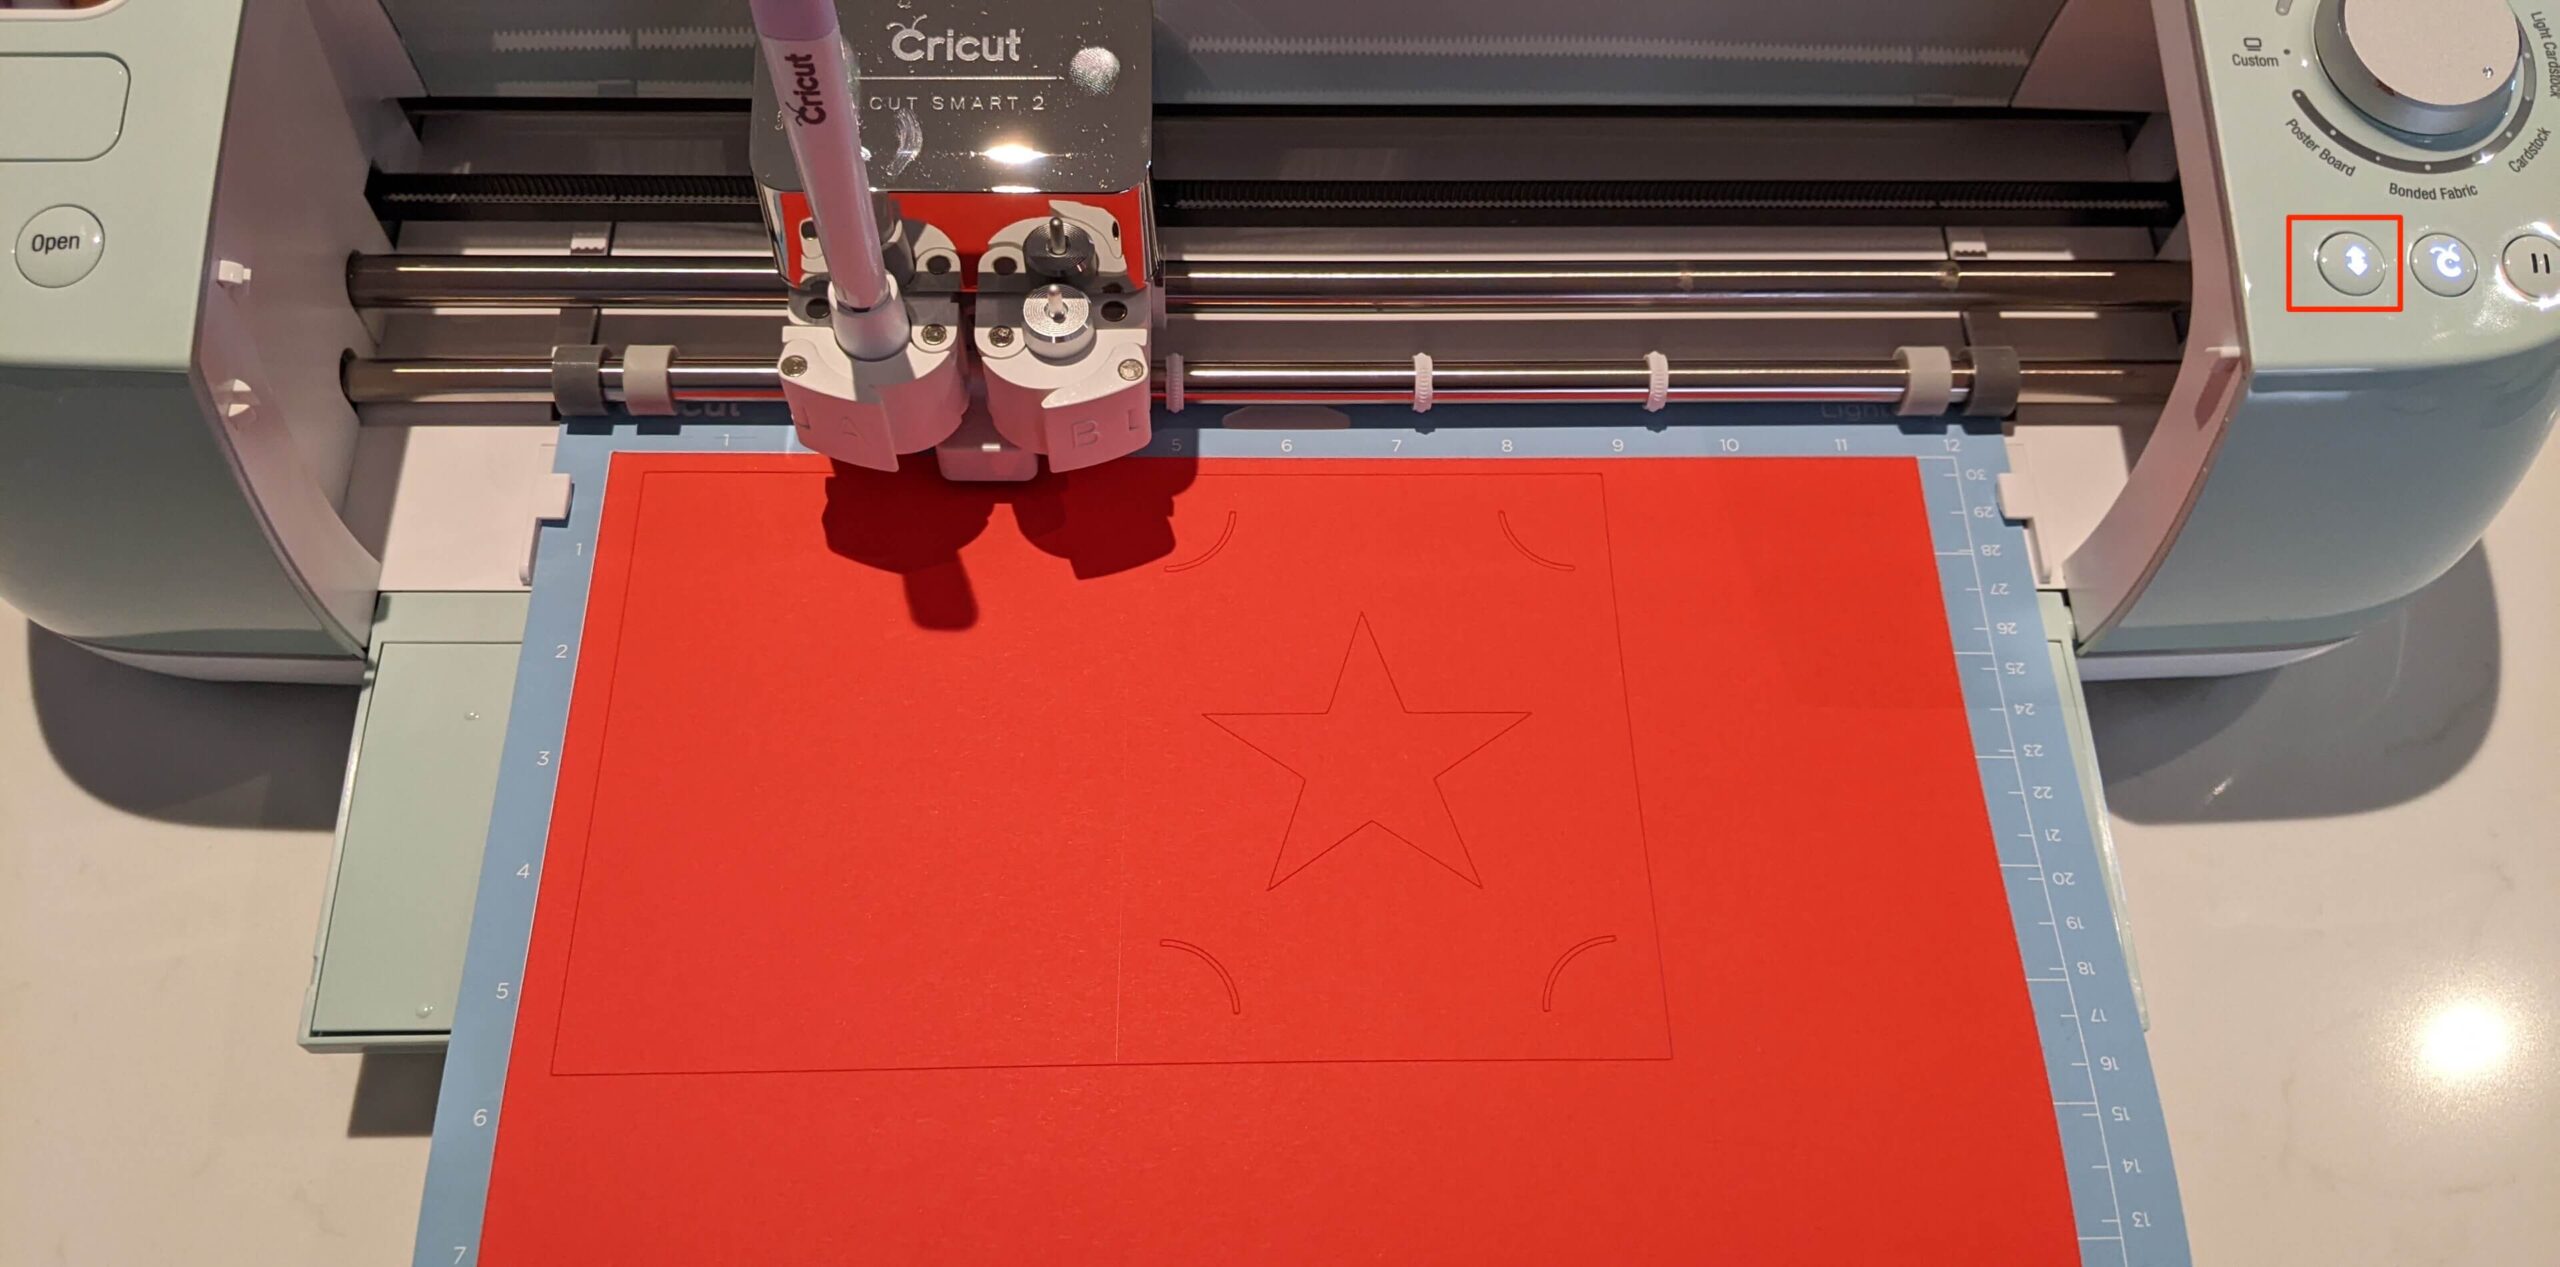
15. Back in Design Space, click Done.
- Just like last time, take the mat off and place it upside down. Hold the cardstock flat and pull the mat upwards and away.
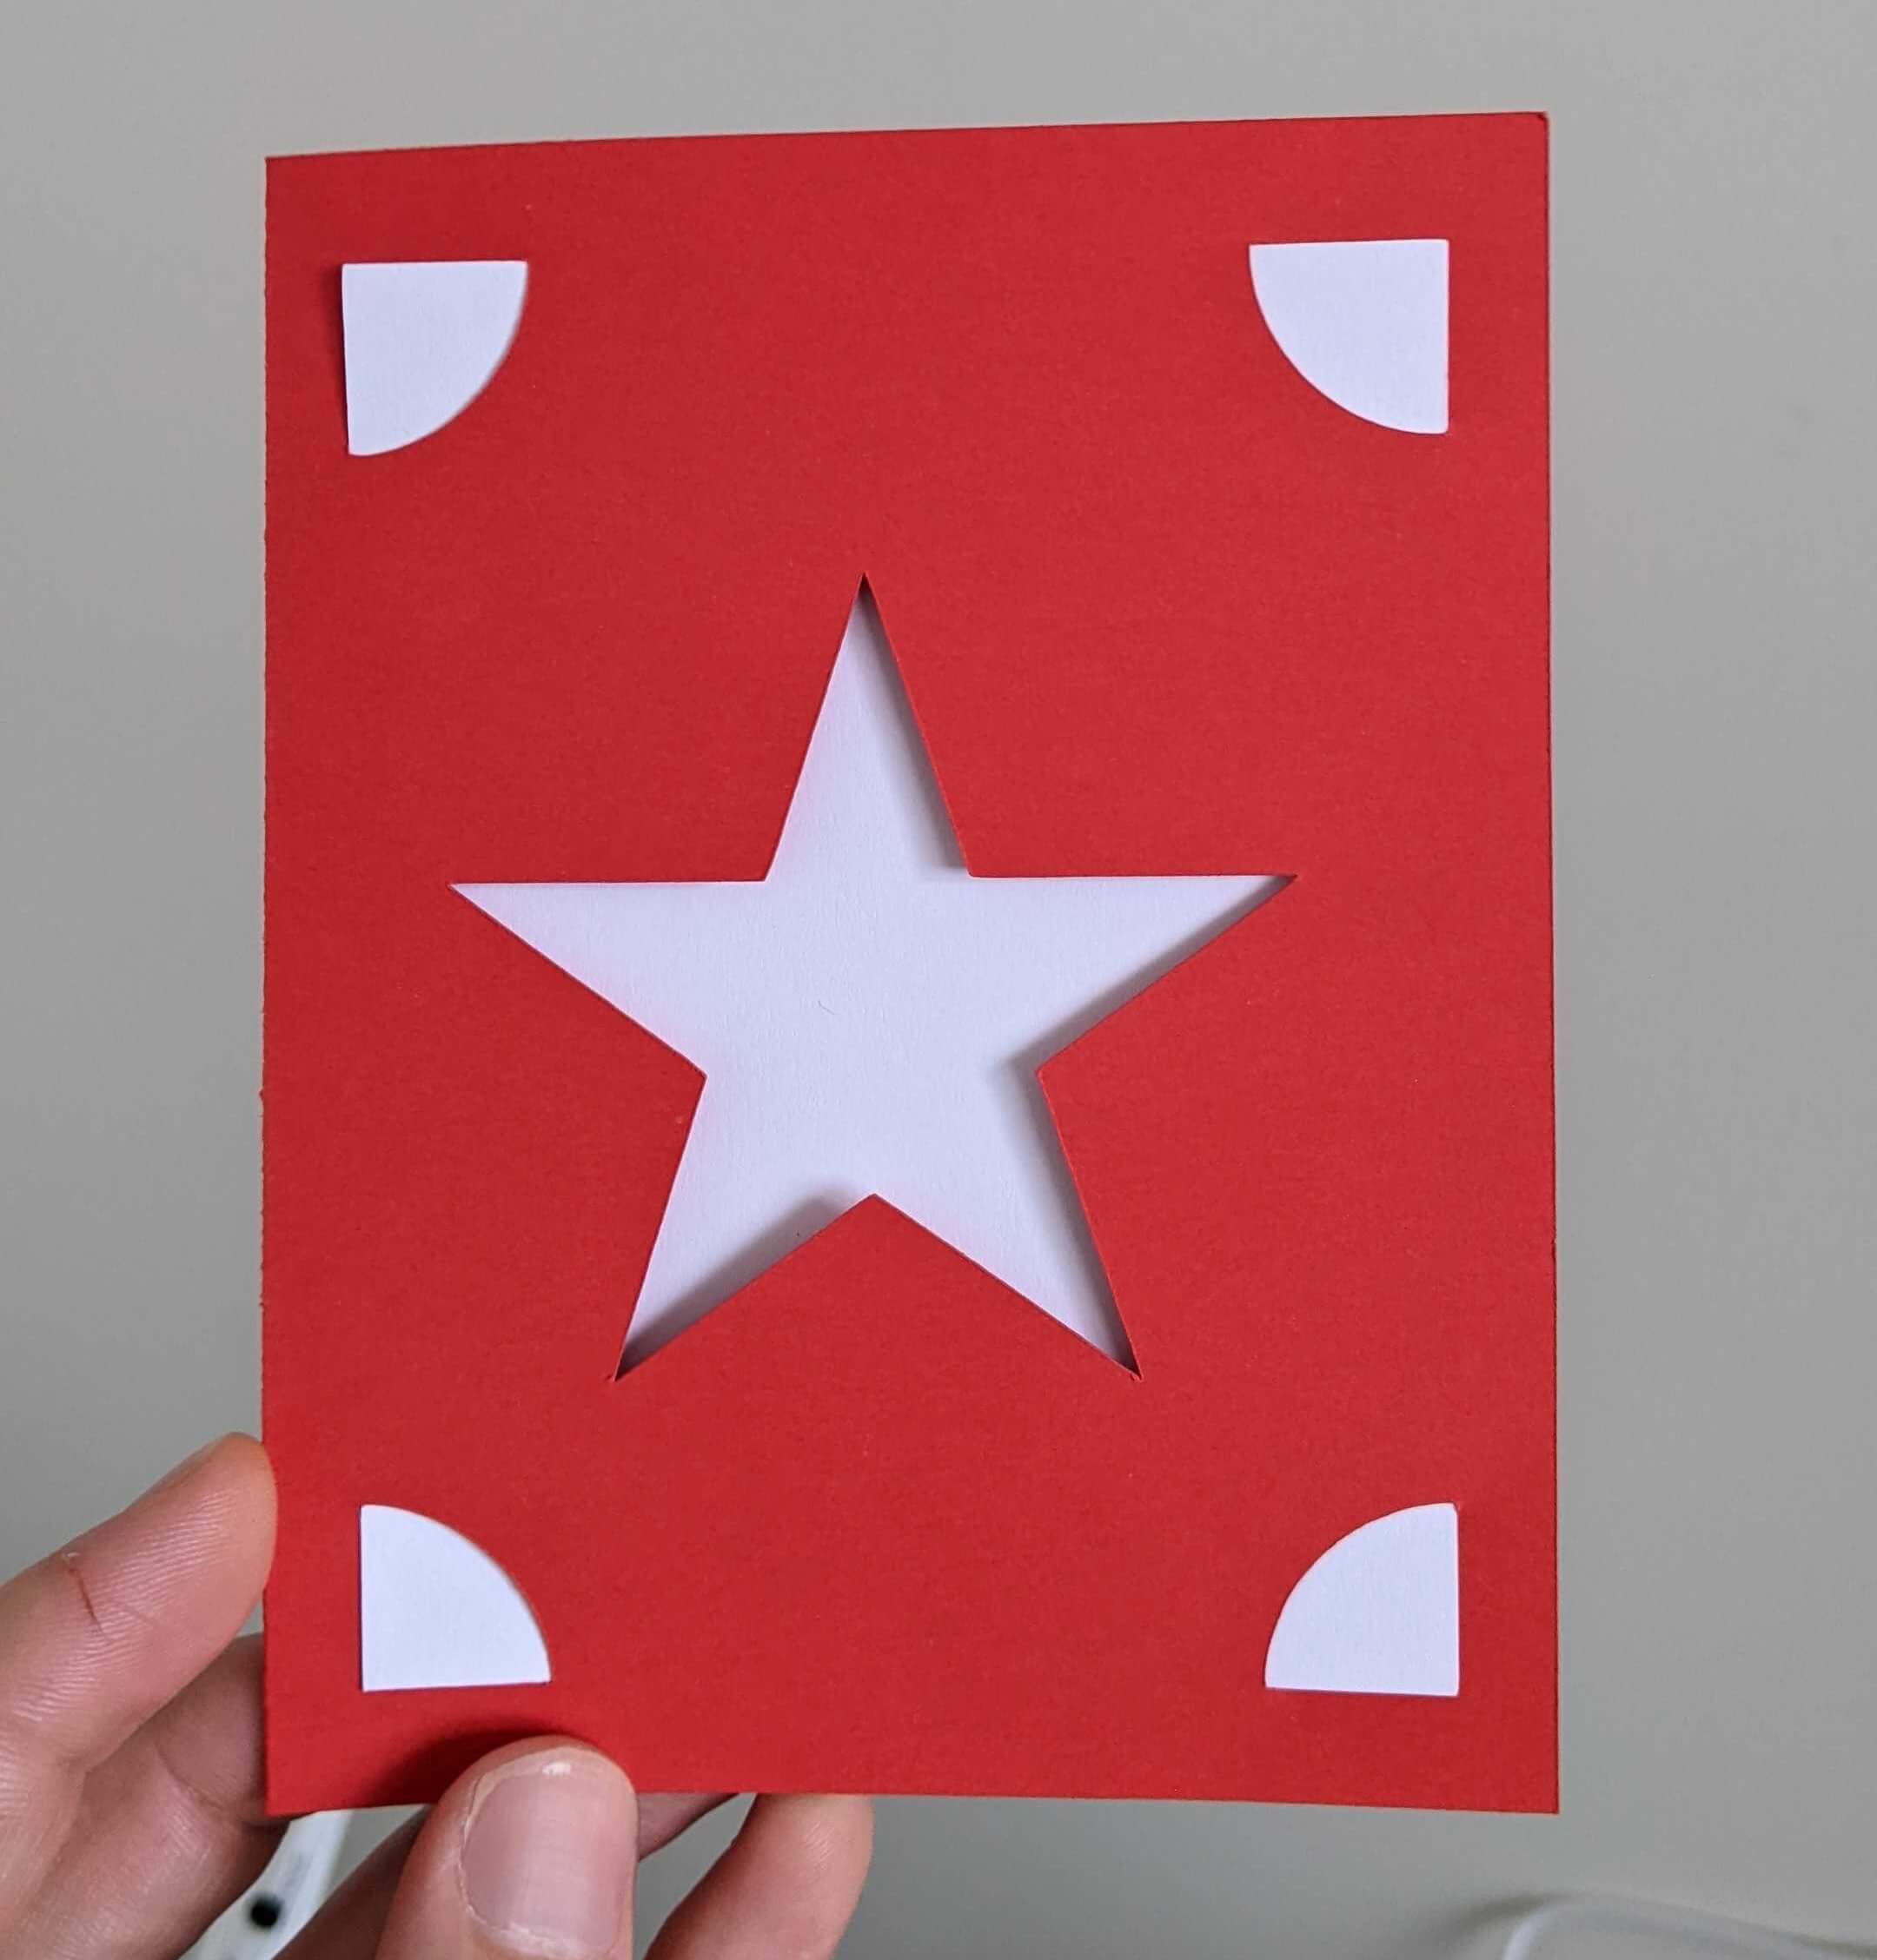
You’ll be left with the rectangular card.
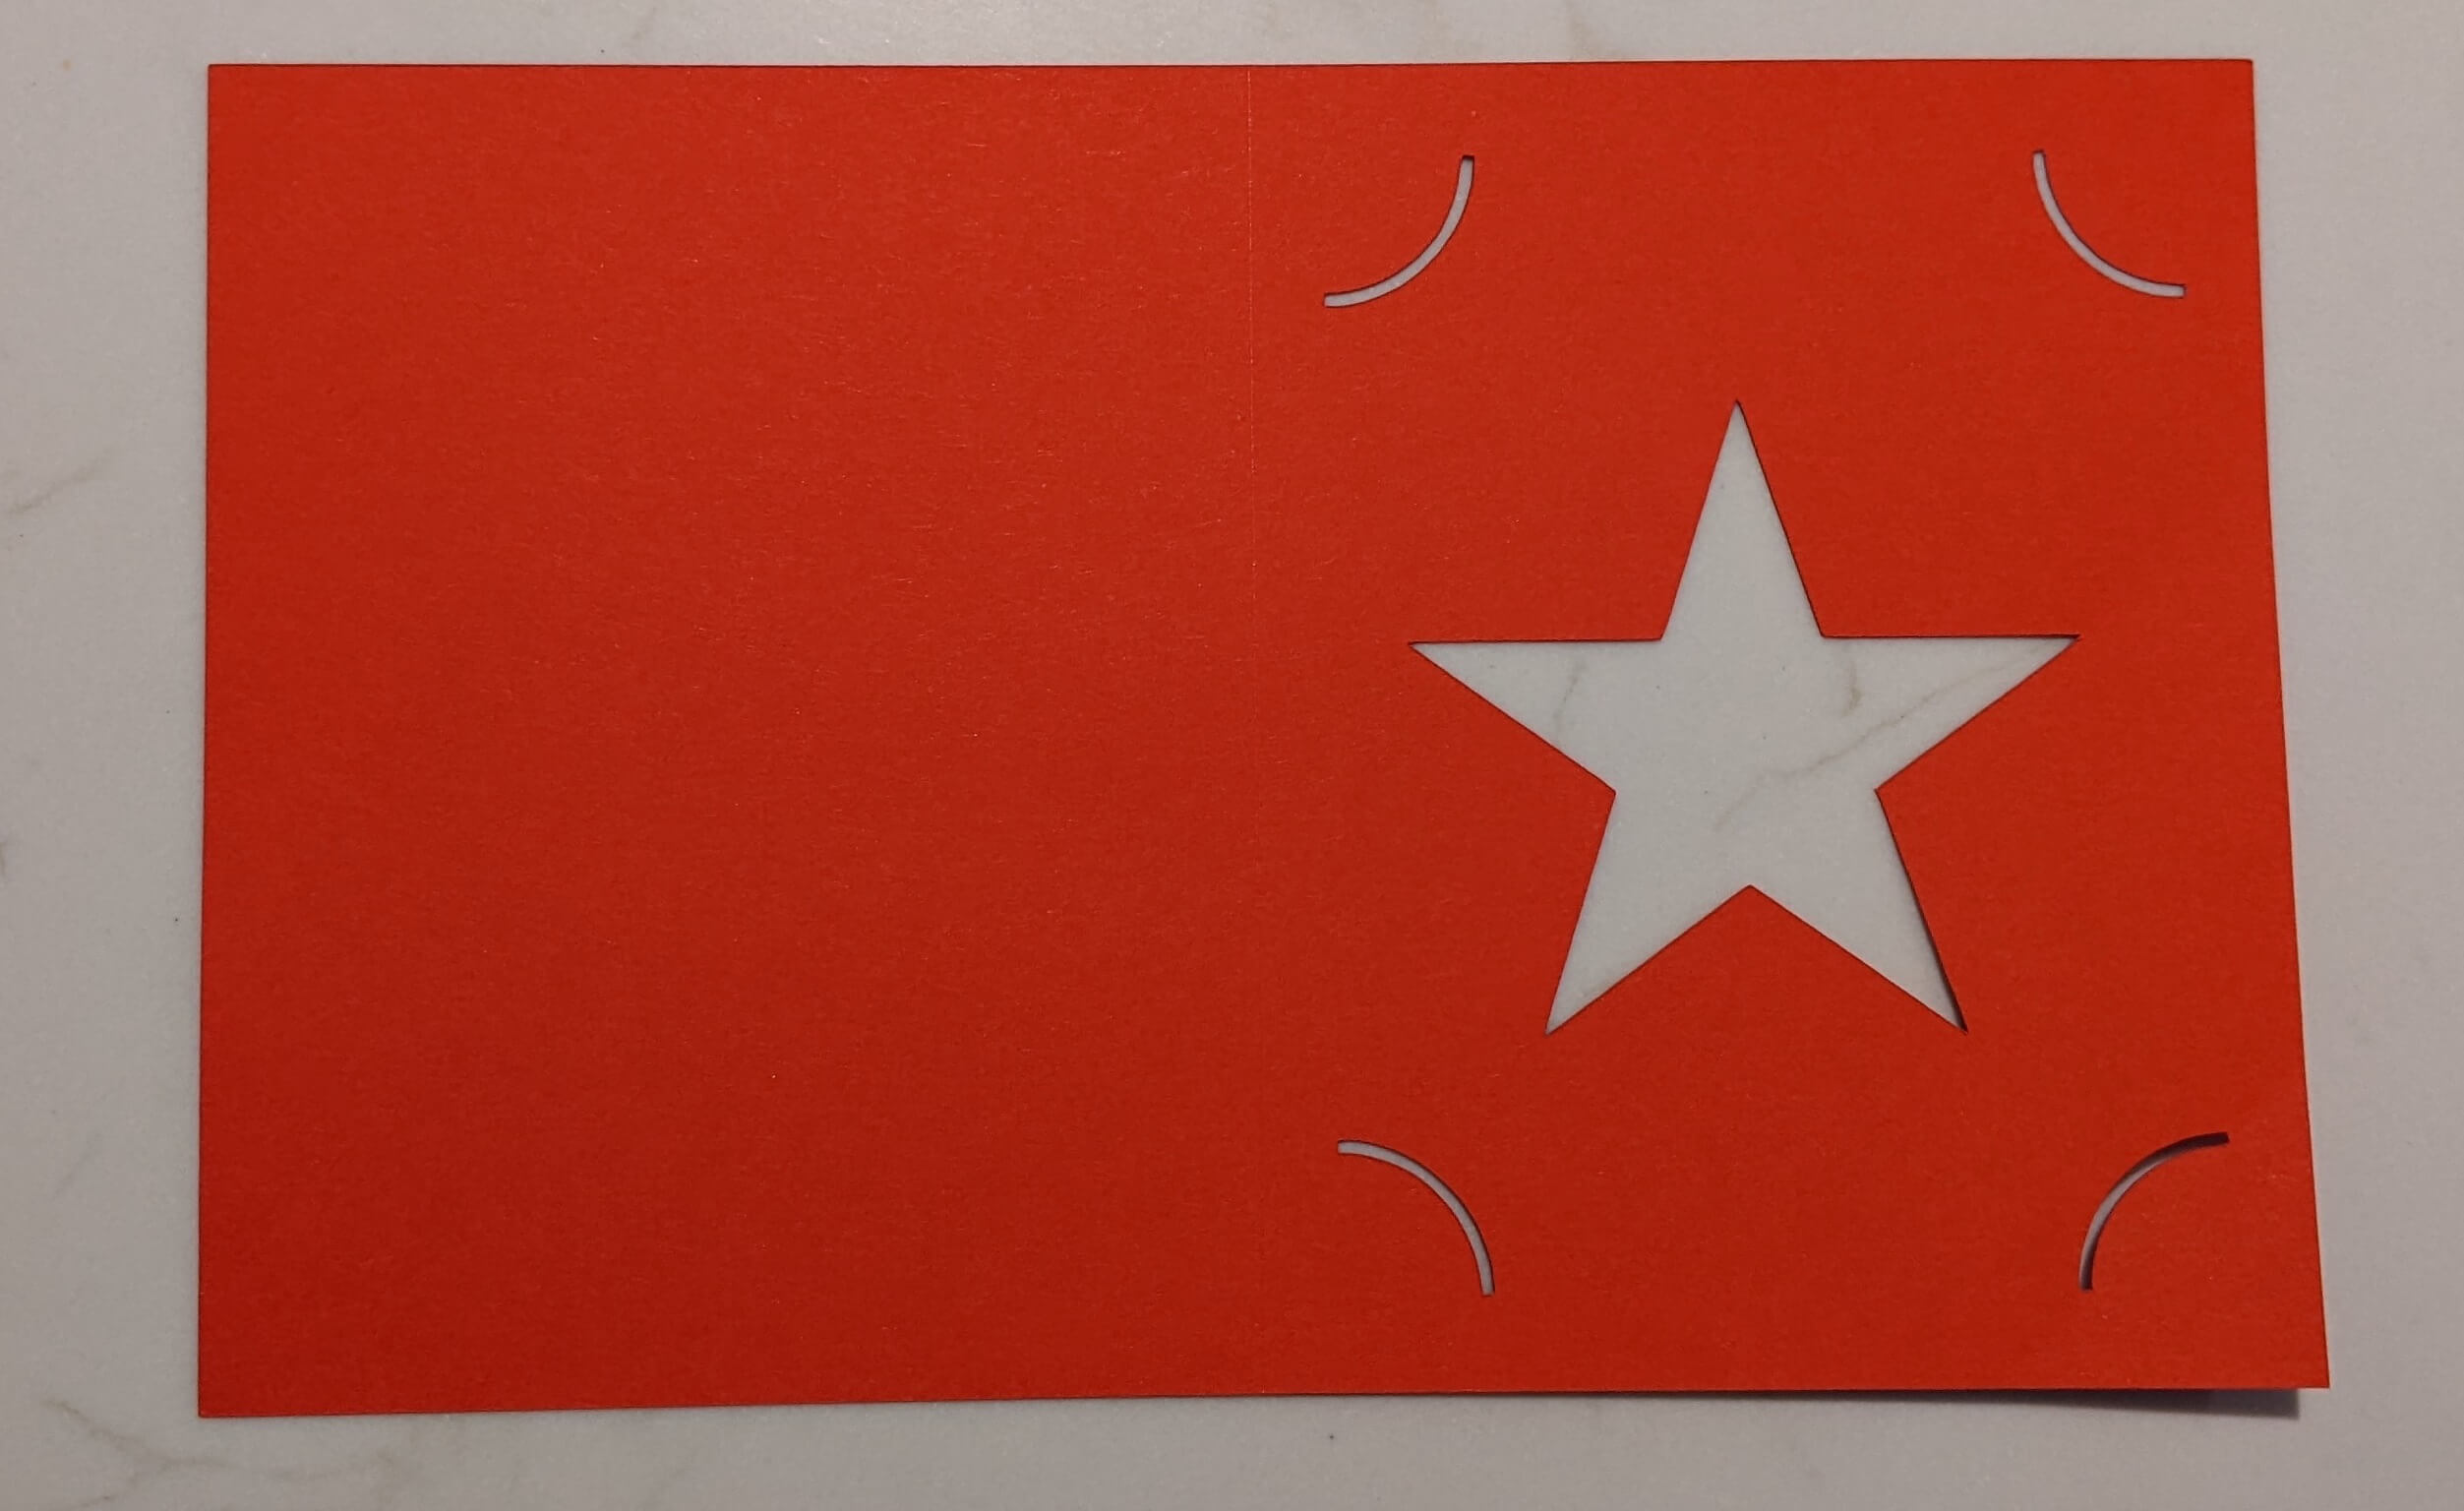
- Use your Scraper tool along the score line to make the fold nice and crisp.
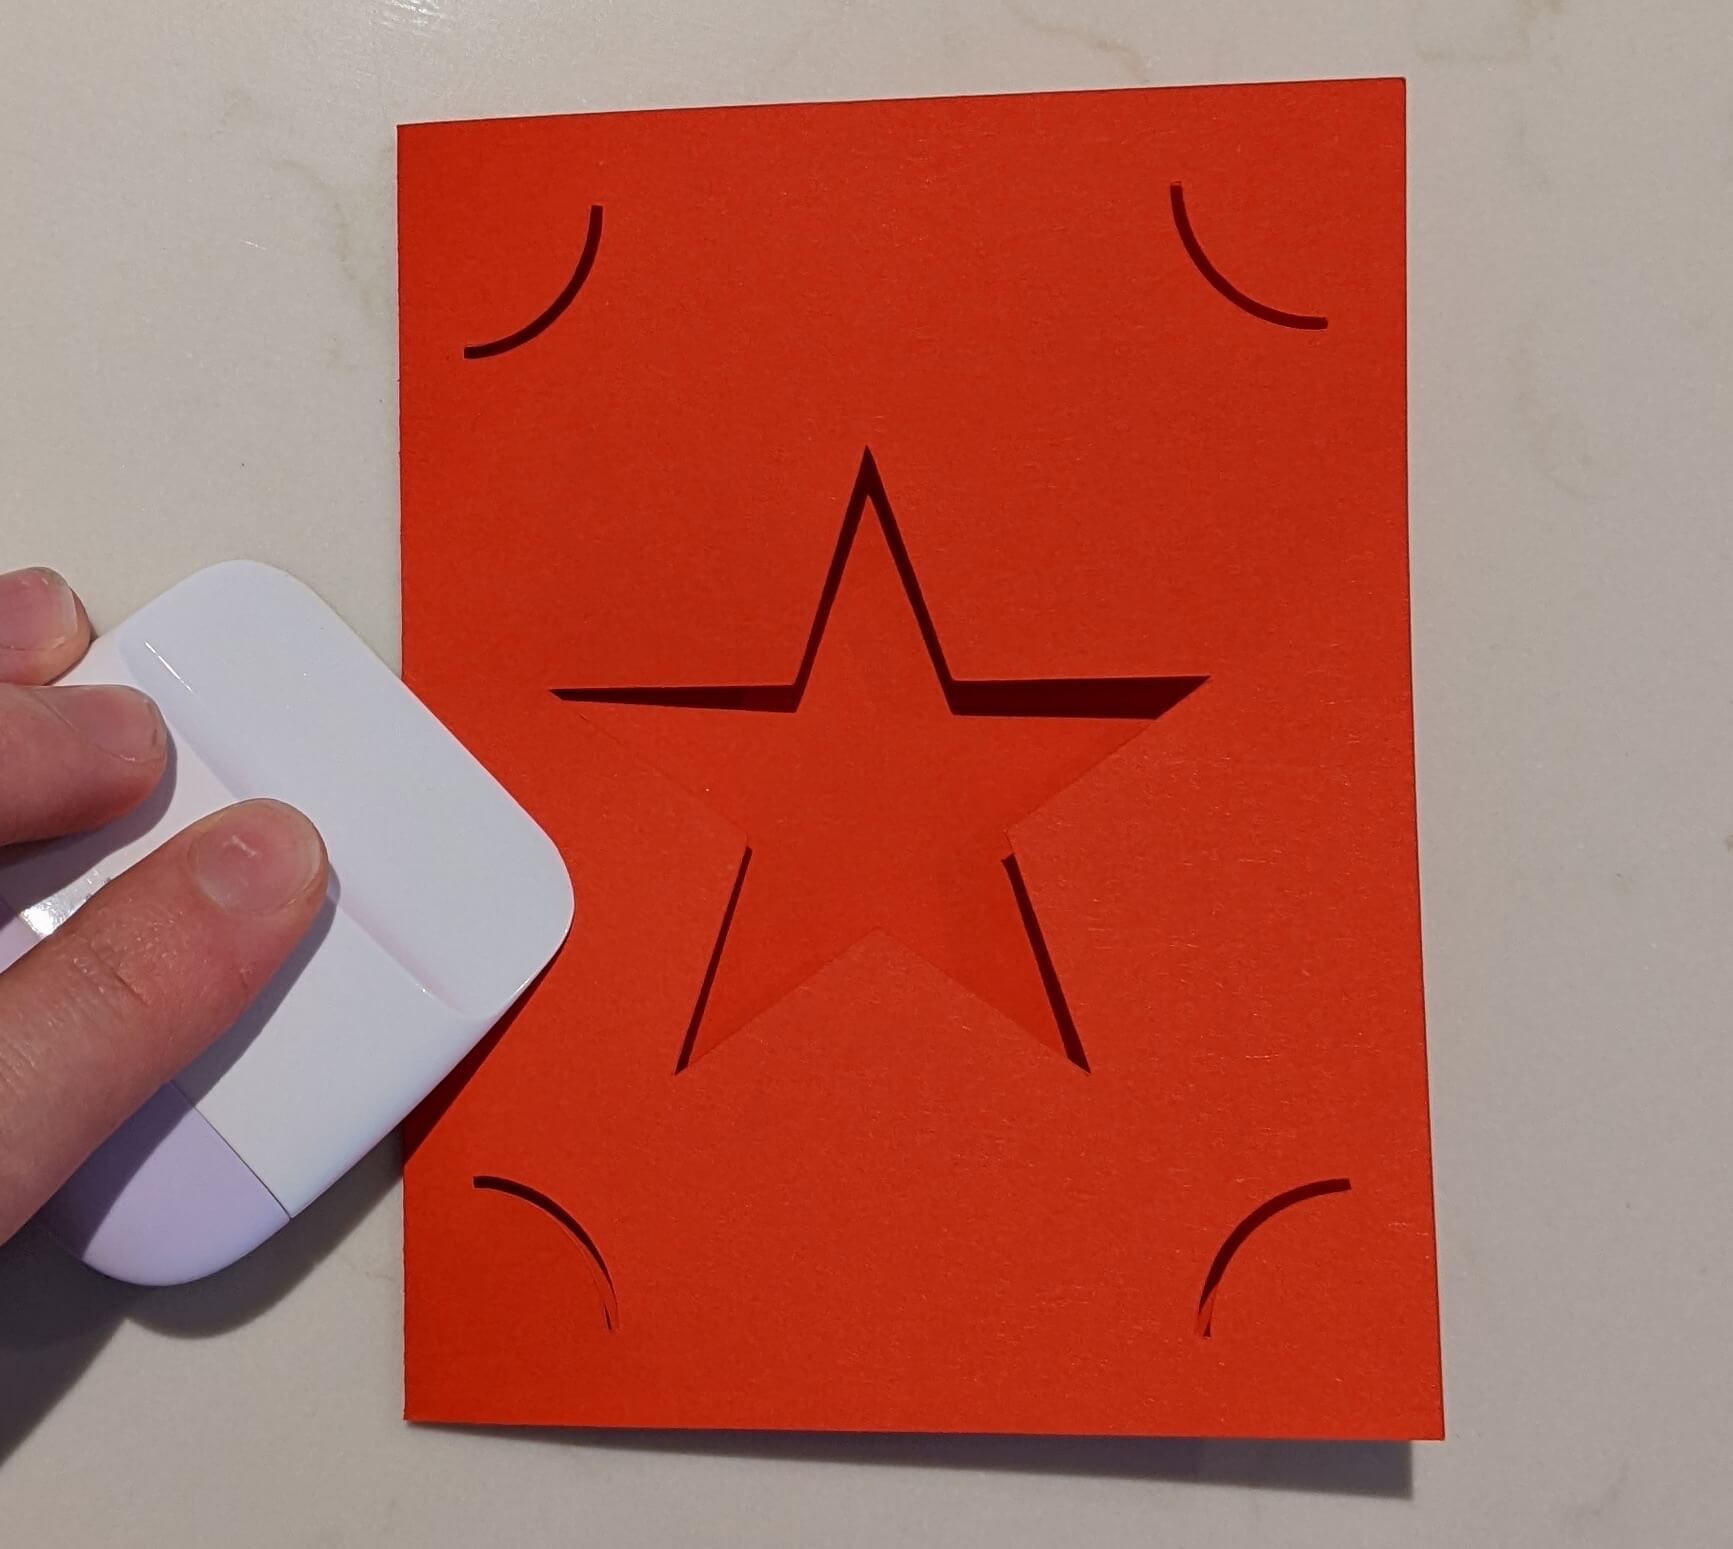
- Push the corners of the white rectangle into each of the slots in the red until all 4 corners are inserted.
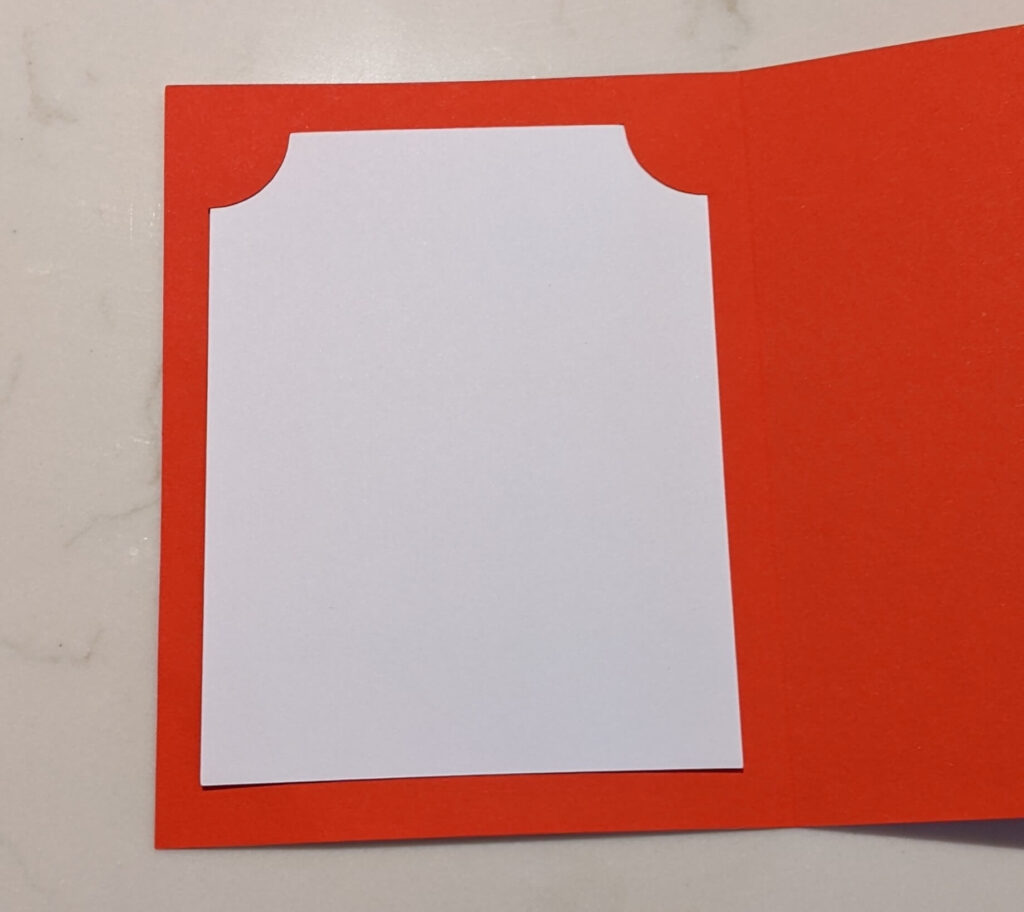
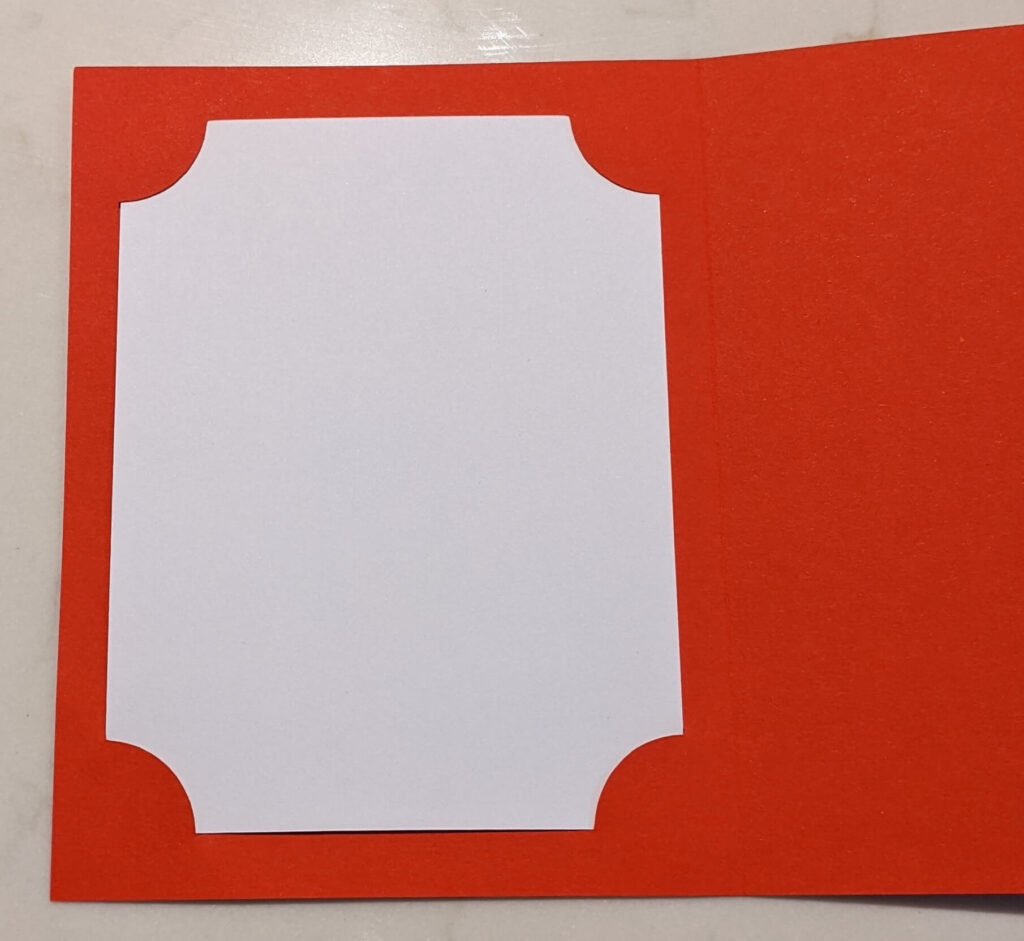
- That’s it! Your card is now finished!
