Step 1: Designing the Pillow
Before starting, make sure that you have already downloaded and installed the fonts that we are going to use for this project. If you are not sure how to do this, please check our Tutorial here.
💡 Tip: You can use any font that you like not only the ones that we are proposing!
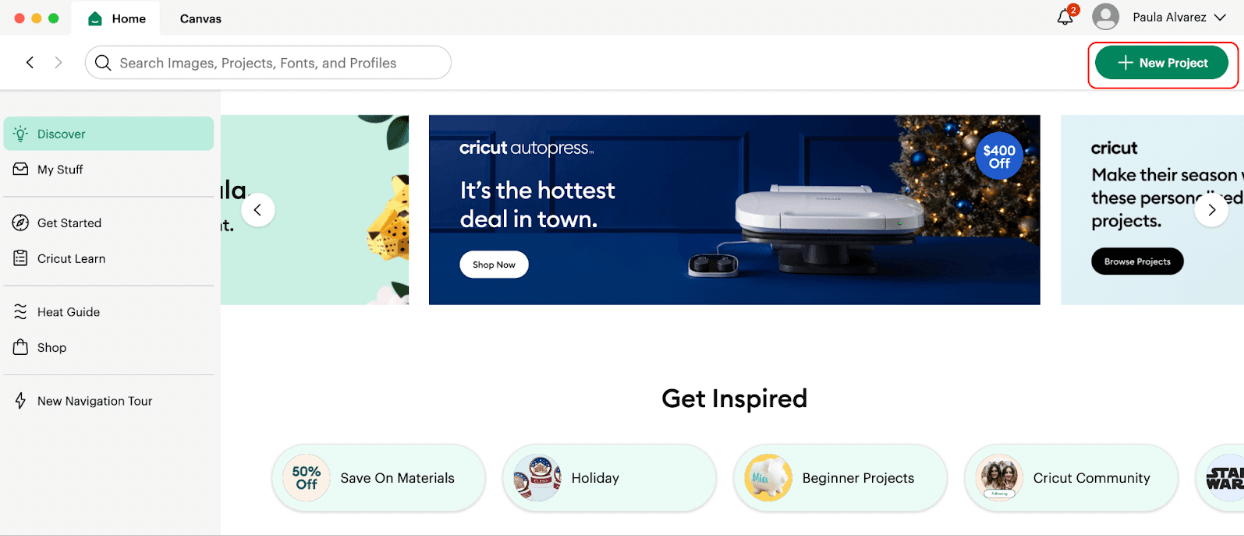
1- Open up Cricut Design Space
2- From the Home Screen, click on the top Right Green Button “New Project”. This is to be able to start creating the design for your project.
3- With the blank canvas ready to use, we can now start our amazing project!
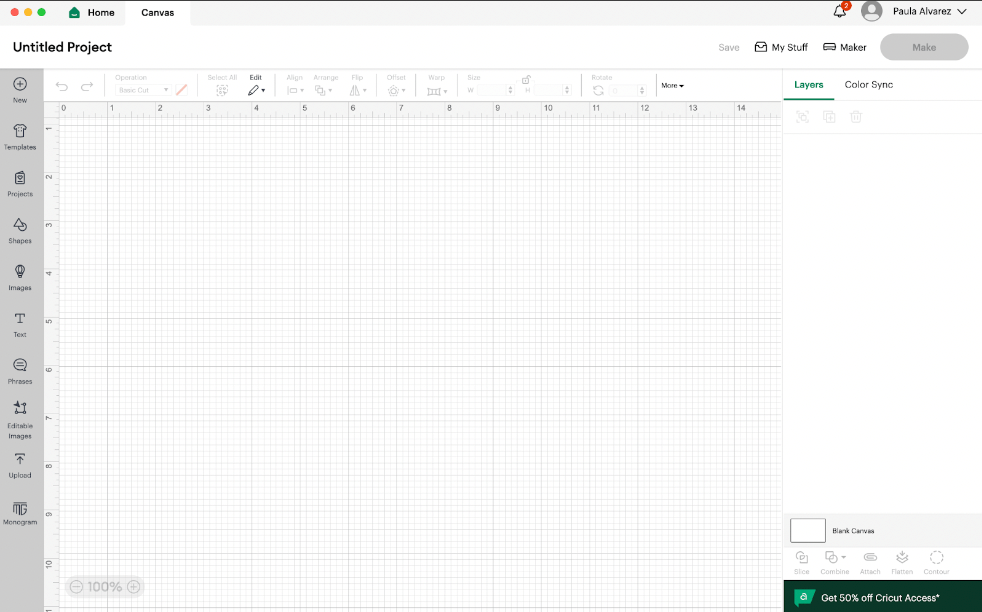
4- We are going to start by writing our text/ phrases. For this project we are going to use 3 different fonts and a couple of basic shapes.
- All, you and is are going to use: Bellarose Font
- NEED is going to use: Sunday Best Font
- Love is going to use: Candy Kisses Font
5- So we are going to proceed by using the Text functionality located on the left Bar Menu and we are going to split our phrase in 5 pieces:
- All -> Bellarose Font
- you -> Bellarose Font
- NEED -> Sunday Best Font ( this is going to be all in capital letters)
- Is -> Bellarose Font
- Love -> Candy Kisses Font

💡 Tip: You have to repeat the same process for each text, in this case 5 times.
💡 Tip 2: If you do not know how to change the font, please check our tutorial.
6- You should have something like this:
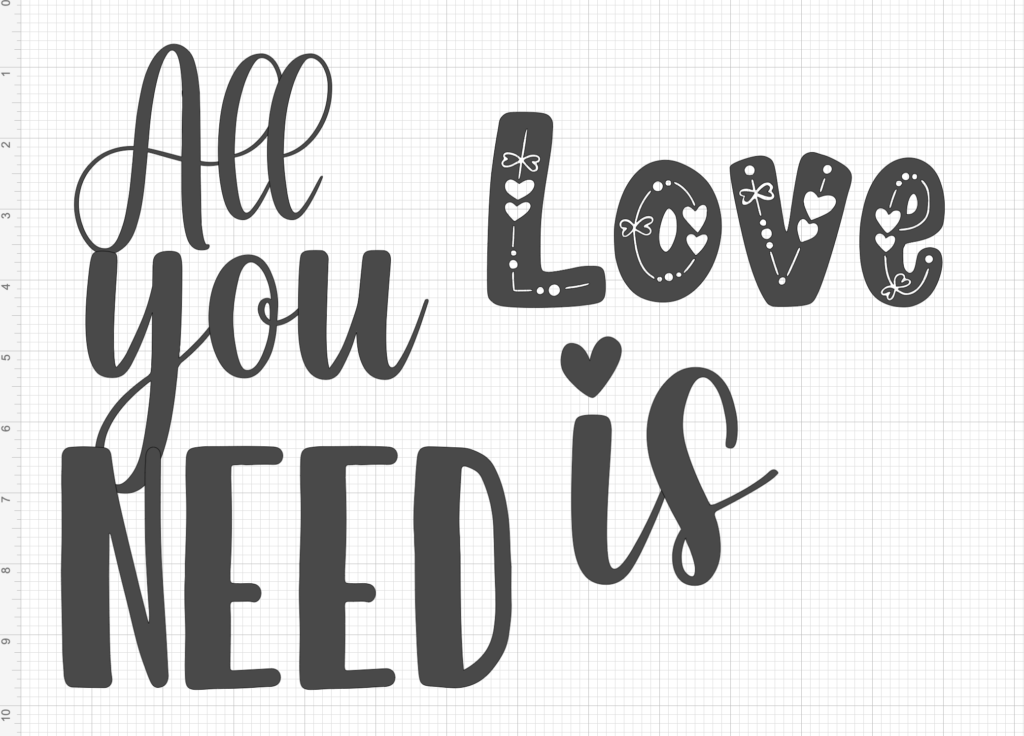
💡 Tip: Each text/word is going to be separated between each other, the purpose of splitting our wording in 5 is to:
- Be able to use different fonts
- Be able to accommodate and resize the words as we want.
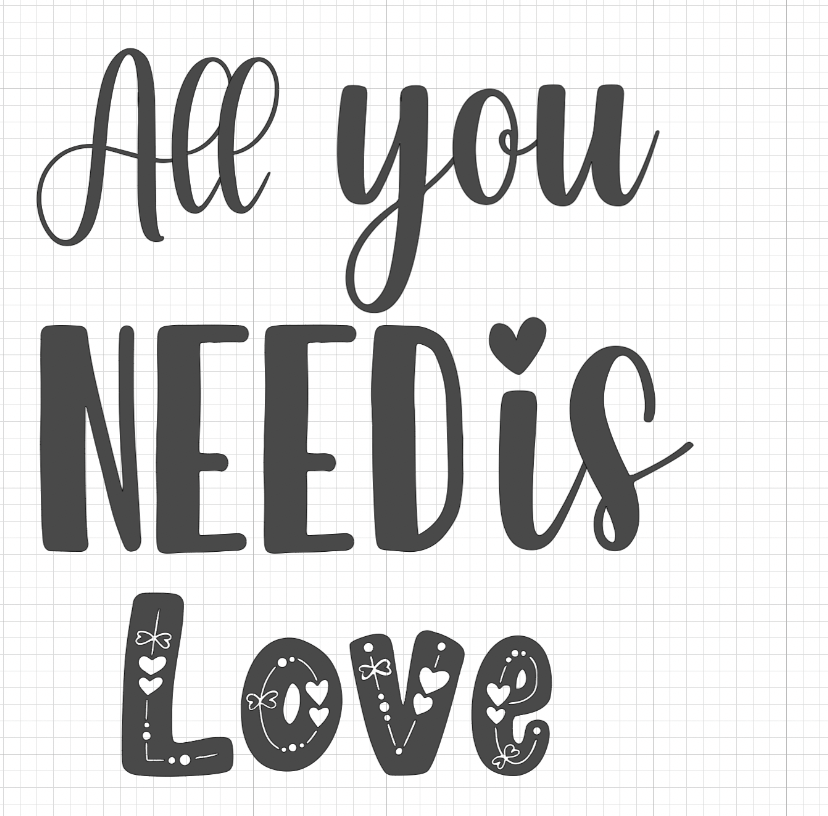
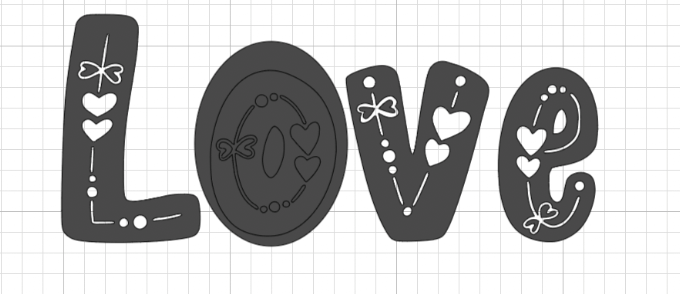
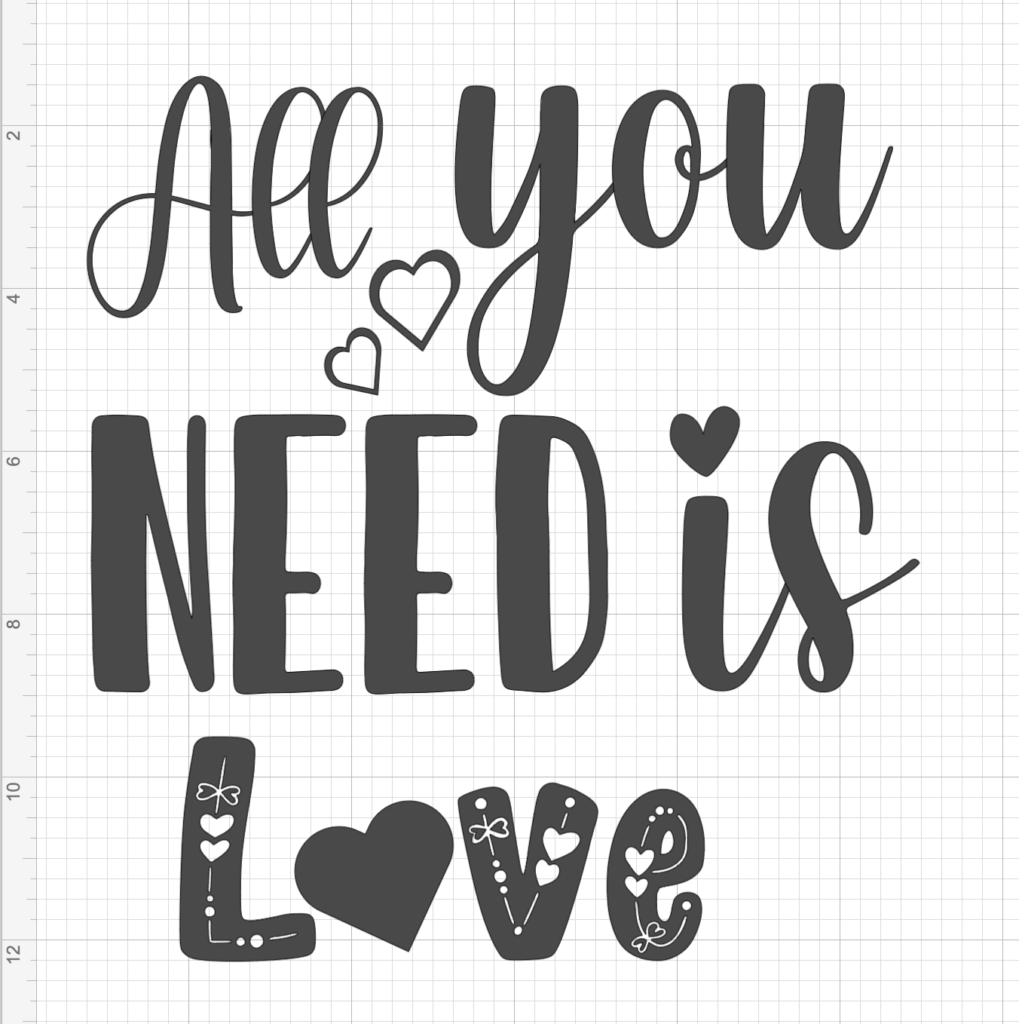
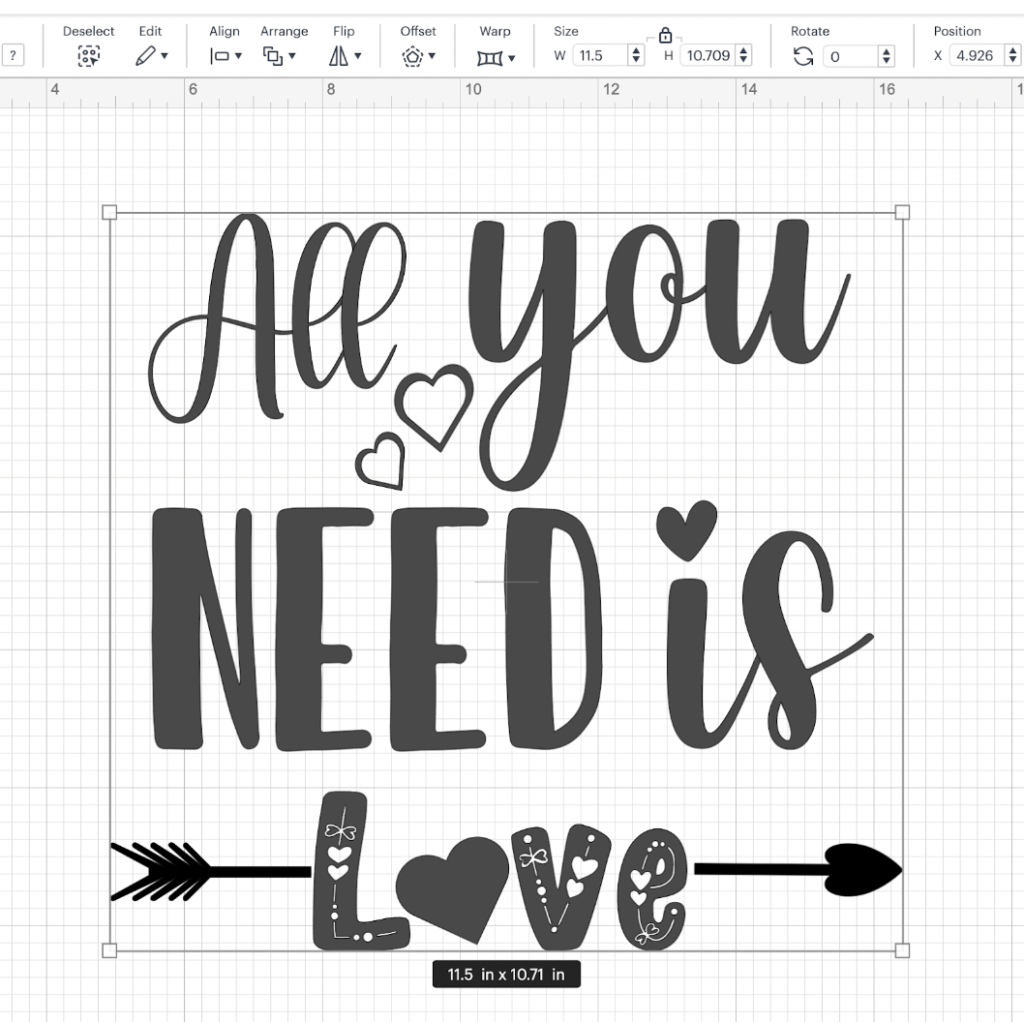
7- Once we have all our words/phrases/text done, we are going to start accommodating them.
Our original phrase is going to be: All you need is love. Based on the original wording, we are going to arrange them so we are going to have something as follows:
💡 Tip: Remember you can use this technique/process to write any other phrase that you like.
💡 Tip 2: You can rearrange the wording as you like in sense of all aligned to the center, the bottom, and playing around with the words as you like. If you do not know how to resize Images, check our tutorial in here:
8- We are going to change the letter O in the Love word to a heart. In order to do this, using the Shapes functionality locates on the left Bar Menu, we are going to choose a circle, and we are going to place the circle over the O, you should have something like this:
And selecting both (the circle and the word) we are going to use the Slice tool.
💡 Tip: If you do not know how to use the slice tool, check our tutorial in here.
9- After you sliced the 2 objects, you should have something like this:
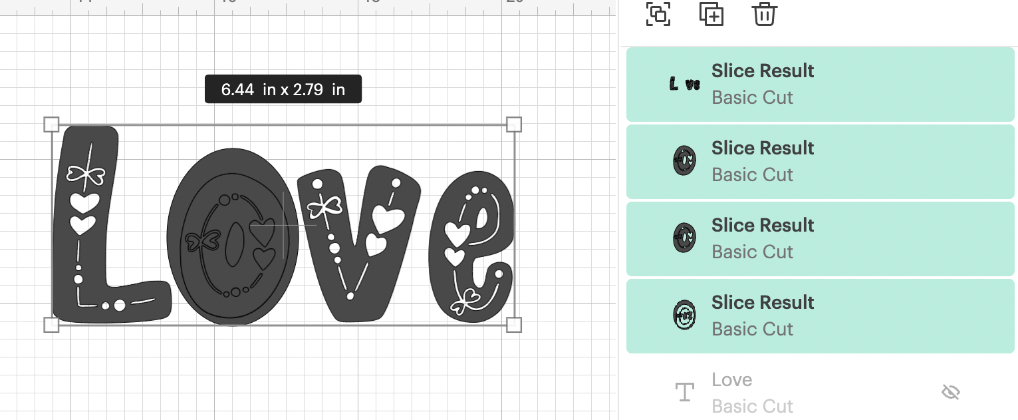
We are going to delete all the slice result except LVE word.

10- Now using the shapes functionality, we are going to select the Heart shape and we are going to place it in the place of the letter O that we just sliced.
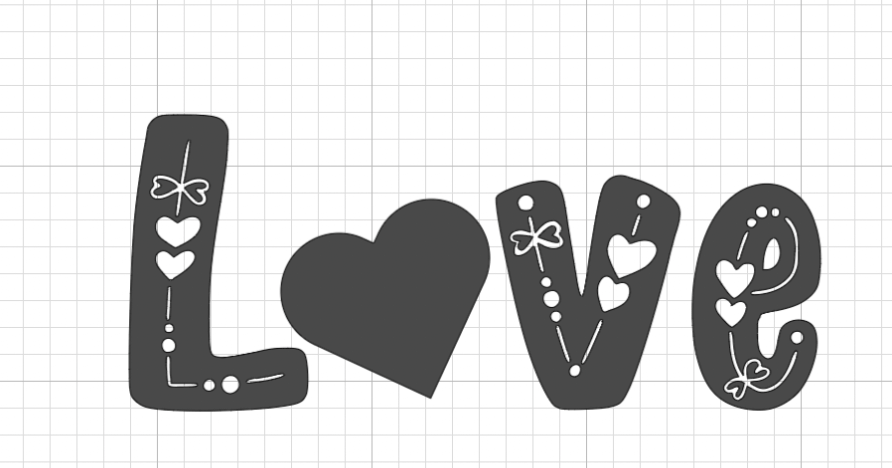
💡 Tip: You can resize the heart shape on the size of your preference.
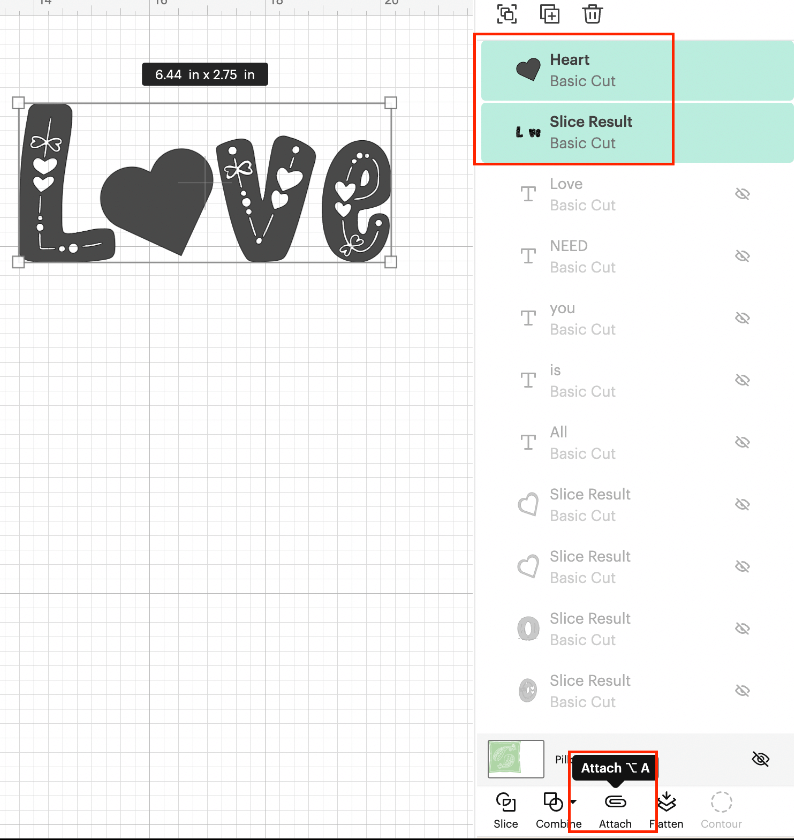
11- Once we have the heart, we are going to select the heart and the LVE word and we are going to attach it, so when we cut them, they are going to be cut exactly on the place that we are placing them as just one word and not a combination.
12- We are going to add a couple of details to our wording so it looks even prettier. So using the shapes functionality one more time, we are going to add 2 more hearts. We are going to resize one of the hearts so its smaller than the other one, and we are going to place the hearts one over the other, something like this:
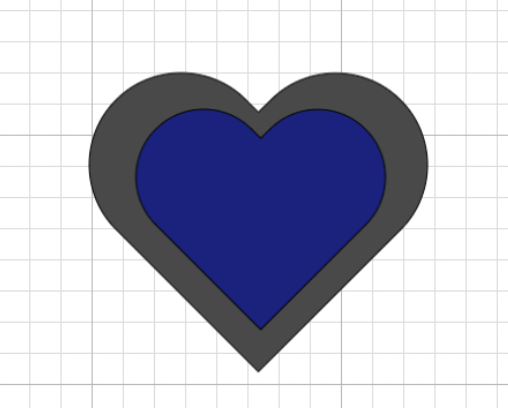
💡 Tip: There is no need to change the colors of the hearts, we are doing it for the purpose of the tutorial.
💡 Tip 2: You can finish the project on this stage and proceed with the Cutting Steps if you like.
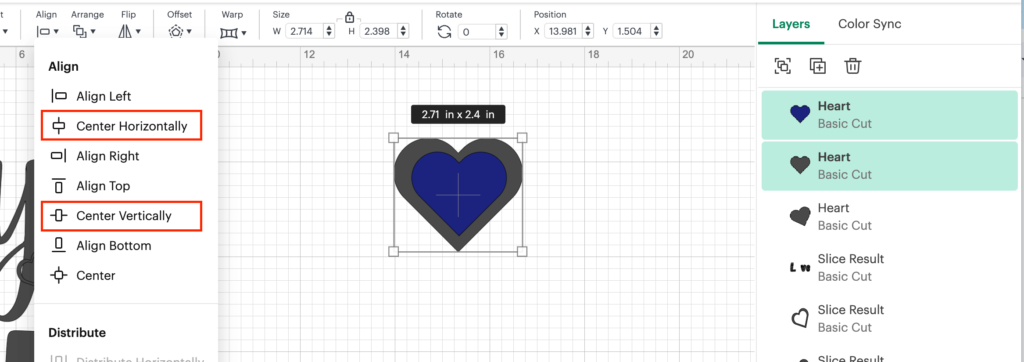
13- Once we have one heart over the other, we select the two hearts, and we are going to use the Align tool on the top bar menu, and align them horizontally, and vertically
14- Once we did this, we are going to proceed and use the Slice functionality (the same as we used on Step 9)

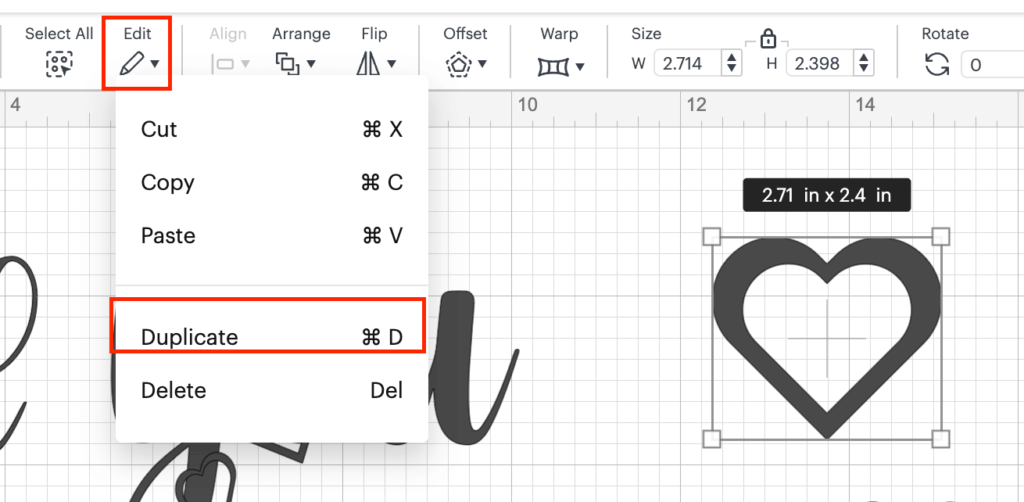
15- We are not going to use the solid hearts (if you want you can definitely use them), so we are going to delete them and we are going to duplicate the heart that contains a border only. And we are going to place the hearts on any place between our phrase lines.
💡 Tip: If you do not know how to duplicate an image, select the image click on Edit functionality on the top bar menu and in there click on Duplicate, OR after you selected the image, using your keyboard you can combine: command D or Control D
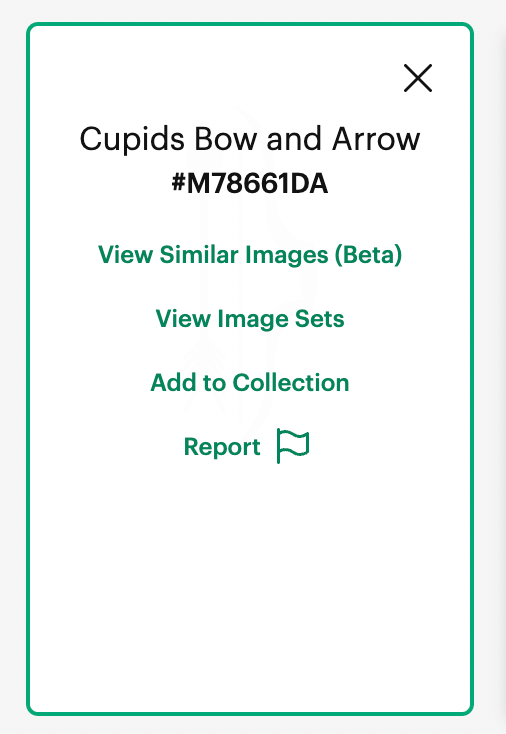
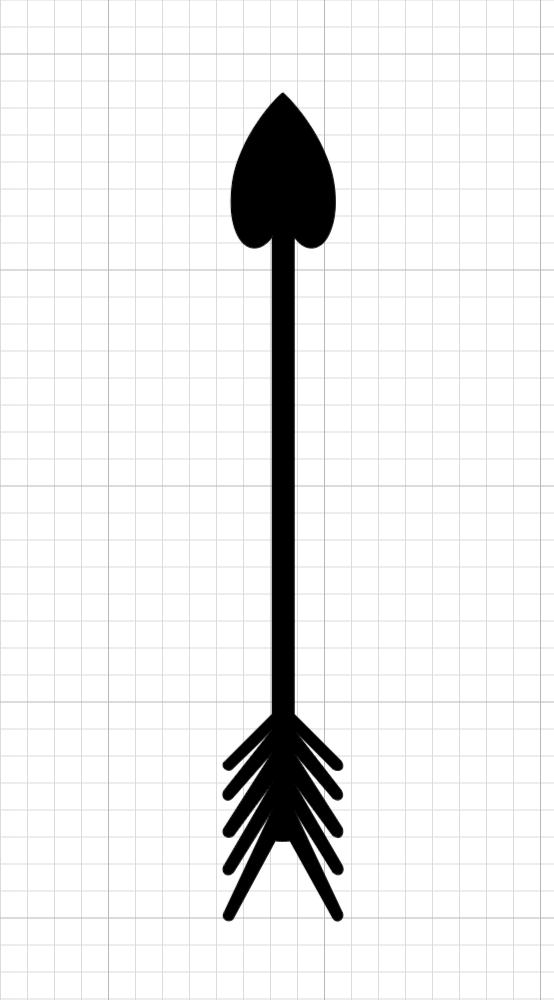
16 – As a final touch, we are going to add an arrow that is going to cross the word love, in order to do this, we are going to use images functionality on the left bar menu and by filtering for free and the word Arrow we are going to choose the image with the code: #M78661DA and we are going to proceed to add it to the canvas:
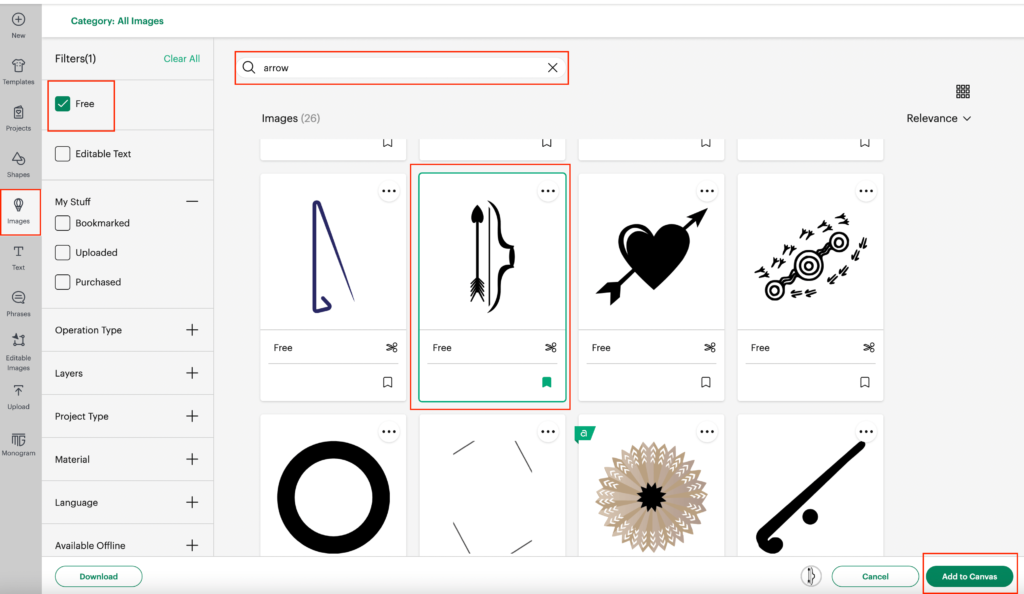
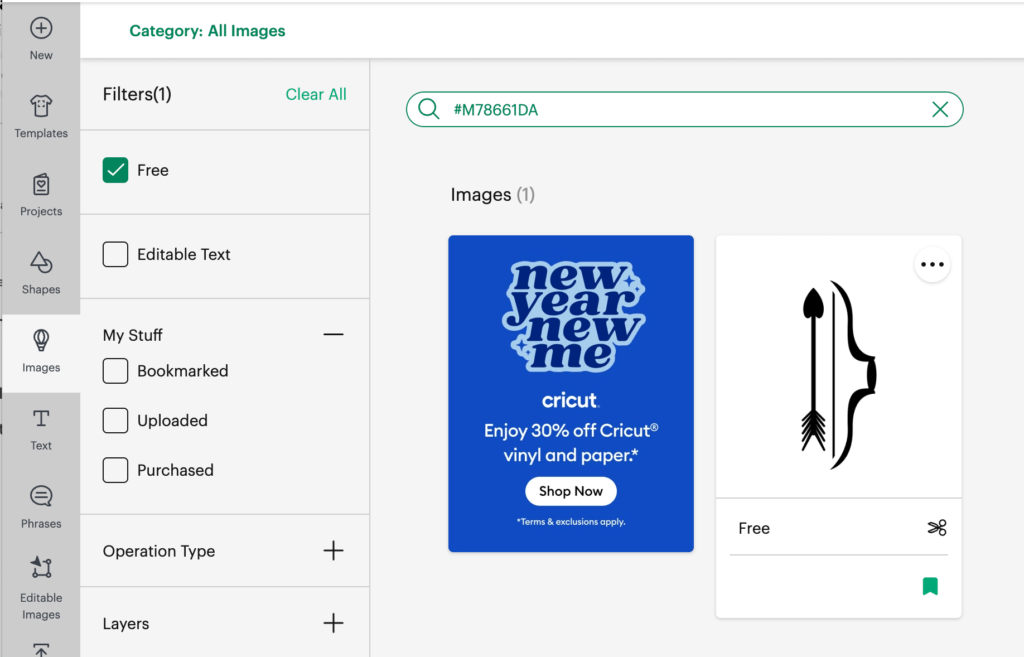
💡 Tip: You can use the code to search for the image directly on the search bar:
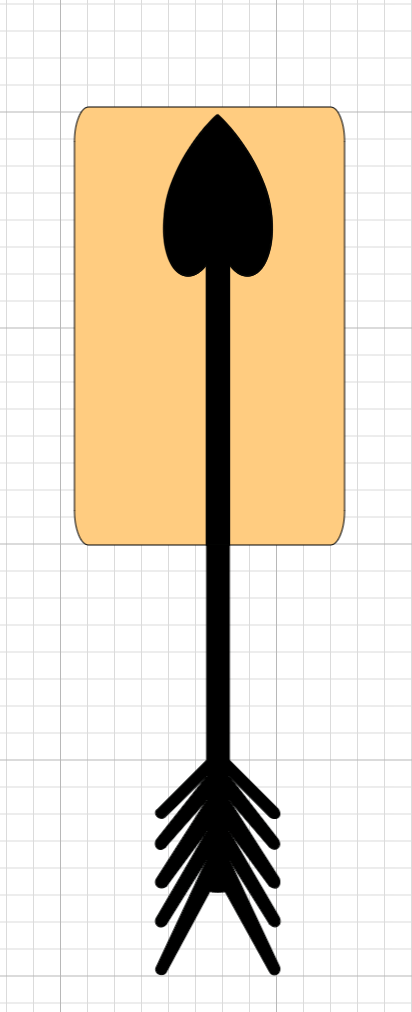
17- After we placed the image on our canvas, using a rectangle shape and the slice functionality we are going to remove the bow from the image:
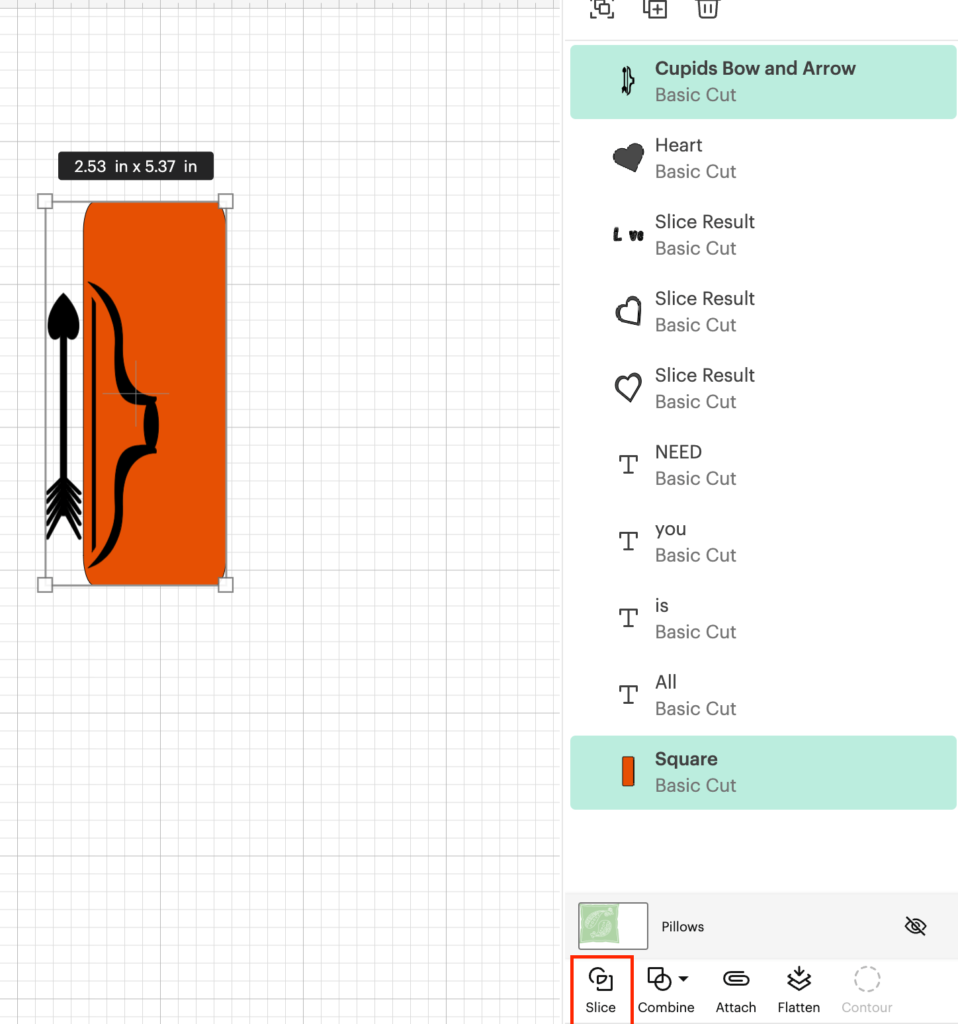
After the sliced, you can delete the bow and you are going to have something like this:
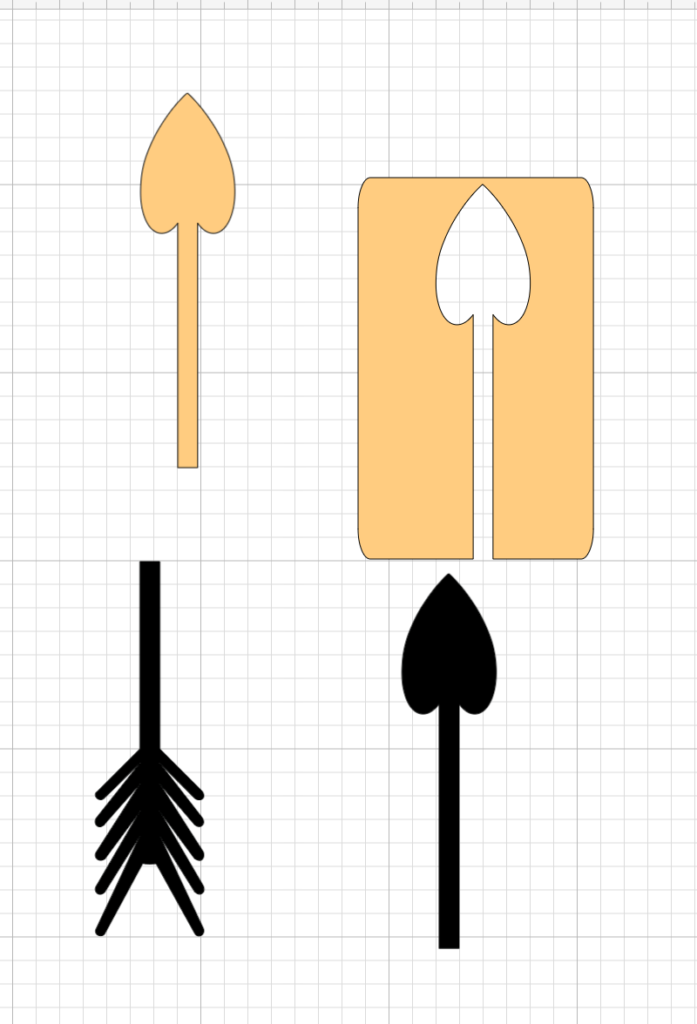
18- Now, by using one more time a rectangle and the slice functionality, we are going to split the arrow in two. Place a rectangle over the arrow, making sure that the rectangle is half of the size of the arrow (in Height measurement) and we are going to slice it:
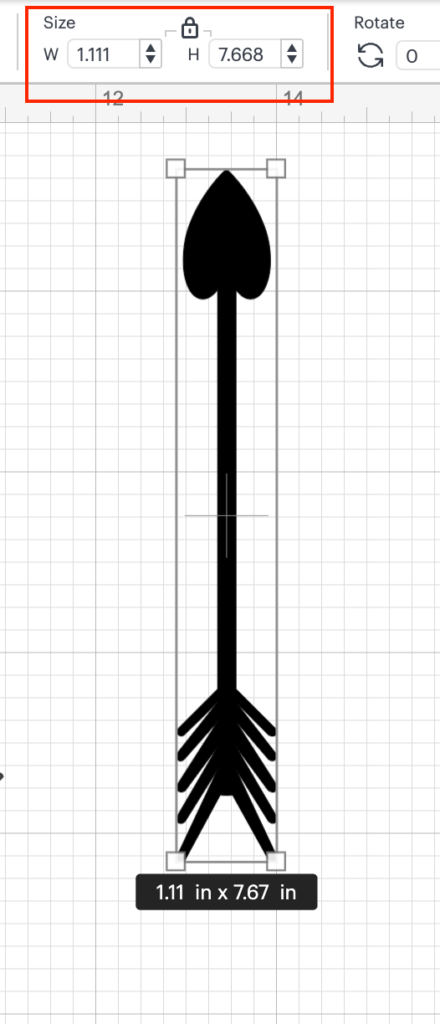
💡 Tip: You can check the measurements of the arrow, by selecting the arrow and checking the size functionality on the top bar menu:
19- We are going to rearrange the 2 parts of the arrow horizontally and we are going to place one part before the word LOVE and the other part after the word. And you should have something like this:

20- When we have all the wording and the images on the place that we like we need to attach all the individual pieces together, so when we cut them, the design is going to be placed exactly the way that is looking into the design space. In order to do this, we are going to select all the pieces and we are going to use the Attach functionality:
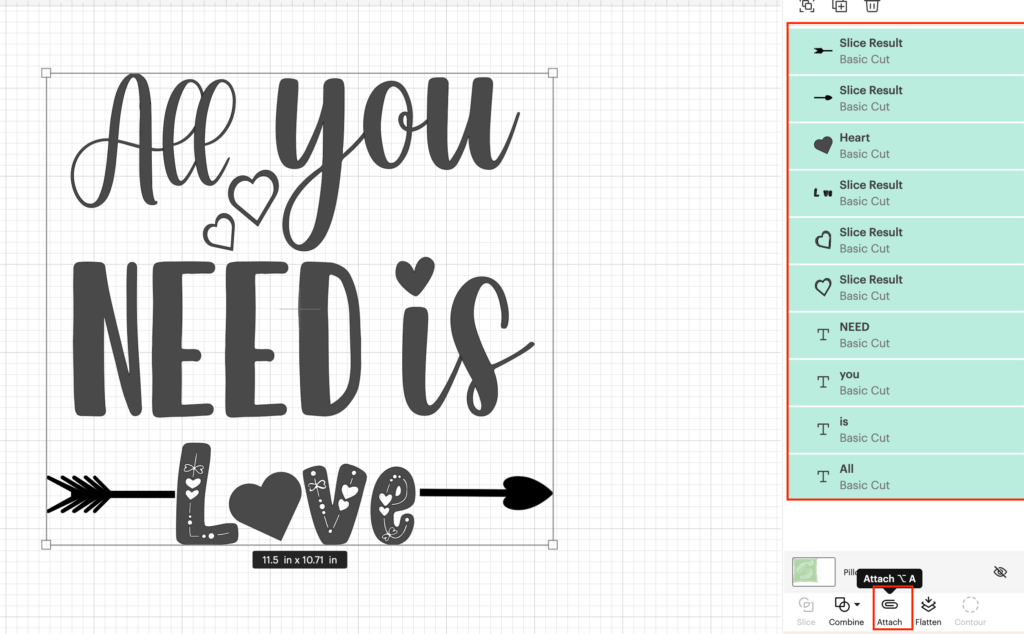
💡 Tip: If you are going to use different colors for each word or more than one color, you can ignore this step, since this is helpful when you are going to cut a design with the same paper or vinyl.
20- Now, we need to make sure that our Design is going to fit into the pillow. In order to do that, First, we measure our pillow’s available space. We are using a pillow with the following measurements:
Pillow Measurements: 18” x 18” (45 x 45 cm)
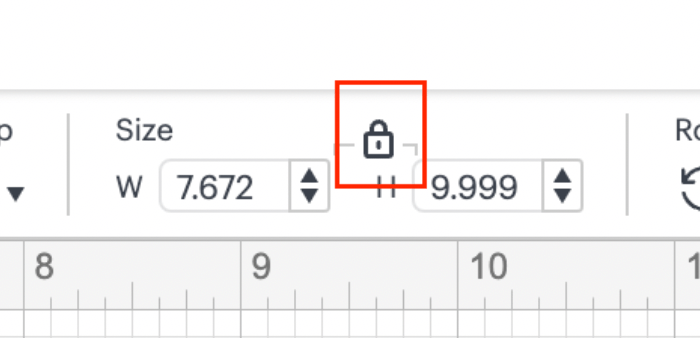
21- We are going to resize the image so it fits inside our pillow. In order to do this, click on the Phase design, go to the top bar menu and locate the Size functionality. In there click on the W (Width) and add 11.5“ and click on the return key in your keyboard. You are going to see that the H (Height) is automatically populated.
💡 Tip: If the Height measurement is not the desire one, you can adjust it by clicking on the little lock that is showing, after this, the lock is going to be shown unlocked, meaning that you are going to manage the size/dimensions for the W and H independently.
22- After you resize your design, you are ready to start cutting! You just created an amazing design!