Step 1: Create The Design
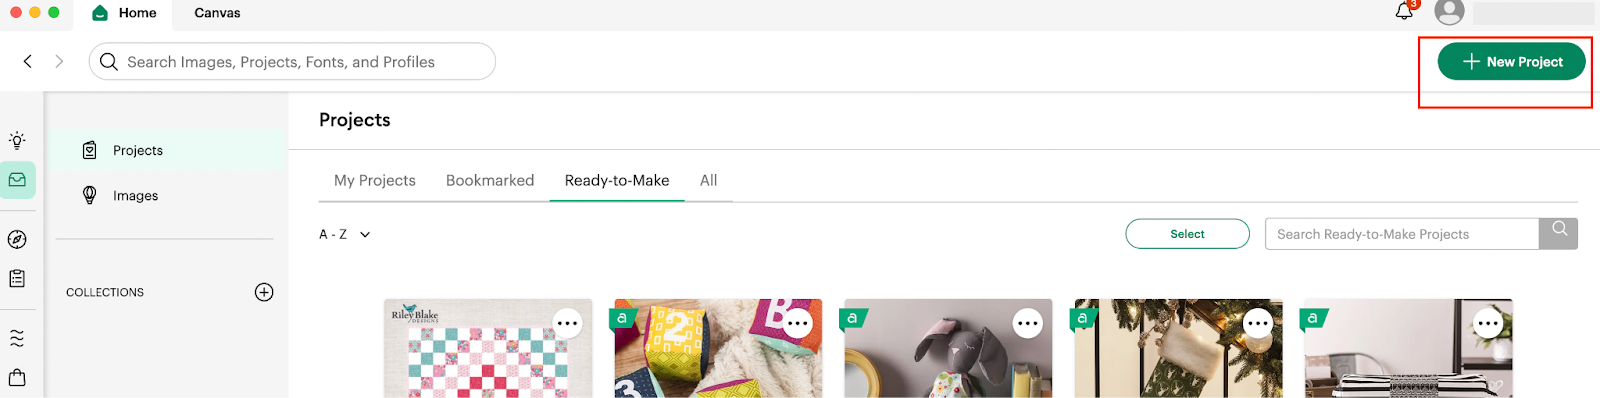
1: In order to be able to start our Design, we are going to access our Design Space application and in there we are going to click on the + New Project Green button located on the top Right corner of our screen.
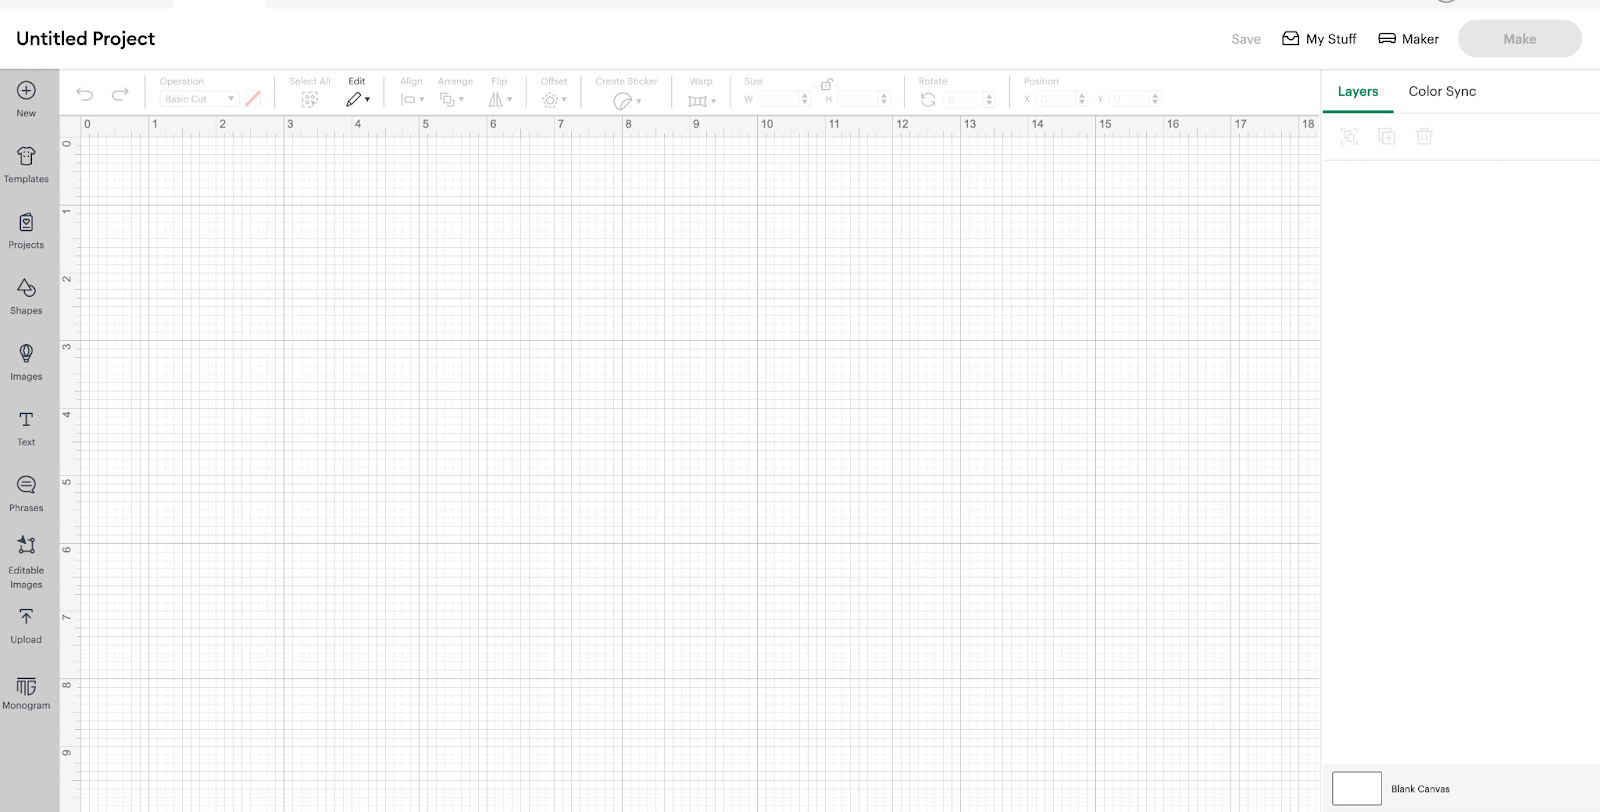
2: After we clicked in there, we are going to be able to access our Blank Canvas, in where we are going to start creating our Design:
3: We are going to start by adding a square using shapes functionalities located on the left side vertical menu
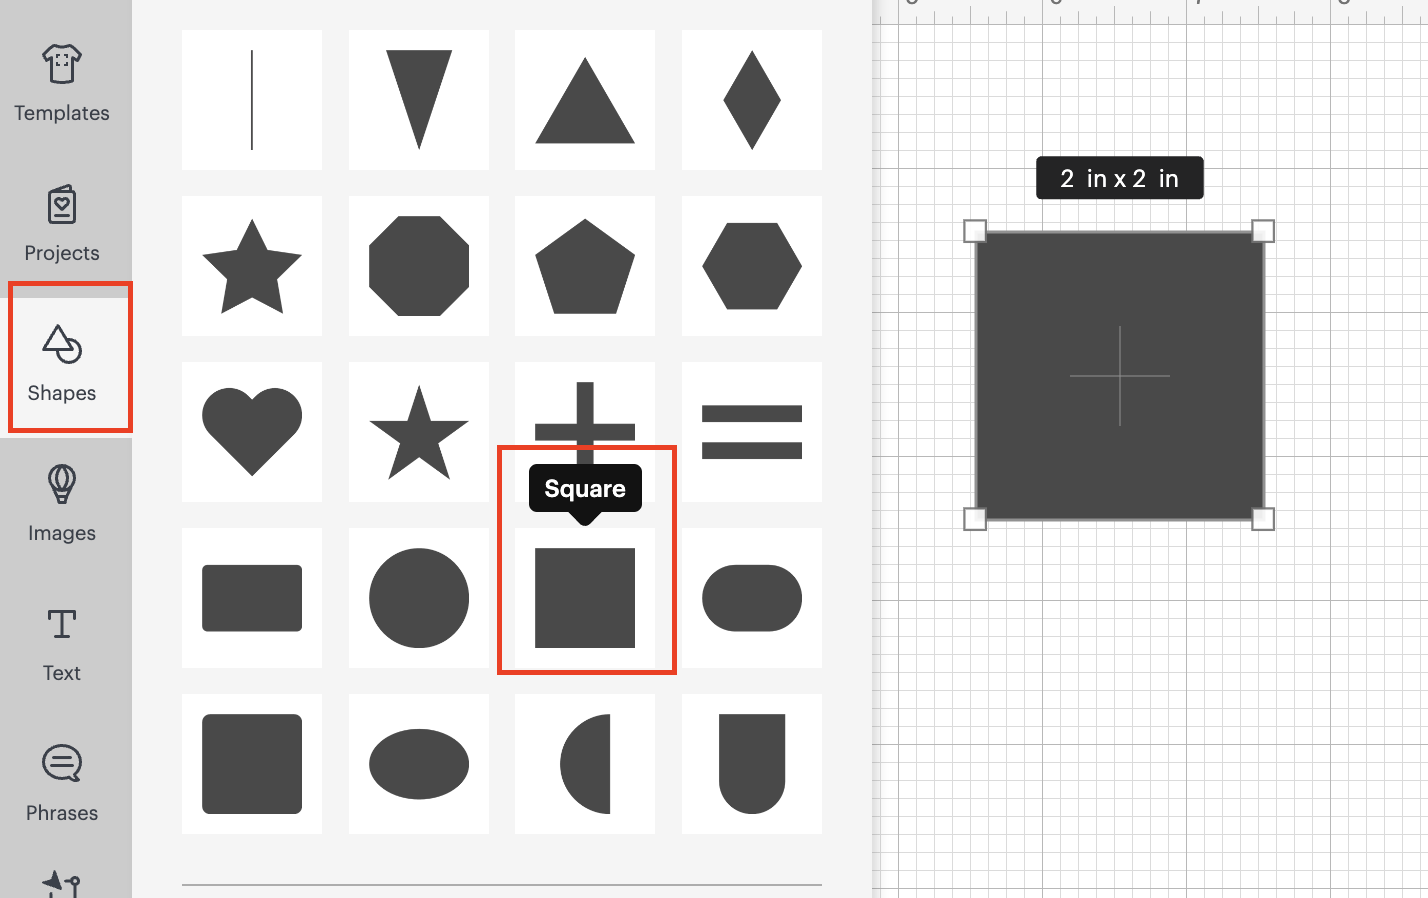
4: We are going to change the measurements of the square to match our physical wood sign, in our case is: 10“ x 10“, in order to change that we are going to use the measurements functionalities that is located on the top horizontal bar
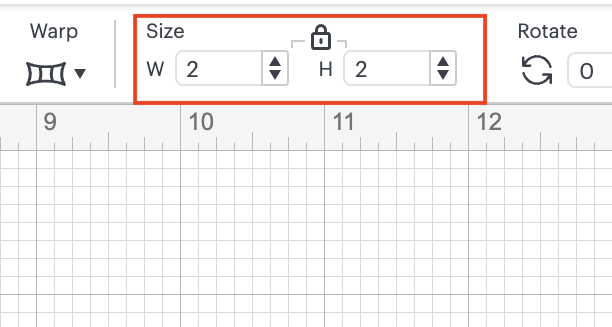
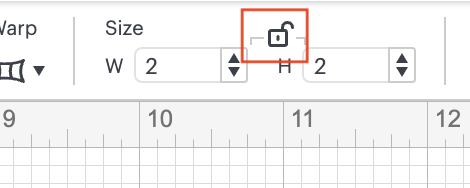
💡Tip: if your wood sign is rectangular, click on the lock that is showing, so you can add the different dimensions separately.
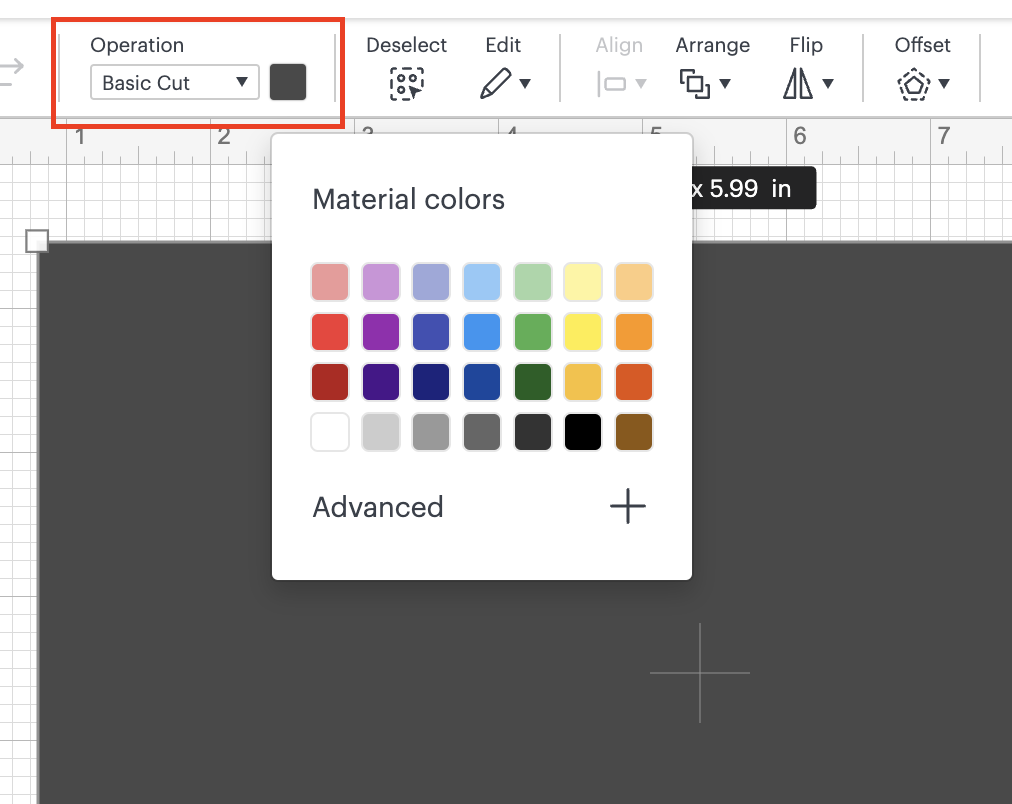
5: We are going to change the color of our square to a lighter color, to be able to distinguish our design. The square is only a placeholder to be able to determine the dimensions of our design, but is not going to be cut. In order to change the color, go to operations functionality in the top vertical bar, and click on the color squared (gray by default) in order to choose a different color.
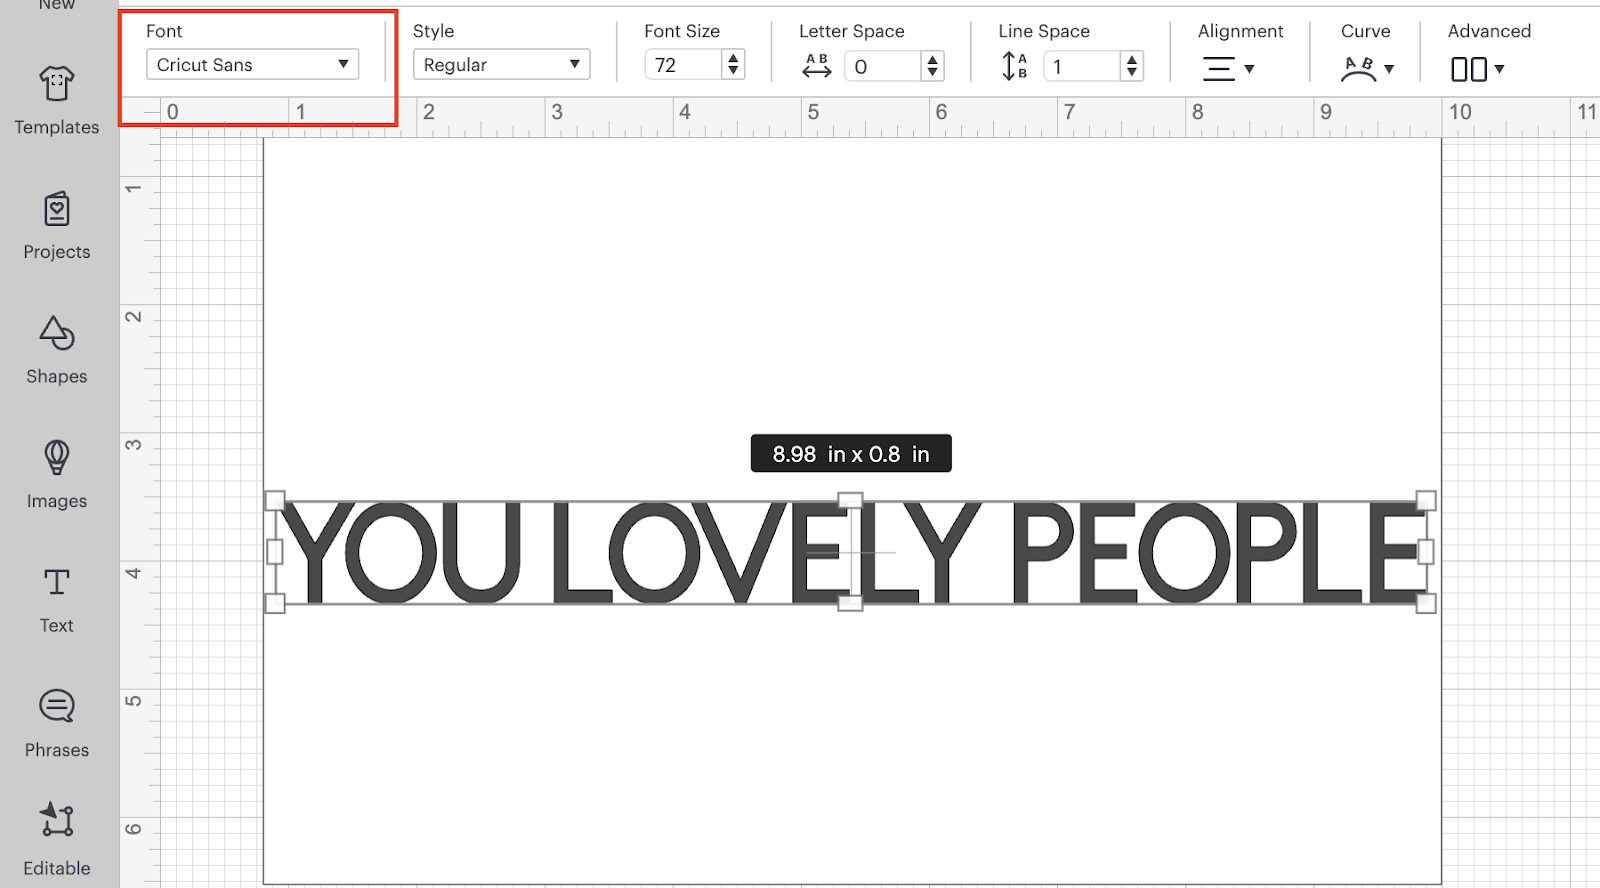
6: After, that we are going to start adding the text related to our sign, in order to do this, we are going to use the Text functionality located in the left vertical menu:
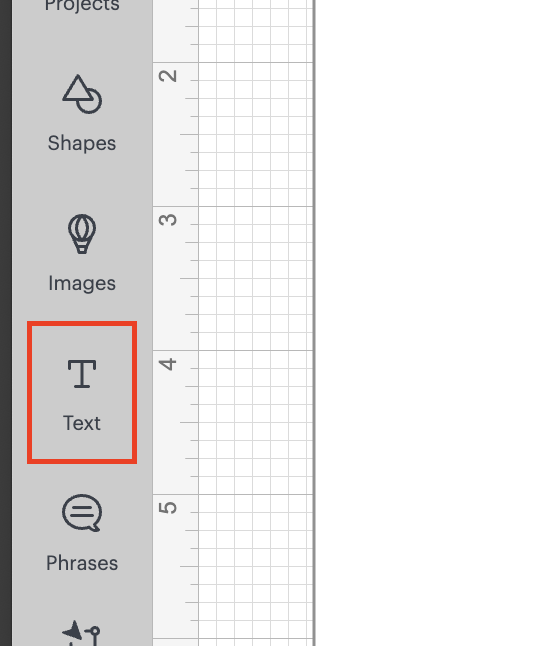
7: After choosing it, we are going to write the following phrase: “YOU LOVELY PEOPLE”, we are going to use the Default Font: Cricut Sans.
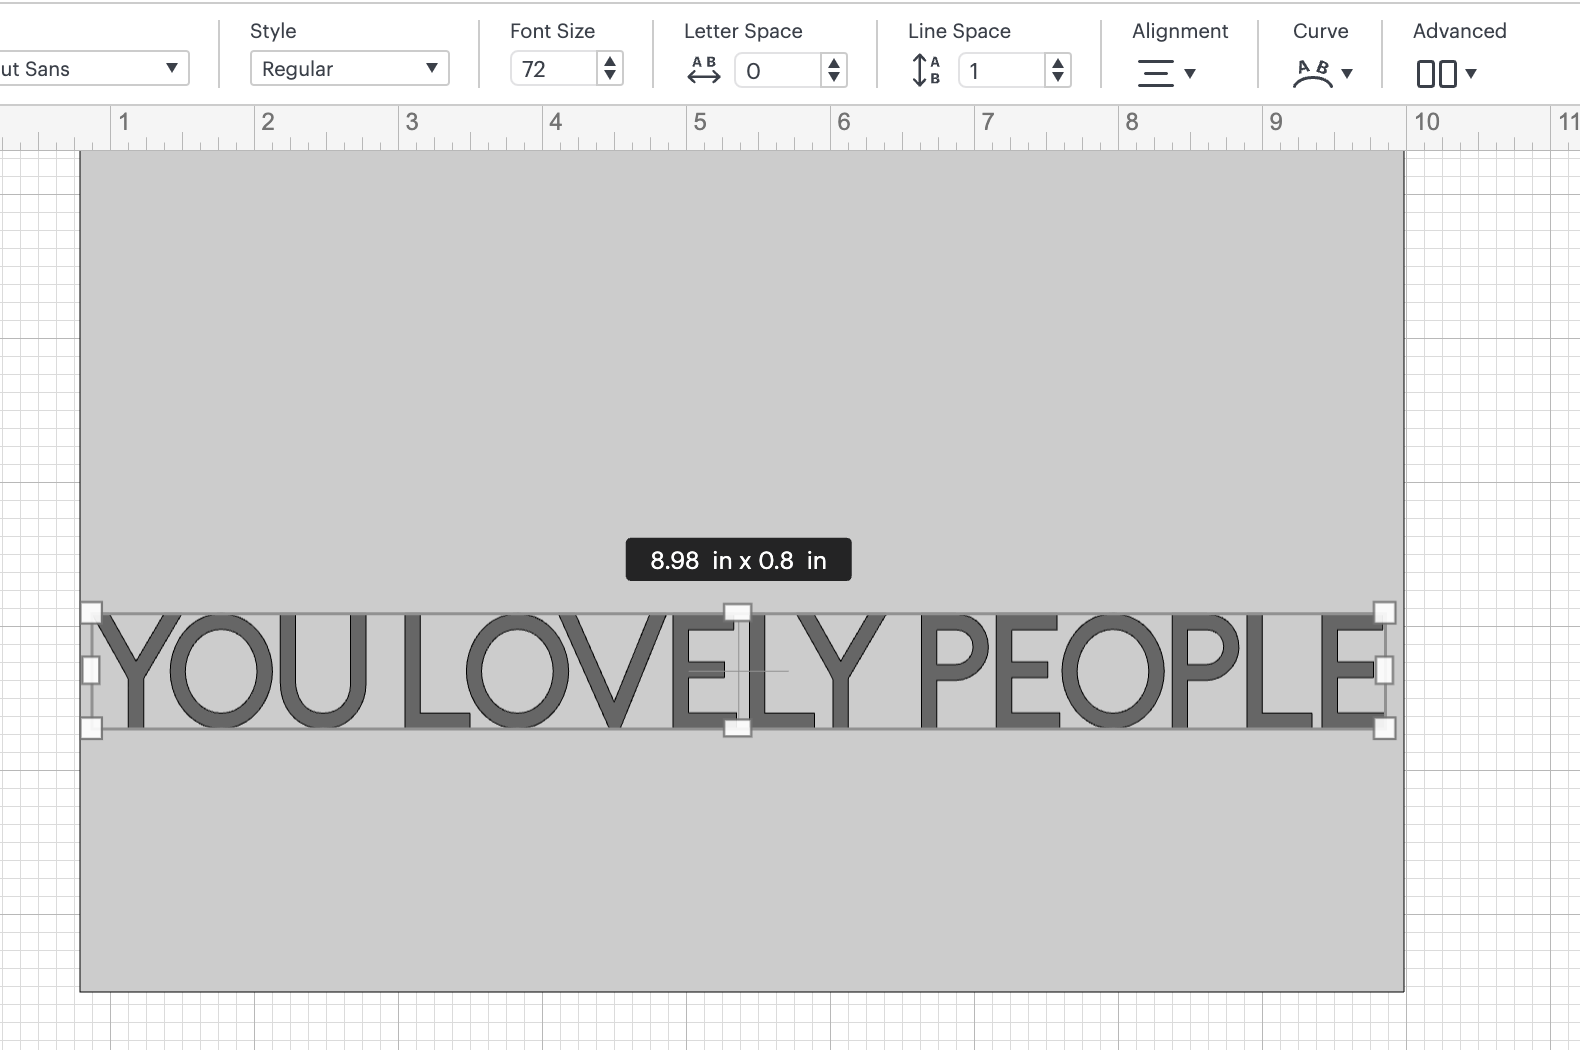
6: The same way that we changed the color to our square, we are going to change the color to the text, to WHITE.

💡Tip: Remember, that the final color that we are going to use is the one related to the vinyl in where we are going to cut our design.
8: We are going to place the phrase over the square a little bit below the middle of the square. In order to do this, you are going to click on the text and drag and drop the text.
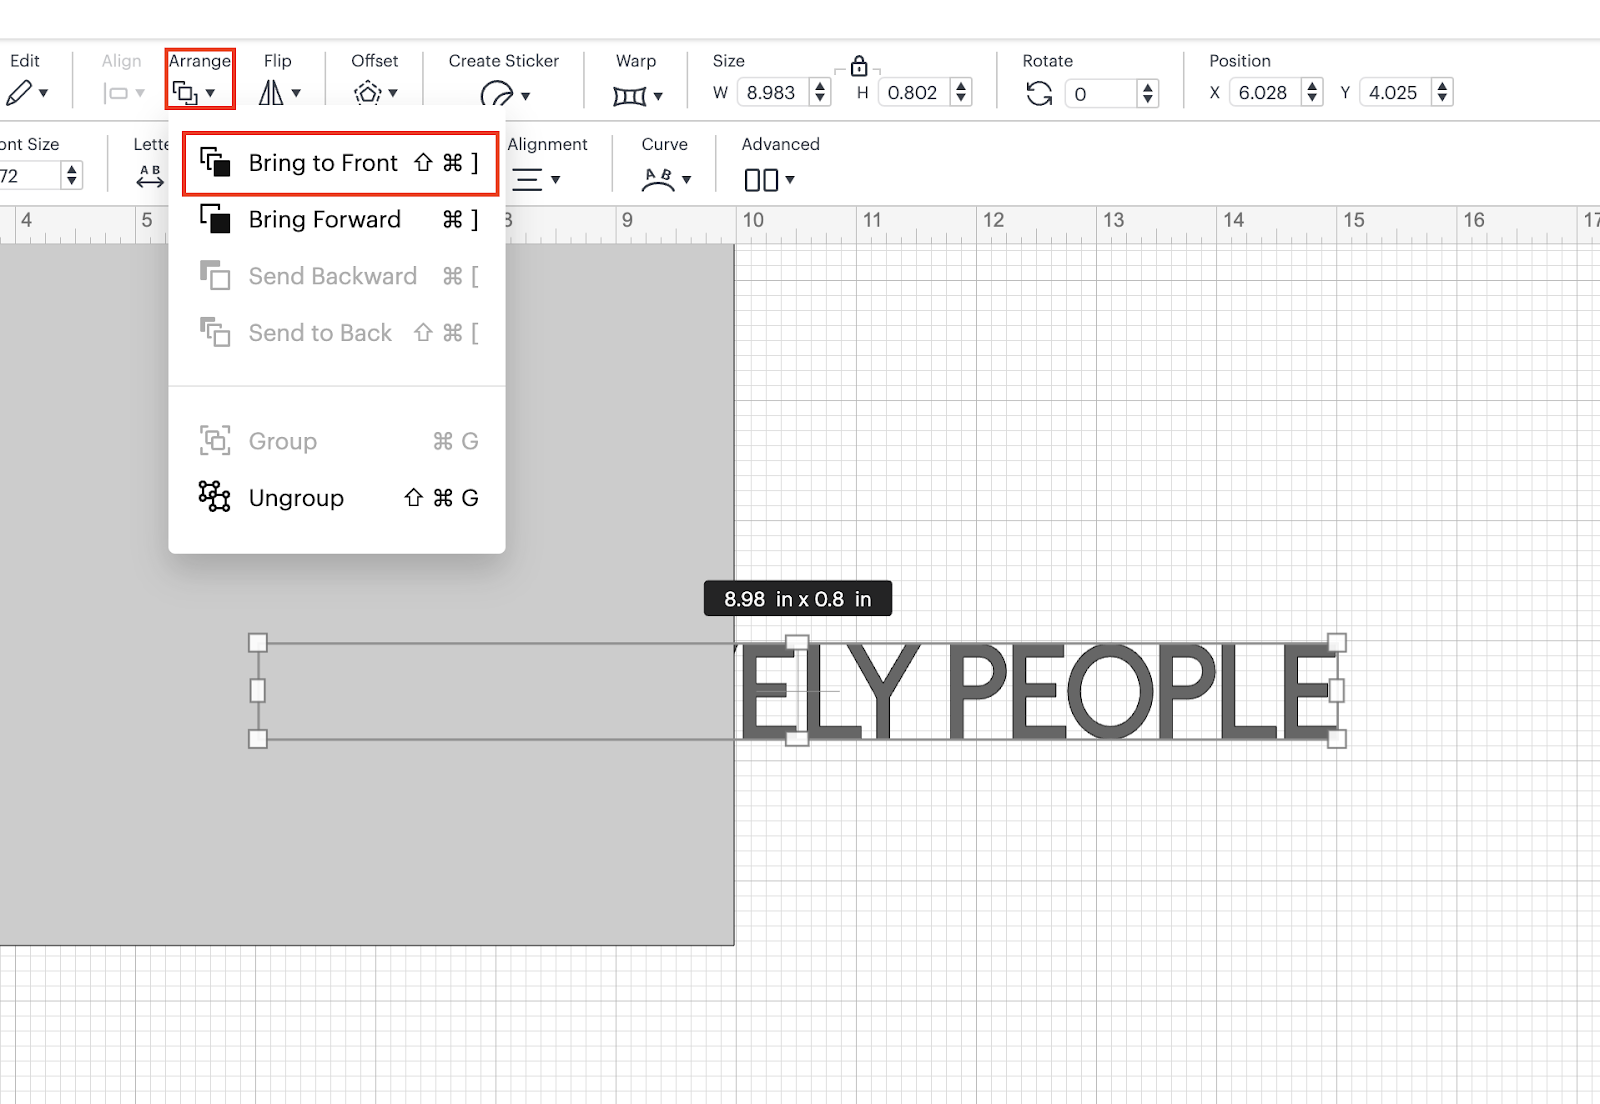
💡Tip: If the text is showing under the square, go to Arrange functionality, located on the top horizontal bar and click on: “Bring to Front”
9: After this, we are going to resize the phrase as needed, based on the dimensions of our square. In order to do this, we are going to use Font Size functionality in order to decrease or increase the font as needed.
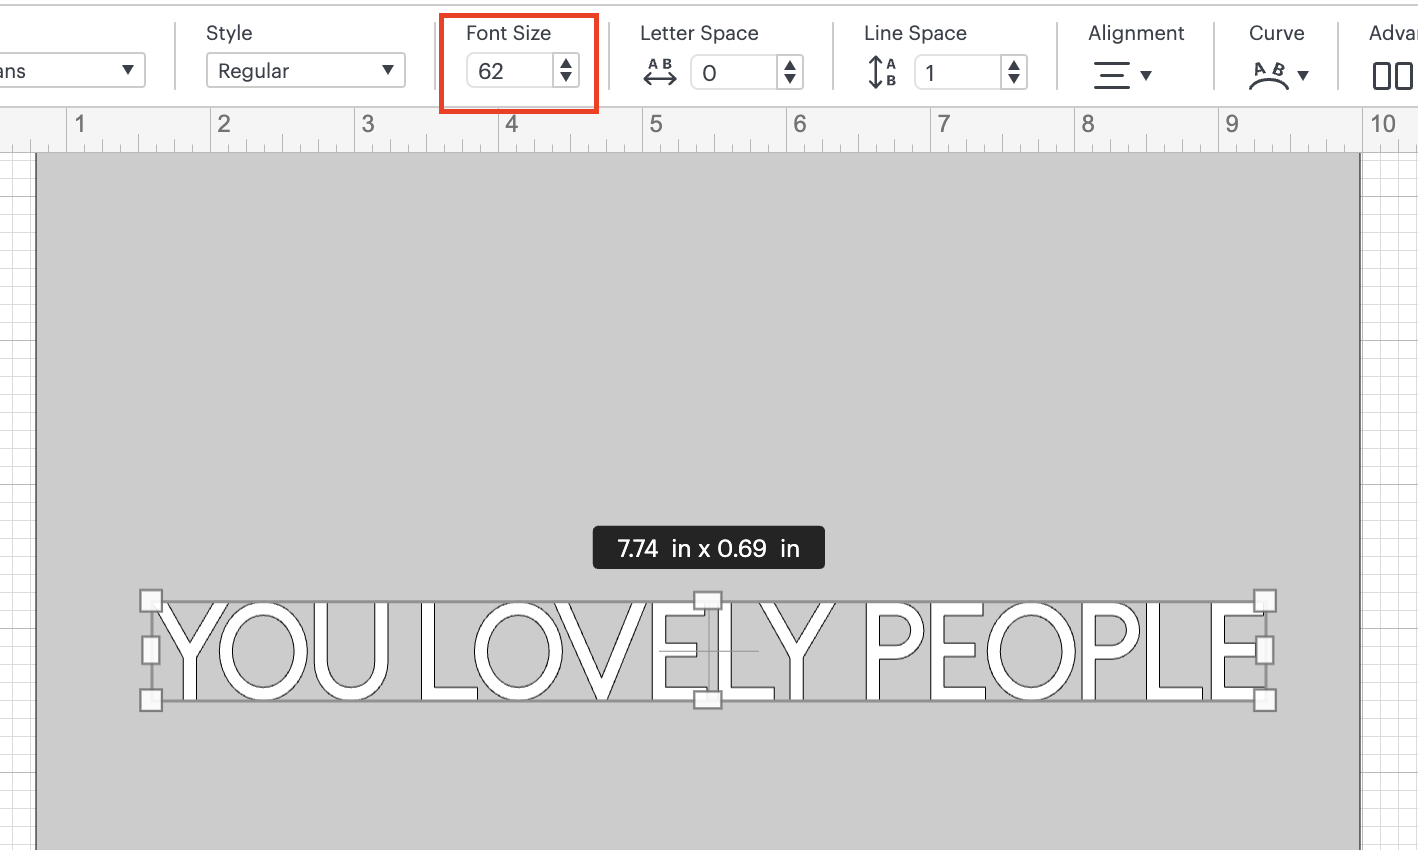
💡Tip: Make sure that you have a little bit of space in each side, so the design looks better.
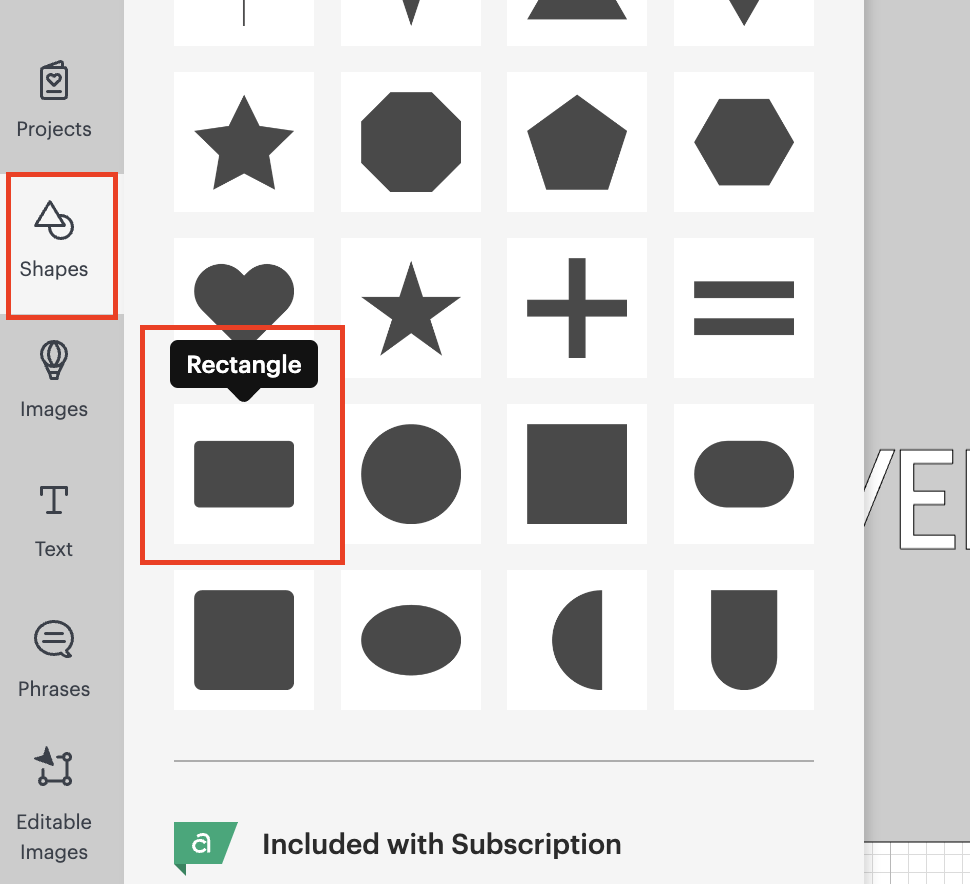
10: After resizing, we are going to add a thin rectangle line over our phrase. We are going to use the rectangle shape, located in shapes functionality in the Left Vertical Bar.
11: We are going to change the rectangle measurements to: W: 7.74” (same as our phrase) and H: 0.5“. In this case we need to click on the lock over the measurements, before adding the right measurements that we are looking for.
The Width is going to be exactly the same as the width of your phrase, so use your dimensions to make sure that looks as expected.
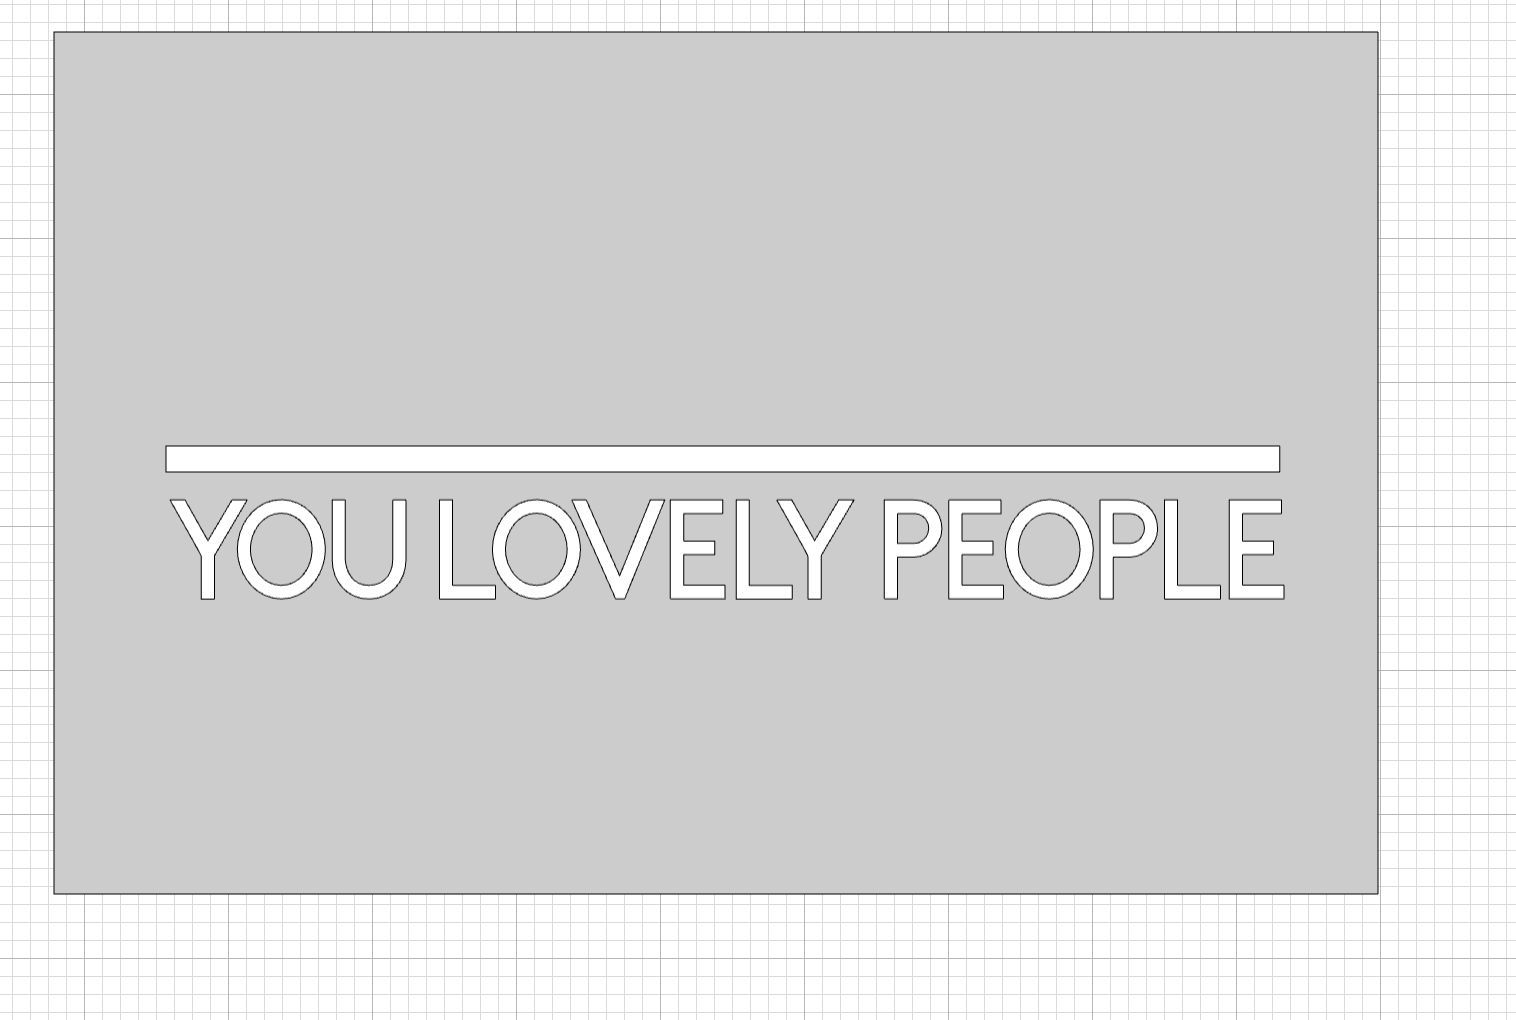
We are also going to change the color of the “line” to WHITE by using the same process as we did before.
You should have something like:
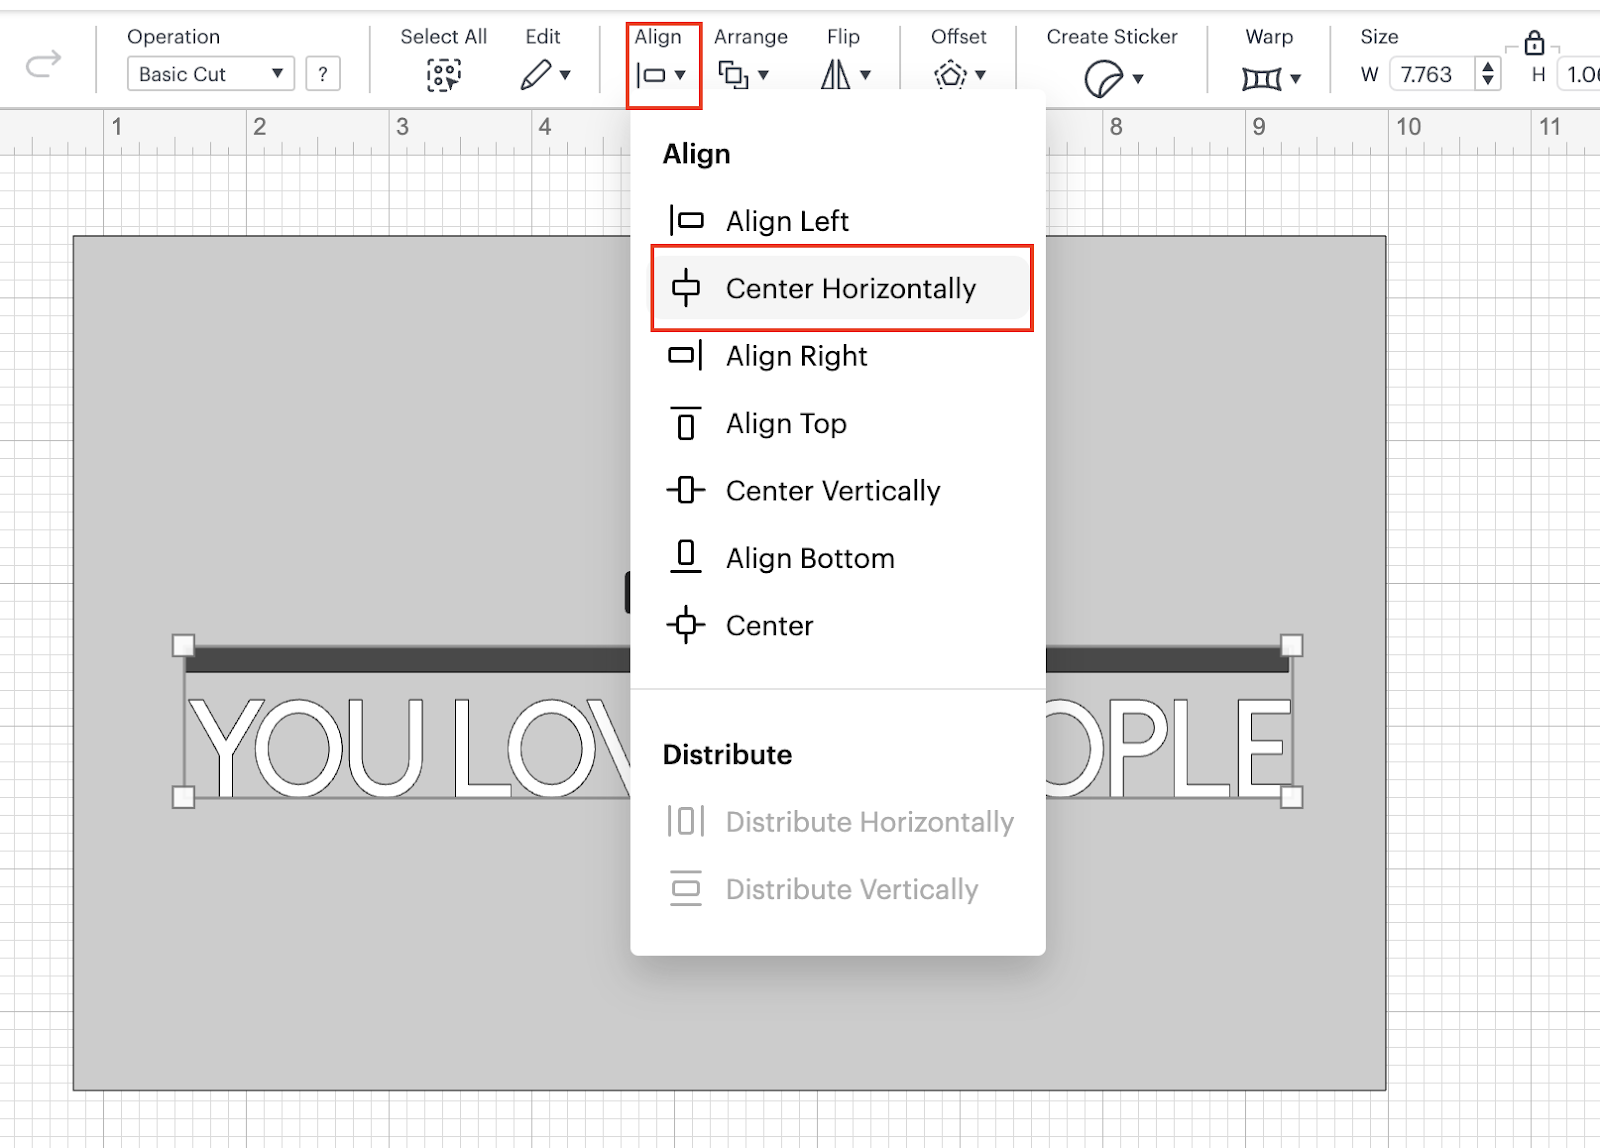
12: Since these 2 elements are the same color we are going to proceed to align them. In order to do this, we are going to select both elements, go to Arrange functionality in the top horizontal bar menu and choose the option: Center Horizontally.
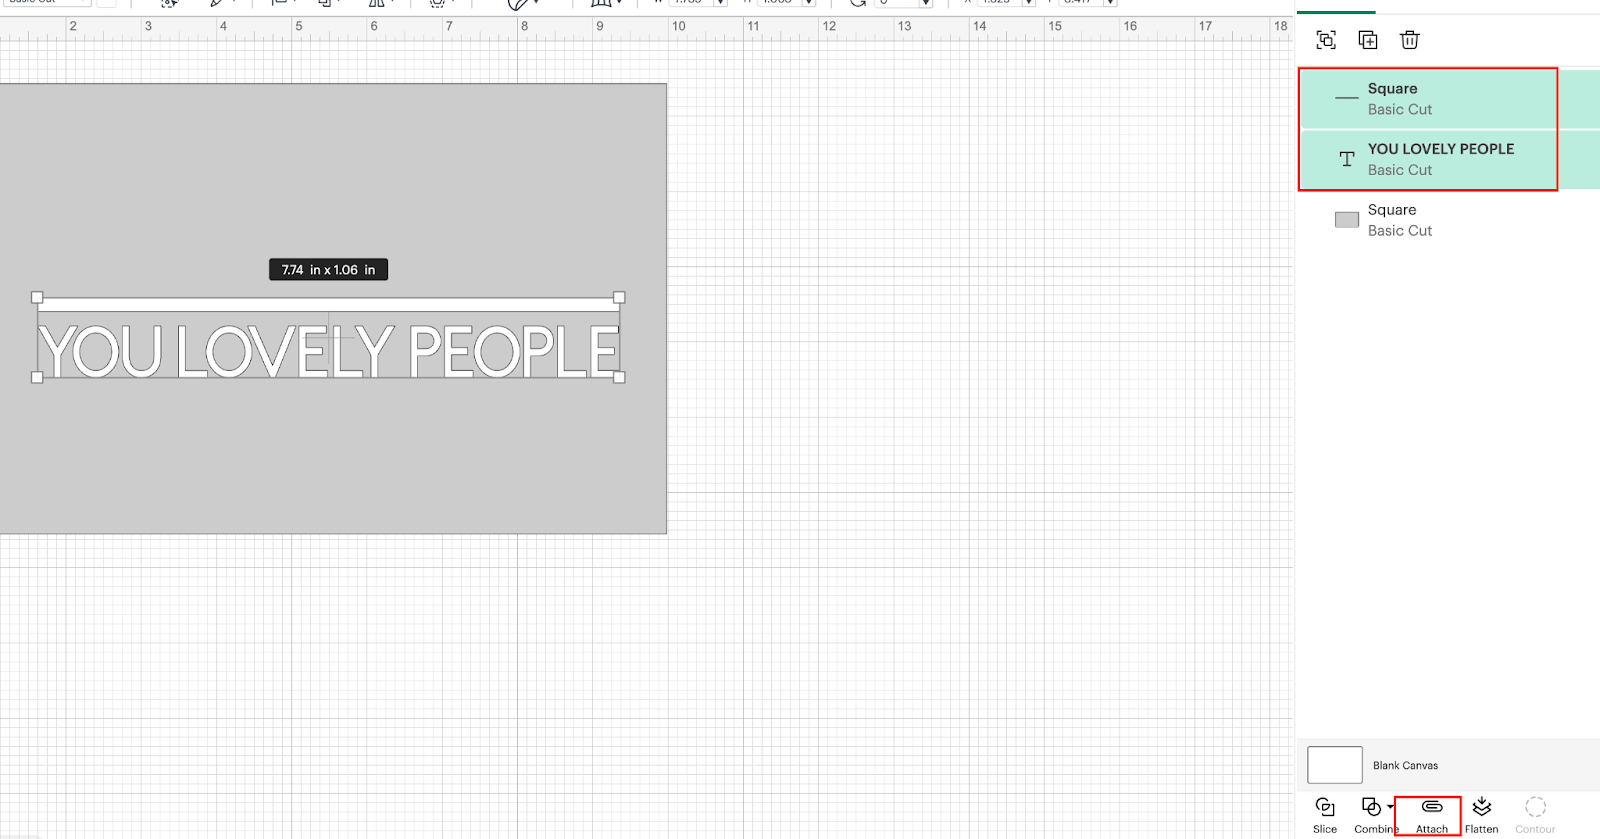
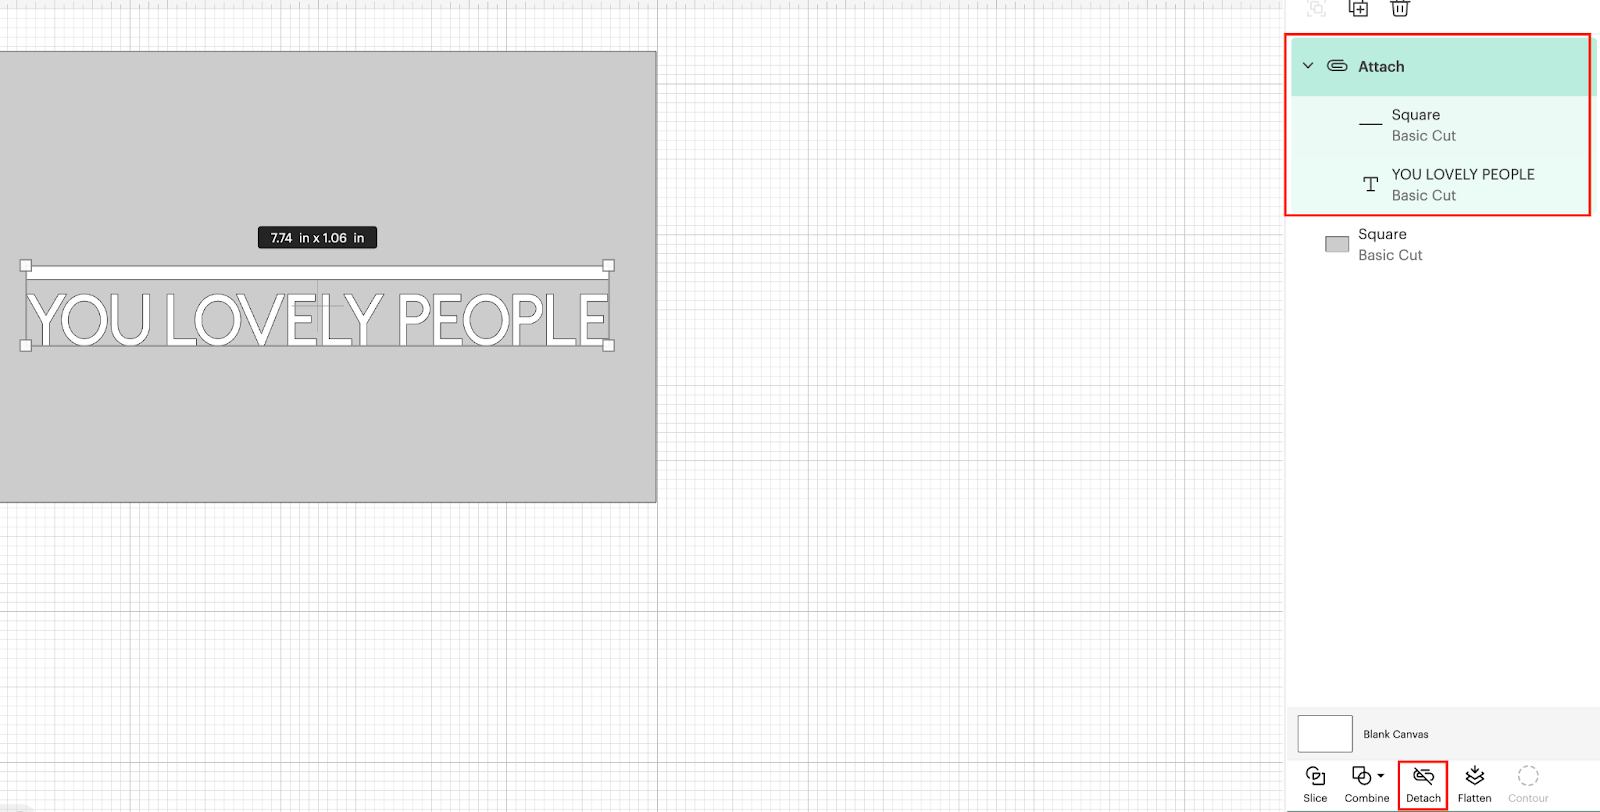
13: After we align them, since we are going to cut them in the same color, we are going to proceed to Attach them, by using the attach functionality located on the Right bottom menu.
After attaching them, you are going to notice that now you have one element, instead of two.
Before Attaching them:
After Attaching them:
💡Tip: The attach functionality is going to allow us to print those elements together in the order that we are place them in Design Space, if you want to cut any of the elements in a different color, you need to SKIP this step.
14: Now, using Text functionality as we did before, we are going to add the word: “hello”.

15: You can choose any font that you like or you can install one that is not available in Design Space.
In our case, we are going to install a font that we are going to use in our design, in order to do this, you need to download the font. After that, follow the steps that are showing on your device. After you installed the font, go to: Fonts functionalities, and in there choose System (in here all your devices fonts are showing)
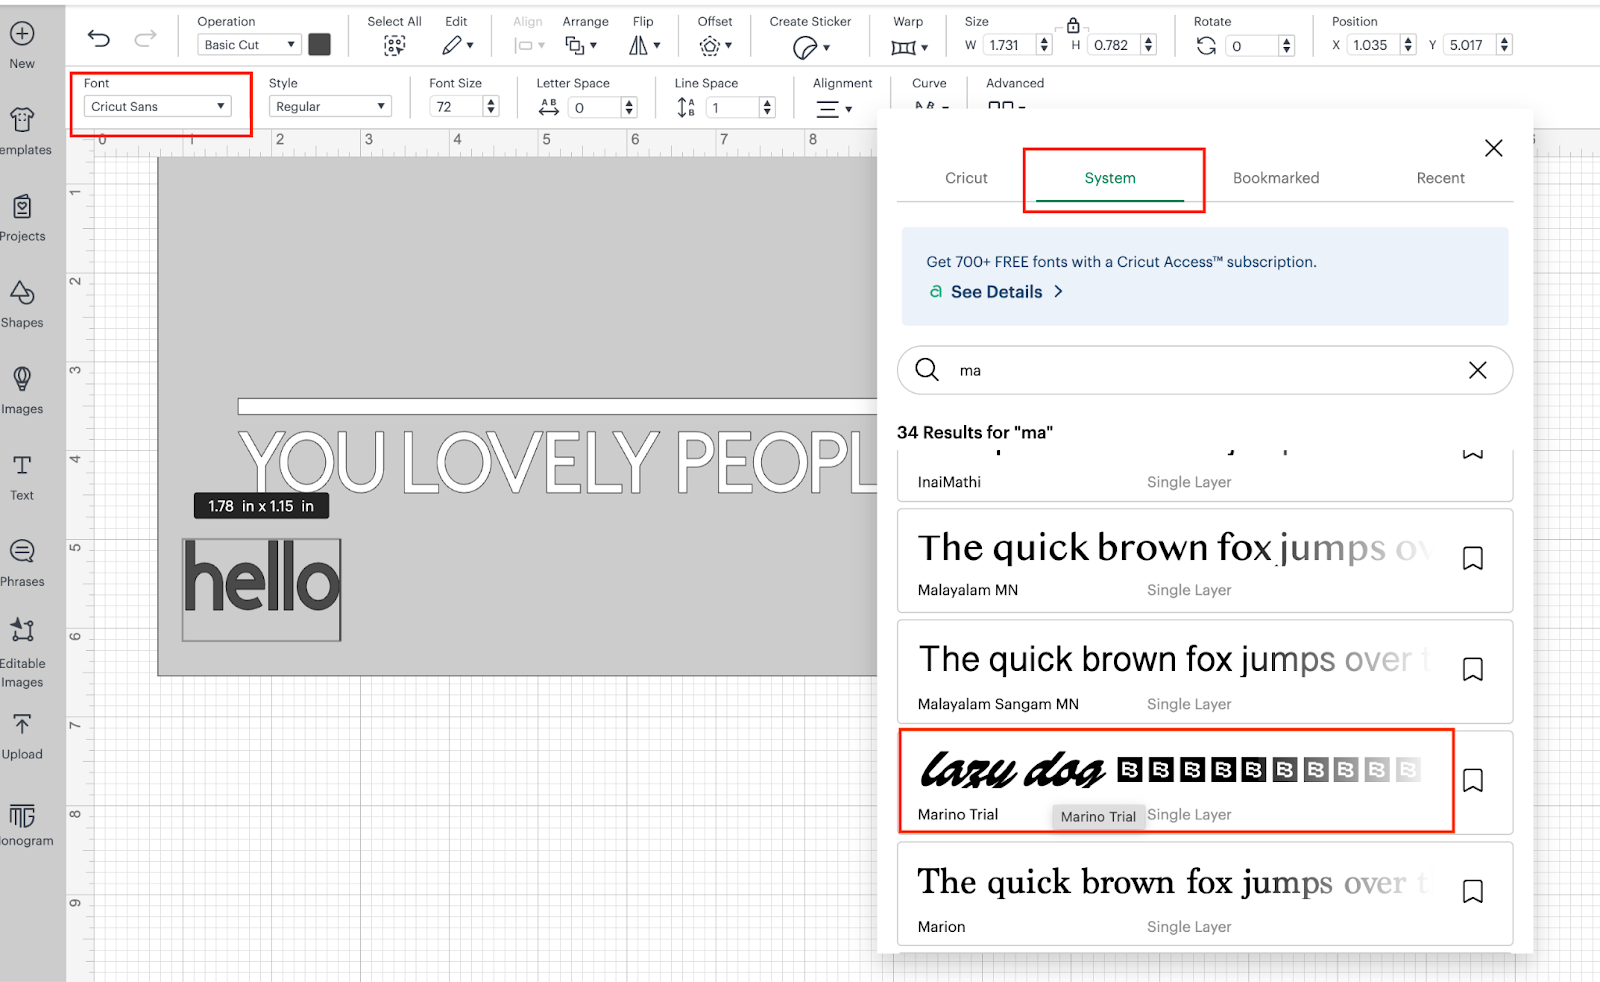
💡Tip: You need to make sure that Design Space is closed before installing the new font, if not you have to close it and open it again in order to see the font listed on your Fonts types in Design Space.
After changing the Font you should have something like this:

16: After you decide which font you want to use, you are going to select the hello word and we are going to drag and drop over the white line. And we are going to resize it and change a color to an aqua/light blue OR any other color of your preference.
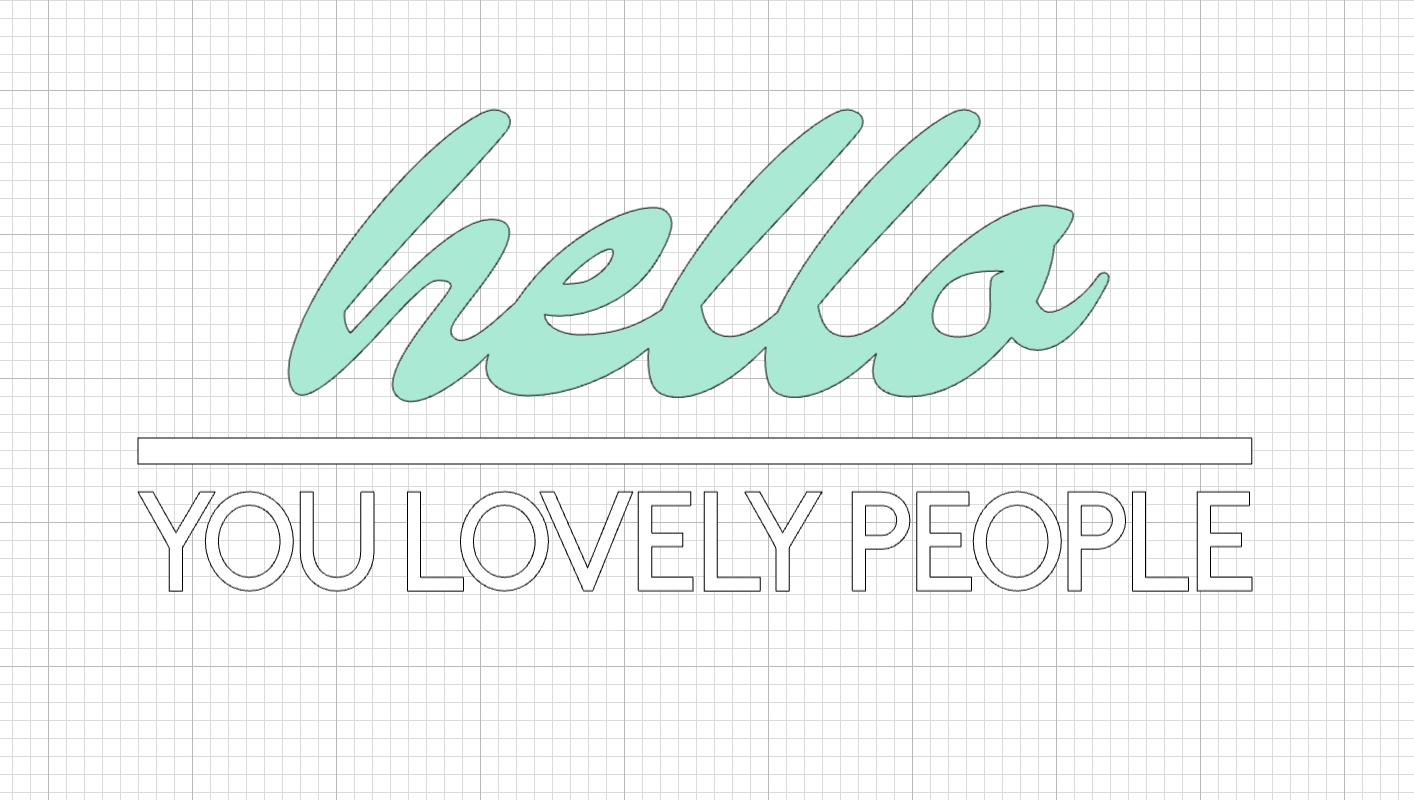
After this, you should have something like:
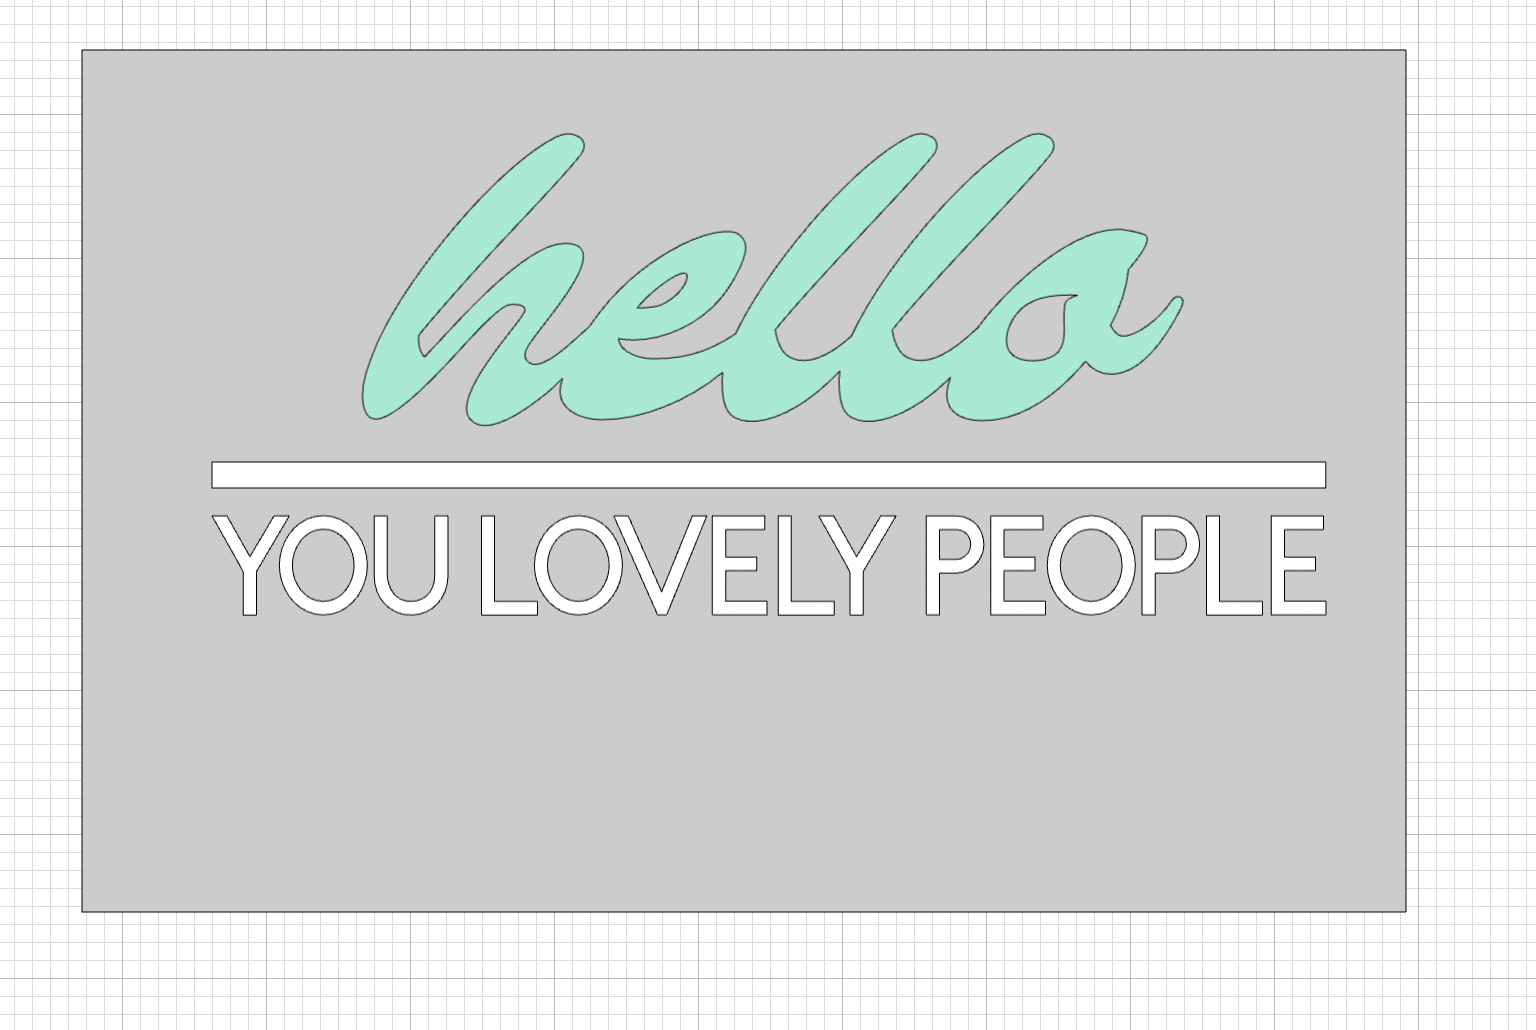
💡Tip: Remember that to resize fonts, we use the Font sizes, in our case the Font size is: 136 based on our wood sign dimensions.
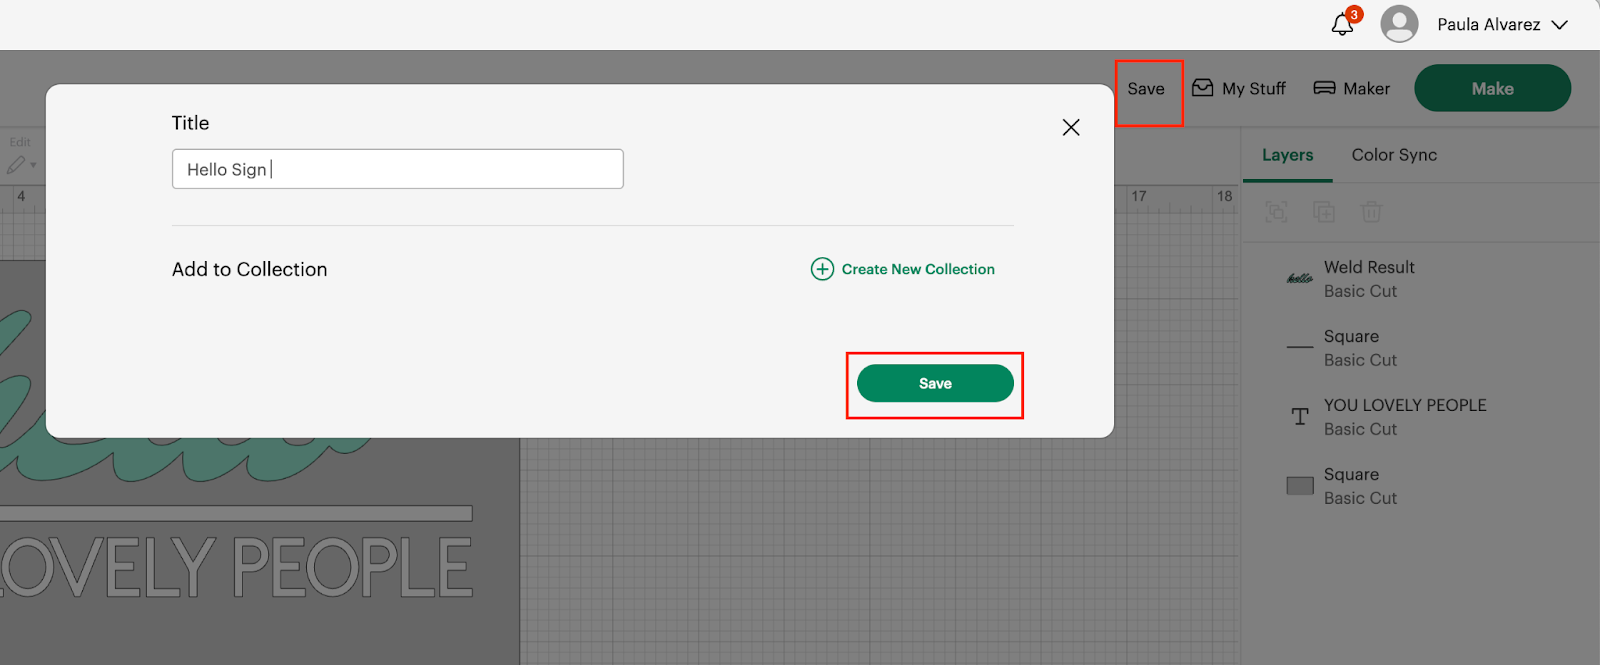
17: After you are happy with the design, especially with the measurements, we are ready to save our design, Click on Save button on the Right Top side of the screen and provide a name to your design and click on Save button.
18: Since we are ready to start cutting, we are going to Hide the square, since it is not going to be cut. In order to do this, we are going to select the square and click on the little eye icon that is showing next to the square under the Layers section.
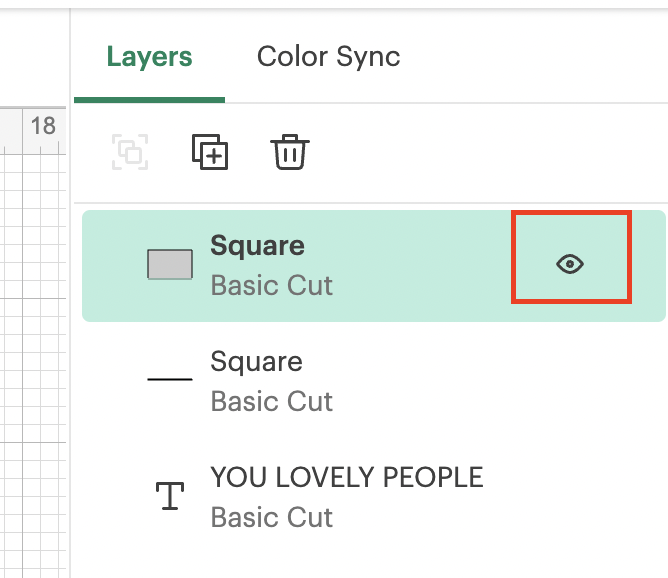
After hiding the square: