Step 1: Creating the Pencil Card
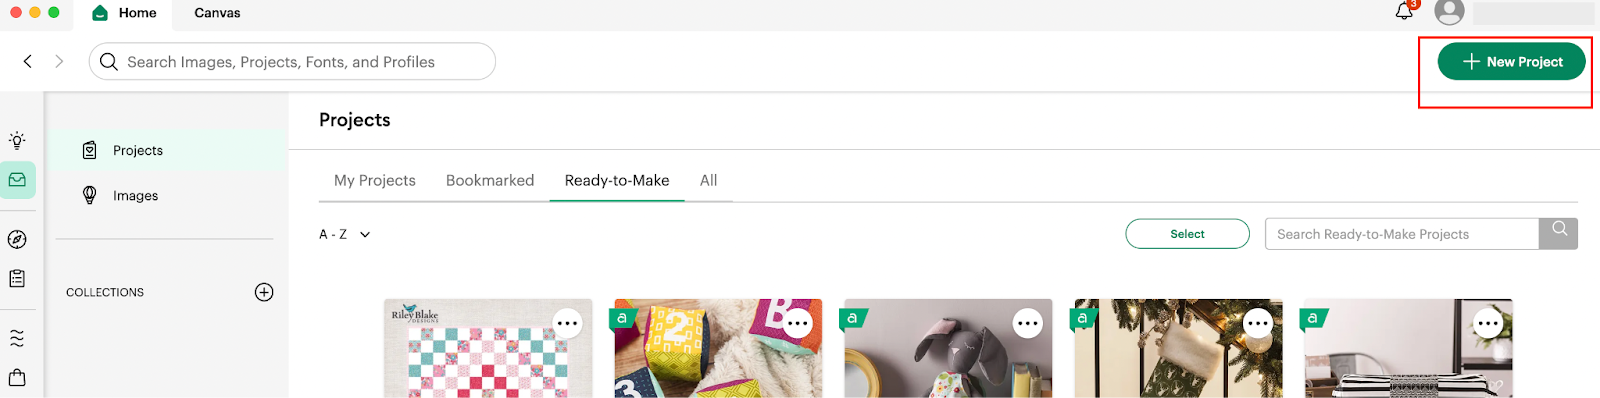
1: In order to be able to start our Design, we are going to access our Design Space application and in there we are going to click on the + New Project Green button located on the top Right corner of our screen.
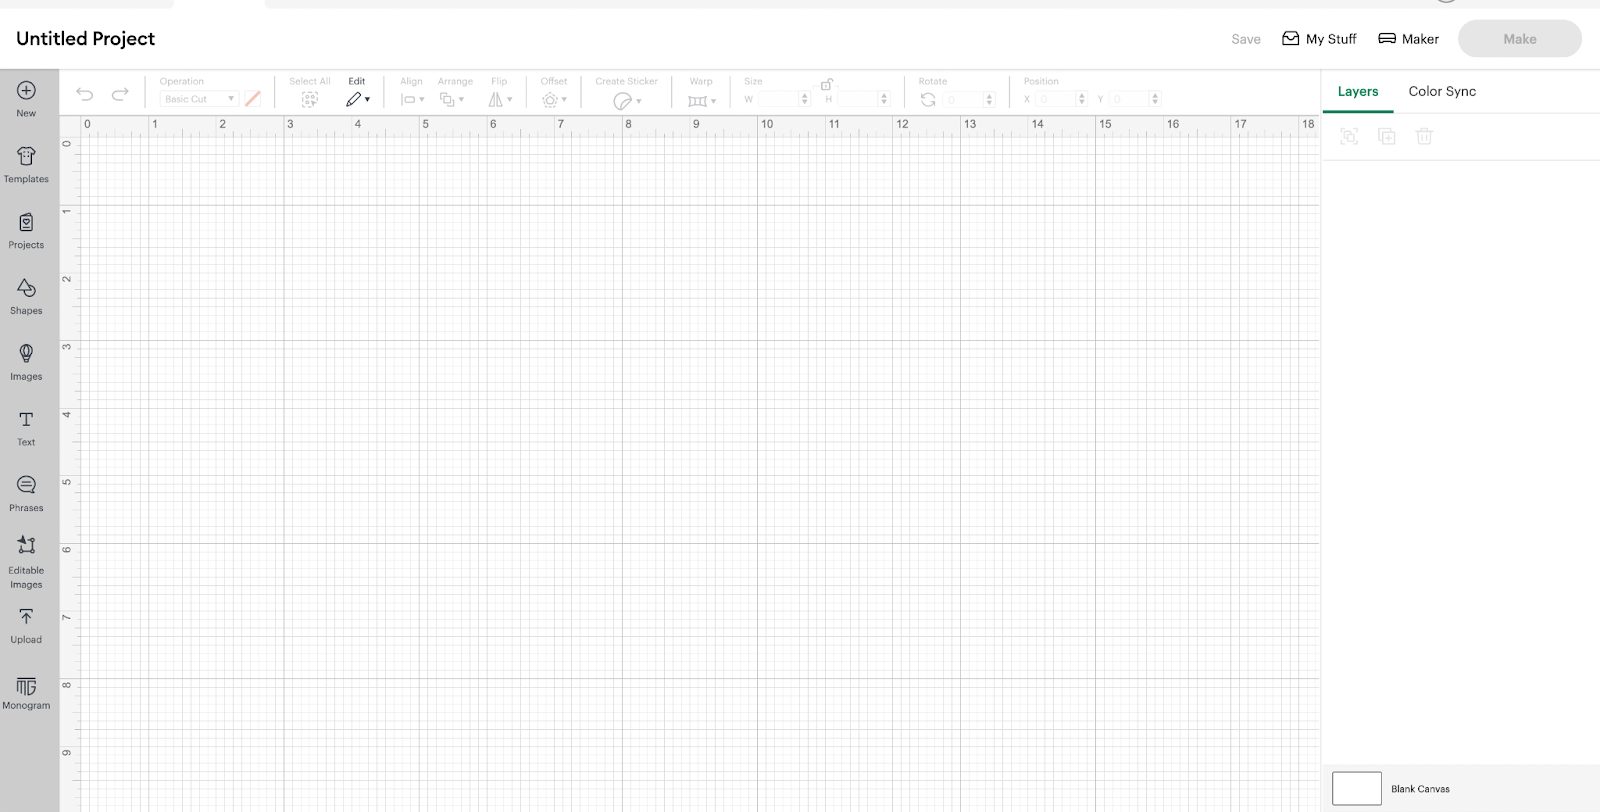
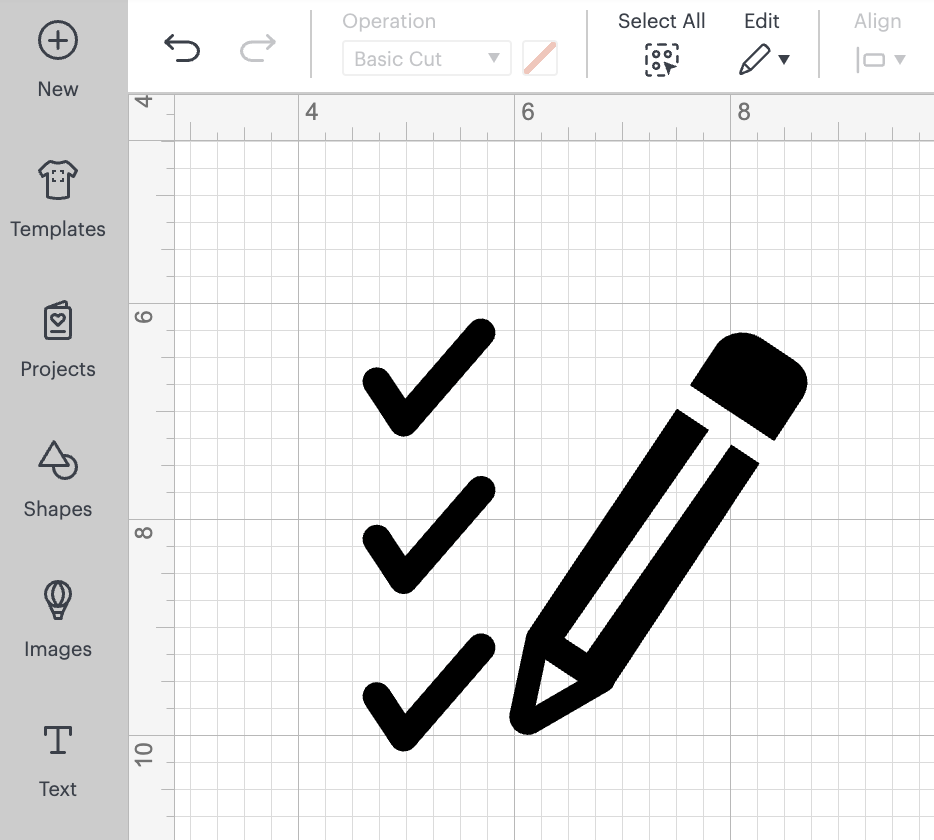
2: After we clicked in there, we are going to be able to access our Blank Canvas, in where we are going to start creating our Design:
3: In order to start with the Pencil card, we are going to search for the following pencil image:
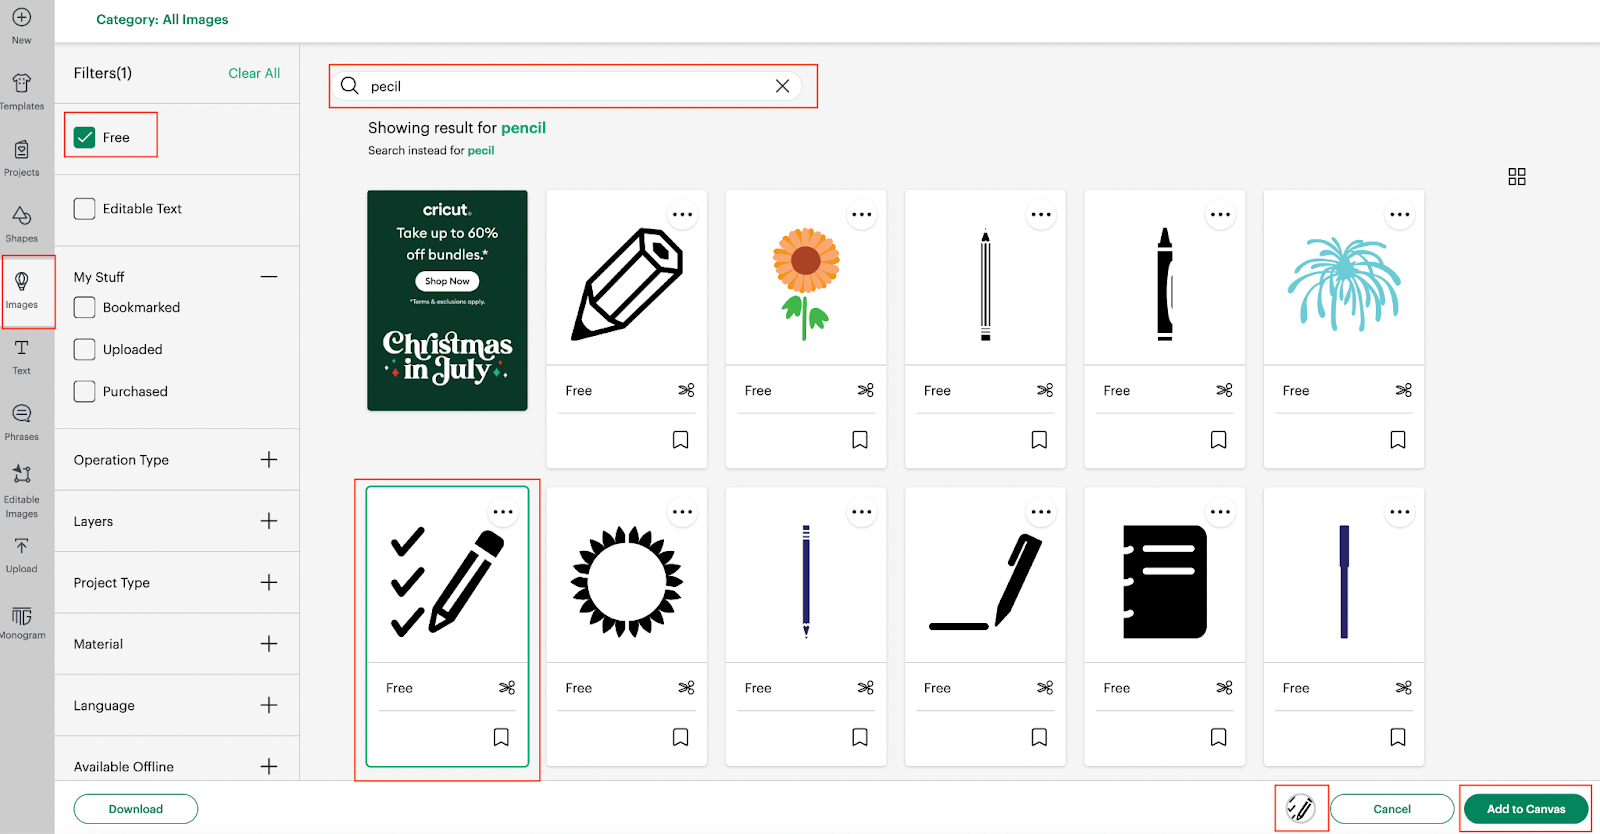
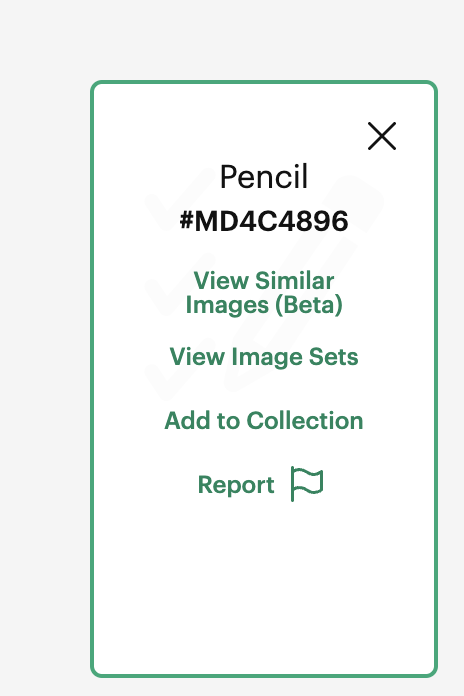
You can also search by the image ID: #MD4C4896
After you added the image in your canvas, you should have something like:
4: for this image, we are going to use the part of the “eraser” so we are going to add a rectangle using shapes functionality and we are going to slice it, by using the slice functionality:
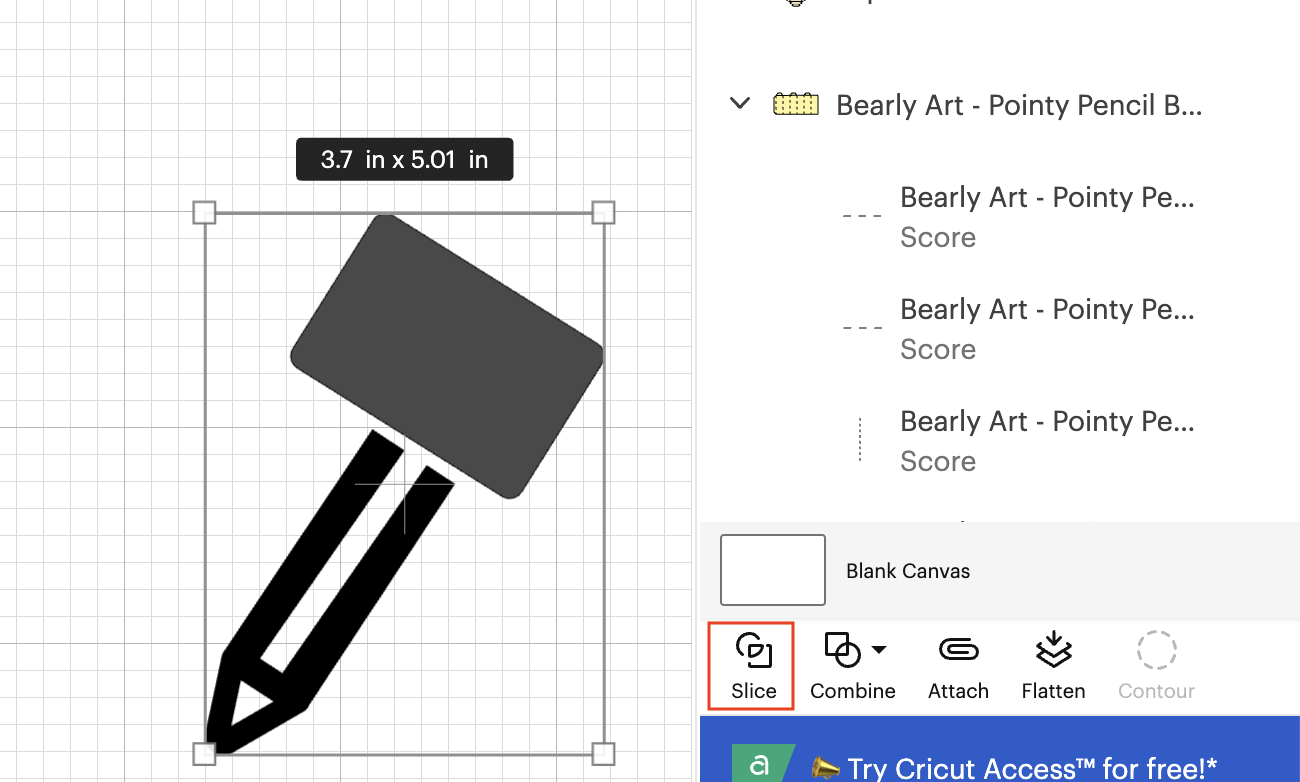
After the slice you should have:

You can delete or hide the rest of the pencil.
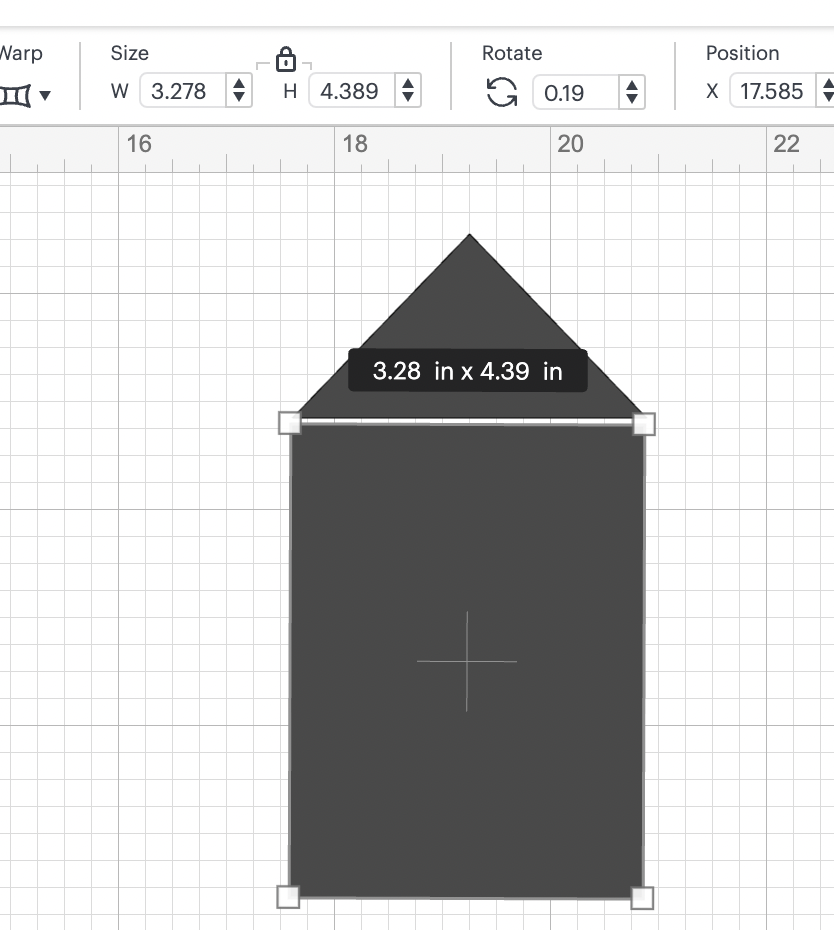
5: Now we are going to add a square and a rectangle with the following measurements:
Rectangle: W: 3.48” and H: 4.39”
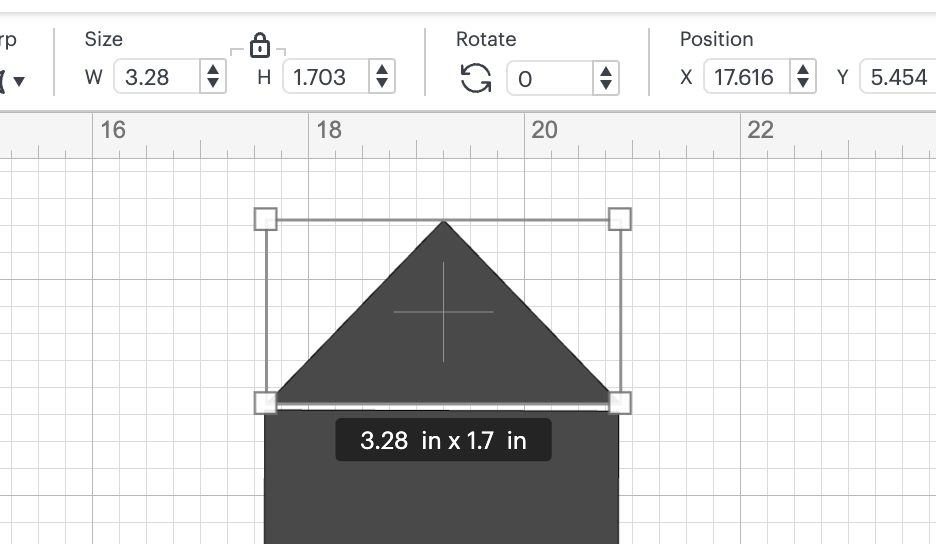
Triangle: W: 3.28” and H: 1.7”
6: You are going to resize the “eraser” or the bottom of the pencil, with the following measurements: W: 3.37” and H: 2.59”

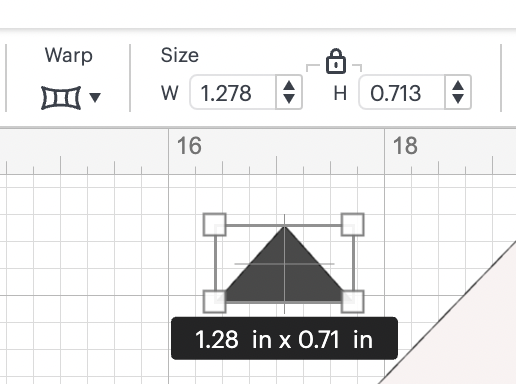
7: We are going to add another rectangle with the following measurements: W: 1.28” and H: 0.71”
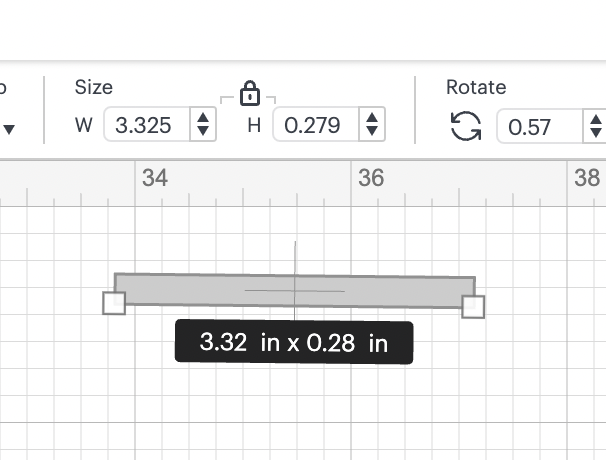
8: We are going to add one shape, this time is going to be a rectangle, with the following dimensions: W: 3.32” and H 0.28”:
9: We are going to change the colors of all the elements elements:
- Small triangle to Black
- Big triangle to Light Pink
- Rectangle to Yellow
- Small rectangle to Light Gray
- Bottom part (eraser) Medium Pink / Light fuchsia
We are going to approach the pieces between each other, so there are no spaces between each other.
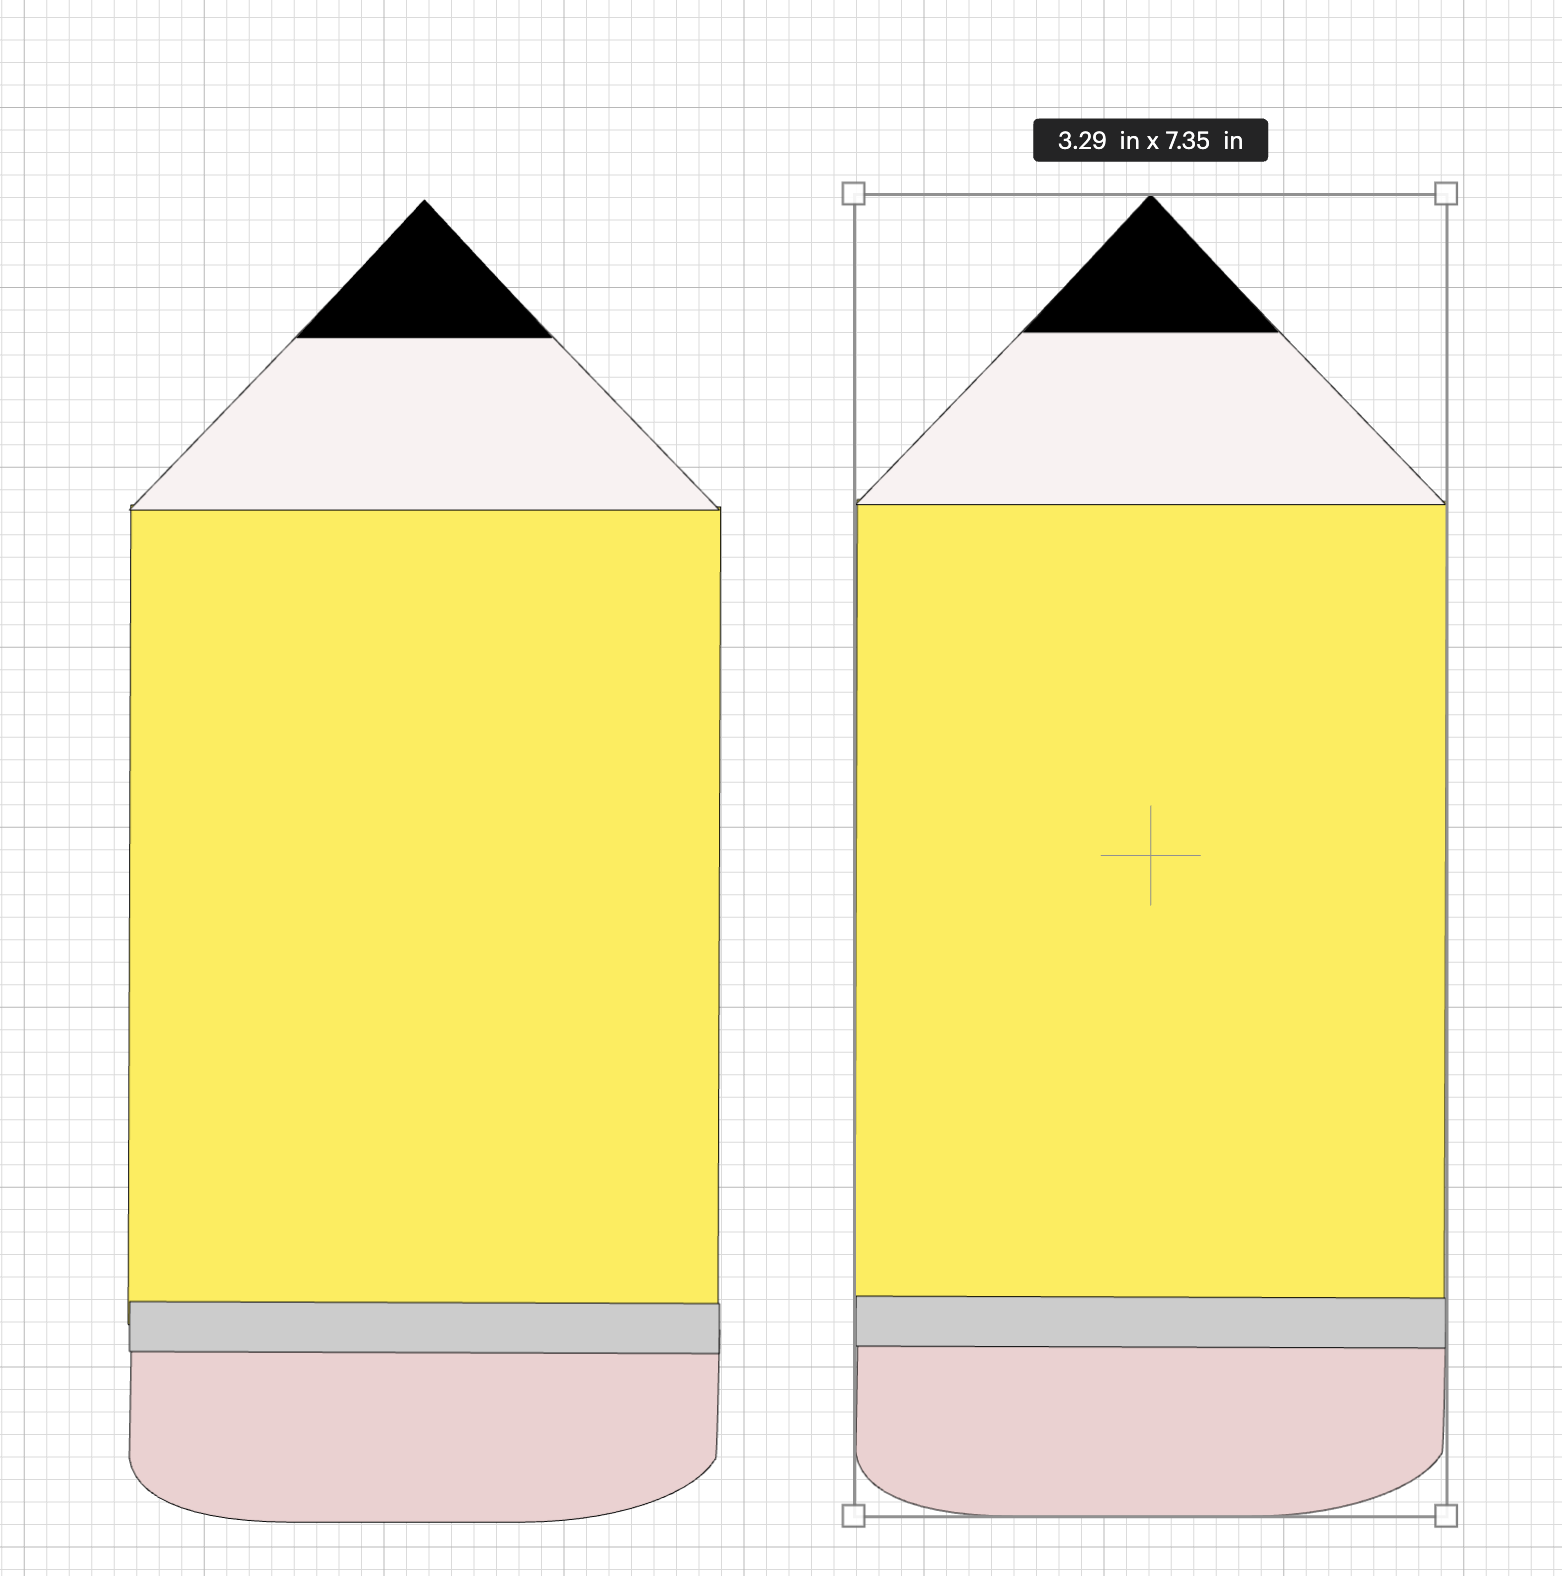
After changing the colors and approaching the pieces you should have something like:
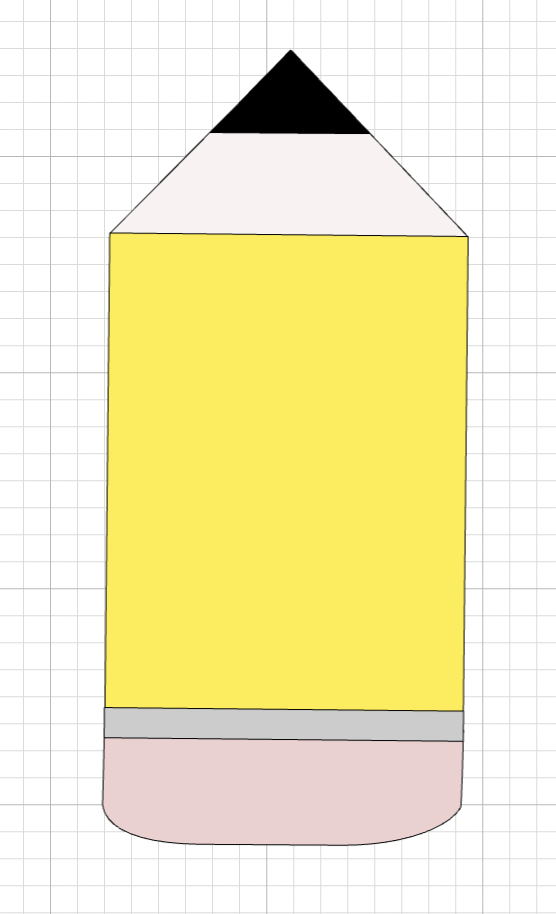
With this step, our pencil looks like a pencil!!!!! As you may have noticed, I overlap the small triangle over the big triangle on the top.
10: We are going to Center the pieces by using the Align functionality:

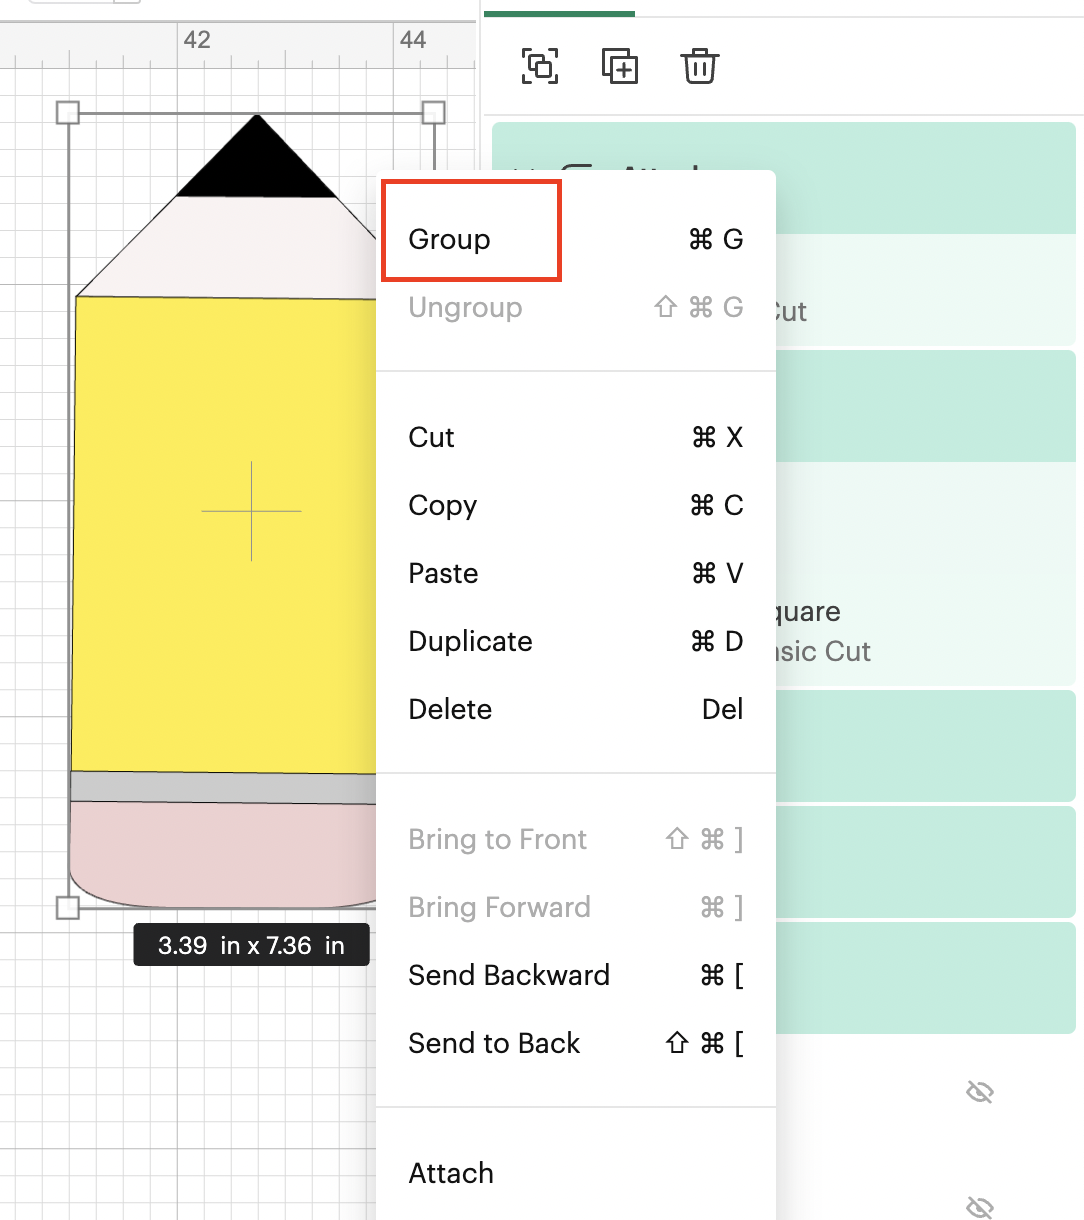
11: We are going to group our pencil so we can move it around without issue and then we are going to Duplicate it:
To group, simply select all the elements and click on the right button of your mouse and choose Group:
For Duplicate we are going to locate the Edit functionality on the top bar menu and in there click on duplicate:

After we duplicate the pencil:
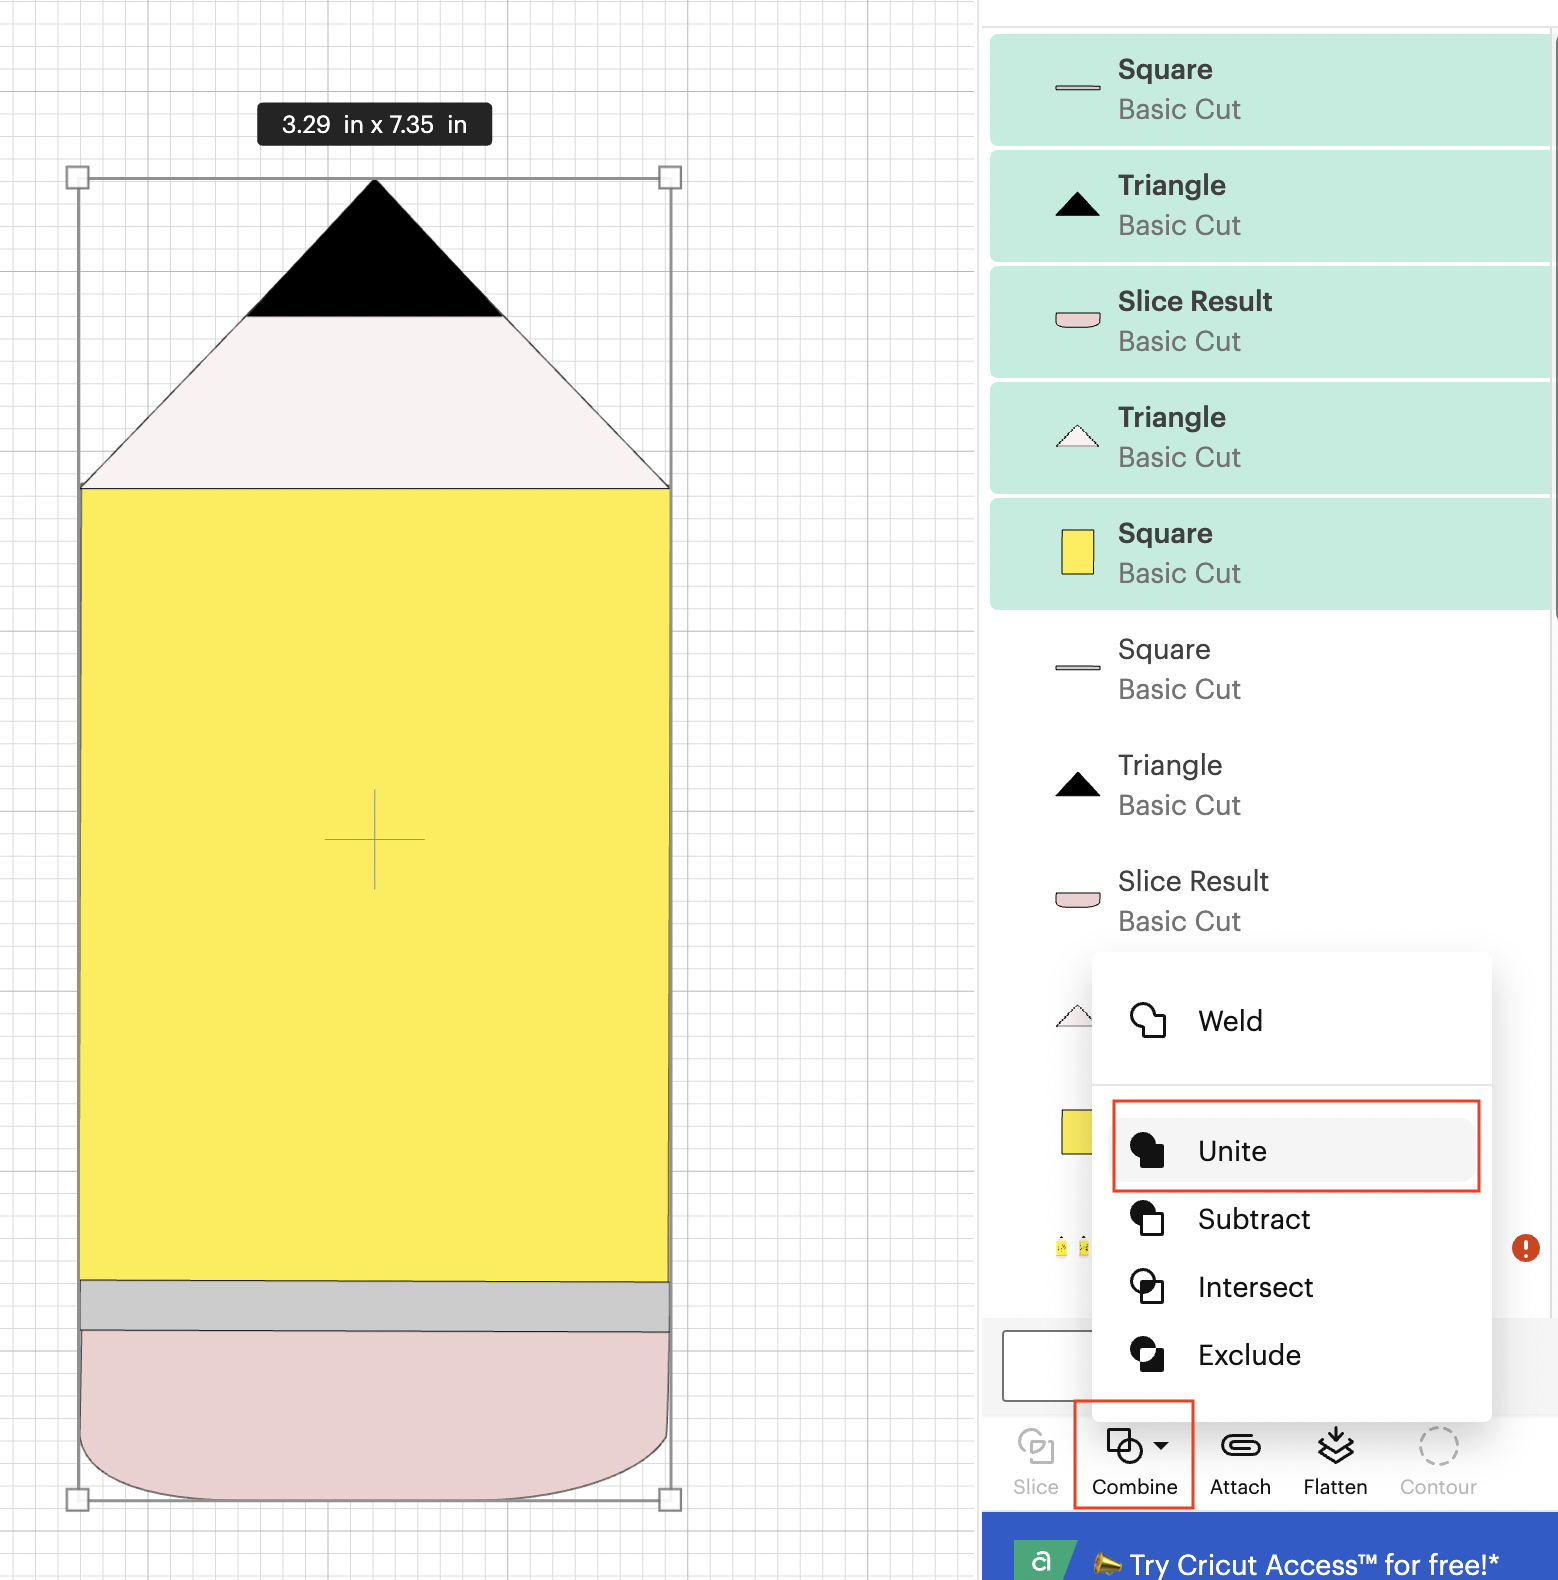
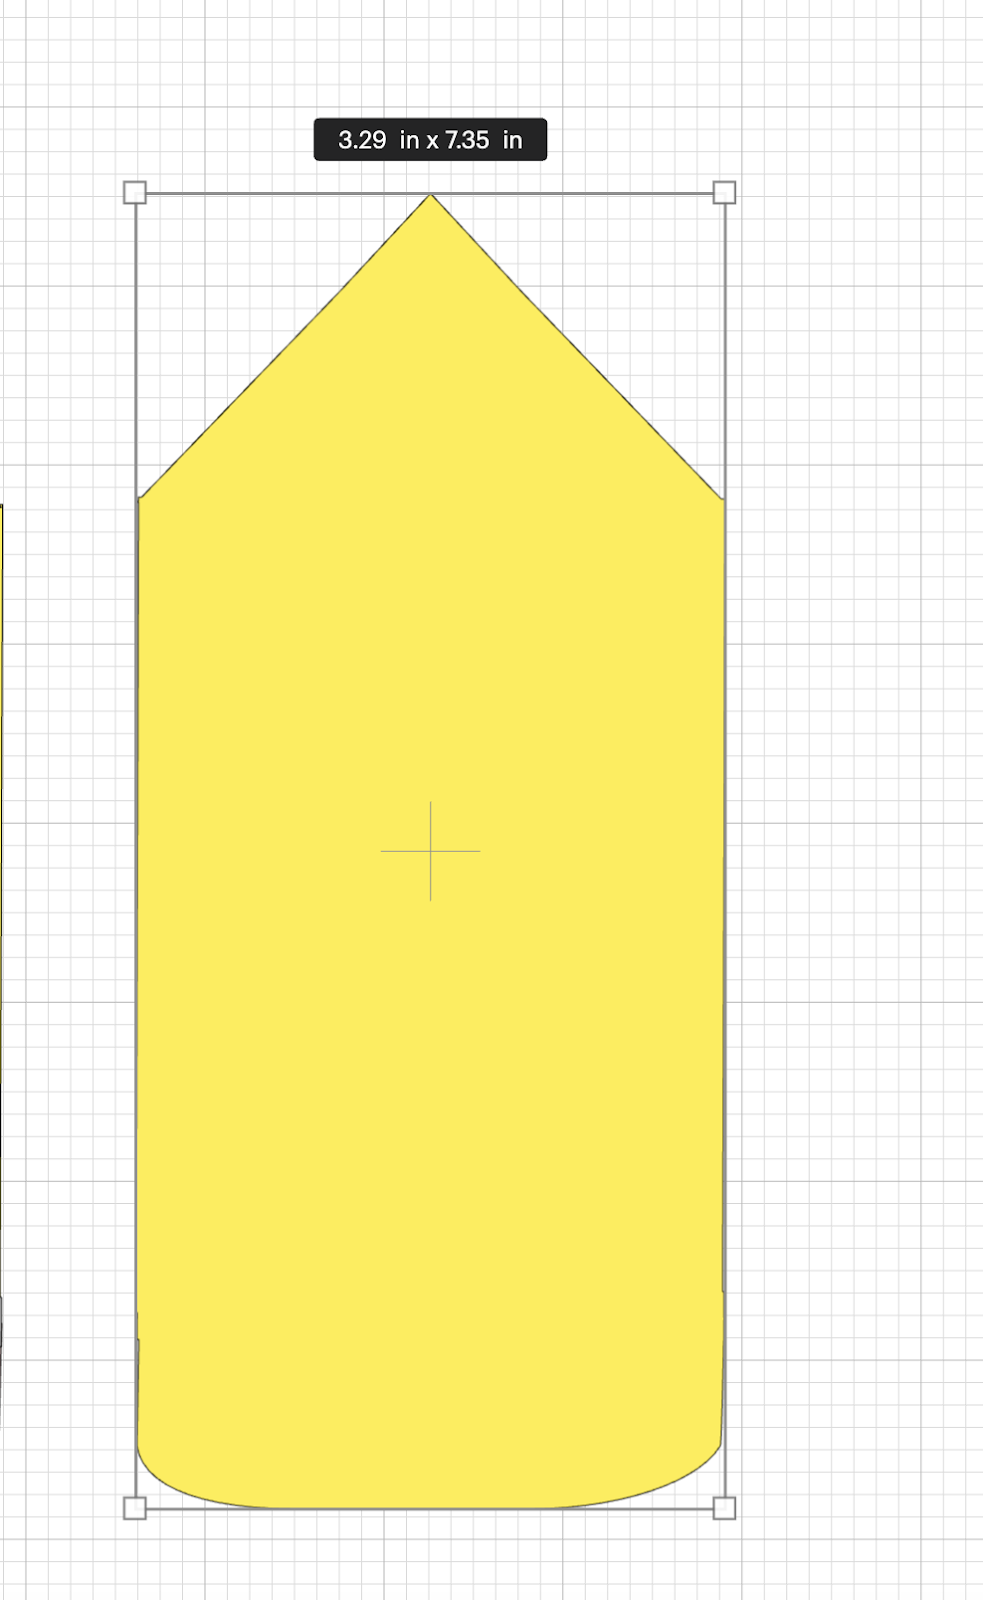
12: We are going to select one of the pencils, and we are going to Unite the pieces together, this is going to allow us later to glue all the pieces over this one.
After you apply the change:
💡Tip: For this scenario, Weld or Unite are going to have the same result, so you can use any of those options
13: The piece that we just created, we are going to Duplicate 2 more times, with the same functionality that we used previously:

14: One of the pieces is going to be in where you are going to glue the pencil, you can change the color based on your preference.
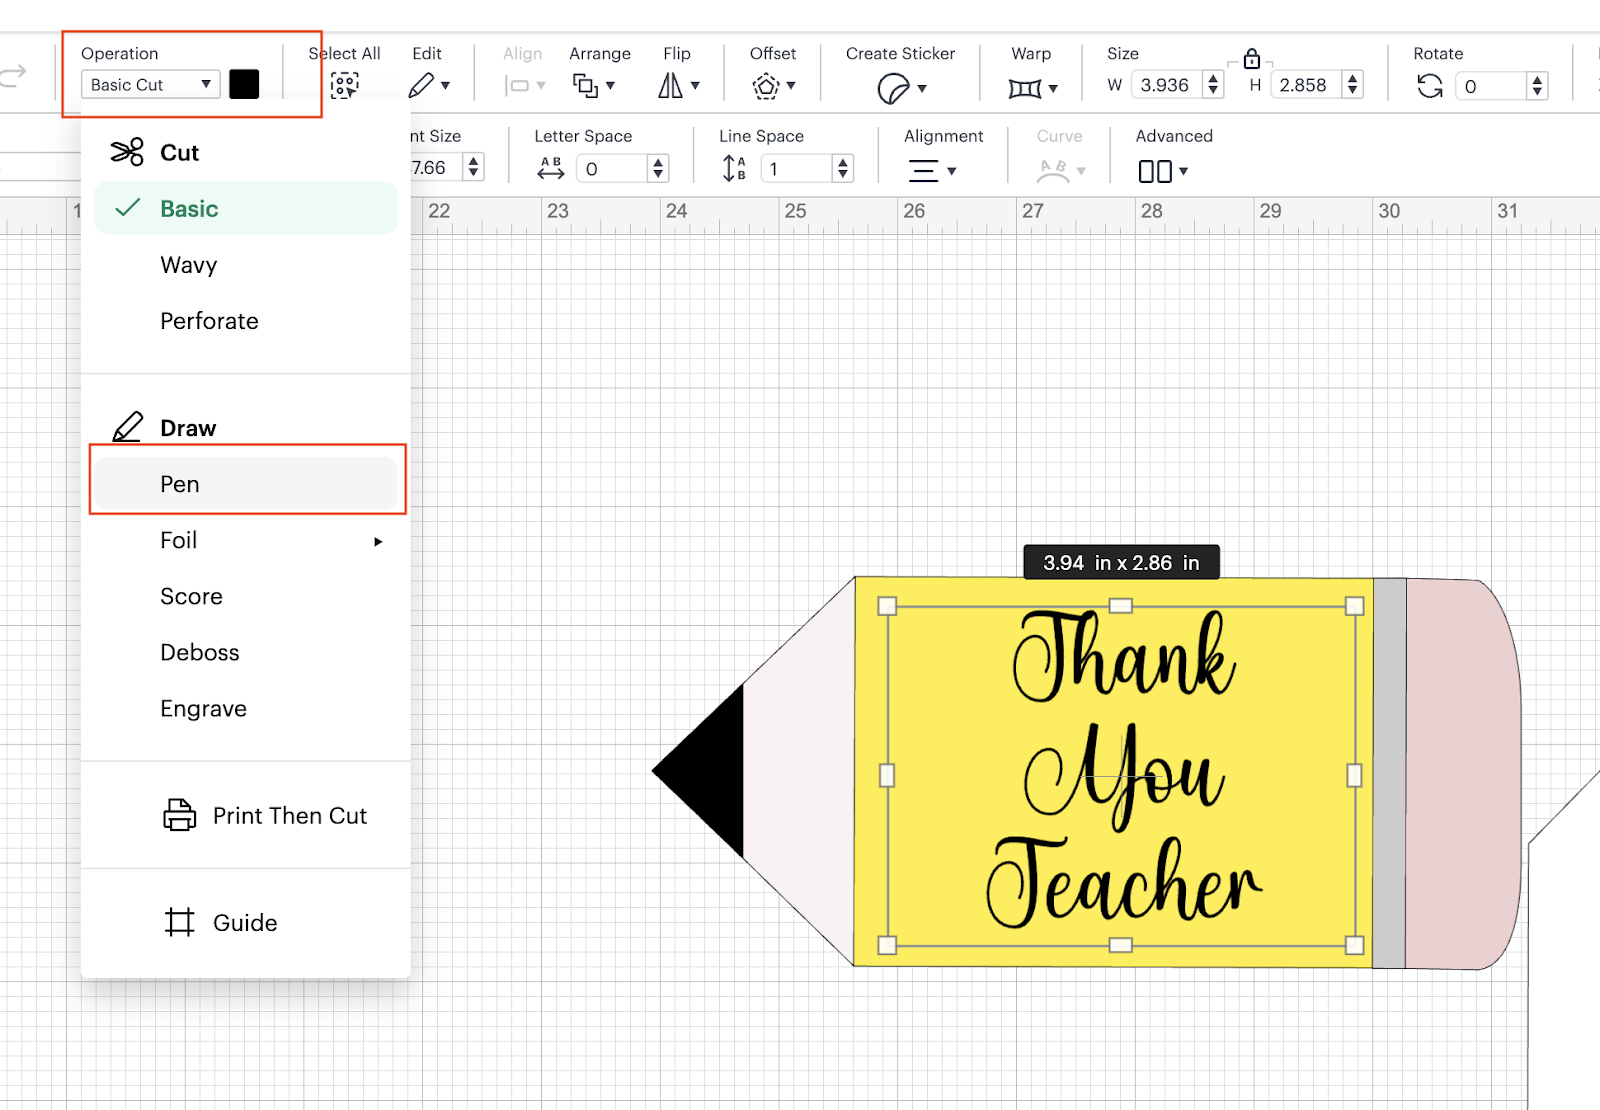
15: Now, we are going to proceed adding some details to the pencil, that is going to be the front of our card, for this, we are going to add some text, in our case we are going to write: “Thank You Teacher” and we are going to change the font to: Amalina or any other font of your preference.

💡Tip: If you are planning to use the font that we provided, you need to install it, in order to do view the new font in your font lists inside Design Space, you need to close the Design Space and open it again, before closing, make sure that you saved the changes first.
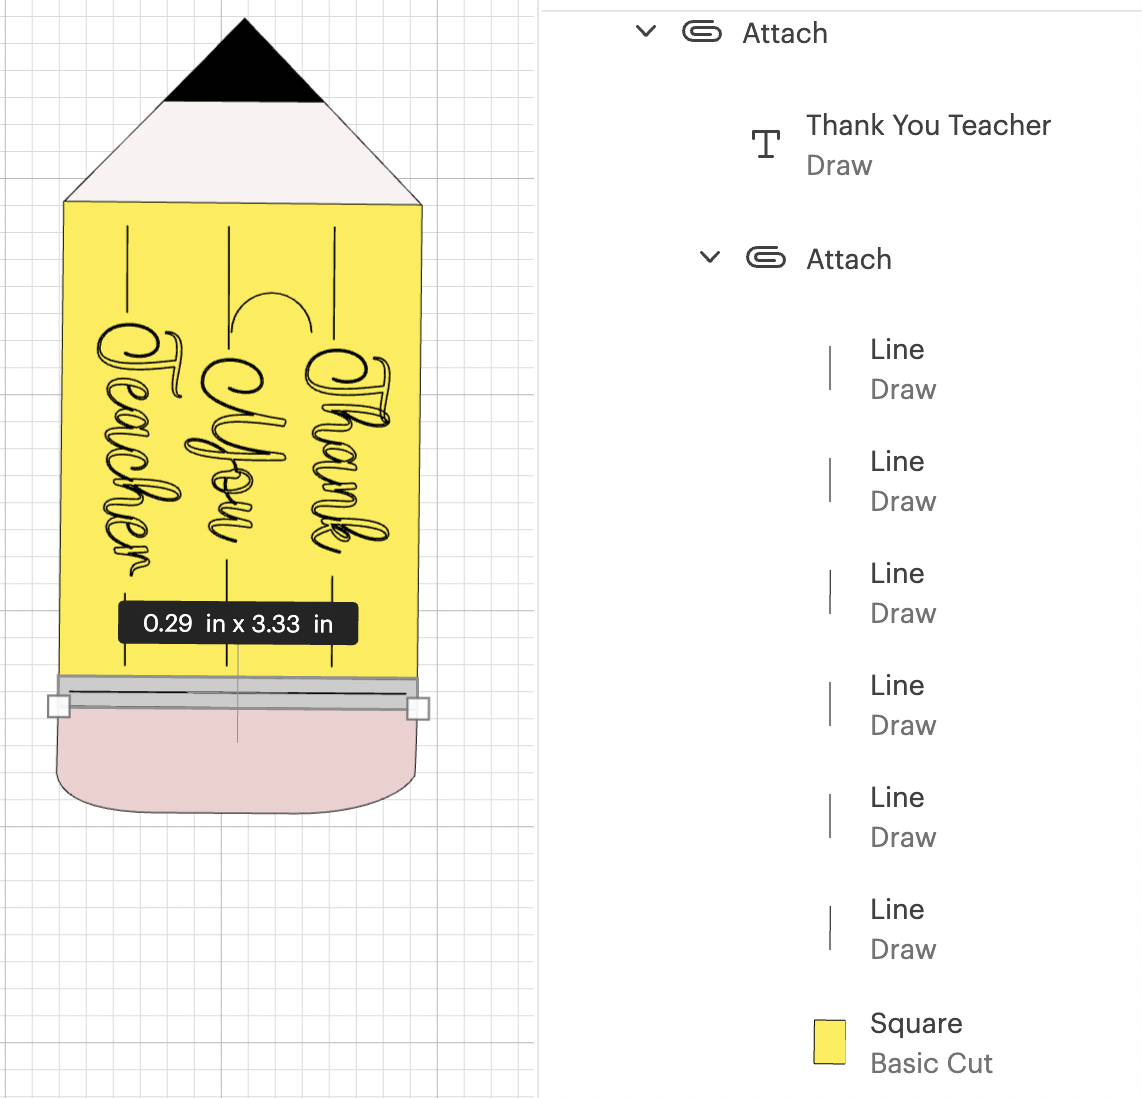
16: We are going to rotate our pencil horizontally so we can place the text over it more easily:

17: Now, we are going to change the operation to Pen:
18: As a final touch on the pencil, we are going to add some lines simulating the lines of the pencil. We are going to add some score lines and we are going to change then from Score to Pen, something like:
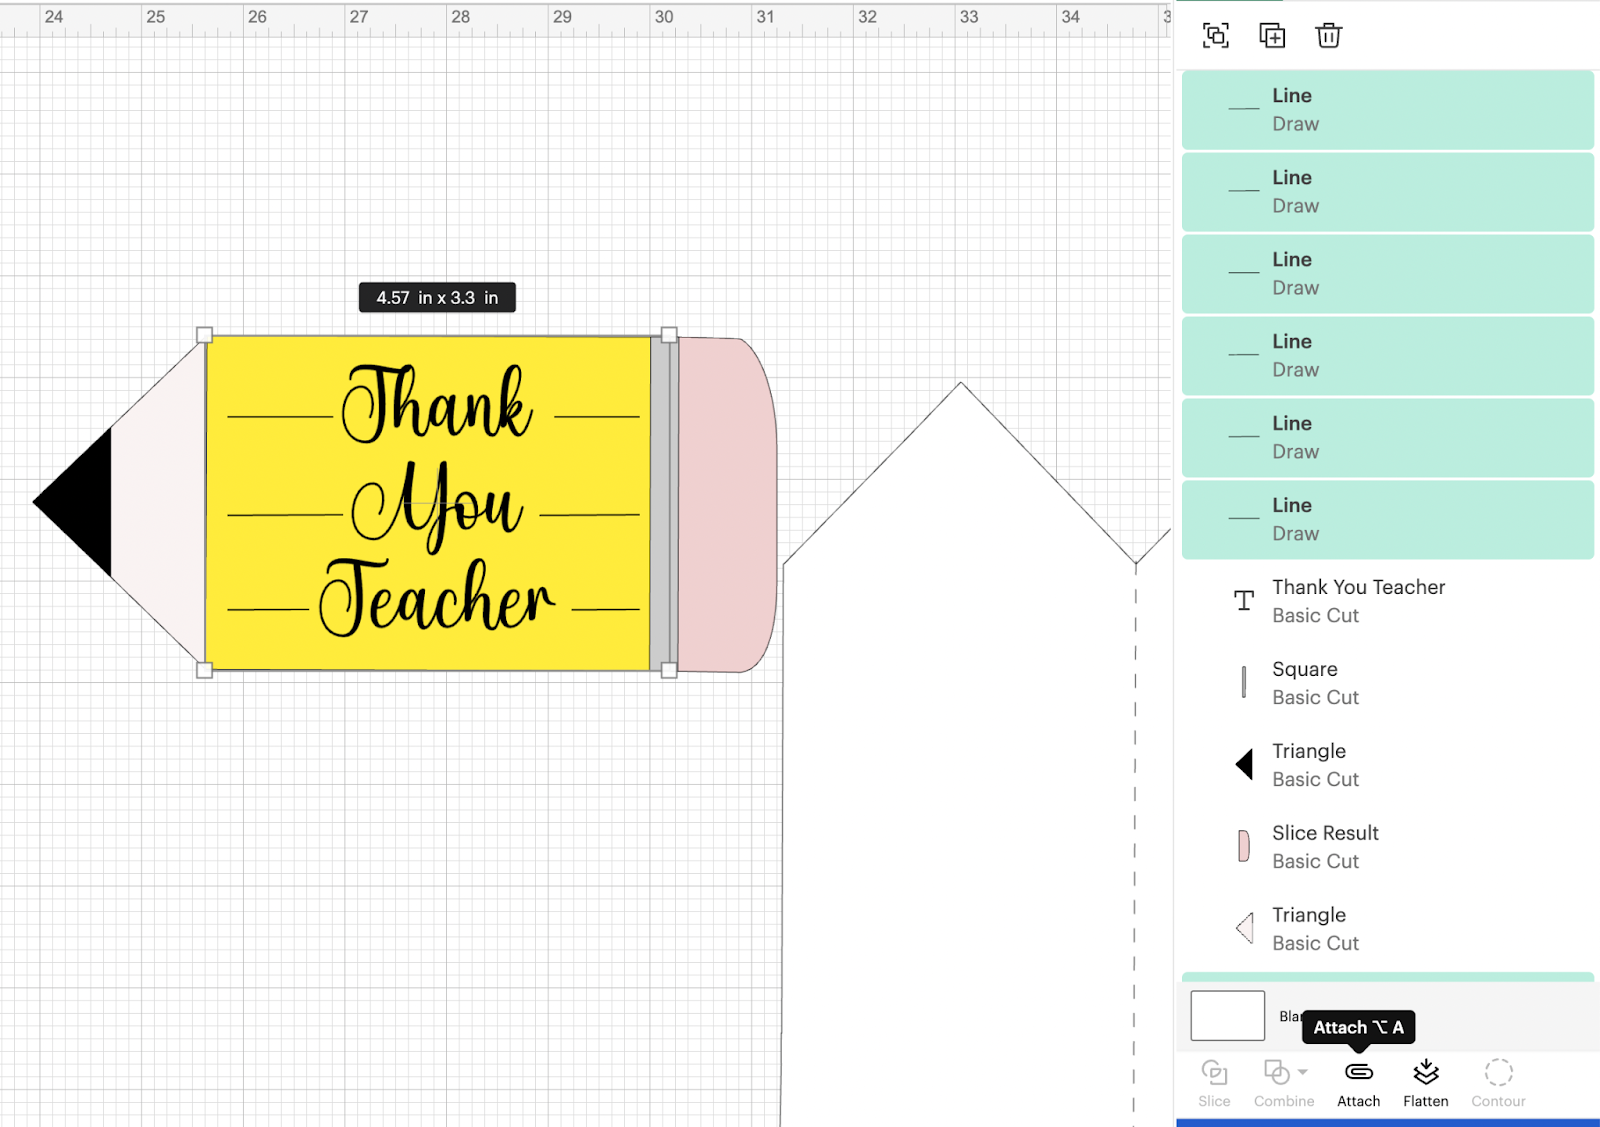
💡Tip: You can Align the lines between each other if you want.
19: Once that we added all the details that we wanted to the pencil, we are going to make sure that what we added on the yellow square is attached to it, so the machine knows where needs to be drawn:
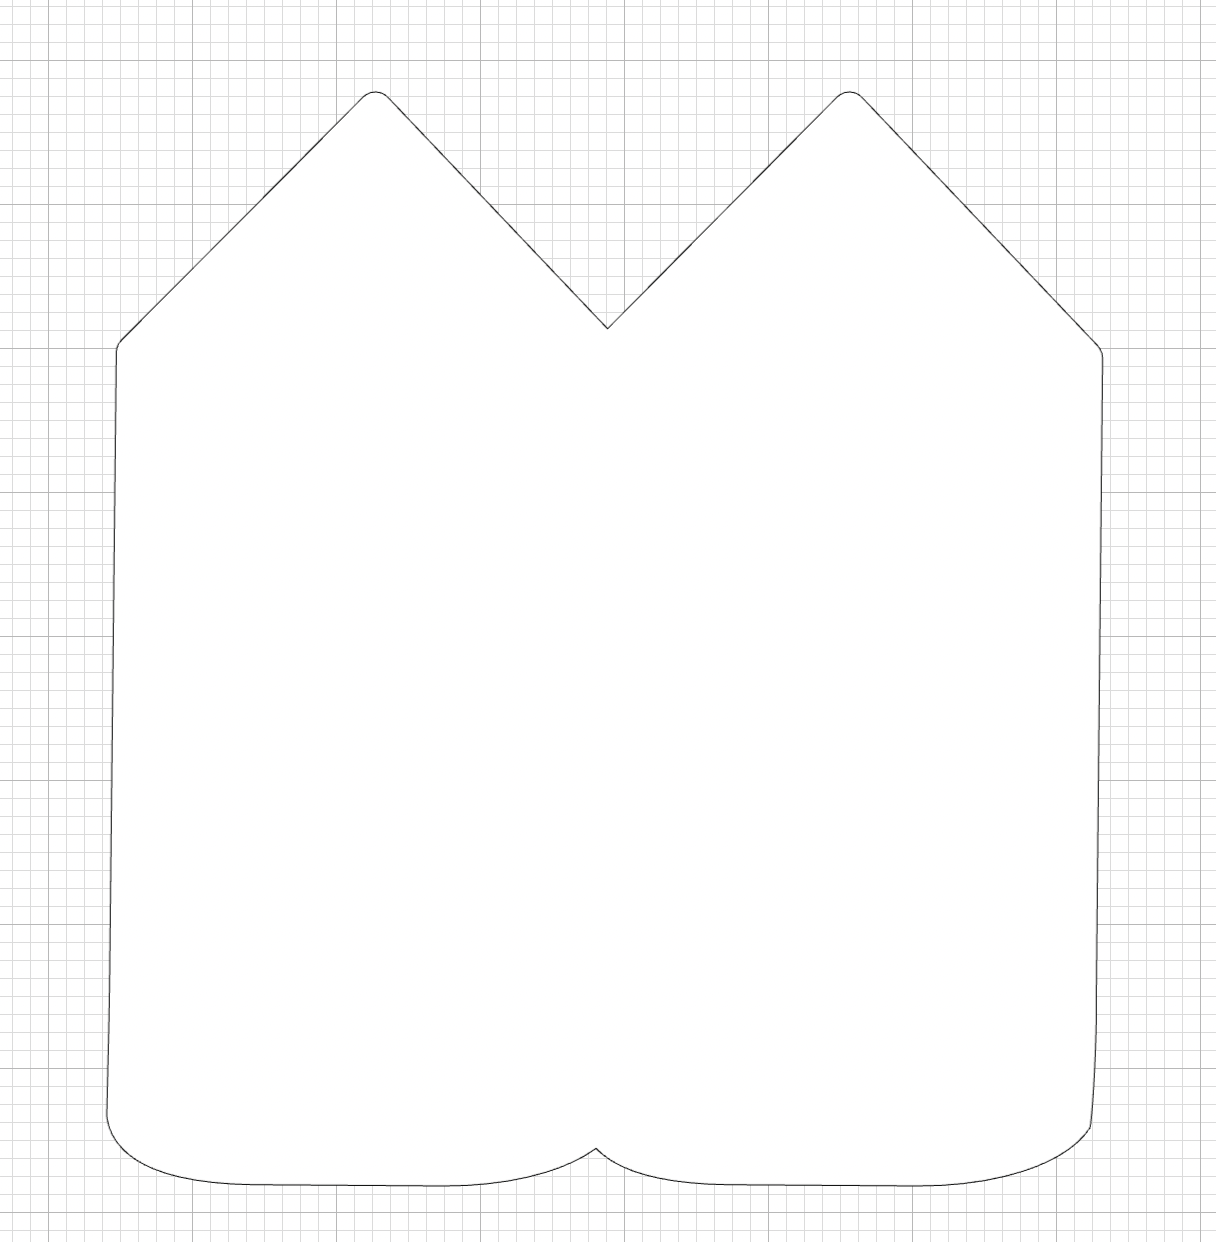
20: We are going to create our base card, for this, you are going to grab 2 of the 3 pieces, and you are going to put one next to another with the line of the border touching each other and you are going to Center them Horizontally and then you are going to Weld them and then change the color to white:
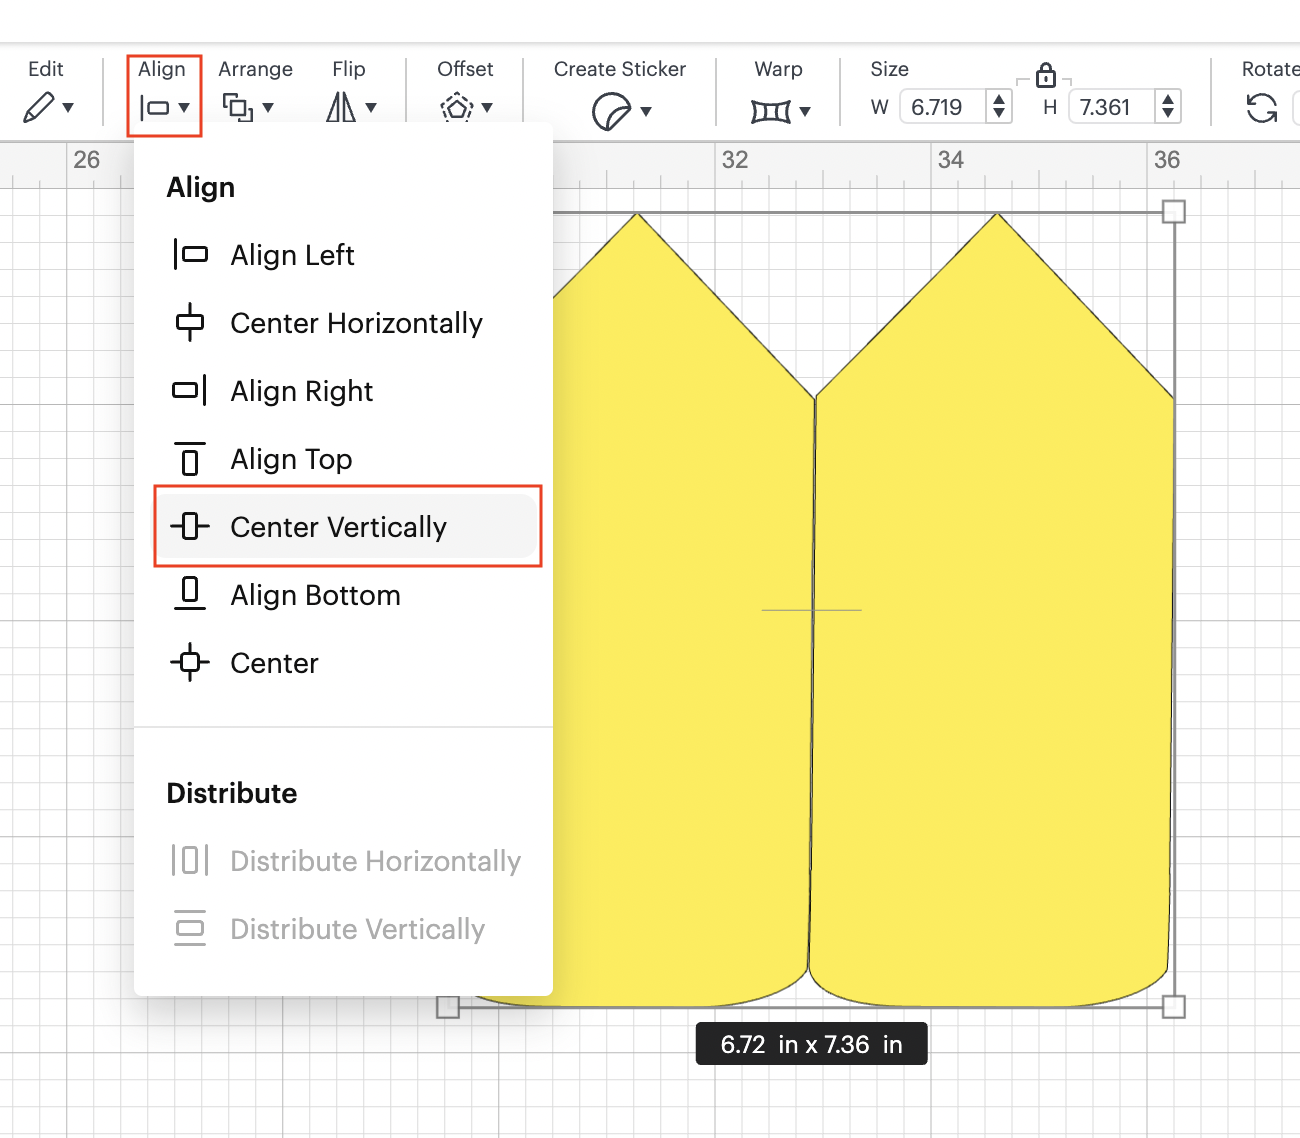
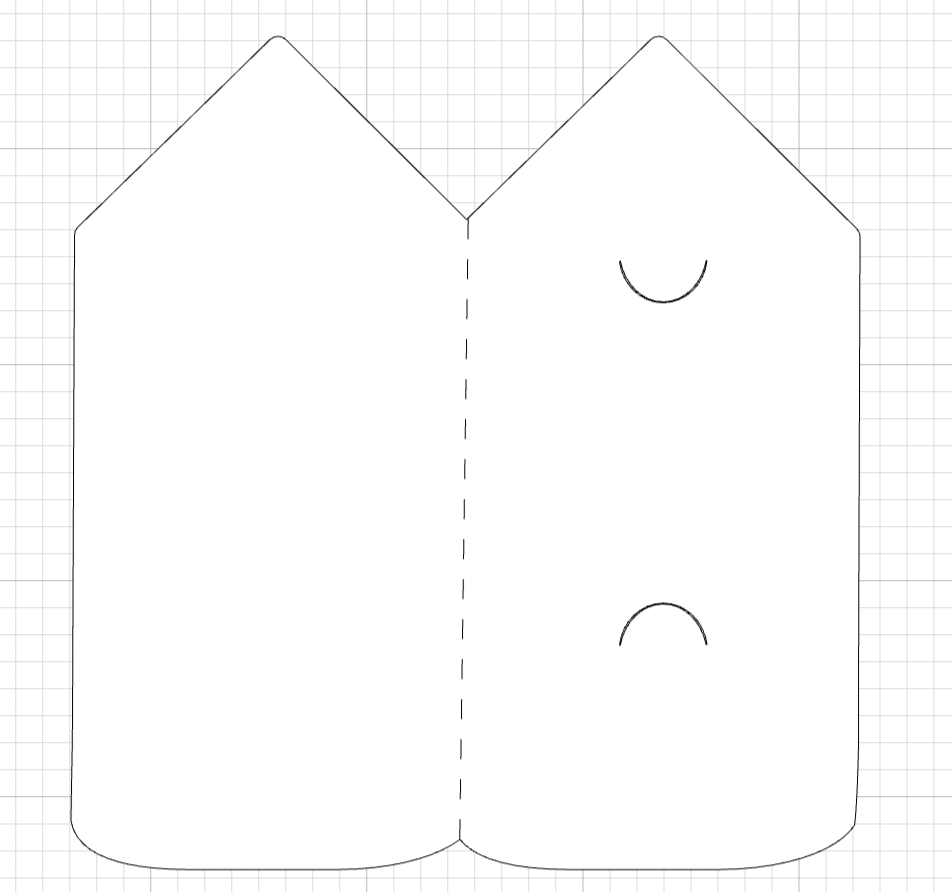
After you apply all the different steps, you should have something like:
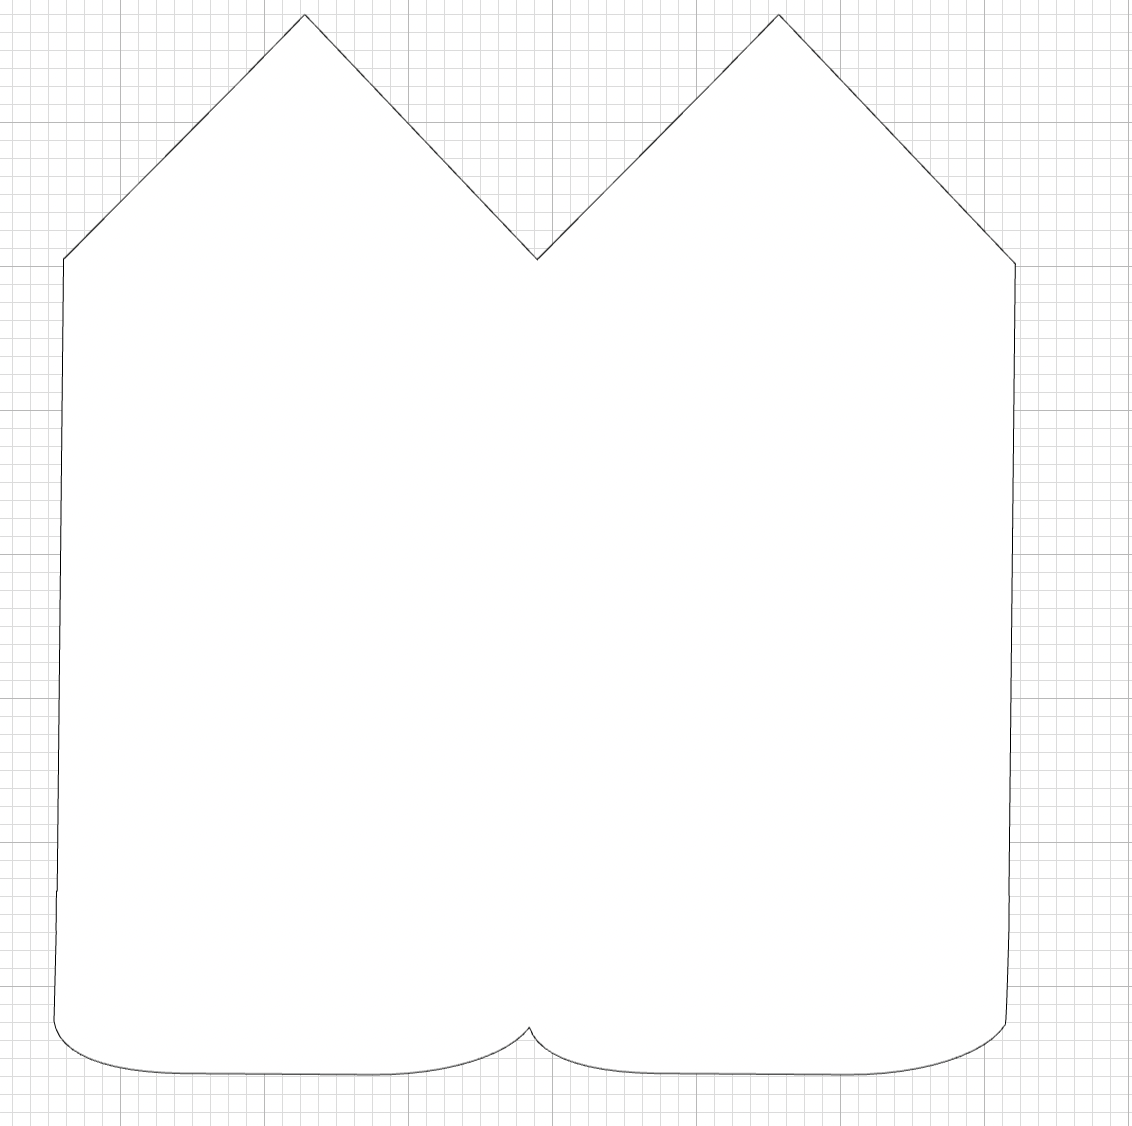
21: If you prefer borders not rounded, you can SKIP this step. Since we prefer rounded border, we are going to select the piece that we just welded and by clicking on the offset we are going to create rounded borders:
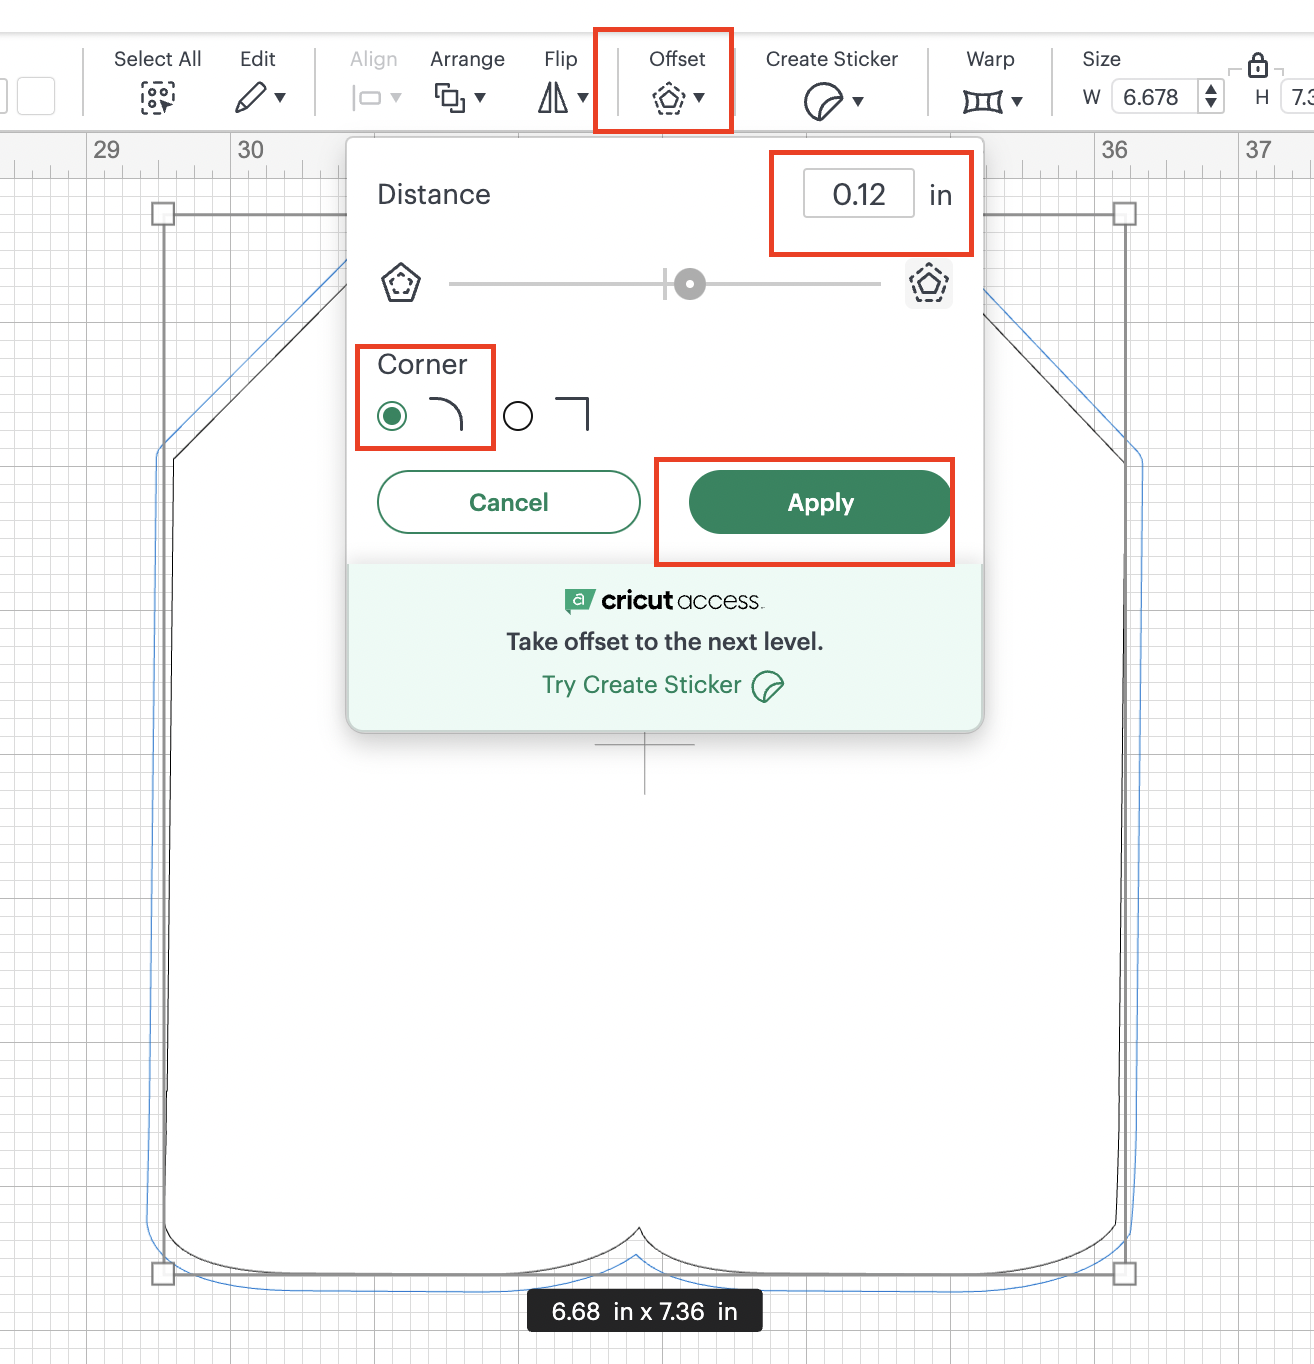
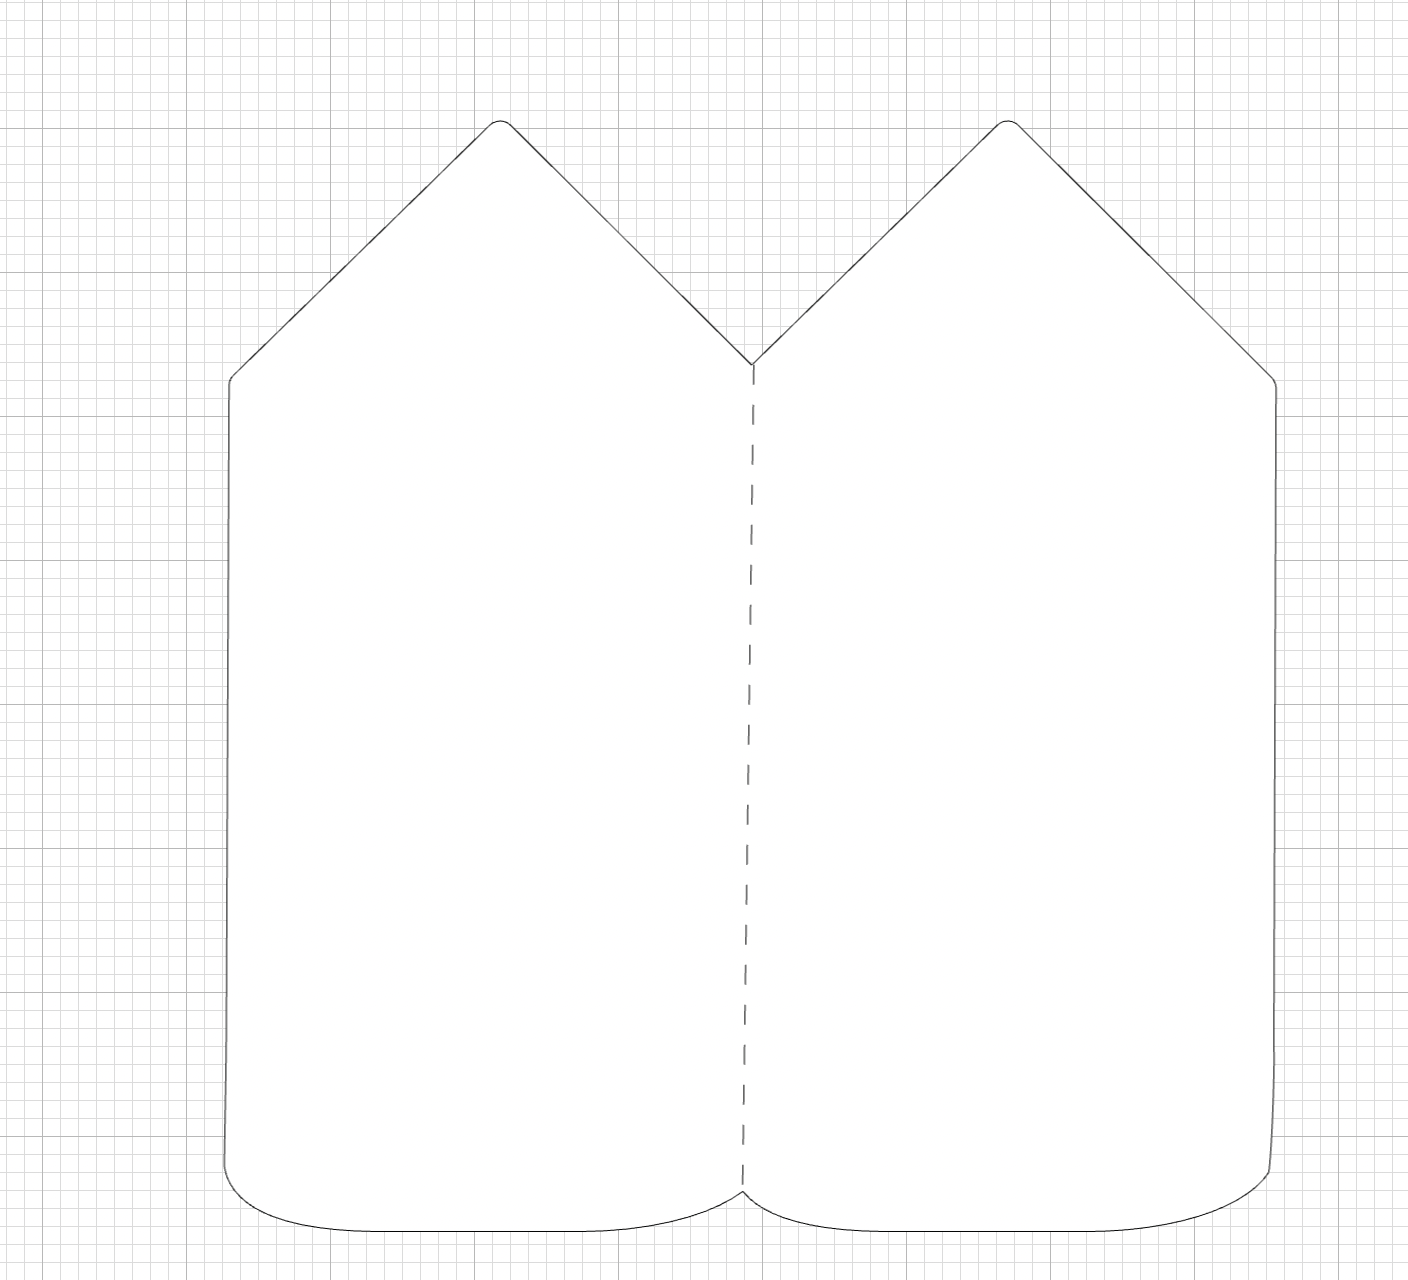
After the offset was applied, delete the interior (the one with borders not rounded) and change the color to white (should be black the offset piece color). This part is going to be our base card:
22: Using shapes, we are going to add an score line that is going to help us to fold the card right in the middle:
23: Now, we are going to generate some pockets to be able to add a Gift Card on the interior, if you are not planning to add a gift card, you can SKIP this step.
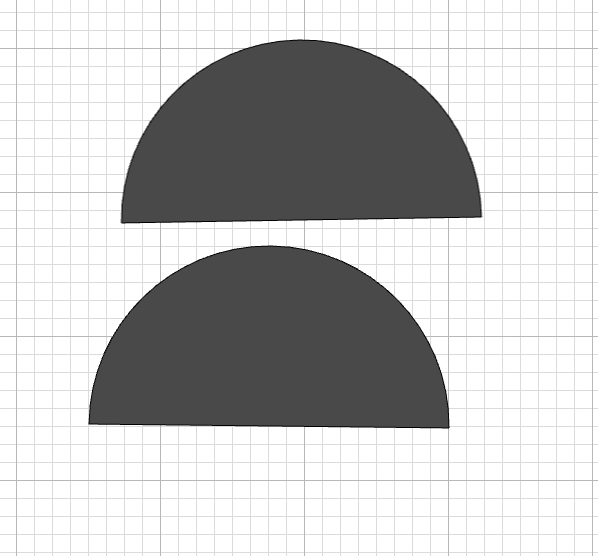
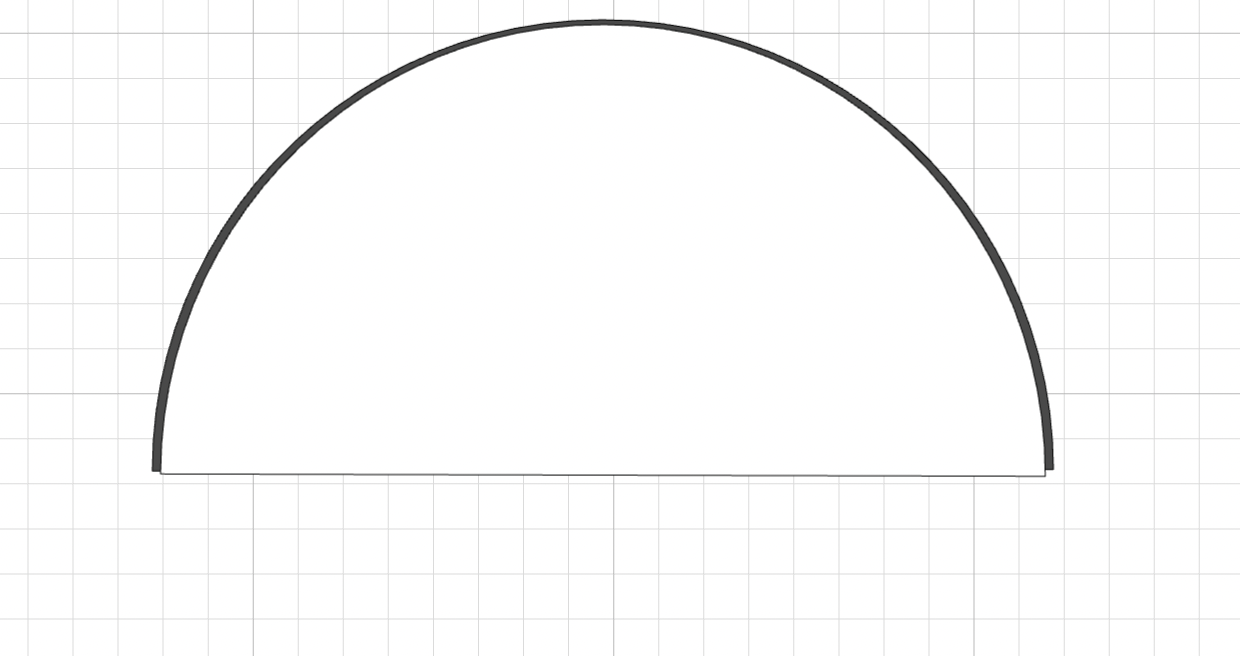
You are going to add two semi circles by using the shapes functionality. You are going to overlap one over the other (we changes the color to one of them so it’s easy to see) and then you are going to generate like an space between each other:
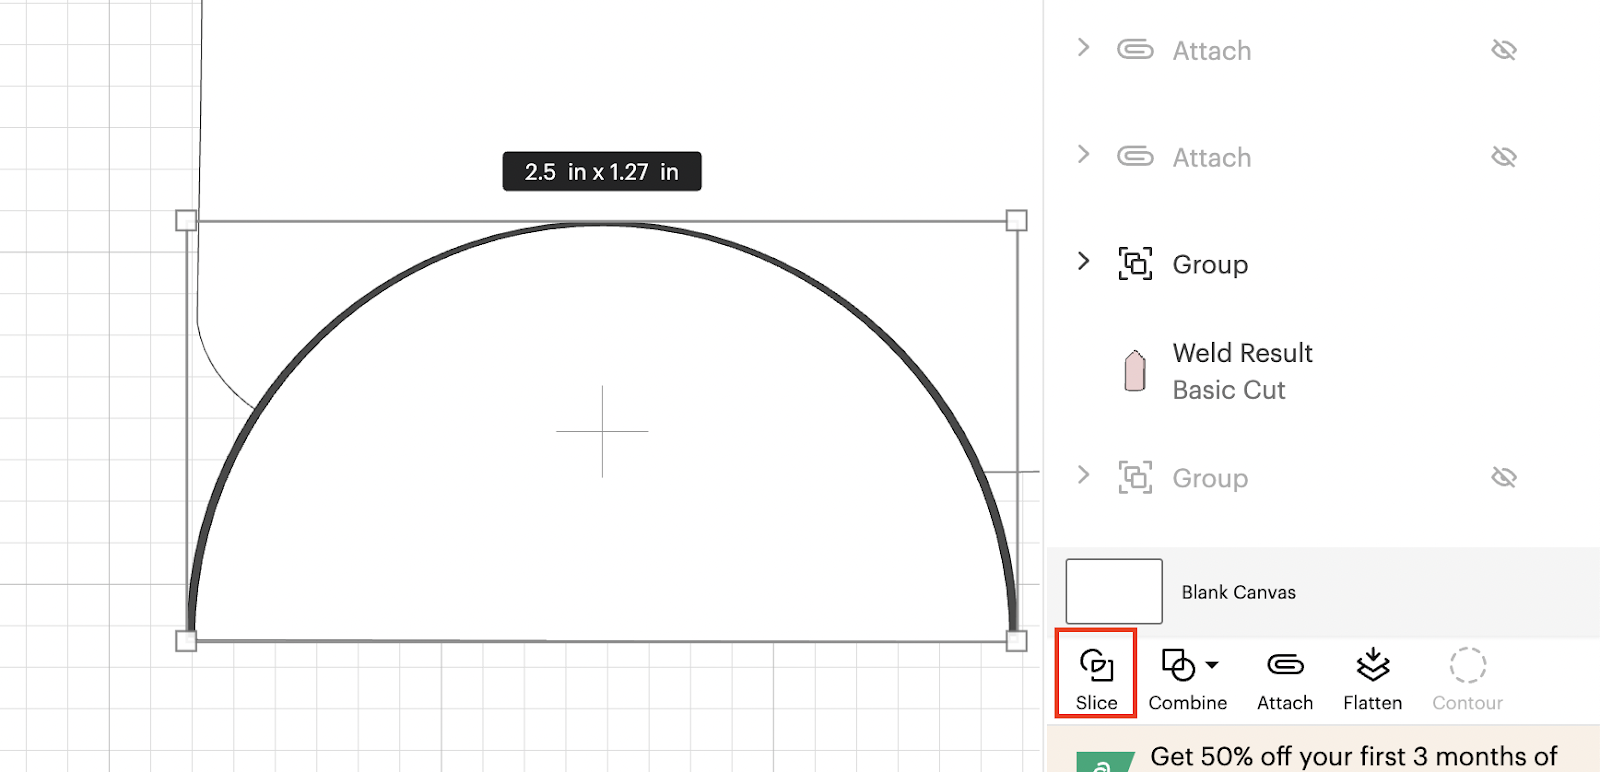
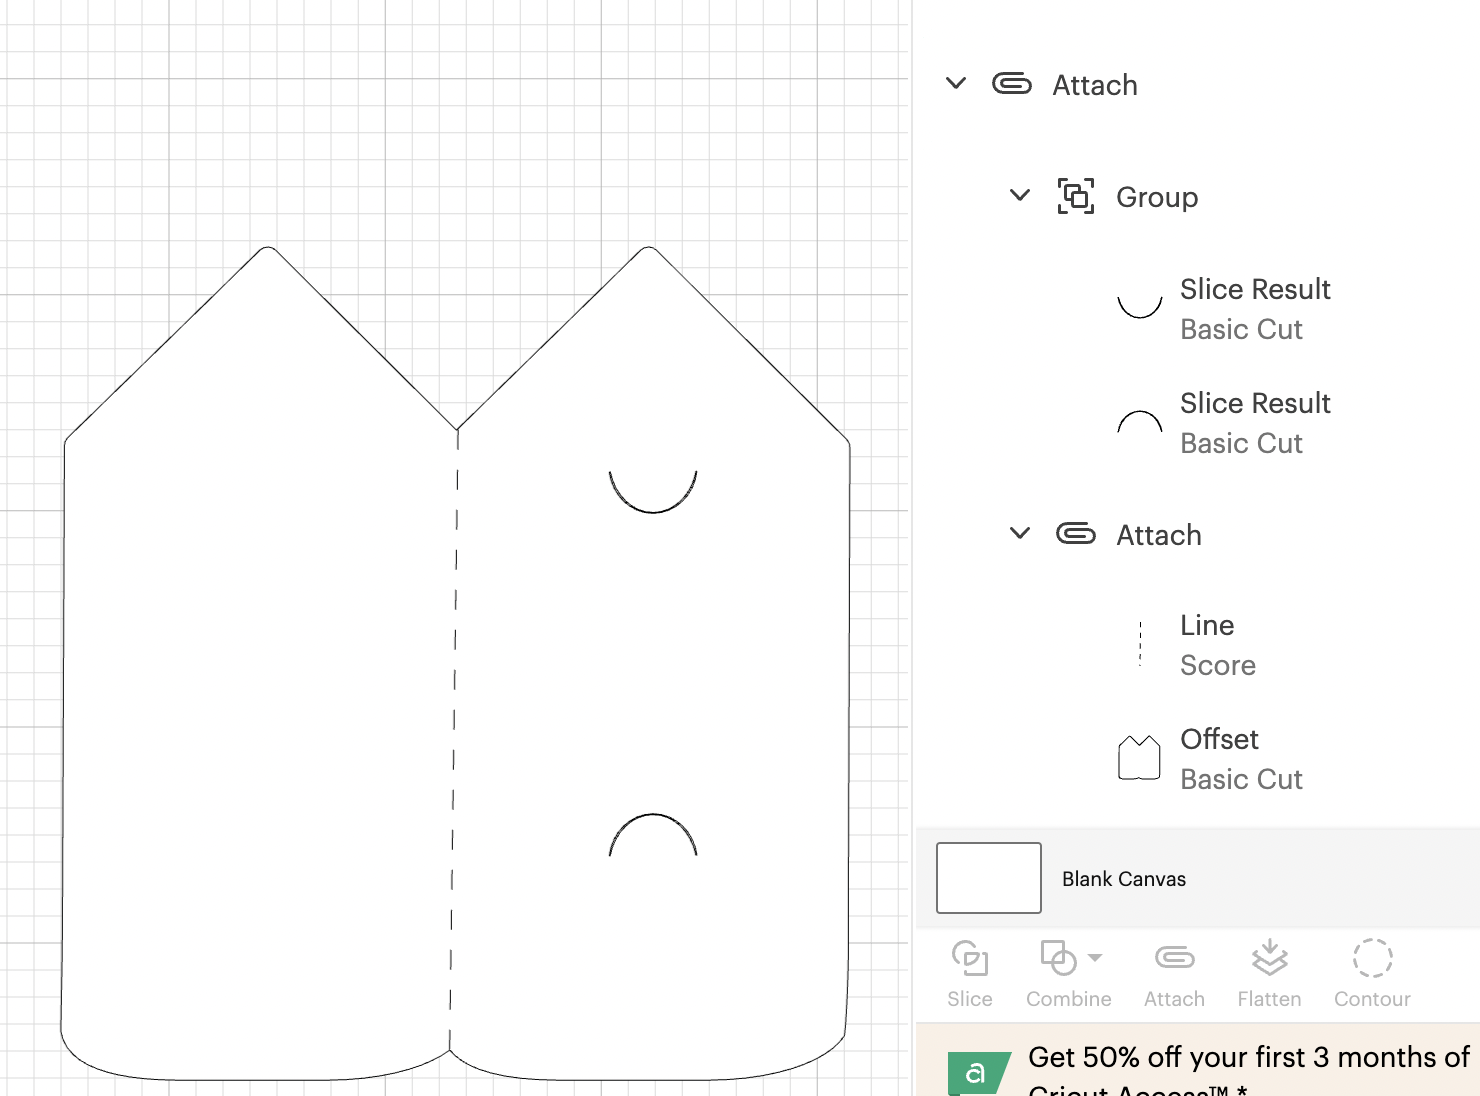
After this, you are going to Slice them:
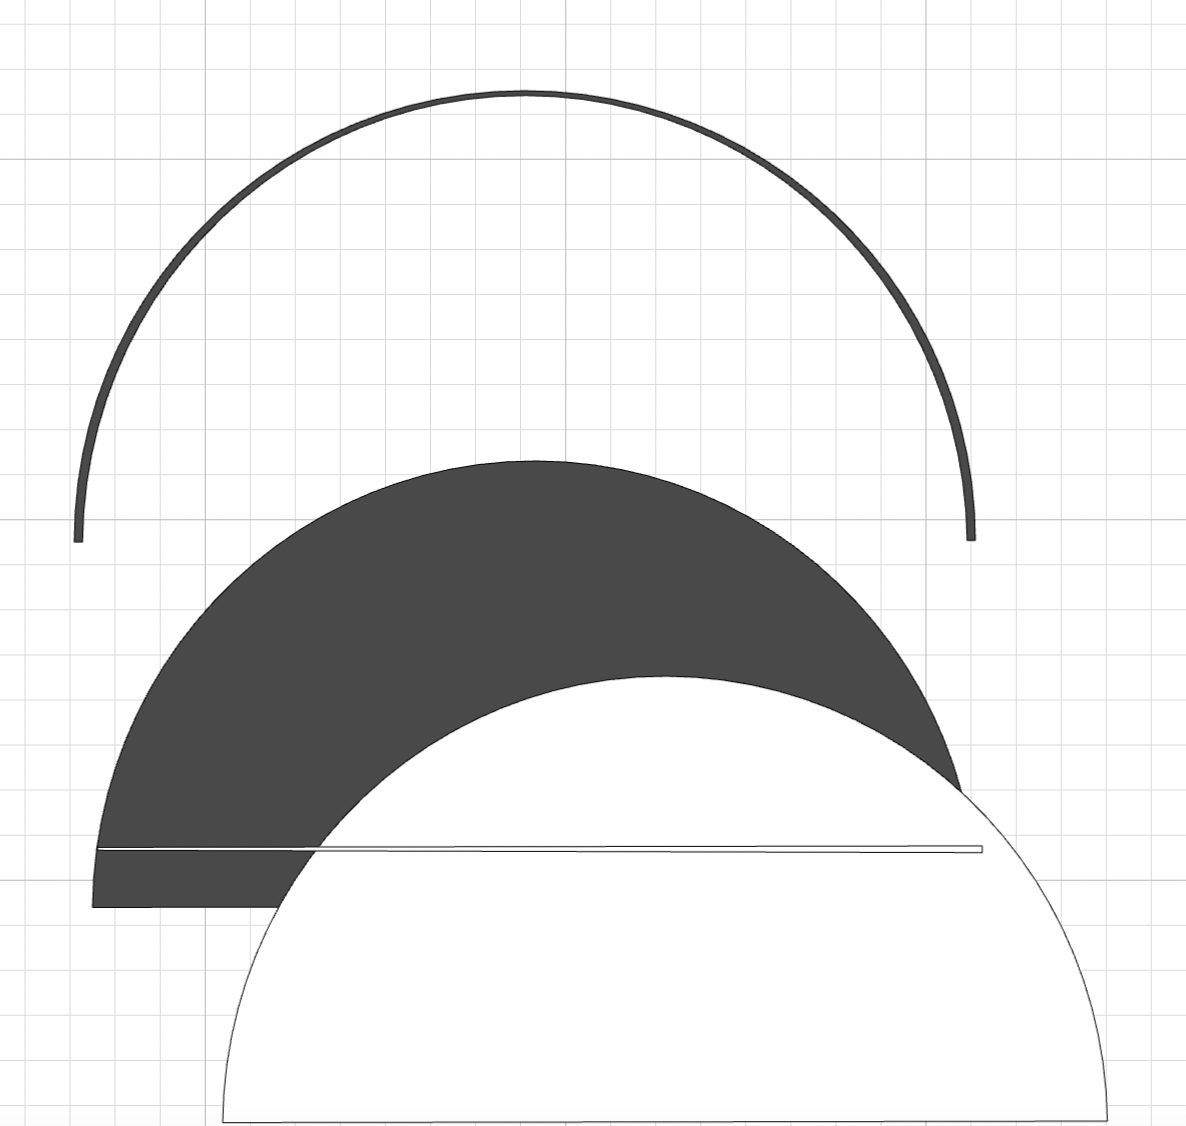
The slice result should be something like:
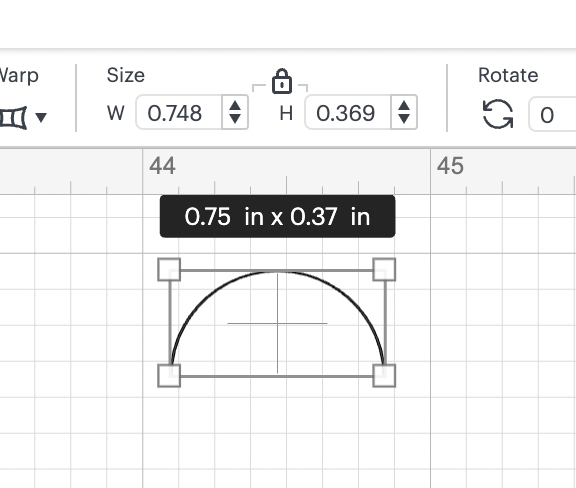
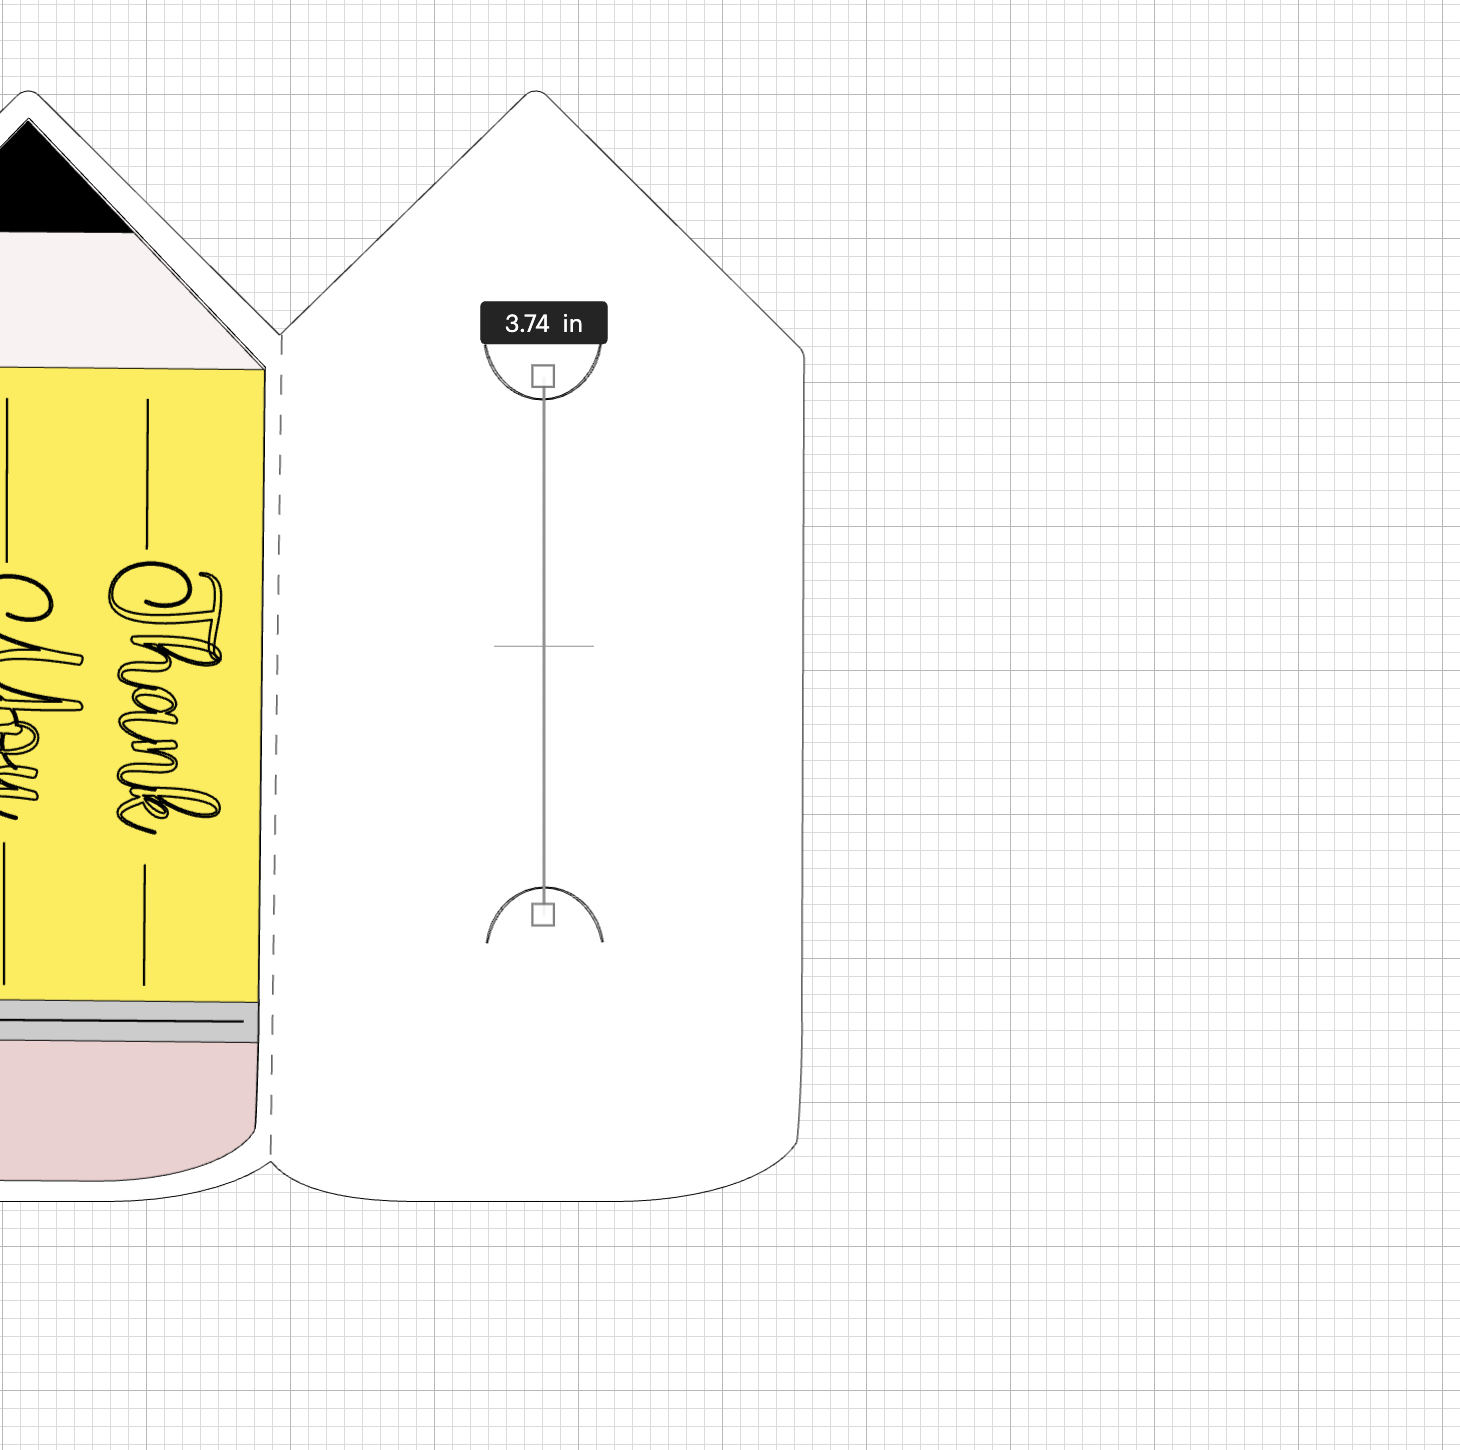
24: You are going to discard all the pieces except the border and you are going to resize it to: W: 0.74” and H: 0.369”
25: We are going to duplicate this semi circle that we created and we are going to place them on the right side of our base card:
💡Tip: To make sure that the gift card is going to fit, we measured a physically gift card and by using an score line, with the gift card H as a placeholder, we use it as a reference to place the semi circles in place:
26: After you place them in the right place, you are going to select the base card and the 2 semi circles and you are going to proceed and attach them all together:
27: After this, we are ready to start cutting our card!!!!
In this tutorial, you are going to learn/practice the following skills:
- Slice shapes
- Upload Fonts
- Add Shapes
- Resize Elements
- Add Text and Change Fonts
- Delete Elements
- Change colors
- Rotate Shapes
- Duplicate elements
- Align elements
- Change operations from Cut to Pen
- Use scoring lines
- Create Offsets