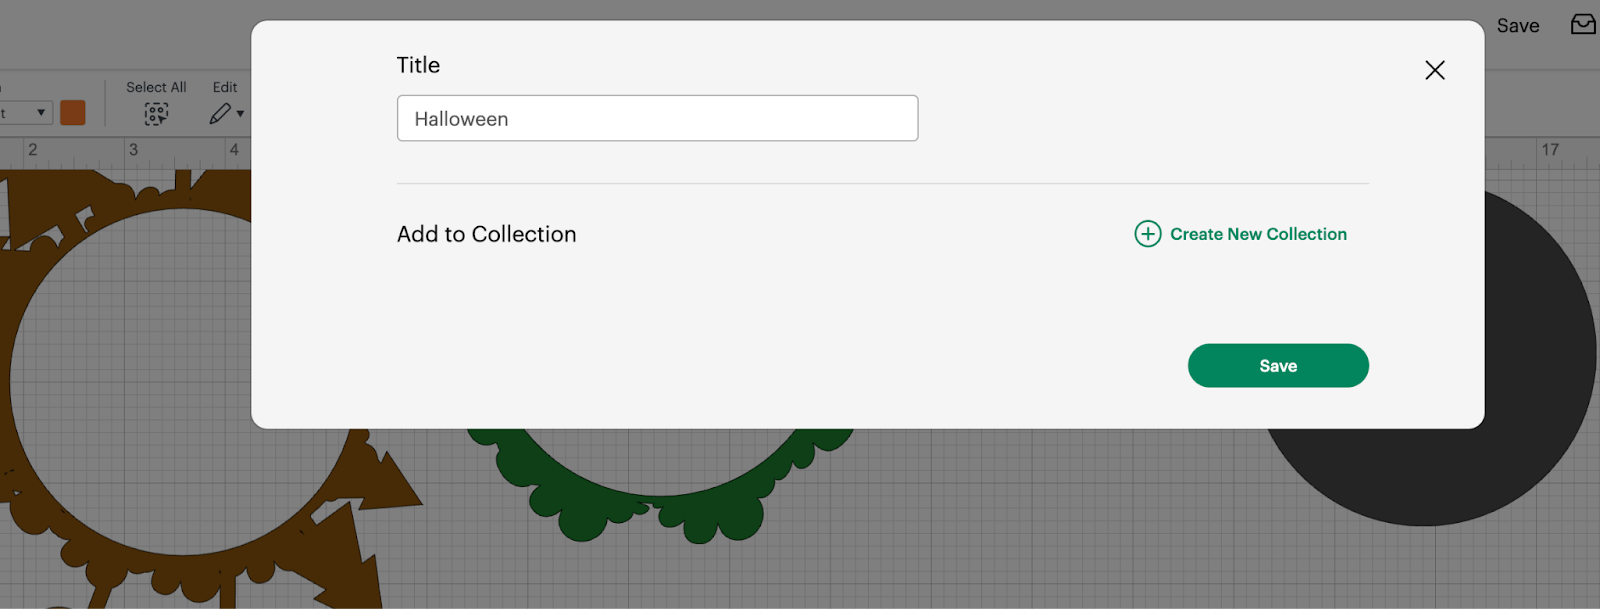
1: After you are happy with the design, we are ready to save it, Click on Save button on the Right Top side of the screen and provide a name to your design and click on Save button.
2: We are going to click on the Make button to start configuring our materials!

3: You are going to be able to see one mat per color of your design, remember that the colors there are for reference only, the real color is going to be the one related with the cardstock that you are using.
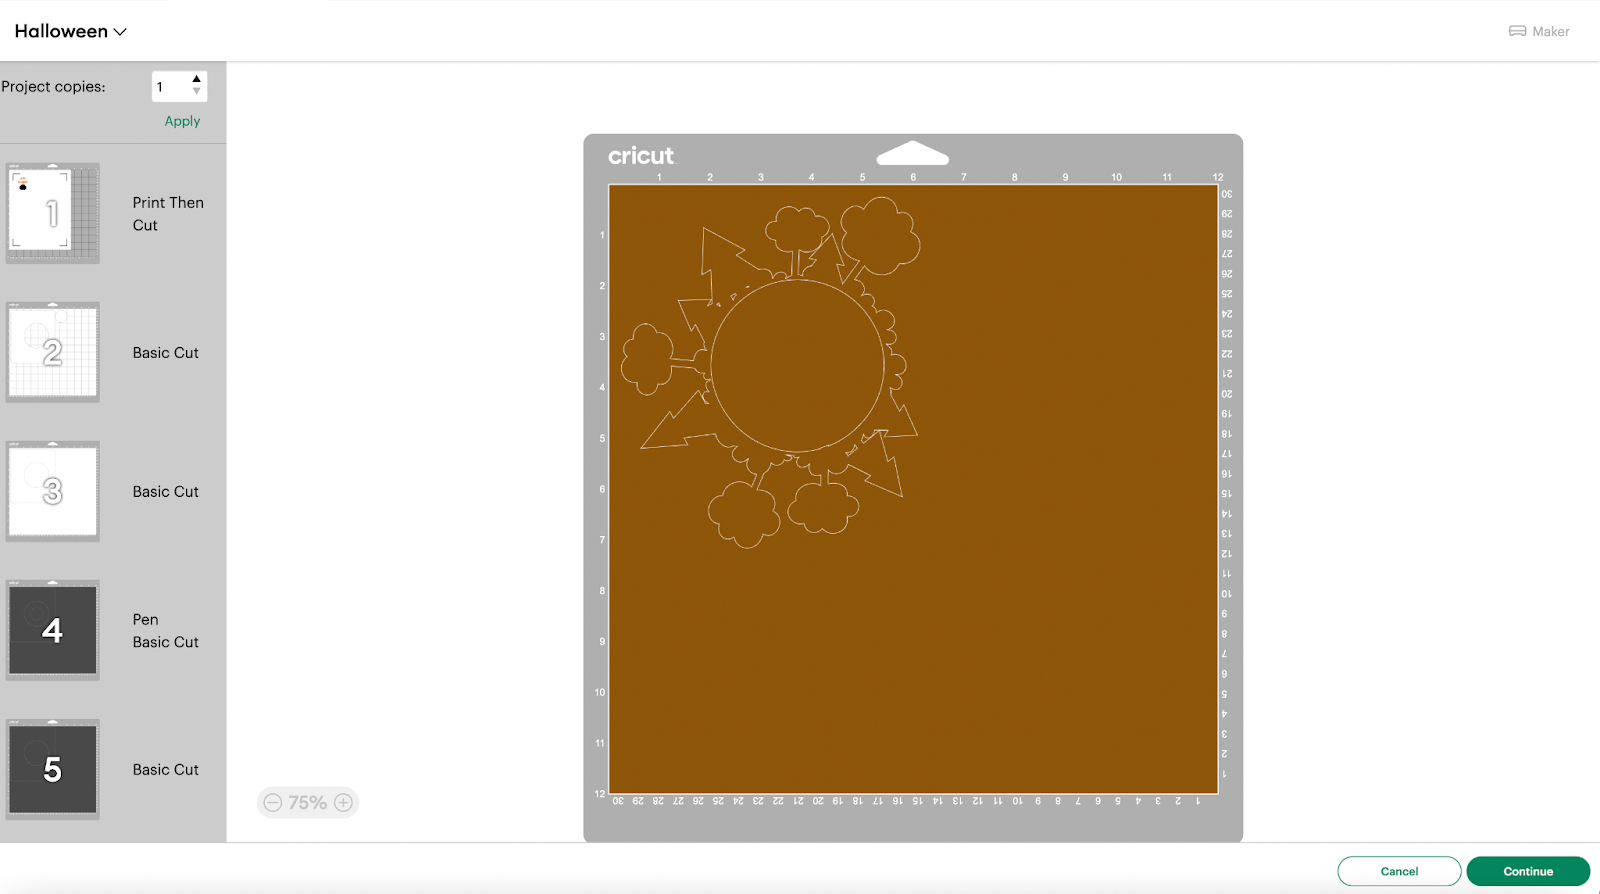
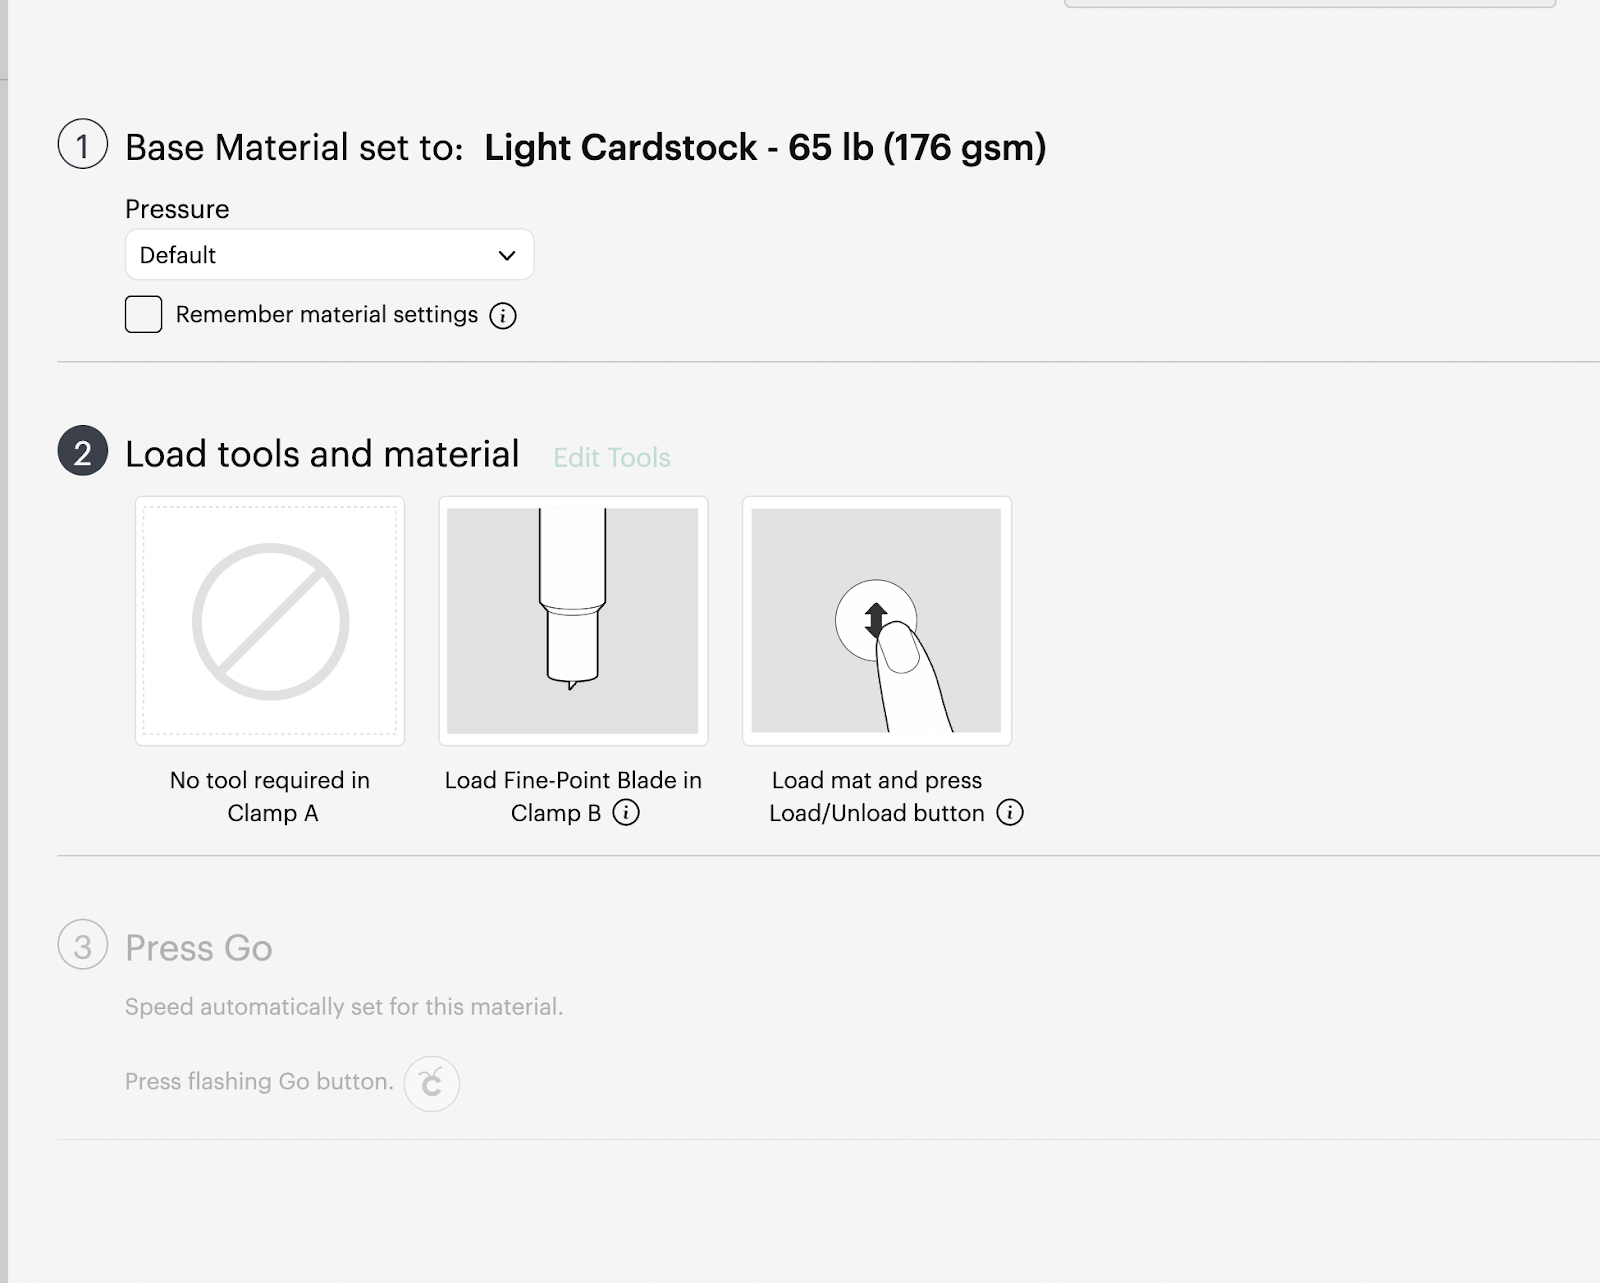
4: We are going to click on the Continue button, and in the next screen we are going to choose the material that we are going to cut, in our case we are using a light cardstock for all our different colors:
In this tutorial, you are going to learn/practice the following functionalities:
- Slice Images/shapes
- Search Images
- Add Shapes and Images
- Resize Elements
- Add Text and Change Fonts
- Upload Fonts
- Delete Elements
- Attach Elements
- Change colors
- Weld Elements
- Print then cut