Before moving any further, we are going to save our design. To do that:
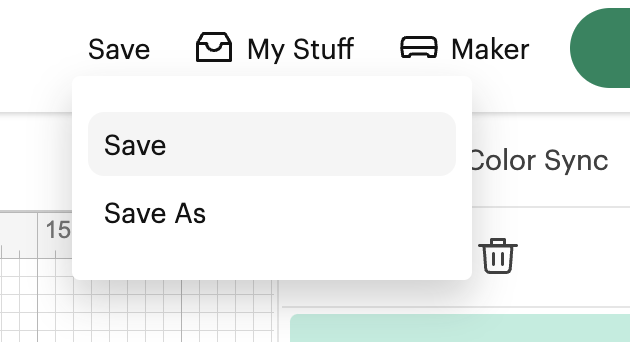
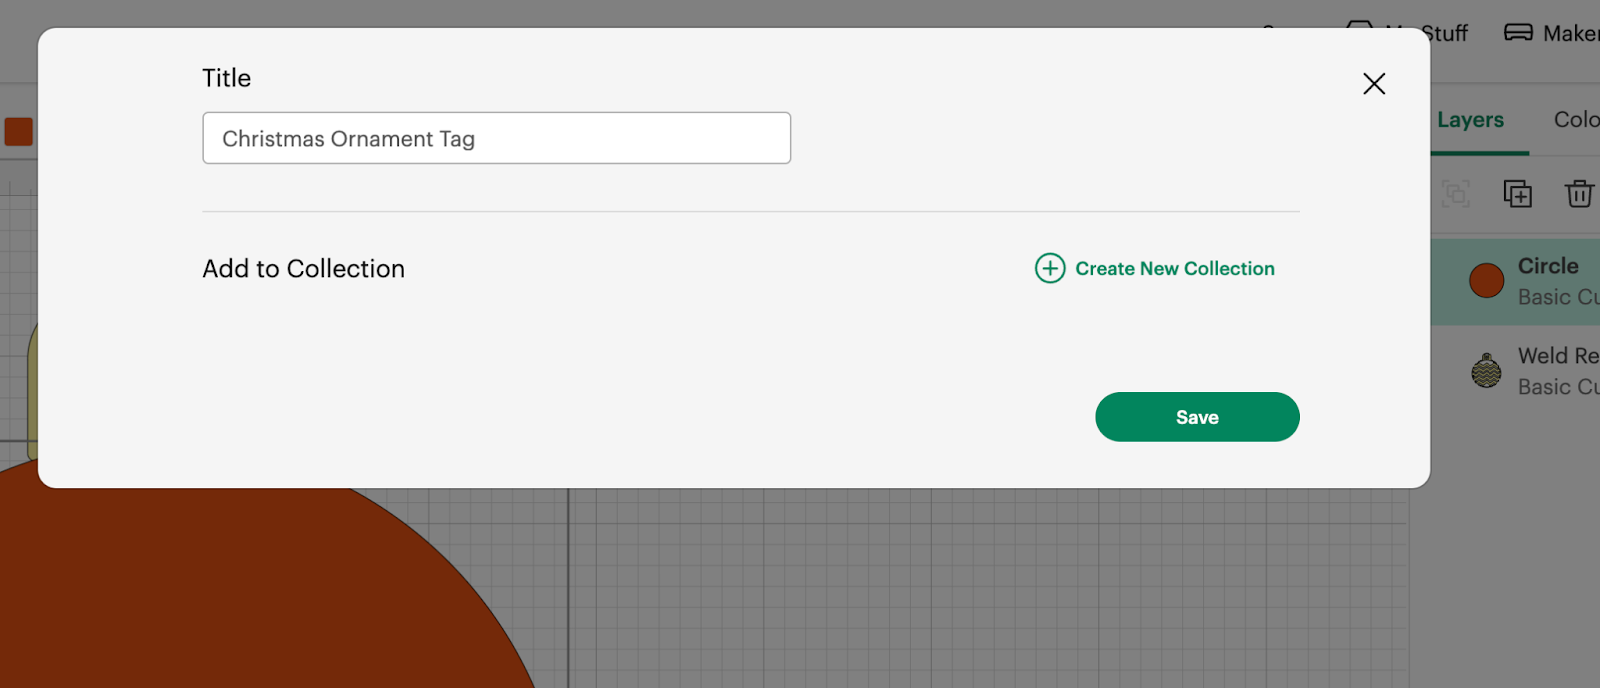
1- Click on Save link on the top right corner of the Design Space and Add a descriptive name and click on Save Green Button.
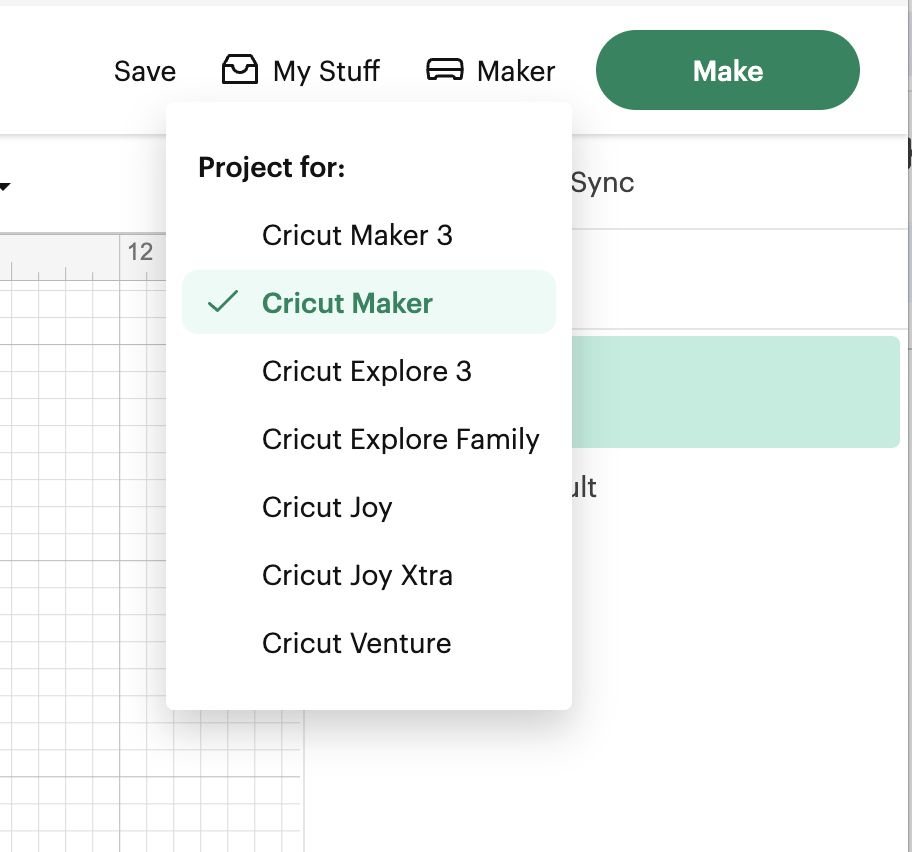
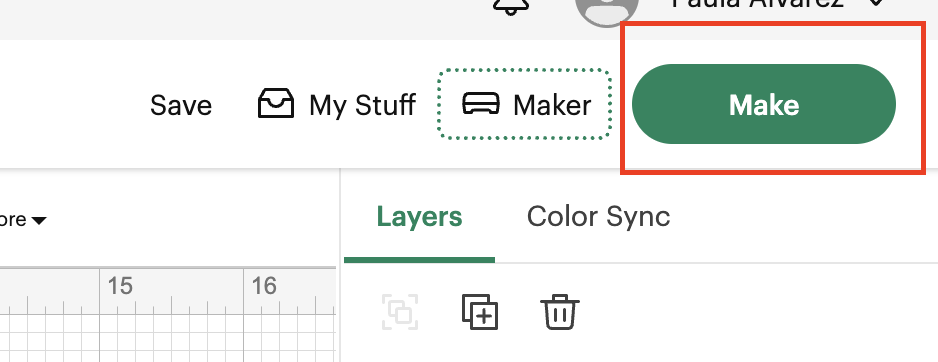
2- Now that our project is saved, we need to make sure that our right machine is selected, to that, we click on the link next to the Make Green Button and from the options listed, we choose the one that we are going to use. In our case it is the Maker.
3- Let’s start Cutting our Project!!!!! By clicking on Make Green Button.
4- We are going to see on the next page, that we have 1 cut page per color in our example, I have only 2 colors:
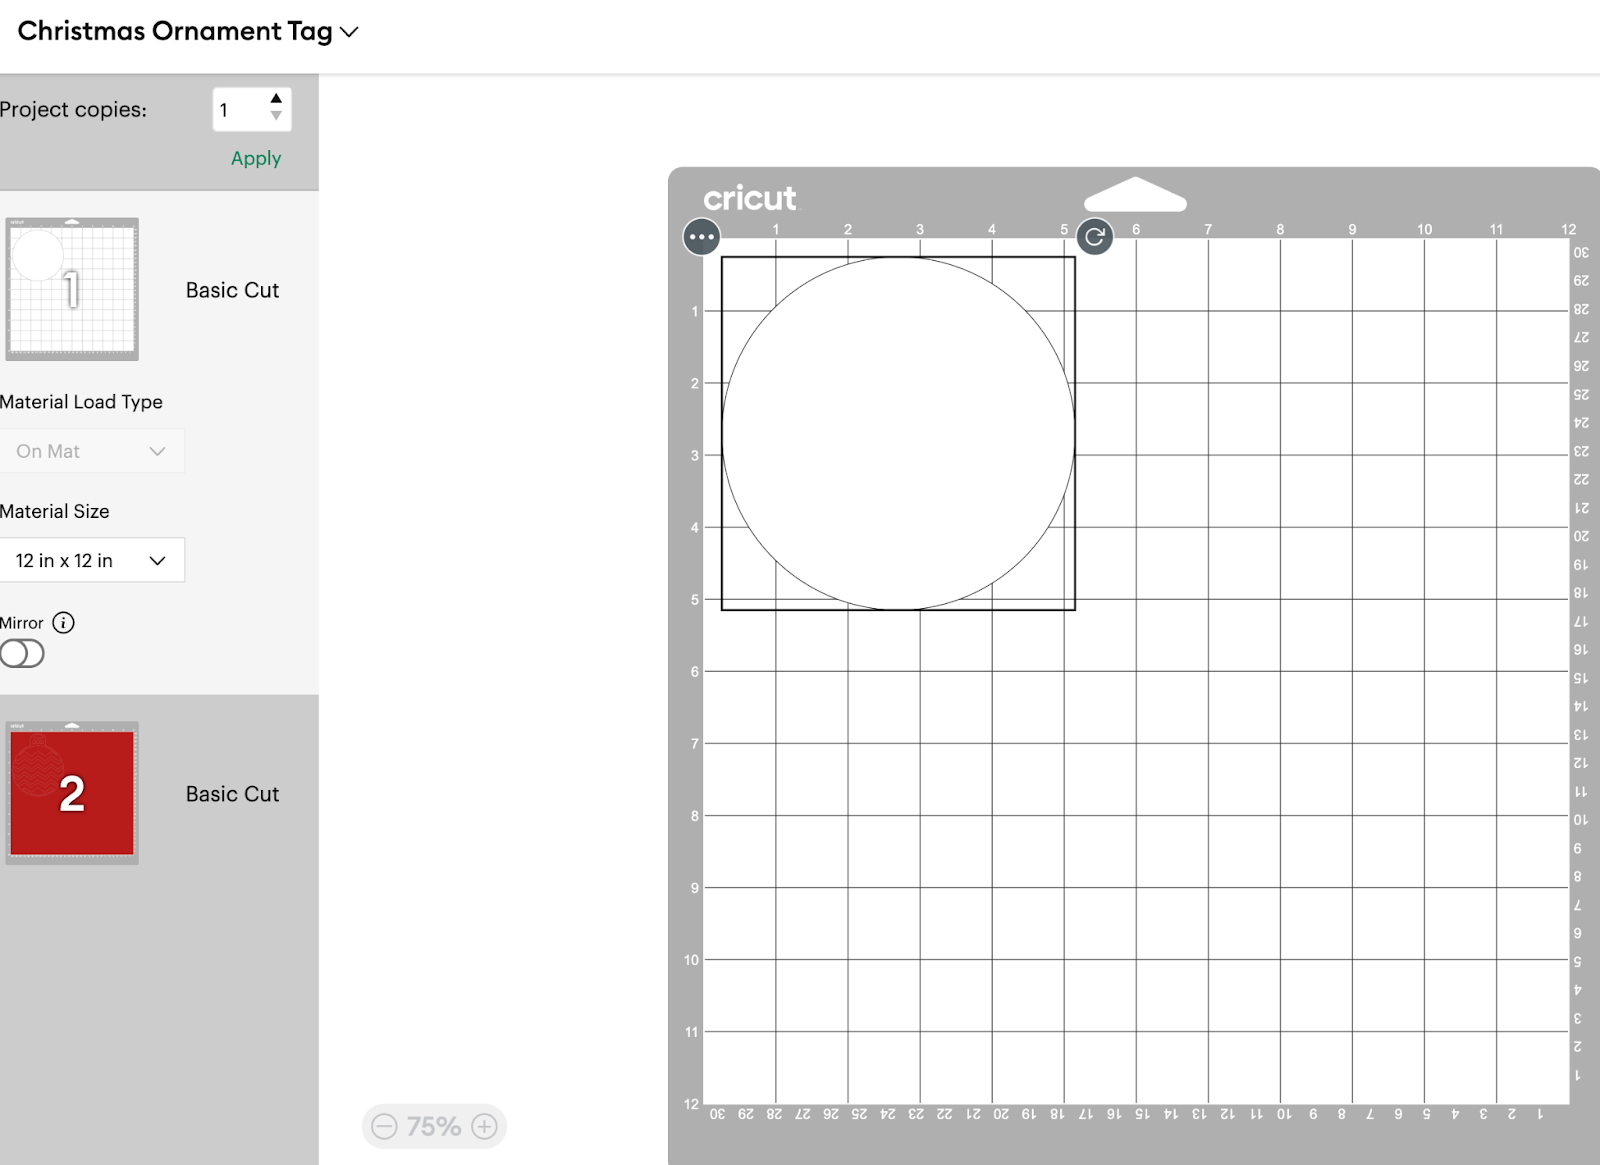
💡Tip: You need to check the Material Load type and the Material Size. In our scenario, we are using a Light Blue cutting mat 12 x 12. So there is no need to change the configuration.
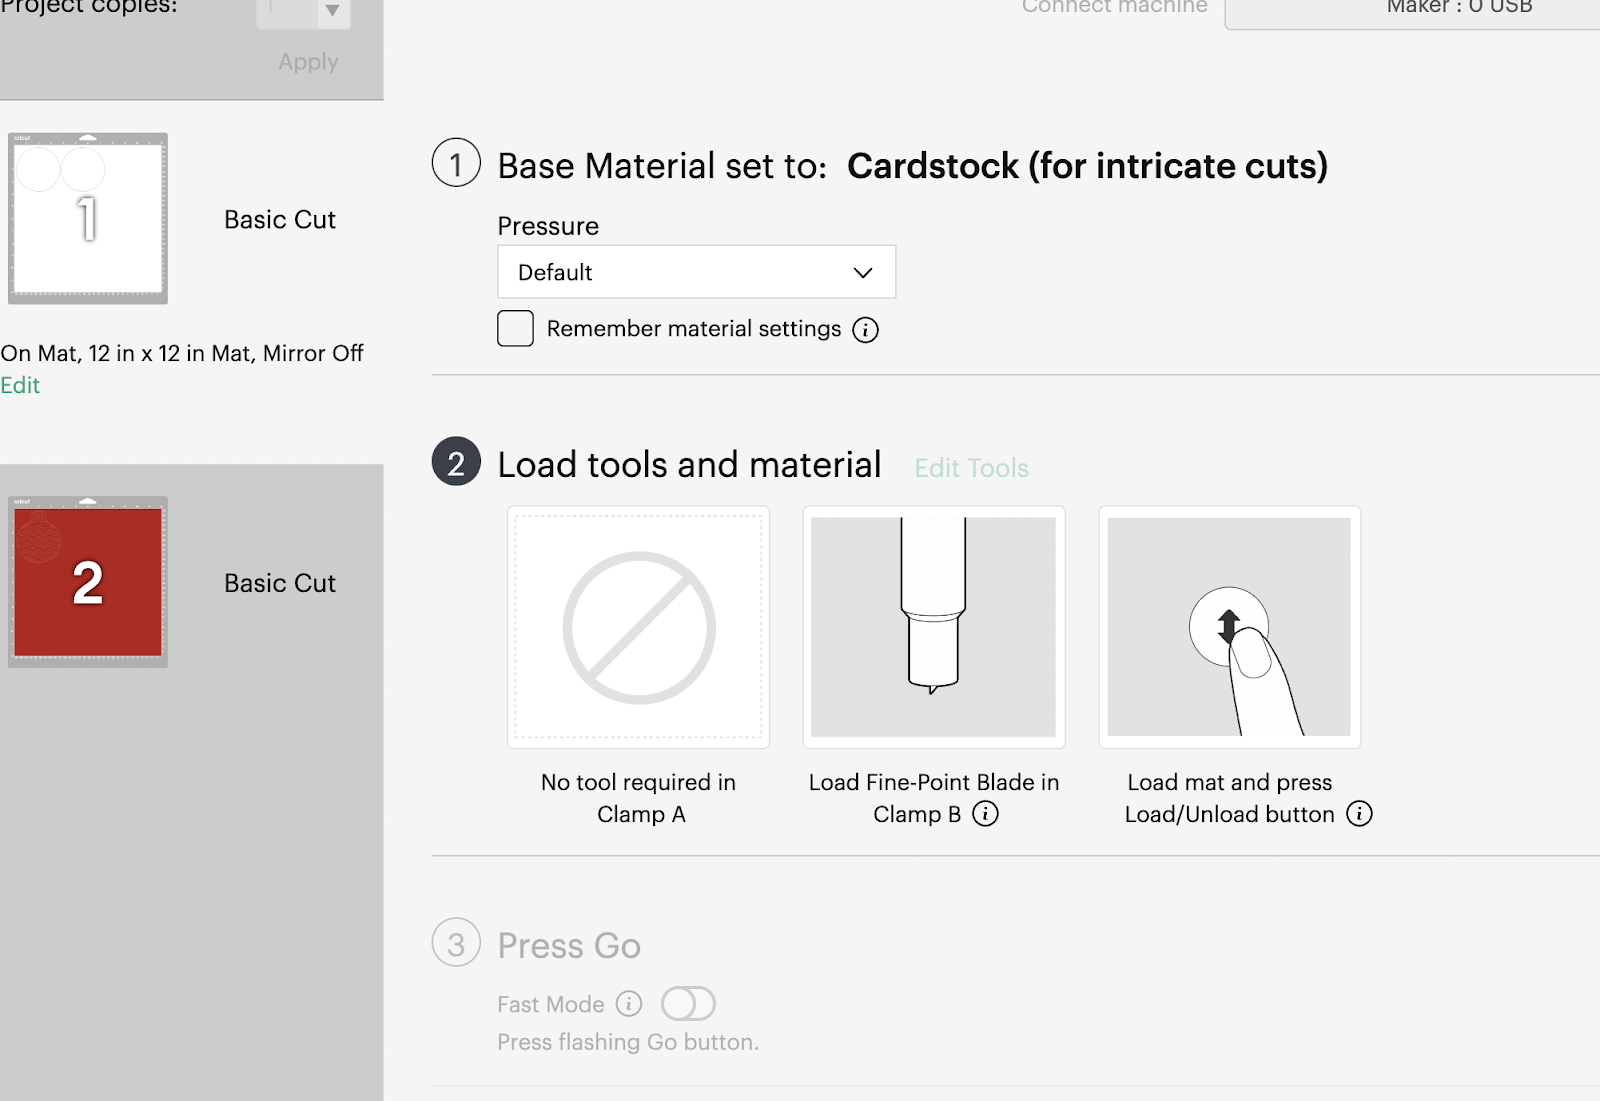
5- Since in out project I’m using 2 different types of cardstock, one with glitter and one without, we need to make sure that we are choosing different materials types for each:
- For White Cardstock (or the back of your gift tag)
- For Glitter Cardstock (or the back of your gift tag)
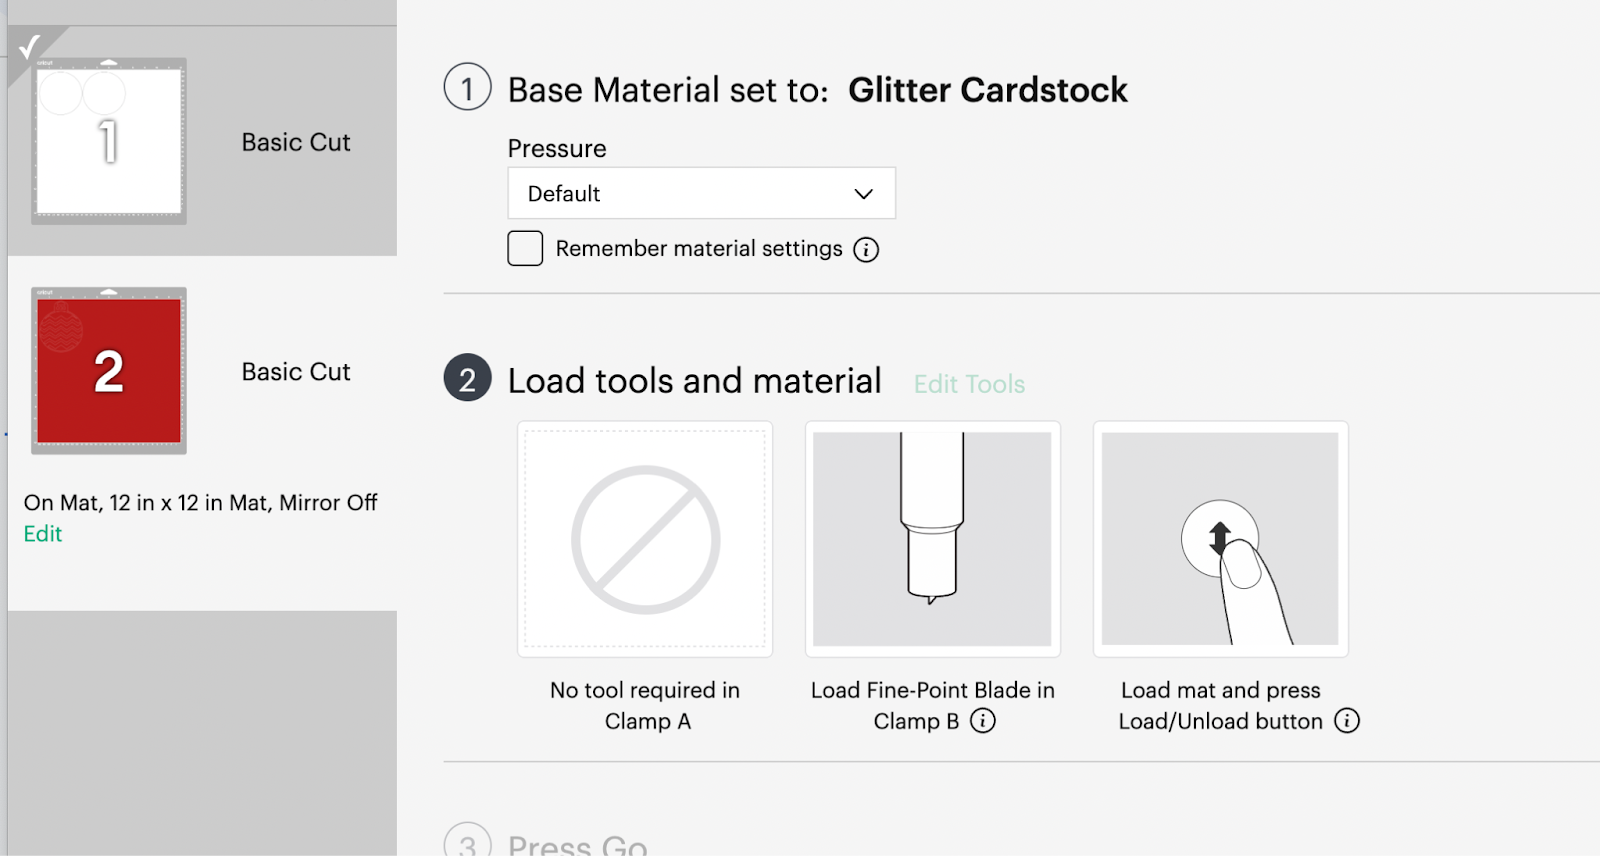
💡Tip: If your cutting blade is not new, you can change the pressure to More for the glitter cardstock, to ensure that is going to cut the material.
And as a personal preference, I prefer to put my glitter cardstock with the glitter part touching the mat, so the cut looks better on the glitter side.
9 – We can start cutting. If this is your first time, please check the following document with the steps on how to add your mat to the machine and start cutting.
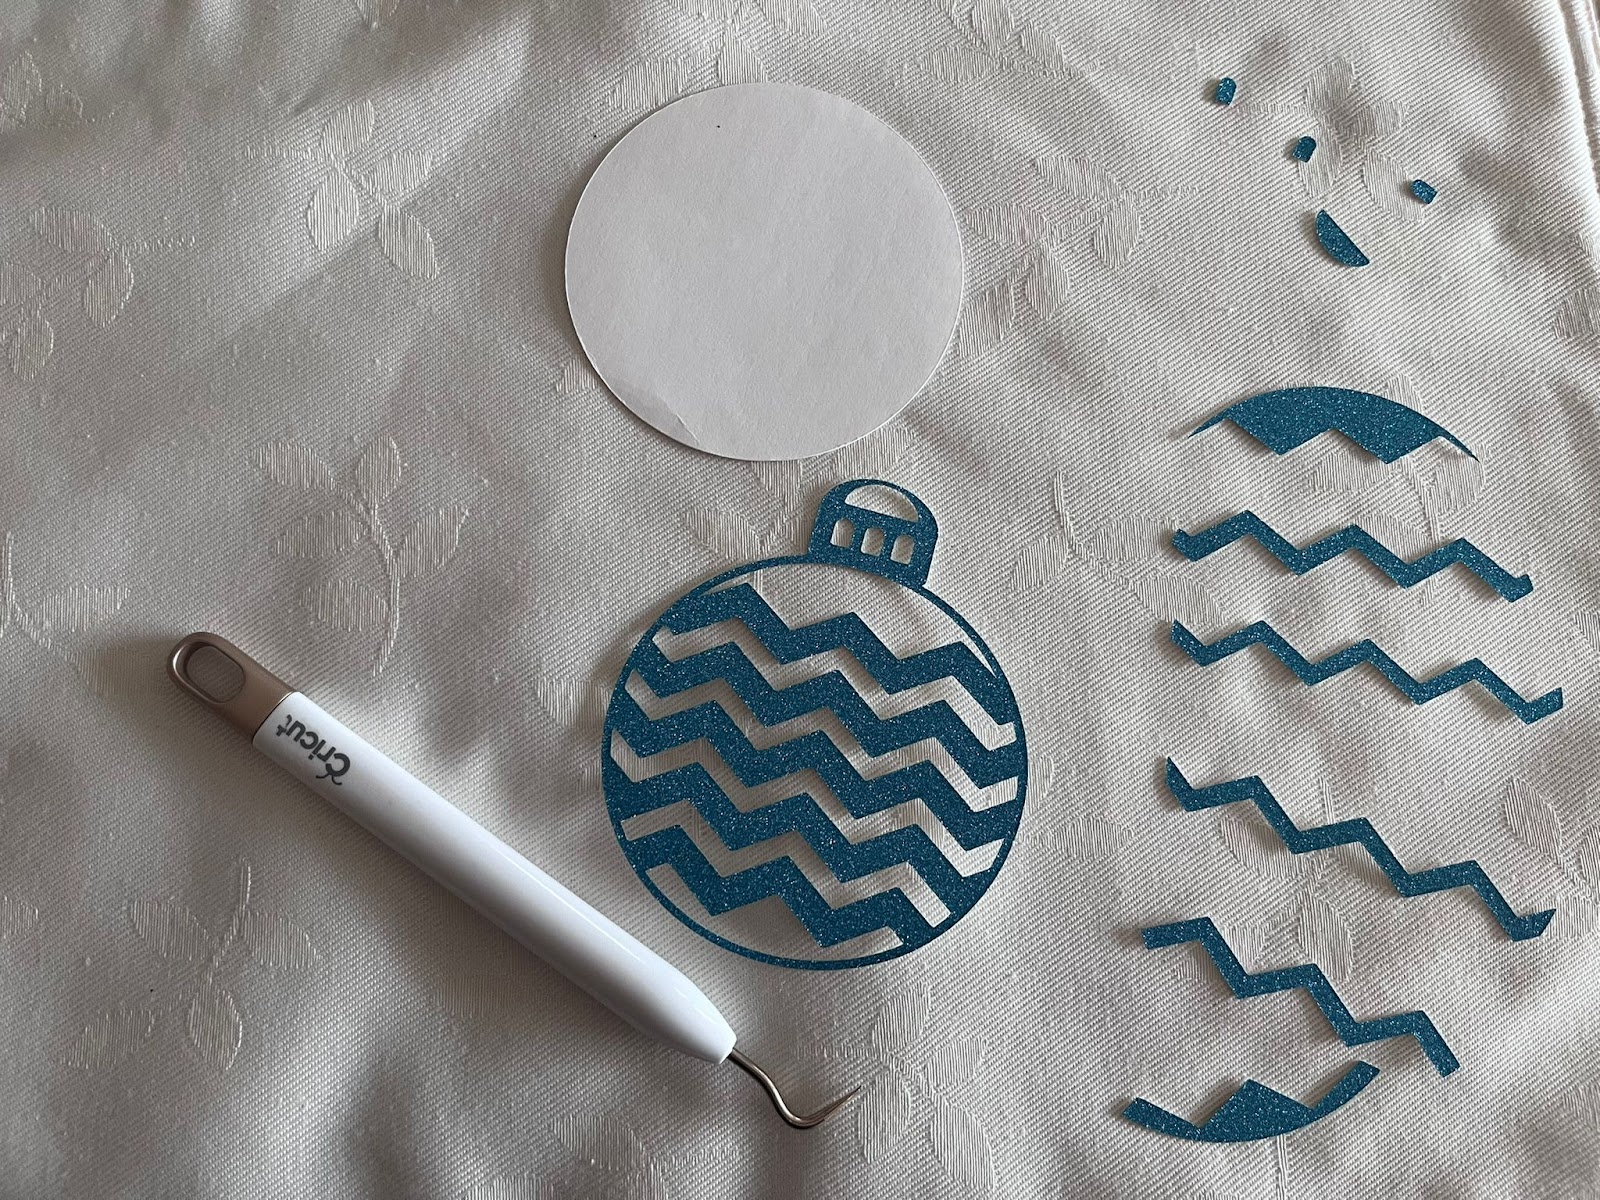
10 – After all the cuts are done, we are going to obtain 2 different parts (one related to each color):
In this tutorial, you are going to learn/practice the following functionalities:
- Size Images and Shapes.
- How to add the mat to the machine and proceed with the cuts..
- How to use the weeding tool.
- How to use Combine Functionality: Weld and Subtract.
- How to rotate Images and shapes.
- How to Slice Images
- How to Attach Images