Step 1: Create the Design
Before getting started, please download and install these fonts and images:
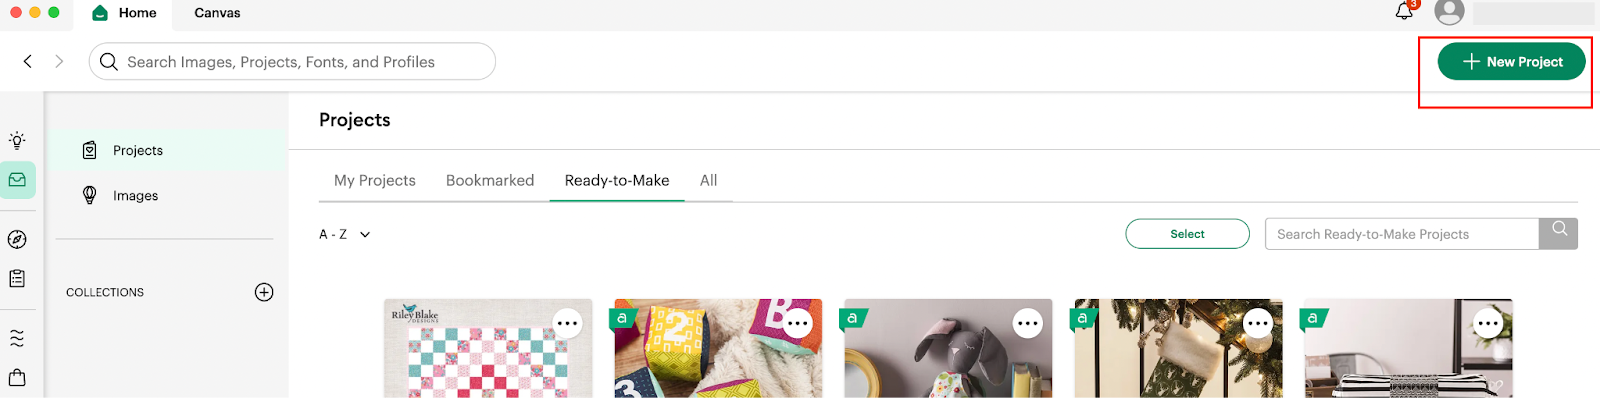
1: Open Design Space and click on the + New Project Green button located on the top Right corner of our screen.
2: After we clicked in there, we are going to be able to access our Blank Canvas, in where we are going to start creating our Design:

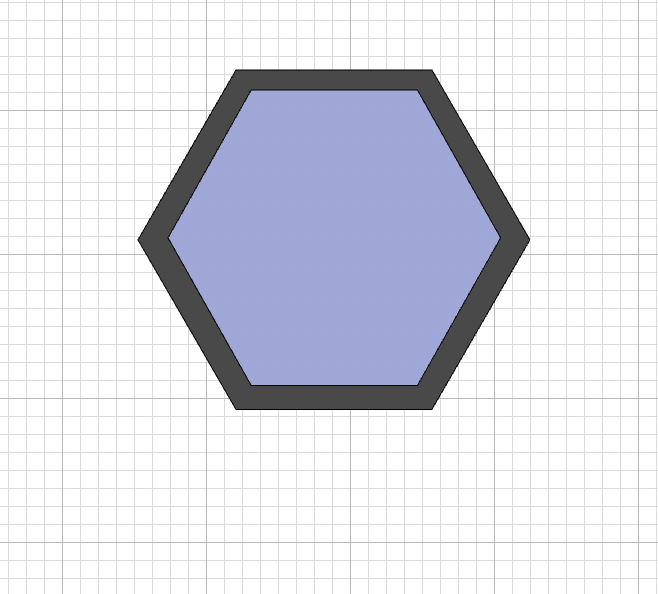
3: We are going to use the shapes functionality to add 2 hexagons.

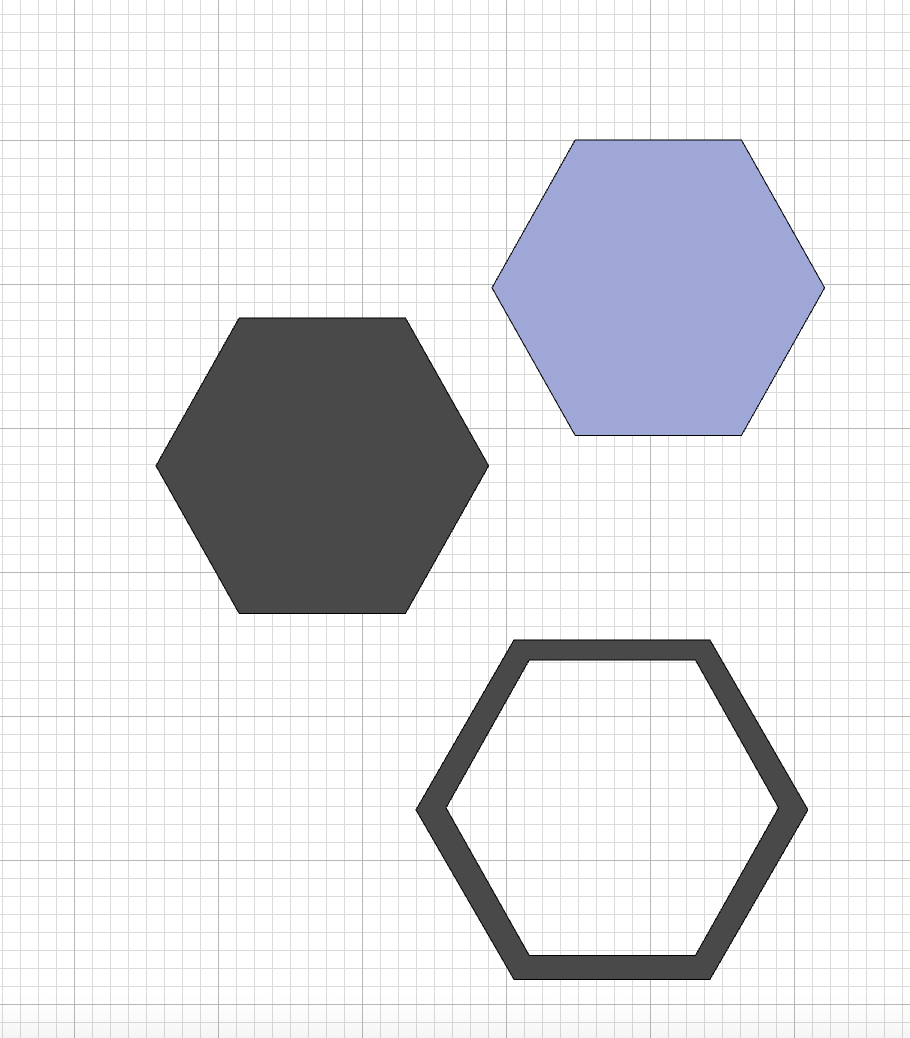
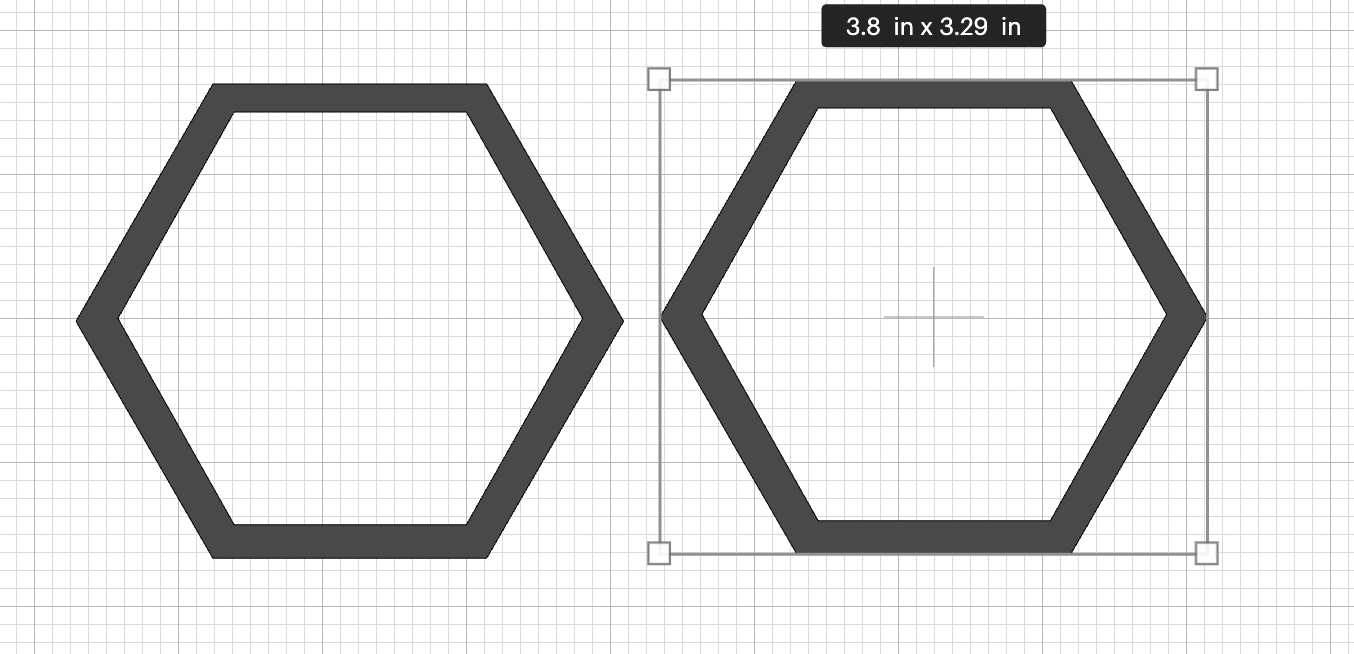
4: We are going to resize one of the hexagons a little bit bigger of the other one in order to create a border and then using the slice functionality we are going to slice them to obtain something similar as follow:
💡Tip: We changed the color of one of the hexagons so it’s easier to see both hexagons

After slicing the elements, you should have something like:
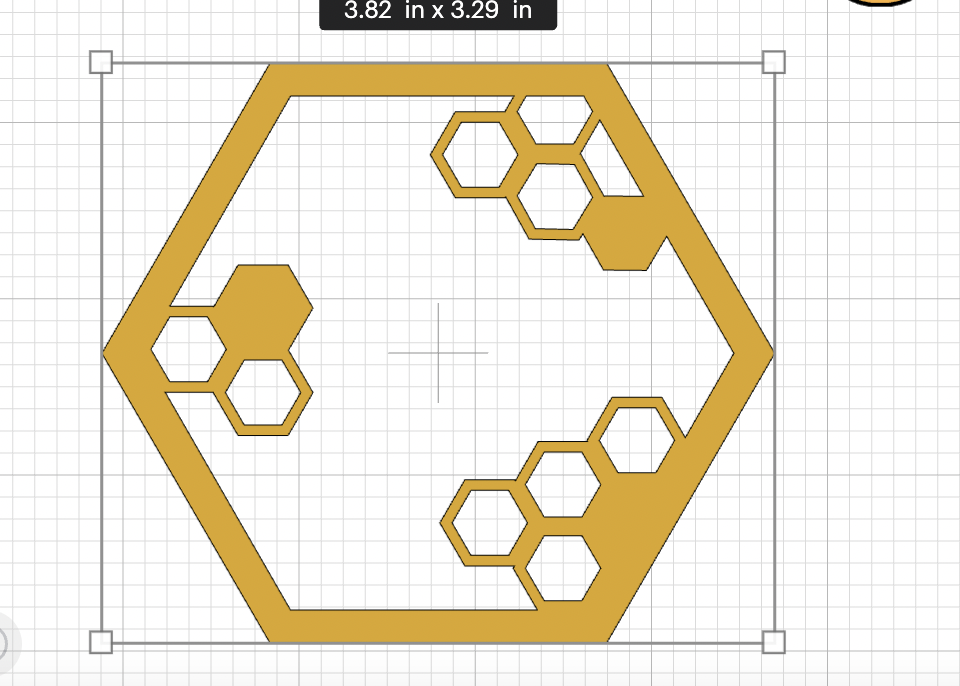
5: We are going to resize our base hexagon to fit a loaf cake, we are going to use: W: 3.82” and H: 3.293” and duplicate it.
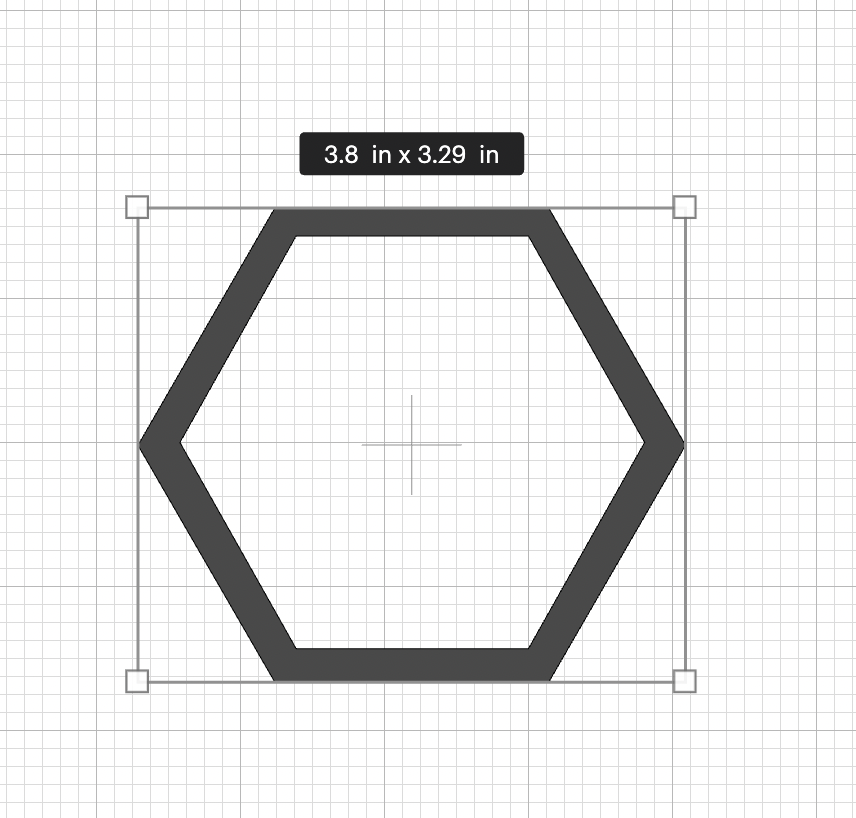
After duplicating the element:
💡Tip: you can resize it based on your physical cake, pie, load or cupcake.
6: We are going duplicate one of our hexagons and duplicate one more time, and resize it to generate like the interior of the honeycomb and duplicate it several times:
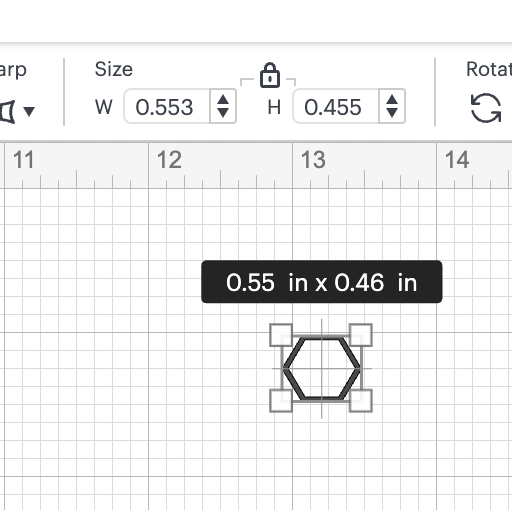
After duplicating:
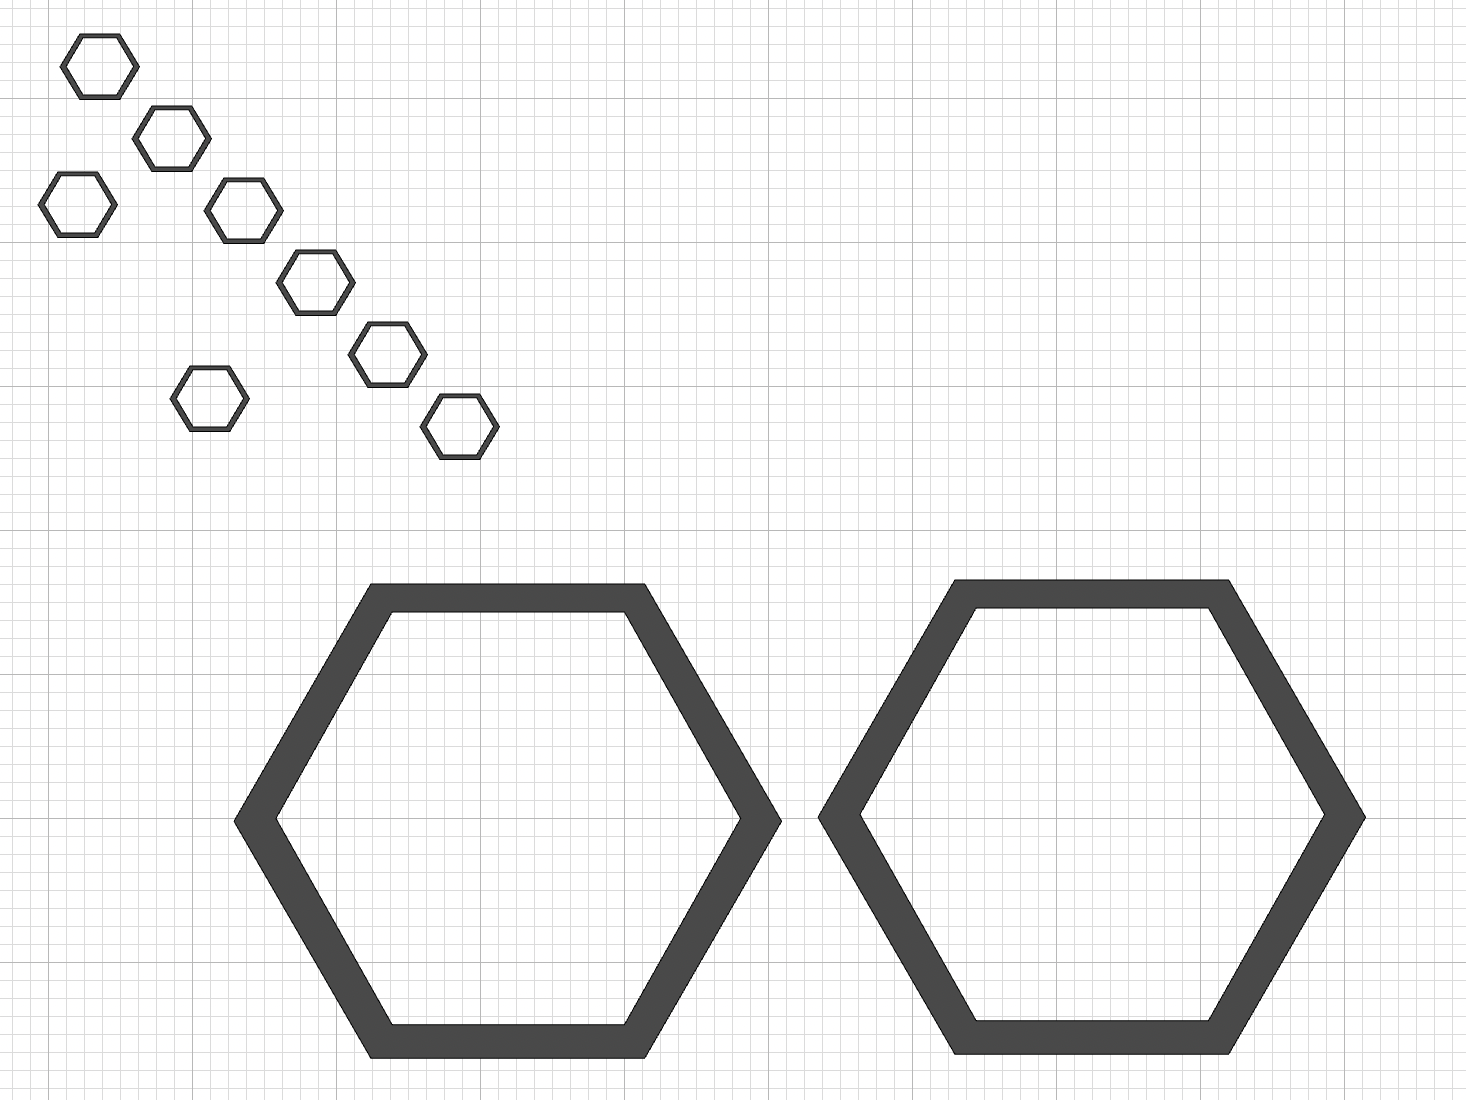
💡Tip: Probably you have to duplicate more based on the design that you like
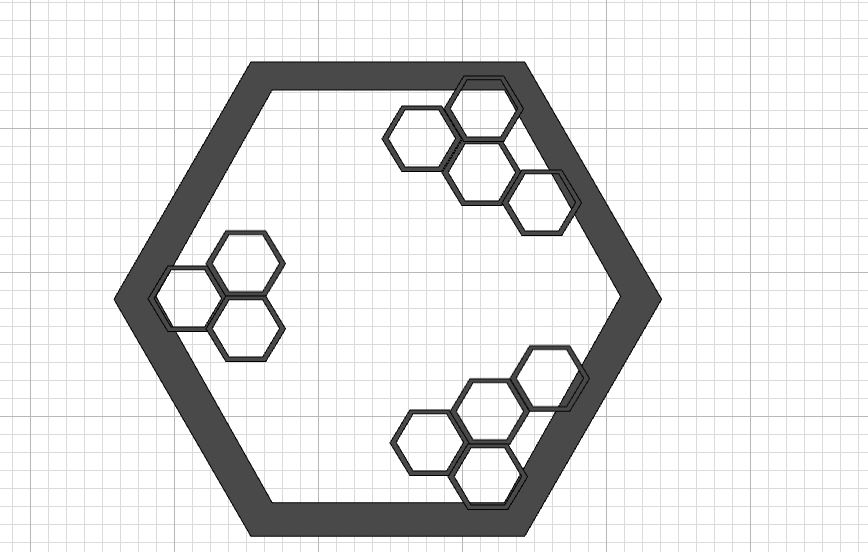
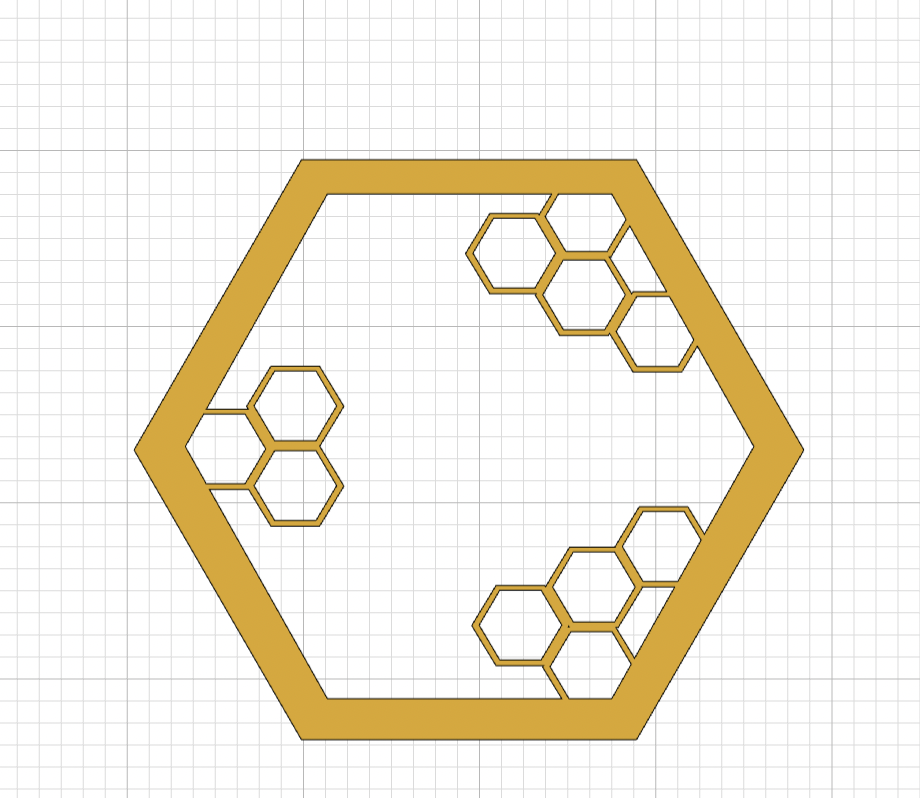
7: We are going to start placing them over our base hexagon as we like, in our case something like:
8: When we are happy with the amount of small hexagons we are going to select all the elements and weld them:
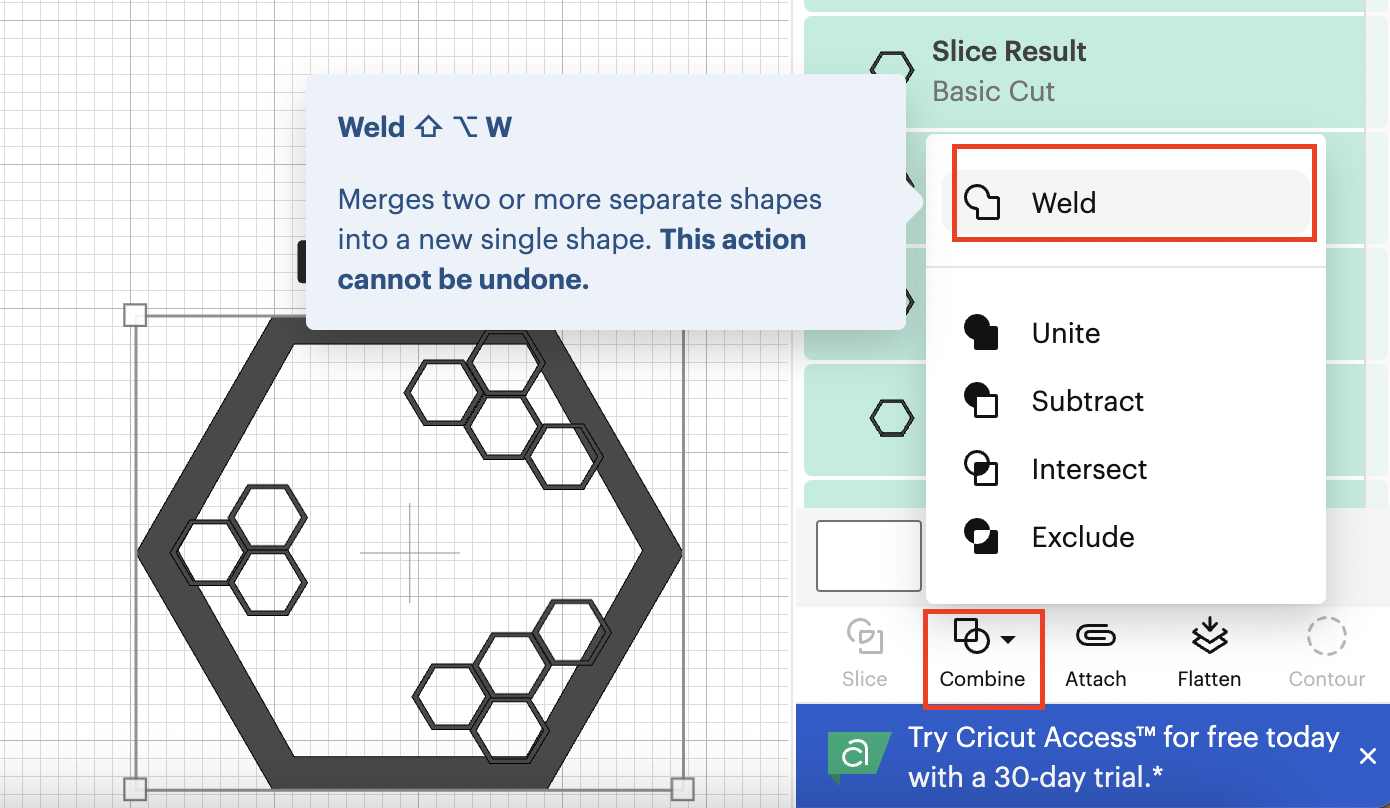
After the weld:
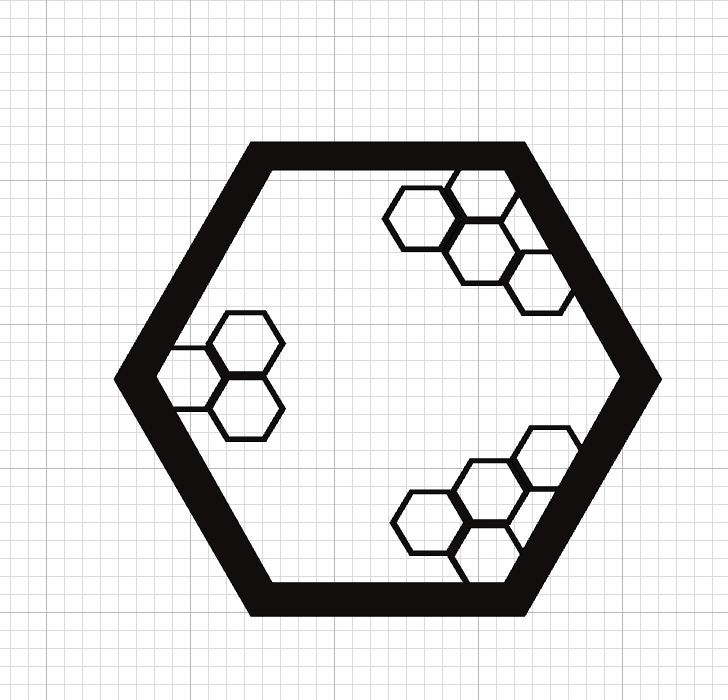
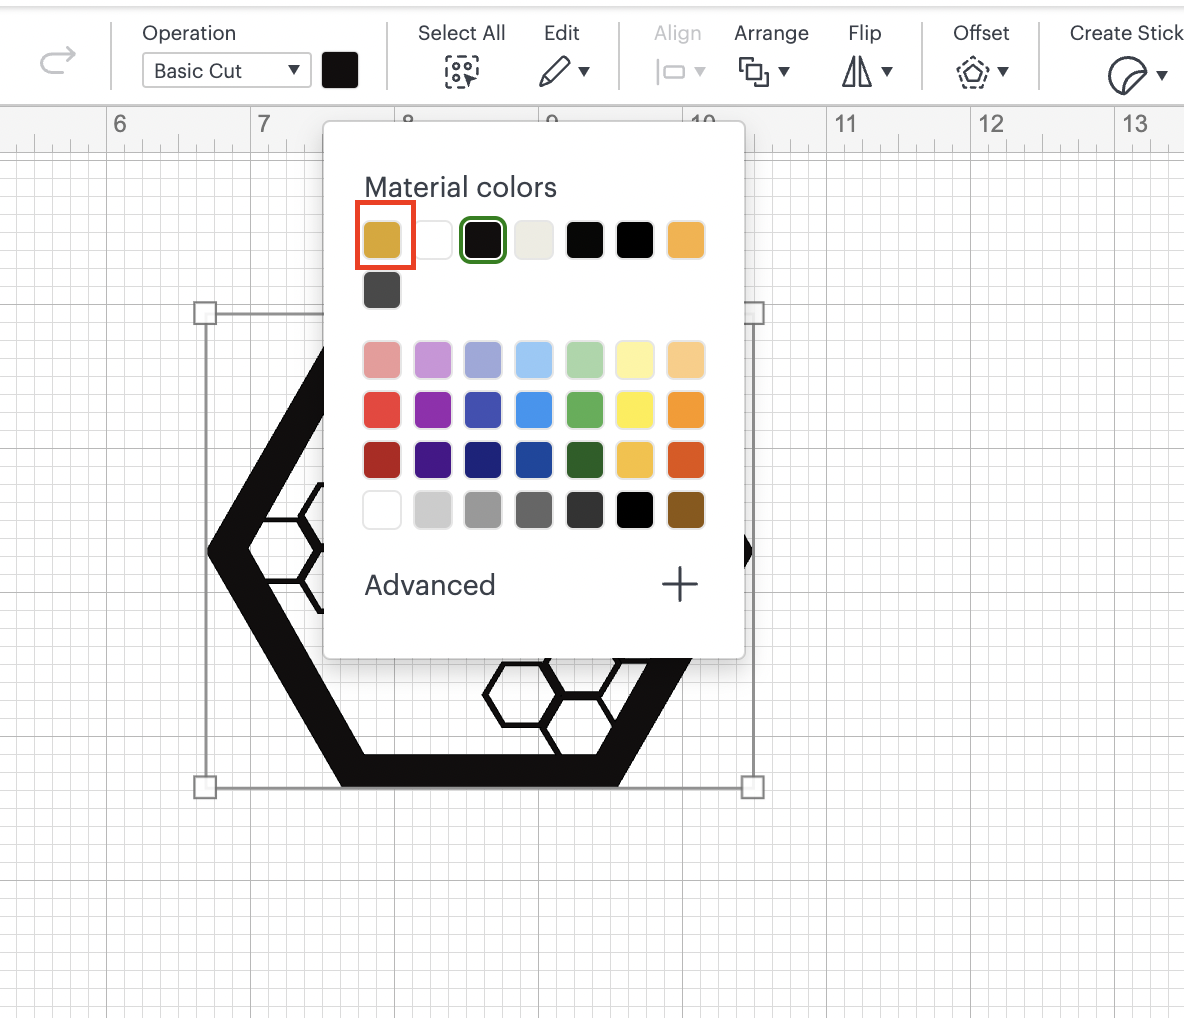
9: we are going to change the color of our honeycomb to the one that we are going to cut, in our case something similar to a mustard/orange color:
💡Tip: After changing the color, if between any of the elements that were weld lines are showing, like the image below, we need to undo the weld action move the elements that have this conflict and weld again until those lines are not showing:
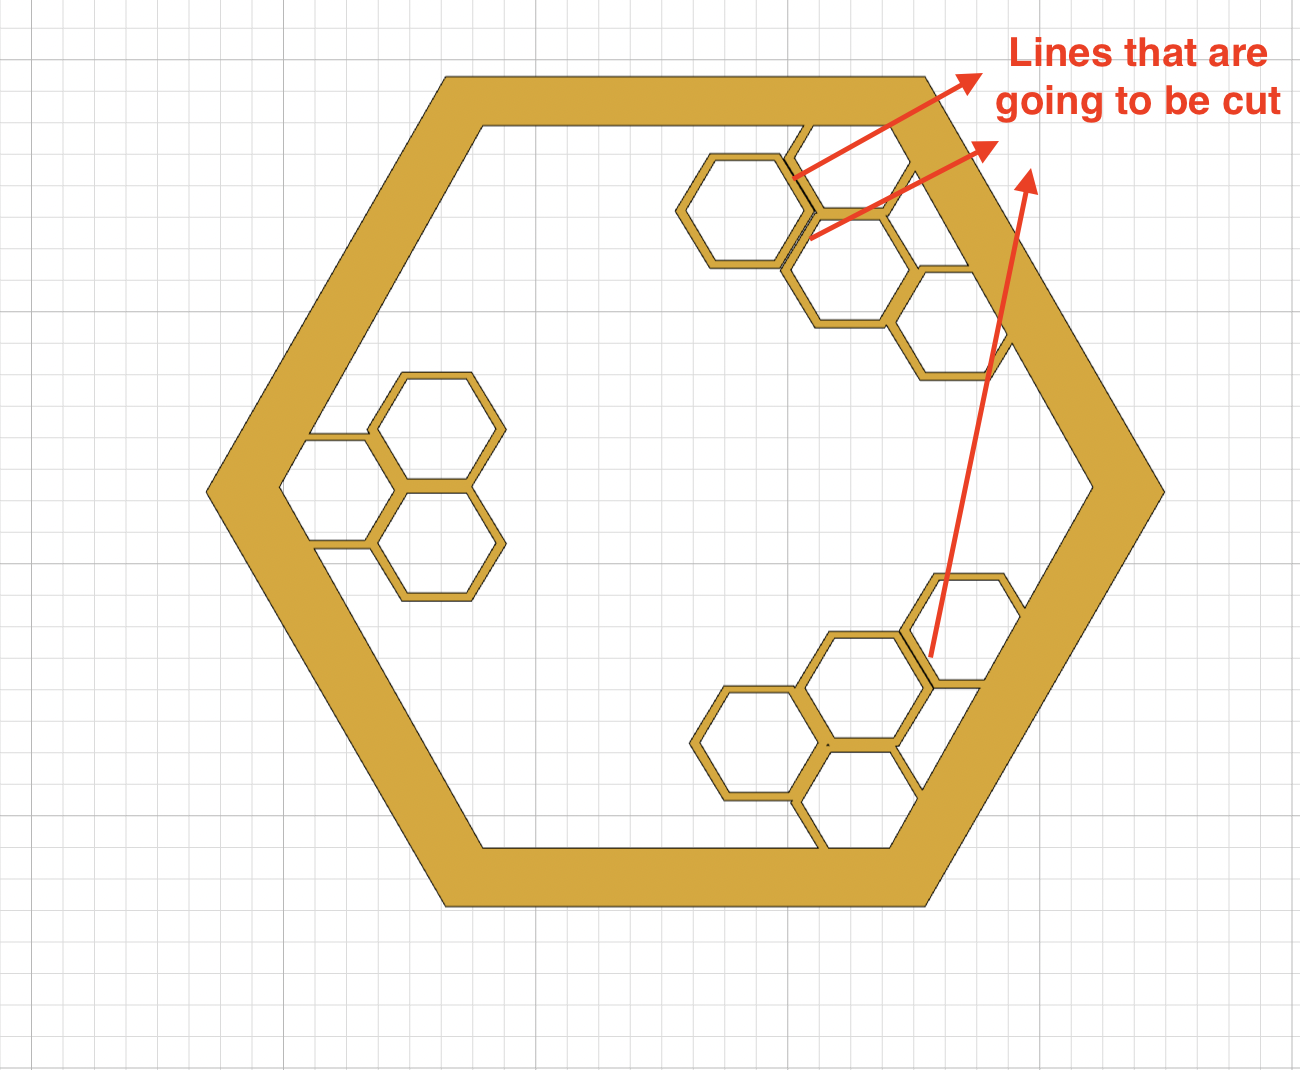

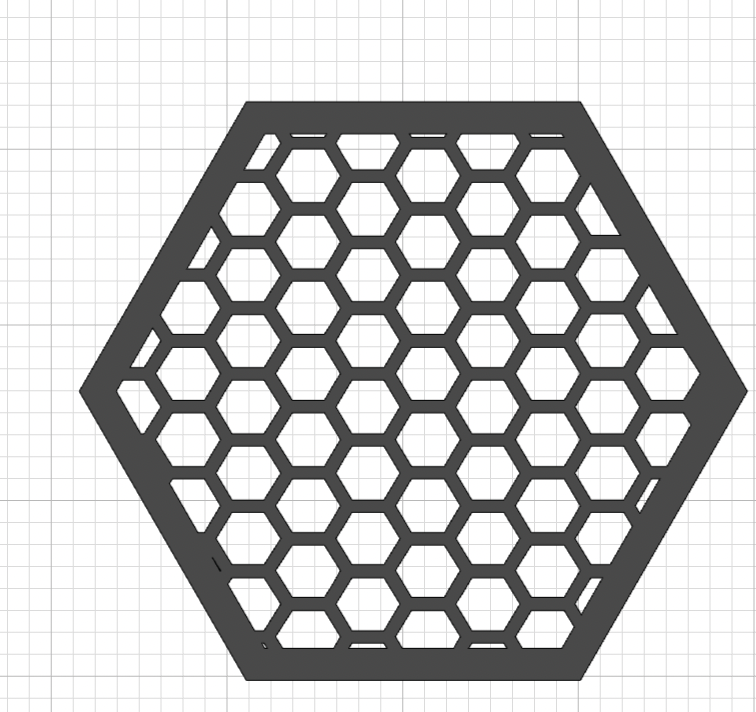
After adjusting the elements you should have something like:
10: We are going to place some of the hexagons (the ones that are full on the inside) in order to generate a more realistic honeycomb. We placed the hexagons over the ones that we want to fill and we weld the elements.
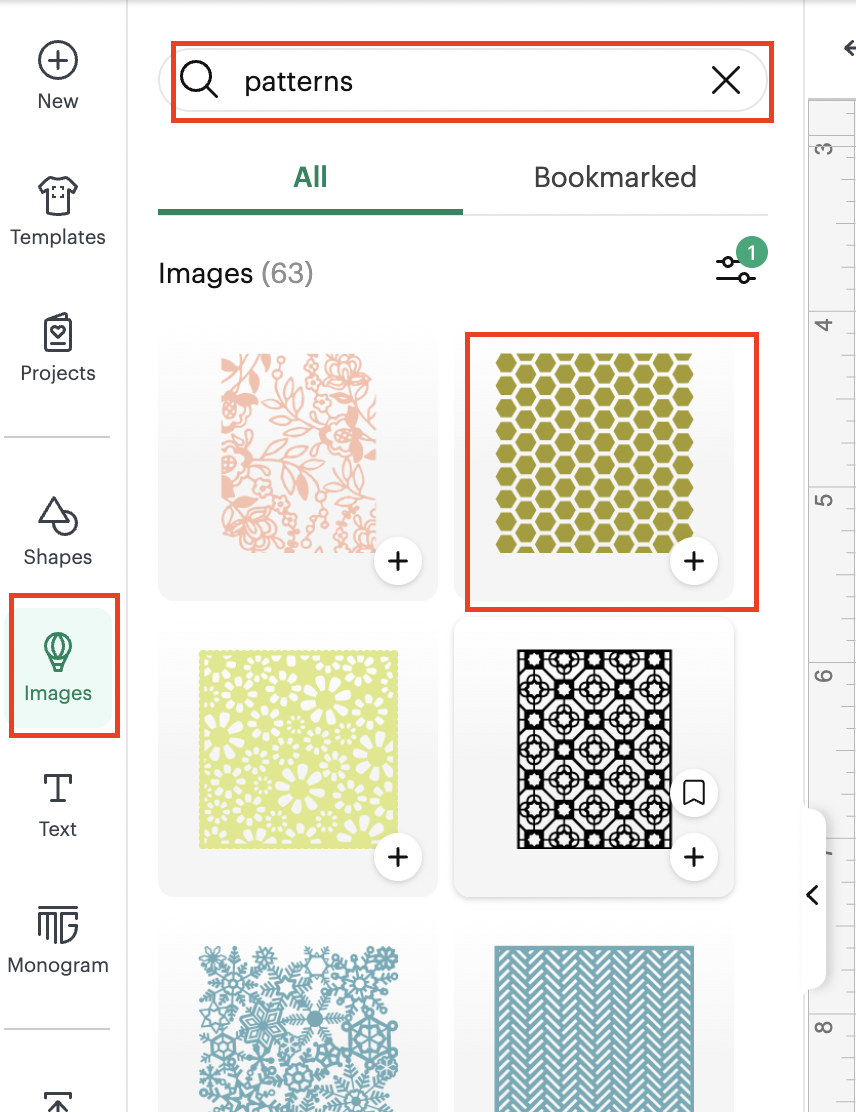
💡Tip: There is a honeycomb pattern in the images section that you can use if you want to fill the whole hexagon:
You are going to slice the pattern:

And then you are going to weld them:
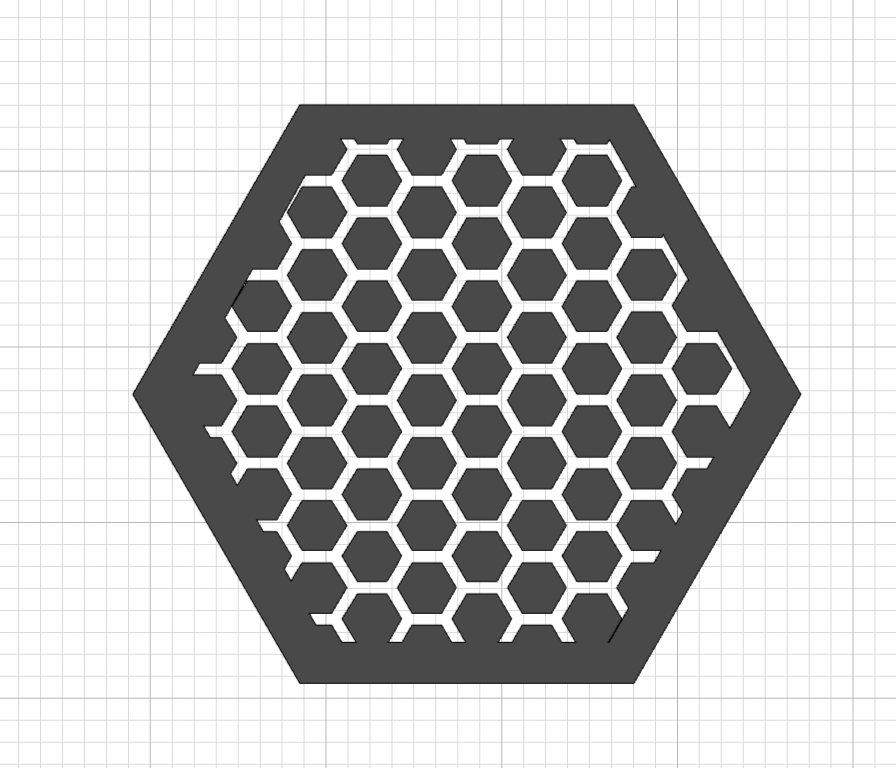
If you are doing this pattern, you need to do the reverse slicing, meaning that applying the slice and weld functionalities, you need to obtain the following design so the interiors of the hexagons are the ones that you are going to discard.
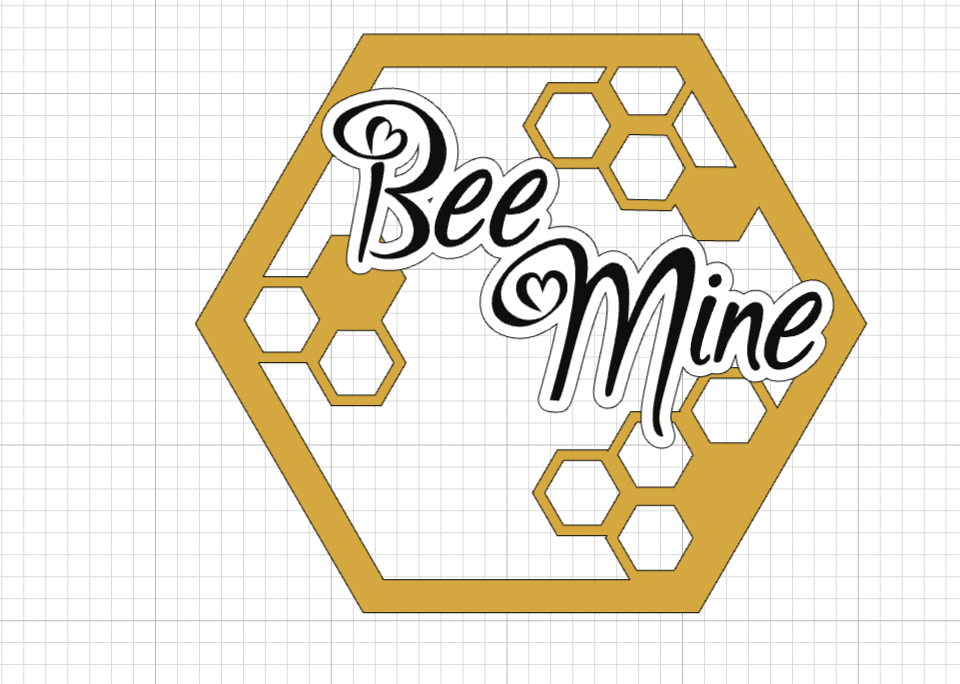
11: We are going to use the text functionality and write the phrase: Bee Mine in 2 different lines, using the font that you previously downloaded on your device.

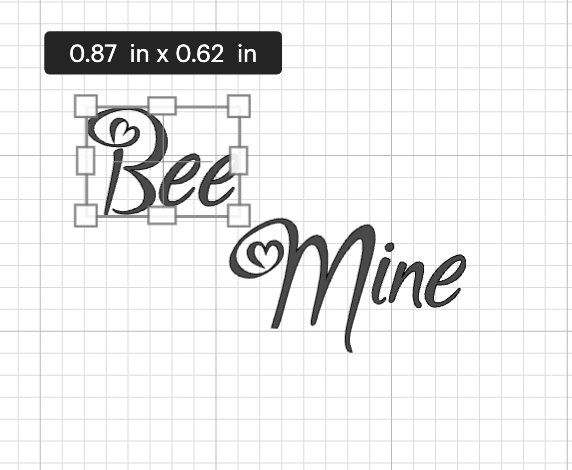
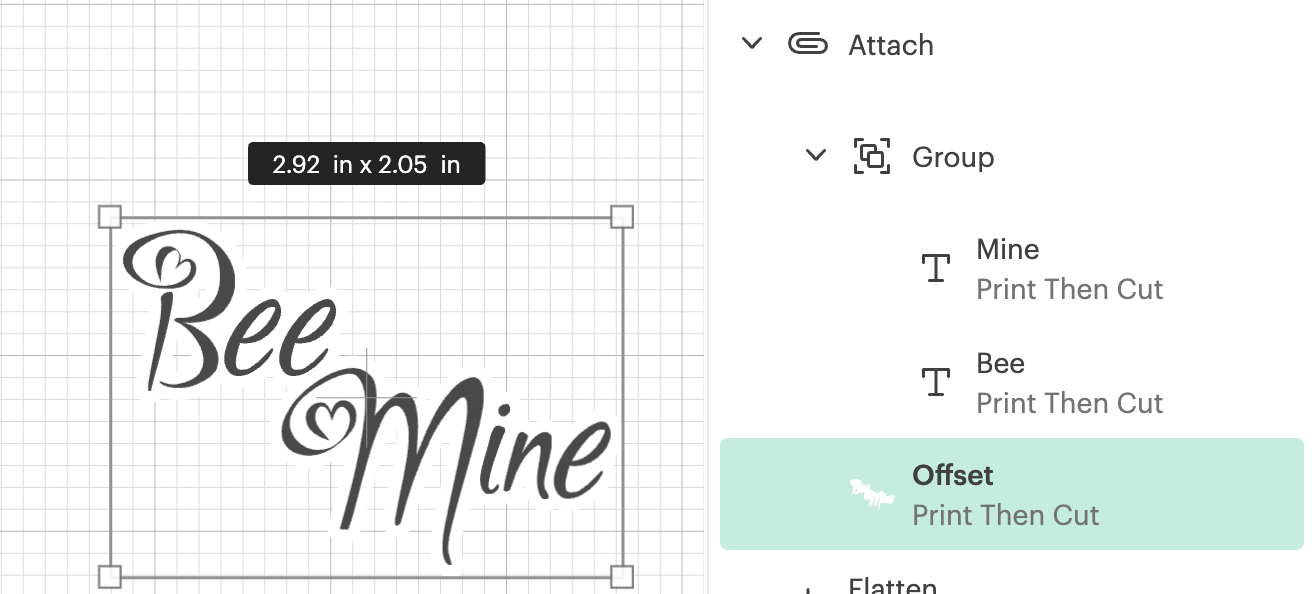
12: We are going to place the text in 2 lines as we like and then we are going to attach them and create an offset:

The offset normally is created in black color, we are going to change it to white in our case:
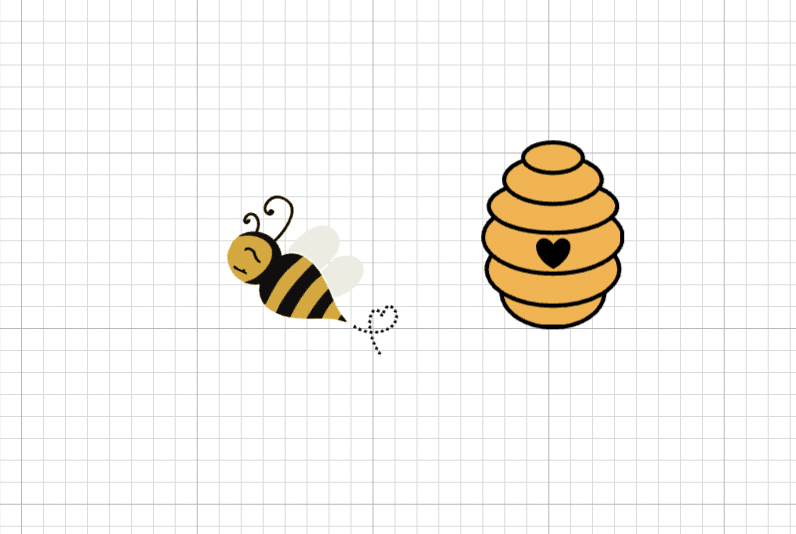
13: We are going to upload the 2 images that we are providing:
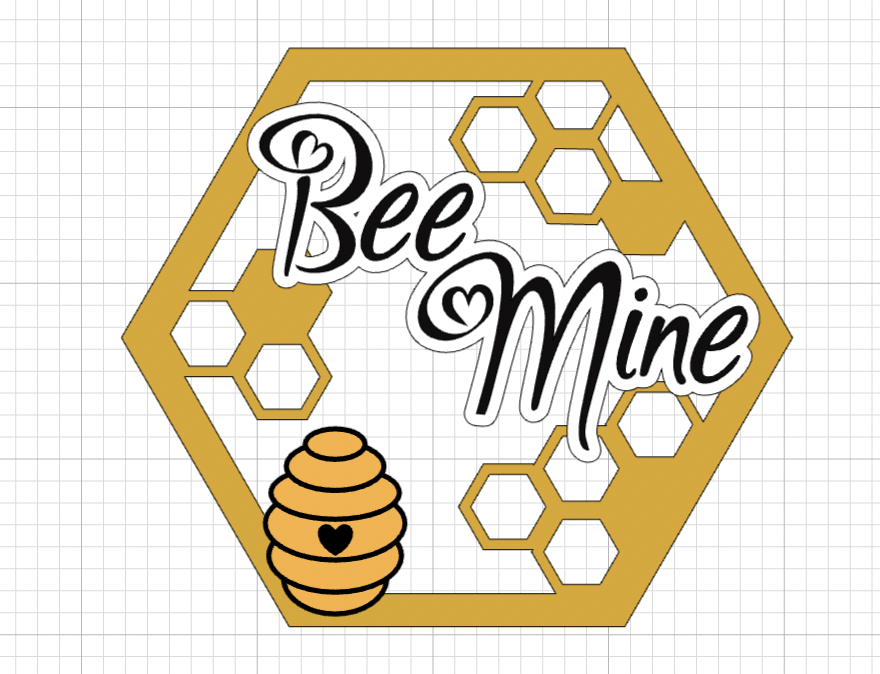
14: Now, we can proceed to start placing all the different elements into our honeycomb and start resizing them. First we are going to start with our phrase:
We are going to continue with the beehive:
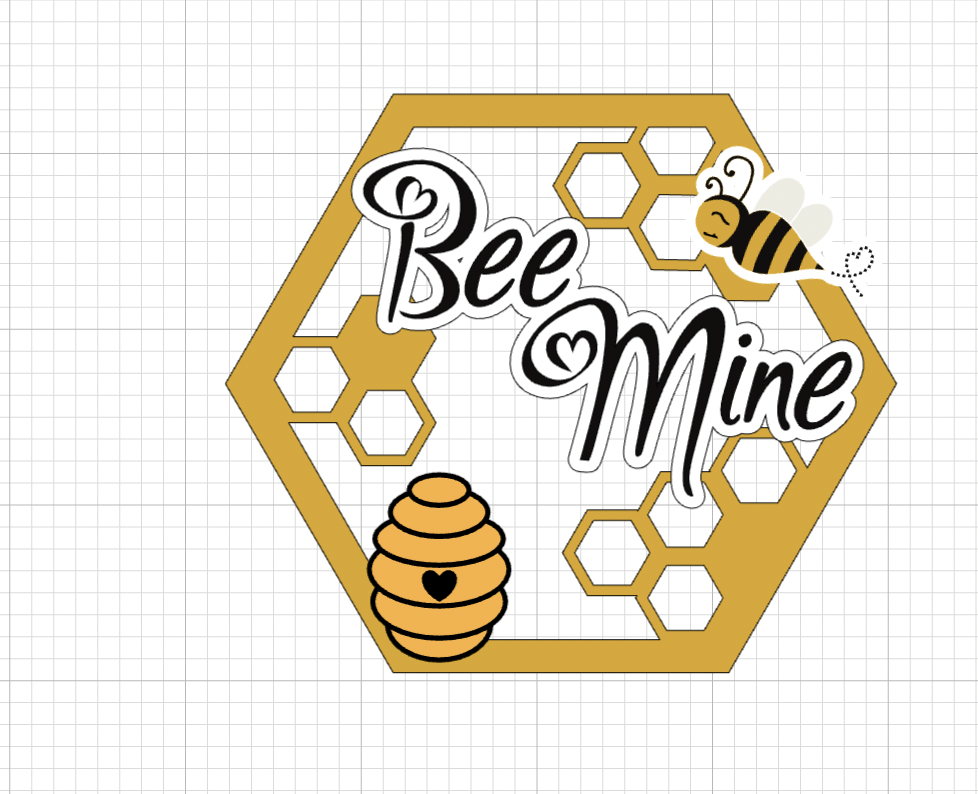
15: And last, but not least we are going to place our bee, but first we are going to create an offset to the bee:
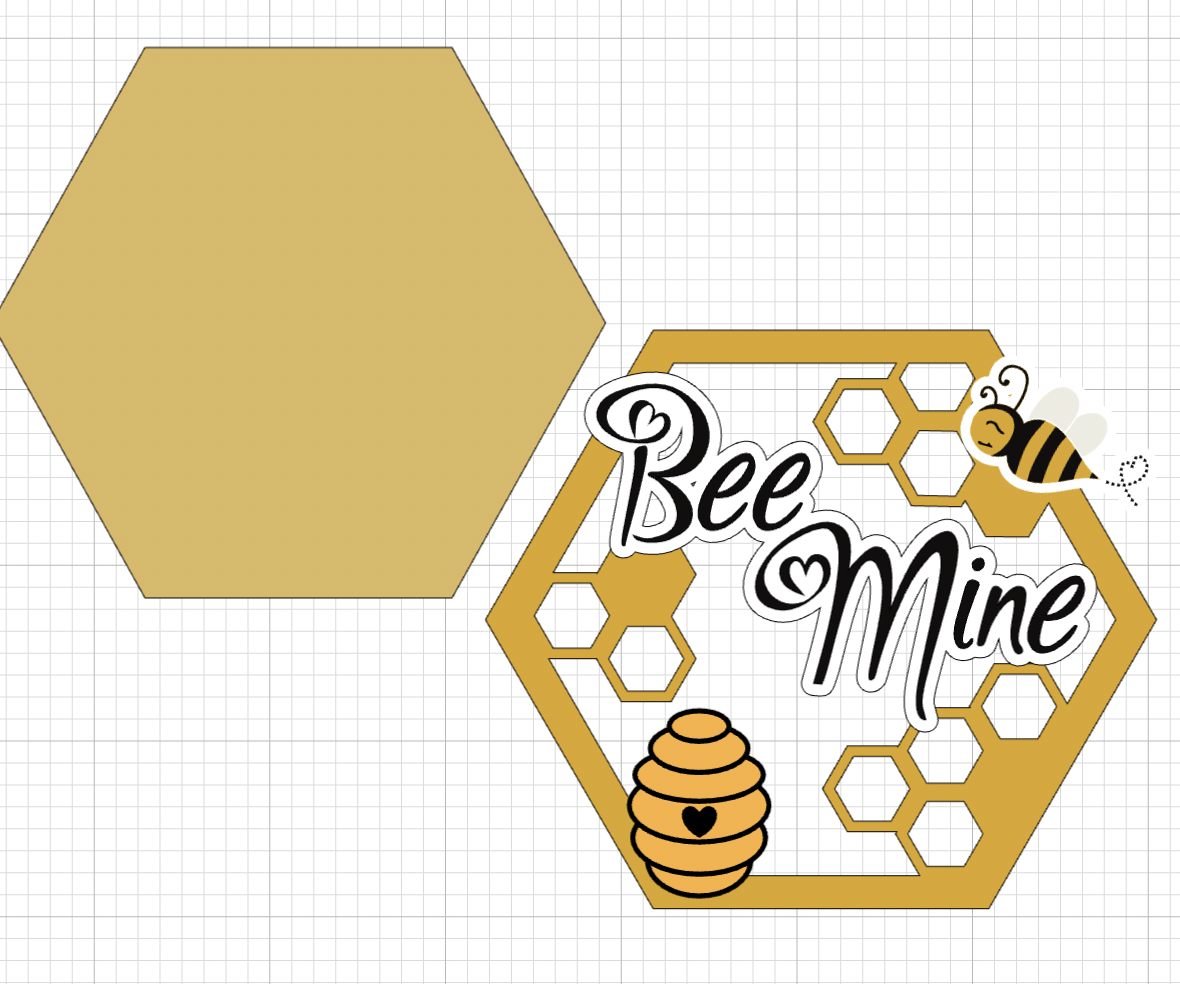
16: We are almost done with out design, but first we need to decide if we want some of the elements to be visible on the back of our design, if that is our case we are going to duplicate them, in our case we are going to duplicate:
- Our base honeycomb (in case that you do not duplicated already)
- Our beehive
- Our Bee but we need to make sure that it was flip horizontally

💡Tip: If you also want to show the phrase on the back, you have to create a solid hexagon (same color or different one as your honeycomb) something like:
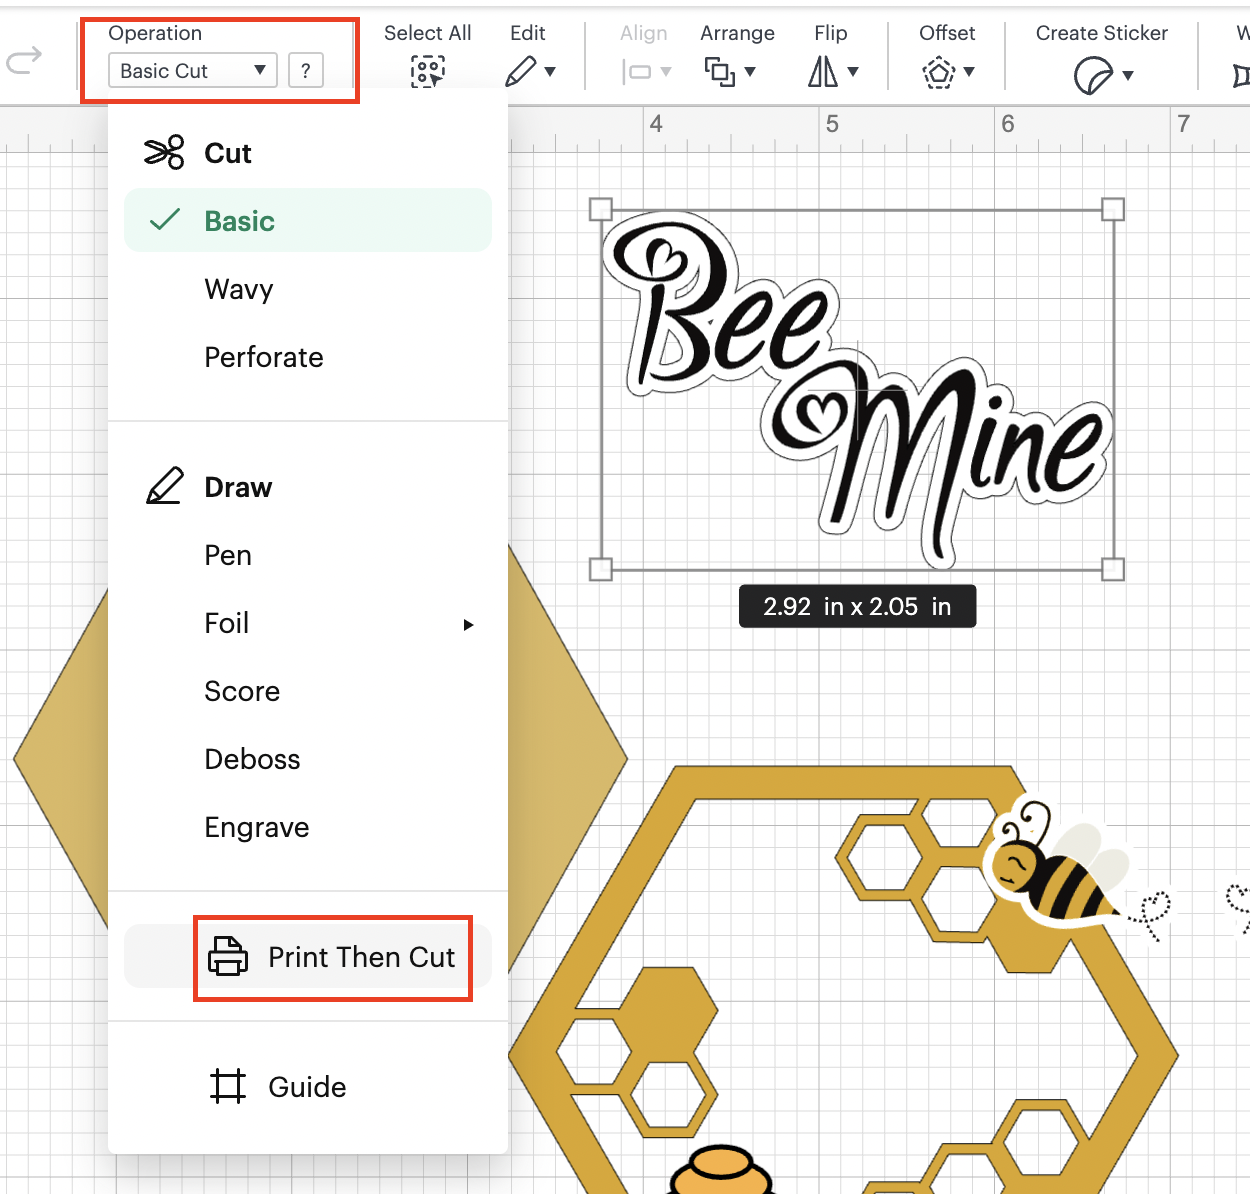
17: The last step is to make sure that some of the elements of the design are going to be printed and then cut, since they are very small, cutting them is not going to be as neat as printed.
We are going to select the phrase and then we are going to change the operation to print then cut:
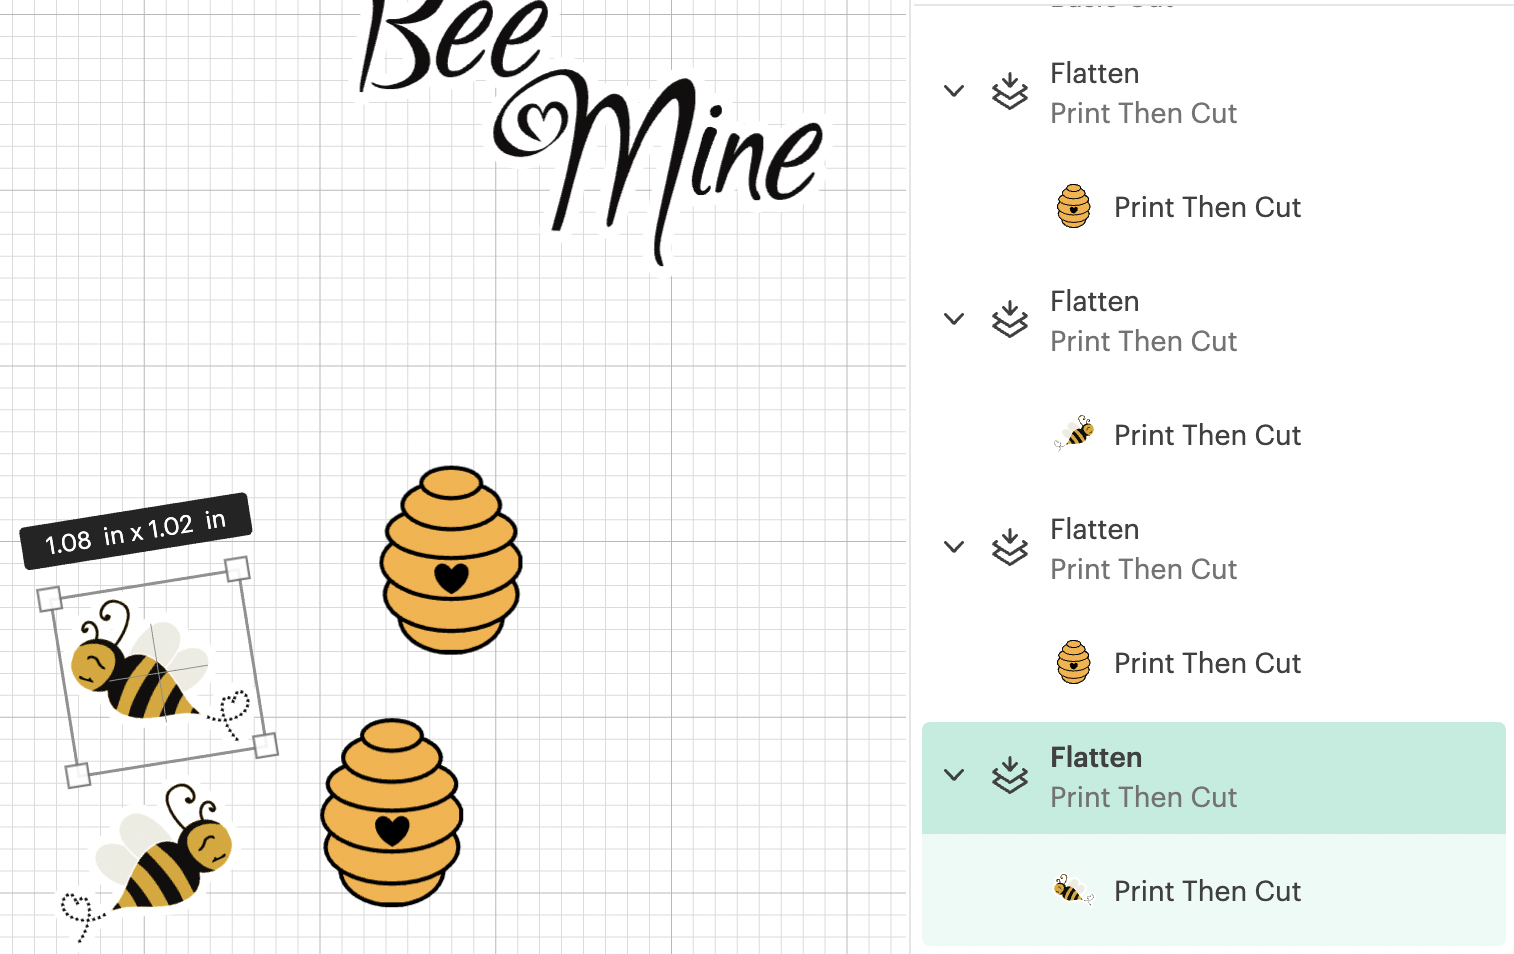
And then we are going to flatten:

18: We are going to apply the same process to the Bees and the beehive:
19: We are ready to start cutting our design!
In this tutorial, you are going to learn/practice the following functionalities:
- Slice Images/shapes
- Search Images
- Add Shapes and Images
- Upload Images
- Resize Elements
- Delete Elements
- Attach Elements
- Change colors
- Weld Elements