Step 1: Create the Design
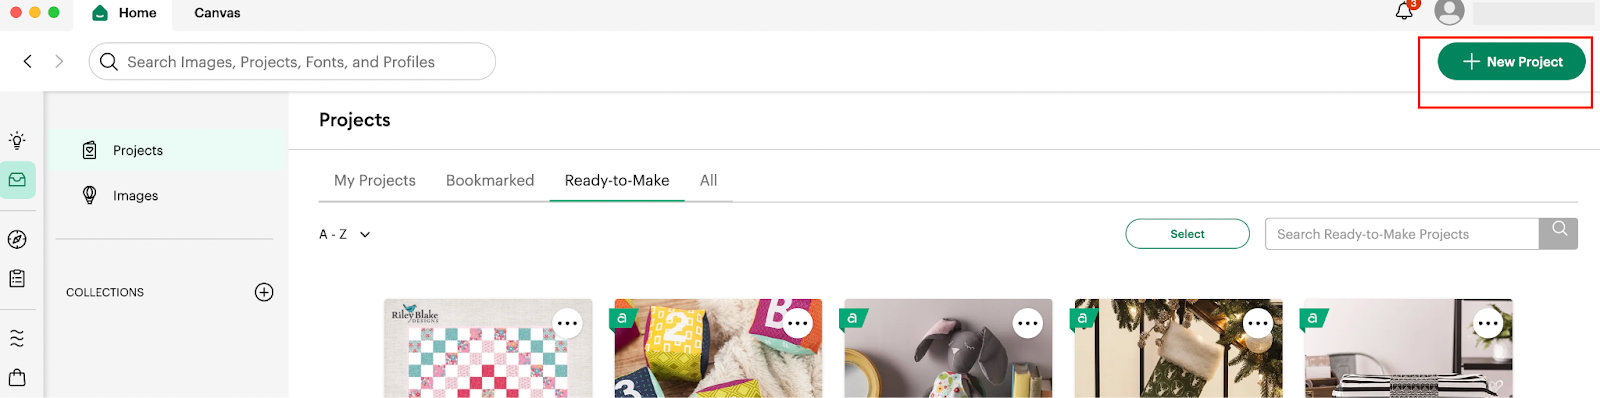
1: In order to be able to start our Design, we are going to access our Design
Space application and in there we are going to click on the + New Project Green button located on the top Right corner of our screen.
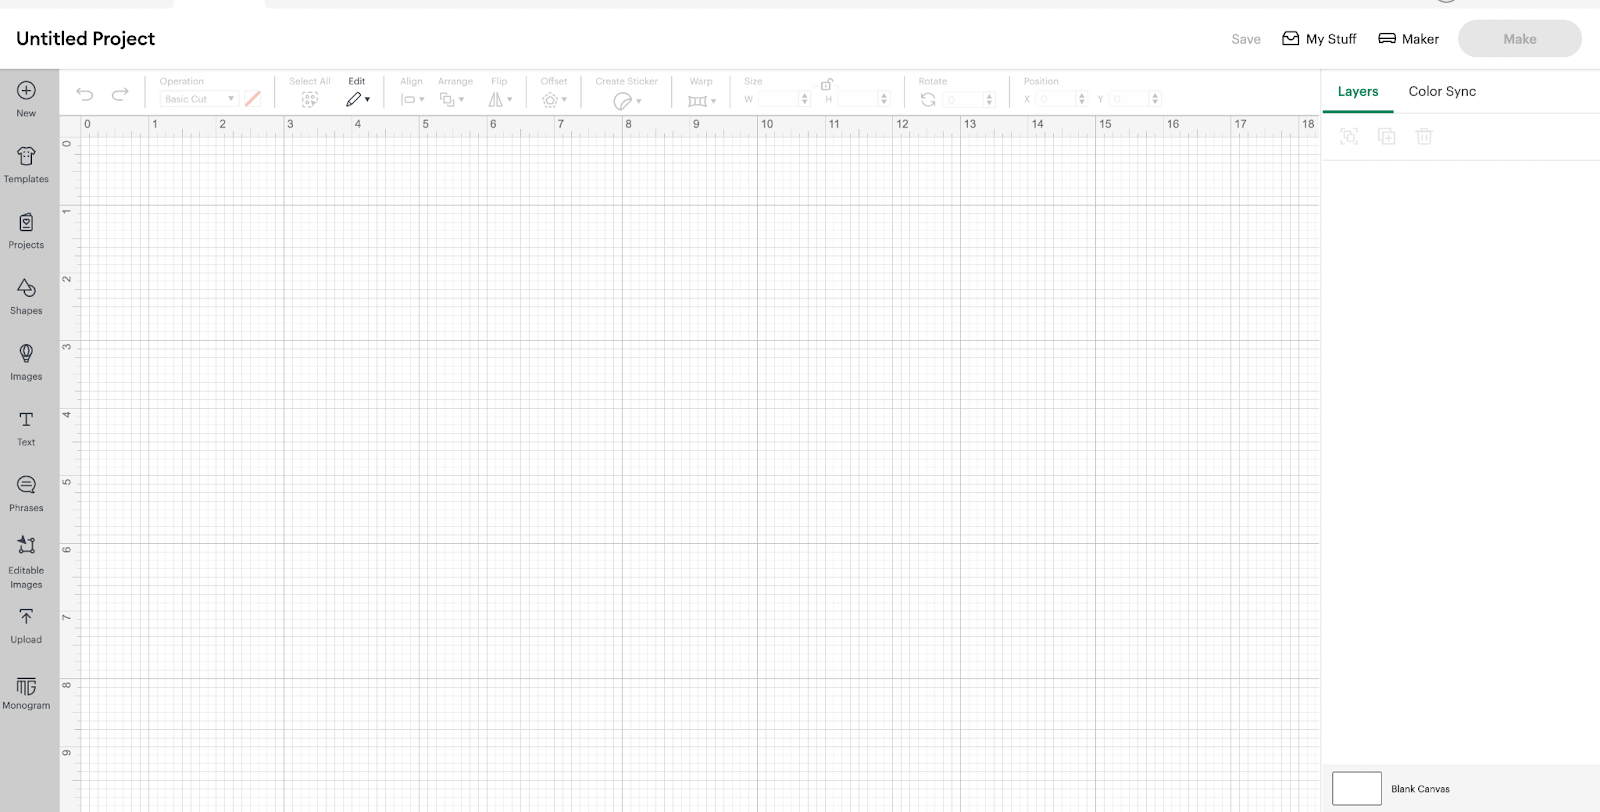
2: After we clicked in there, we are going to be able to access our Blank Canvas, in where we are going to start creating our Design:
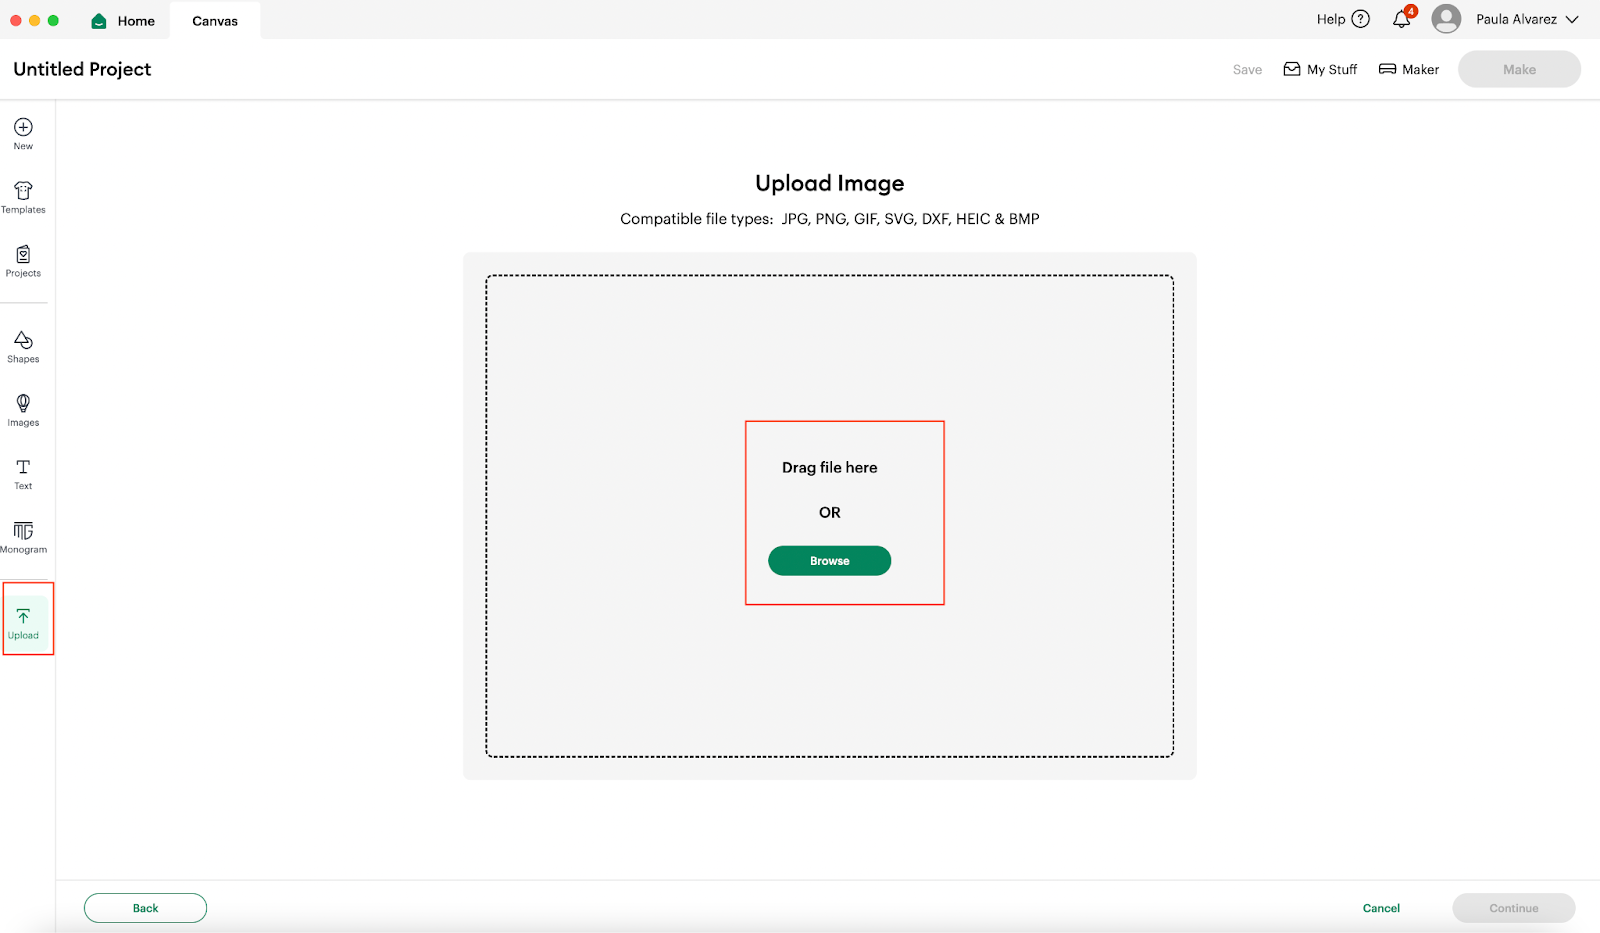
3: We are going to start by uploading all the images that we are going to use, and we are going to use the same process for all of them:
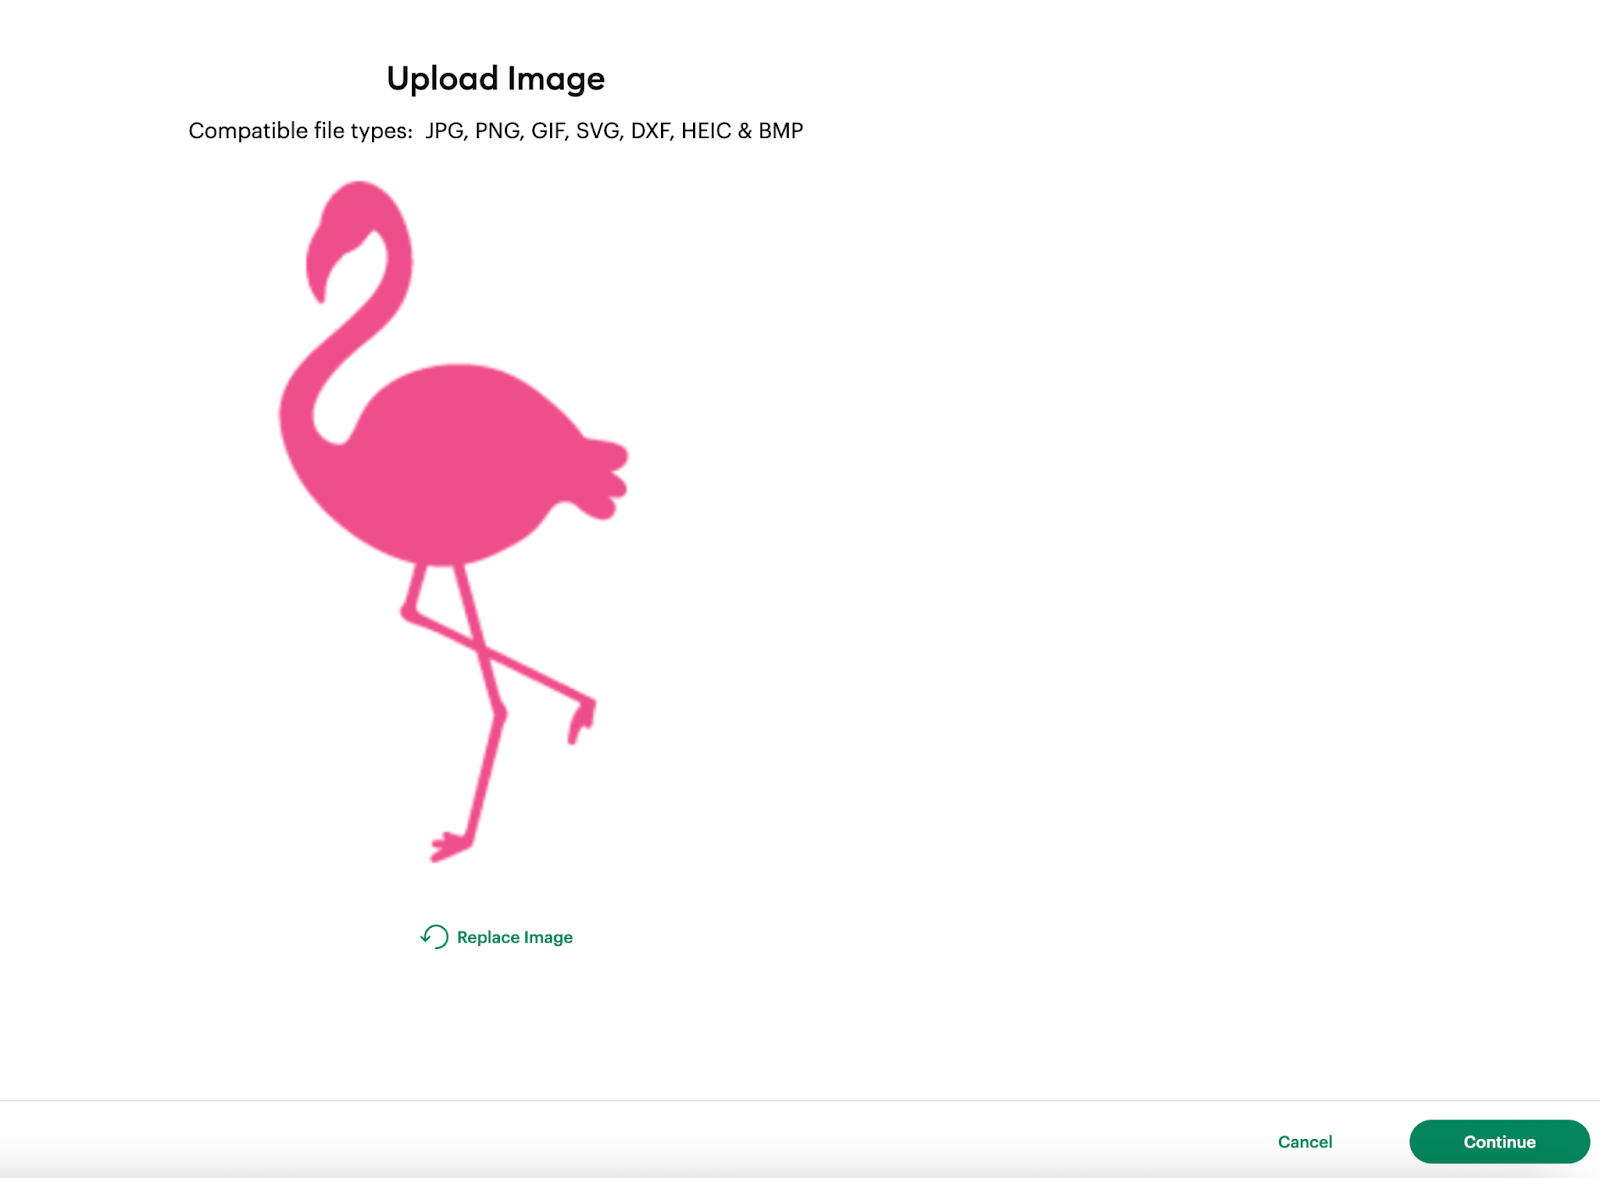
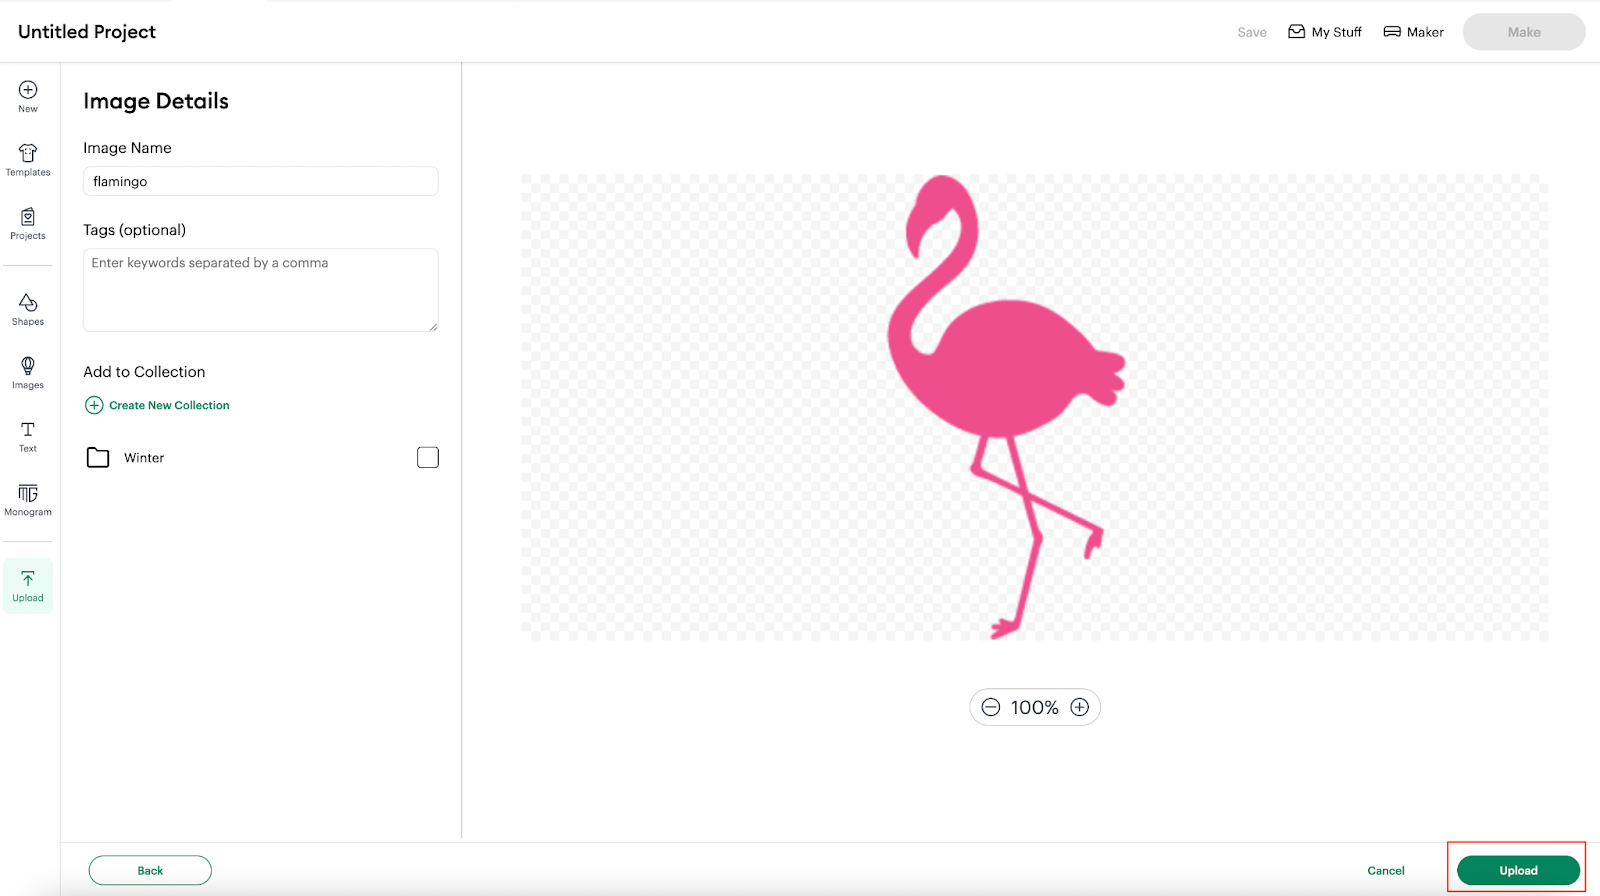
After uploading the image:

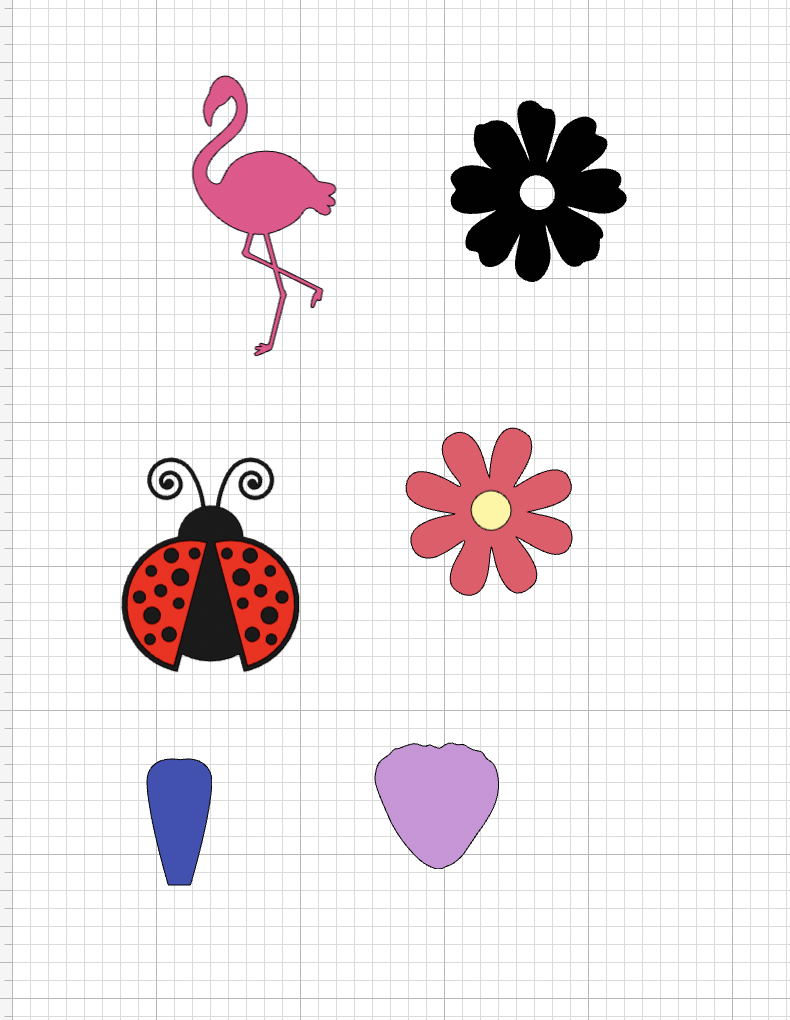
4: You are going to apply the same process and upload all the images, you should have something like:
5: For 2 animals (flamingo and lady bug) we are going to create an offset so it’s easy for us to hang them, in order to do that, we are going to select one of the elements and use the offset functionality:
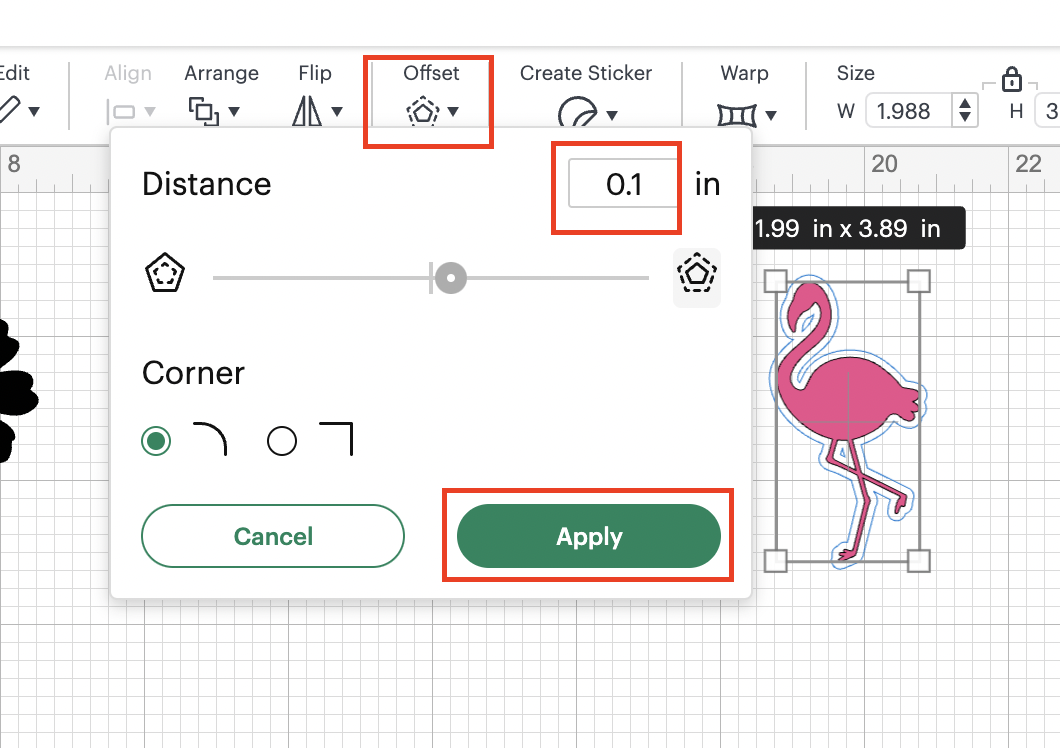
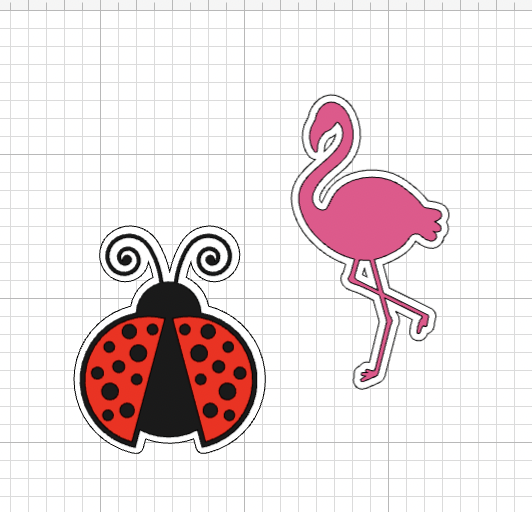
After applying the offset, we are going to change the offset color to white (black is the default color)
6: For the 2 whole flowers and the animals (including the offset), we are going to duplicate each one of them 1 time
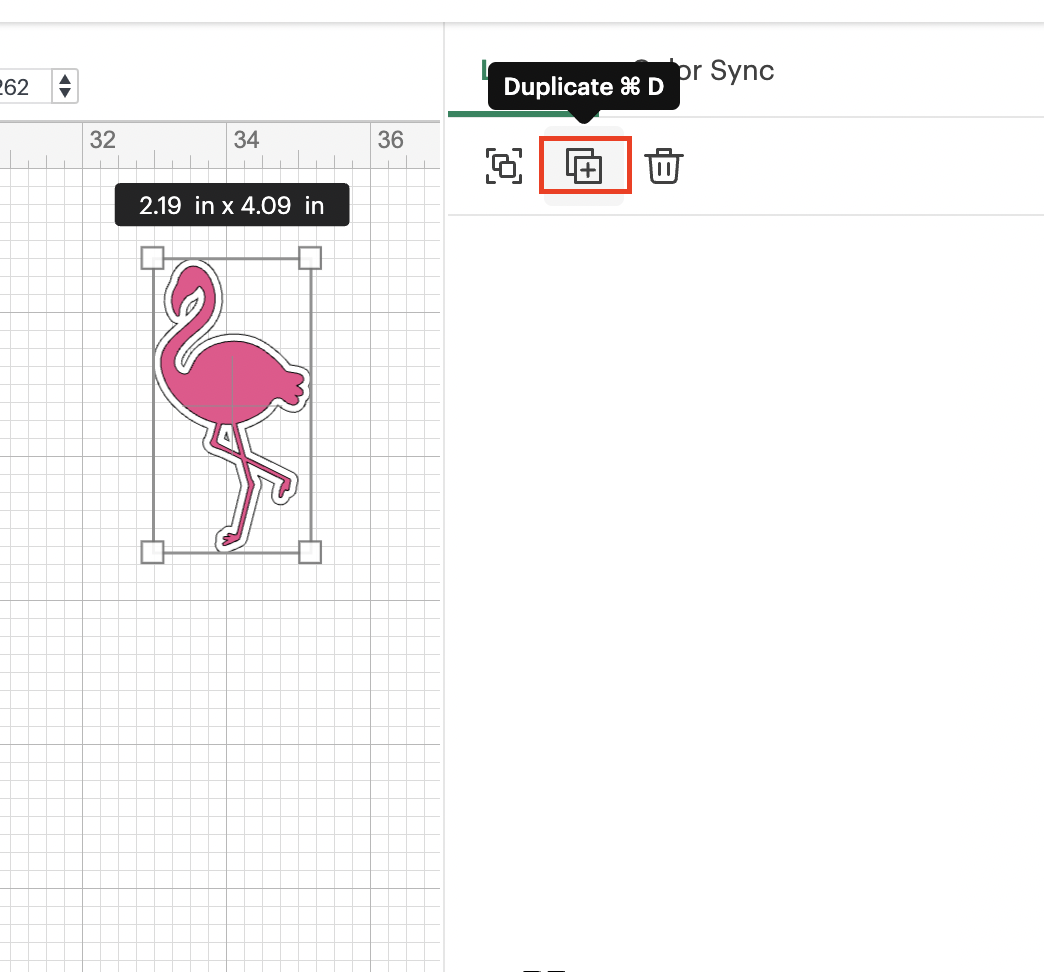
After duplicating all the elements, you should have something like:
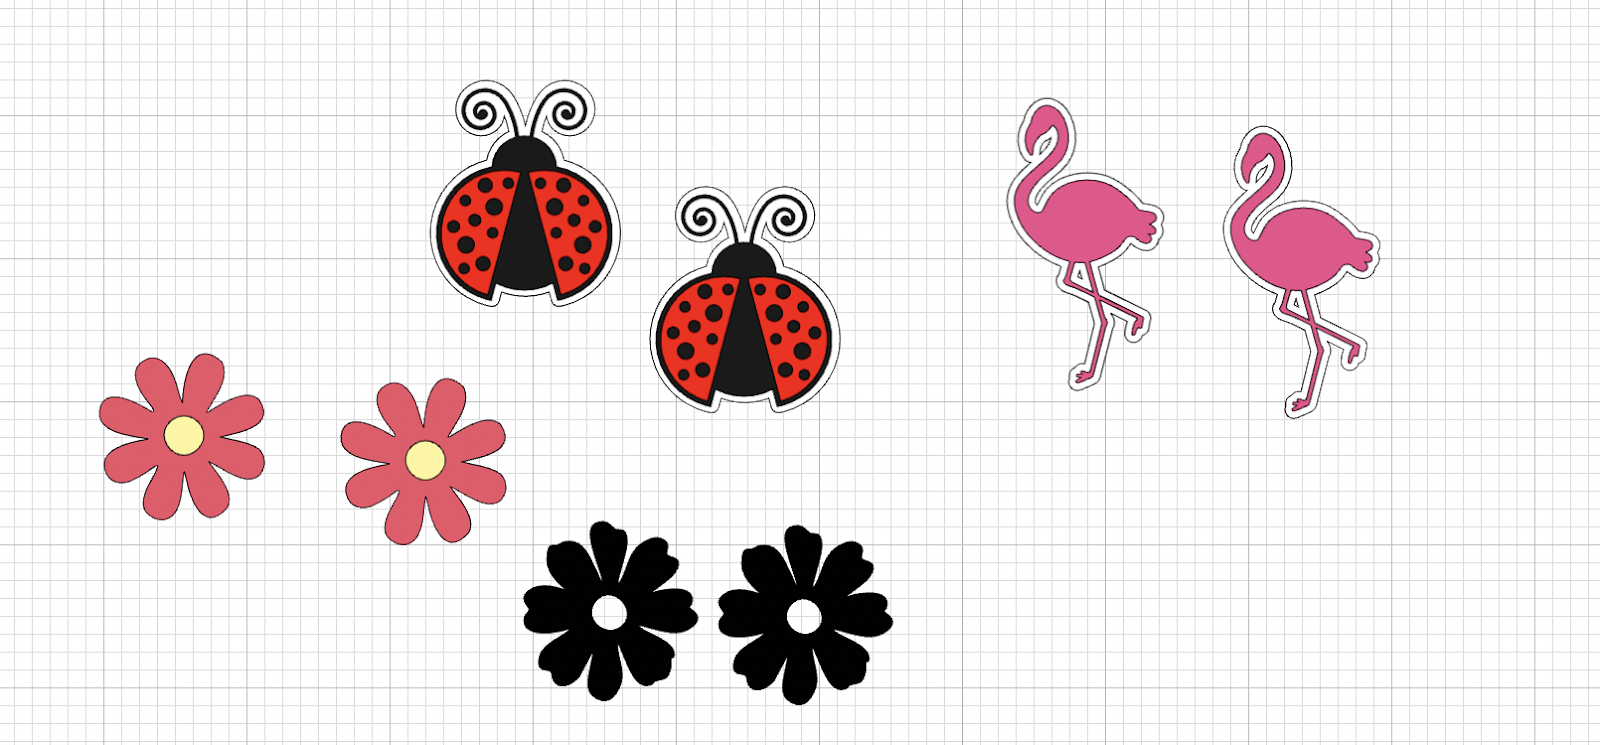
The Images have the following measurements:
- Flowers: W: 2.43”
- Flamingo: W: 2”
- LadyBug: W: 2.45”
💡Tip: With this, the garland can be hang on a place in where both sides are visible and, if you want to repeat more than one time the element on the length of your garland, you need to duplicate the elements as many times as you want.
💡Tip 2: The measurements are just for reference, you can do the images as small or big as you like.
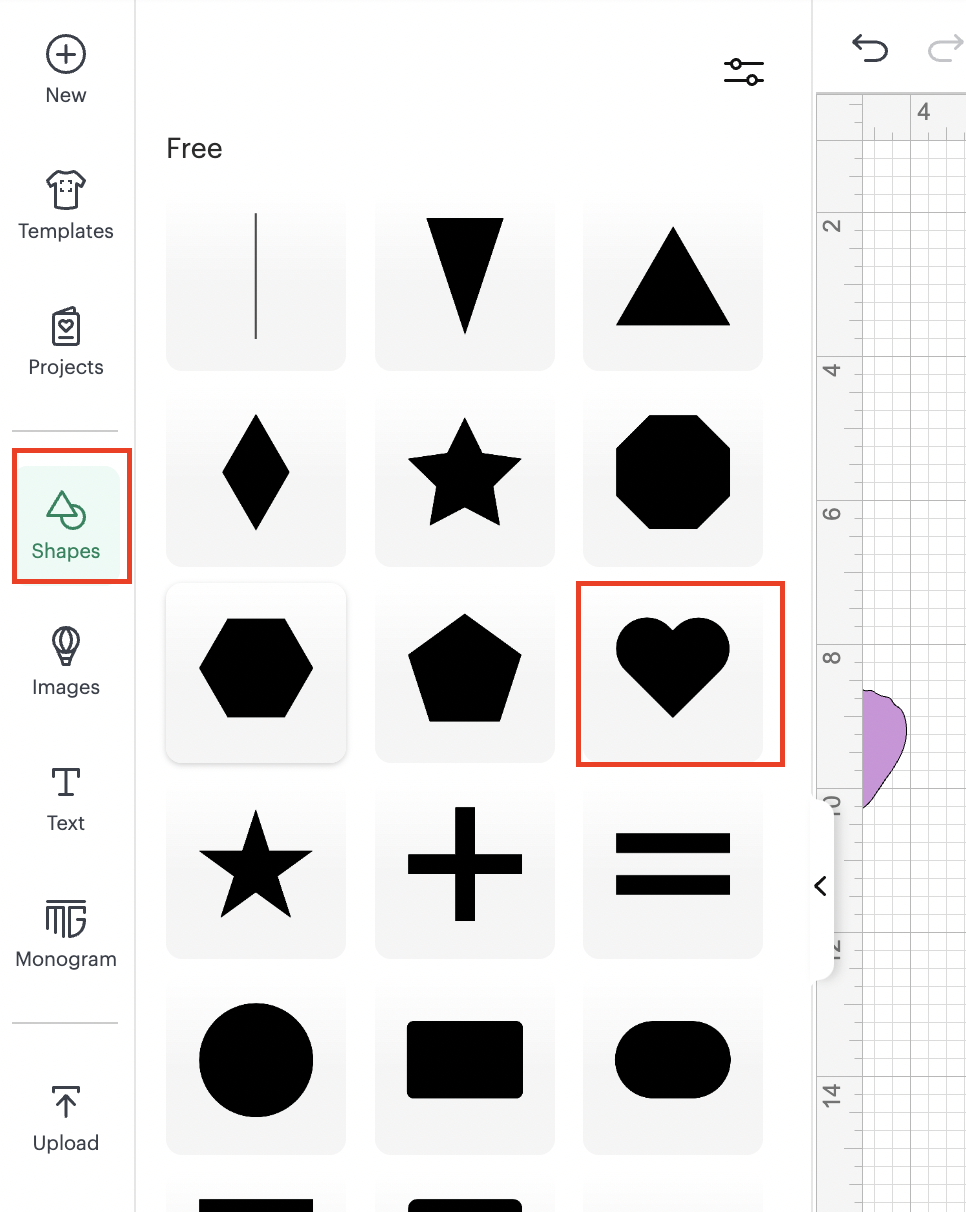
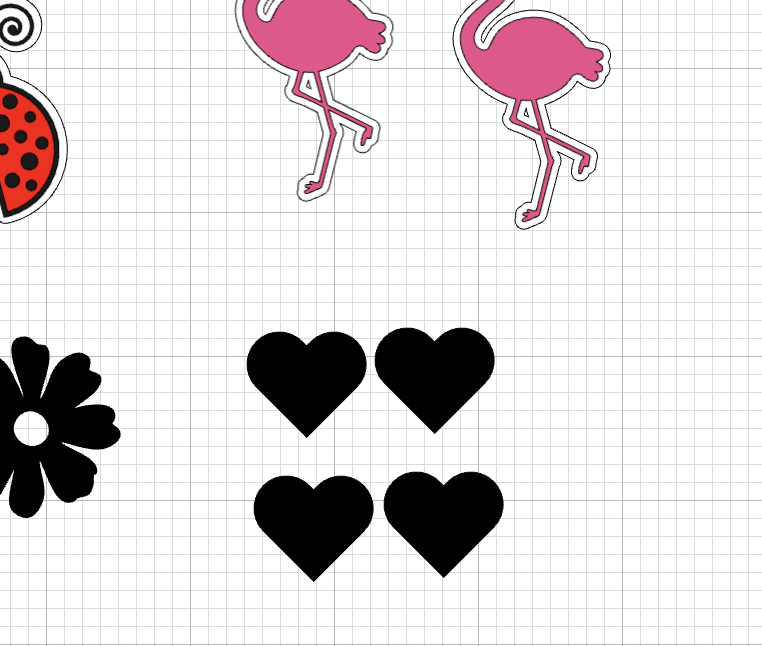
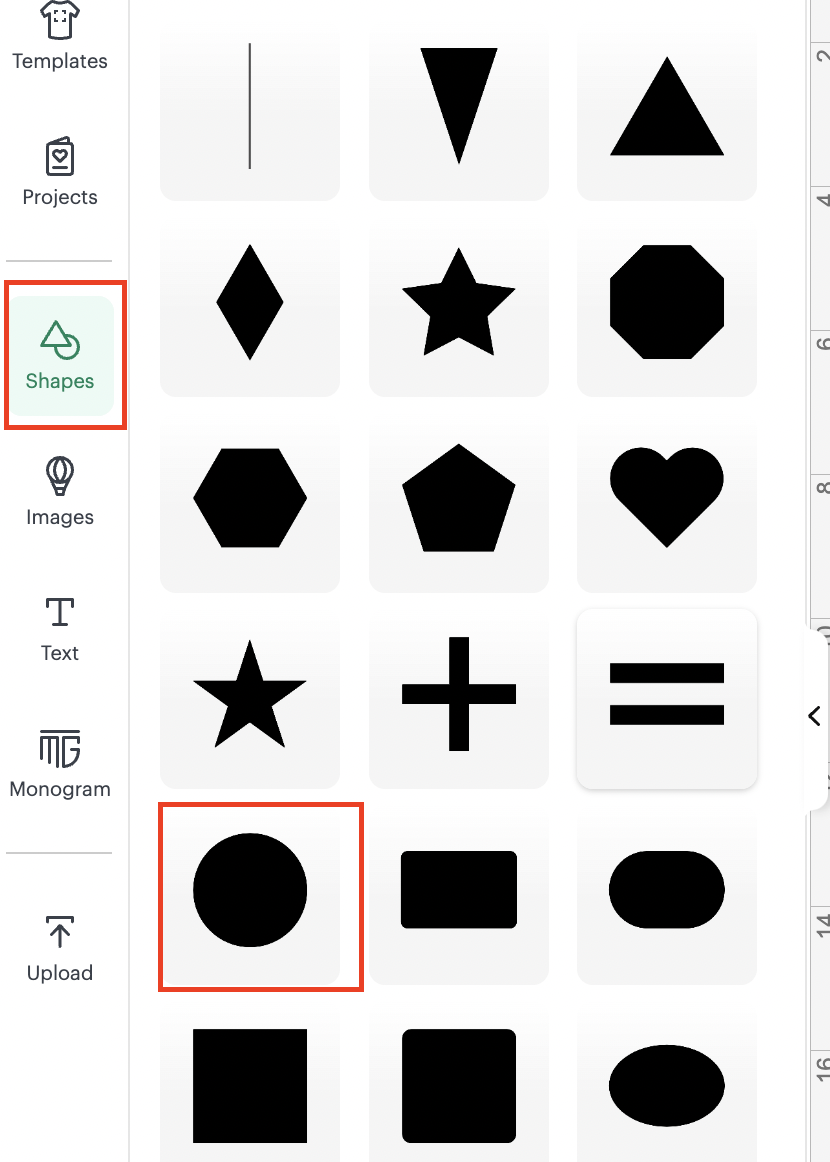
7: We are going to use the shapes functionality and add a heart resize it to W:1.66”, and we are going to duplicate it 3 times in order to have something like:
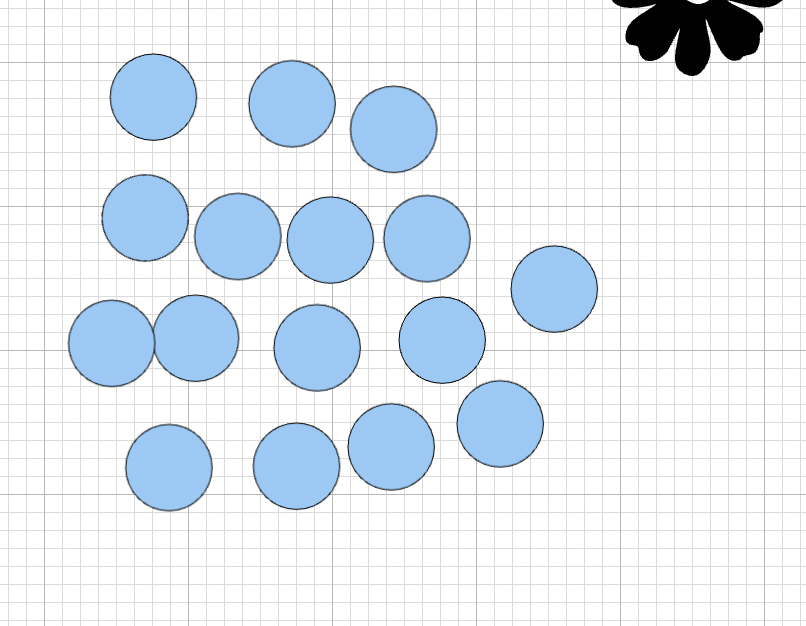
8: Using the shapes functionality one more time, we are going to add a circle resize it to 1.2” , and we are going to duplicate it 15 times, with this we are going to create a rose.
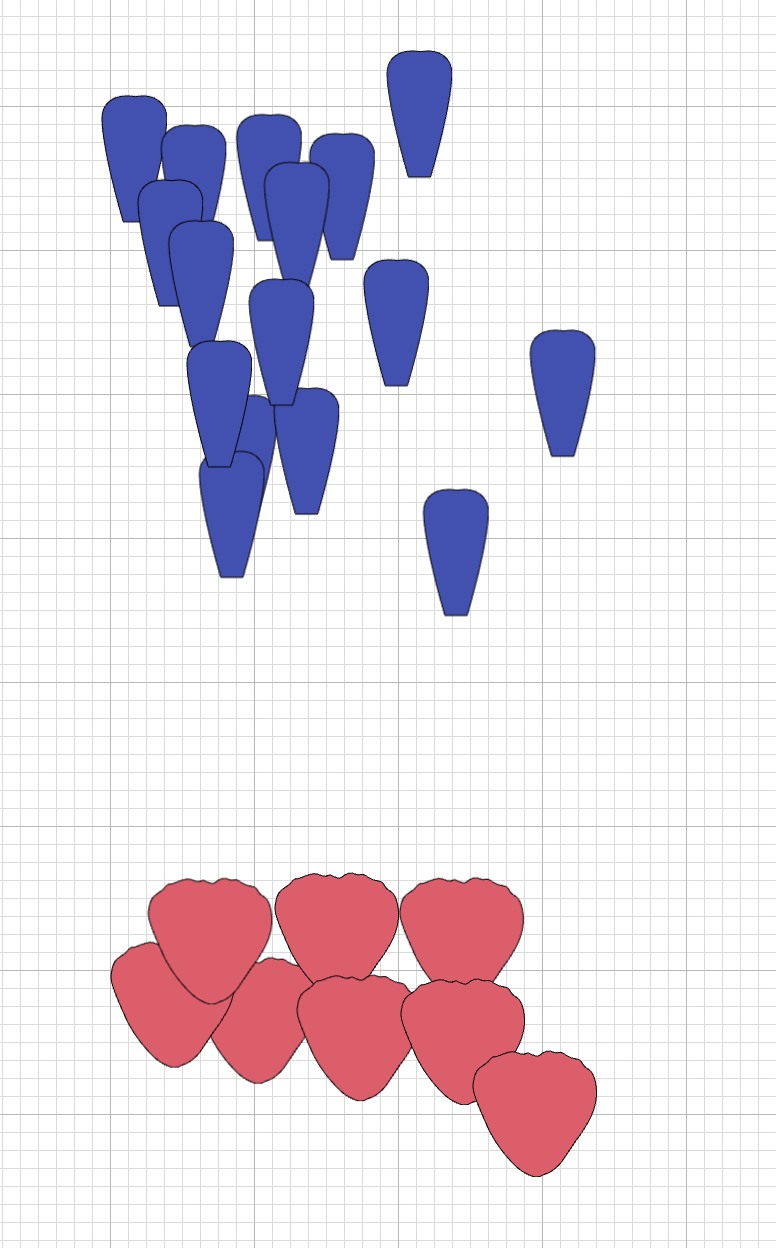
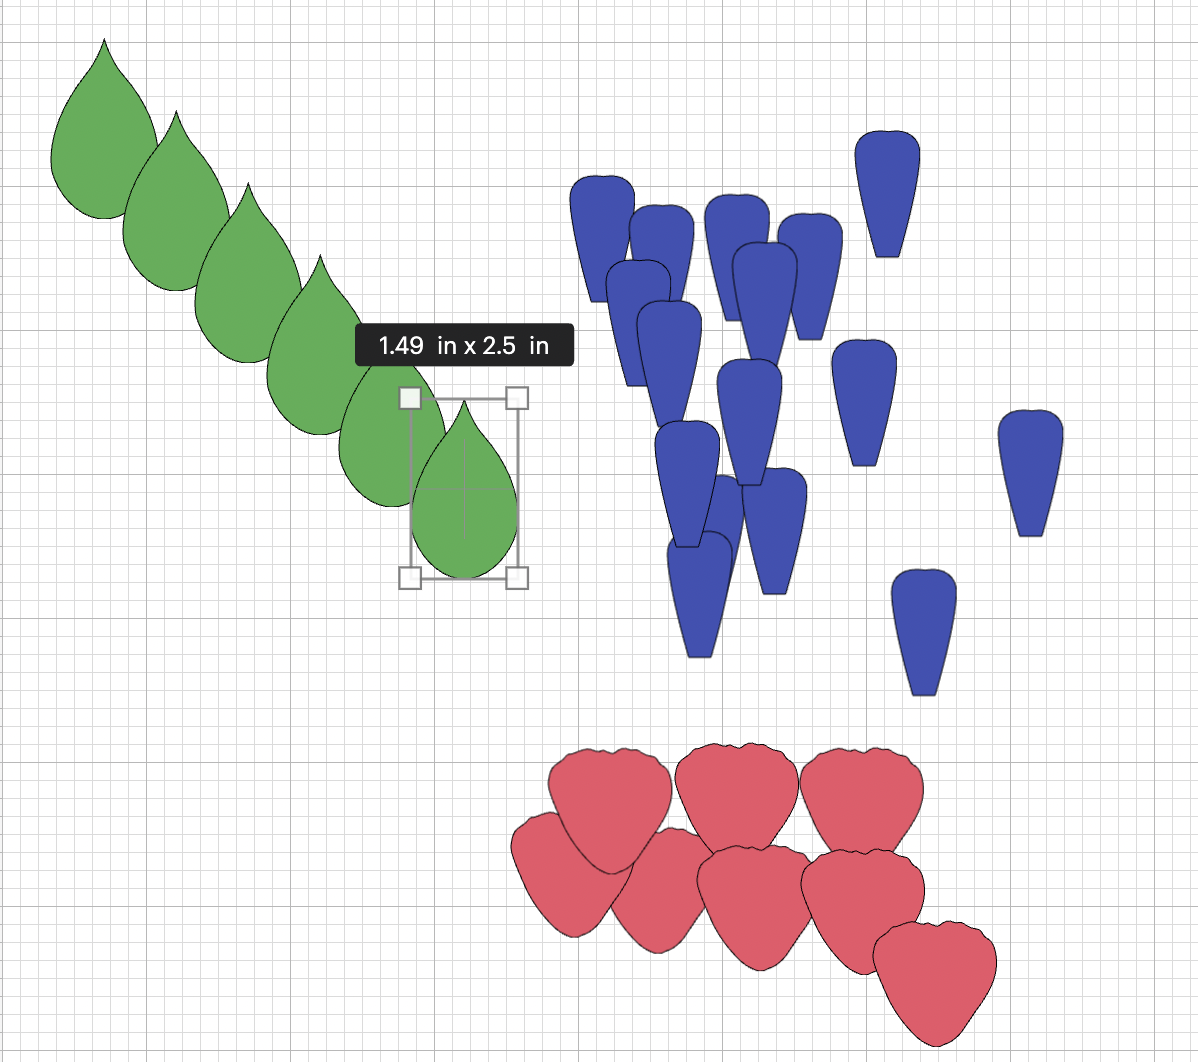
9: For the images petals, that we uploaded, we are going to ungroup them and we are going to duplicate each one of the items:
For the more length one, 15 times and for the other 7 times, in order to have:
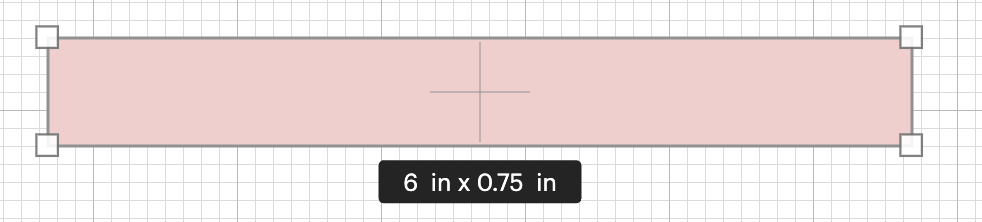
10: We are going to create the center of the flowers that we are going to assemble with the individual petals, we are going to add a rectangle with the following dimensions and we are going to change the color:
11: we are going to add a scoring line, we are going to change the operation to Basic Cut and resize it with the following measurements:

12: We are going to duplicate several times the line (47 in total) and we are going to place them over the rectangle, we are going to use as a guidance the small squares on our canvas:

13: Once there are all places, using the align functionality you are going to select all the elements (including the rectangle) and we are going to align them to the top, and after align them all together we are going to attach them:
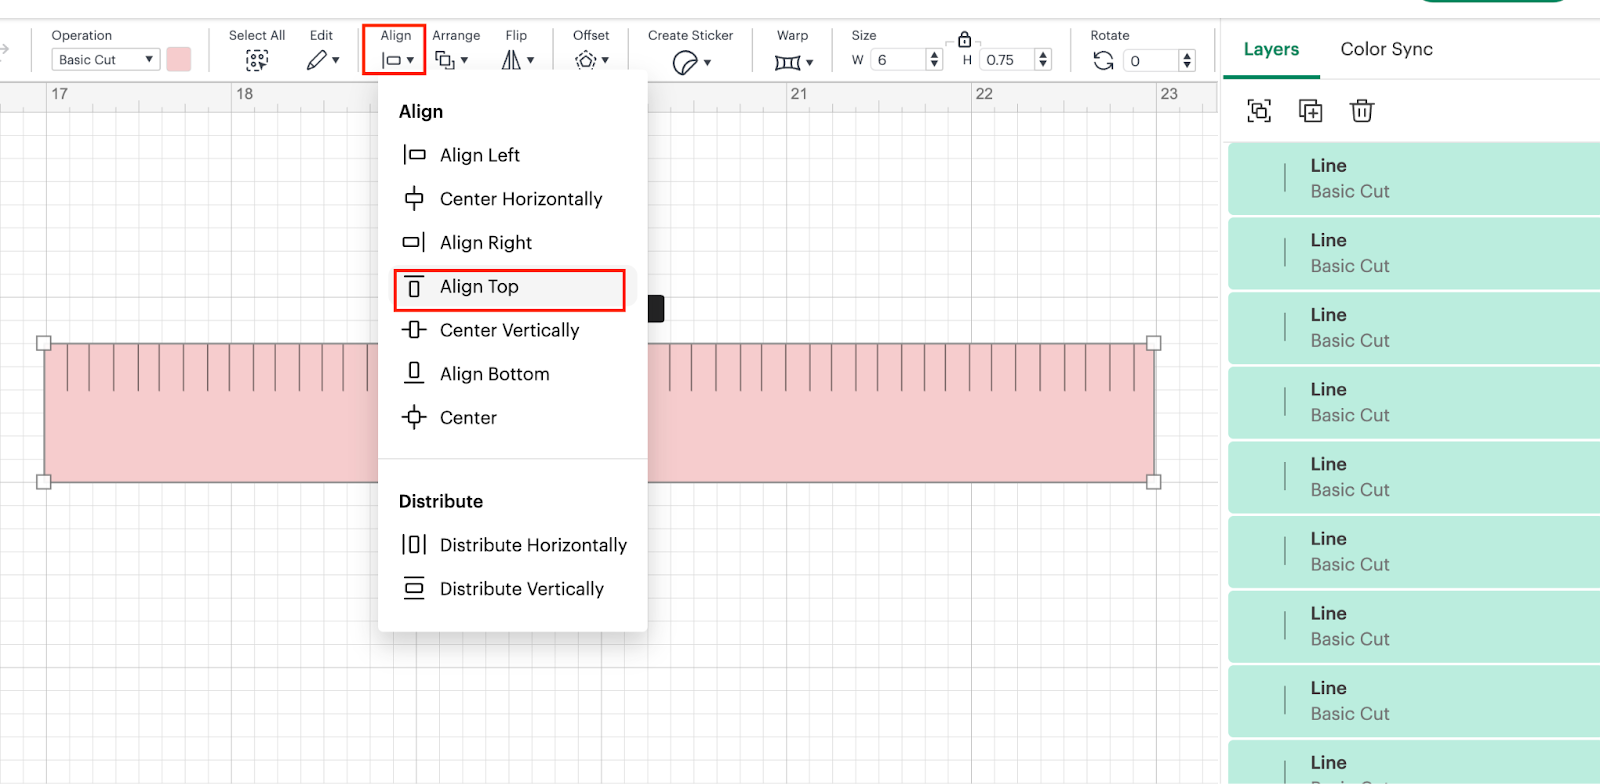
After attaching them:

14: We are going to upload the leaves and we are going to duplicate them, in our case 6 times:
15: We are now going to determine which elements are going to be in which garland, in order to duplicate them.
In our case, one of the garlands is going to have all the flat flowers and the animals, the second garland is going to have the flowers made with petals and the leaves. You are going to duplicate the elements based on how many times you want to use them in each garland.
💡Tip: for the garland with not flat element, we are just going to generate the garland on one of the sides and not both of them.
16: At this point we recommend changing the color of your elements so it’s easy to identify them and also they are going to be separated by color on each mat.
17: We are ready to start cutting our elements!
In this tutorial, you are going to learn/practice the following skills:
- Add Shapes
- Upload Images
- Resize Elements
- Duplicate Elements
- Rotate Elements
- Weld Elements
- Offset elements
- Group Elements