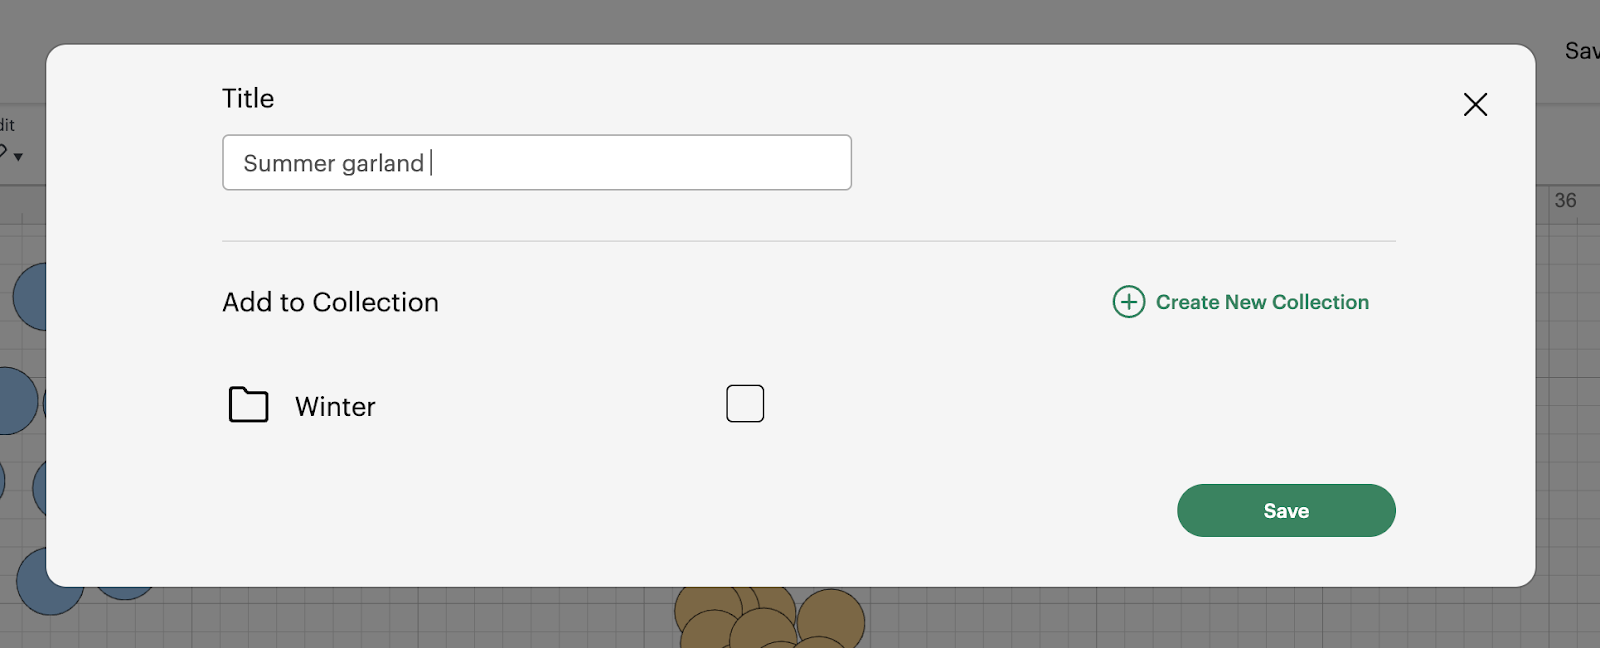
1: After you are happy with the designs, we are ready to save the project, Click on Save button on the Right Top side of the screen and provide a name to your design and click on Save button.
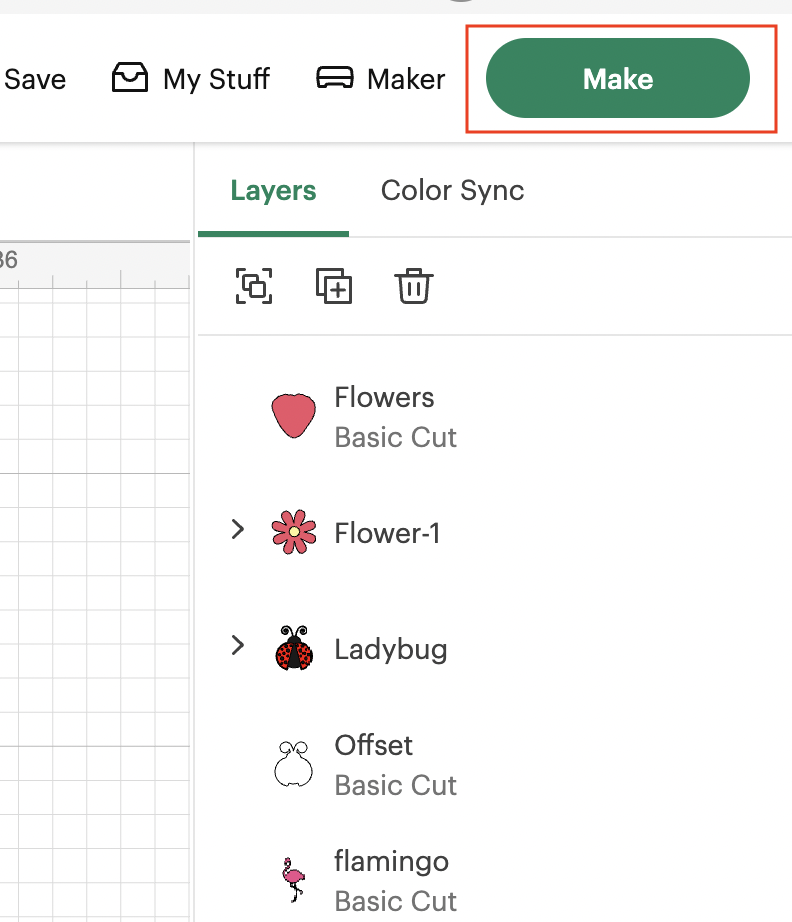
2: We are going to click on the Make button to start configuring our materials!
3: You are going to be able to see one mat per color of your design:
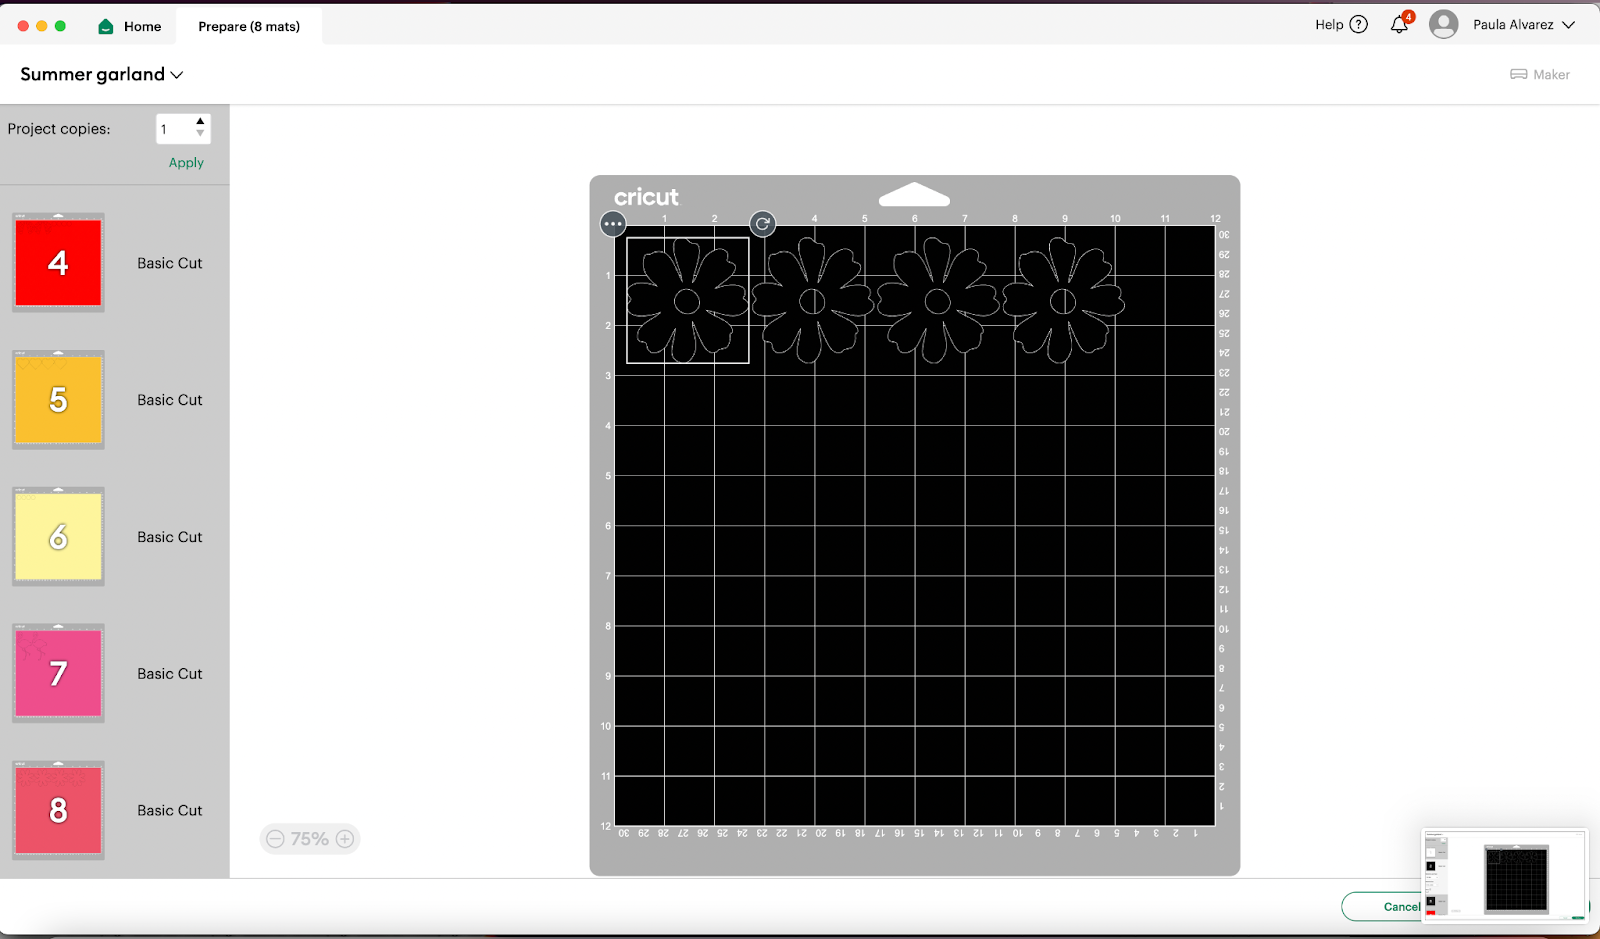
4: In our case, all the felt that we are going to use is the same for all the elements, so we are going to use the following settings:
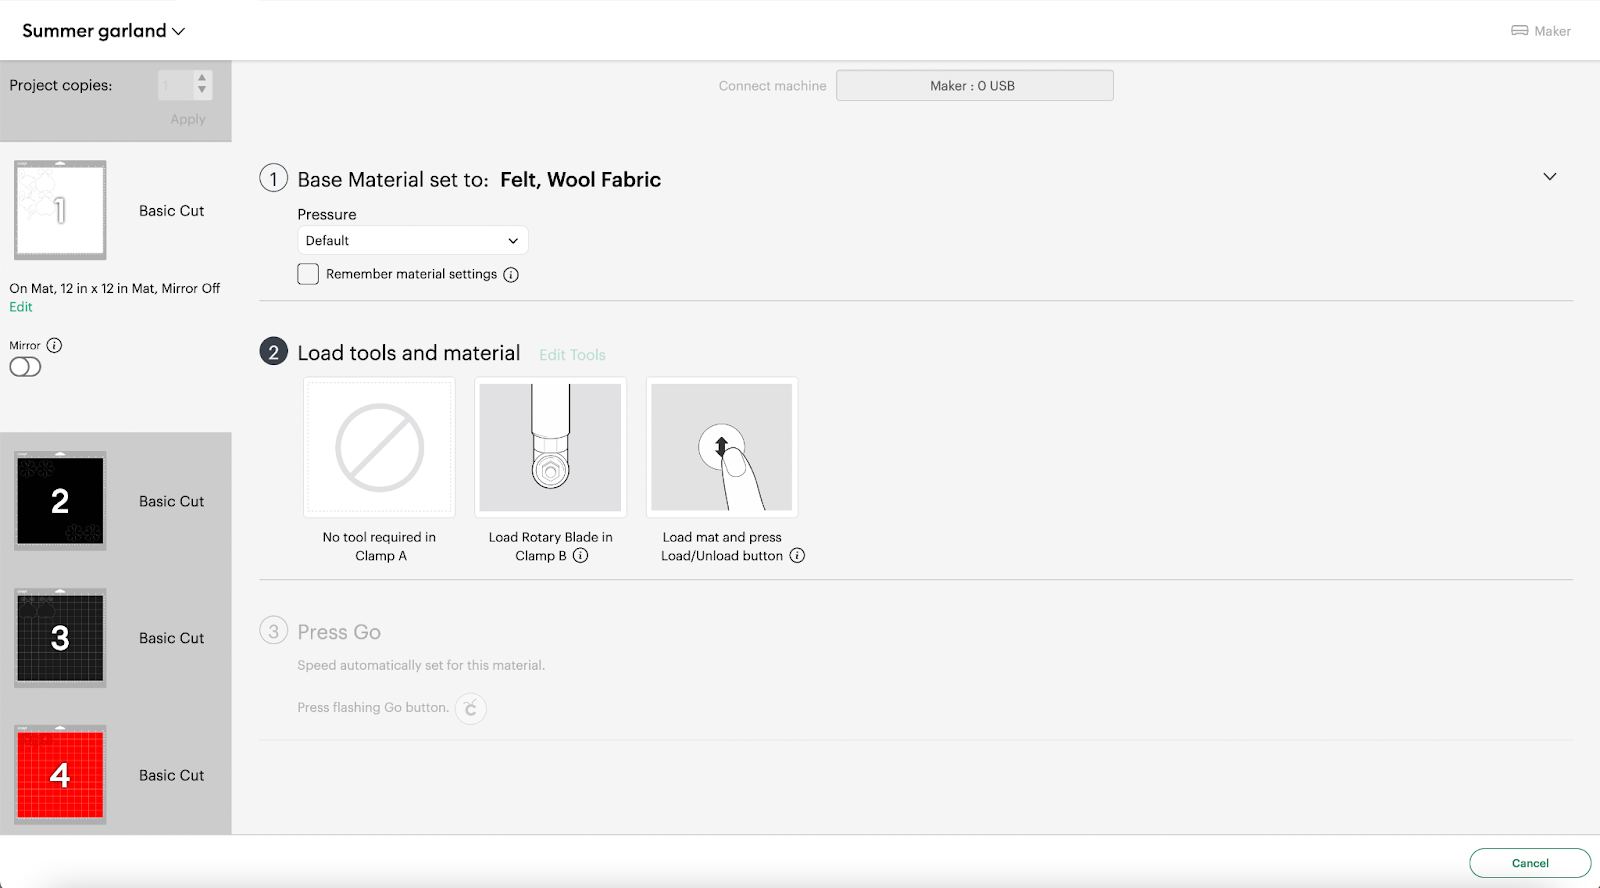
💡Tip: Make sure to check the material type that you are using to use the right settings.
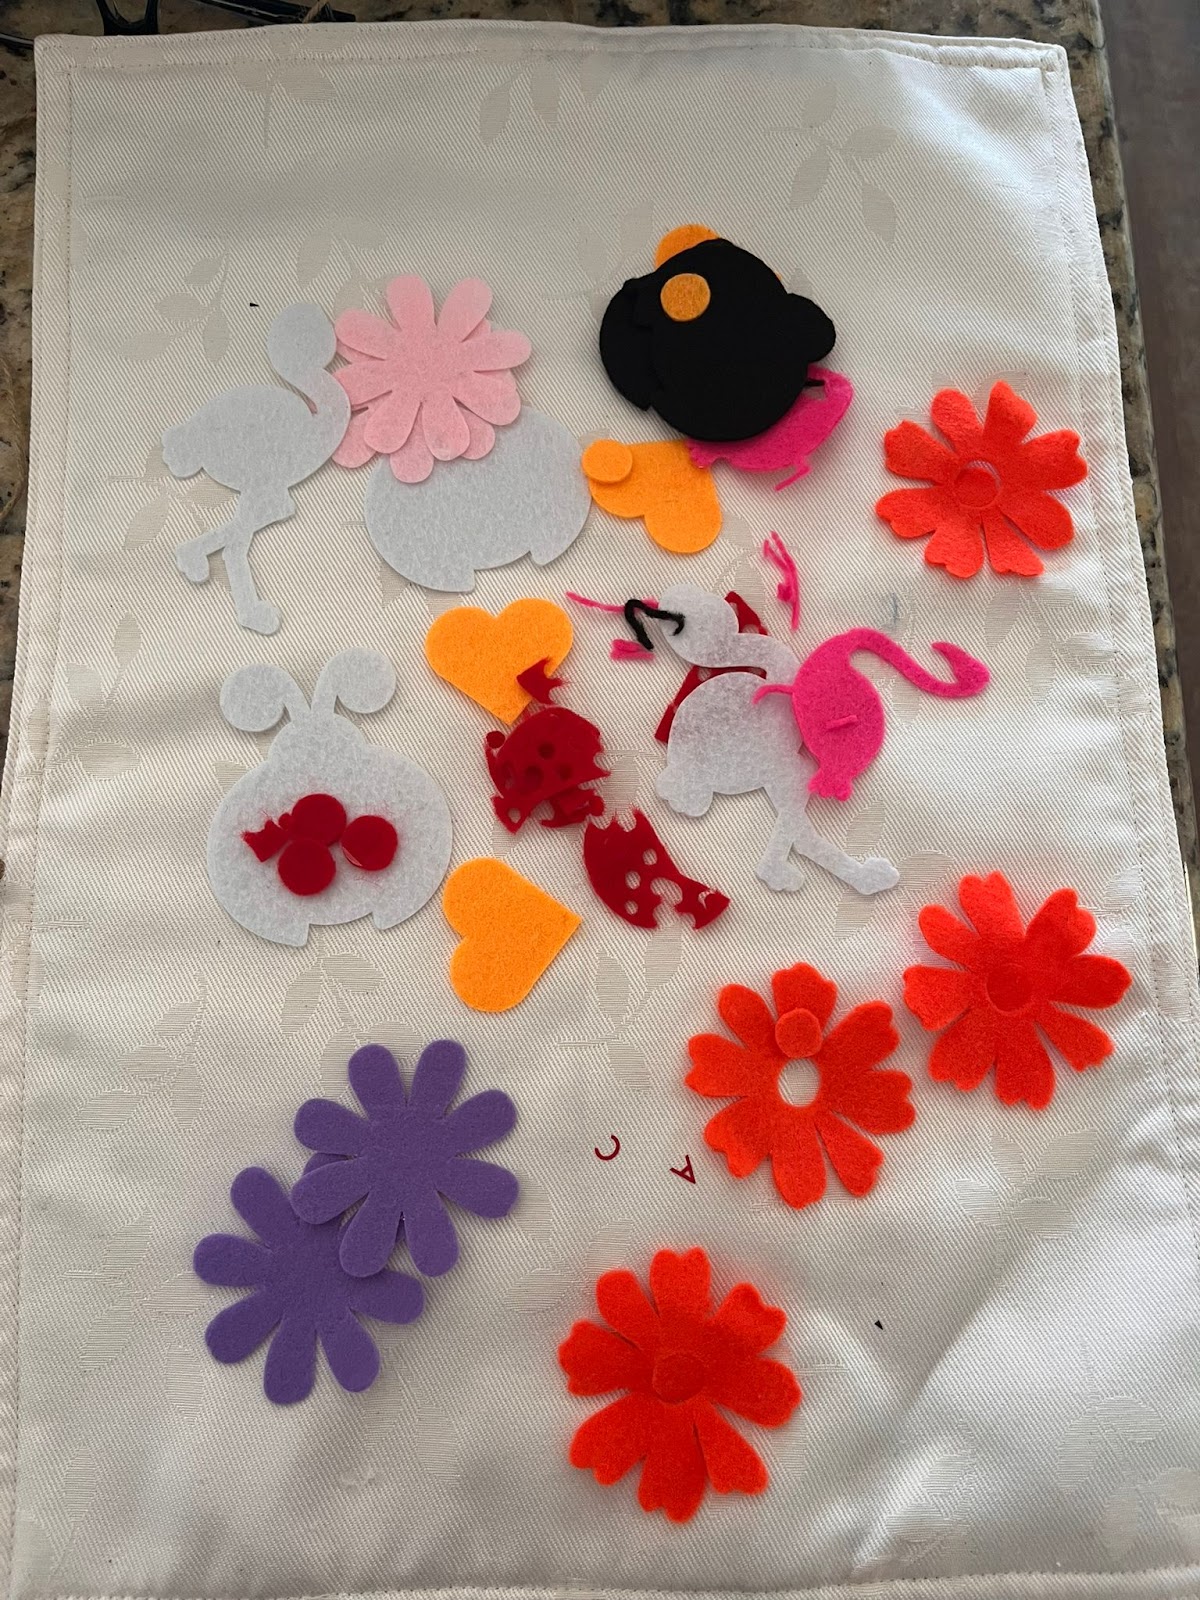
6: You are going to proceed with the cut, and after the cut is done, you are going to unload the mat and remove all the elements from it very gently, when the felt is cut is very thin:
Elements for the first Garland:
In this tutorial, you are going to learn/practice the following skills:
- Add Shapes
- Upload Images
- Resize Elements
- Duplicate Elements
- Rotate Elements
- Weld Elements
- Offset elements
- Group Elements