1- Open Cricut Design Space on your computer.

2- Click the Canvas tab to open a blank canvas.
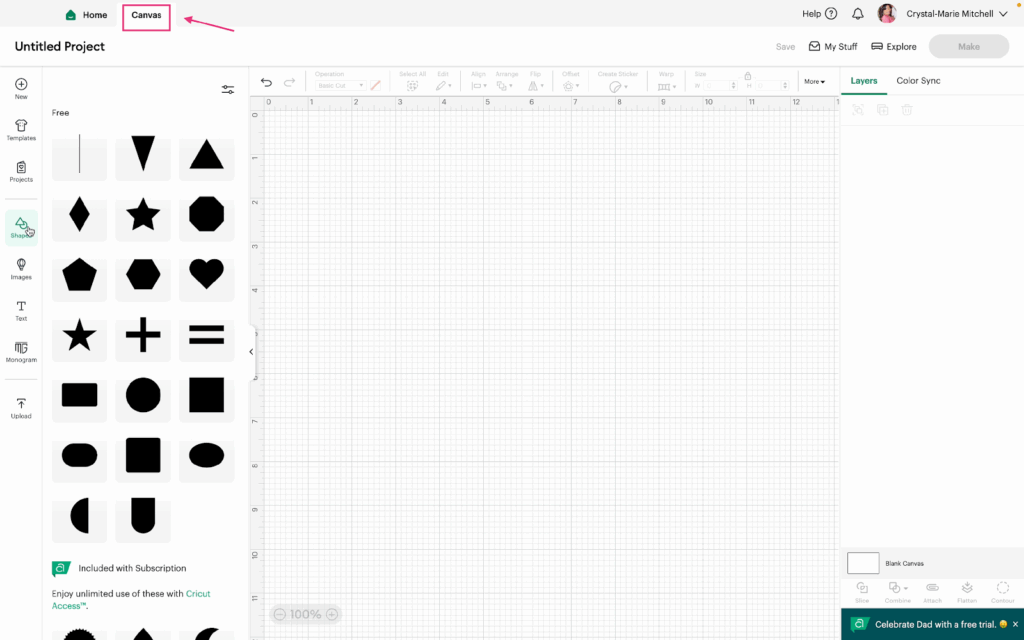
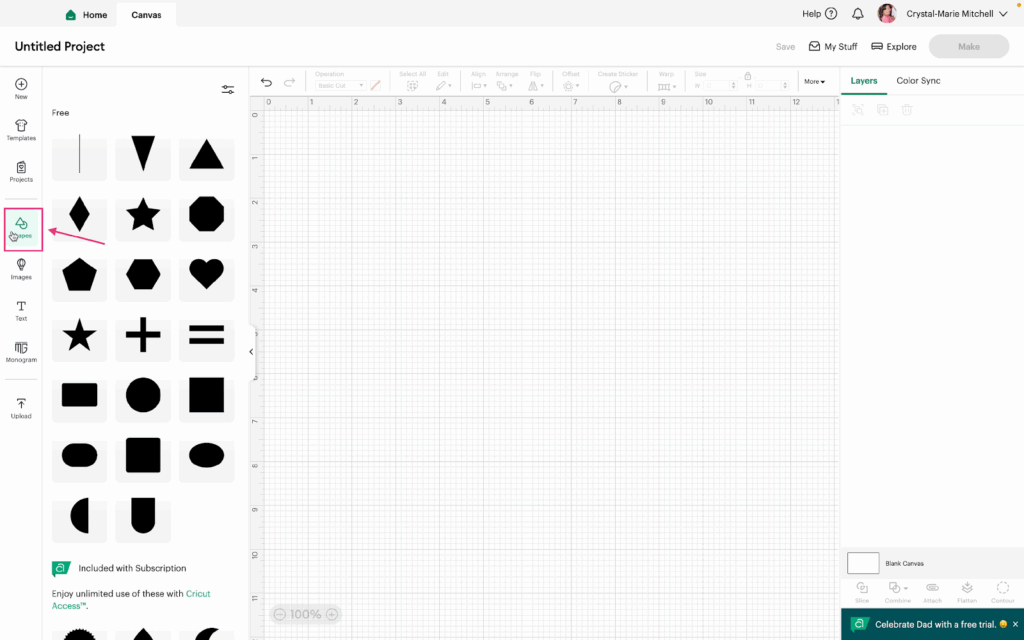
3- Click on Shapes in the toolbar.
4- Add a few Shapes to the canvas (in real projects, use your own images, shapes, text, etc.) To select multiple items, click and drag over them or hold Shift and click each one. For this tutorial, select the shapes, resize them, then duplicate using Command C (copy)/Command V (paste) on Mac. Use Control C/Control V on a PC.
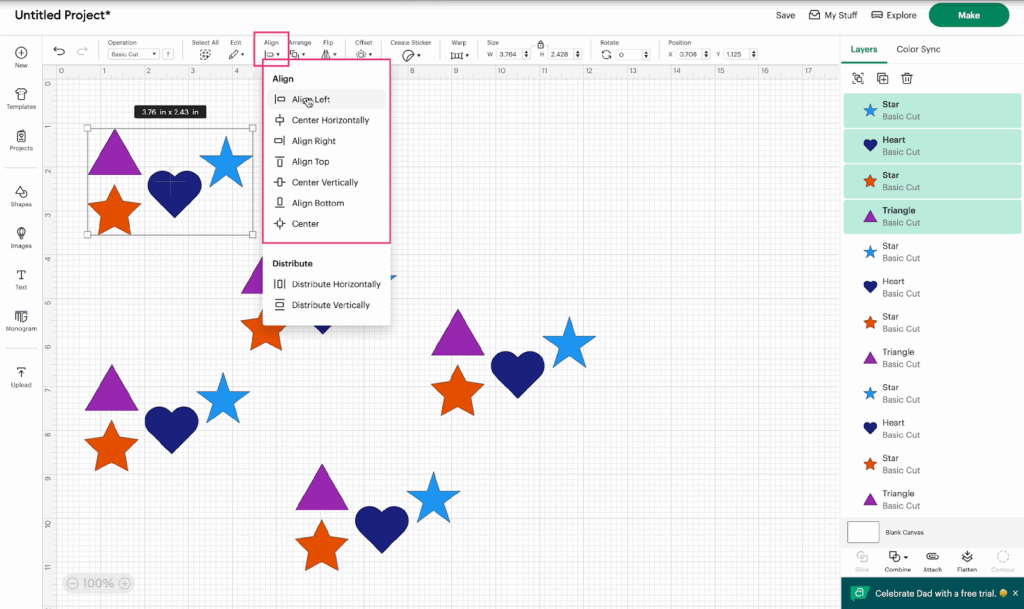
5- With your shapes selected, open the Align menu by clicking Align in the edit menu.
6- Use the different Align options to choose how you want to align your items:
- Align Left – aligns all selected items to the leftmost edge
- Center Horizontally – centers items along the horizontal axis
- Align Right – aligns items to the right edge
- Align Top – aligns items to the top edge
- Center Vertically – centers items across the vertical axis
- Align Bottom – aligns to the lowest point
- Center – aligns everything both vertically and horizontally
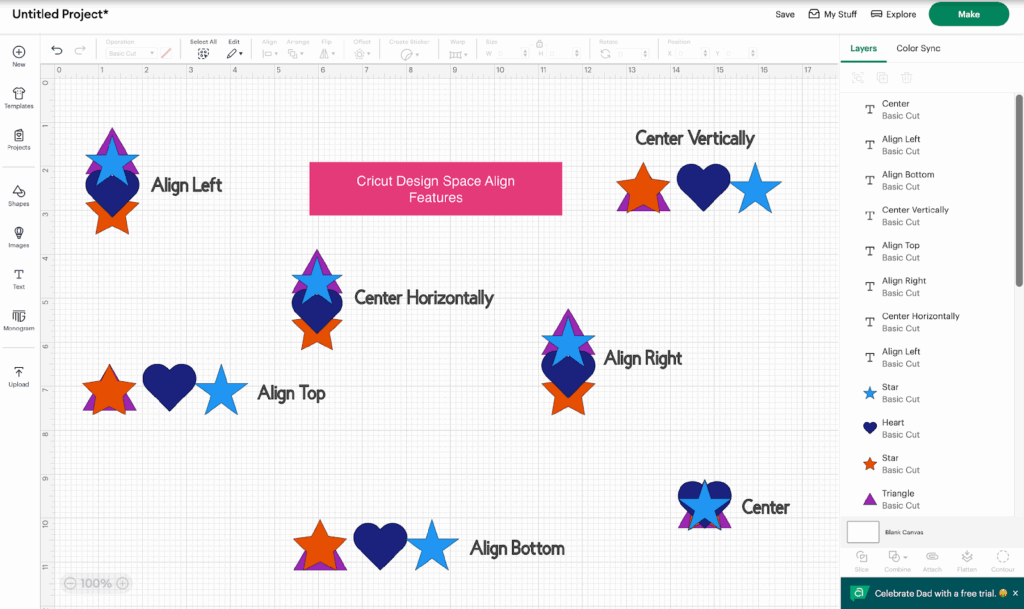
Watch the video to see the Align features in action.