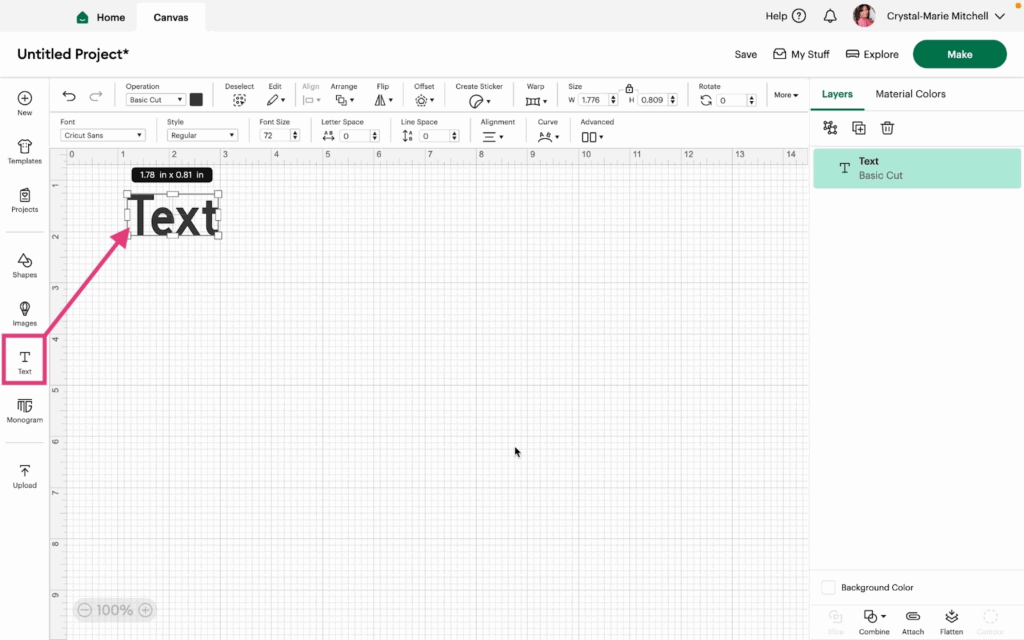
1- Launch Cricut Design Space, sign in, and open your Canvas. Click on Text.
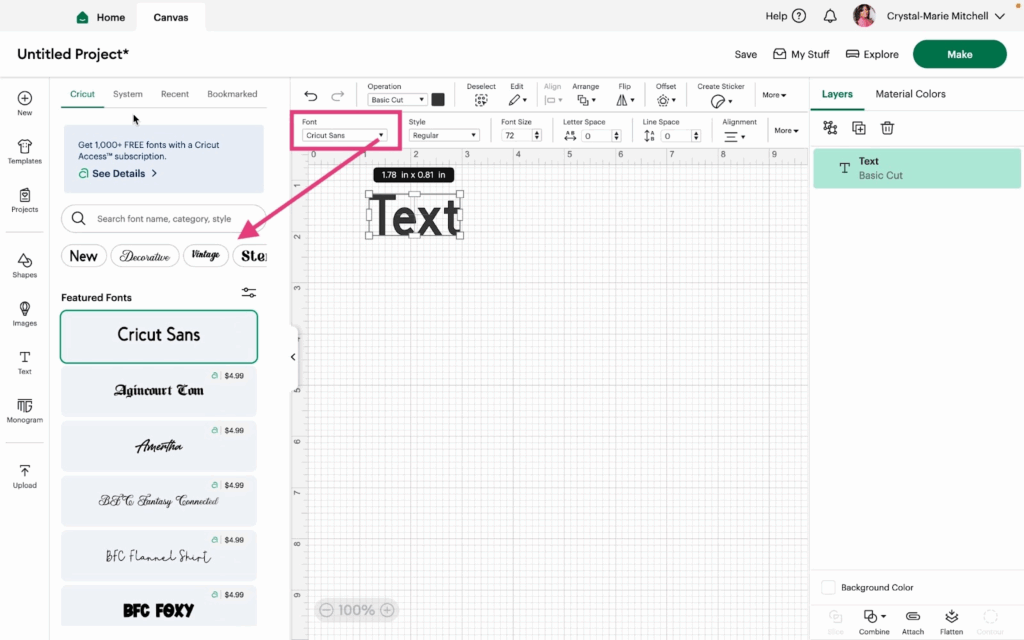
2- Click the dropdown arrow next to Fonts and the font options will display.
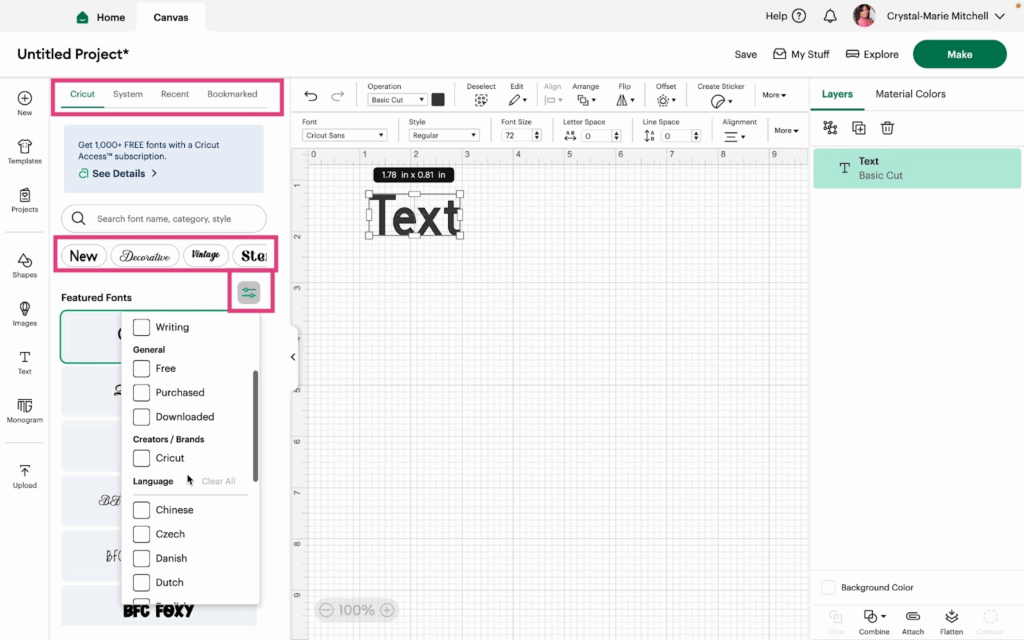
3- You can choose from Cricut fonts, System fonts (the fonts that are loaded on your computer), Recent fonts (ones that you have used recently in other projects), and Bookmarked fonts (ones that you have bookmarked). You can also sort by Free fonts and search by style.
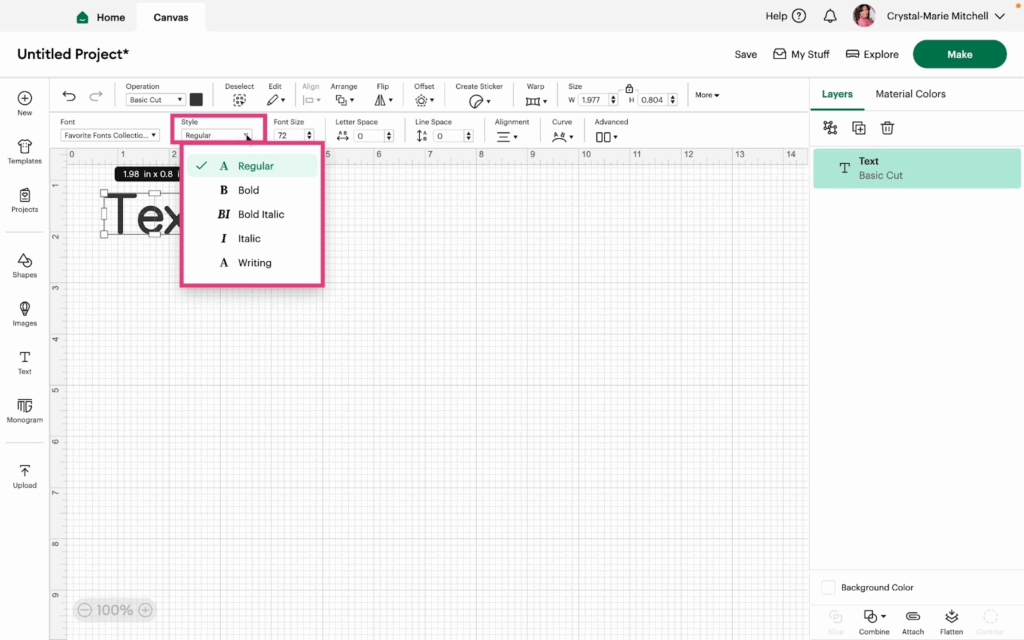
4- Choose a font to play with for this tutorial. Click the Style dropdown menu. This will give you options on how you can use the font you choose.
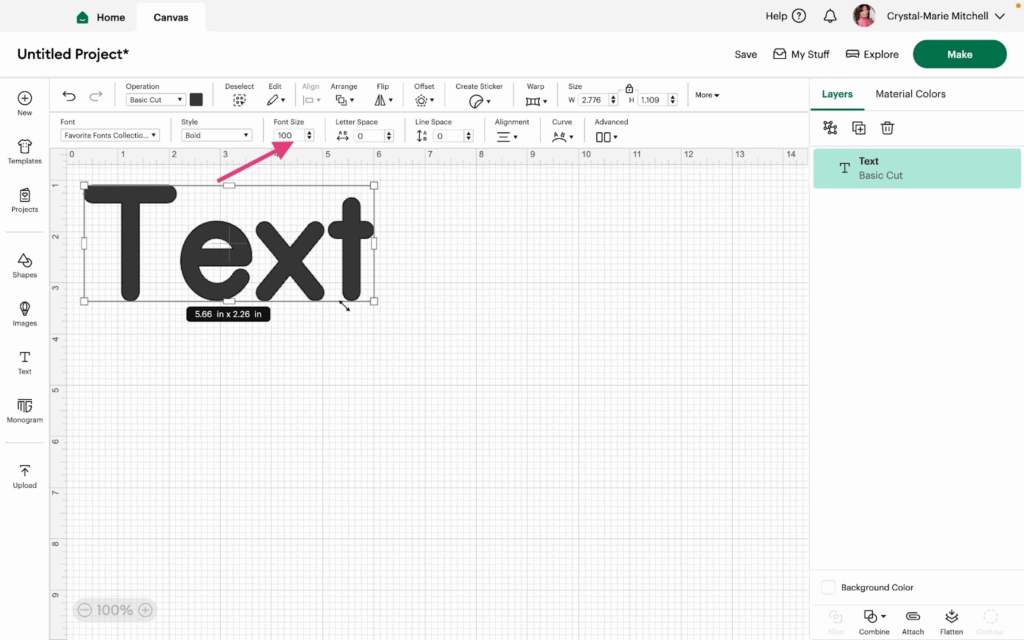
5- Change your Font Size by inserting a number or using the up and down arrows.
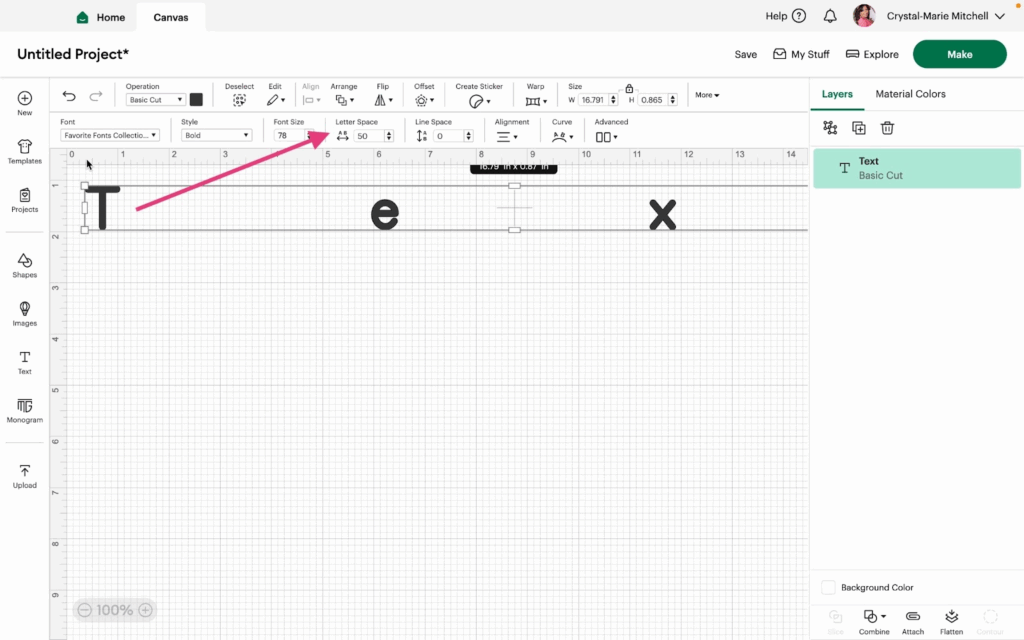
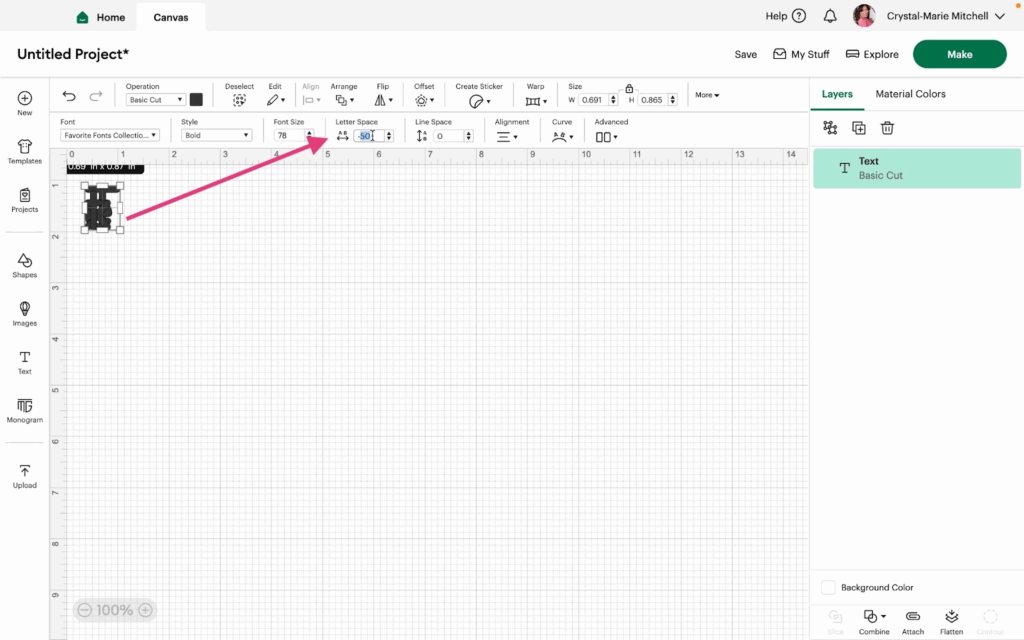
6- Adjust the Letter Space to add or remove space between the letters. A negative number will tighten the space between the letters and a positive number will loosen the space.
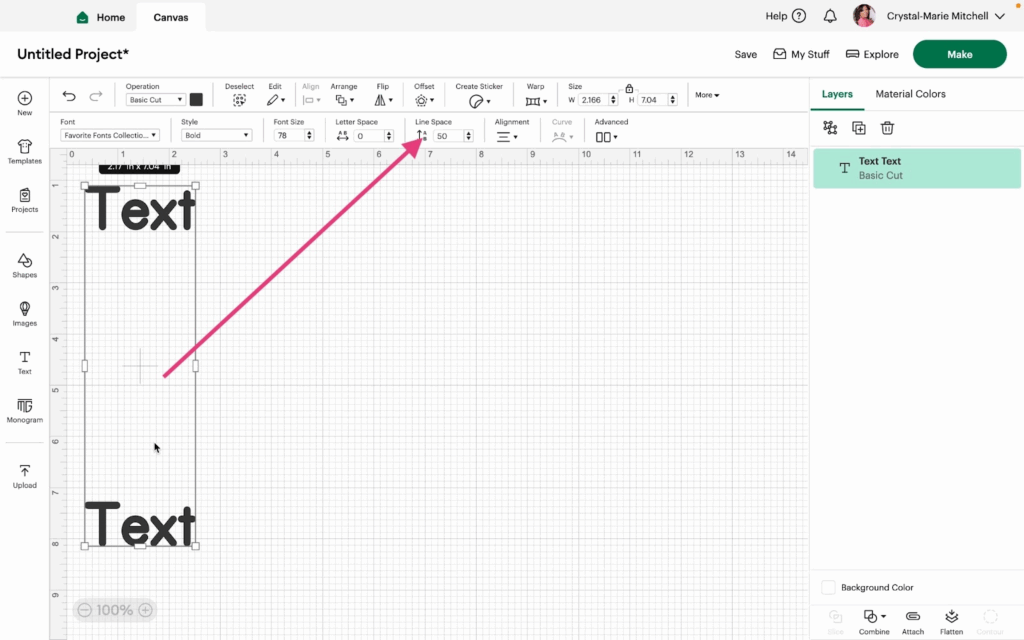
7- When you have more than one line, you can adjust the Line Space similarly to how you adjust the letter space.
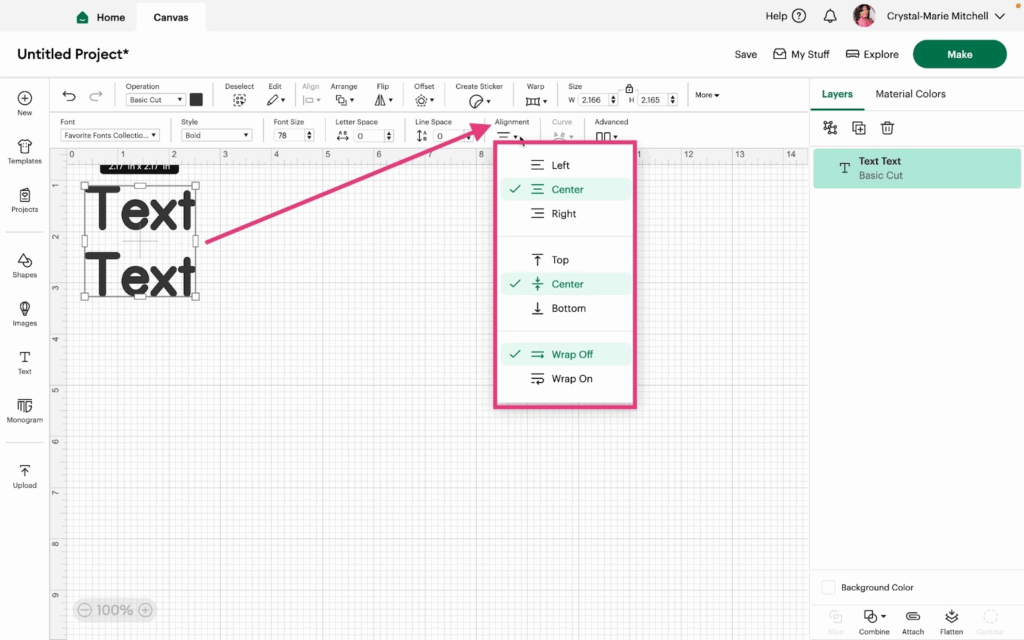
8- Change the alignment of the text in the Alignment dialogue box.
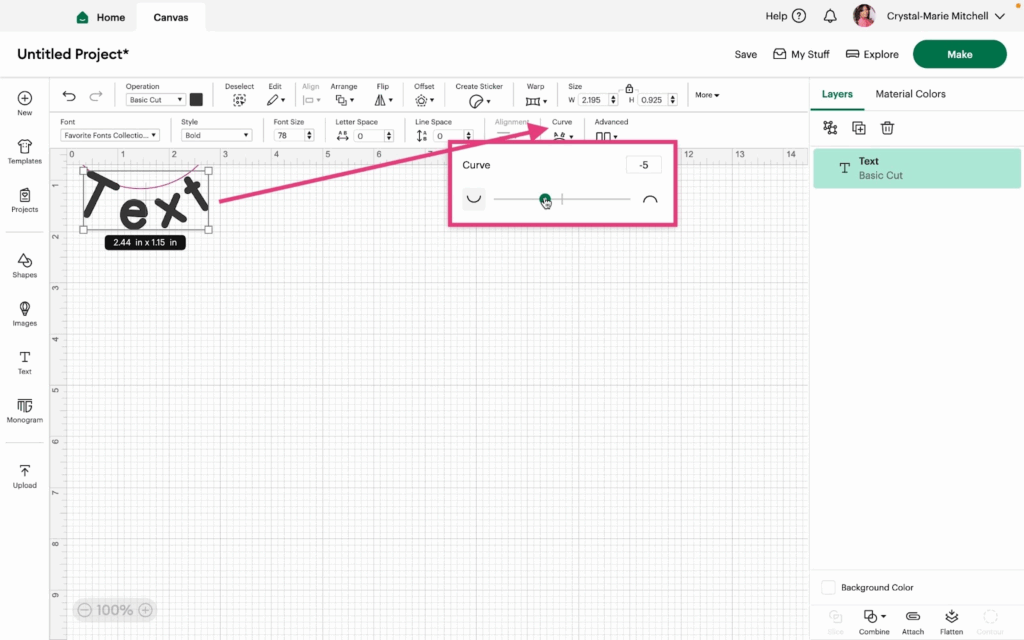
9- With one line of text, you can adjust the Curve of the text to fit in an under-circle or over-circle shape.
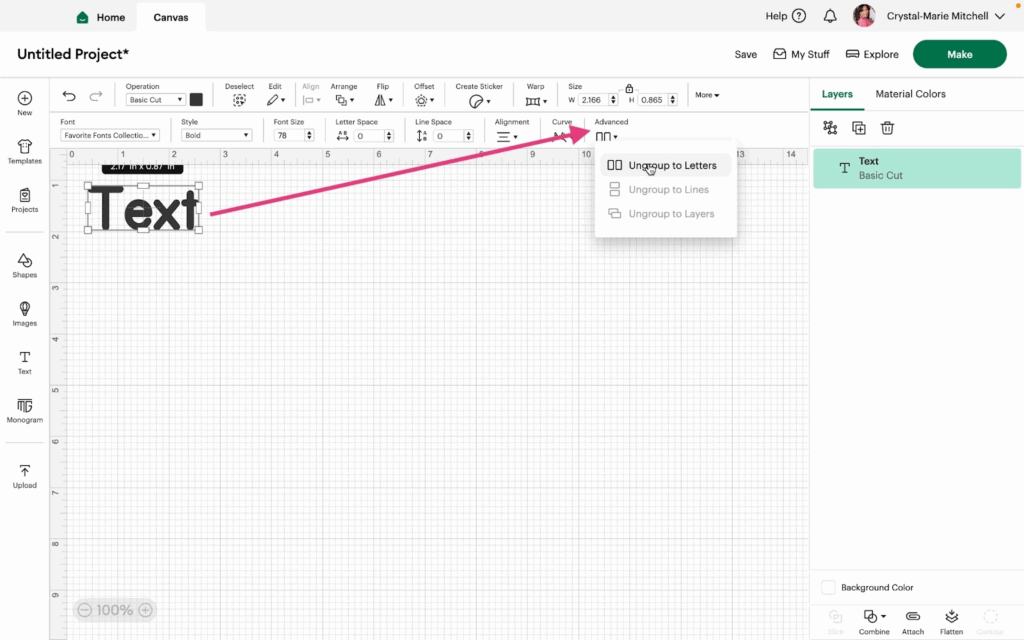
10- With your text selected, click Advanced. You can ungroup letters, layers, and lines to move them around individually.
Watch the video tutorial to learn more.