1- Launch Cricut Design Space, sign in, and open your Canvas. Click on Images.
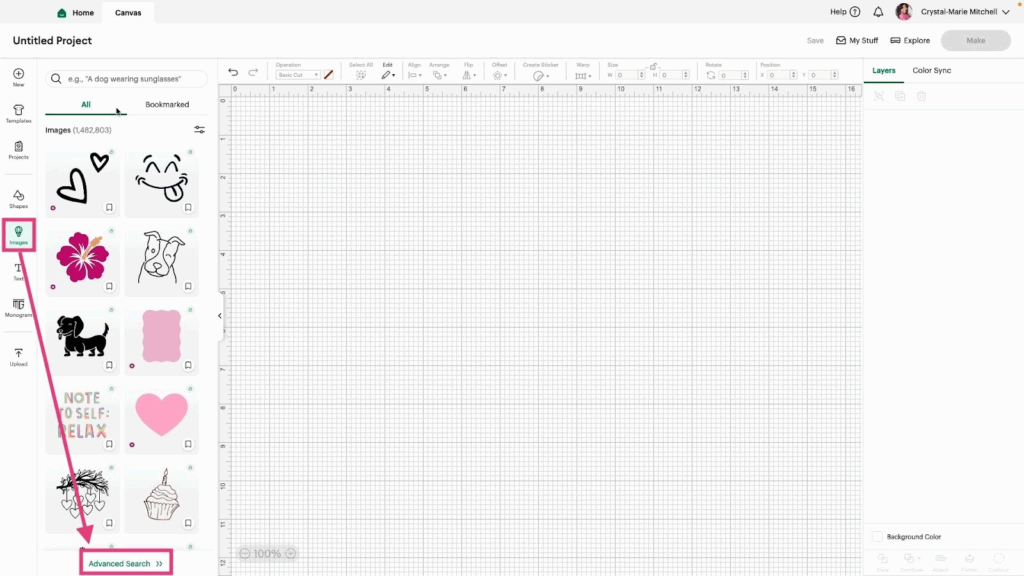
2- Next, click Advanced Search. This shows how you can narrow your image search using different categories.
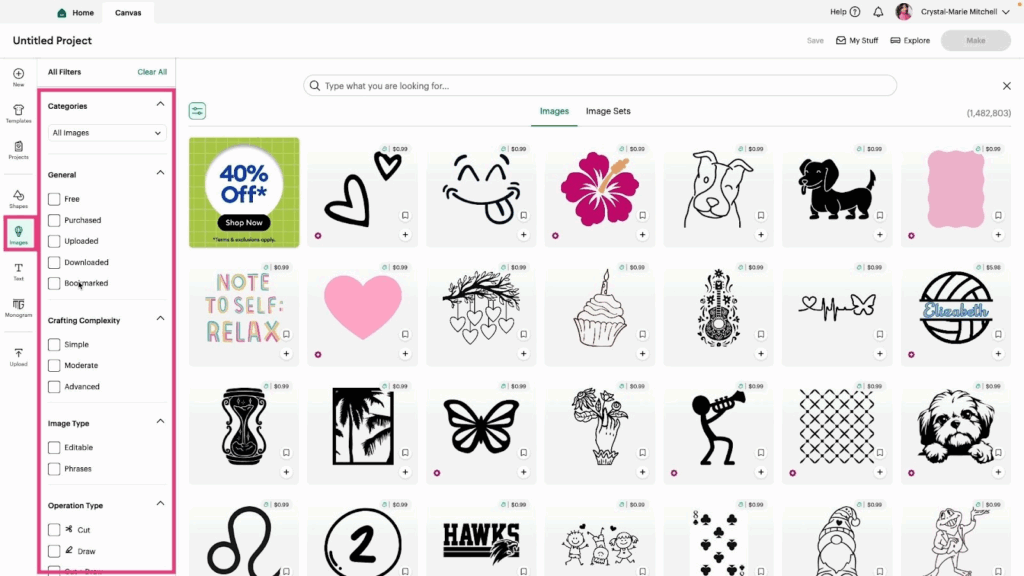
3- Take a look at all the categories (Image Layers, Creators/Brands, Best For, etc.) and check the boxes to see which images appear.
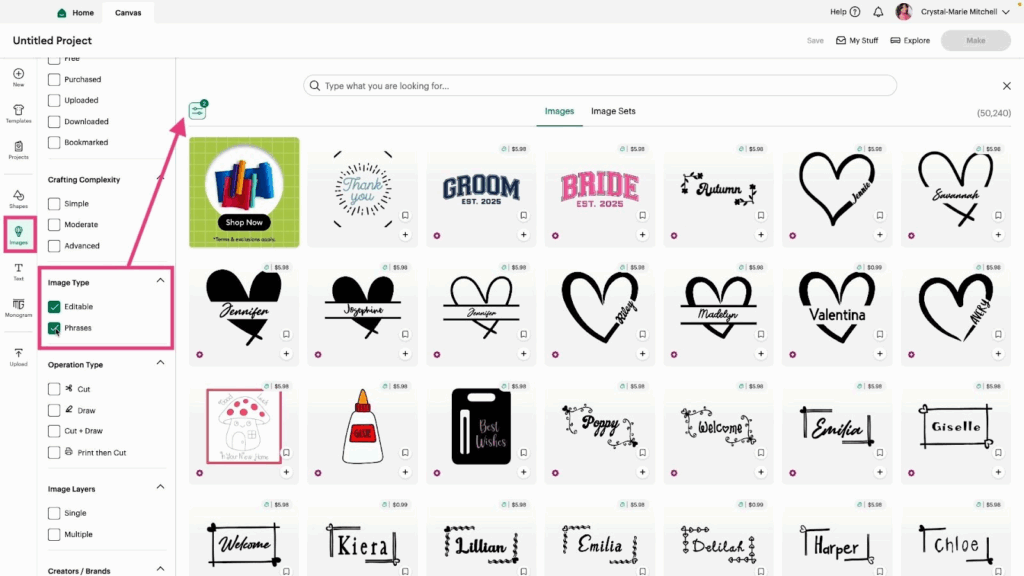
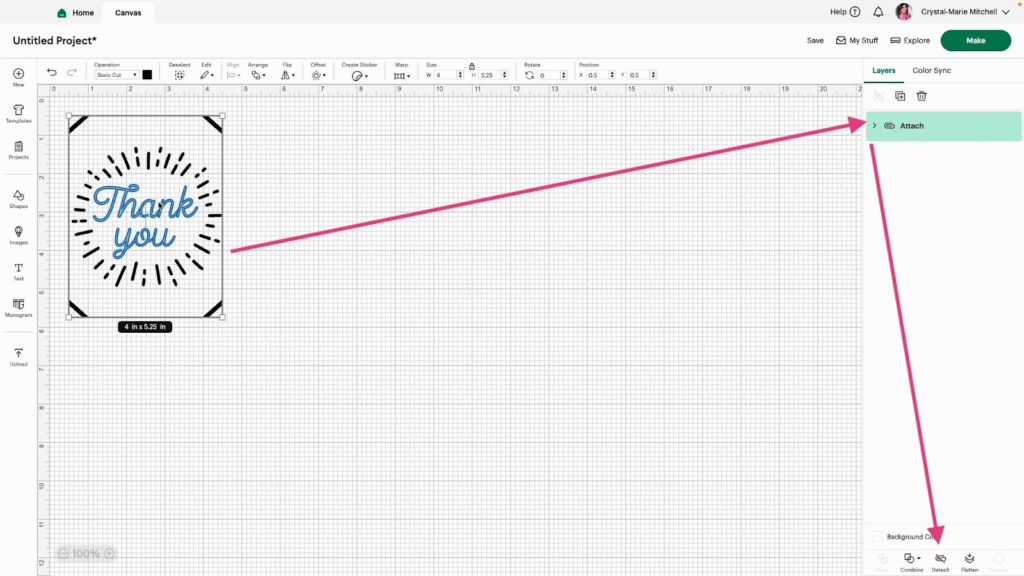
4- For this tutorial, we will focus on Image Type – Editable and Phrases. Let’s start with the Editable Thank You Image shown below. Click the plus button to add it to your Canvas.
5- Select the image on your Canvas and click Detach.
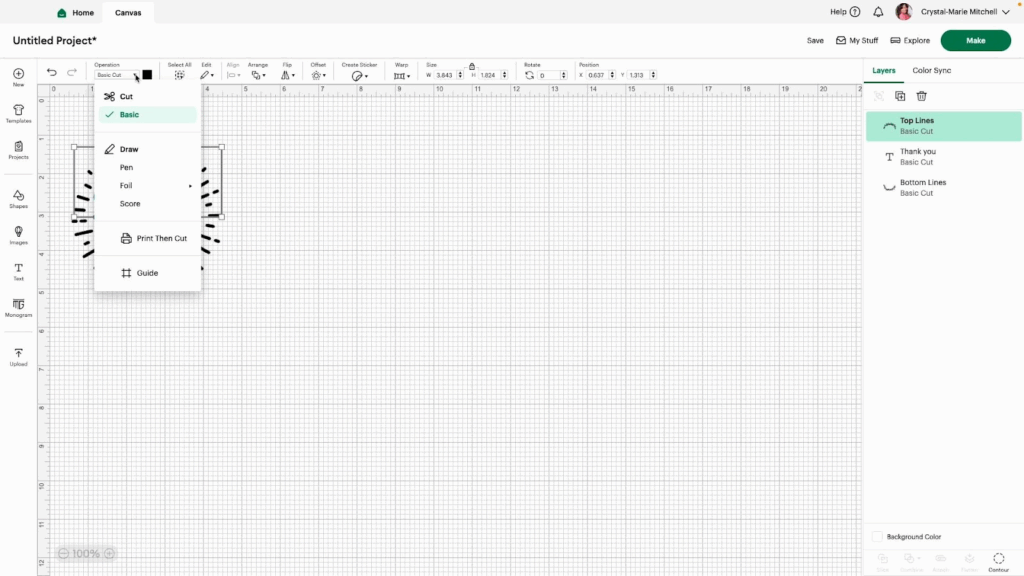
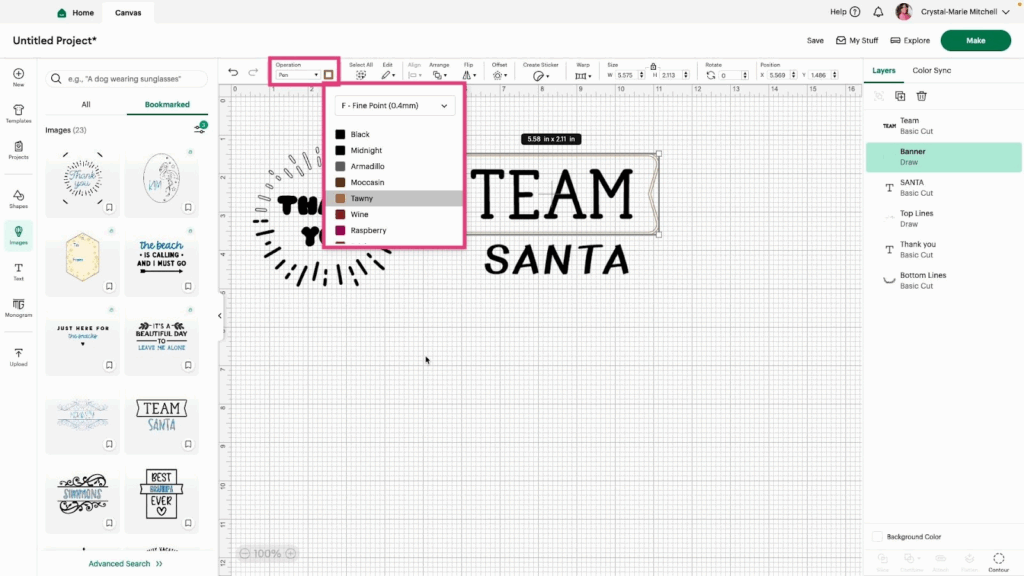
6- Experiment with changing different parts of the image. Click on the Top Lines and change them from Basic Cut to Pen.
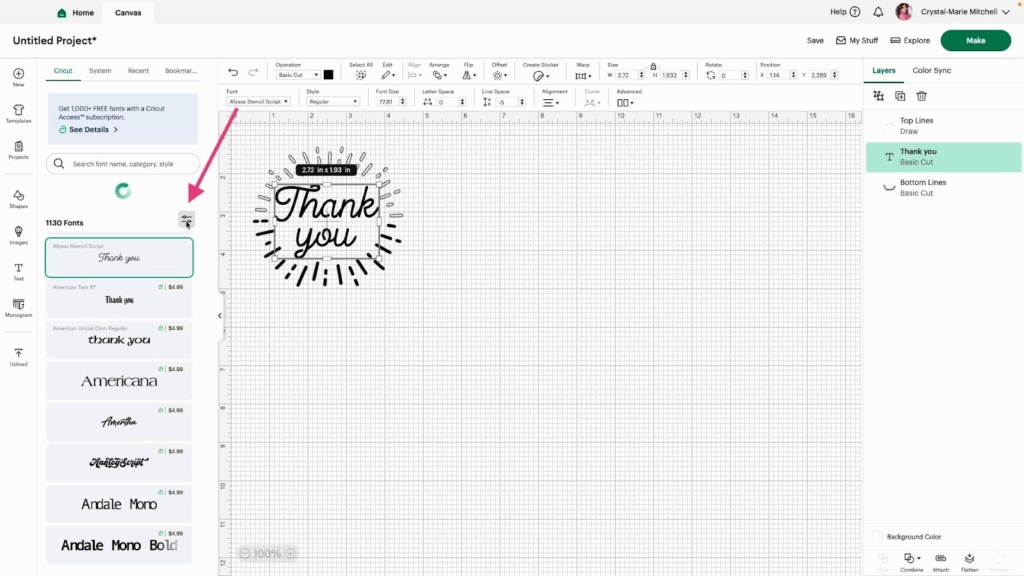
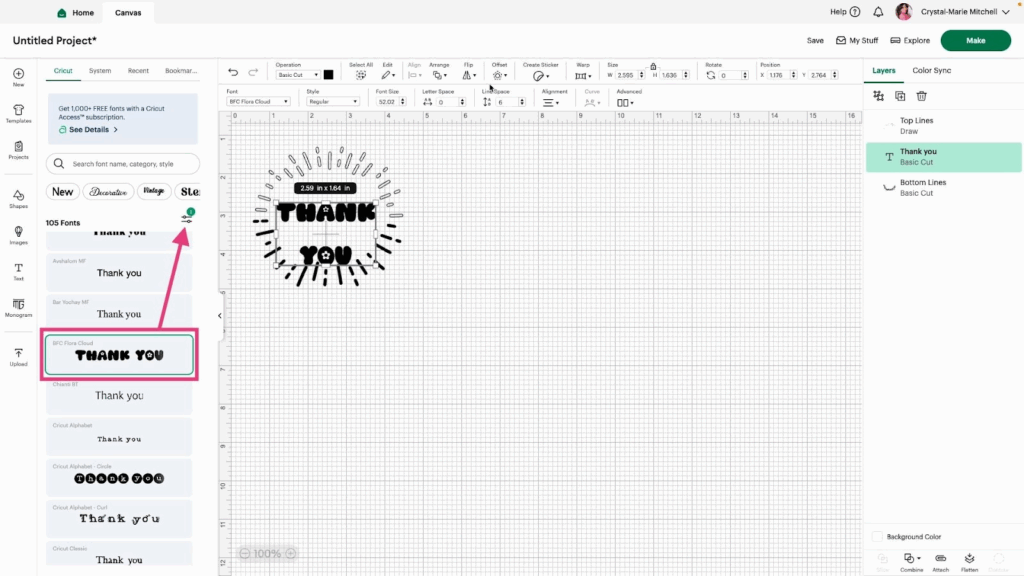
7- Select the text and change the Font. Use the Filter option to find free fonts to use.
8- Adjust the space between the lines using the Line Space option in the Edit Menu.
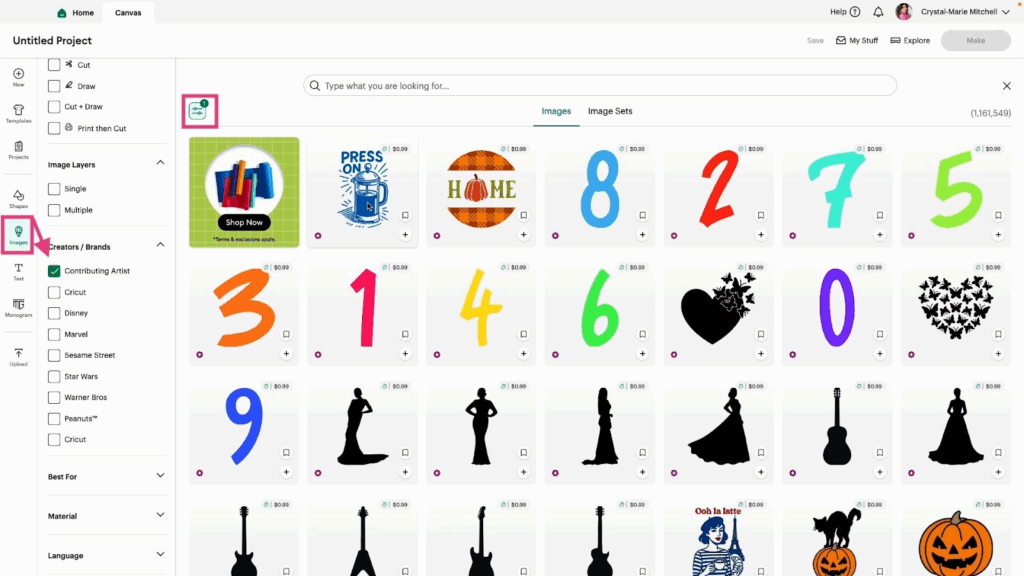
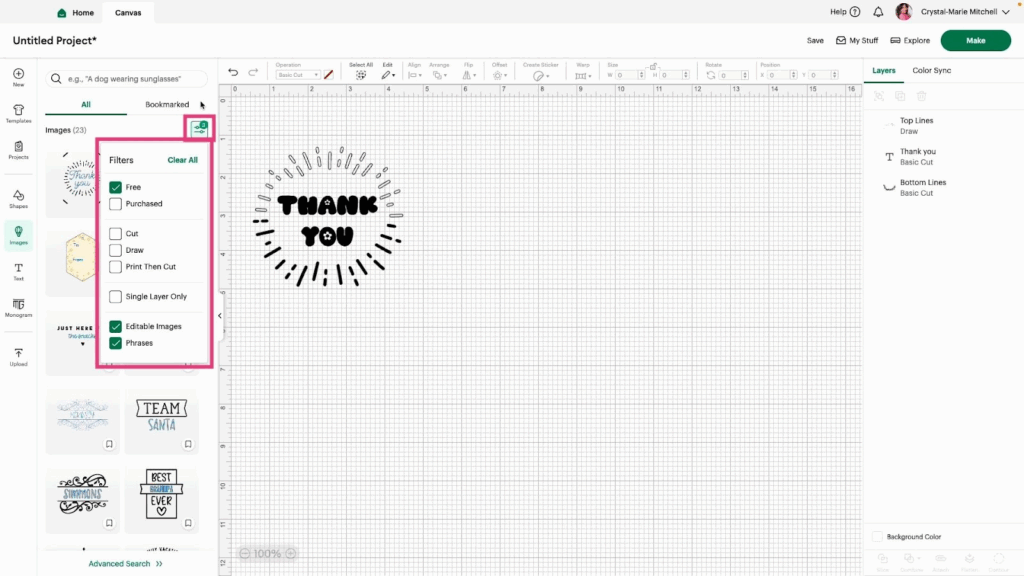
9- Let’s find another image to edit. Click the Filter option and check the Free, Editable Images, and Phrases boxes.
10- Use the Team Santa image (or any image you like).
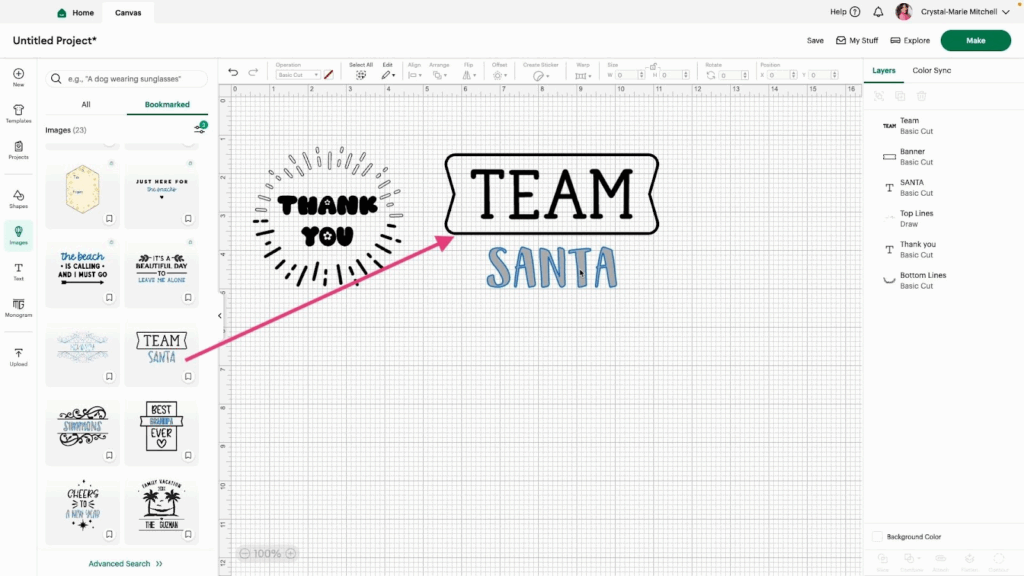
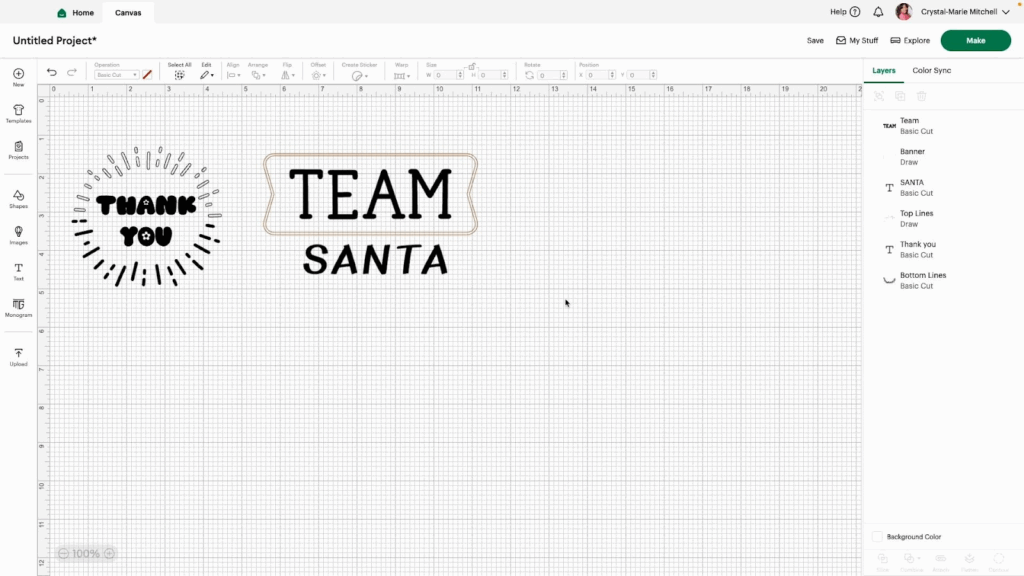
11- Detach the Team Santa image like we did above with the Thank You Image. Experiment with changing the font and Operation type for this image.
12- Most importantly, have fun learning!
Watch the Images, Phrases, and Editable Images video tutorial for more information.