1- Open Cricut Design Space on your computer.
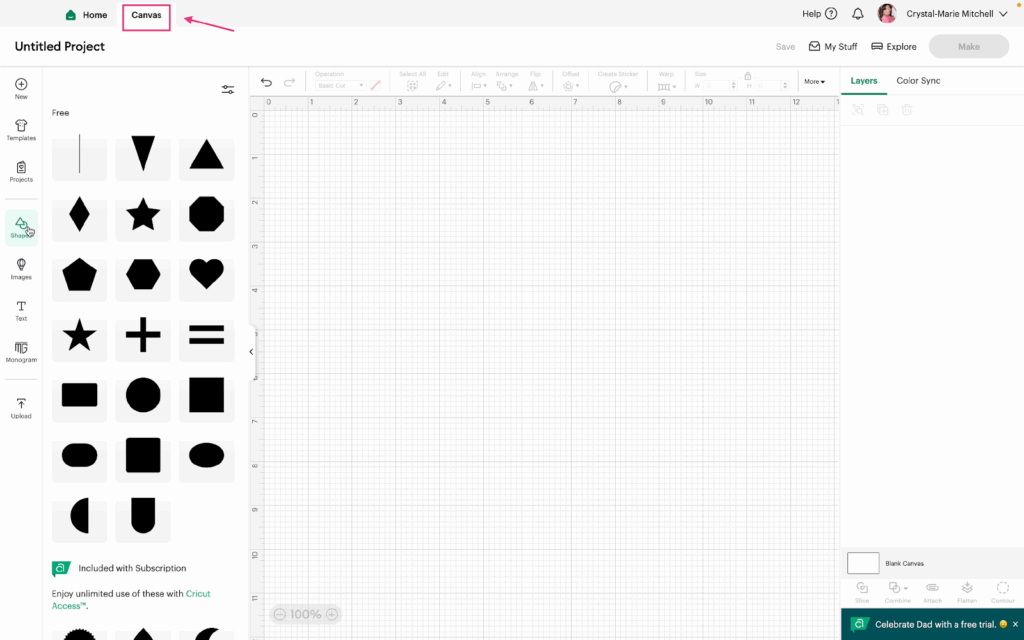
2- Click the Canvas tab to open a blank canvas.
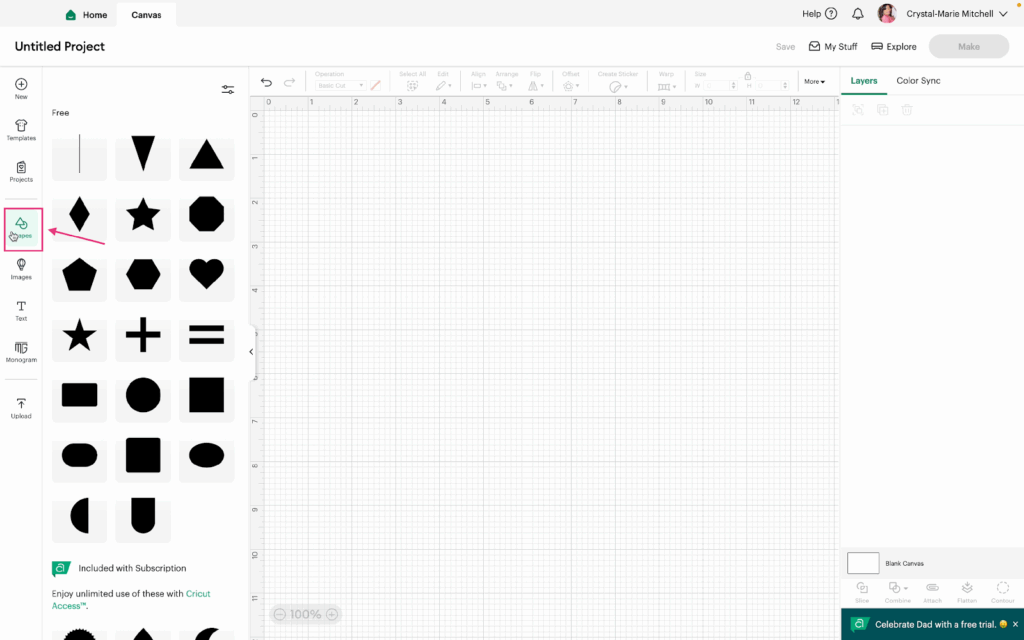
3- Click on Shapes in the sidebar.
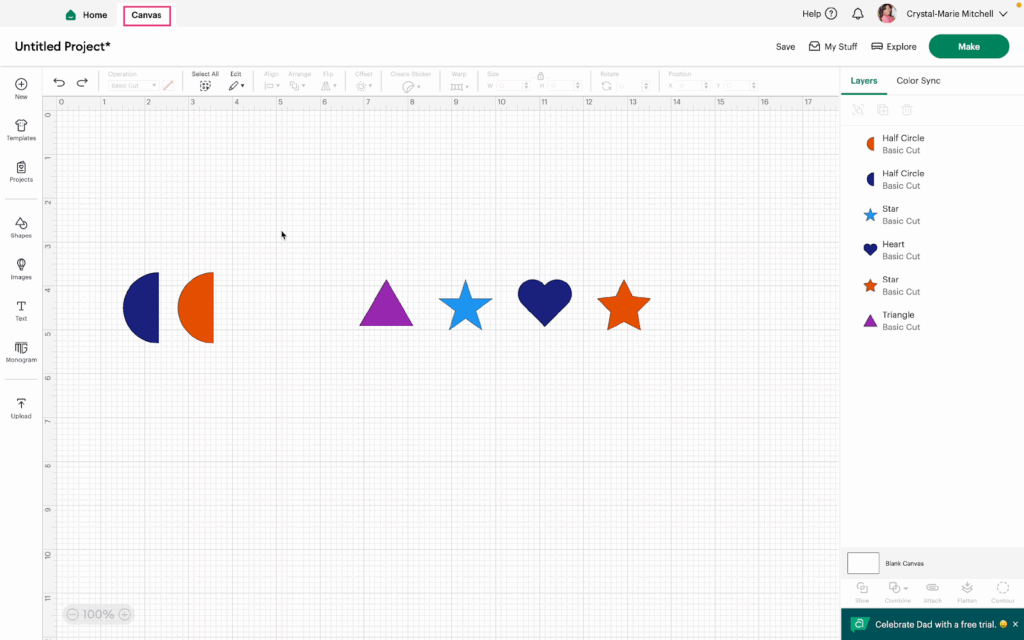
4- Add a few Shapes to the canvas (in real projects, use your own images, shapes, text, etc.) To select multiple items, click and drag over them or hold Shift and click each one.
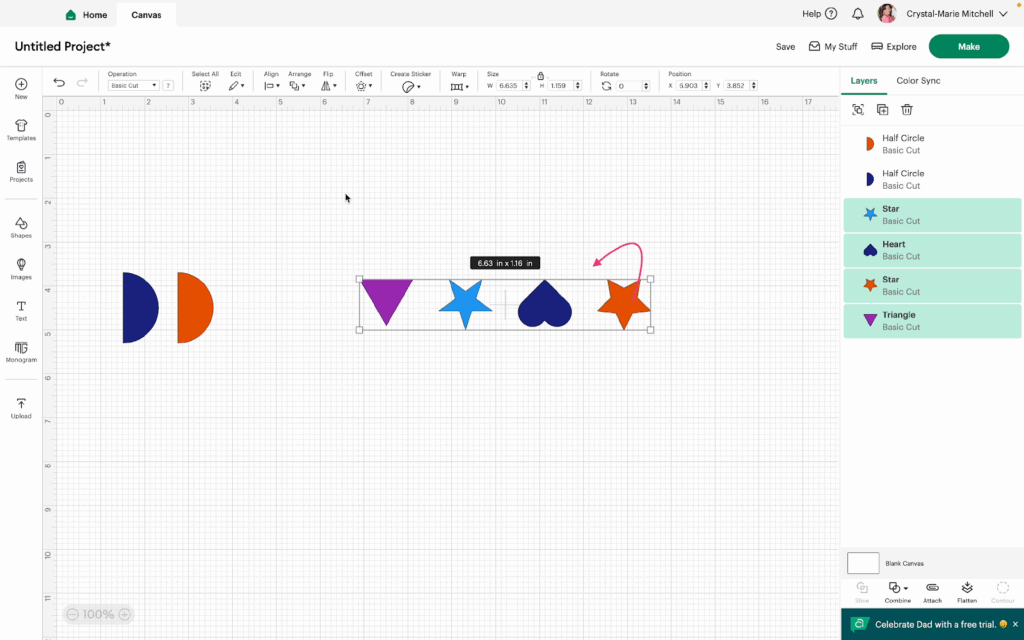
5- With your shapes selected, open the Flip Menu by clicking Flip in the menu bar. Select your shapes and click Flip Horizontal.

6- Next, select the other shapes and click Flip Vertical.
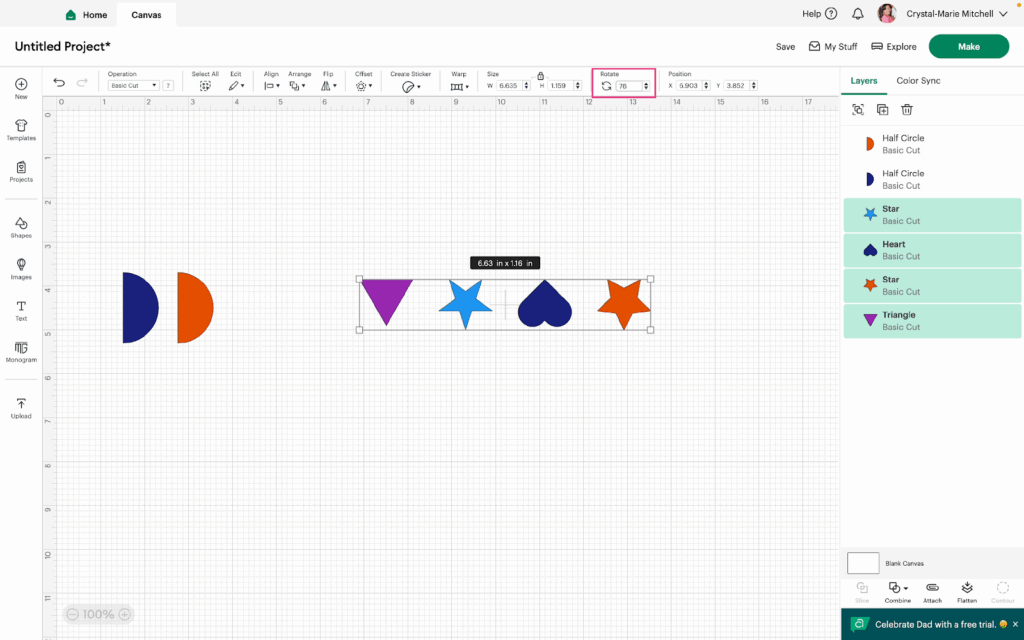
7- Now, let’s look at how to Rotate. Select your shape(s) and in the menu bar, put a number (76) into the Rotate feature. The number you put in stands for the number of degrees you want to rotate the shapes.

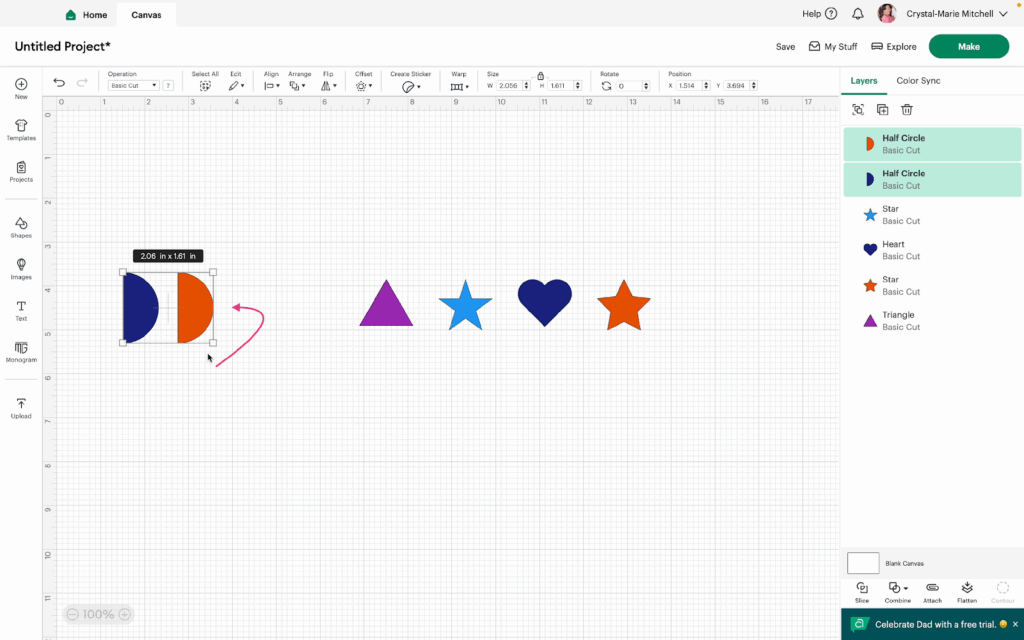
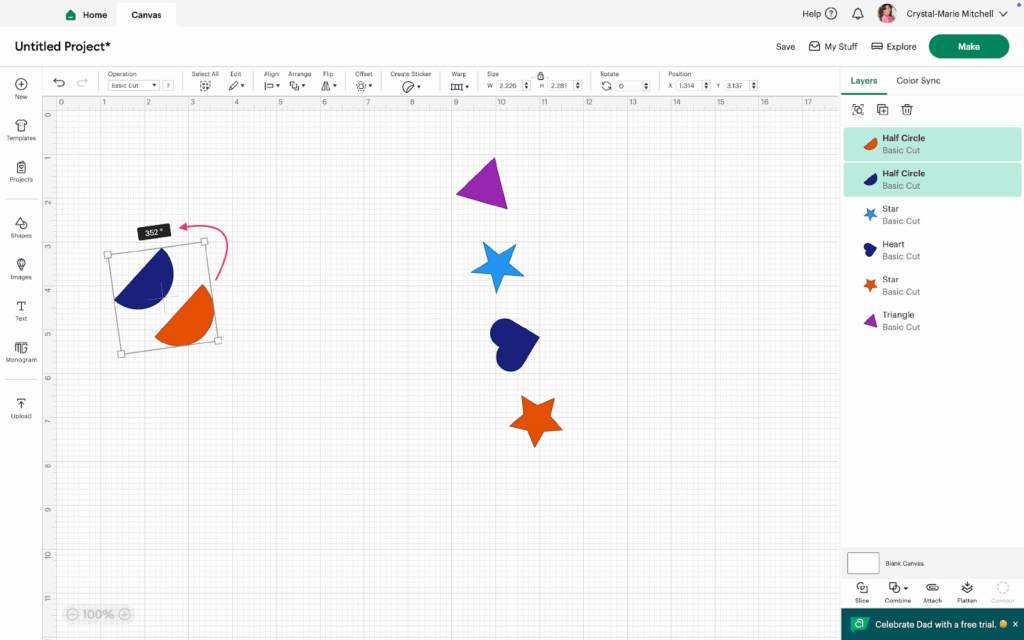
8- You can also Rotate your shapes manually. First, select the shapes you want to rotate. Then, move your cursor to the corner of your selection until it changes to a curved arrow. Click and drag to rotate the shapes manually using your mouse or trackpad.
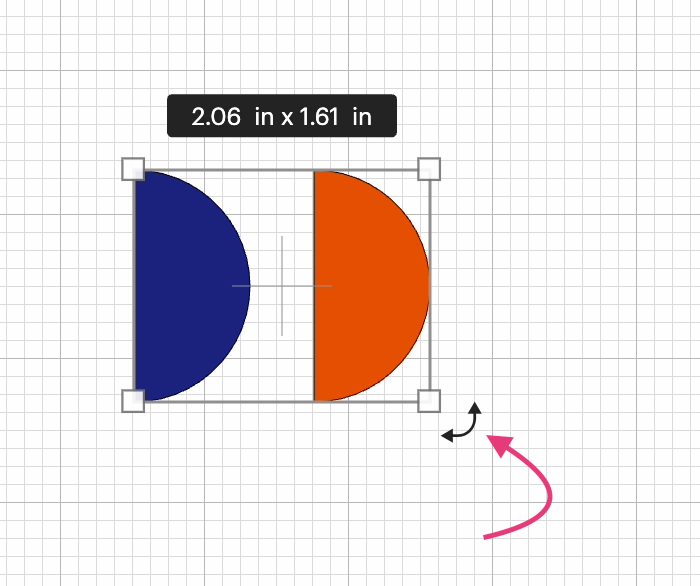
9- When you manually rotate the shapes, an information box will appear with the number of degrees you are rotating the shape.
Watch the video tutorial to see the Flip and Rotate features in action.