1- Launch Cricut Design Space, sign in, and open your Canvas. Click on Images. Choose any shape to work with. For this tutorial, we are using a square.
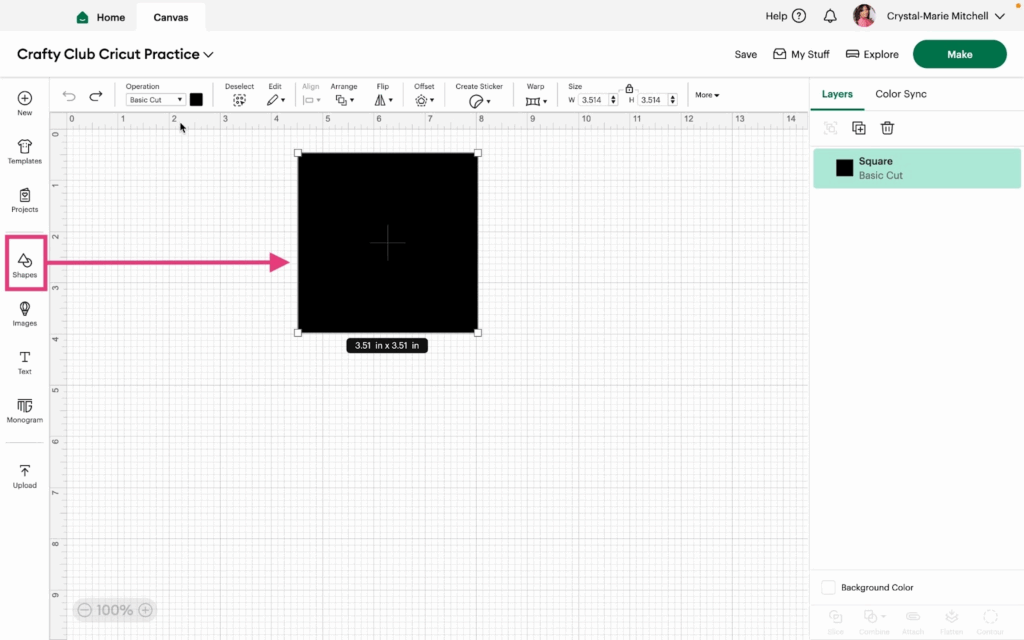
2- Next, click the operation dropdown.
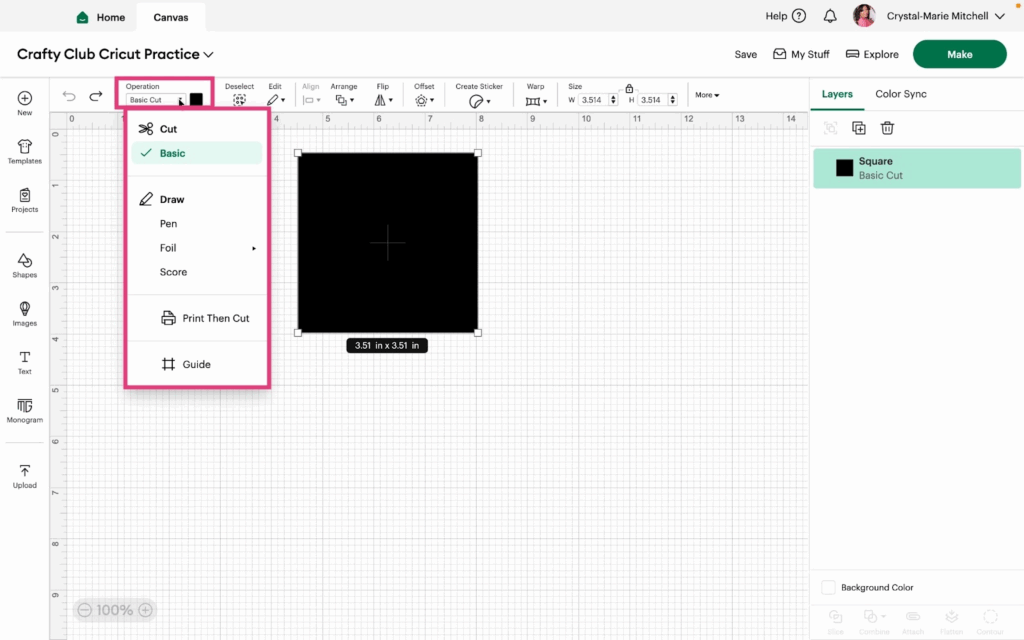
3- Notice that your shape is automatically on Basic Cut. Basic is the only choice under the Cut option. Let’s look at the Draw choices next.
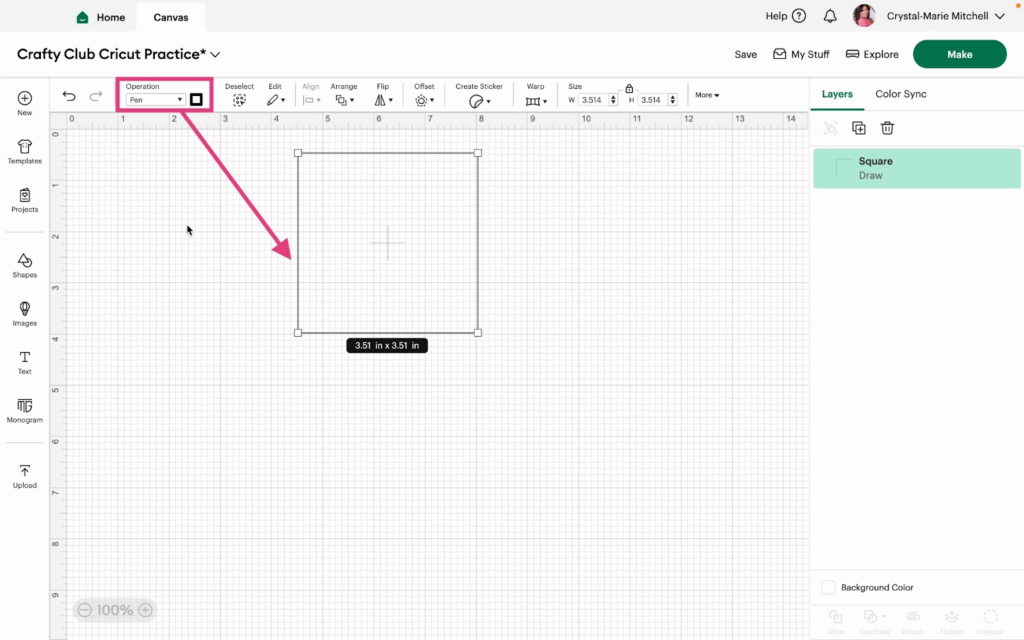
The first option under Draw is Pen. This tool will prompt Design Space to understand that you want to use a Pen to draw the text, shape, or image. The shape will turn from a solid shape to an outline. You can change the Pen color by clicking the color box next to the Operation menu dropdown.
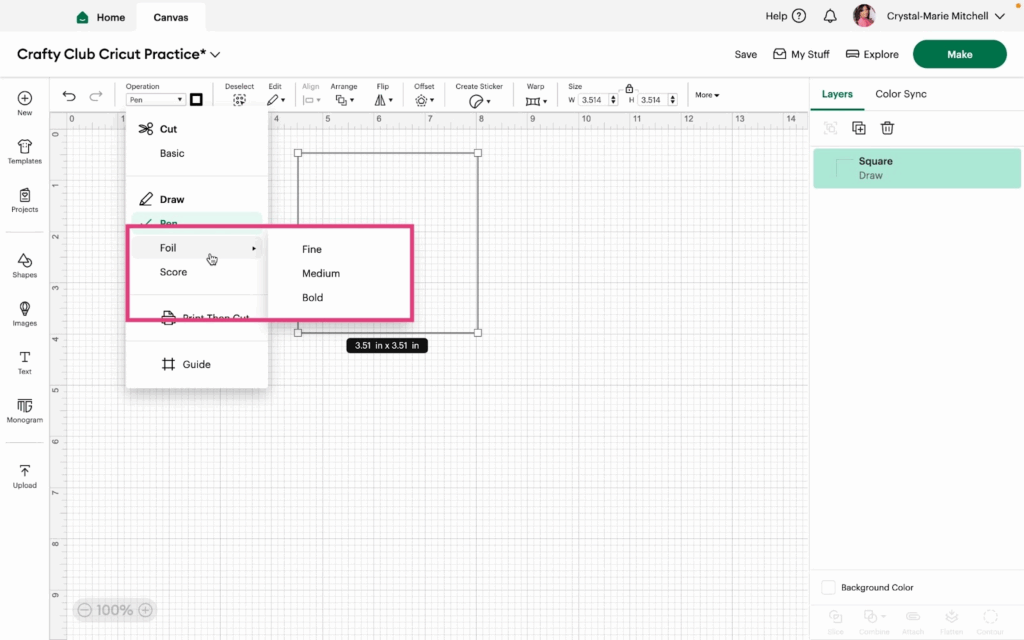
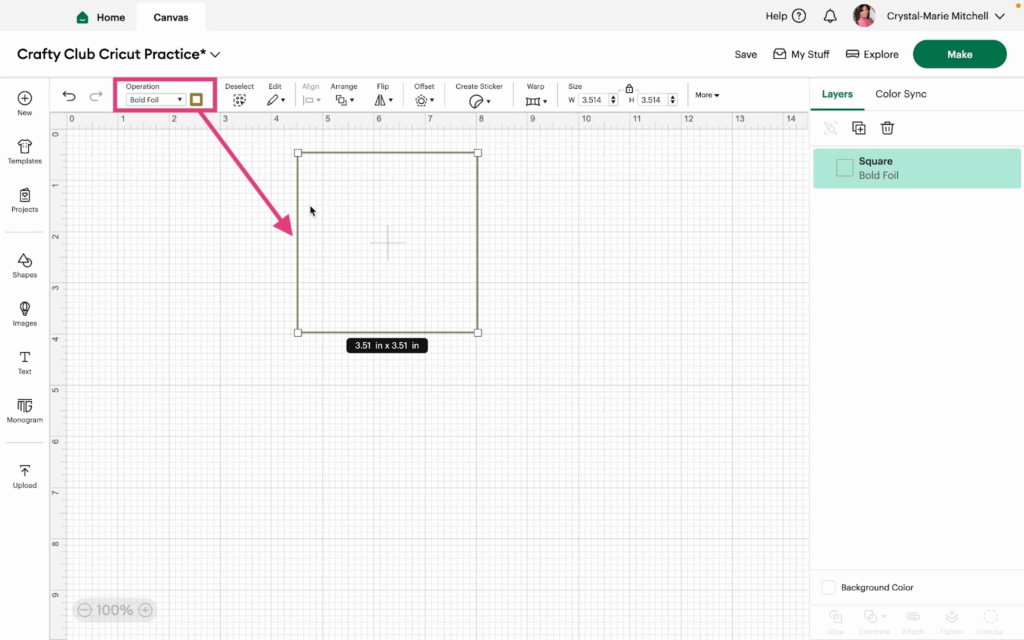
4- The next option under Draw is Foil. Foil will have three sub-choices (Fine, Medium, and Bold). When you choose foil, this will prompt Design Space to know you want to use the Foil tool or the Foil Quill.
5- Choose Bold. The image outline turns gold and the operation changes to Bold Foil.
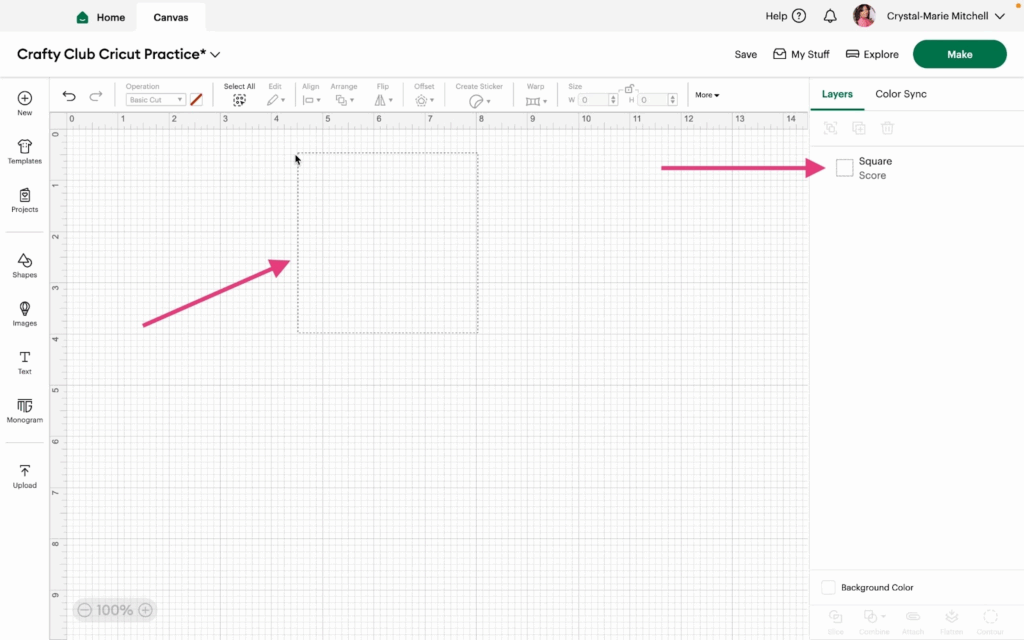
6- Choose Score in the Operation Menu. Score allows you to make a fold line in your design.
7- The Score line will turn dotted and you will need a scoring tool to make the design.
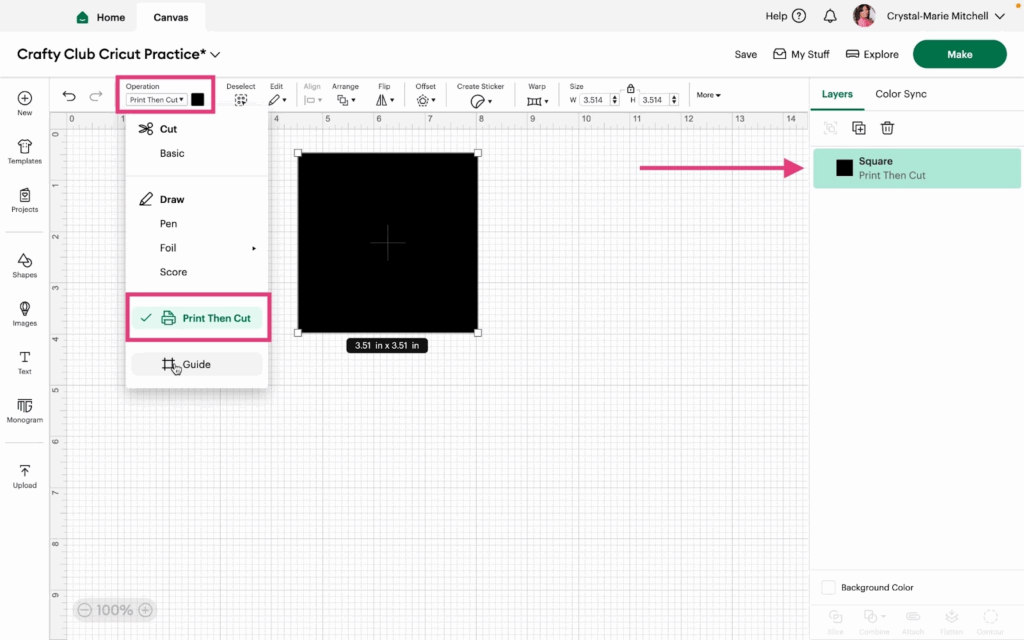
8- Next, choose Print then Cut in the Operation menu. This will turn the square back into a full color image. When you Make this project, the square will need to be printed on your printer and then cut with your Cricut.
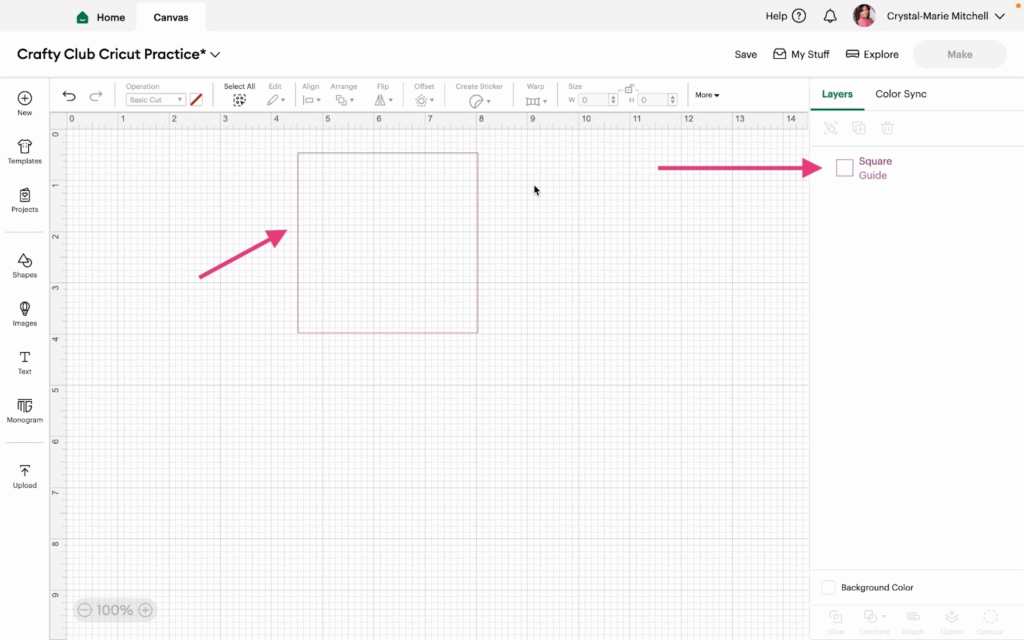
9- The last choice in the Operations menu is Guide.
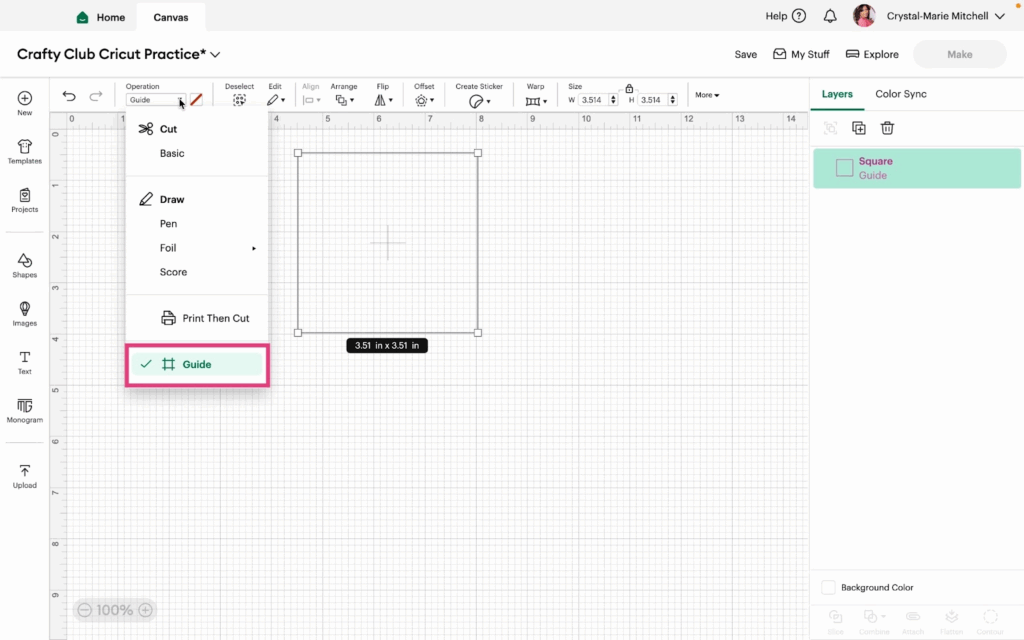
10- A Guide will not print or be shown when you Make your project. You can use guides to help you with placement of your design. The Guide will show as a pink line.
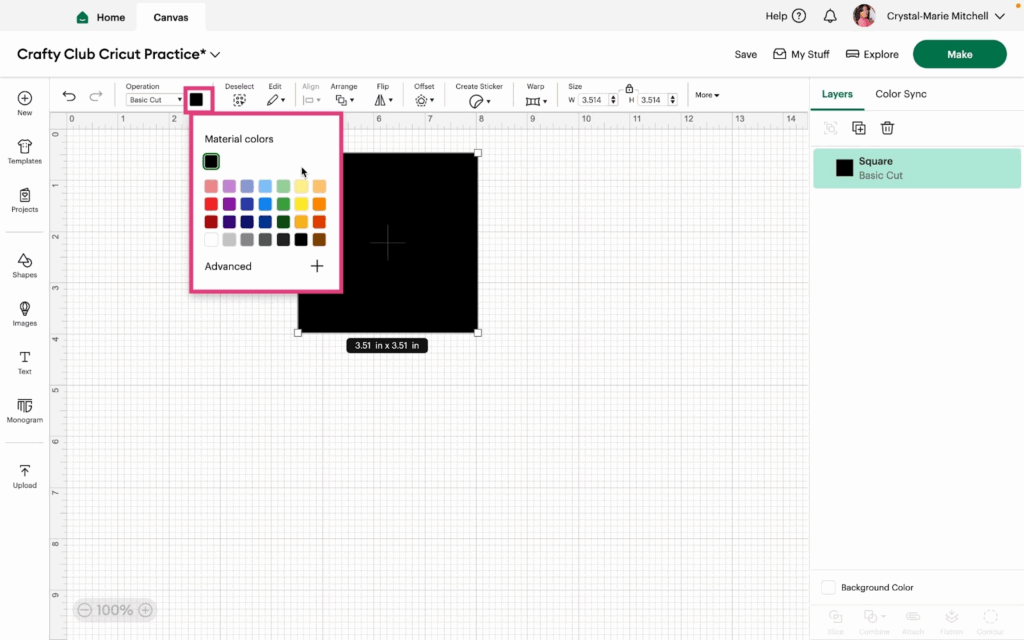
11- Next to Operation, you’ll see a color option for some choices. These colors help you organize your materials by mat in Design Space. Images with the same color will be cut together on the same mat.
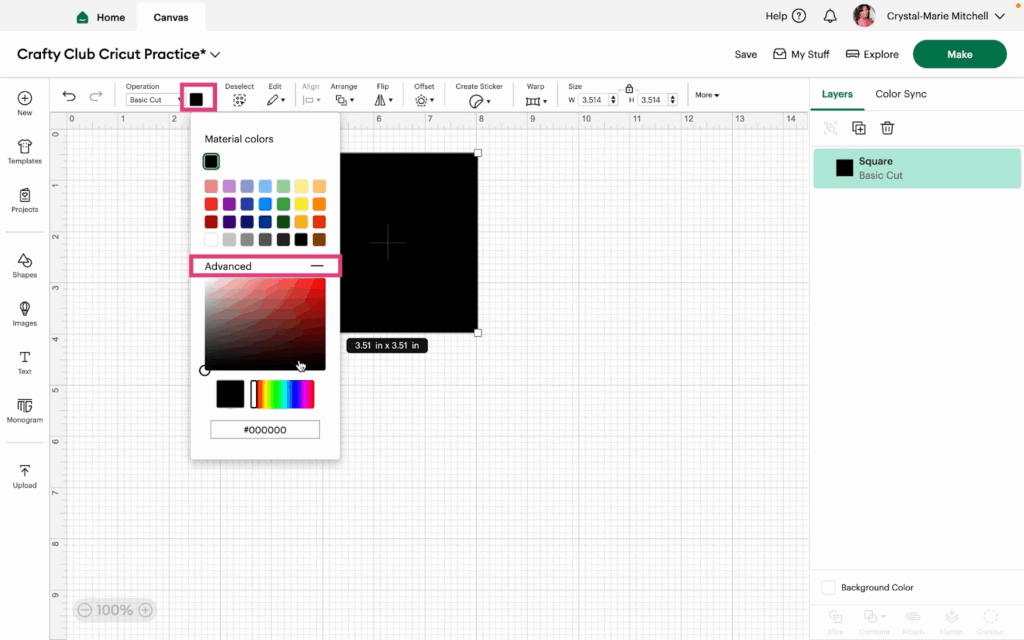
12- When you click Advanced, it allows you to put in your own color via hex code.
Watch the video tutorial to see these features in action.