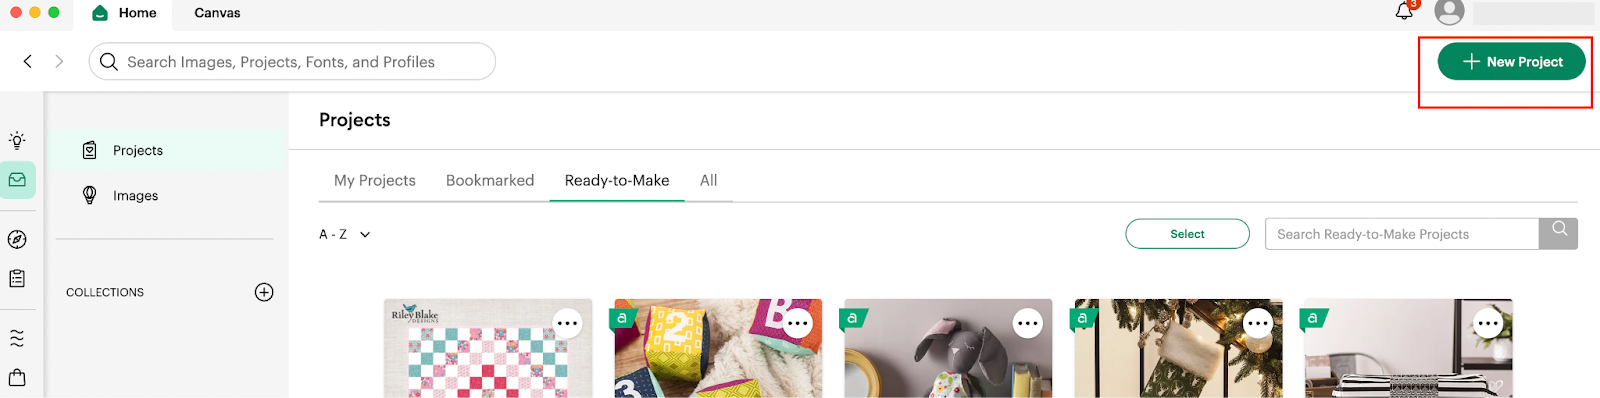
1: In order to be able to start our Design, we are going to access our Design
Space application and in there we are going to click on the + New Project Green button located on the top Right corner of our screen.
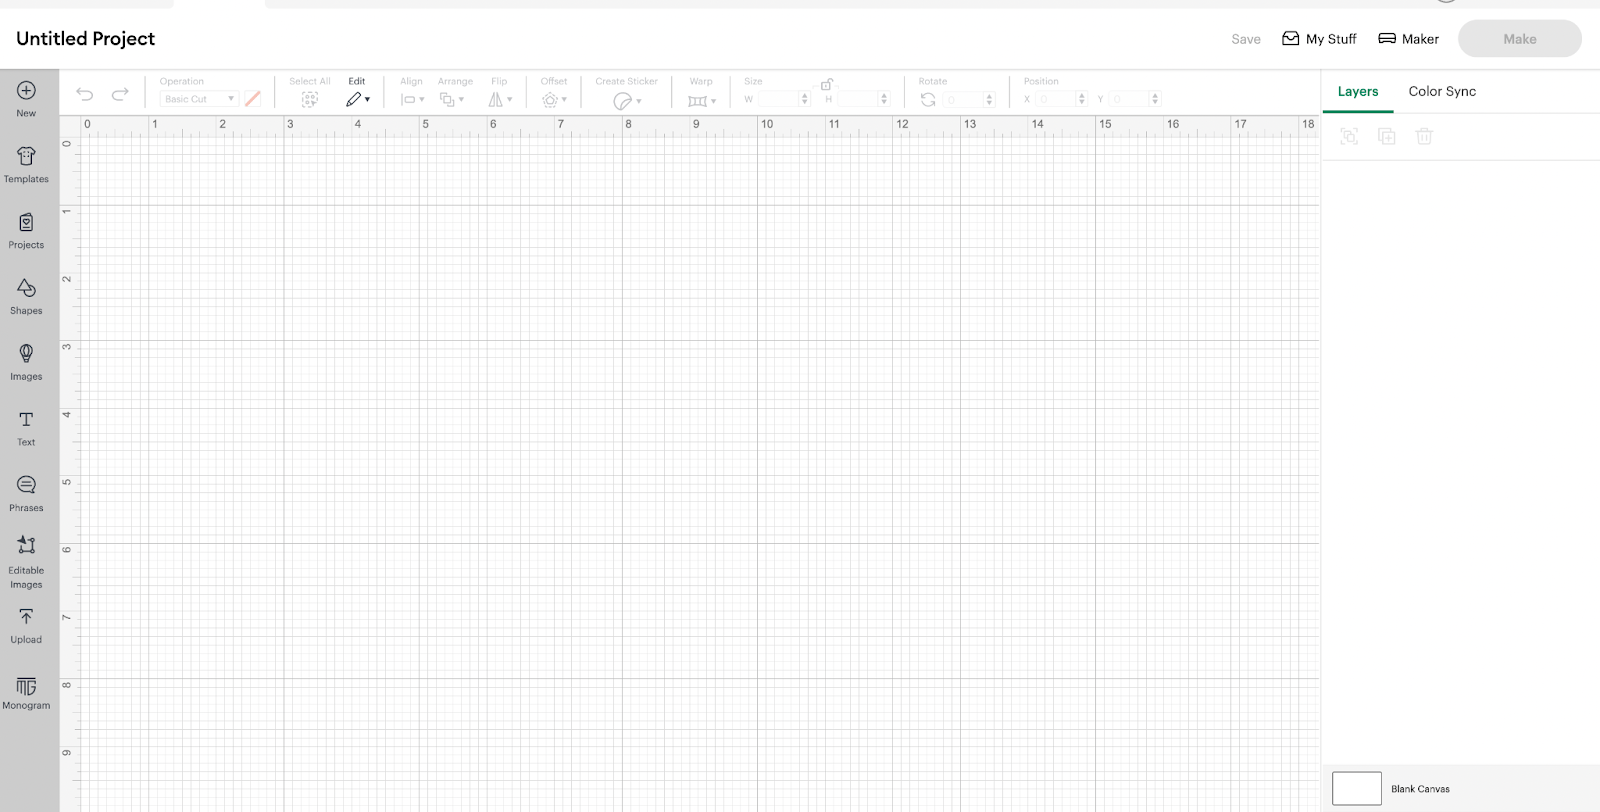
2: After we clicked in there, we are going to be able to access our Blank Canvas, in where we are going to start creating our Design:
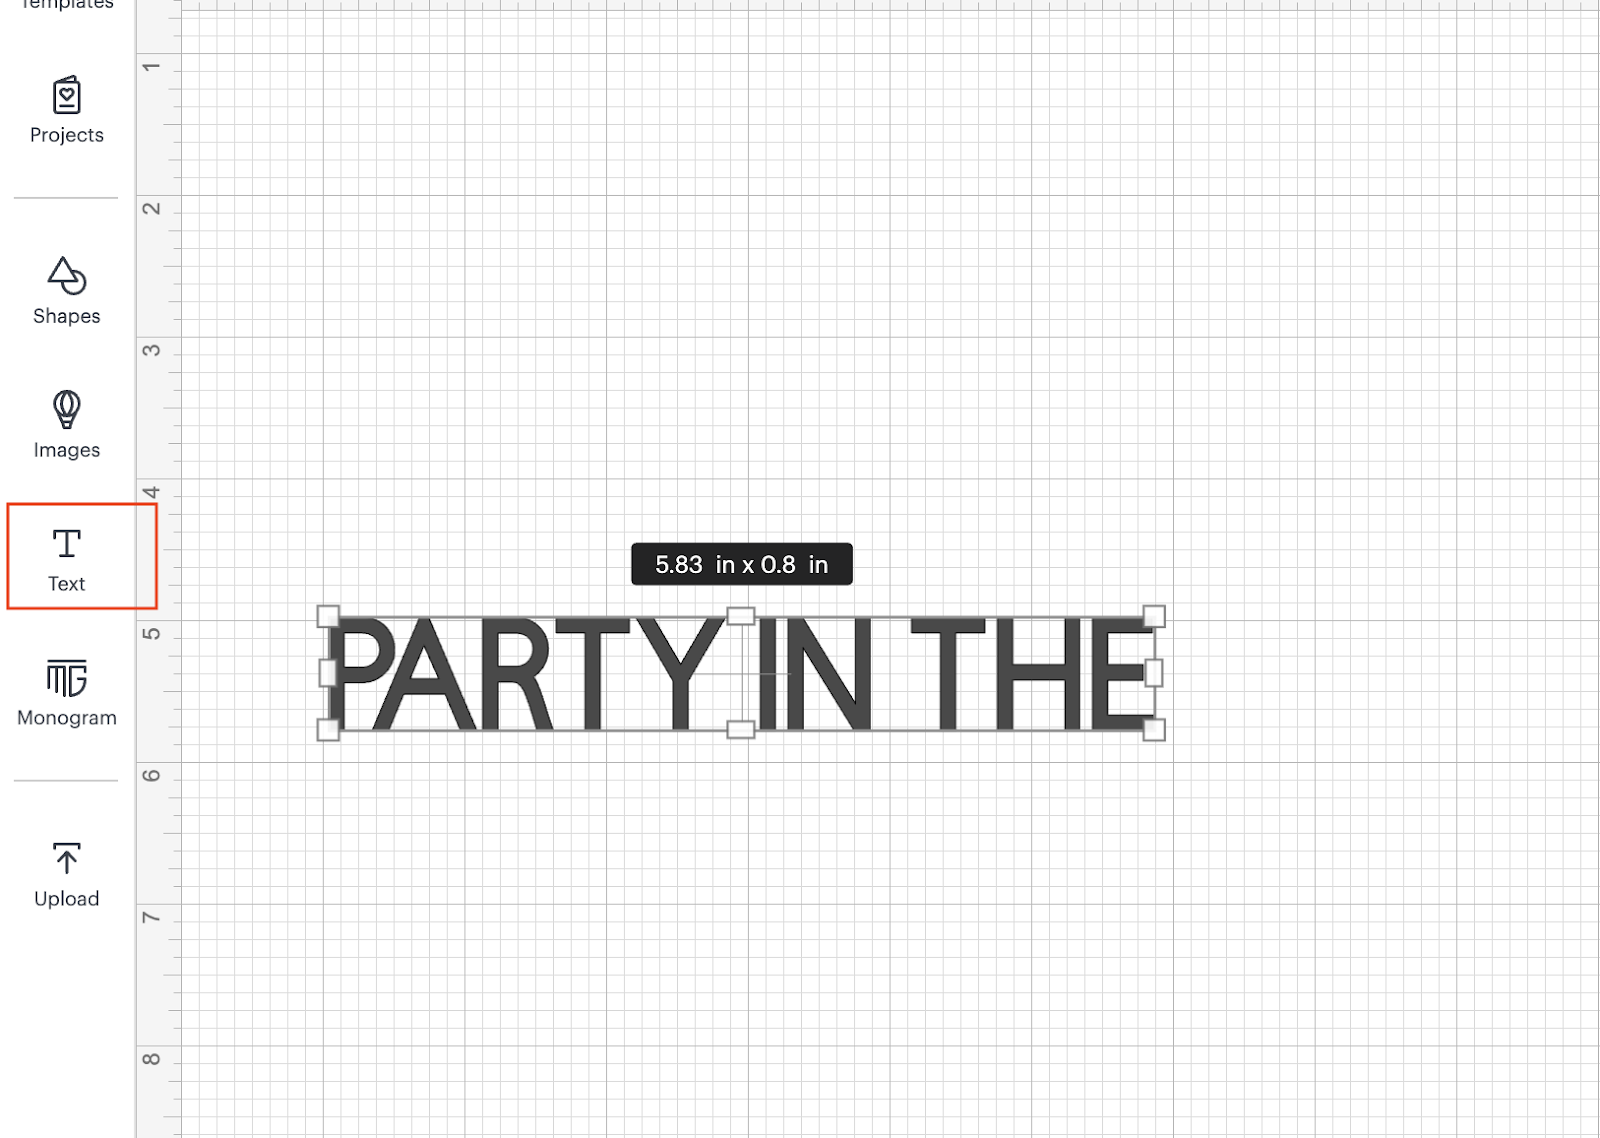
3: We are going to start by adding the word PARTY IN THE by using the Text functionality:
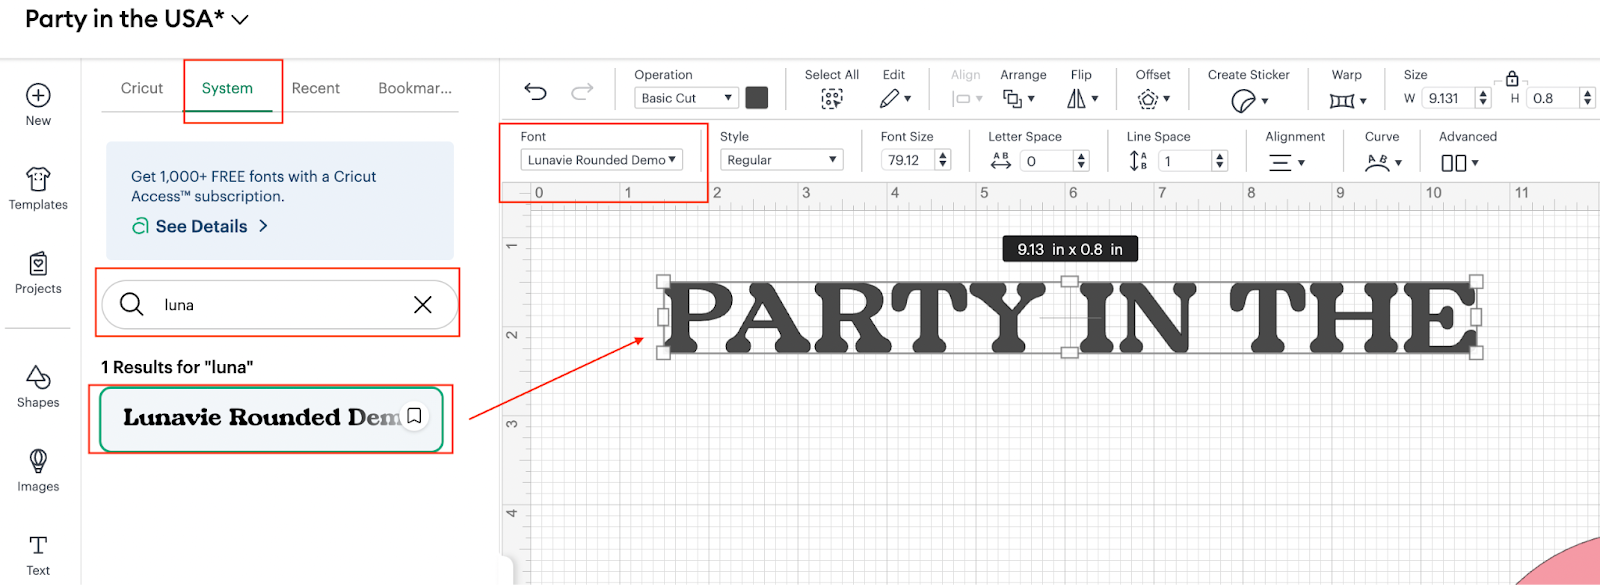
4: We are going to change the font for Lunavie font that we previously installed, so we are going to click over the Font drop down, then we are going to select System and in there we are going to search for Luna and then we are going to click over the font. After you changed the font, you should be able to see the following:
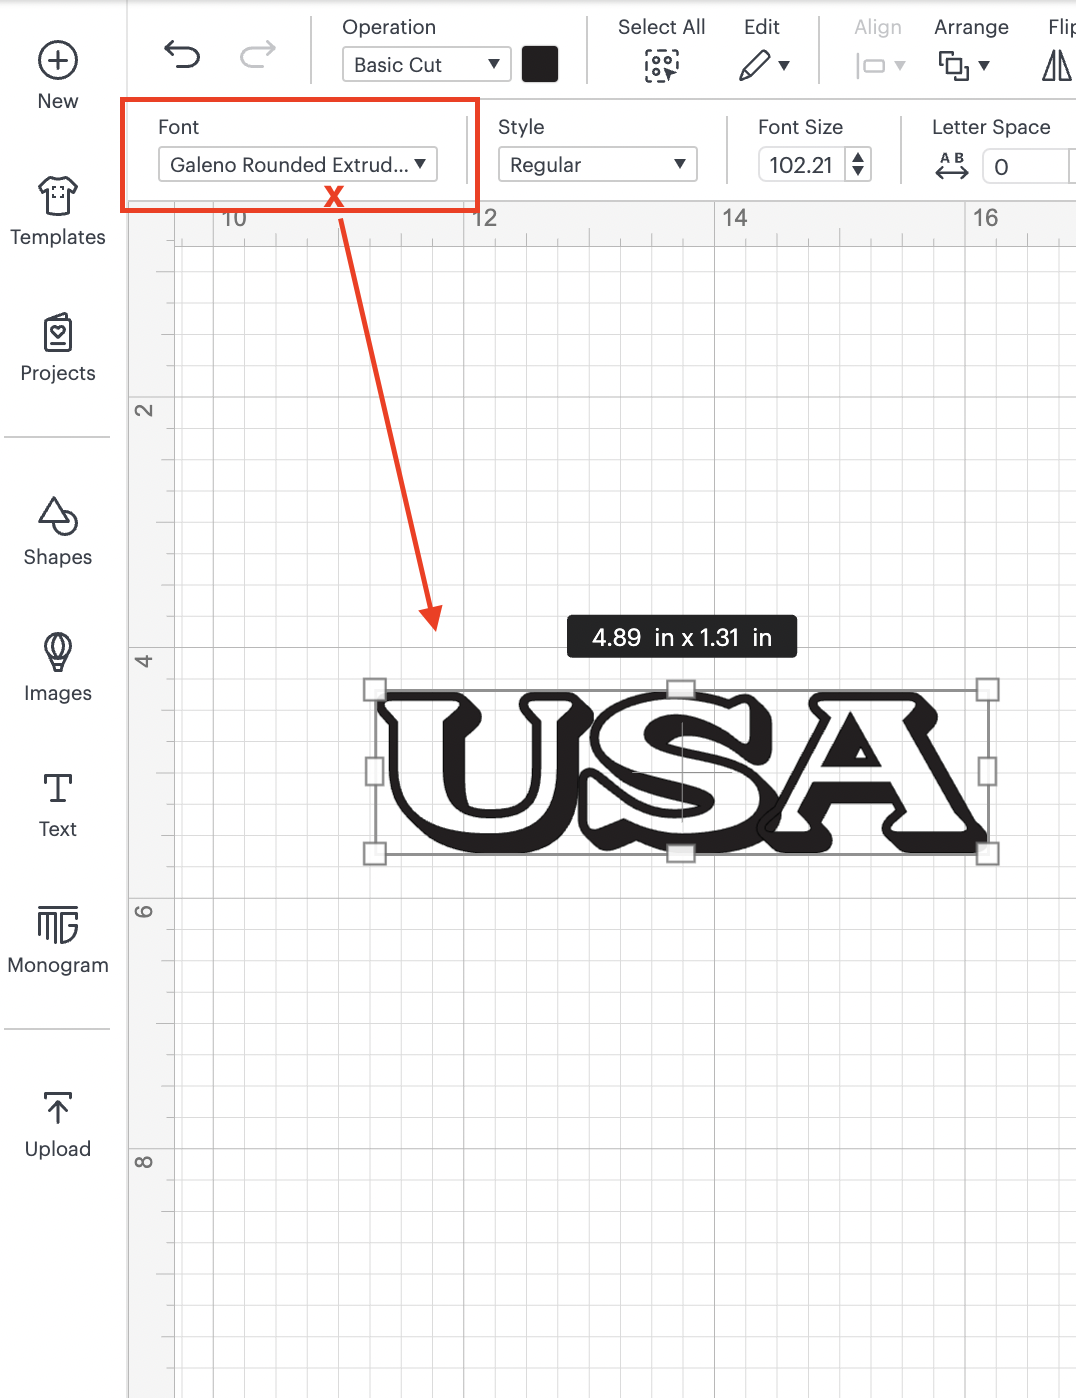
5: We are now, going to use the text functionality one more time to write USA
And we are going to change the font as we did previously, but this time we are going to use the font: Galeno
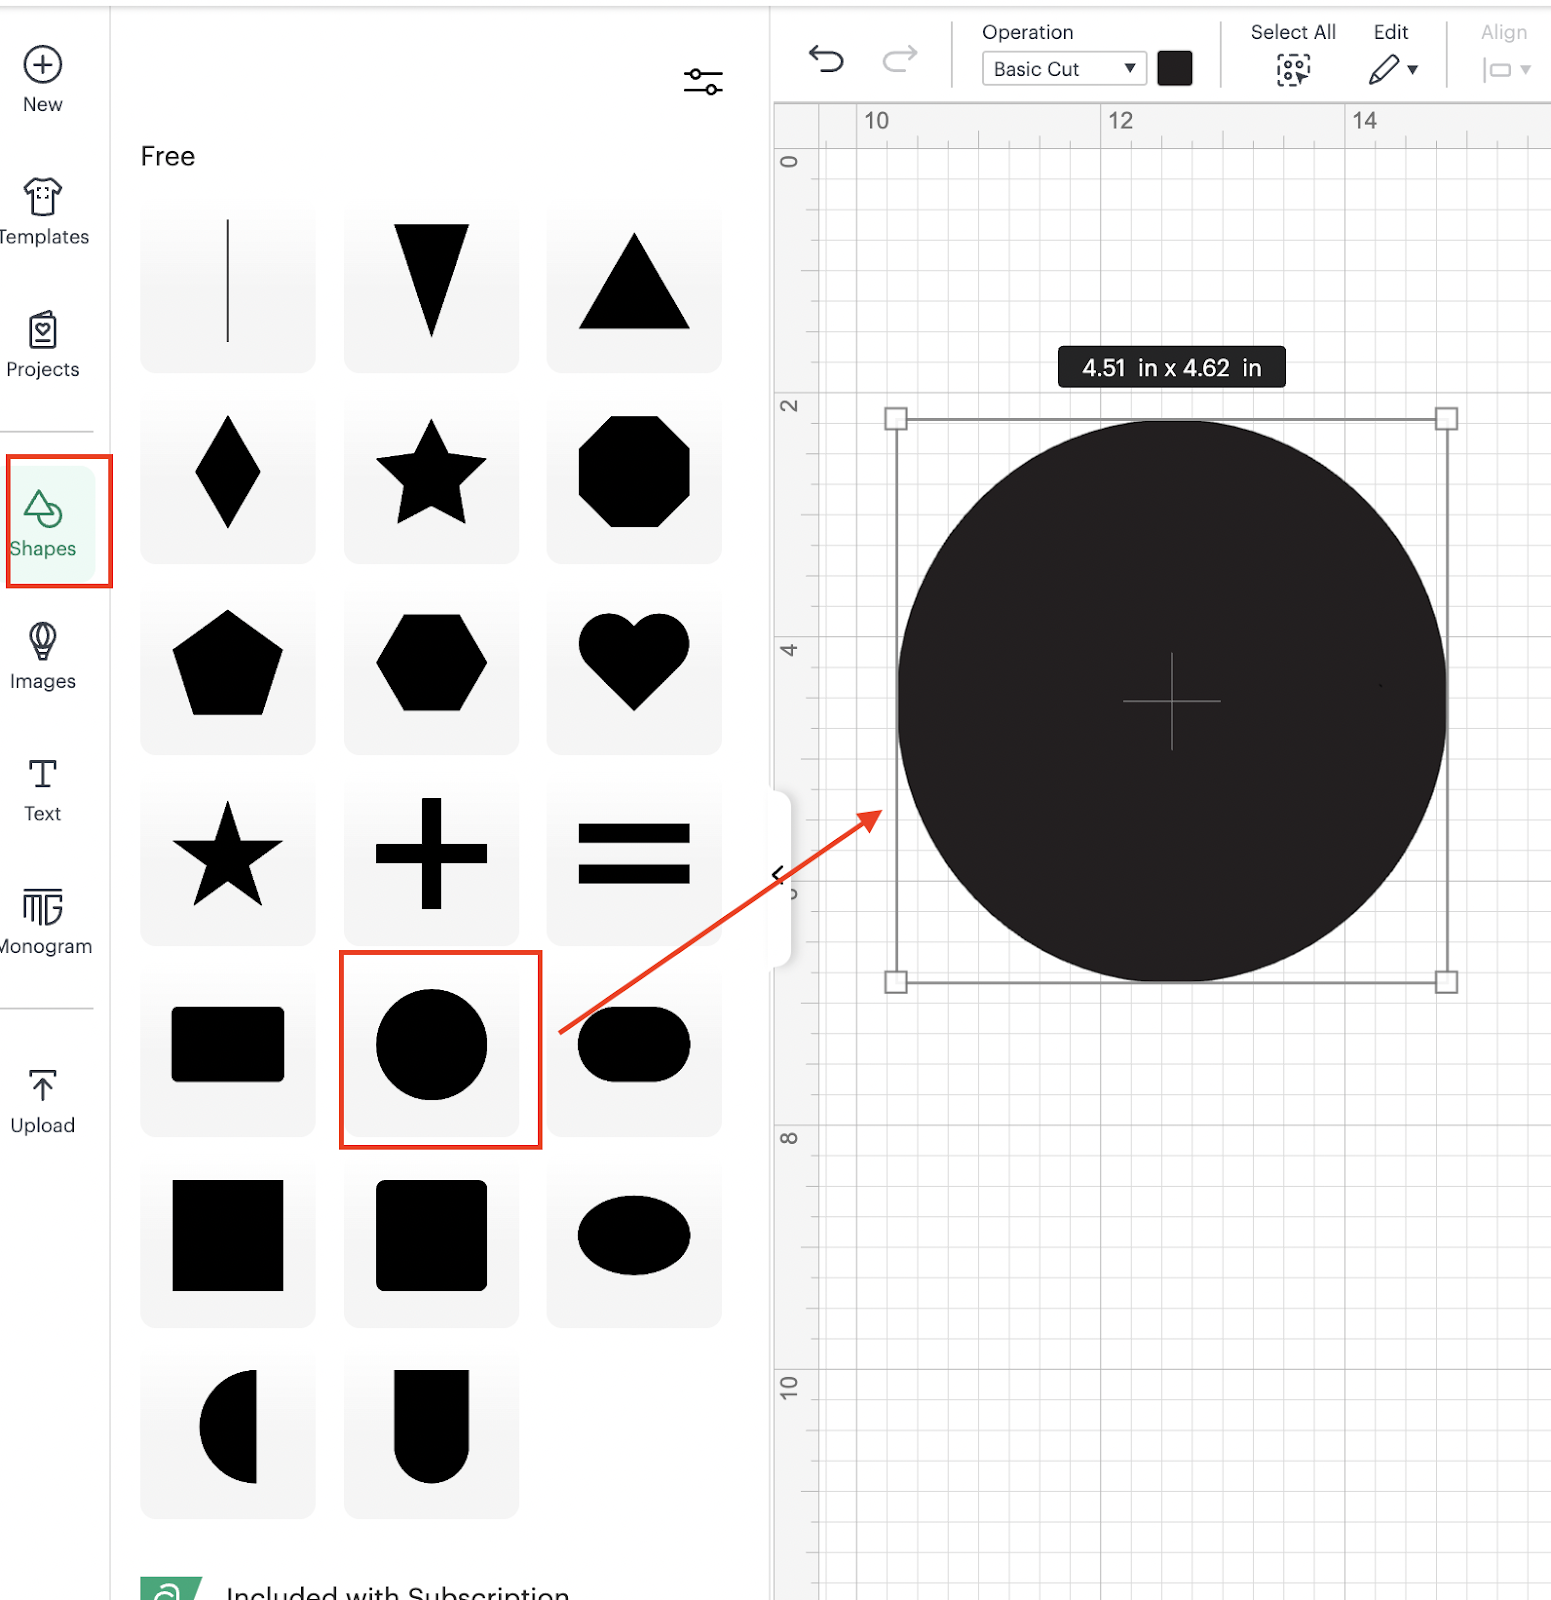
6: Using the shapes functionality, we are going to add a circle:
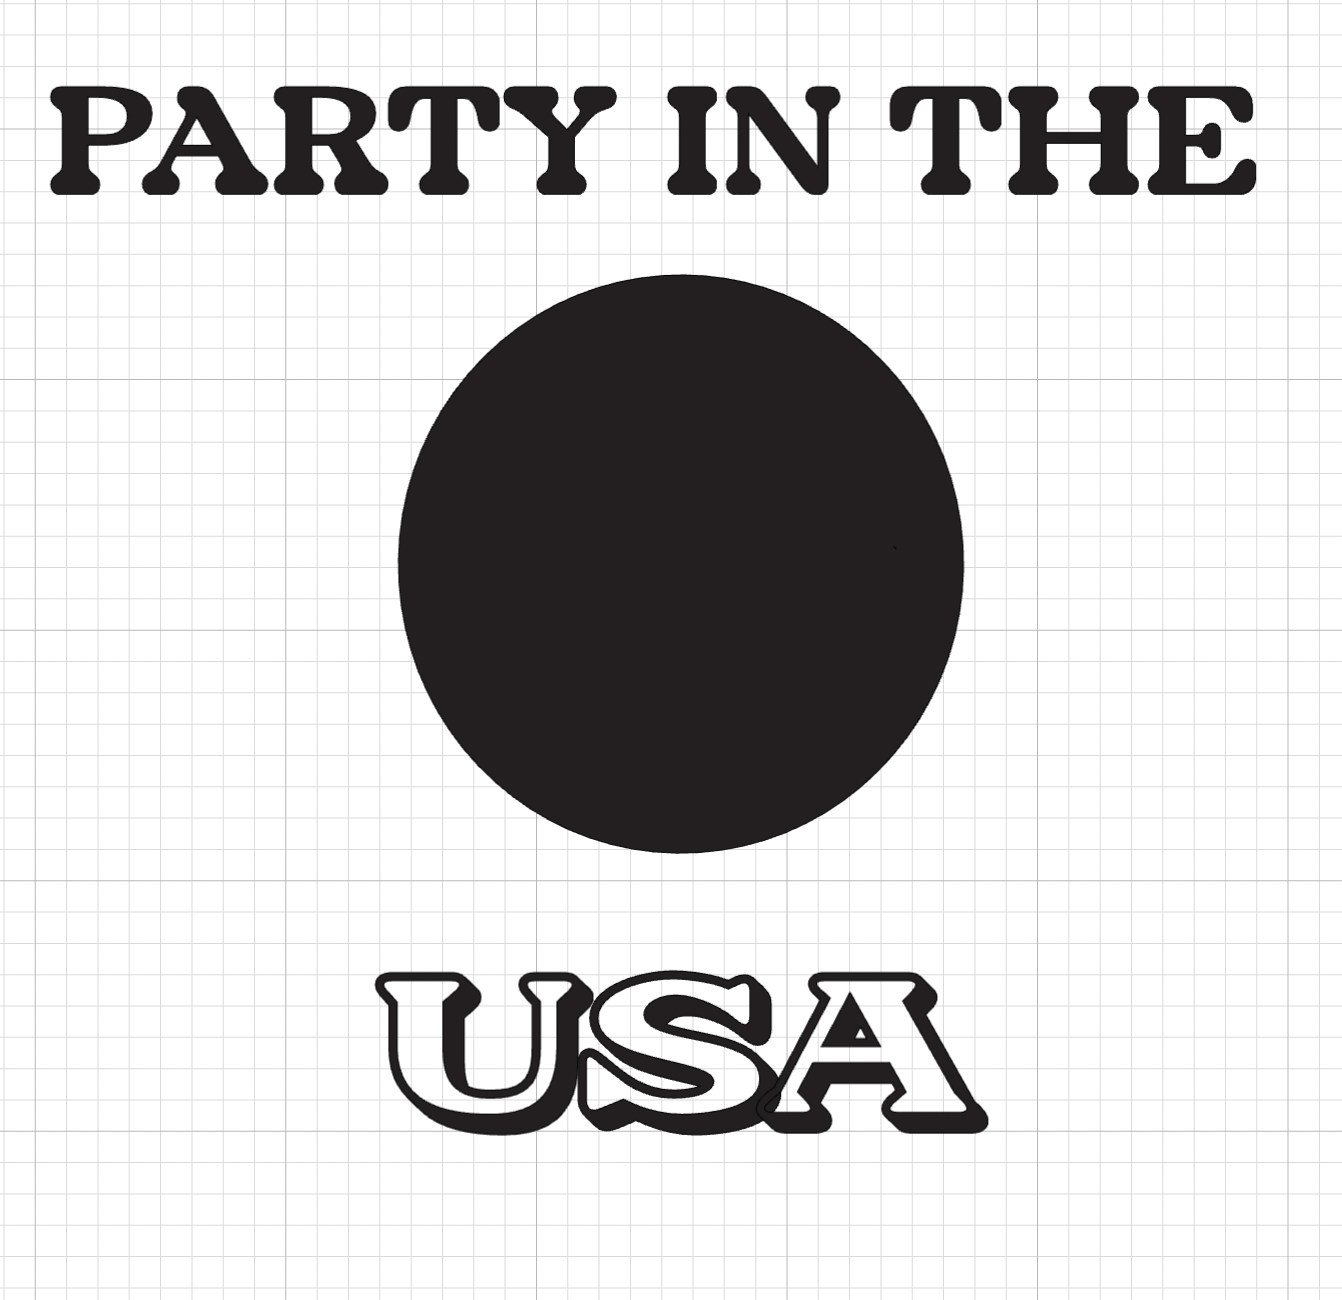
7: At this point you should have something like:
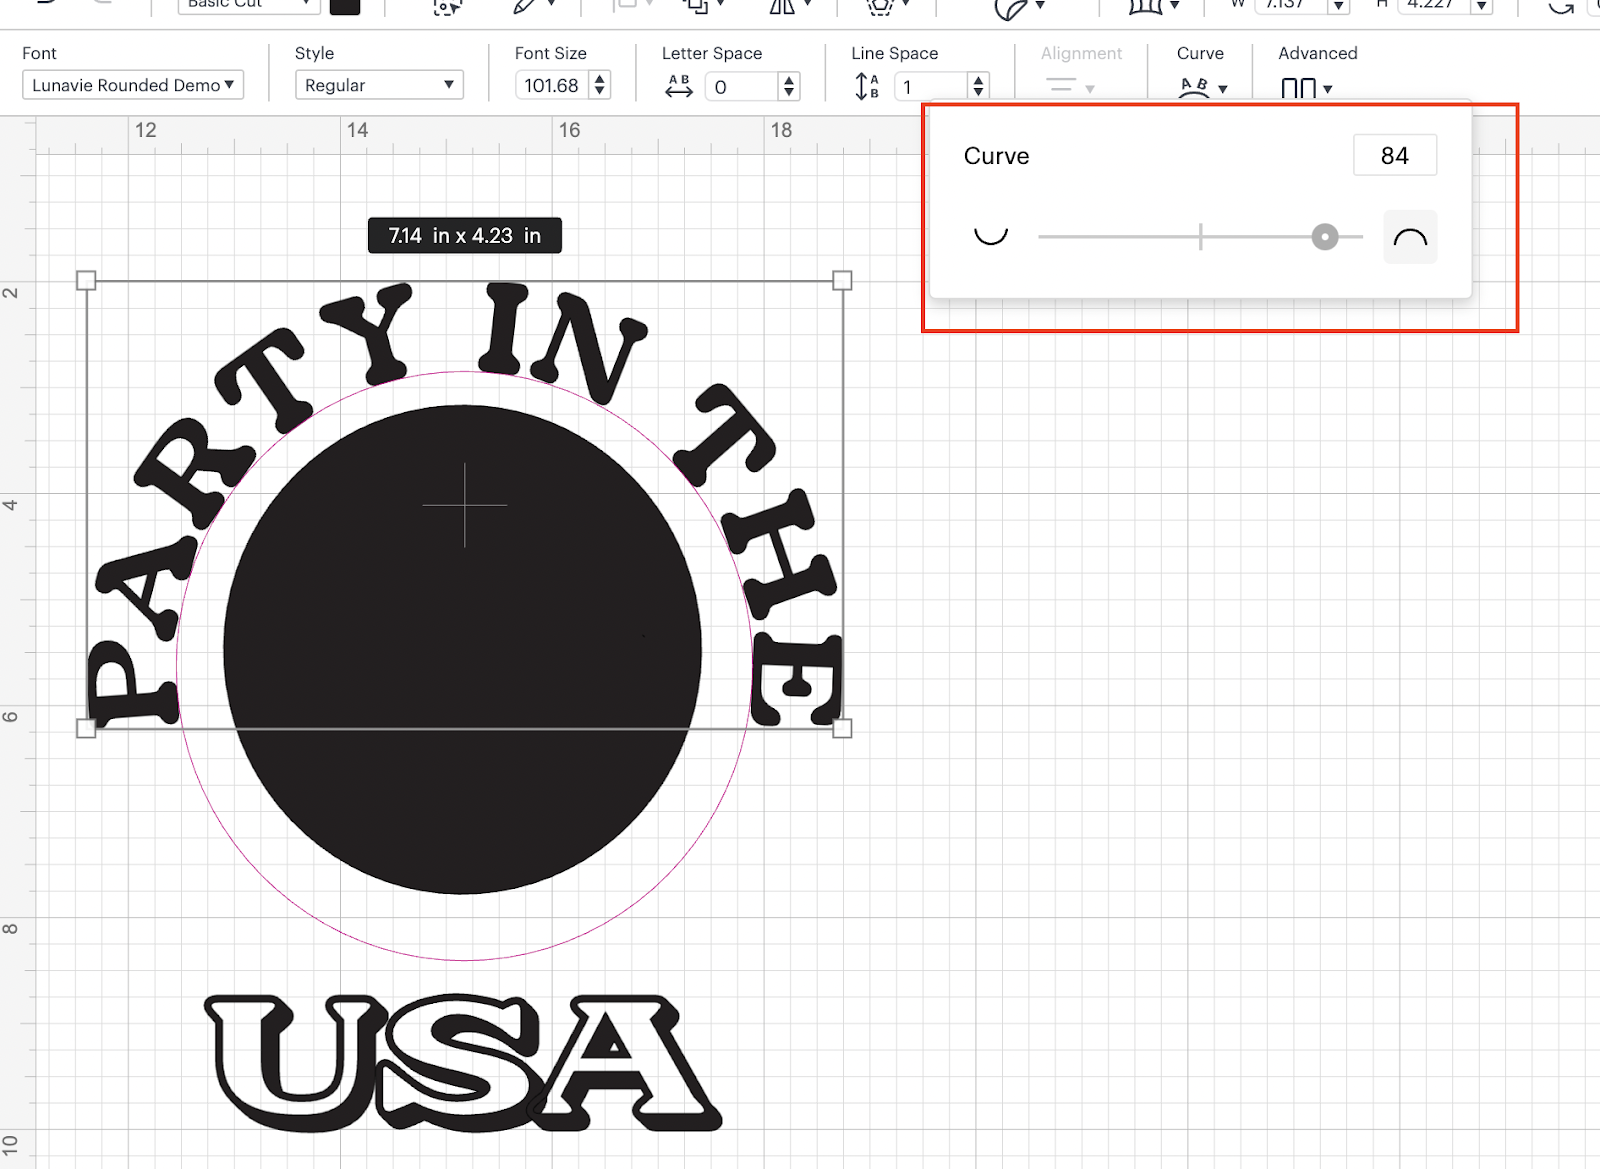
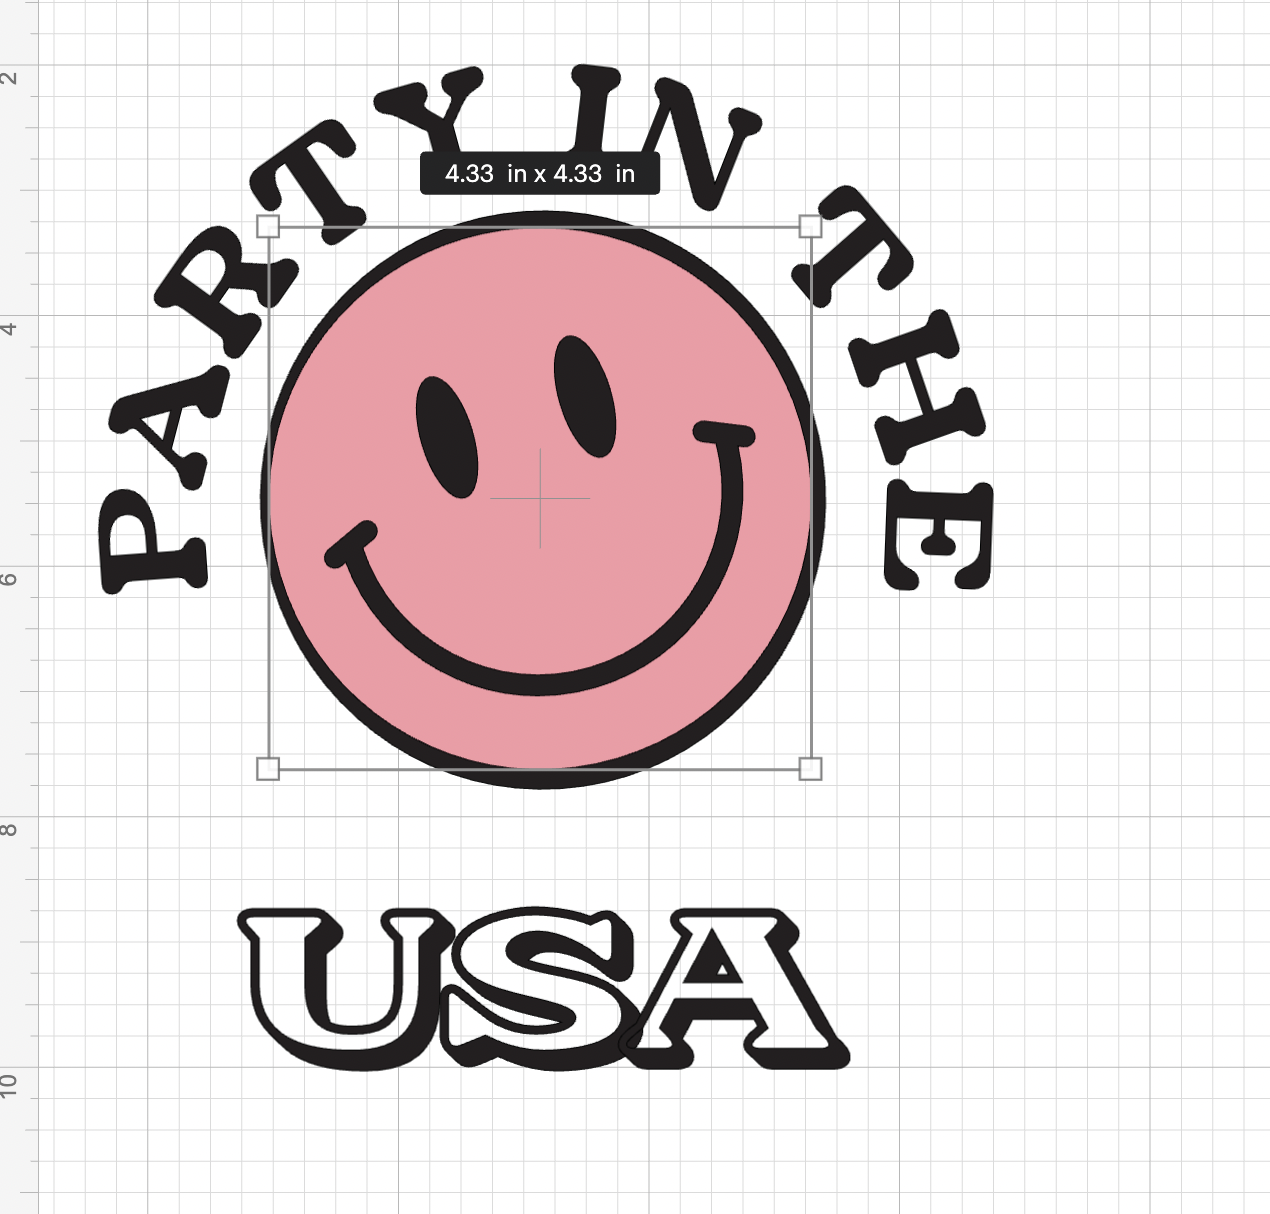
8: Using the Curve functionality, we are going to start curving our PARTY IN THE text:
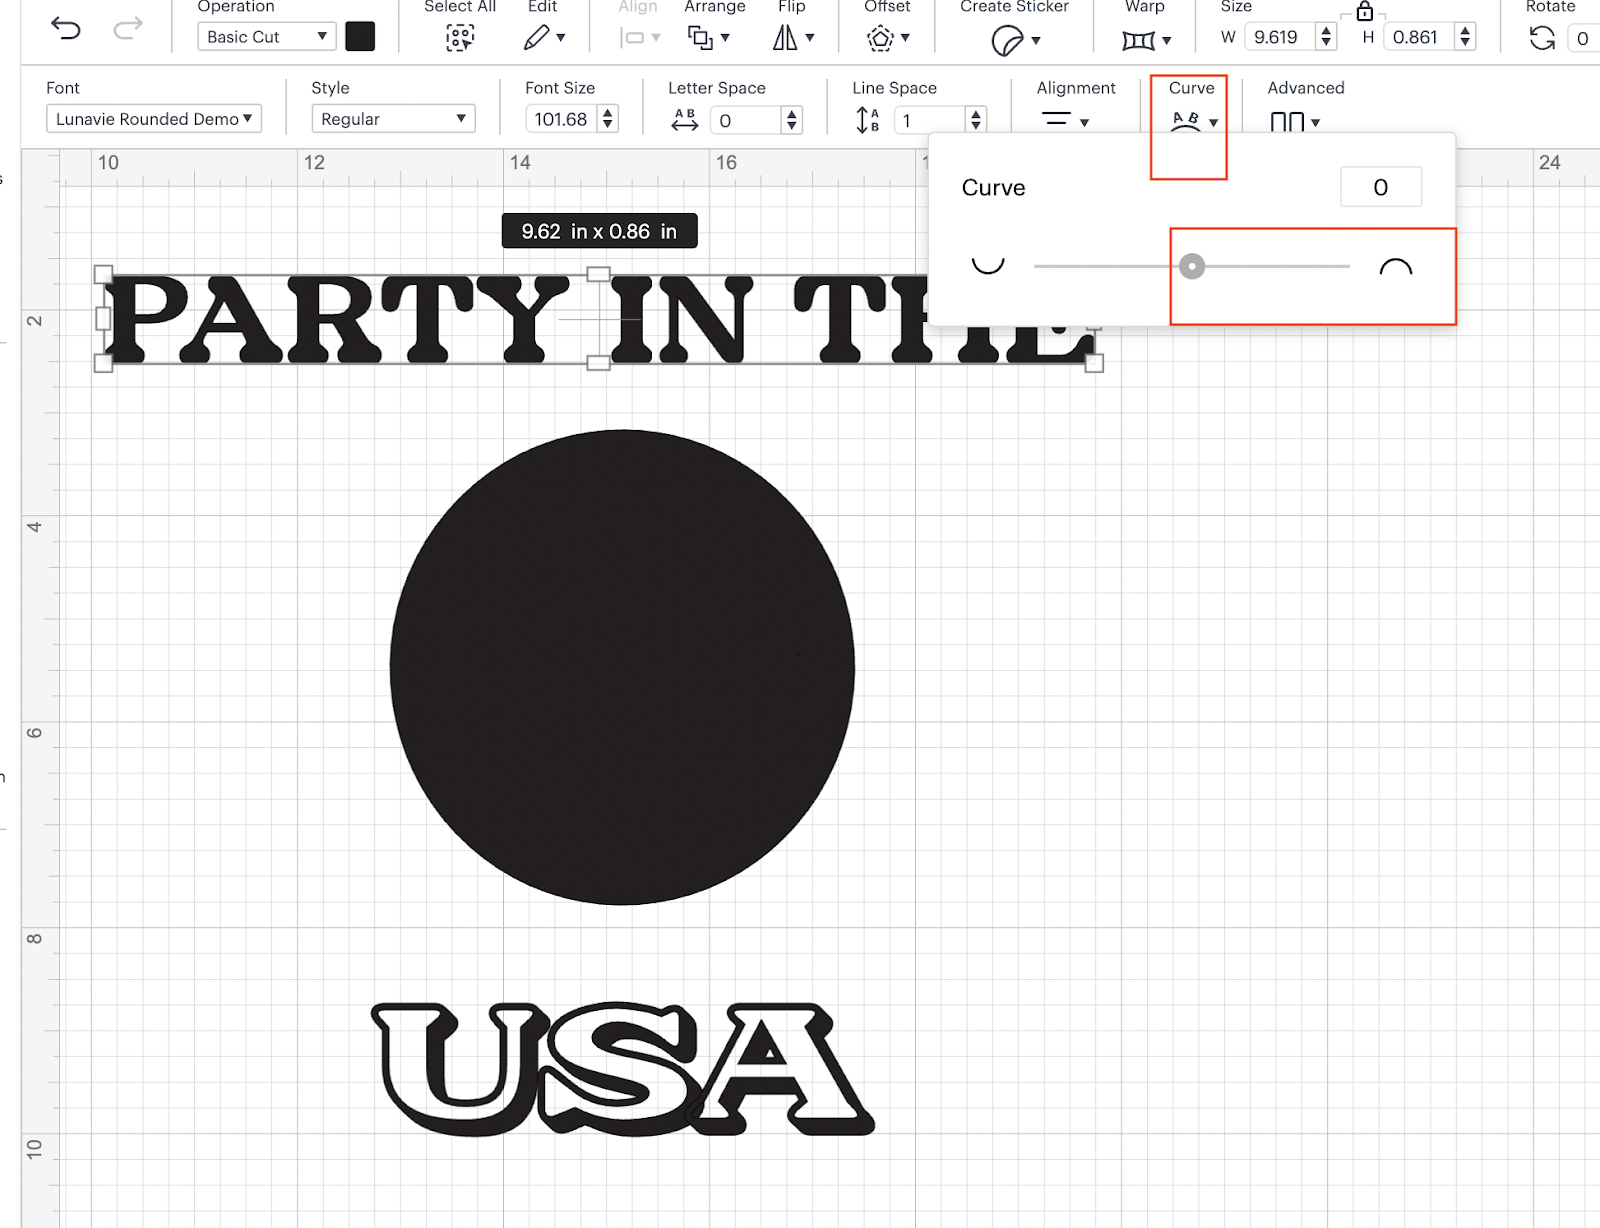
In our case we are going to curve the text to 84, but you can curve it as you like:
💡Tip: This are not the final measurements, there are only to start creating our design.
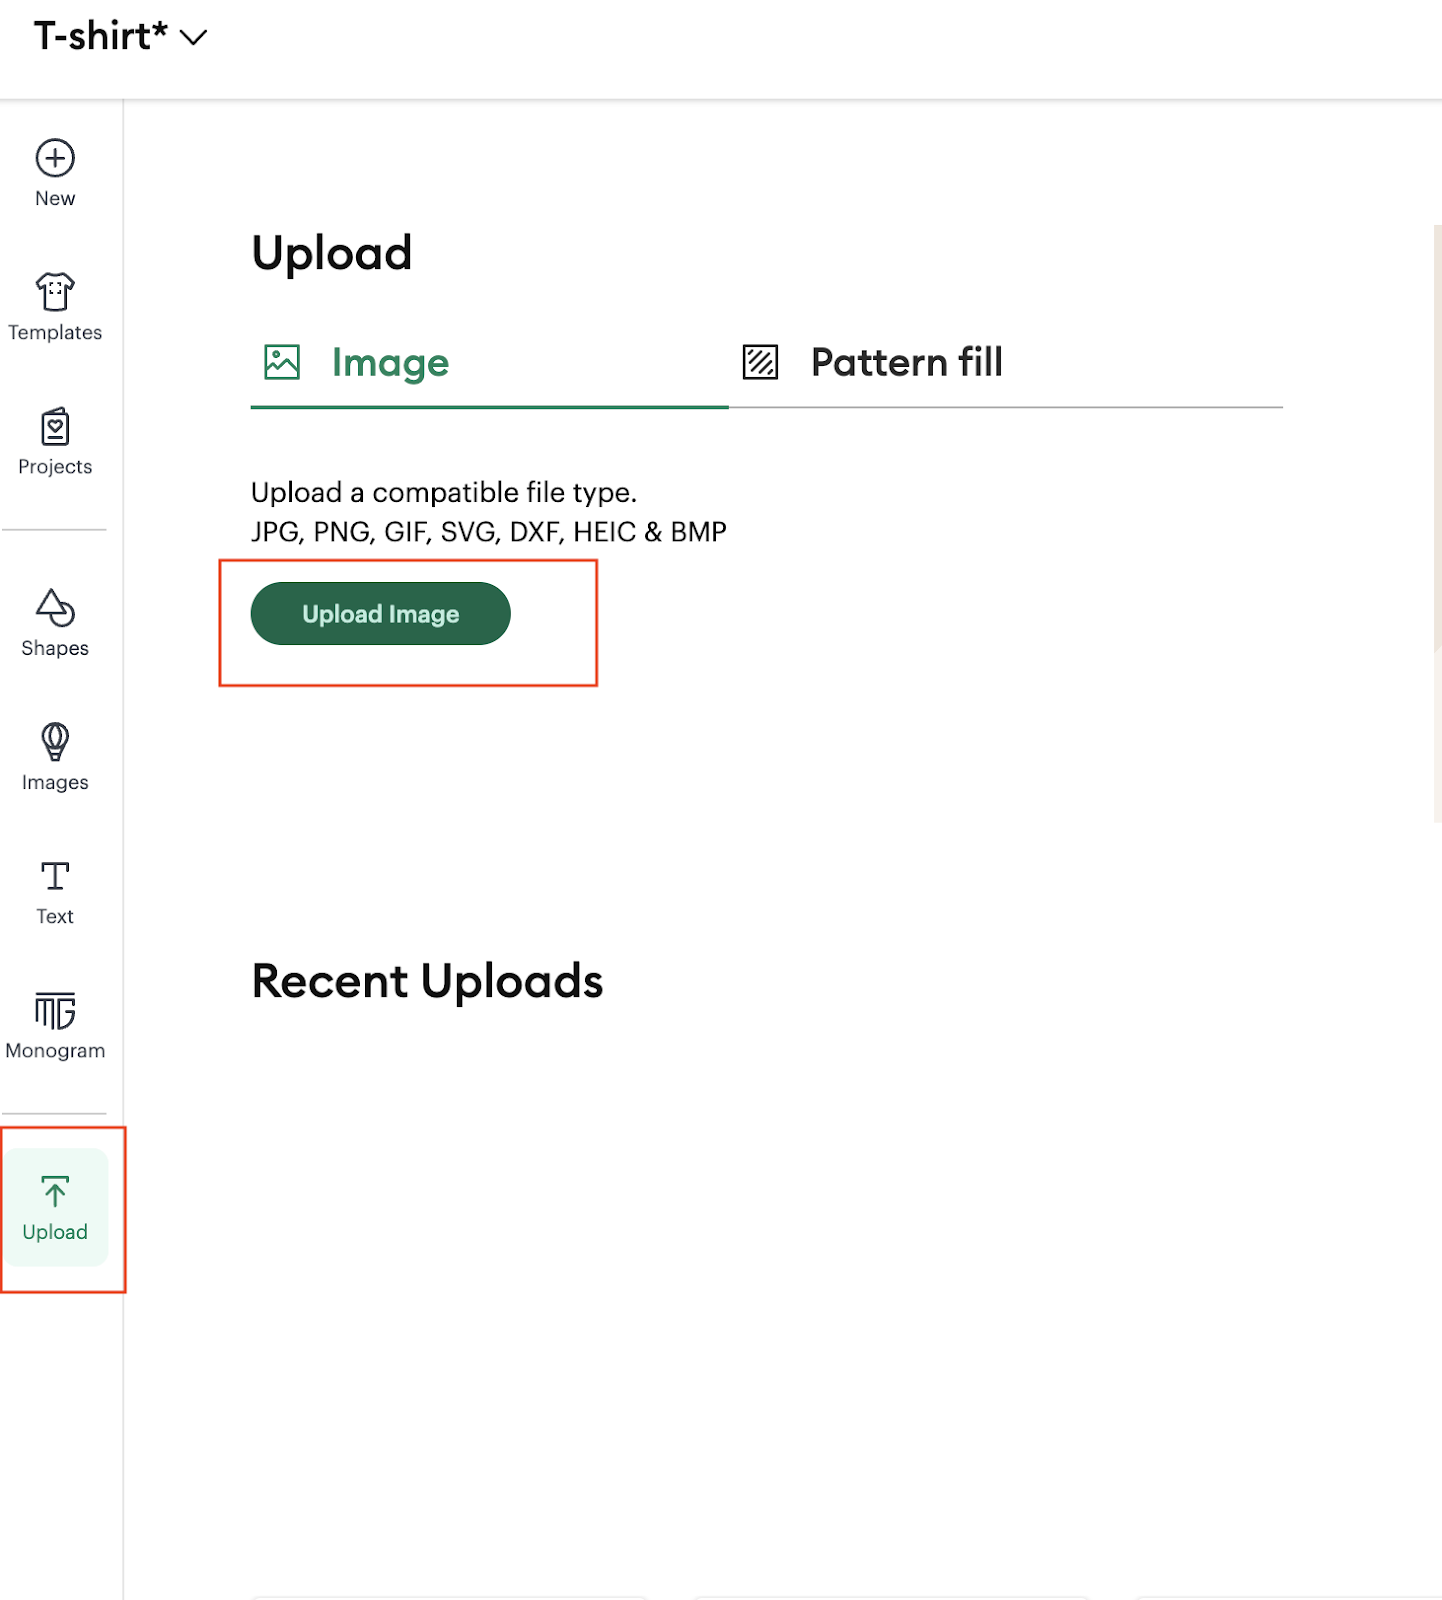
9: Now we are going to add the smile image into our canvas by using the upload functionality, we are going to click on upload image:
We are going to browse for our image and then click on the continue button:
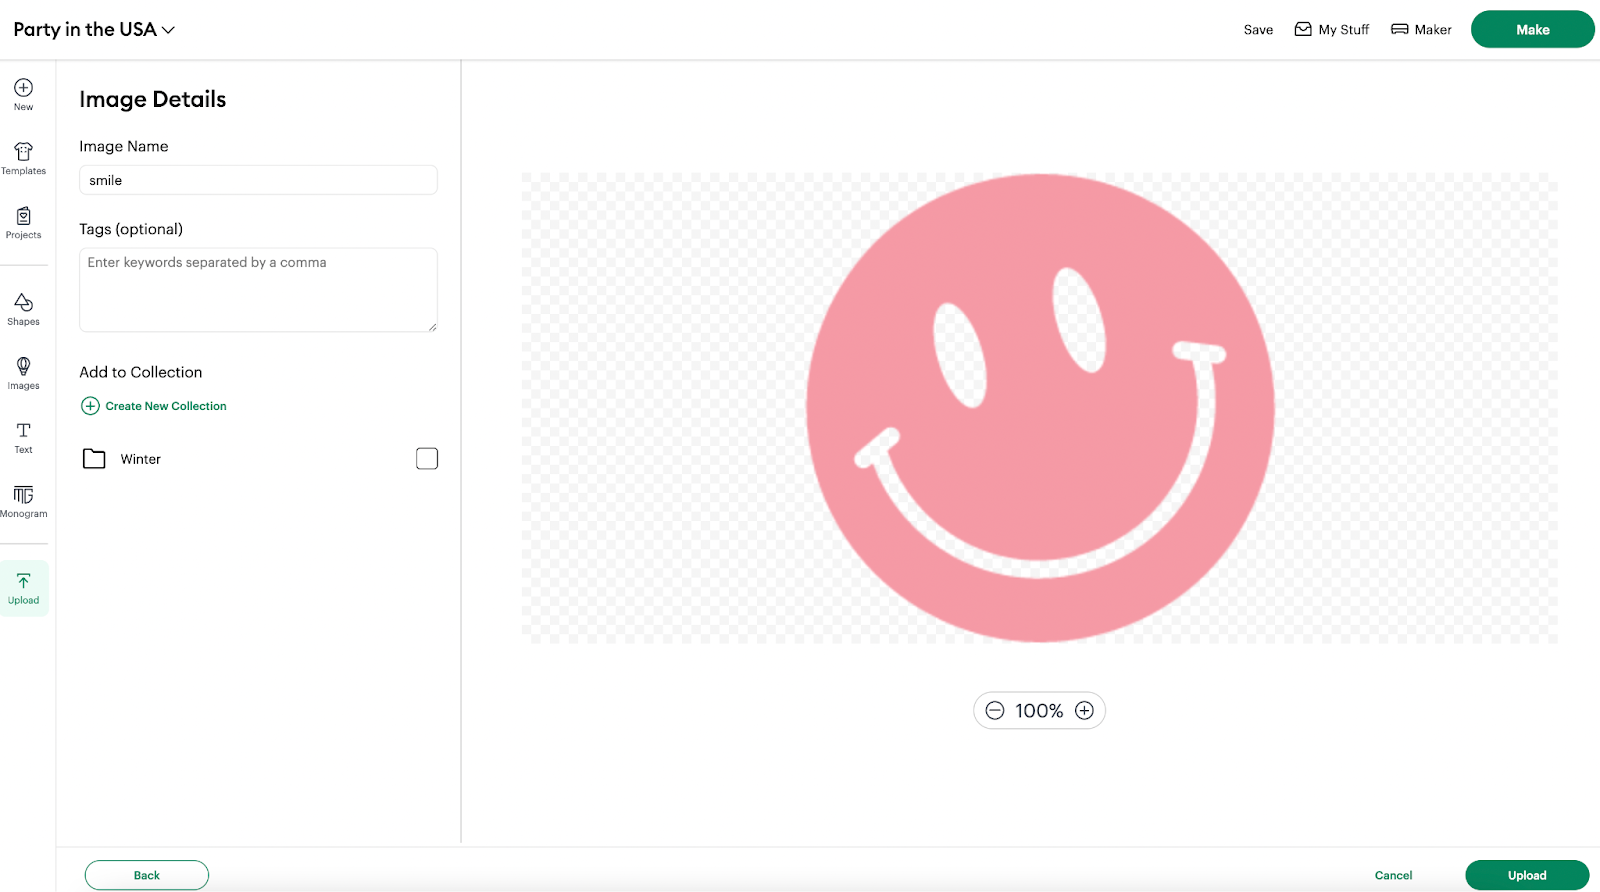
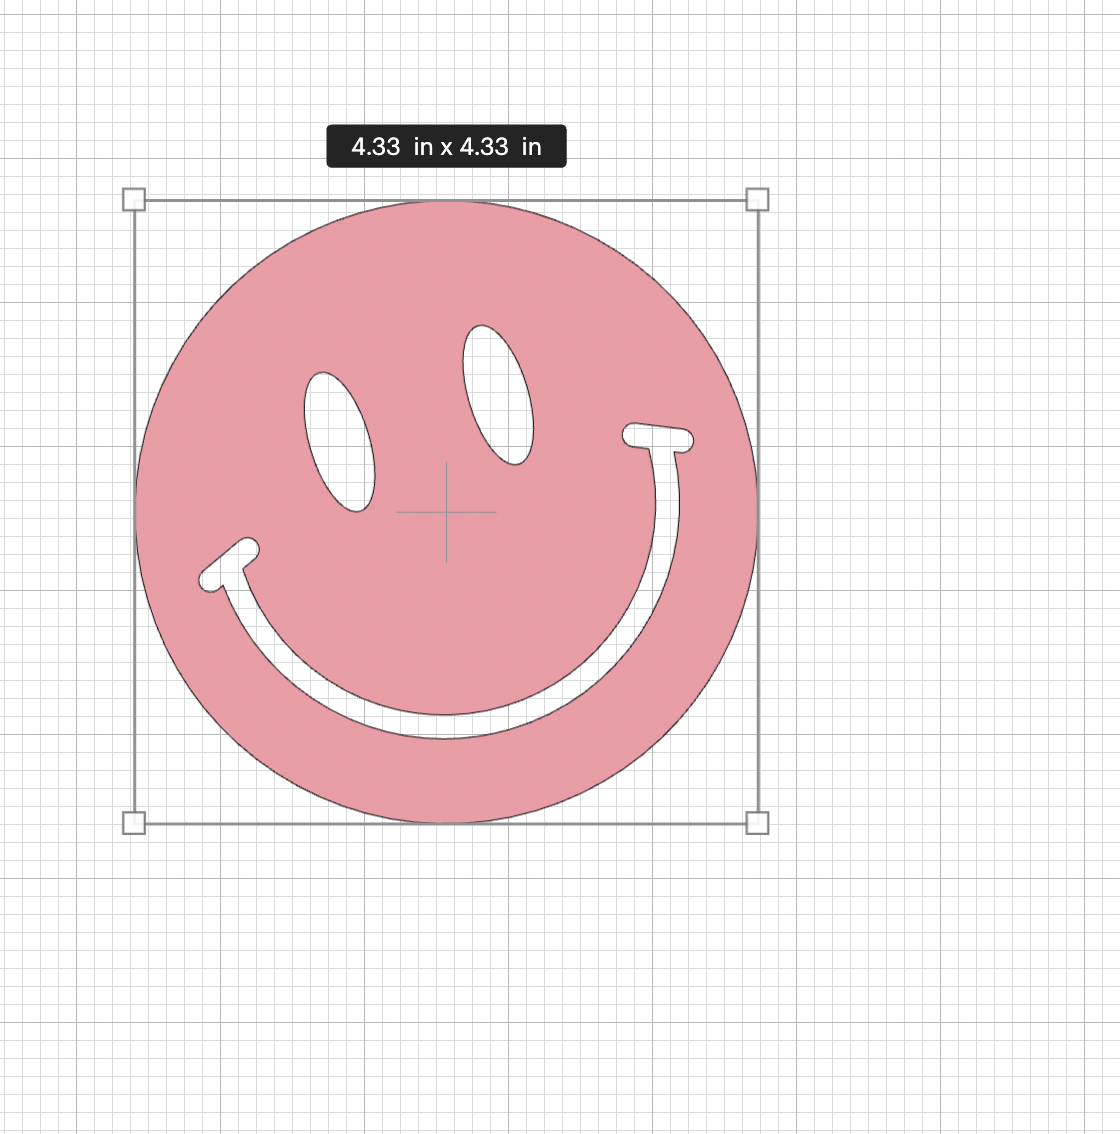
And we are going to click on upload button in order to add the image to our canvas, and we can see the image in our canvas after uploading it:
10: We are going to place our smile face over our circle, we are going to resize a little bit smaller so we can have like a contour:
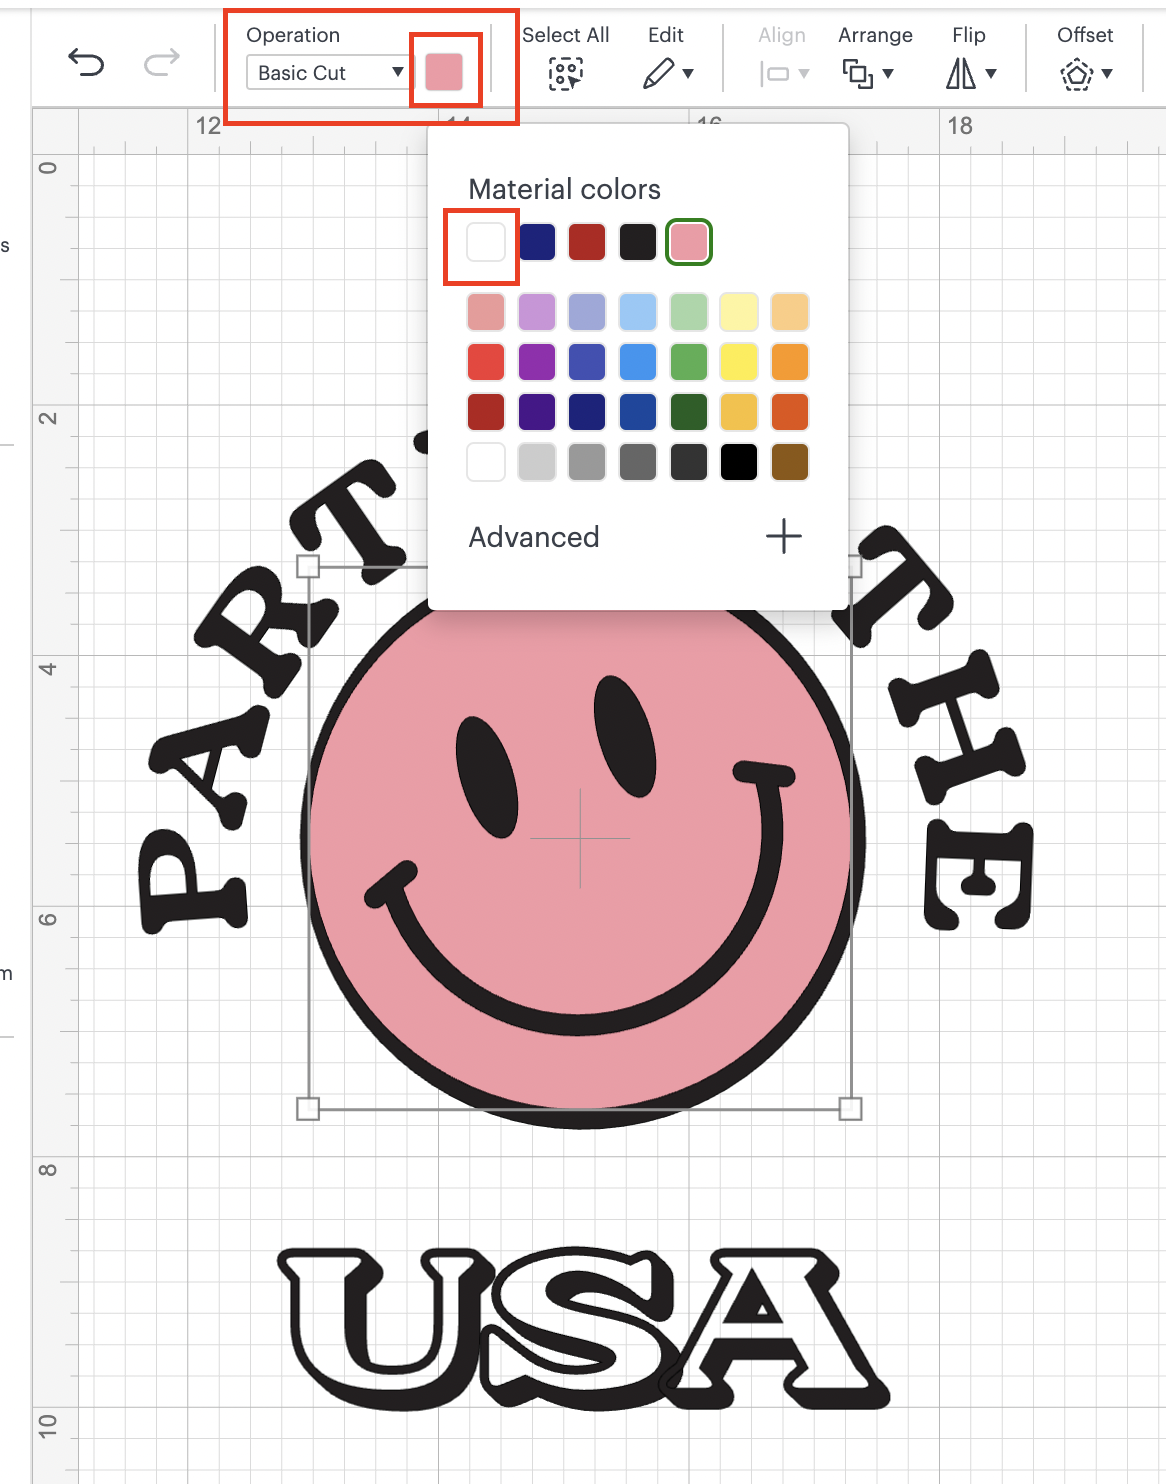
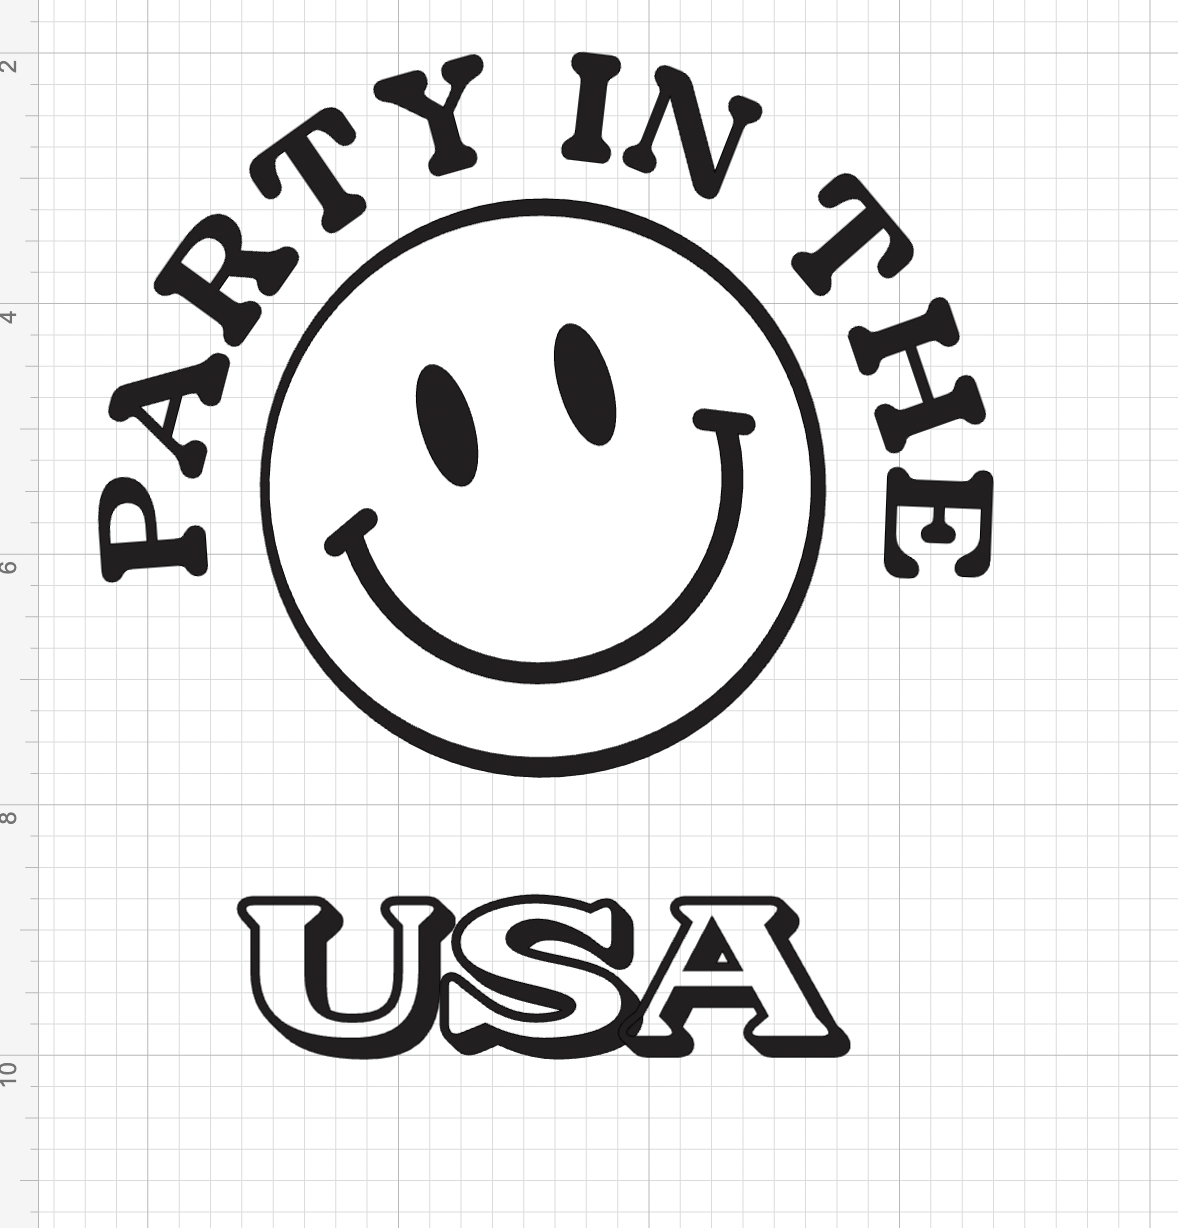
11: We are going to start changing the colors of our elements, so our design starts making sense, we are going to select the smile face and we are going to change the color to white:
After changing the color:
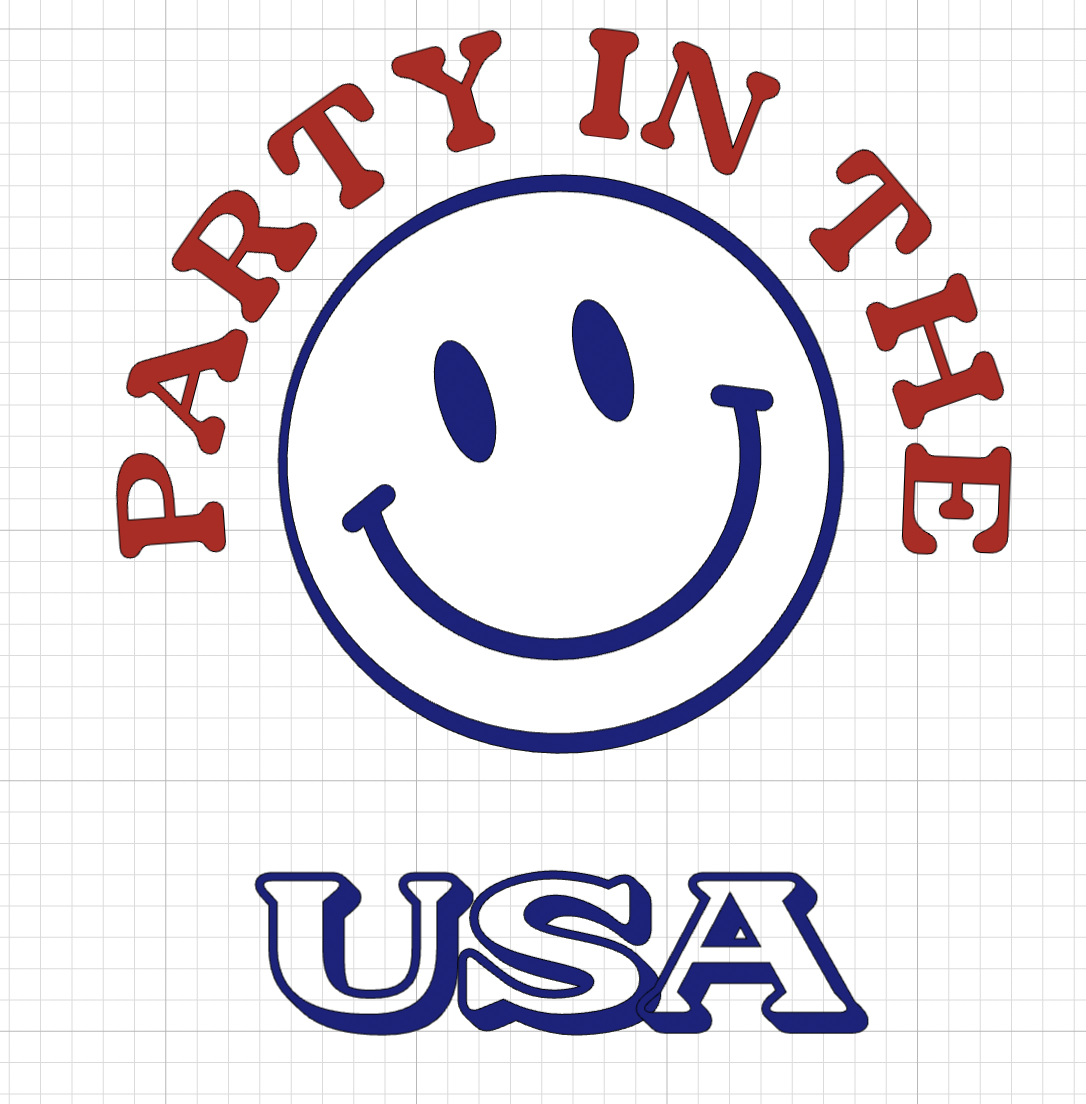
12: We are going to do the same process and we are going to change the colors to the other elements as follows:
USA -> Blue
Party in the -> Red
Smile face background -> Blue
After changing them, you should have something like:
💡Tip: Remeber that the colors and the design are just suggestions, you can change them accordingly as how you want to have in your final design.
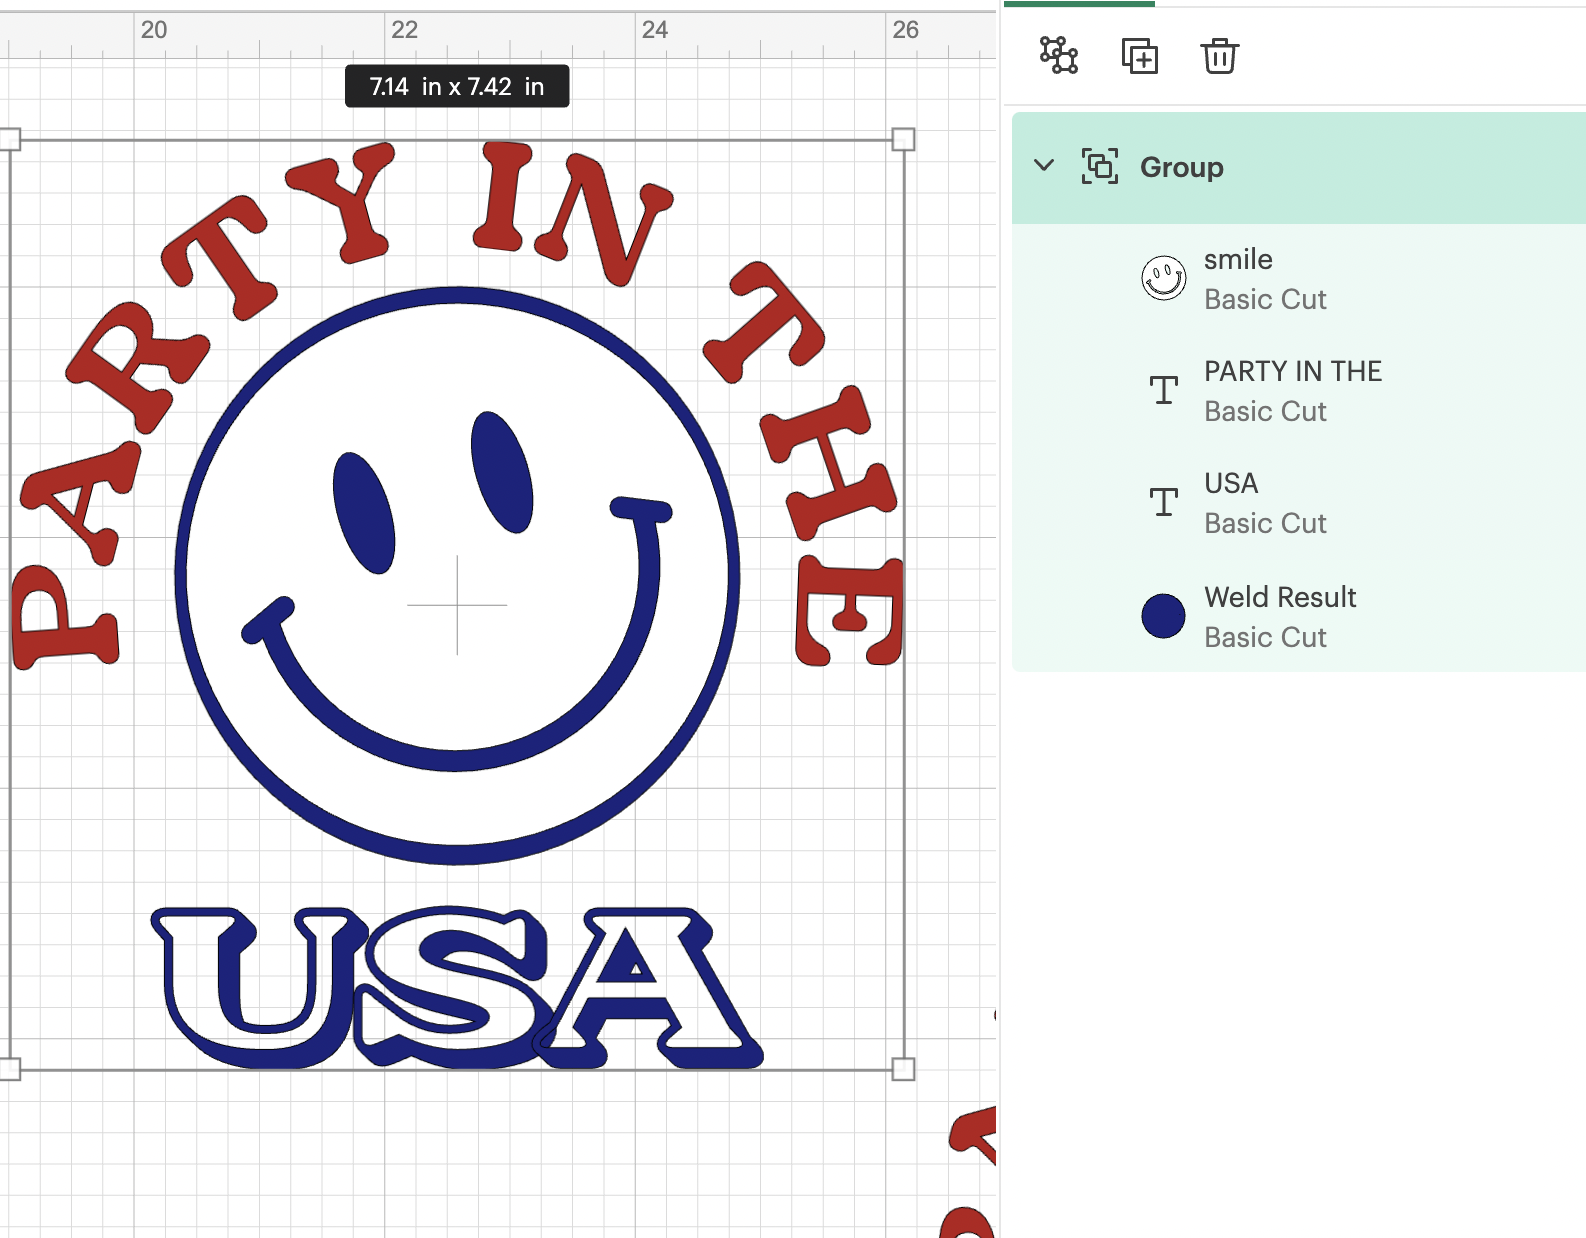
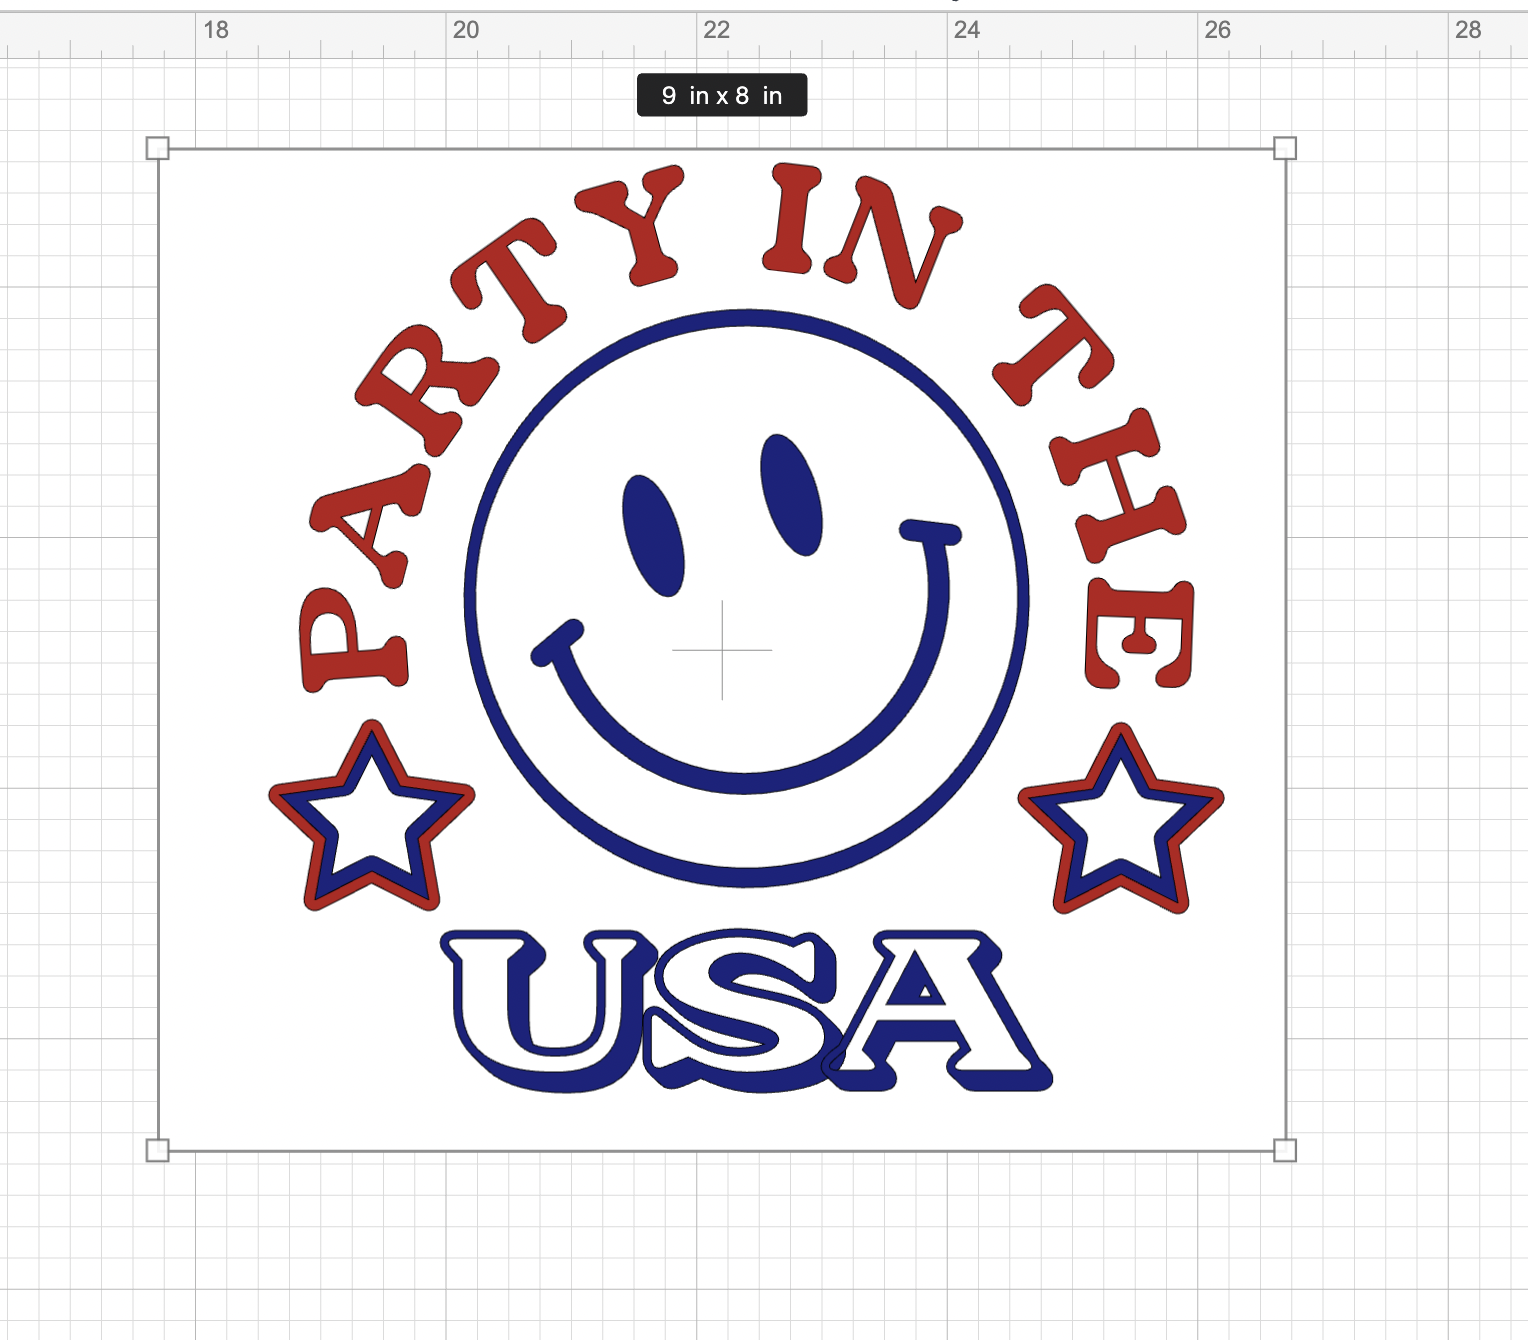
13: We are going to select all the elements, and we are going to center them horizontally and then we are going to group them:
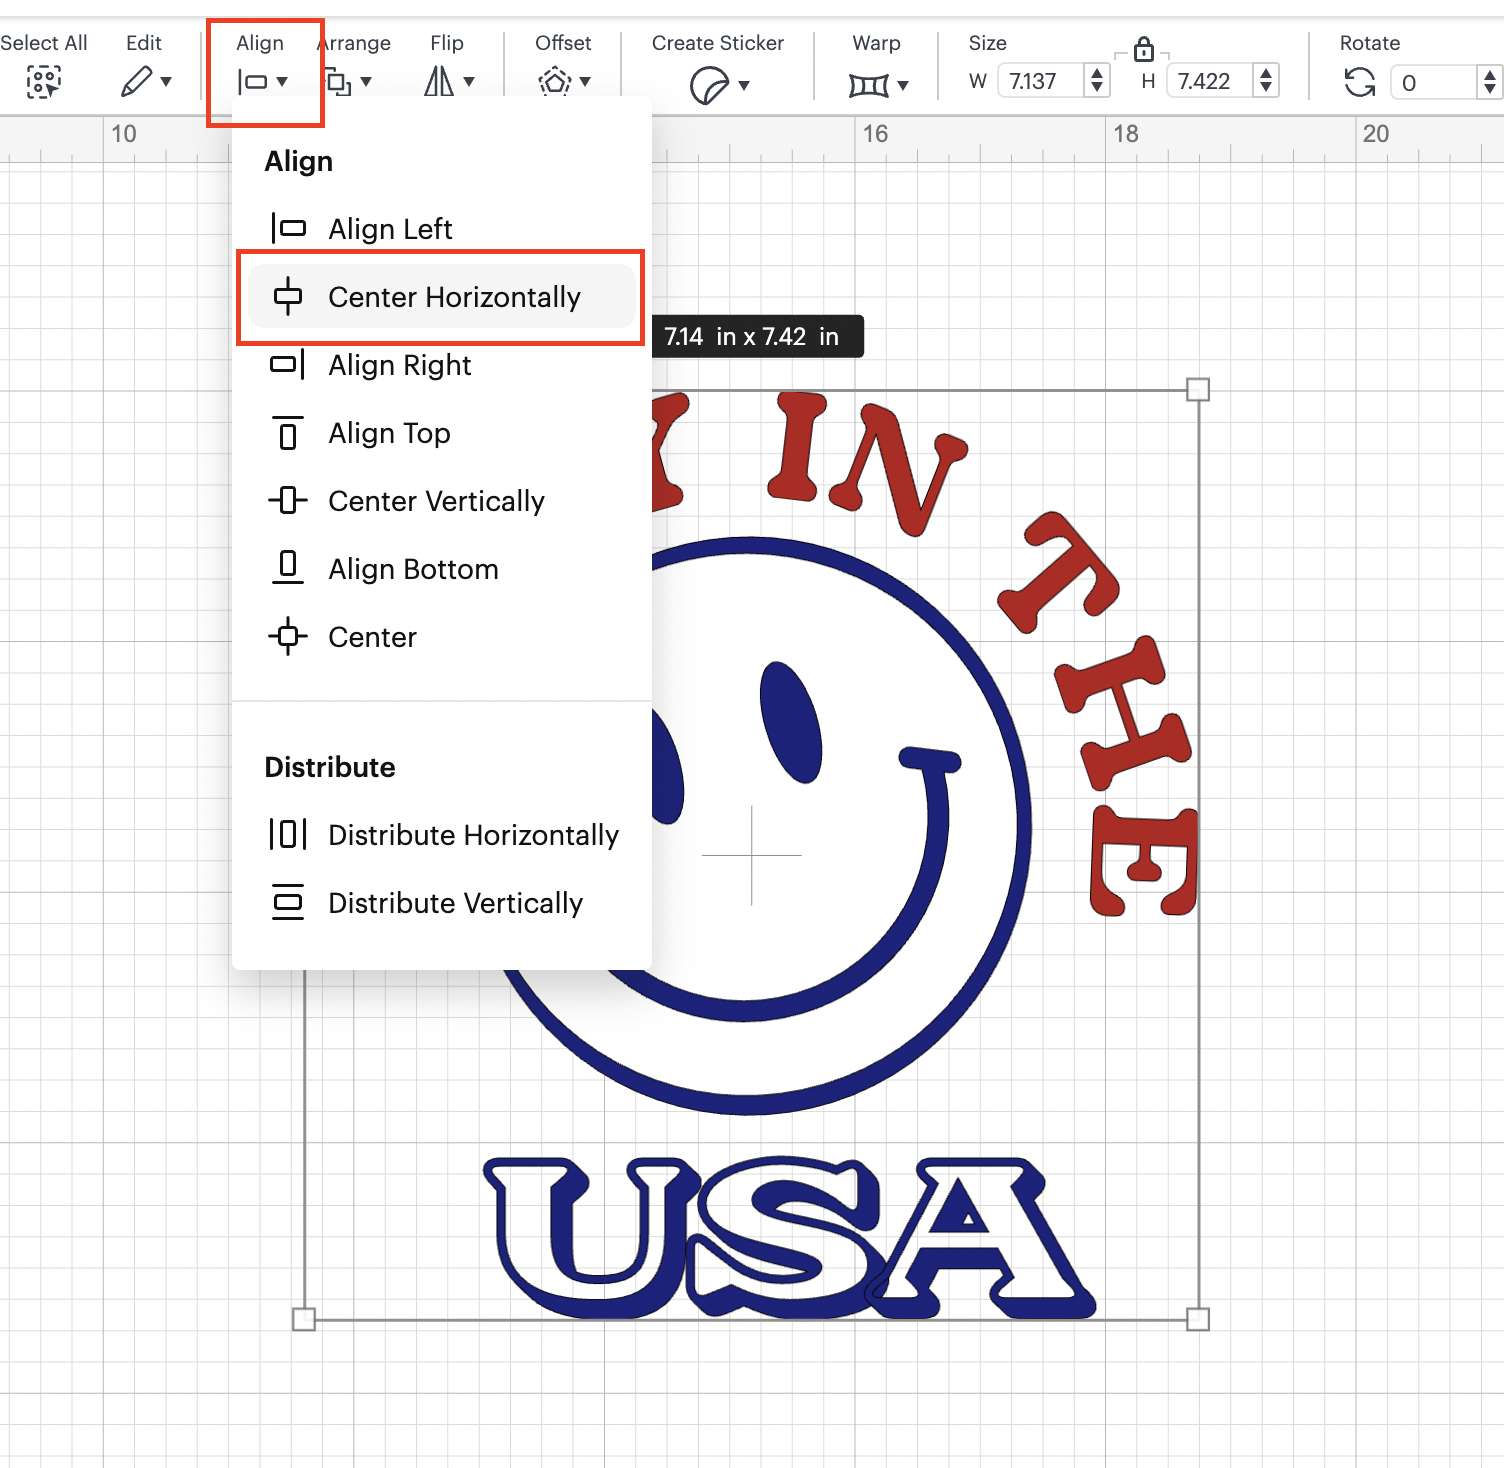
In order to group them, we are going to click on the group icon:
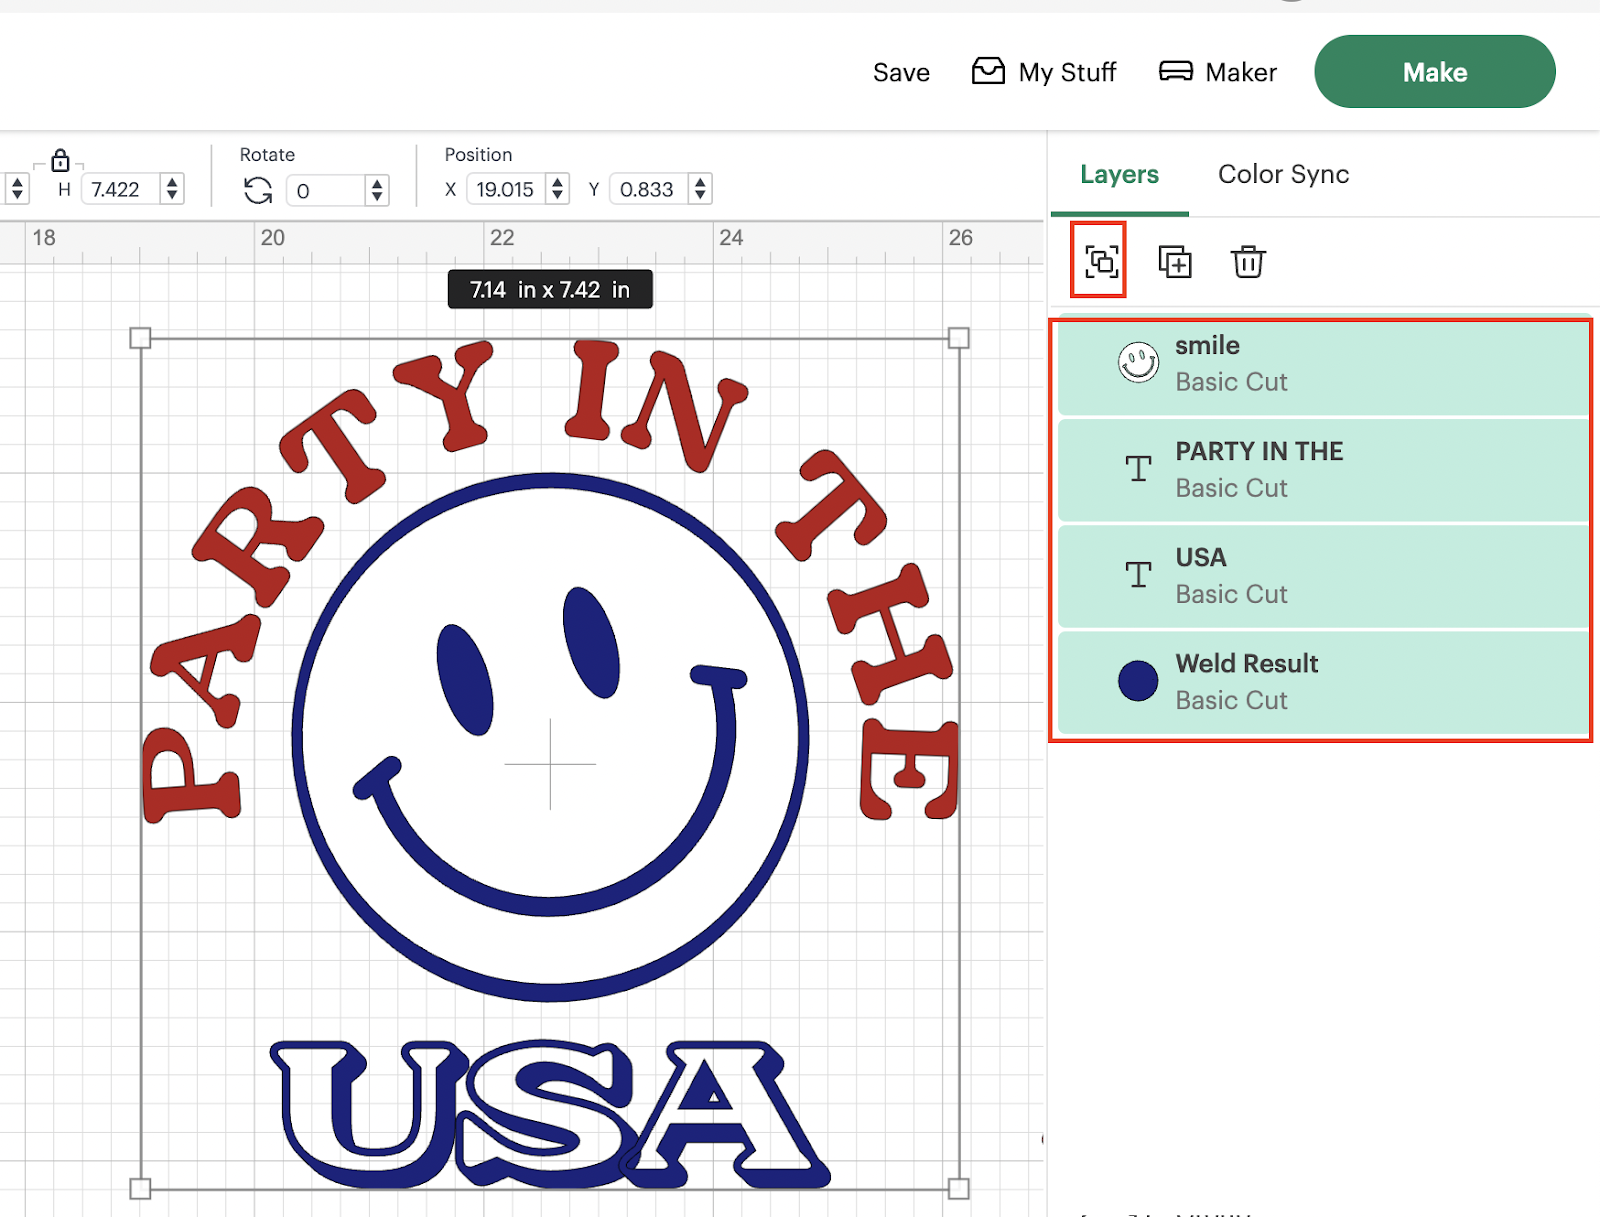
After grouping them:
💡Tip: The group is for you to be able to move all the elements together and resize them all together, at the moment of the cutting each element is going to be cut in their respective color.
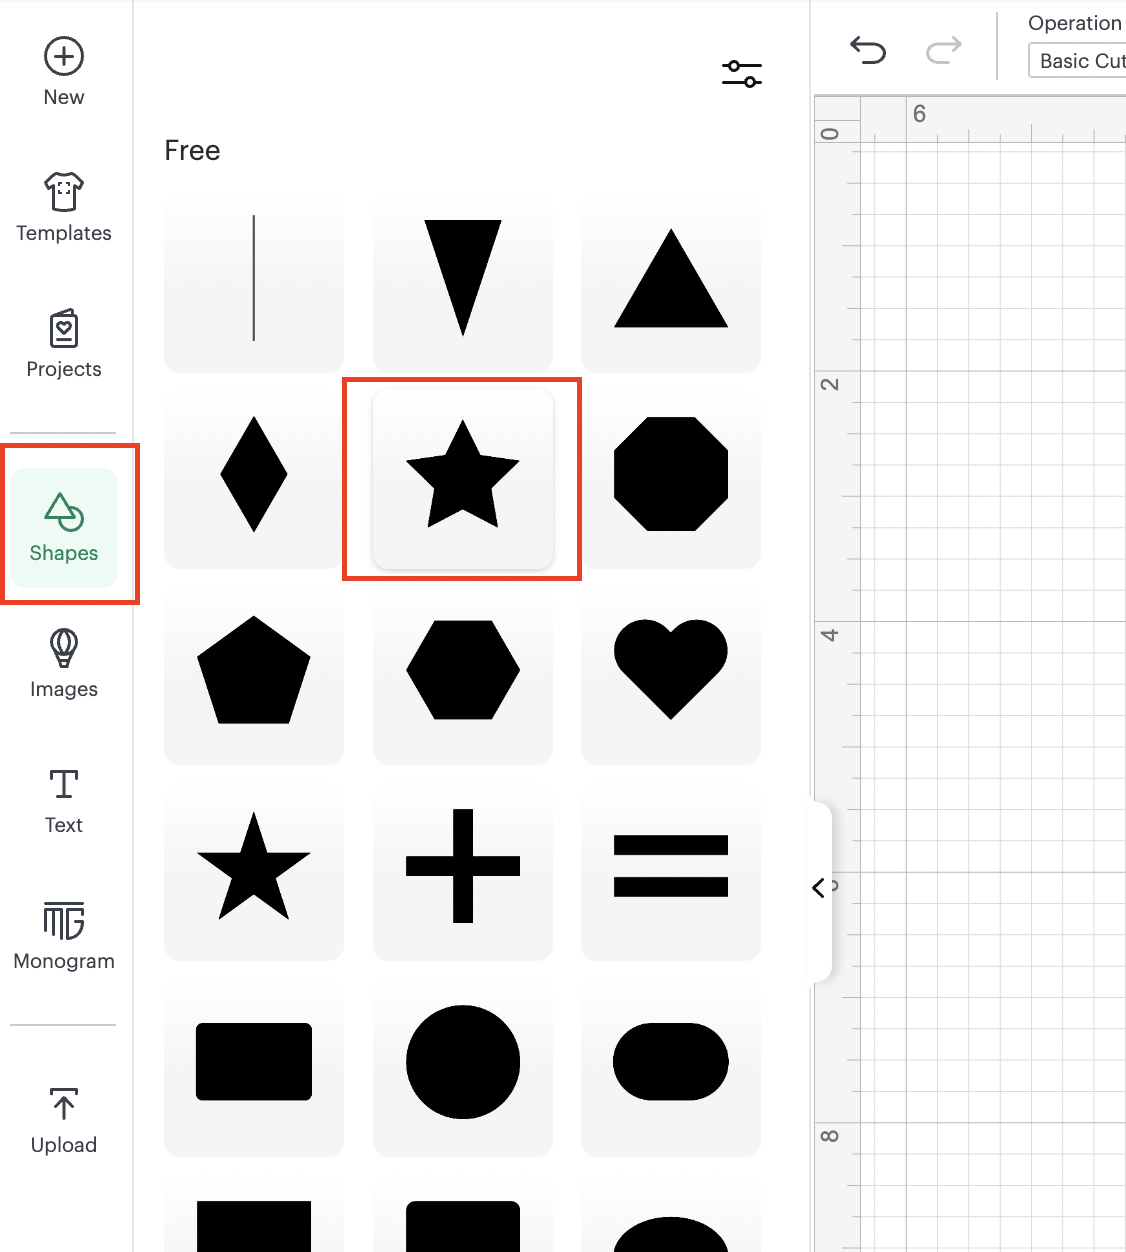
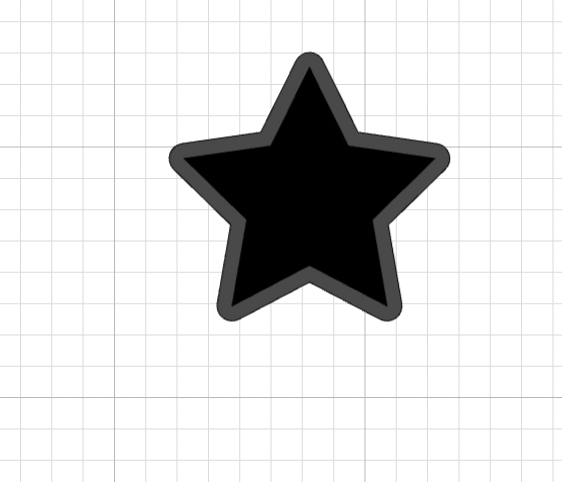
14: Using the shapes functionality, we are going to add a star:
15: We are going to add 2 offsets to our star, the first one is going to be a little bit bigger than the original size of the star:
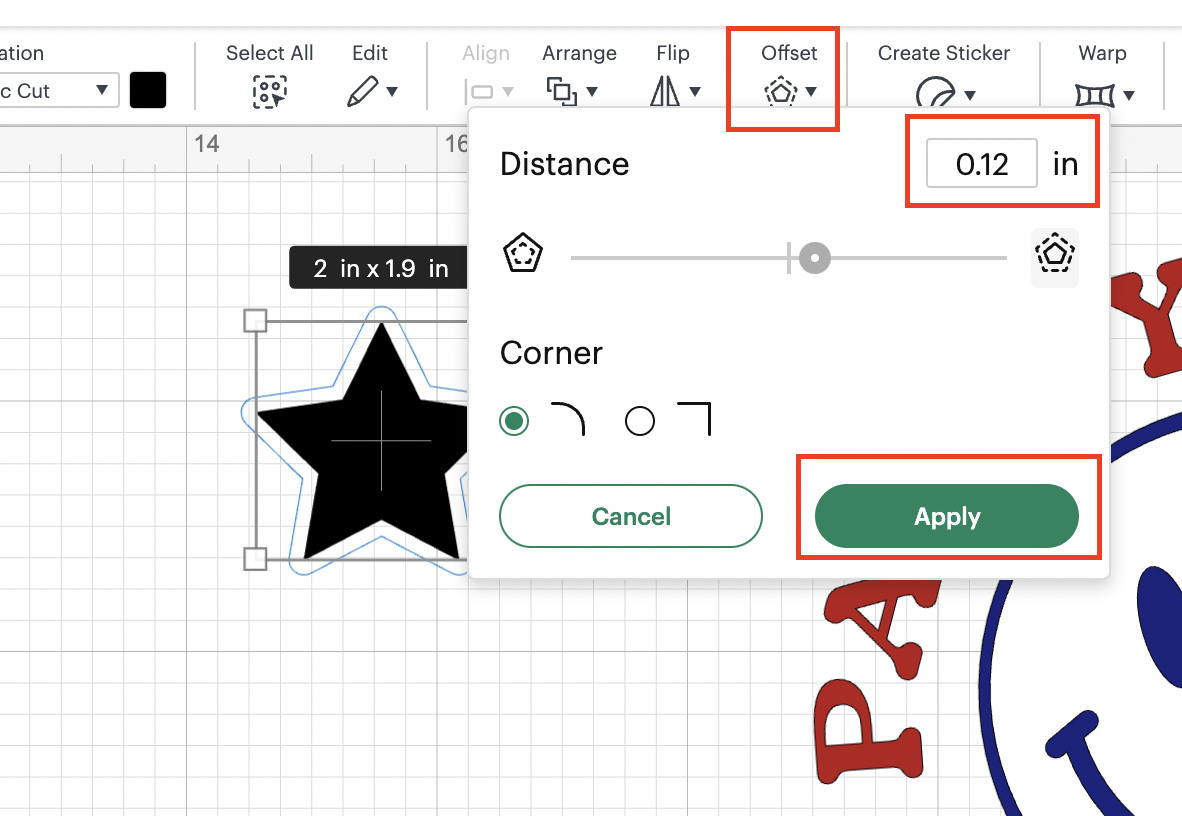
After applying the first offset:
💡Tip: The offset by default is black, so we are going to change the start color to blue and the offset to red.
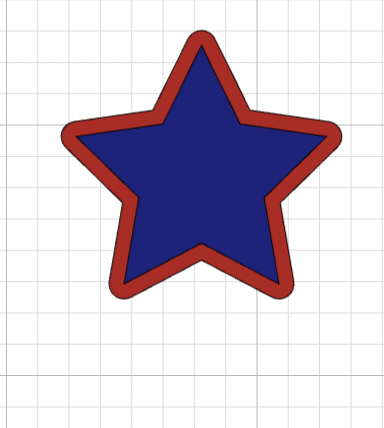
16: We are going to apply one more time an offset on the original star (blue star) this time is going to be a little bit smaller than the original, so you are going to have something like:
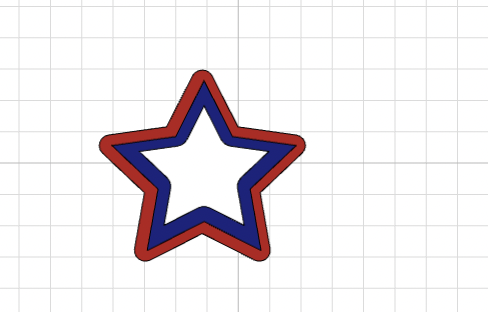
17: We are going to select our 3 stars and we are going to align them center and we are going to group them:

18: We are going to duplicate our starts and we are going to place one on each side of the USA text, something like:
19: Now, measuring our physical flag in order to be able to resize our design to the desired measurement. In our case our flag is a triangle, so we are going to use an Square and resize it, since that is going to be in where we are going to place the design:
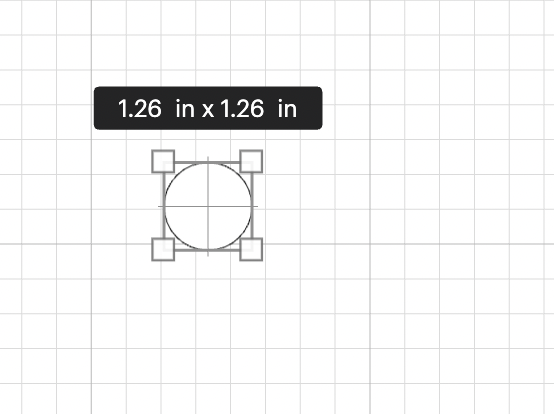
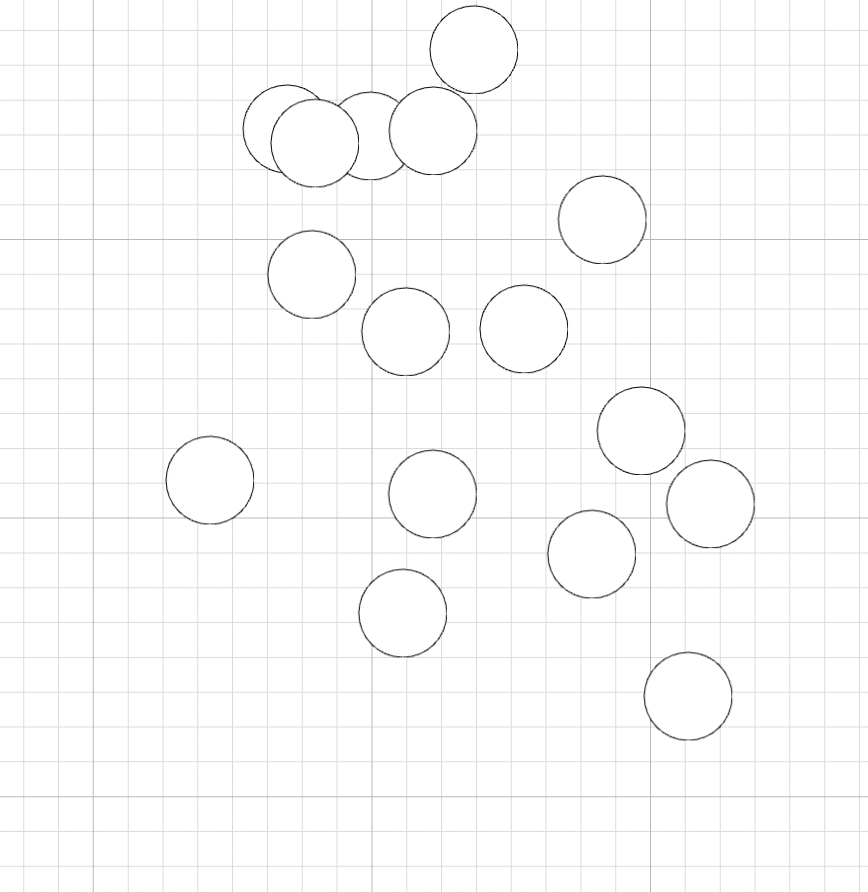
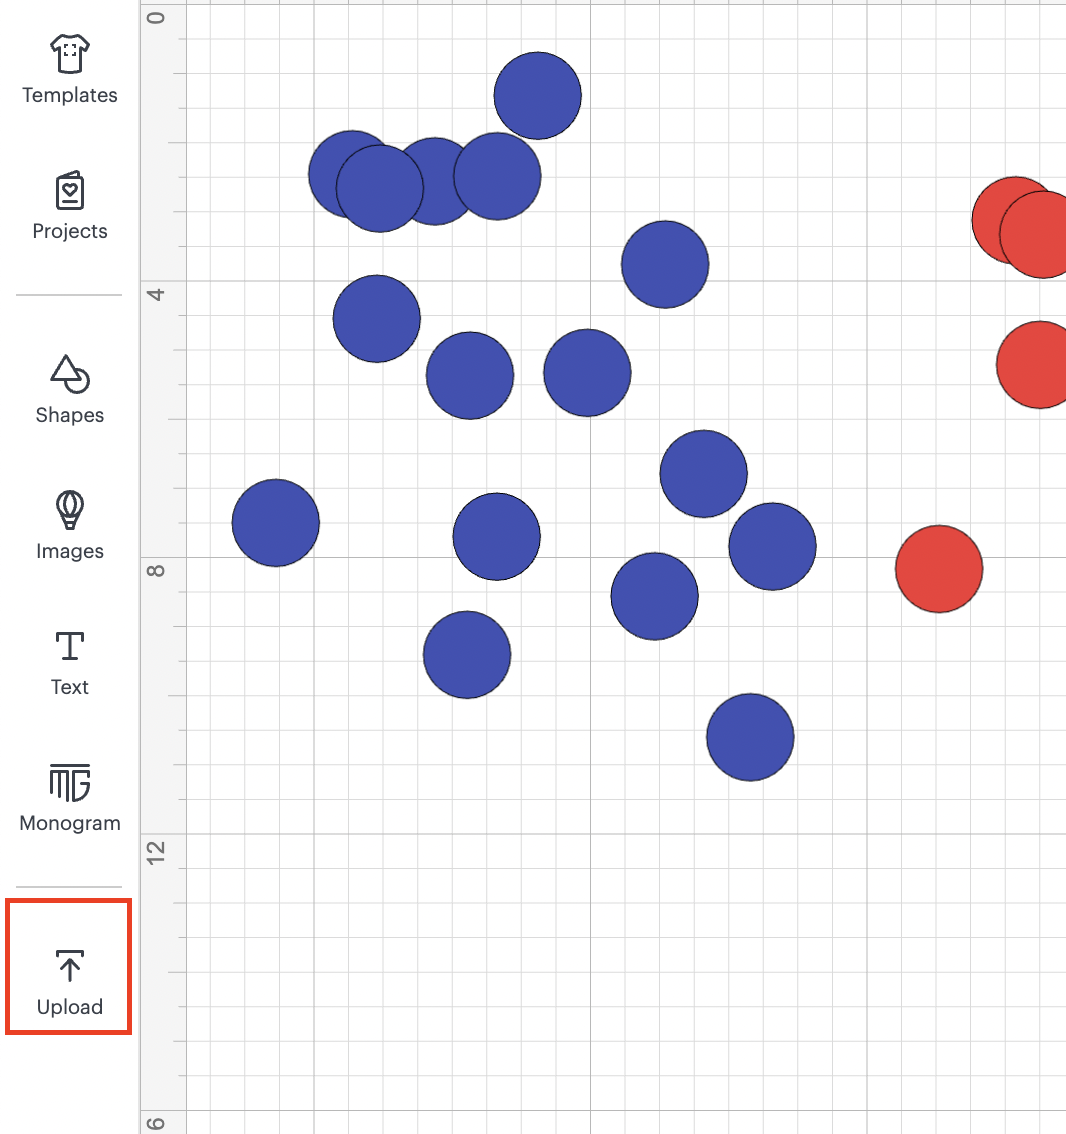
20: In our design, we also wanted to add some flowers made of felt. So we are going to do 2 different types of flowers, the first one is going to be a rose, that for that, we are going to use circles, we are going to add one and we are going to change the measurements to:
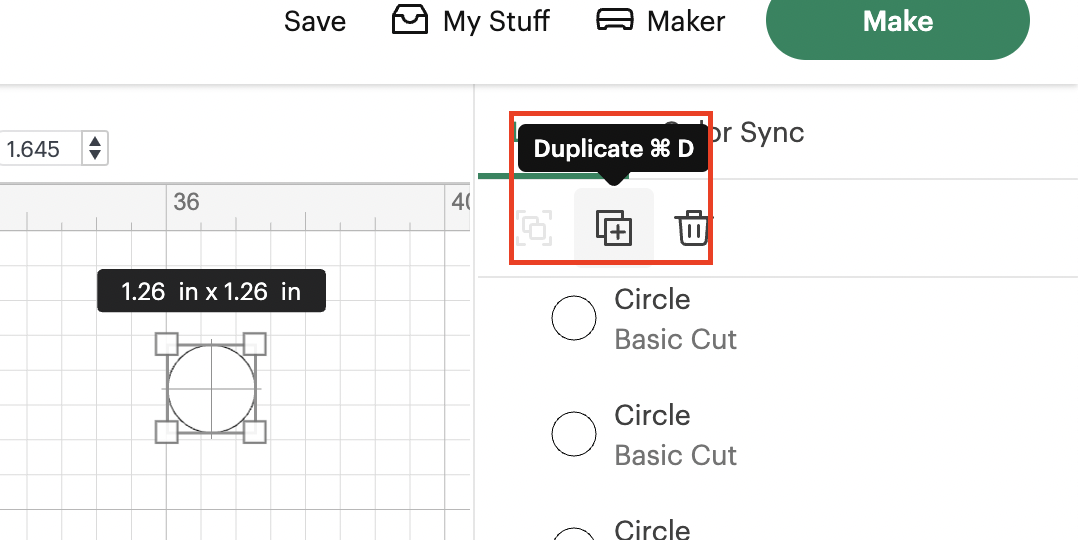
We are going to duplicate that circle 15 more times by clicking the duplicate button the amount of times that want the element to be duplicated:
After duplicating, you should have:
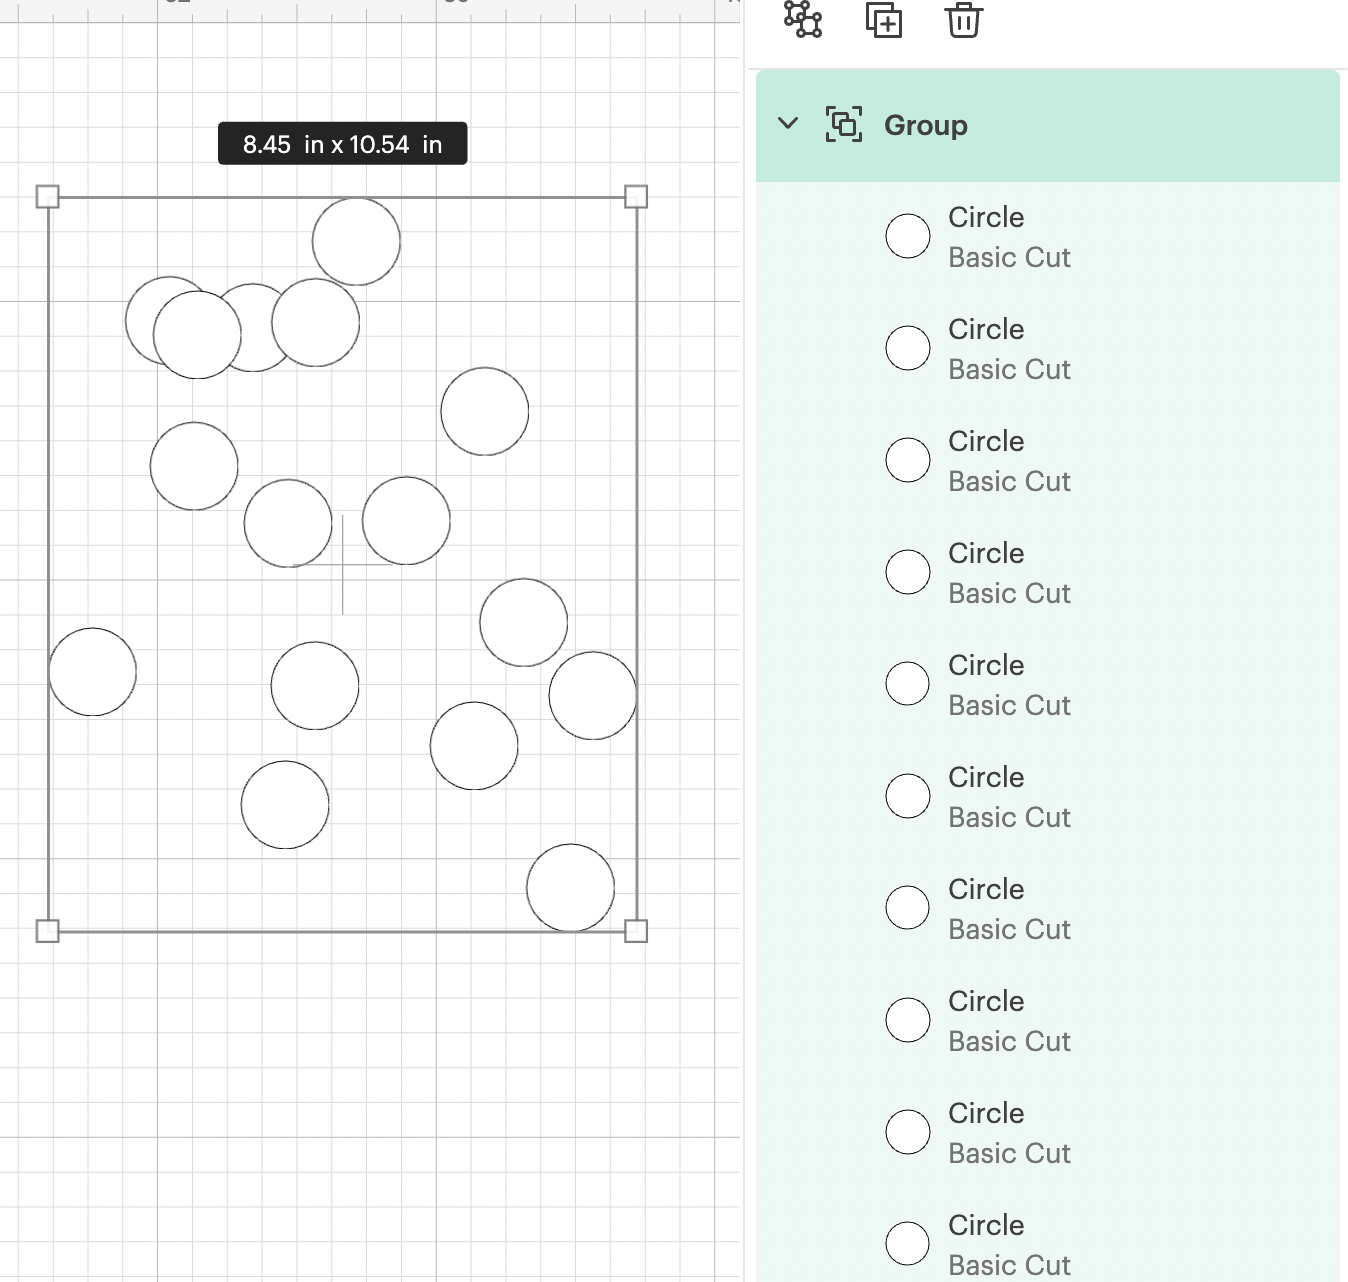
21: We are going to select all the circles and we are going to group them:
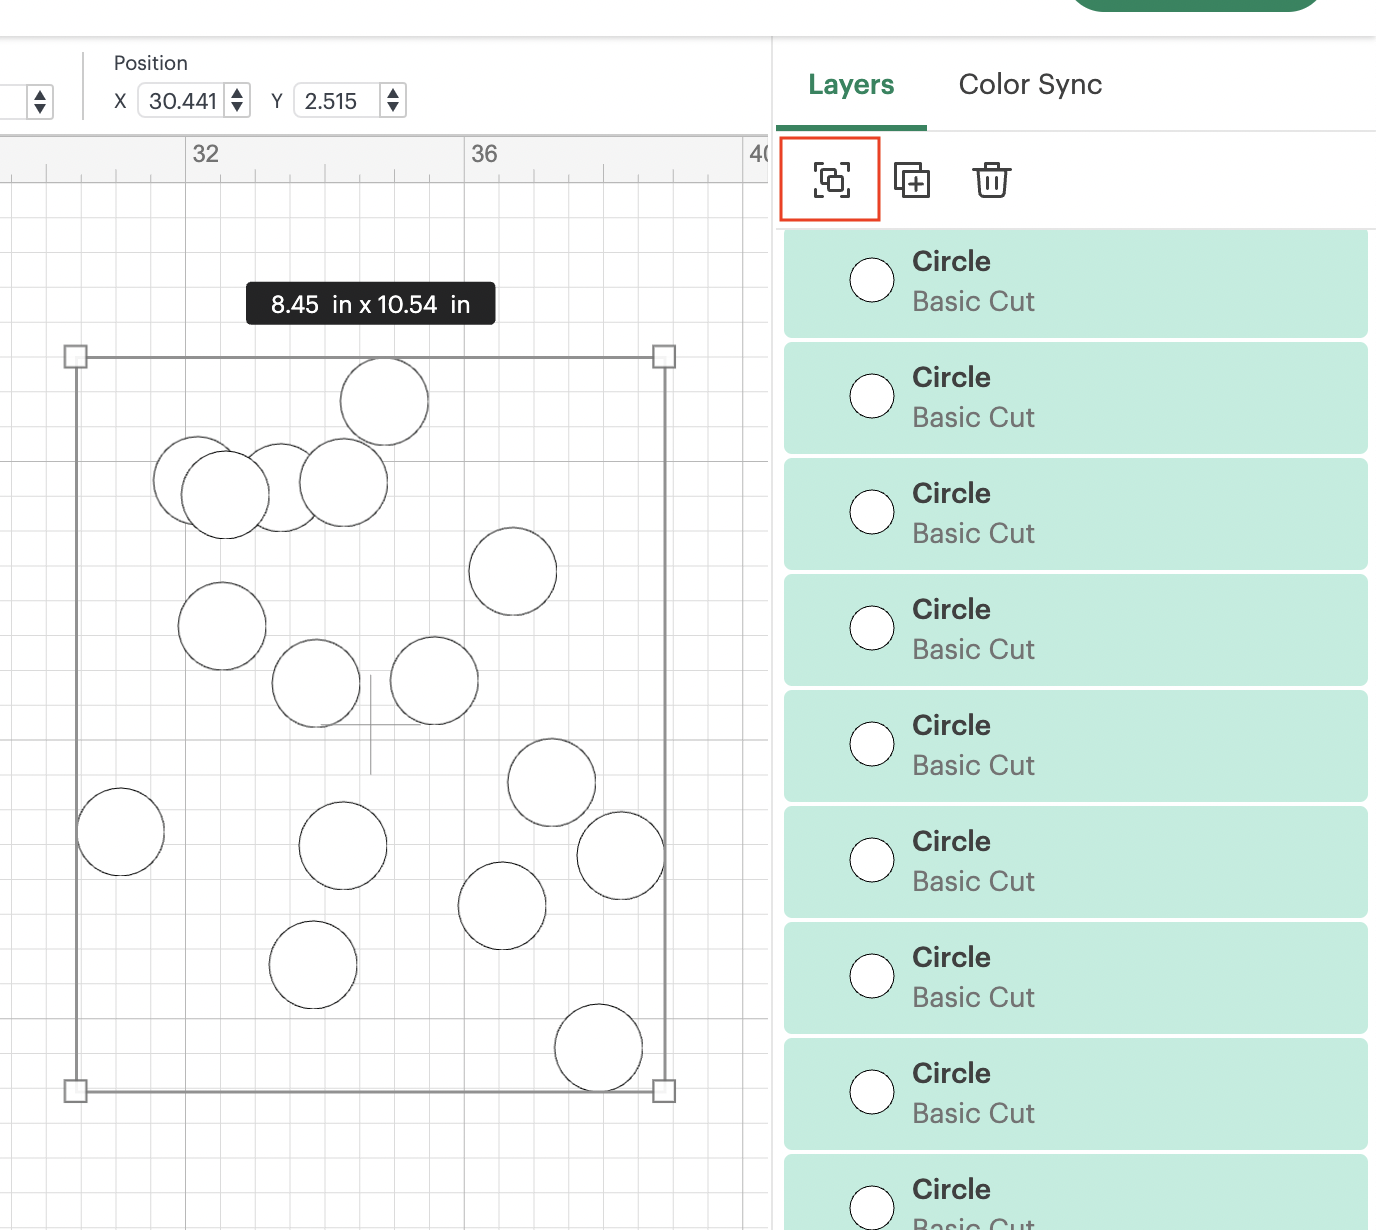
After grouping them:
💡Tip: Doing this step, is going to allow us to duplicate all the circles at once and change the color at the same time of all the elements.
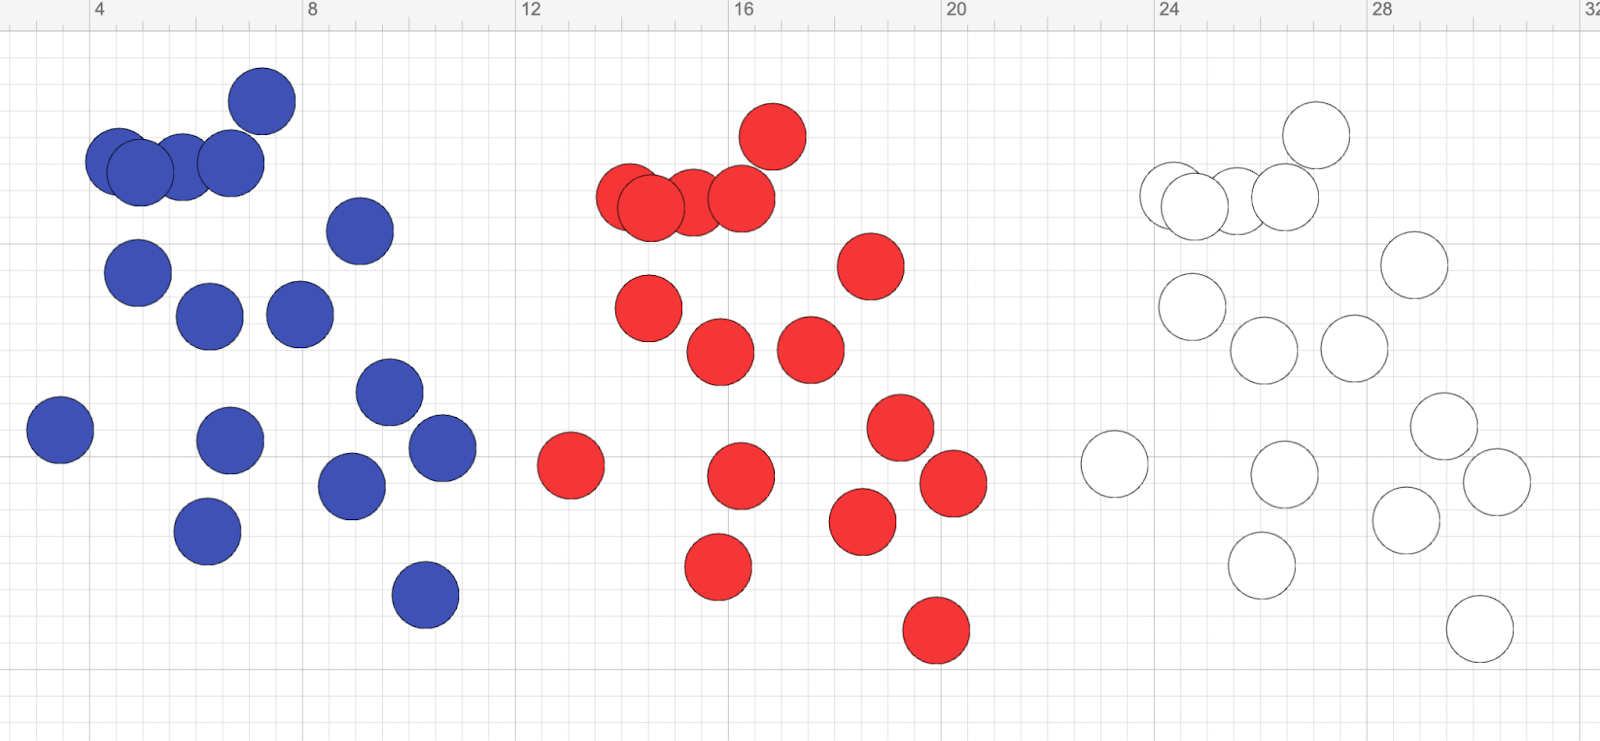
22: Then we are going to duplicate them (using the same process as the individual circles) 2 times and change the colors to red and blue, you should have:
23: For the second flower, we are going to upload the petal and we are going to duplicate it, you are going to click on the upload functionality, follow the instructions:
After uploading the petal:

Make sure that the petal has the following measurements:
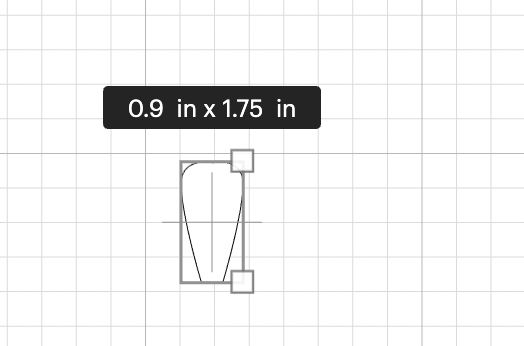
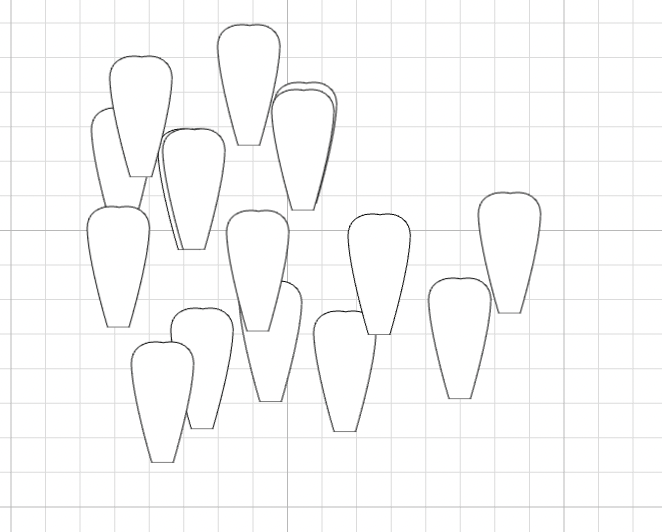
24: You are going to duplicate the petal 15 times:
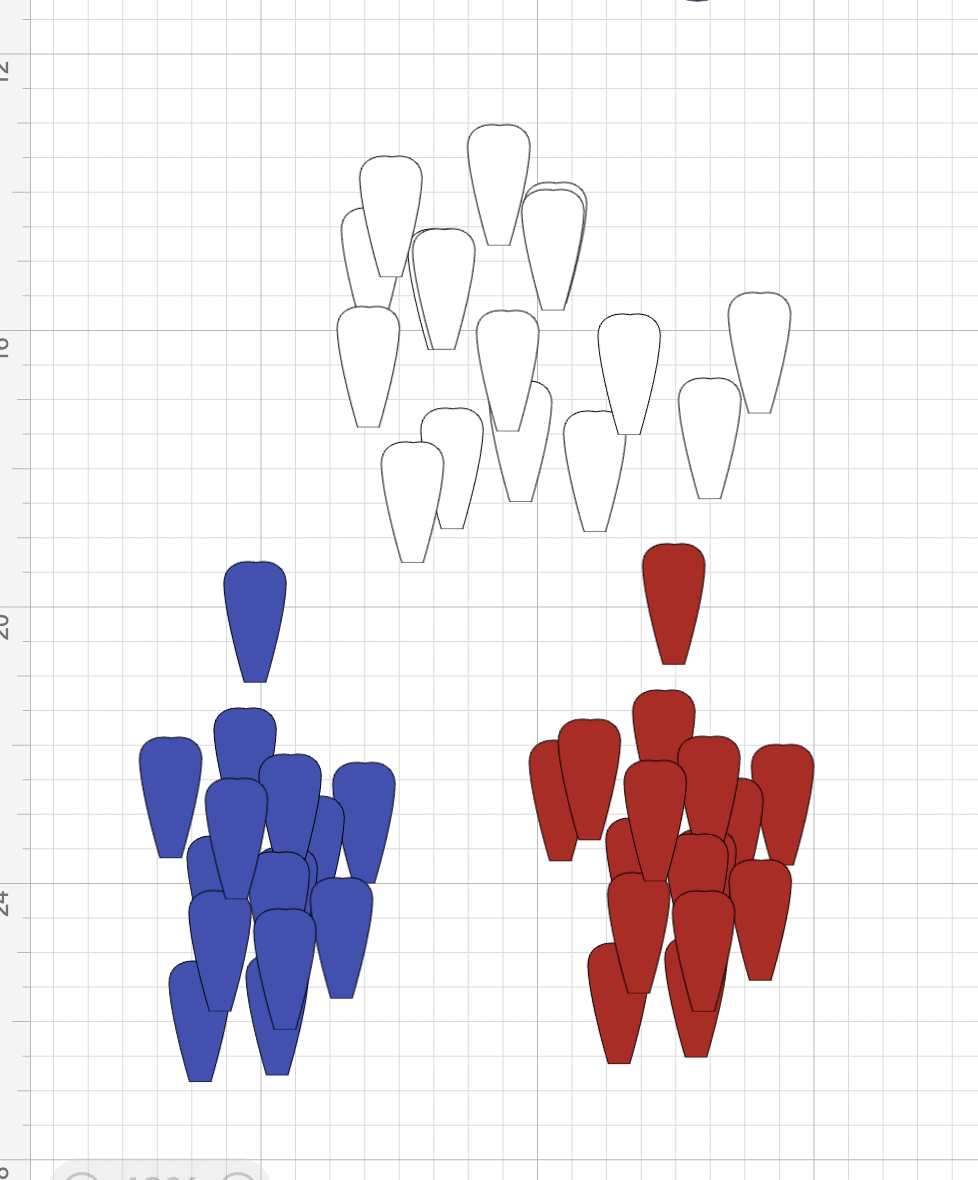
25: We are going to group them, duplicate them and change the color as we did with the previous flower:
26: For the center of the flower, we are going to add a rectangle with the following dimensions and we are going to change the color:
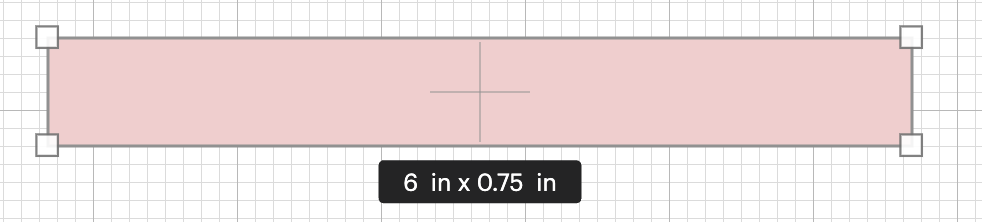
27: we are going to add a scoring line, we are going to change the operation to Basic Cut and resize it with the following measurements:
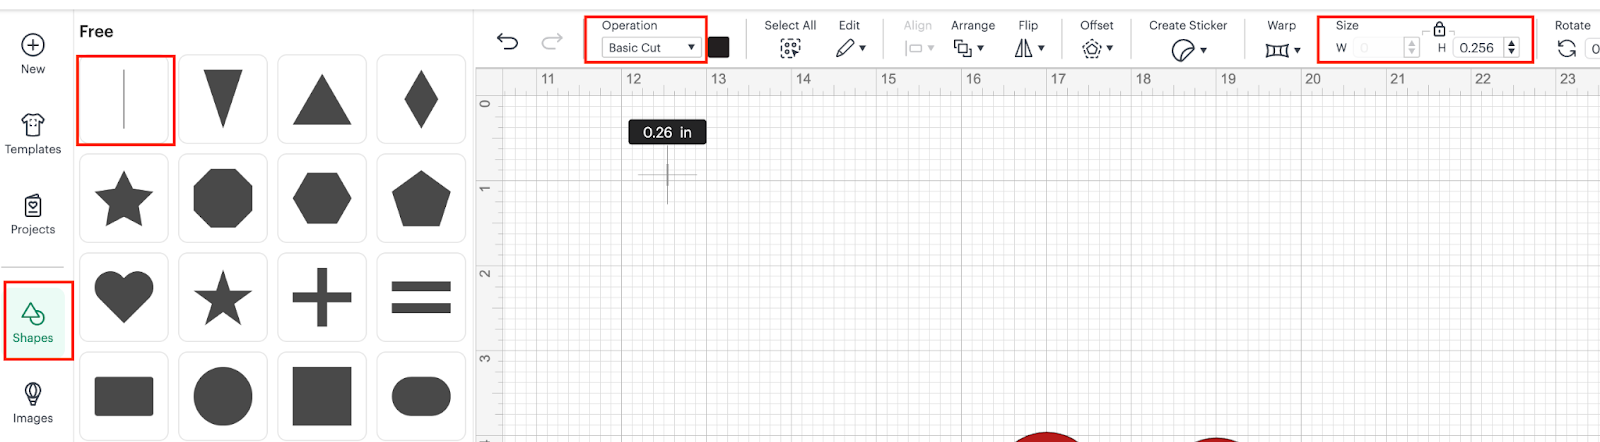
28: We are going to duplicate several times the line (47 in total) and we are going to place them over the rectangle, we are going to use as a guidance the small squares on our canvas:

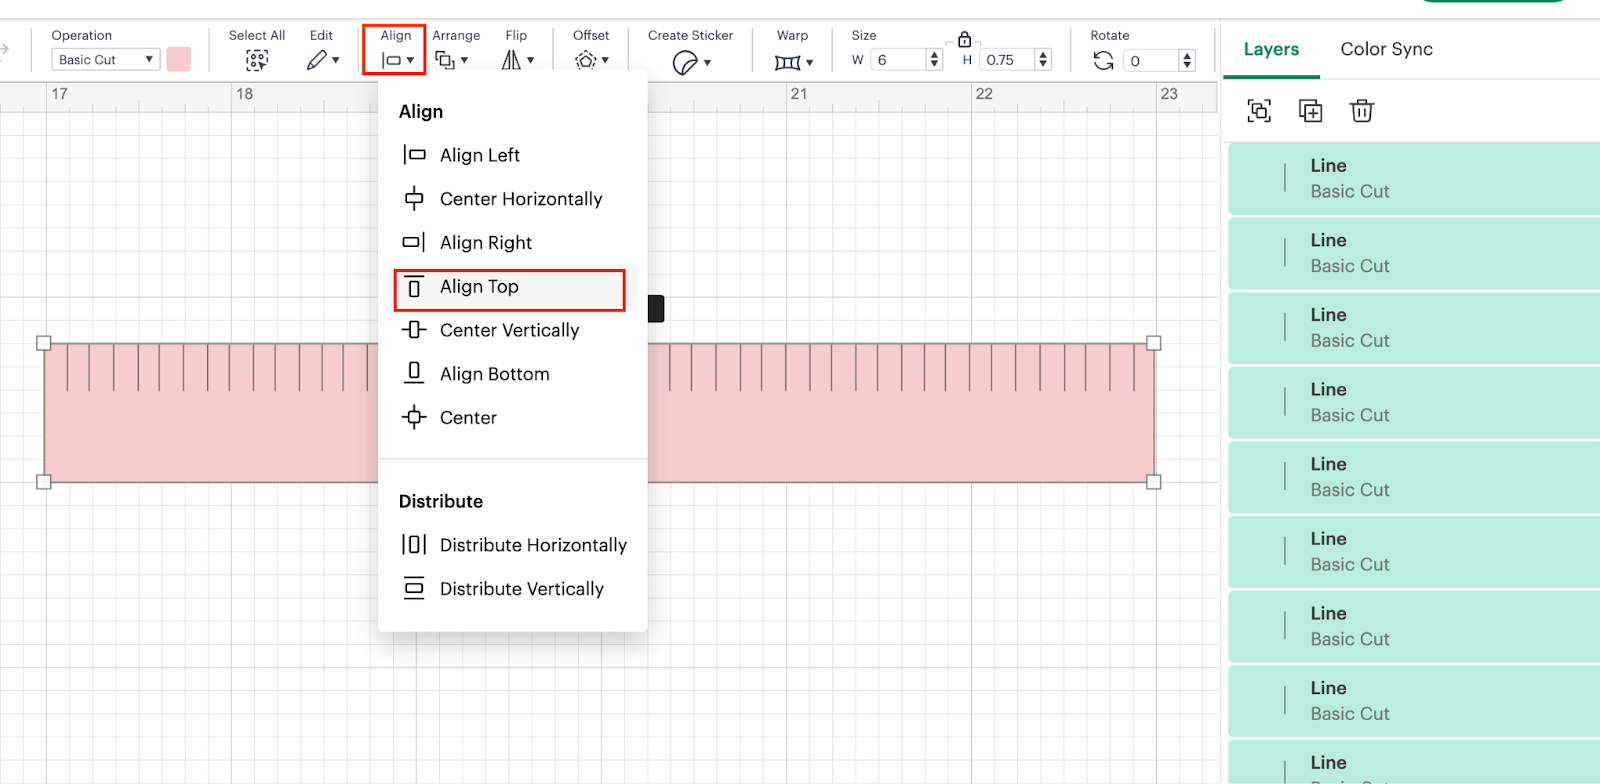
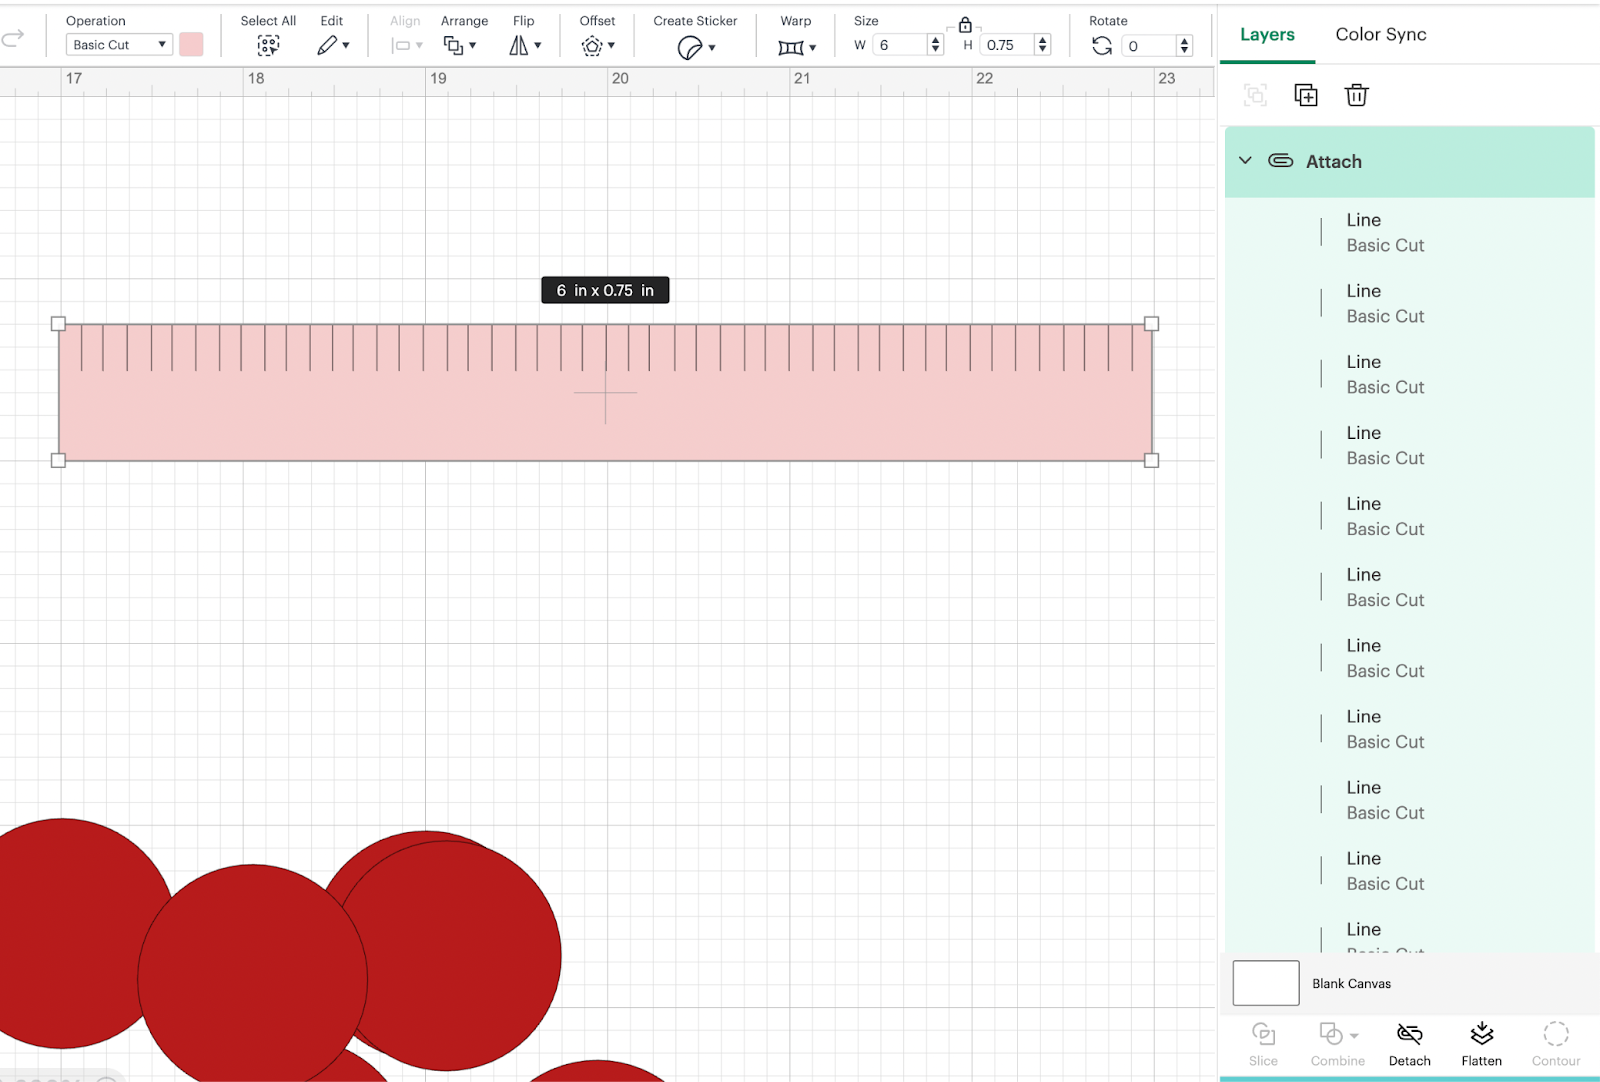
29: Once there are all places, using the align functionality you are going to select all the elements (including the rectangle) and we are going to align them to the top, and after align them all together we are going to attach them:
After attaching them:
30: We are going to duplicate this rectangle, two more times and we are going to change the colors:

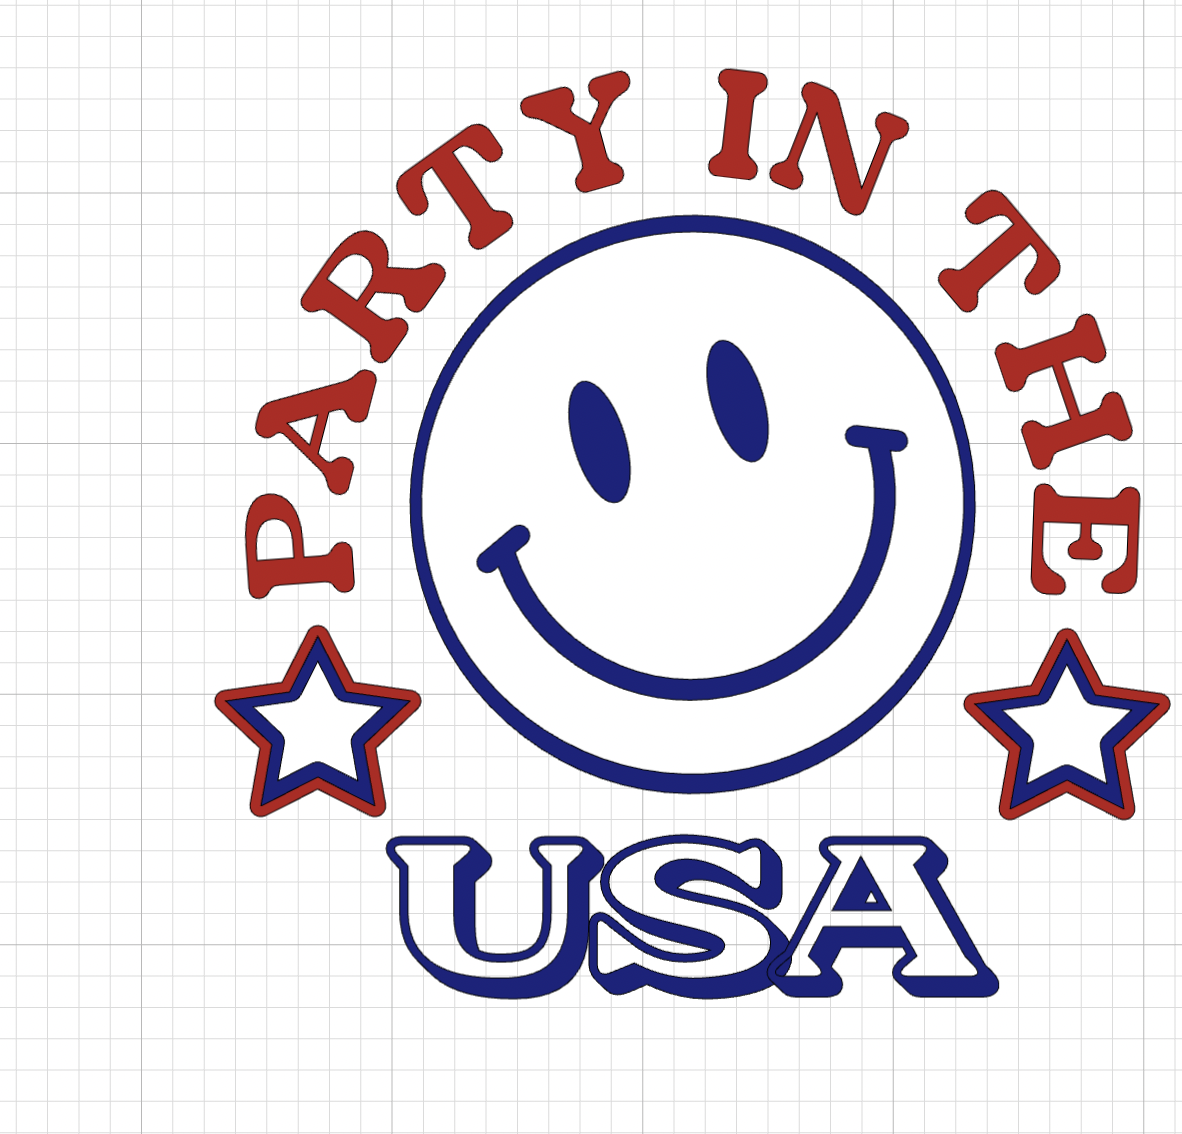
30: Our design is ready to be CUT!
💡Tip: Remember to hide your rectangle or the shape that you used as the base of your canvas flag.
In this tutorial, you are going to learn/practice the following skills:
- Add Images
- Resize Elements
- Duplicate Elements
- Rotate Elements
- Weld Elements
- Align Elements
- Attach elements
- Install and use fonts
- Add and resize text
- Use Heat Transfer Vinyl
- Flip and Curve Elements