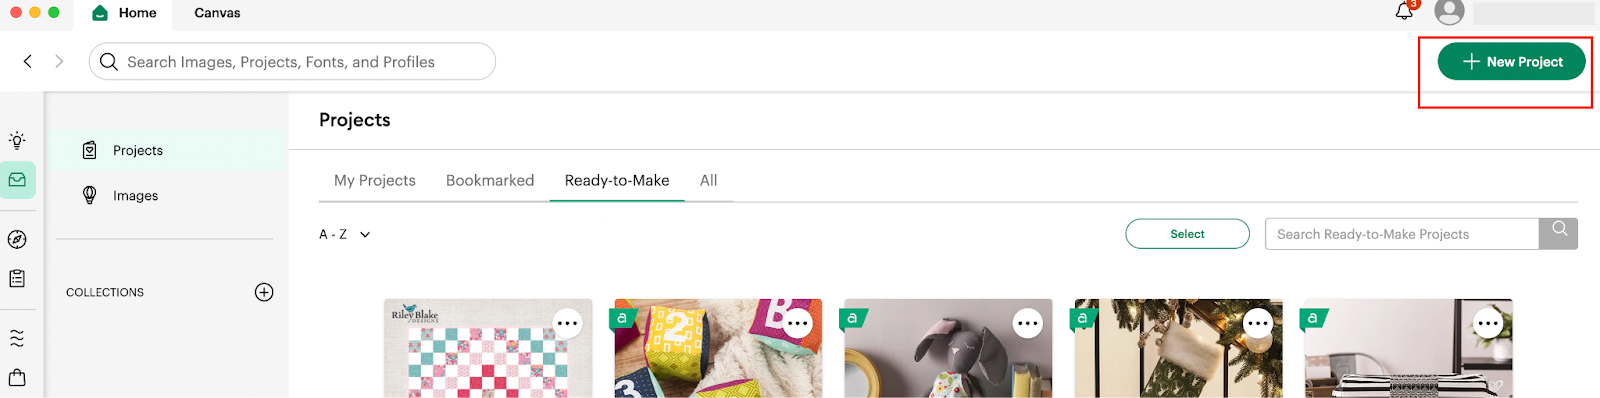
1: In order to be able to start our Design, we are going to access our Design
Space application and in there we are going to click on the + New Project Green button located on the top Right corner of our screen.
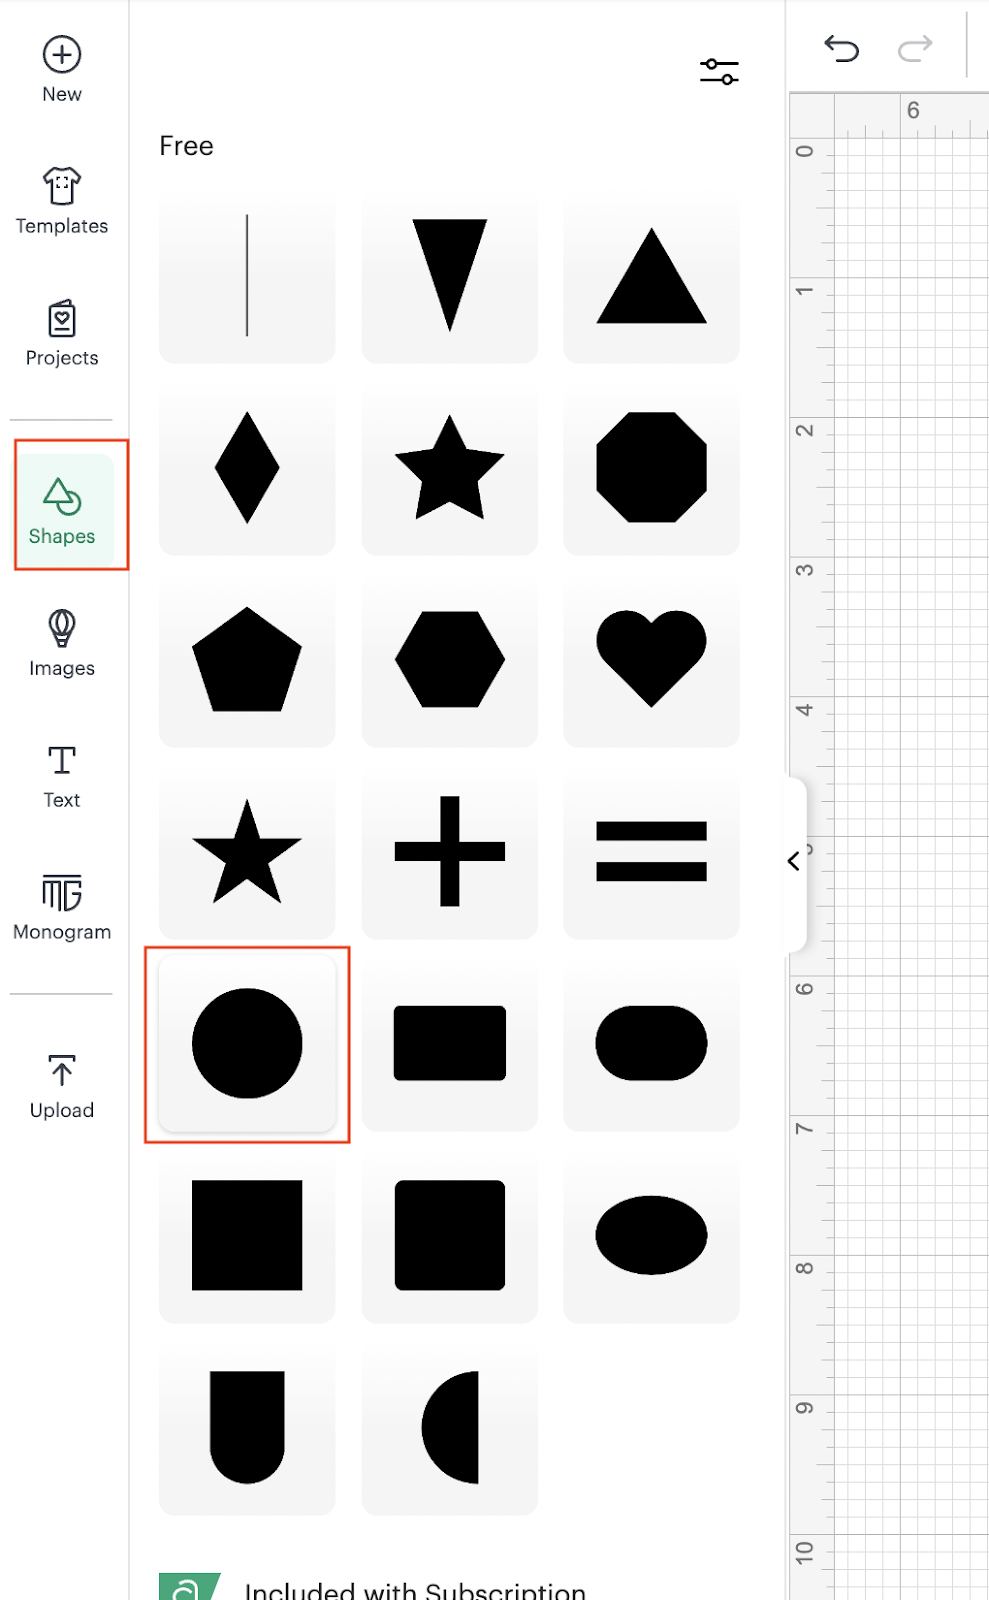
2: After we clicked in there, we are going to be able to access our Blank Canvas, in where we are going to start creating our Design:

3: We are going to start by using the shapes functionality and add 10 circles:
After adding the 10 circles:
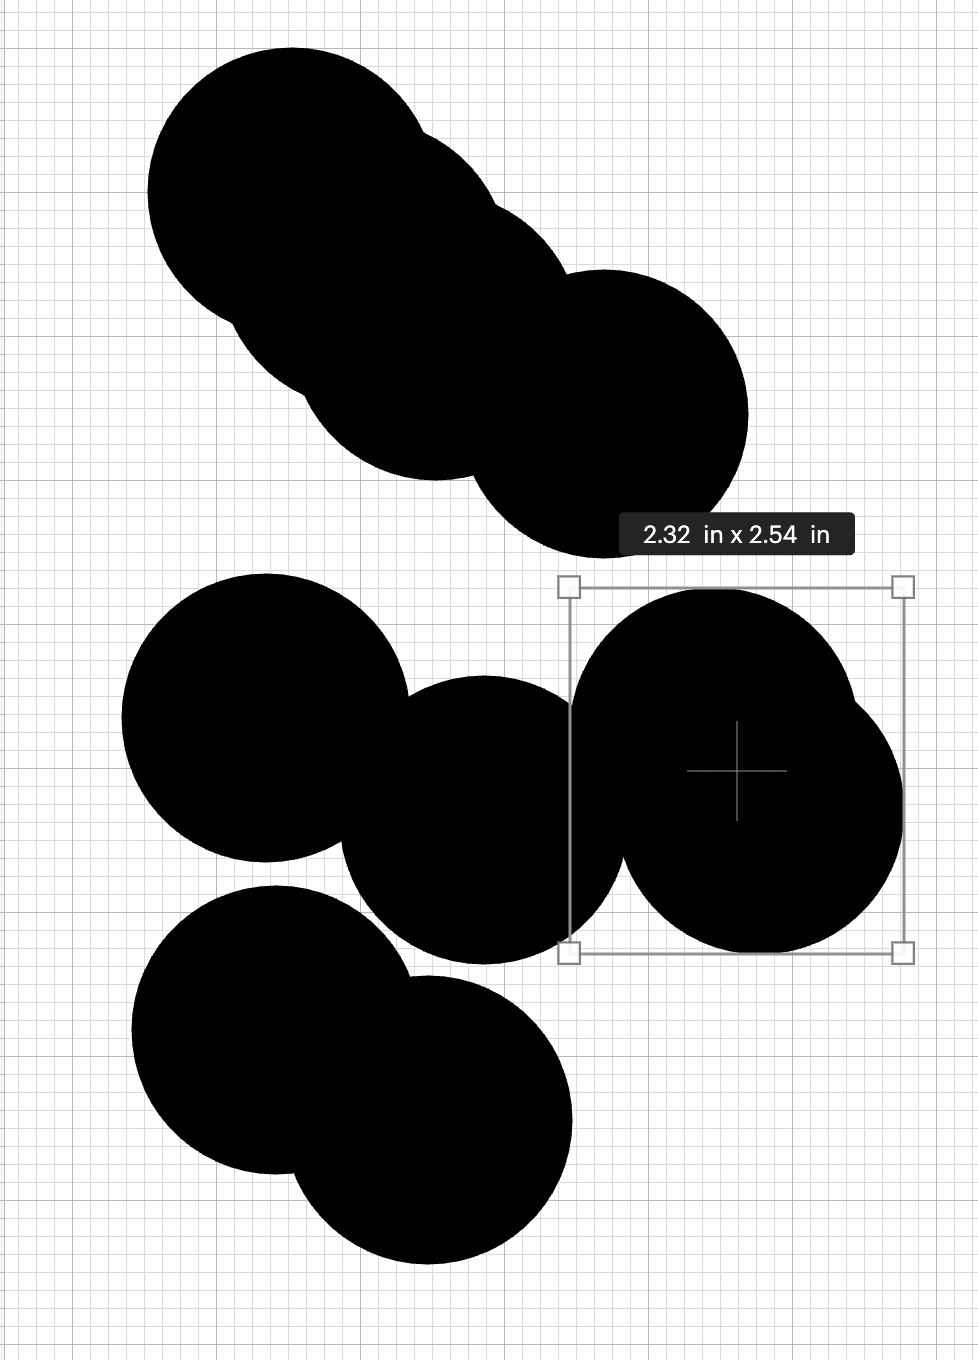
4: We are going to create pairs of circle and slice them together with the following measurements:
1st pair: 1 circle with: 4.5” and 1 circle with 4.65”
2nd pair: 1 circle with: 6.13” and 1 circle with 6.47”
3rd pair: 1 circle with: 7.2” and 1 circle with 7.43”
4th pair: 1 circle with: 8.15” and 1 circle with 8.5”
5th pair: 1 circle with: 8.8” and 1 circle with 9.04”
You should have something like this:
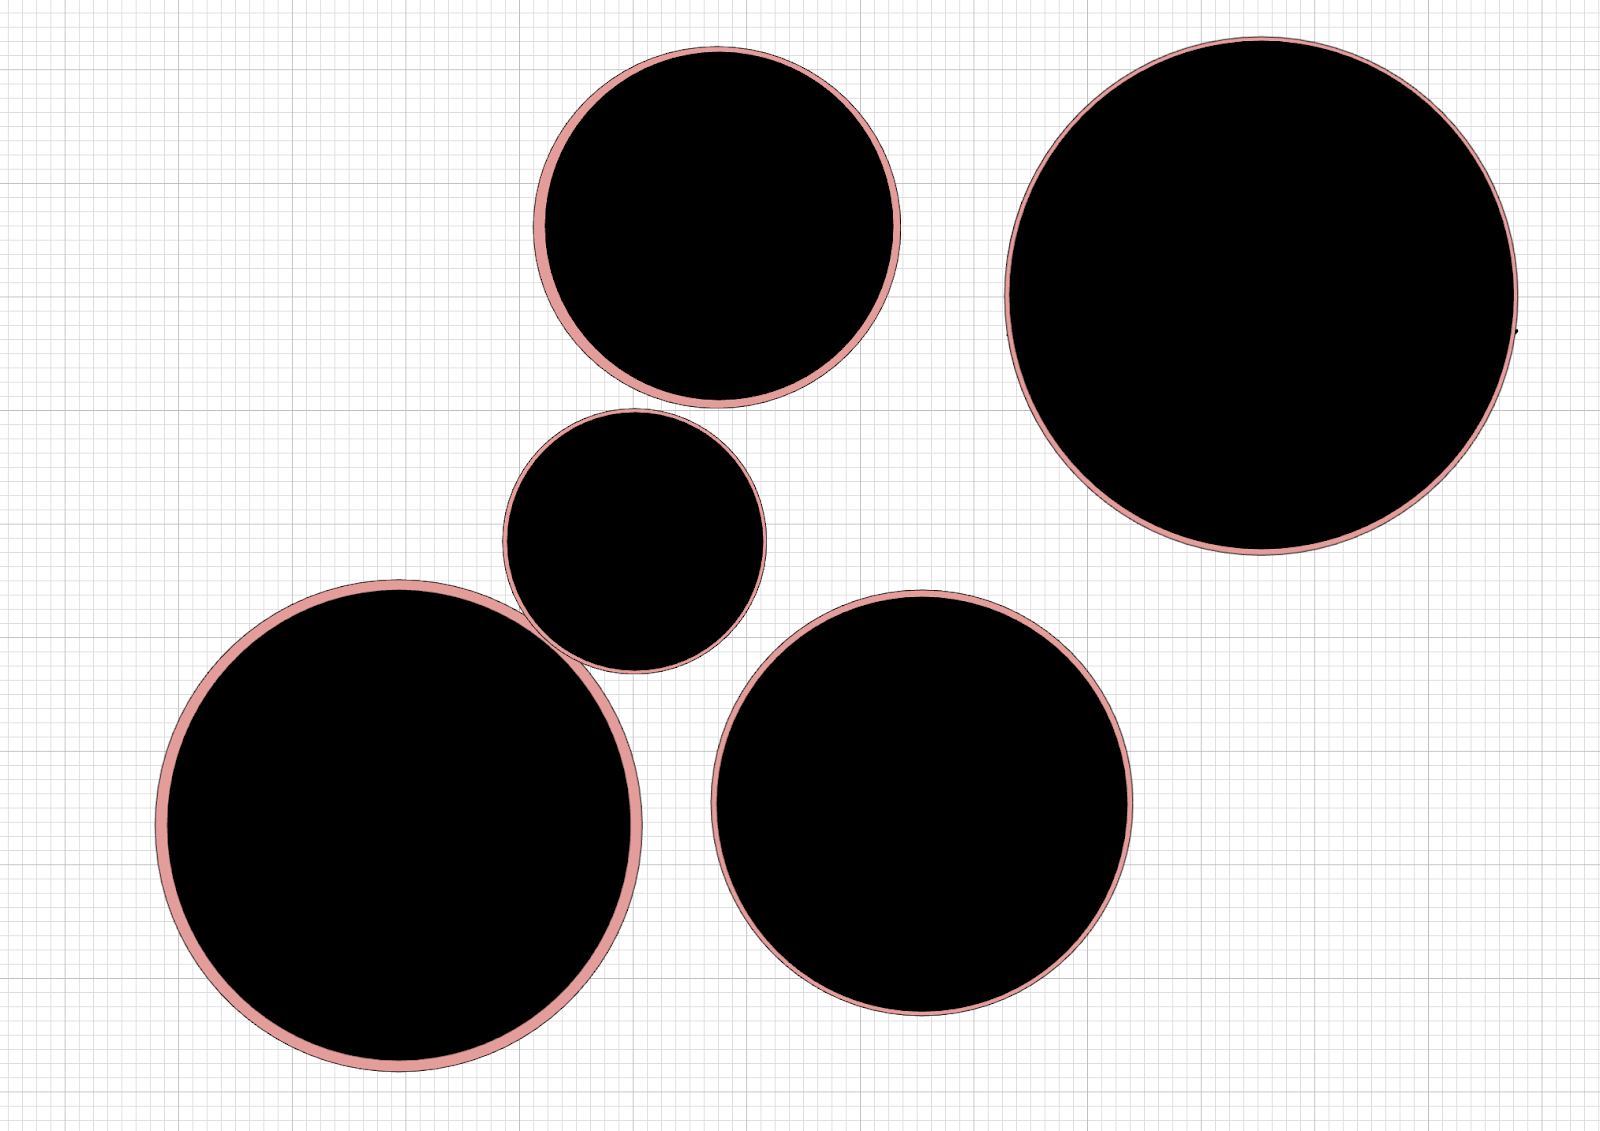
💡Tip: We changed the color just for you to see the difference between the circles, but is not needed to change the color.
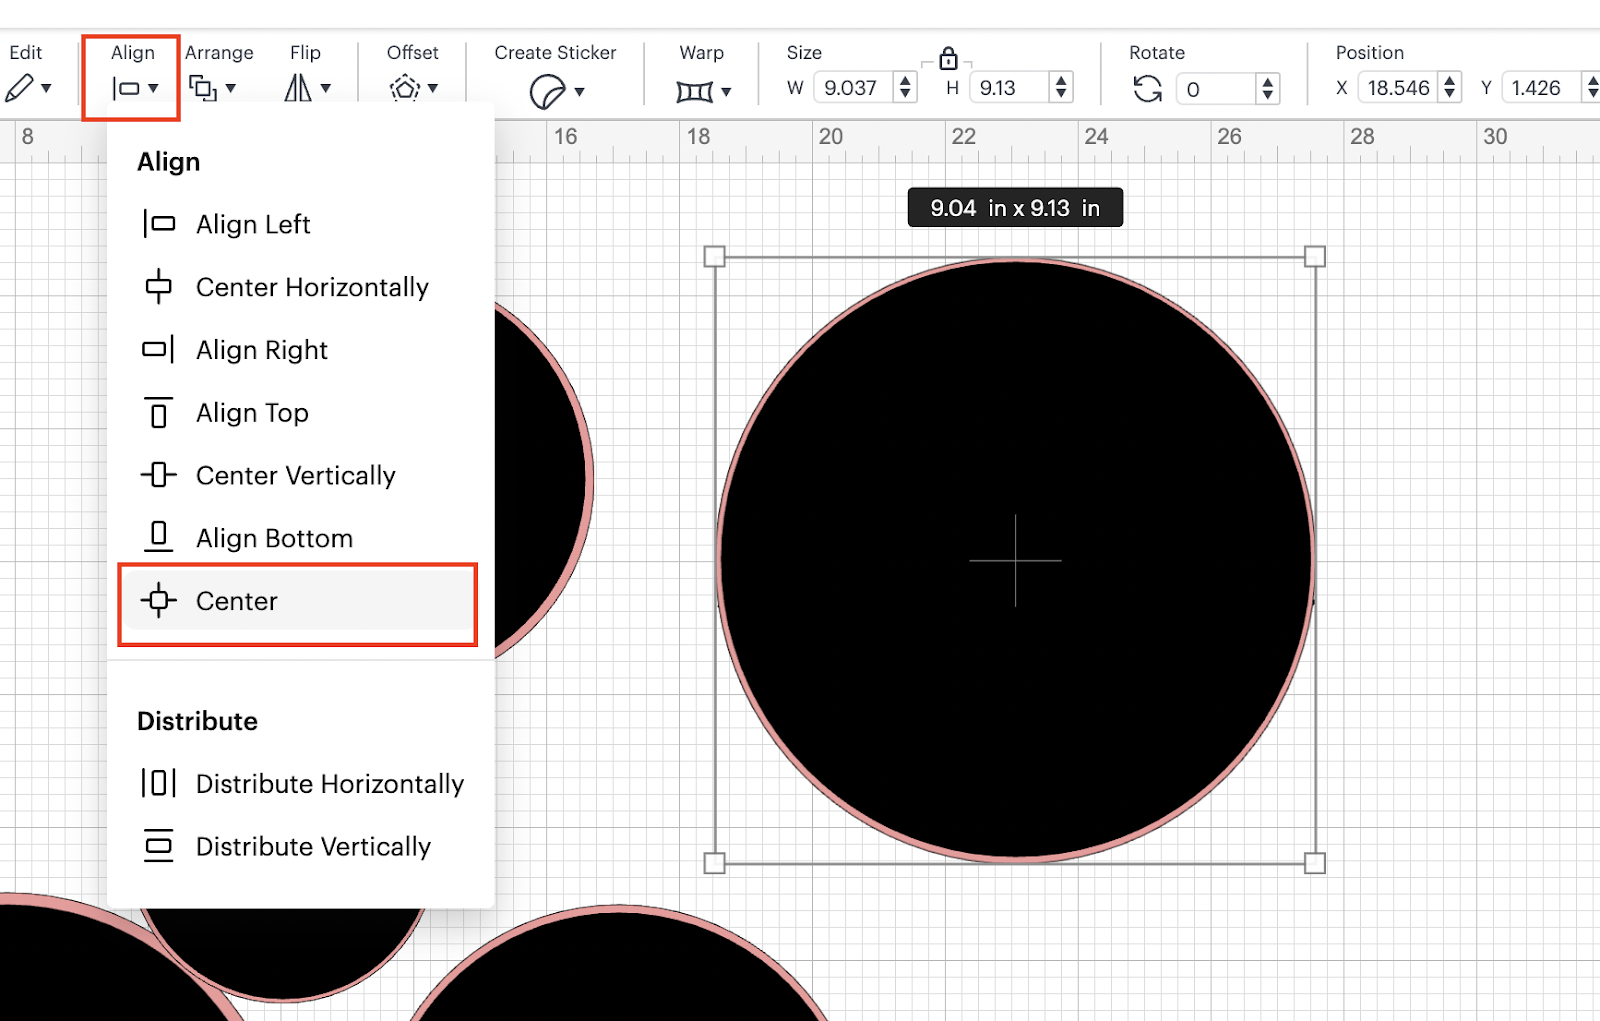
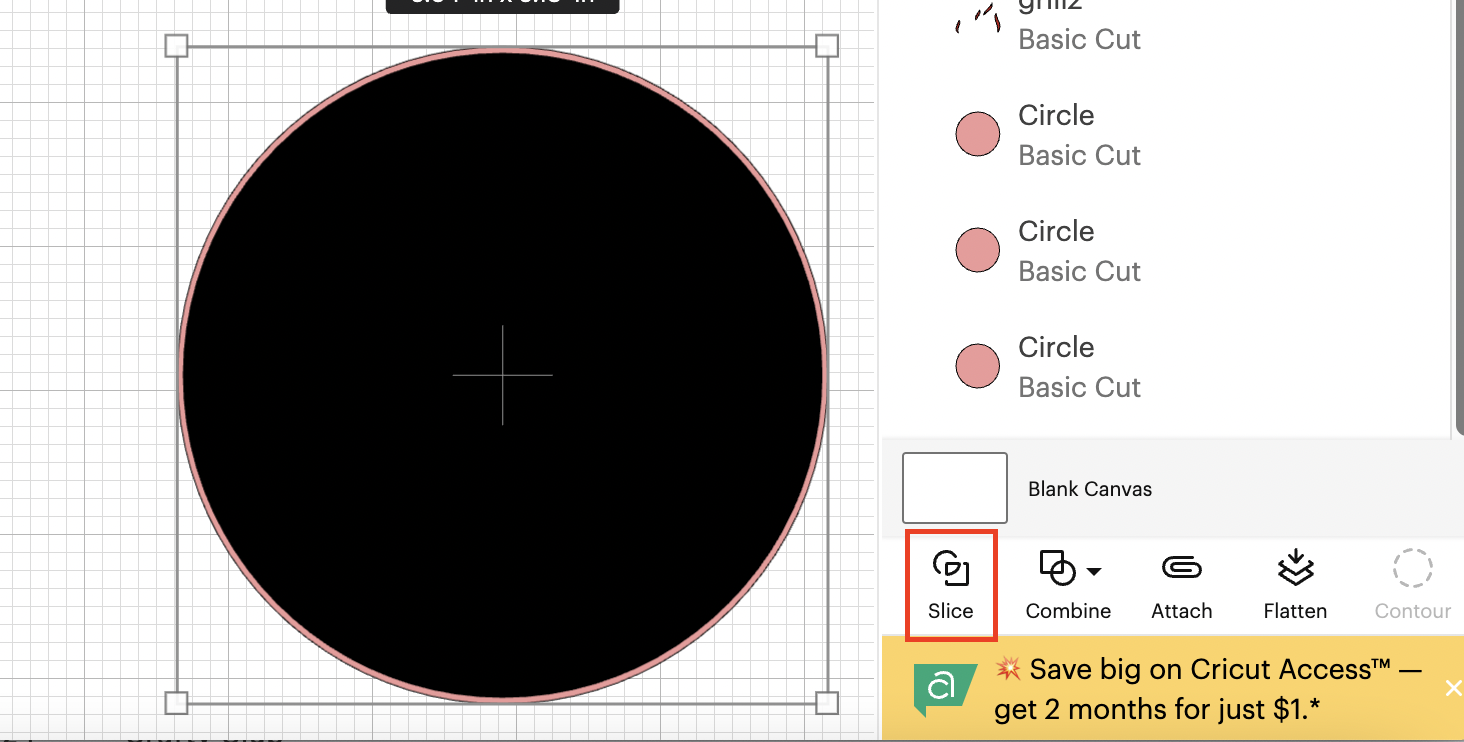
5: You are going to select a pair of circles, you are going to center them and then going to slice them:
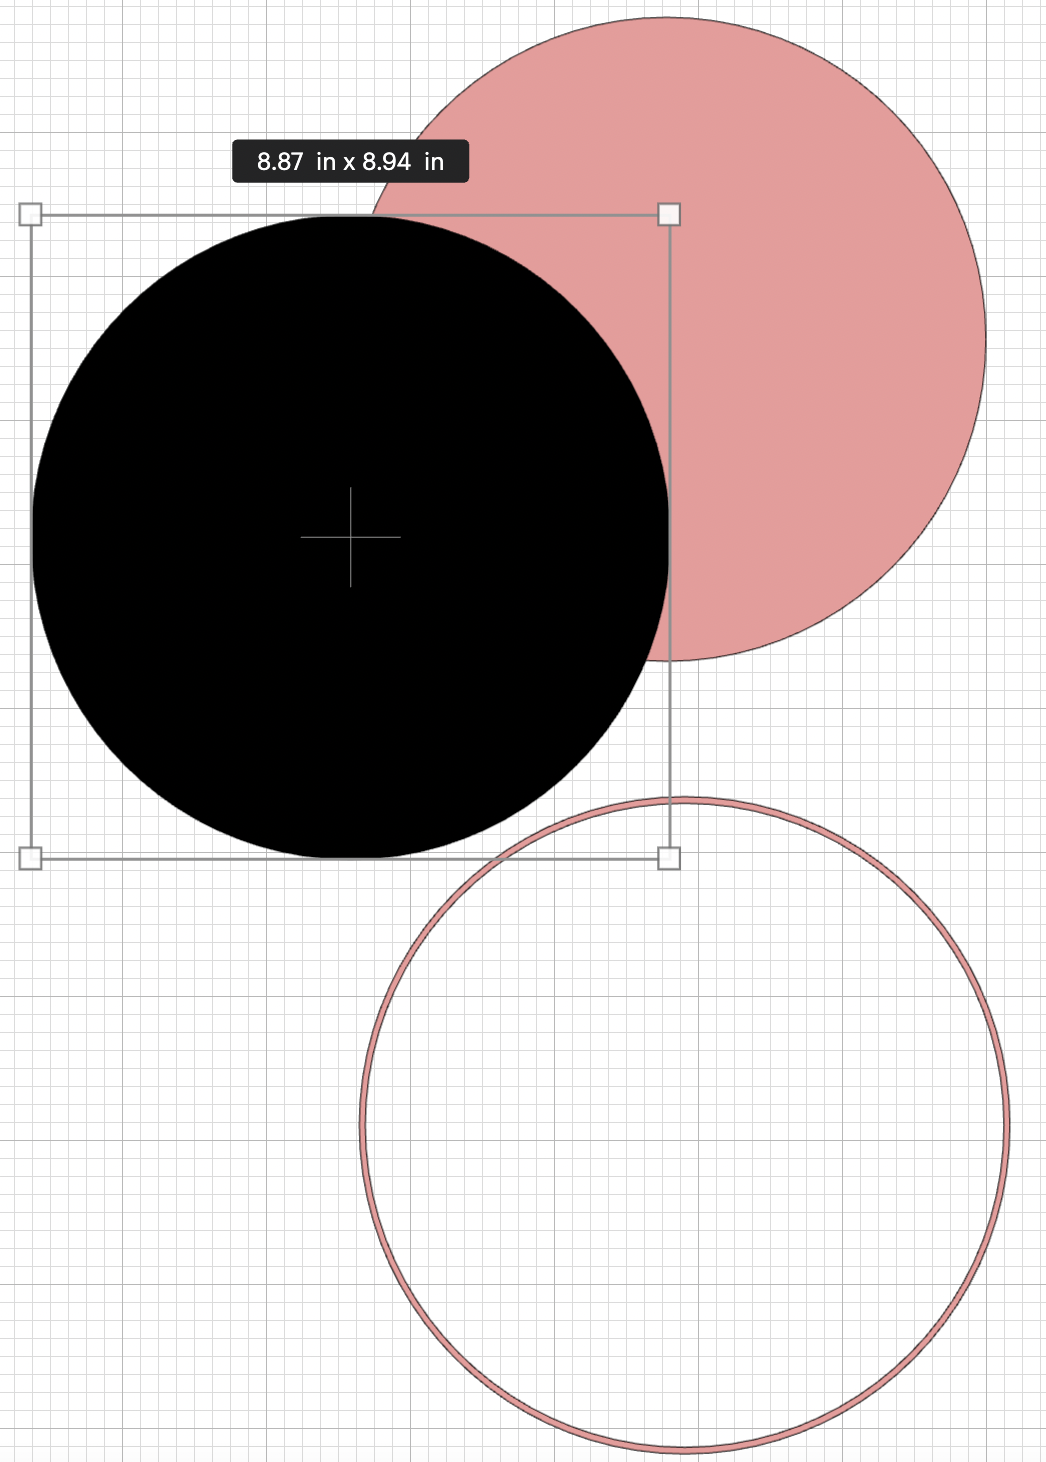
After slicing them:
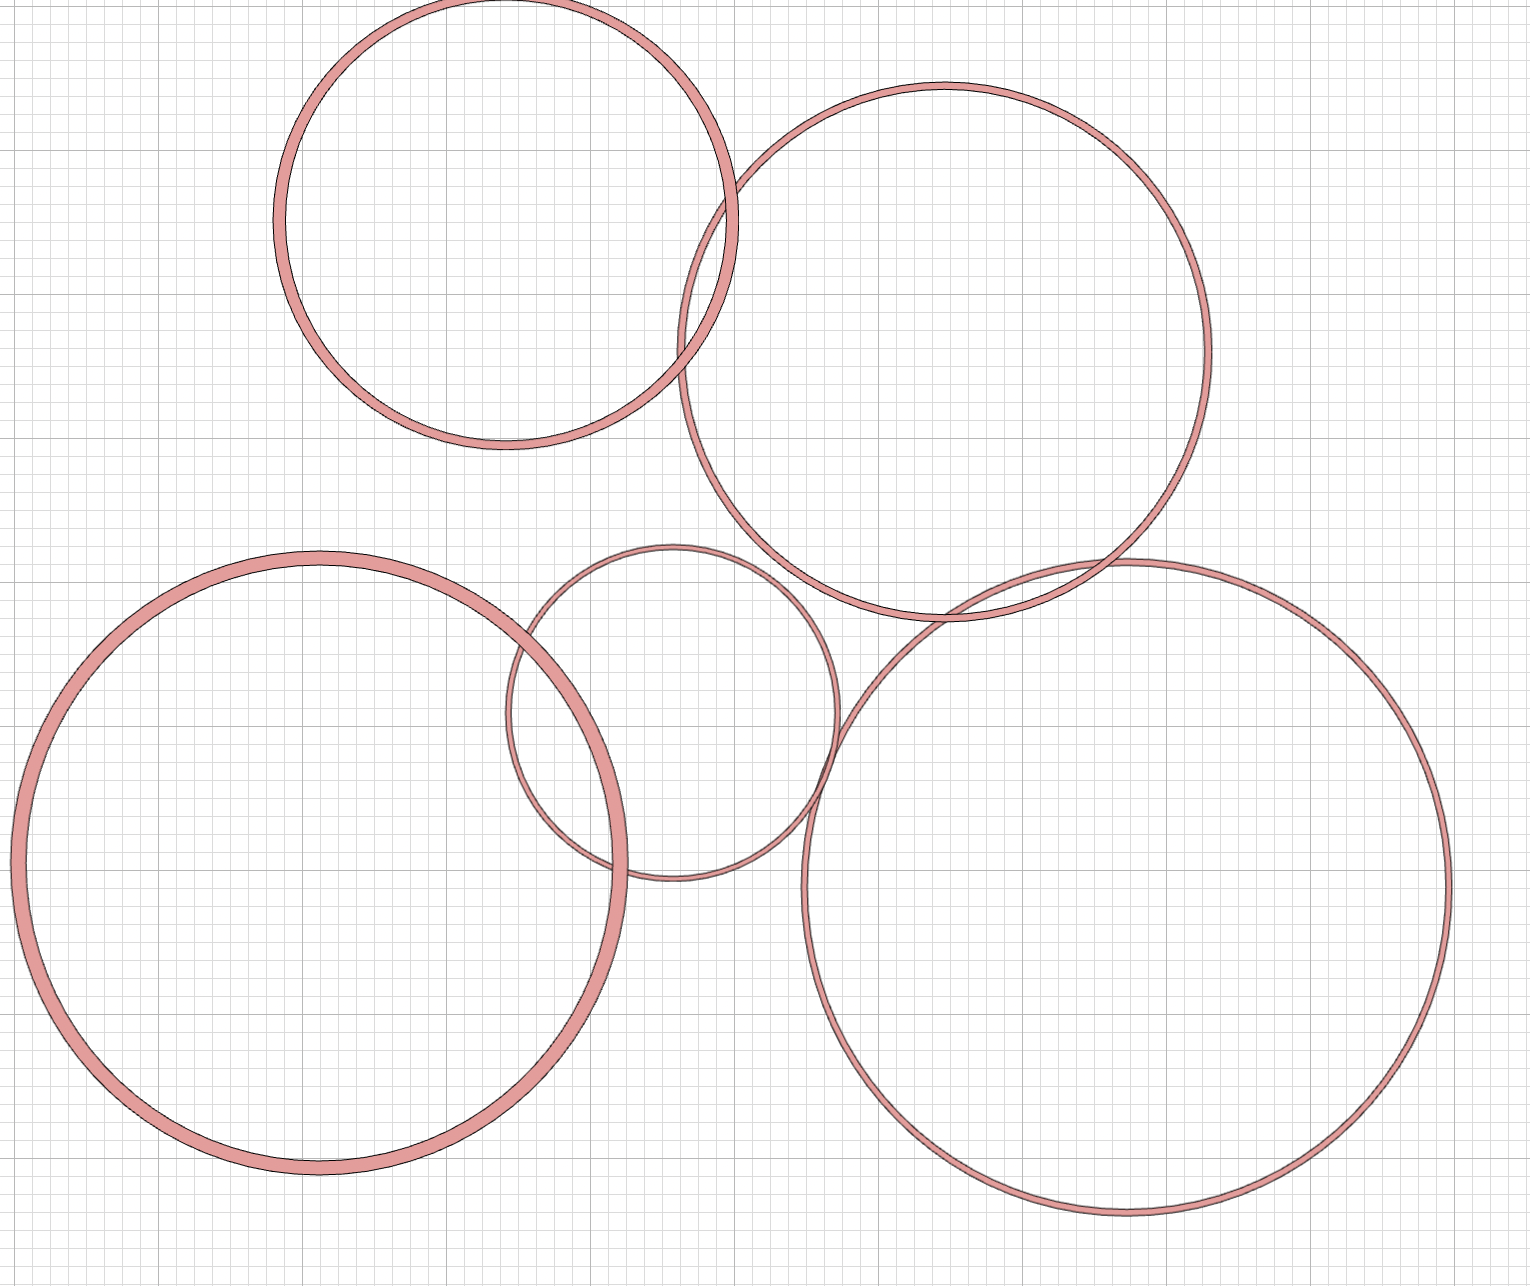
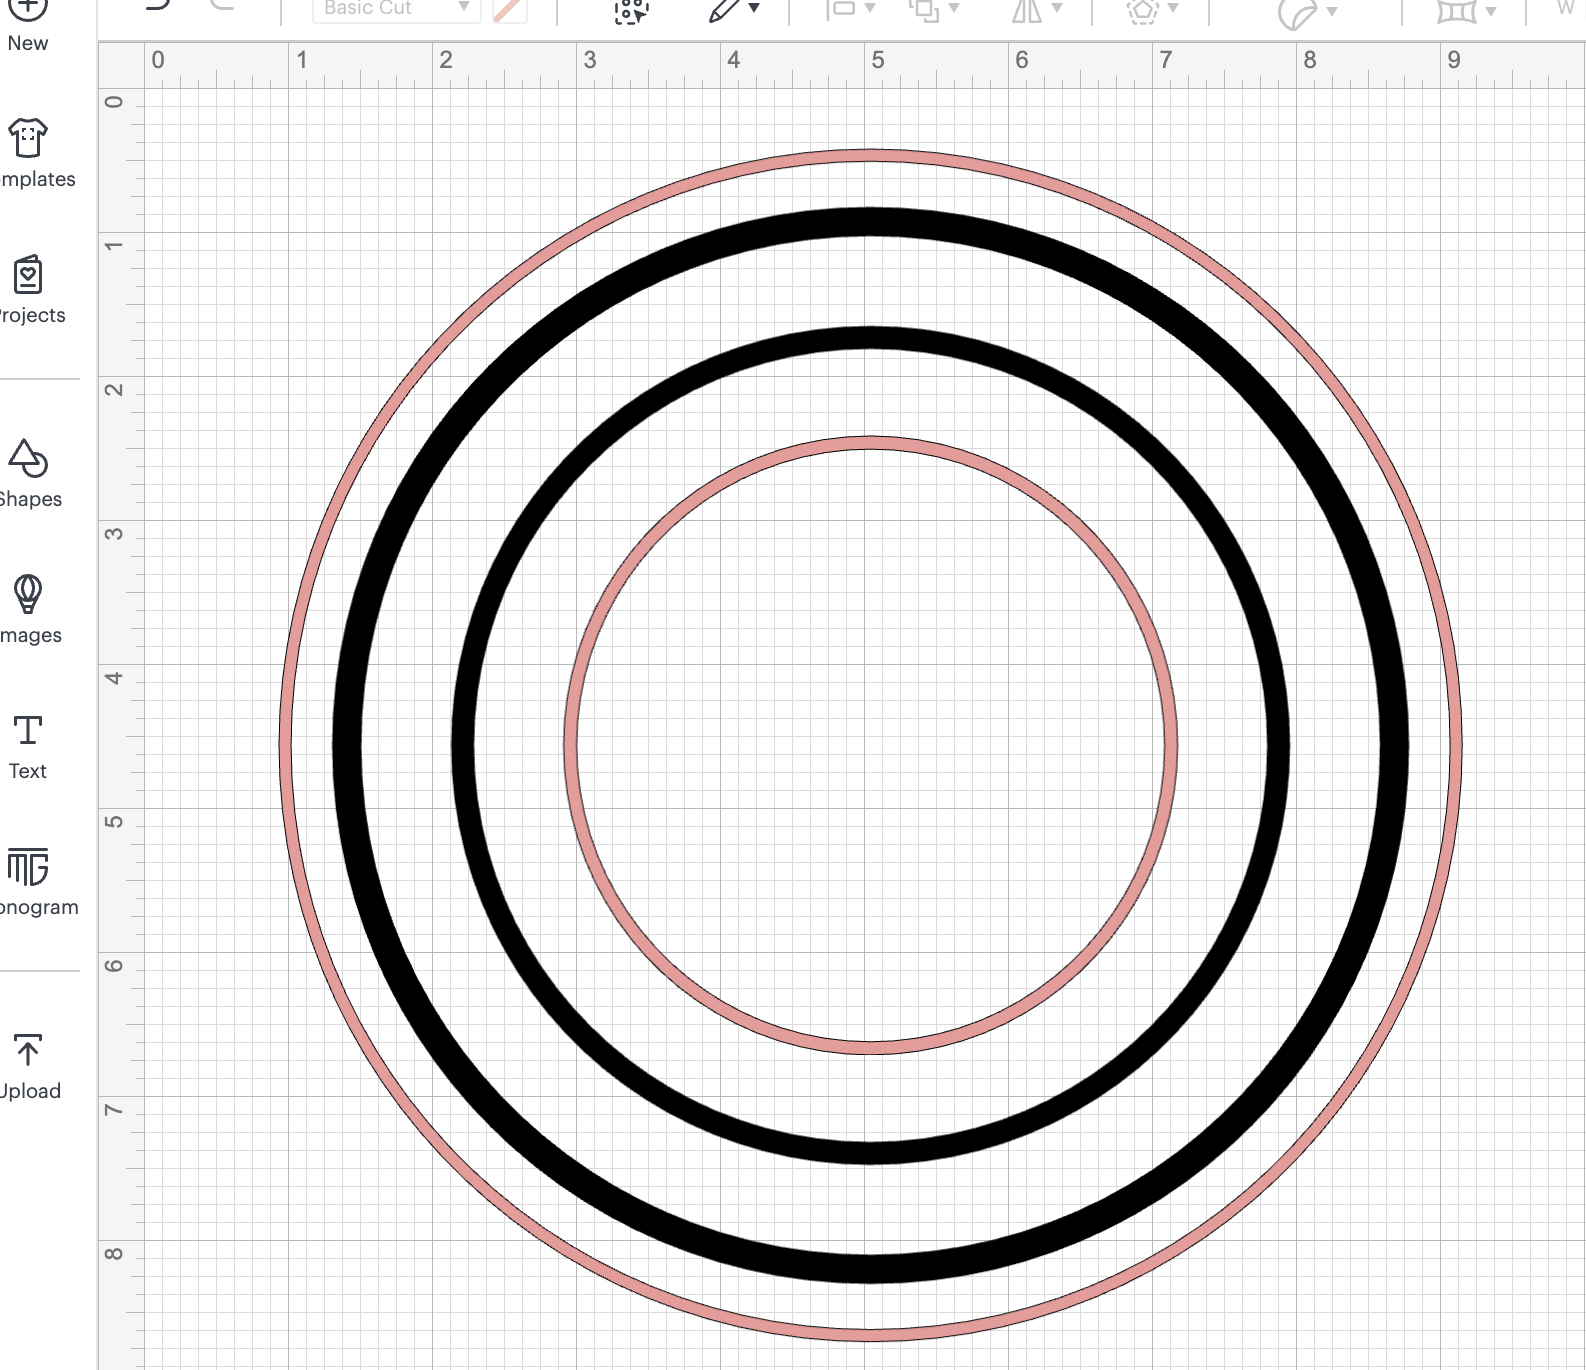
6: You are going to apply the same process to each pair of circles in order to have something like:
7: You are going to place the circles inside each other and center them:
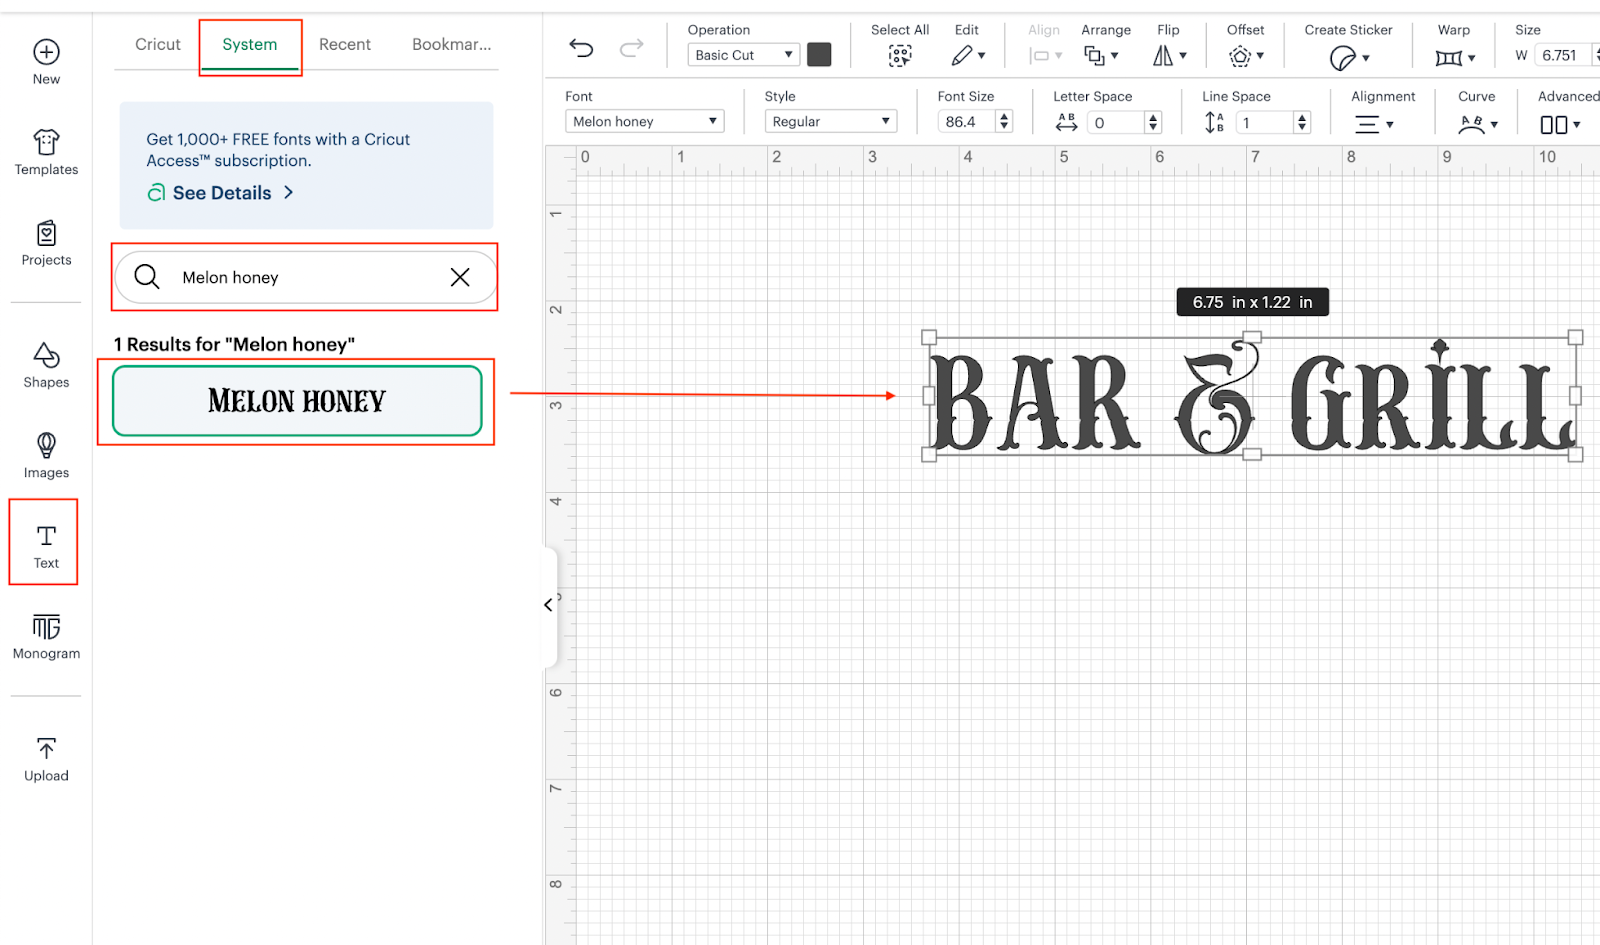
8: Using the text functionality we are going to add the text: Bar & Grill and we are going to change the font to Melon Honey that we previously installed:
9: We are going to generate an offset for the text that we just added:
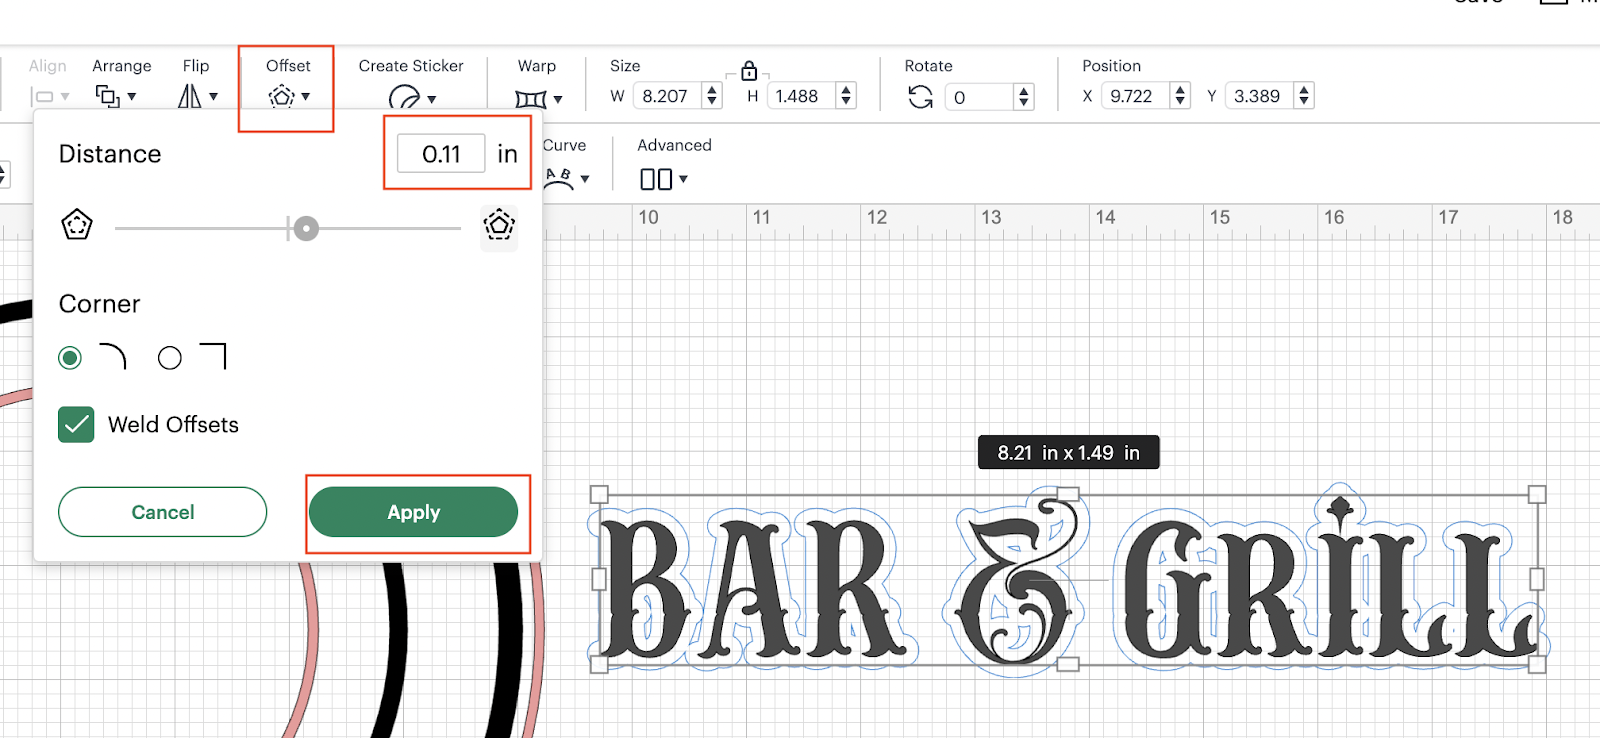
After creating the offset:
10: We are going to place the offset and center it with the circles and then you are going to slice each one of the circles with the offset:
💡Tip: You need to select one circle at the time and the offset, you can not slice more than 2 elements.
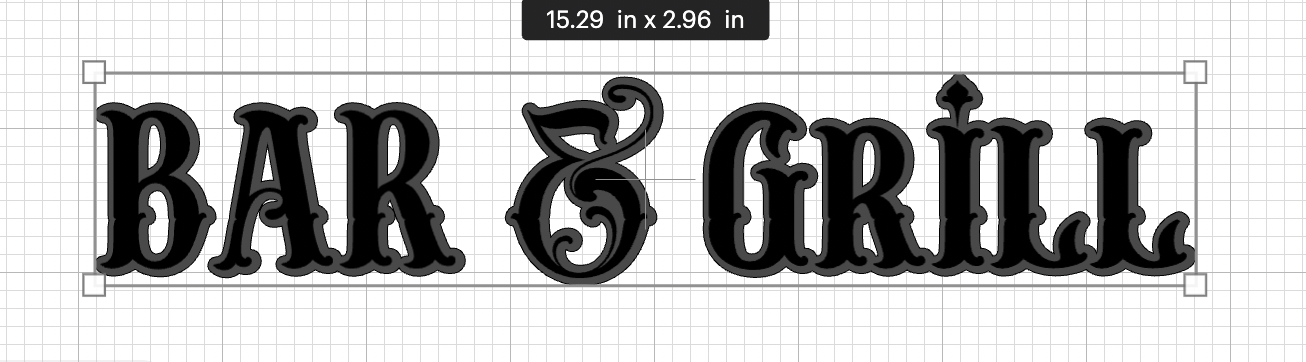
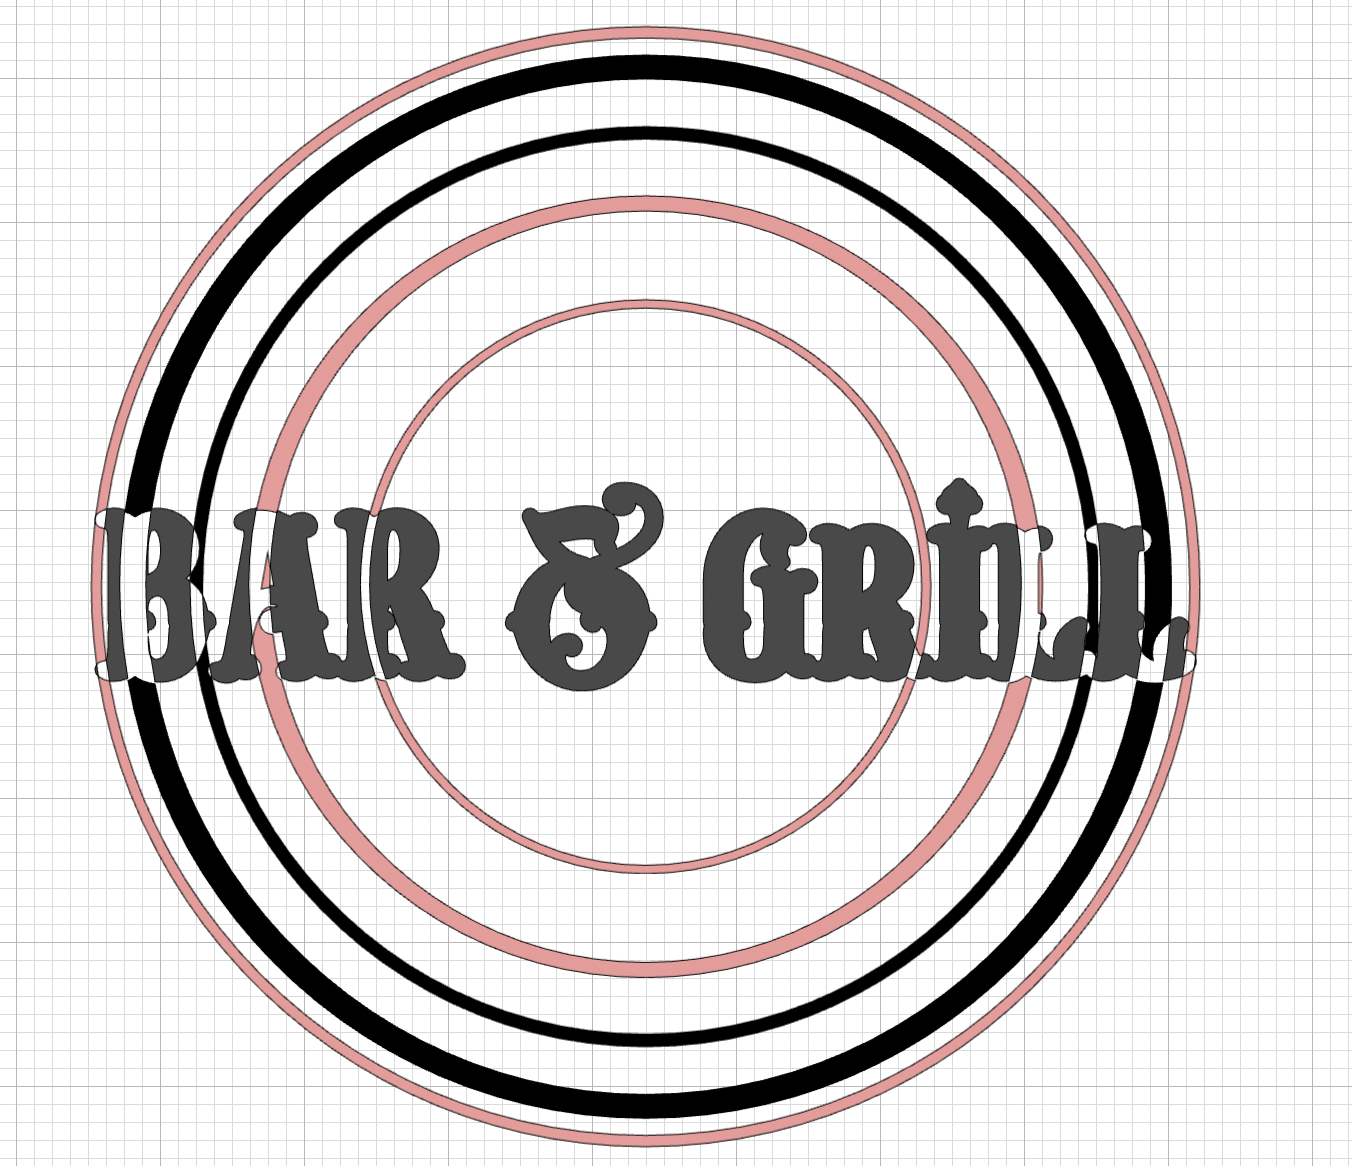
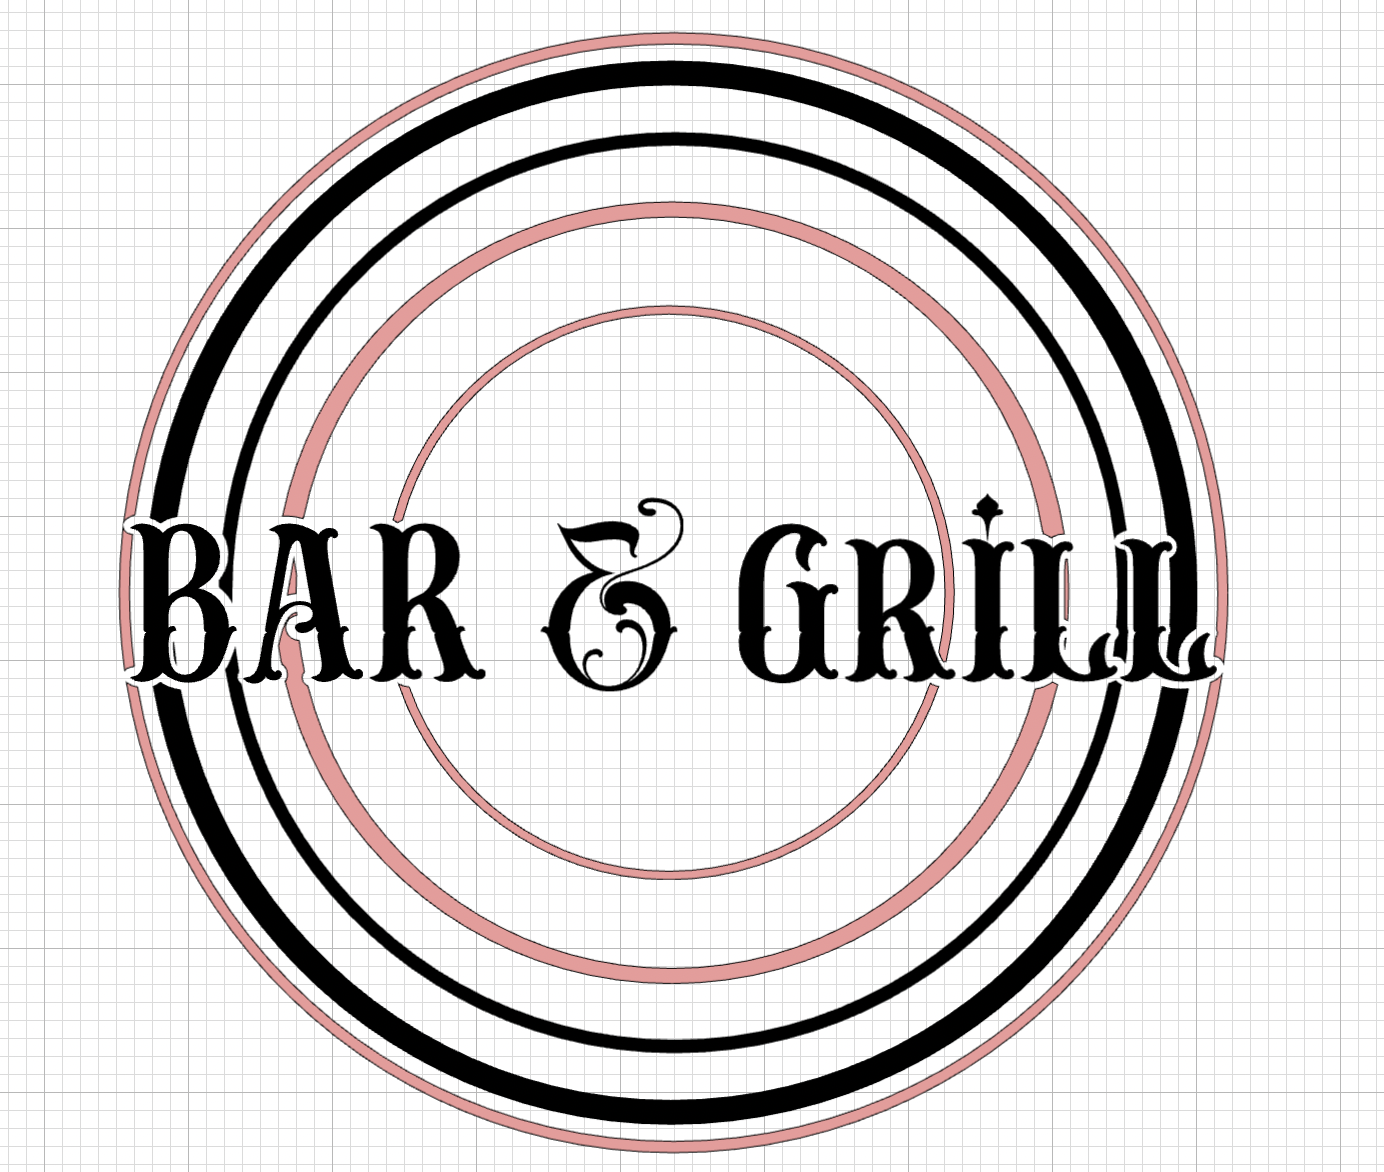
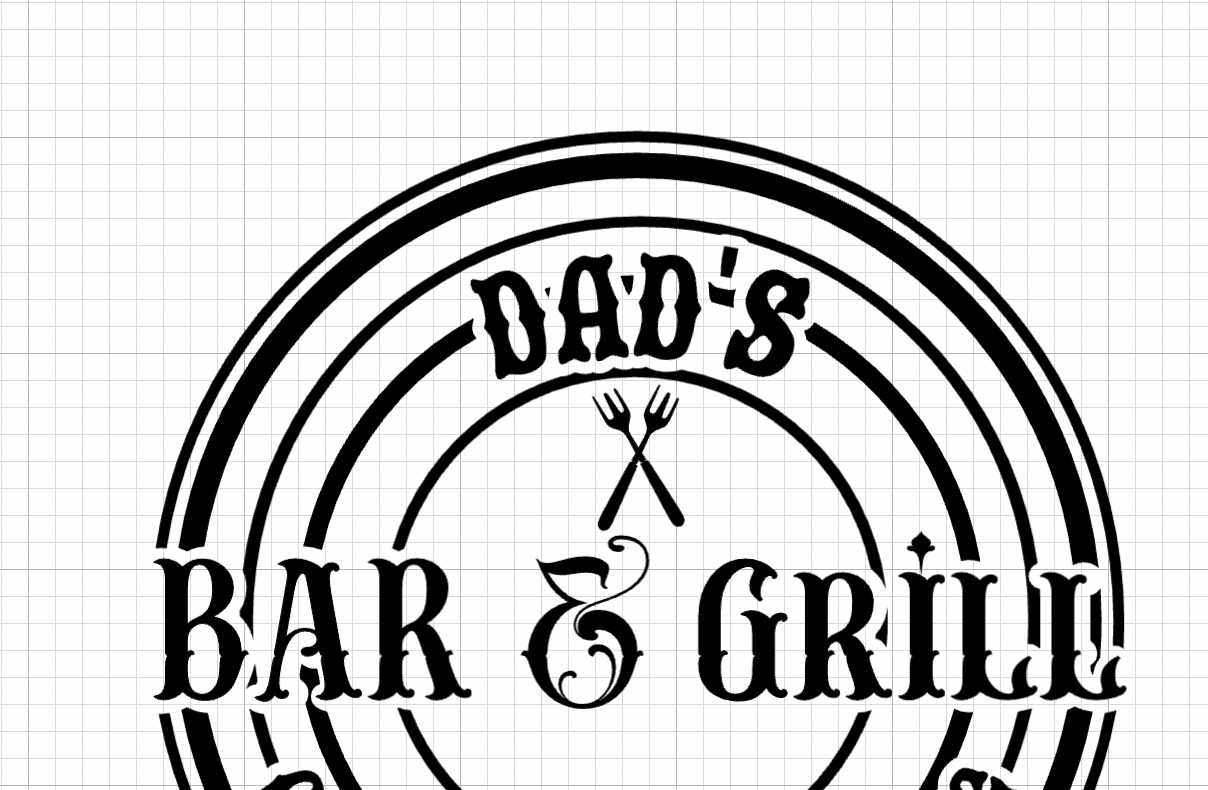
11: We are going to place the text in the place of the offset and delete or hide the offset:
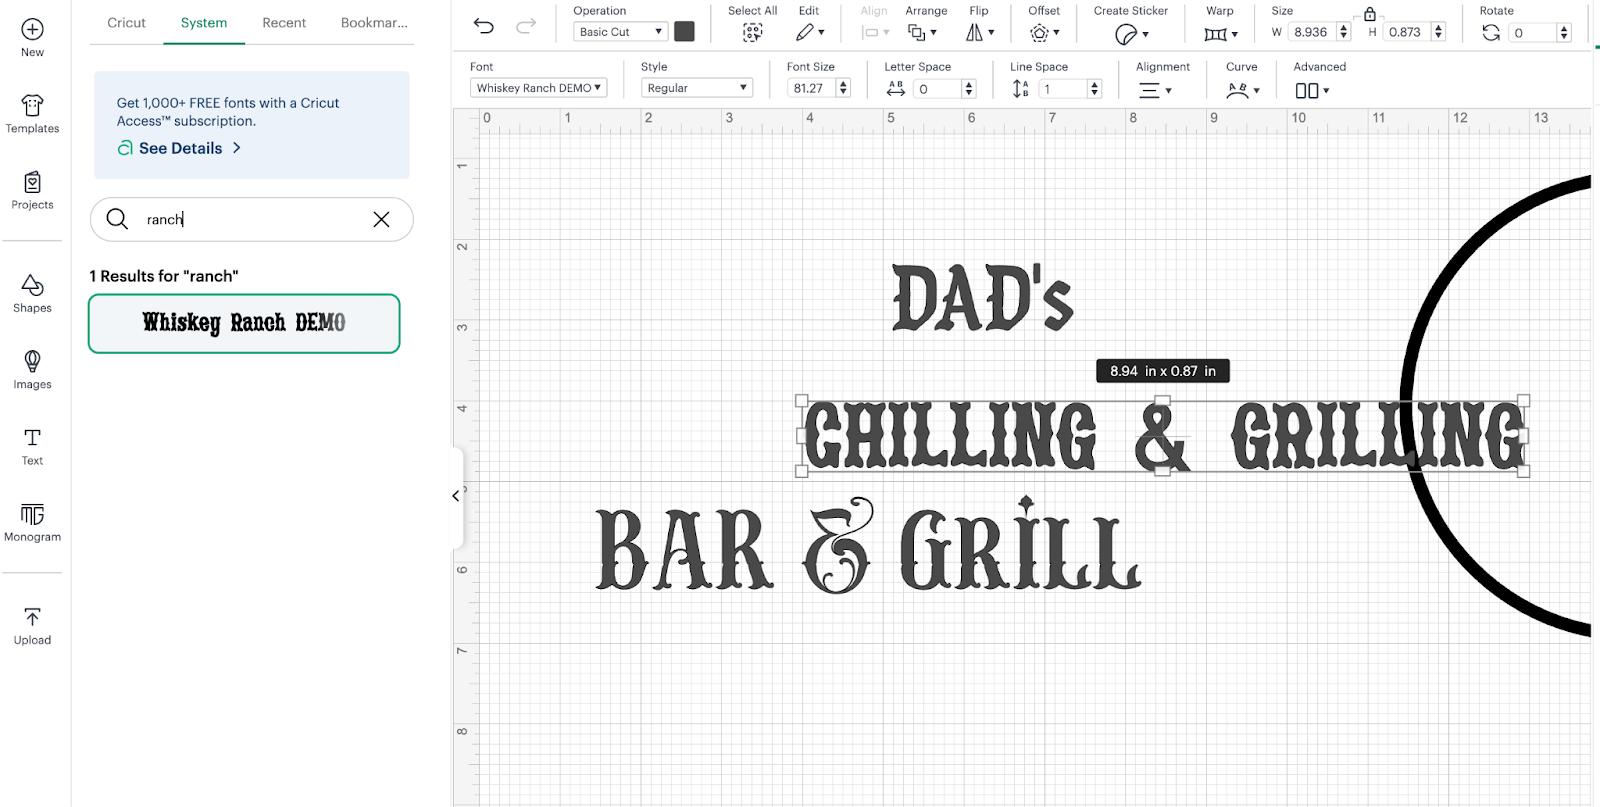
12: Using the text functionality we are going to add 2 different texts: DAD’S and Chilling & Grilling and we are going to use the font: Whiskey Ranch:
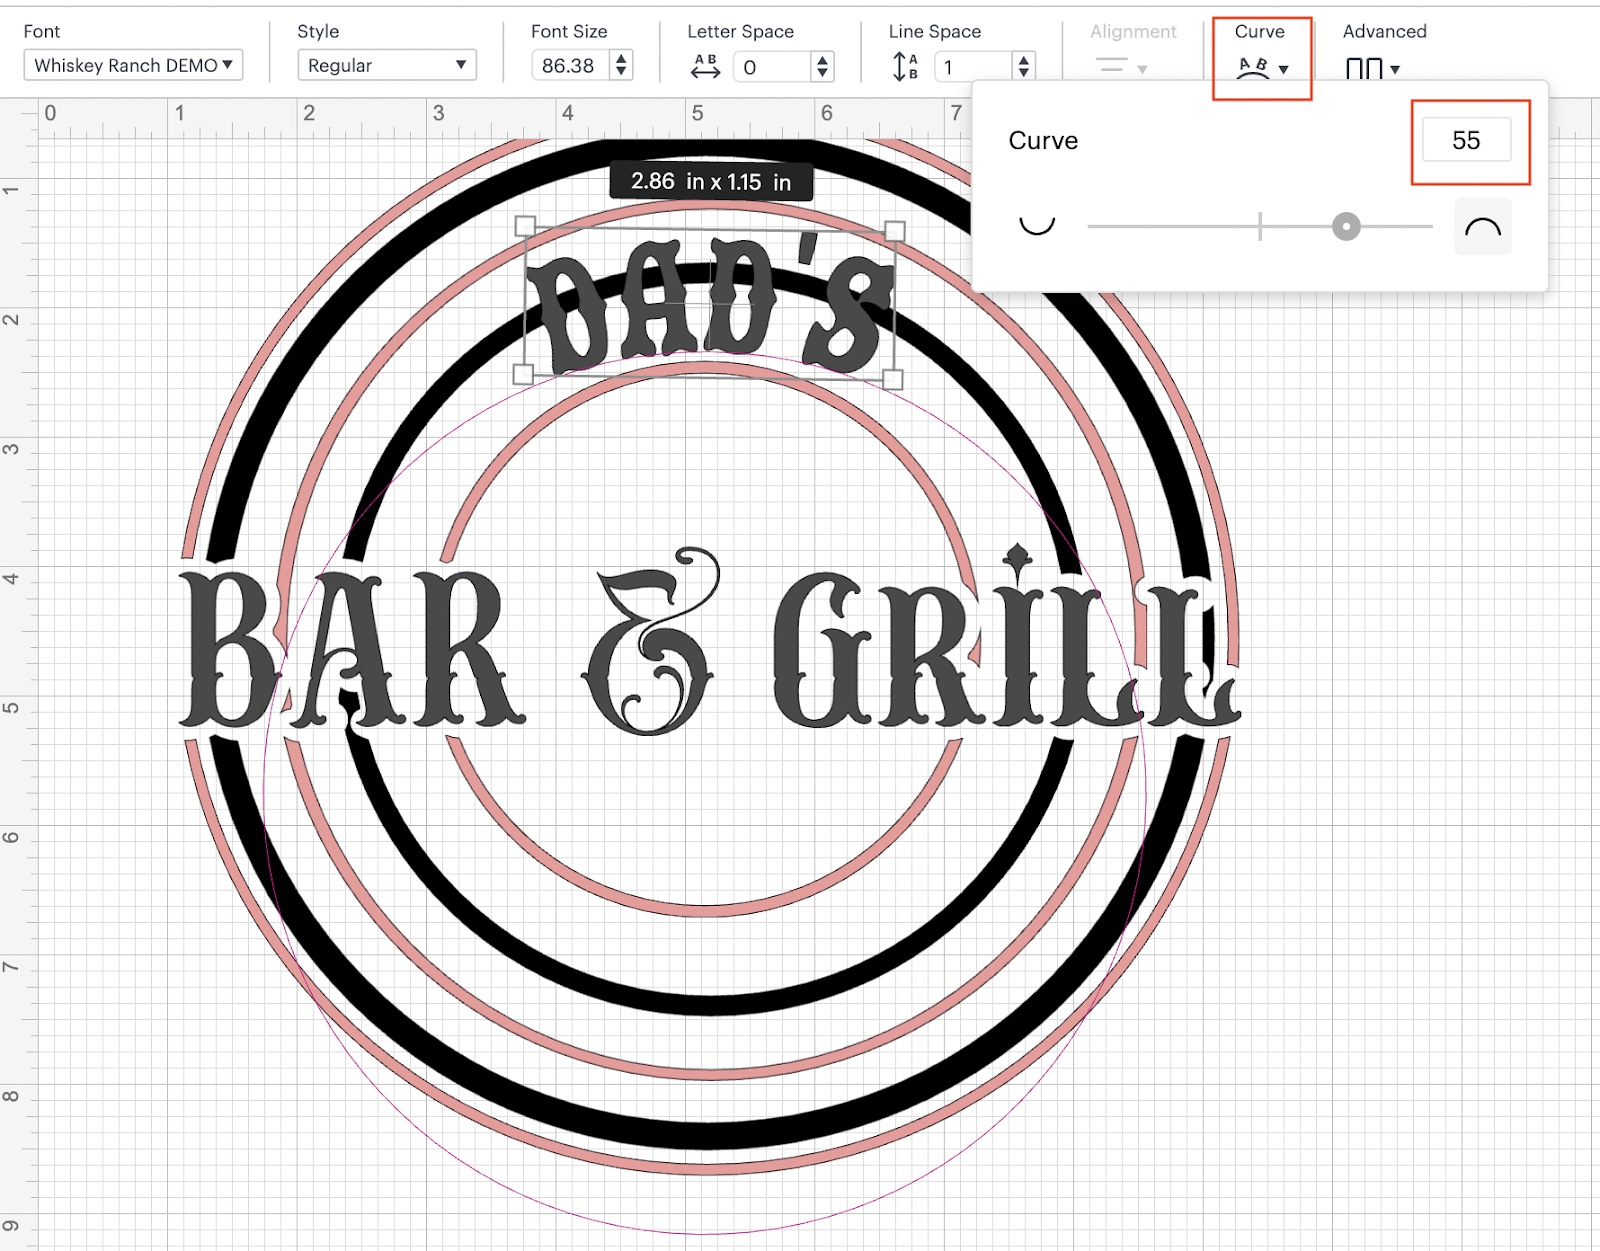
13: Using the curve functionality we are going to place the word DAD’S in the second row of circles and we are going to curve the word:
14: We are going to apply the offset and do the slice on each layer of the circles, the same as we did with the Bar & Grill wording in order to obtain:

15: We are going to apply the same with the chilling & grilling:

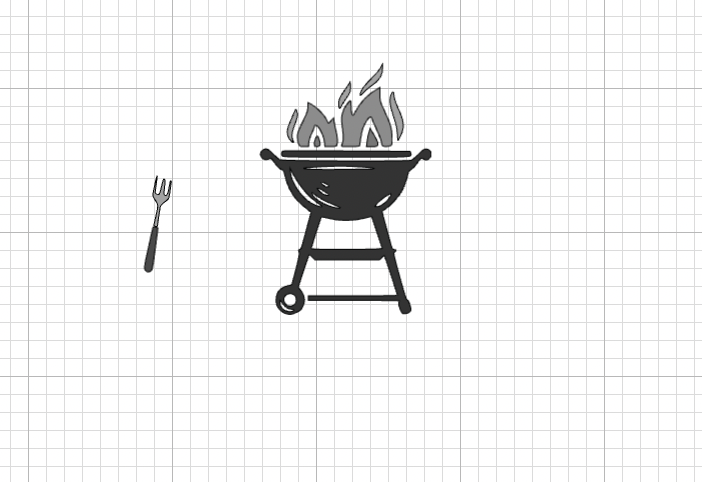
16: Using the Upload functionality, we are going to upload the 2 images that we are providing:
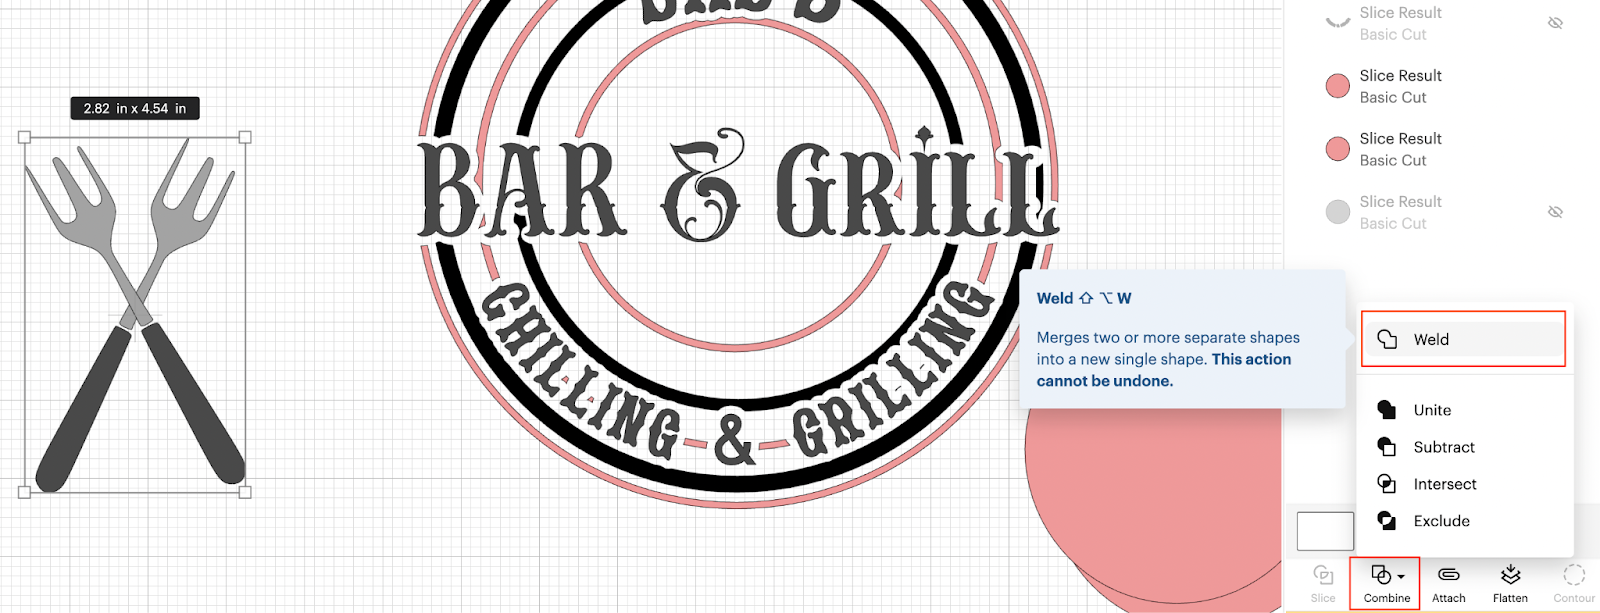
17: We are going to duplicate the forks, and using the rotation functionality we are going to create an X with them and we are going to weld them:
18: We are going to place them inside the smallest circle:
19: For the grill, we are going to create the offset as we did with the different texts and we are also going to slice them with all the different circles:
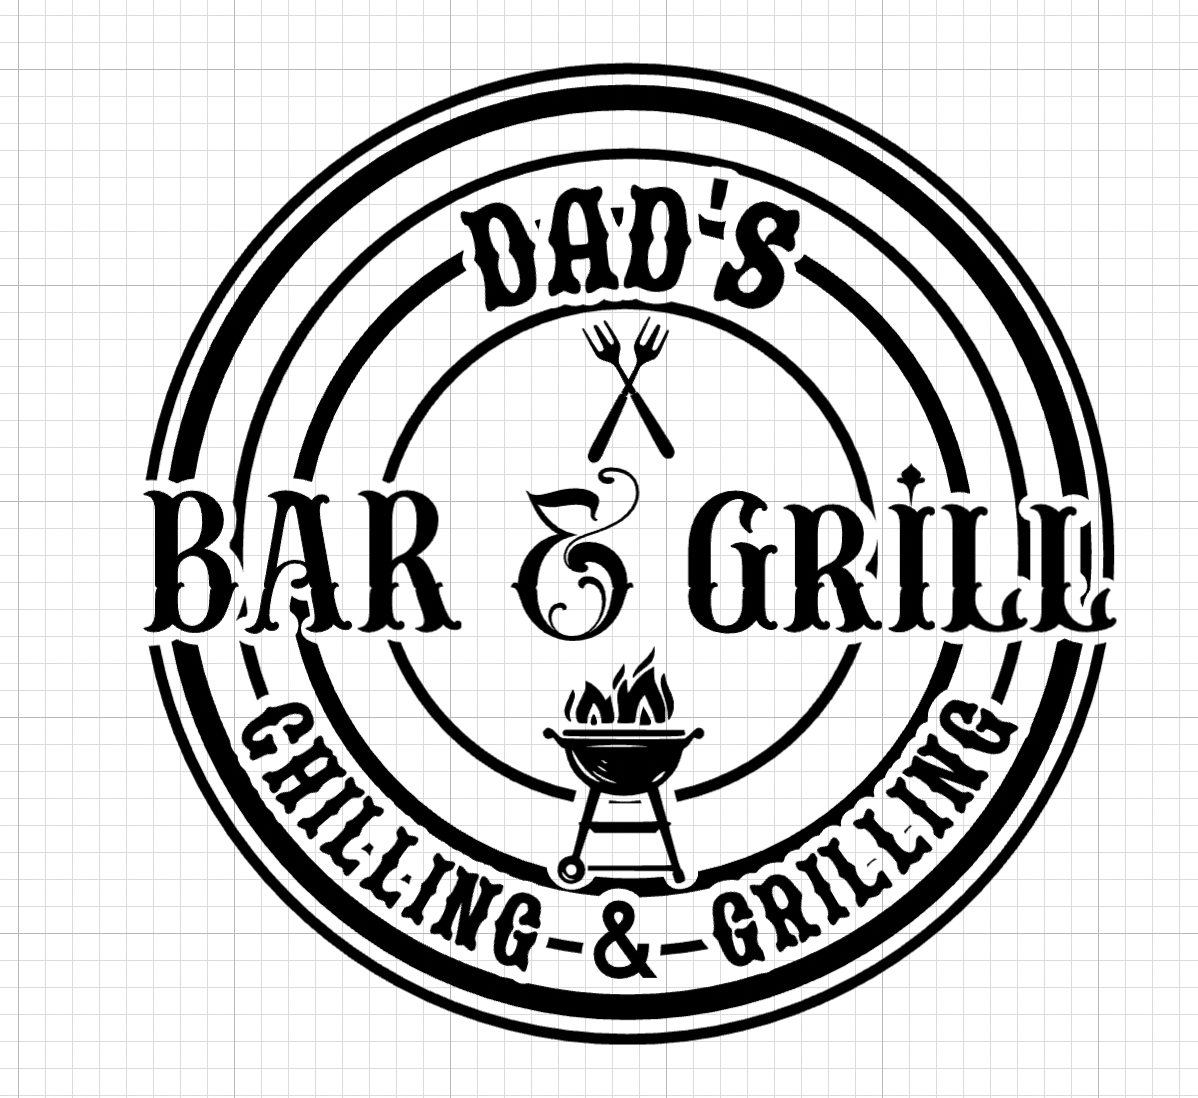
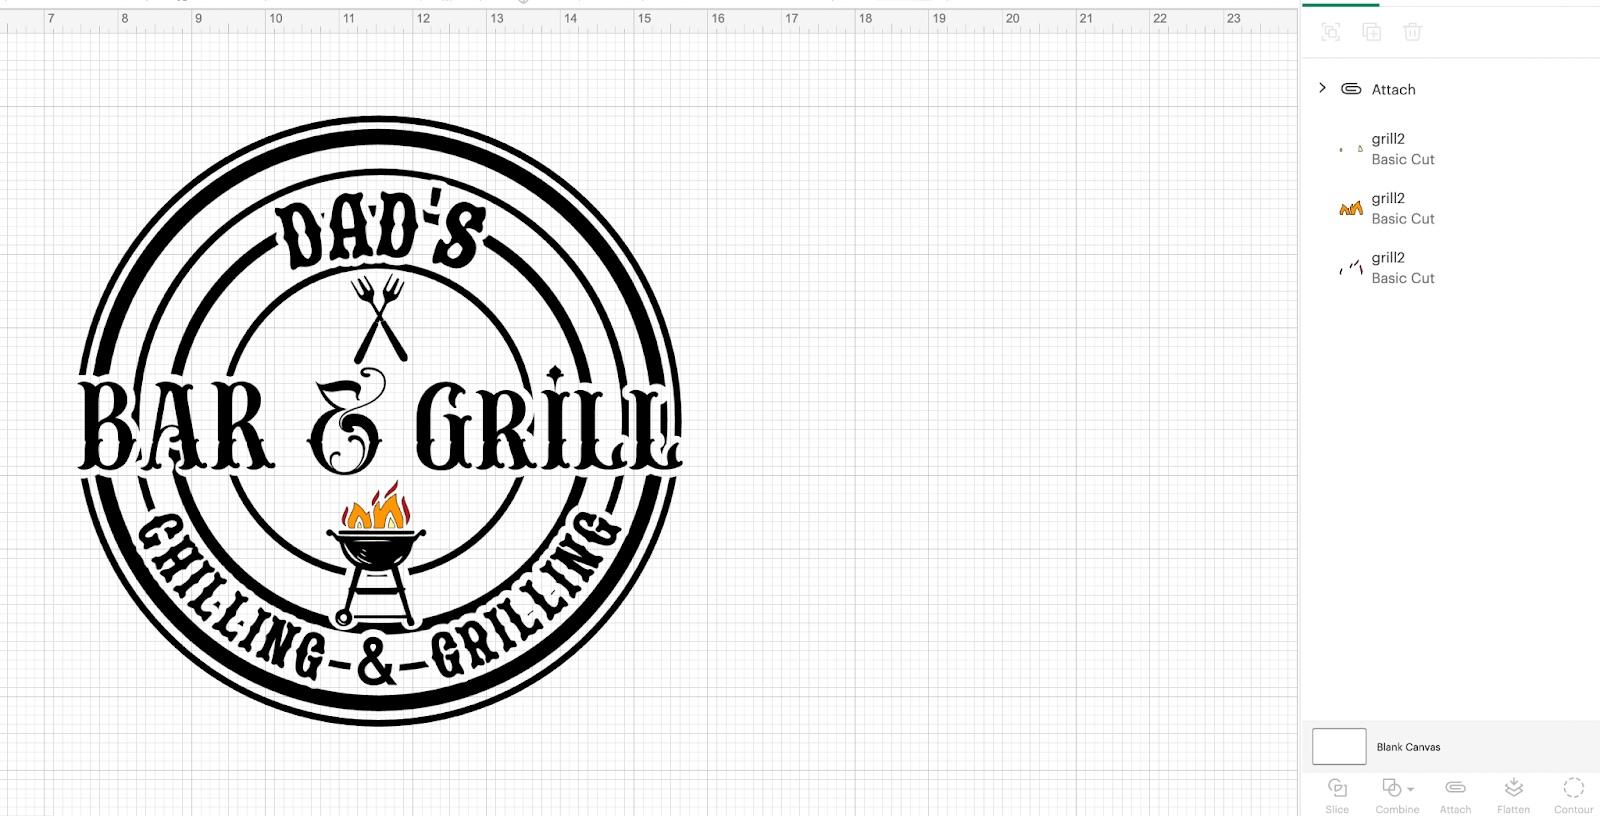
20: We are going to change the color of the flames to yellow, orange and red:
21: We are going to select all the elements that are going to be in the same color and attach them together, in our case all the elements except the flames:
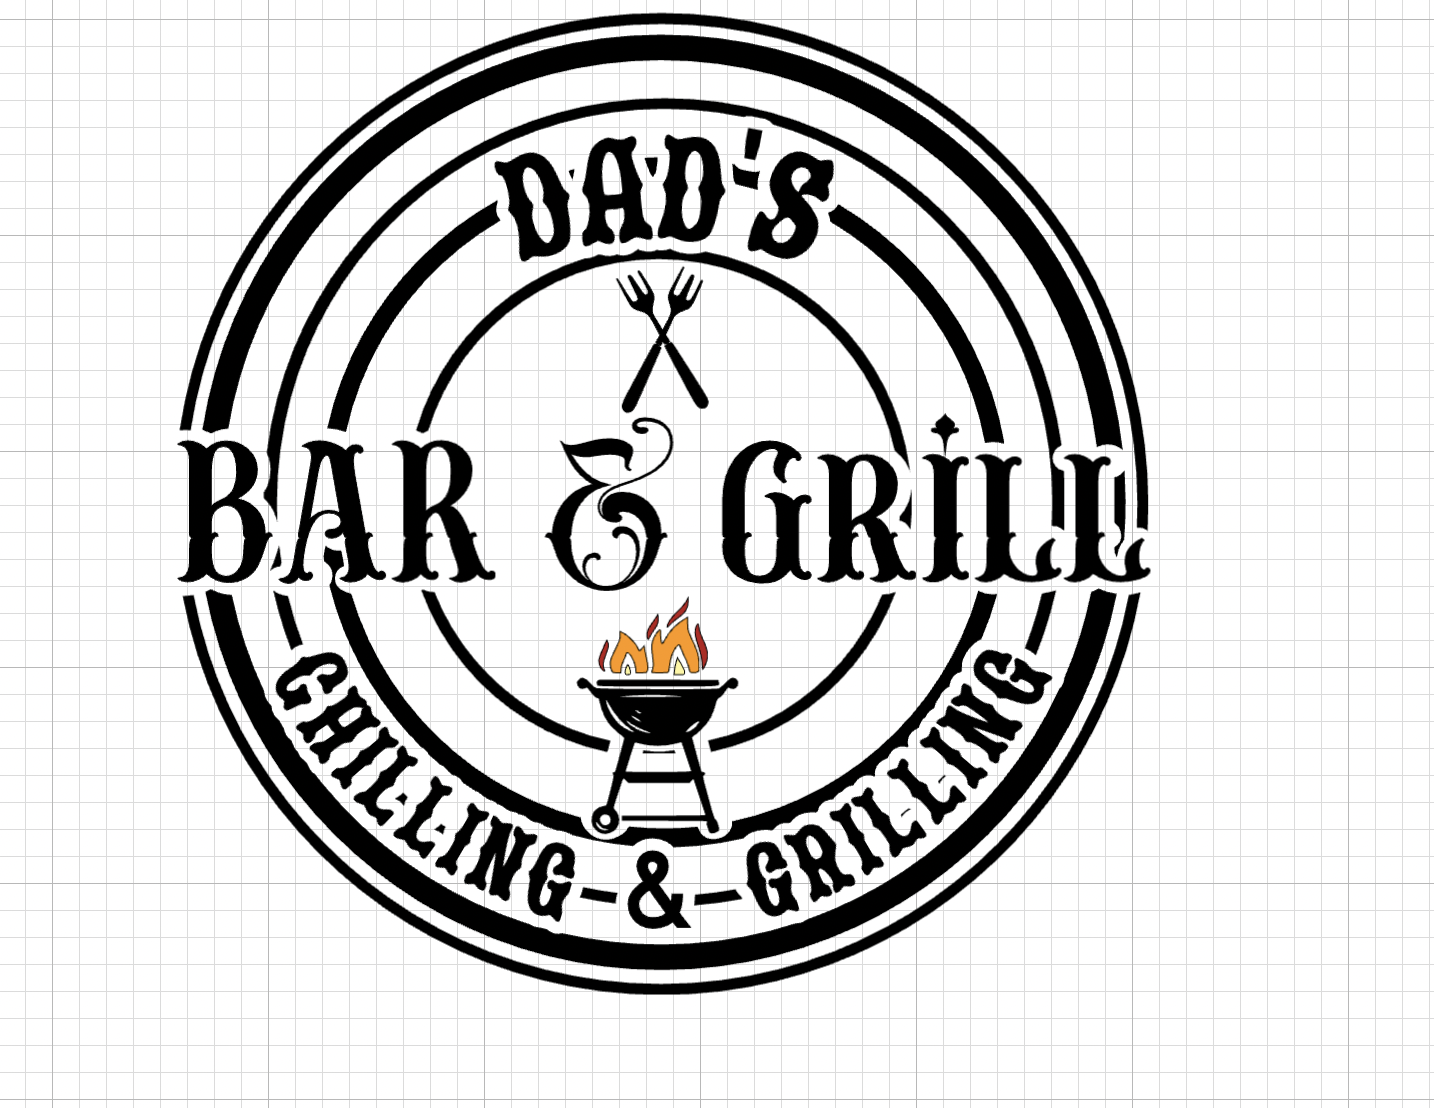
22:Lastly, we are going to measure the place in where we are going to transfer the design into our apron, so we can resize it accordingly, in our case is going to be 9”
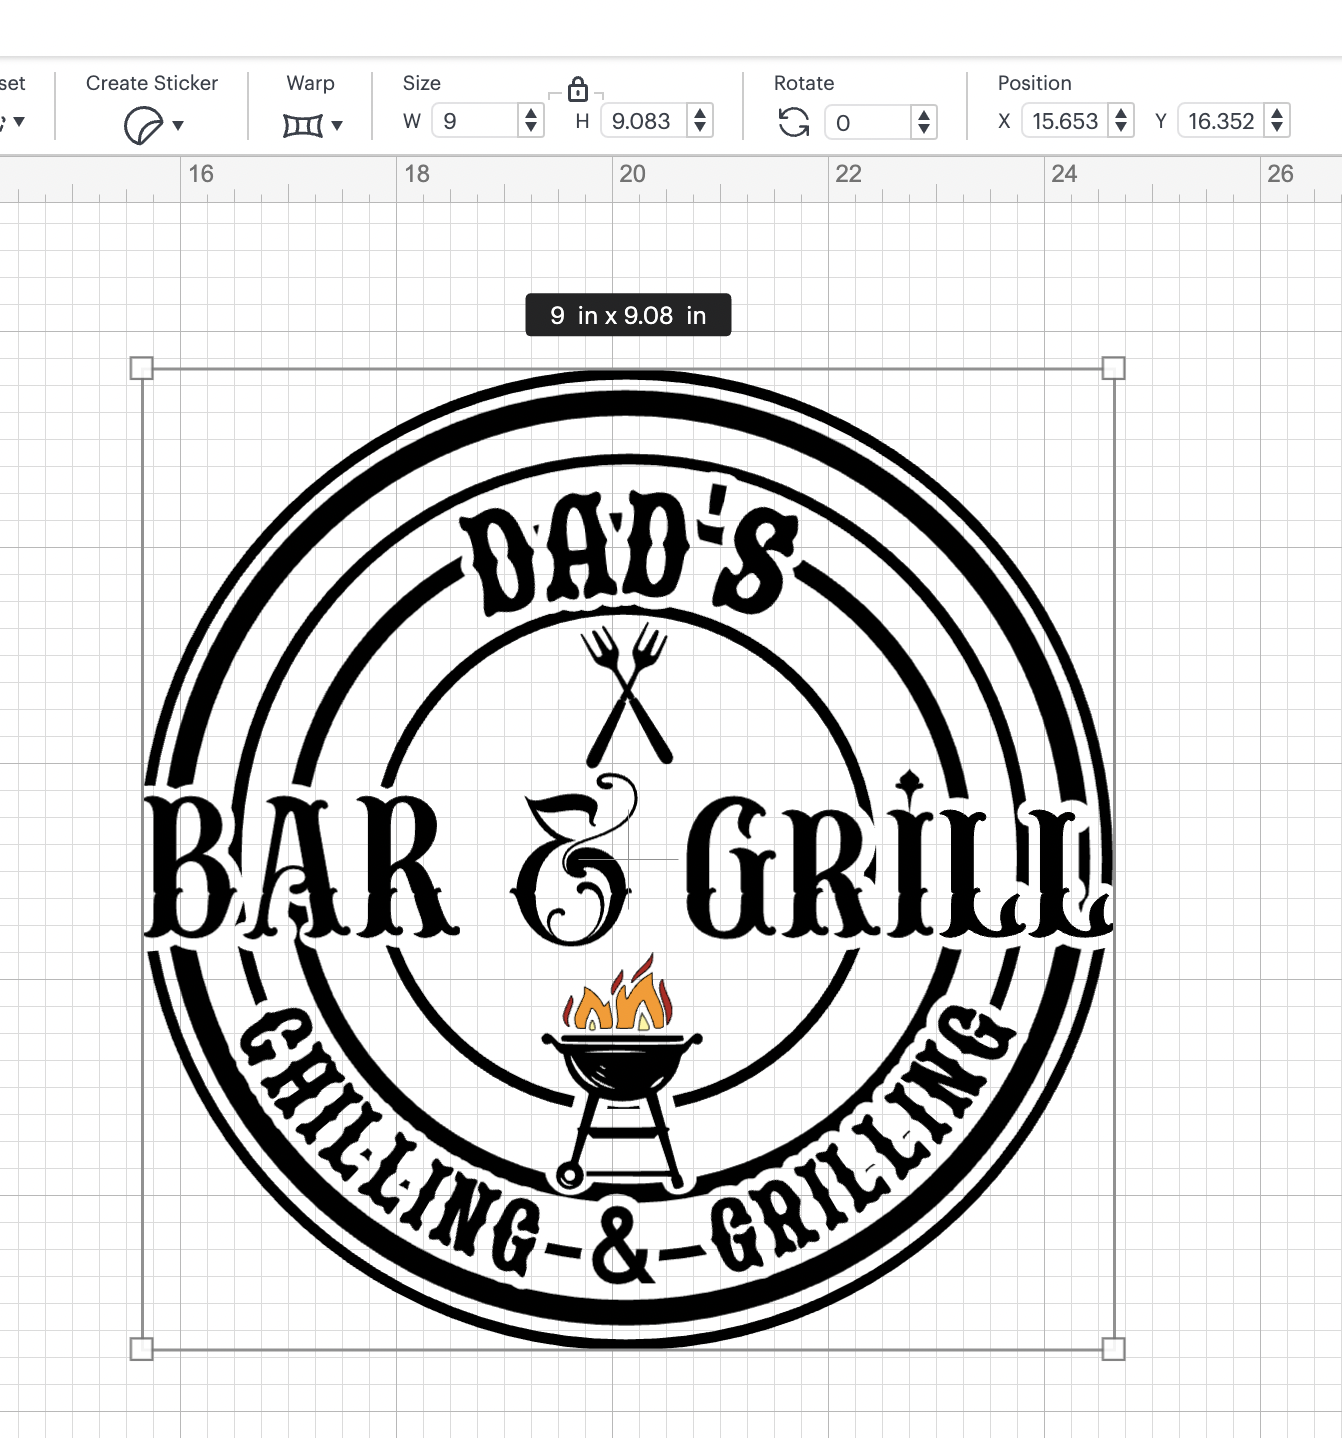
23: Our Design is DONE! We can proceed to cut our design!
In this tutorial, you are going to learn/practice the following skills:
- Add Images
- Resize Elements
- Duplicate Elements
- Rotate Elements
- Weld Elements
- Align Elements
- Attach elements
- Install and use fonts
- Add and resize text
- Use Heat Transfer Vinyl
- Flip and Curve Elements