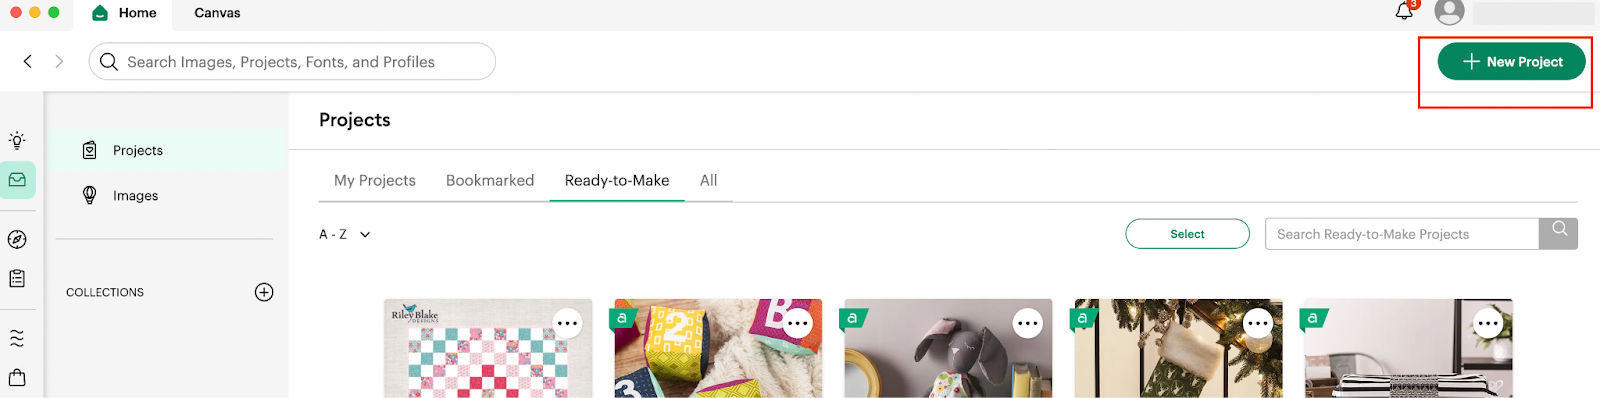
1: In order to be able to start our Design, we are going to access our Design
Space application and in there we are going to click on the + New Project Green button located on the top Right corner of our screen.
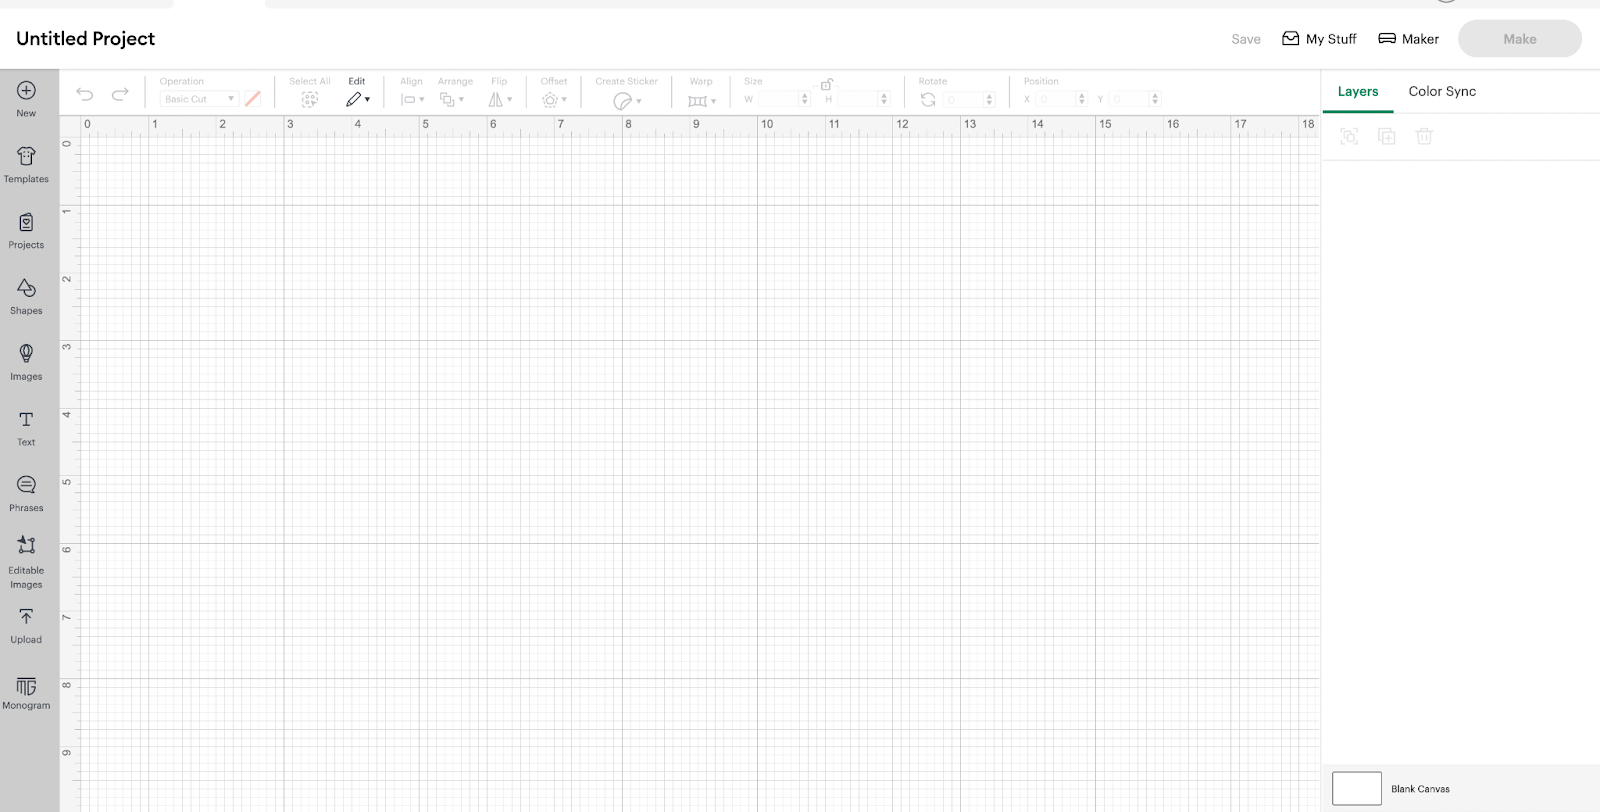
2: After we clicked in there, we are going to be able to access our Blank Canvas, in where we are going to start creating our Design:
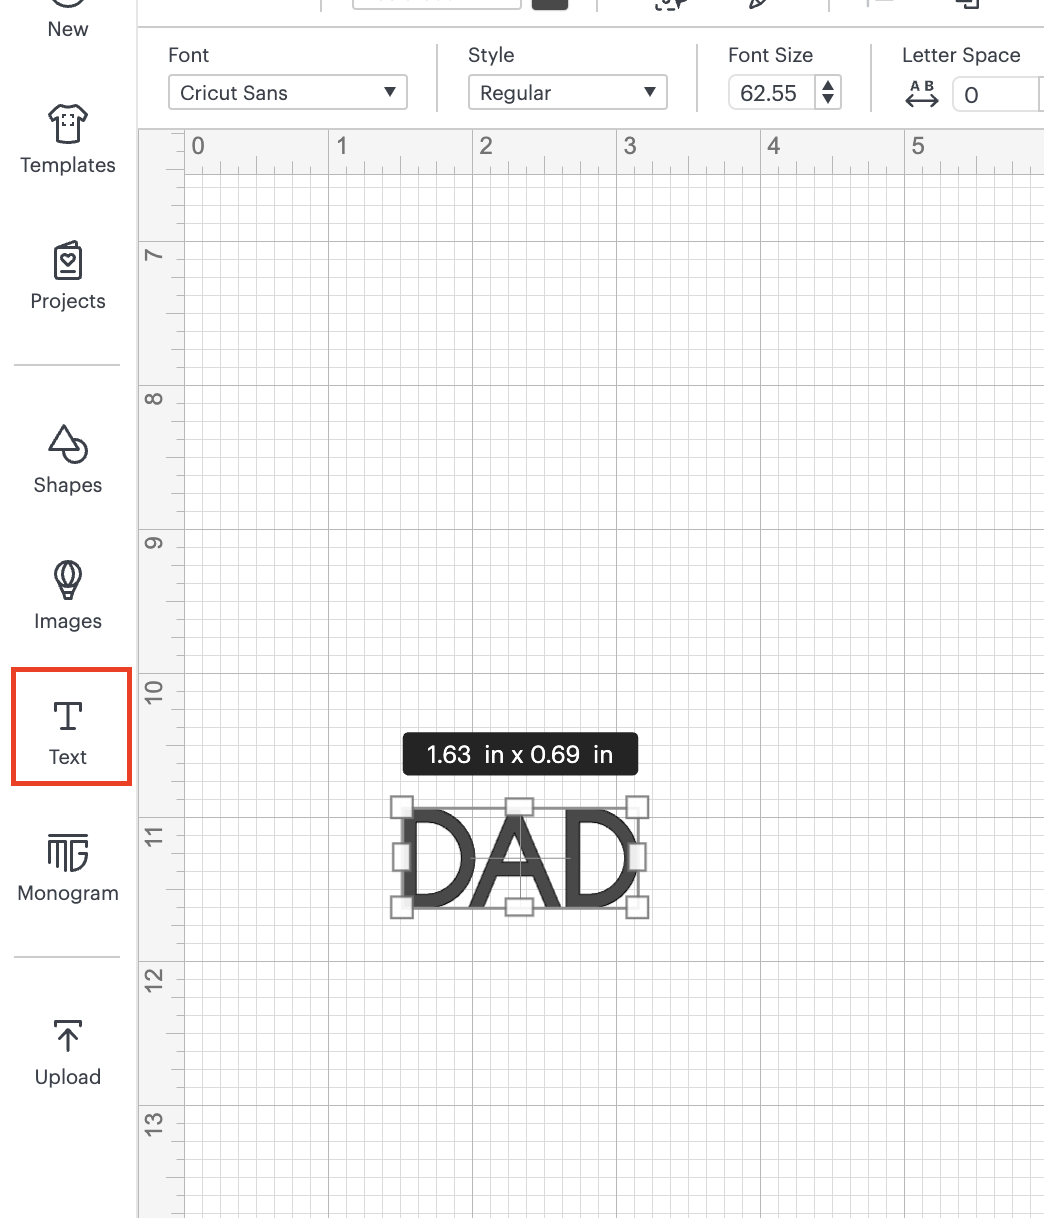
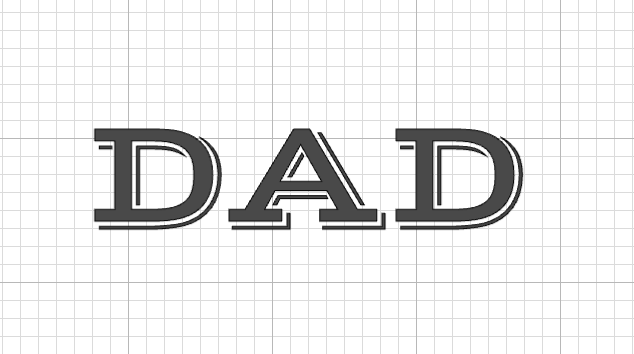
3: We are going to start by adding the word DAD by using the Text functionality:
4: We are going to change the font for Vast Shadow font that we previously installed, so we are going to click over the Font drop down:
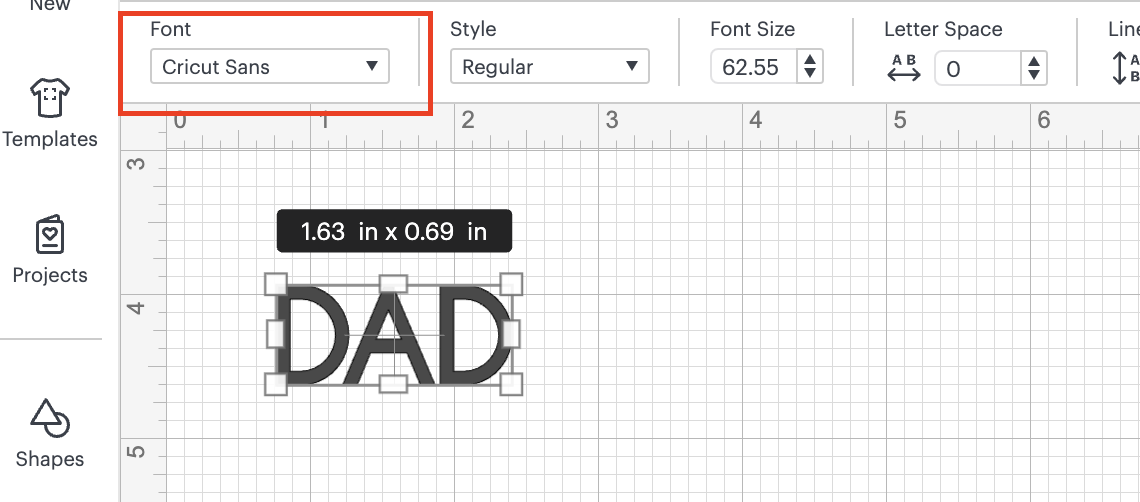
And then we are going to select System and in there we are going to search for VAST and then we are going to click over the font:

After you changed the font, you should be able to see the following:
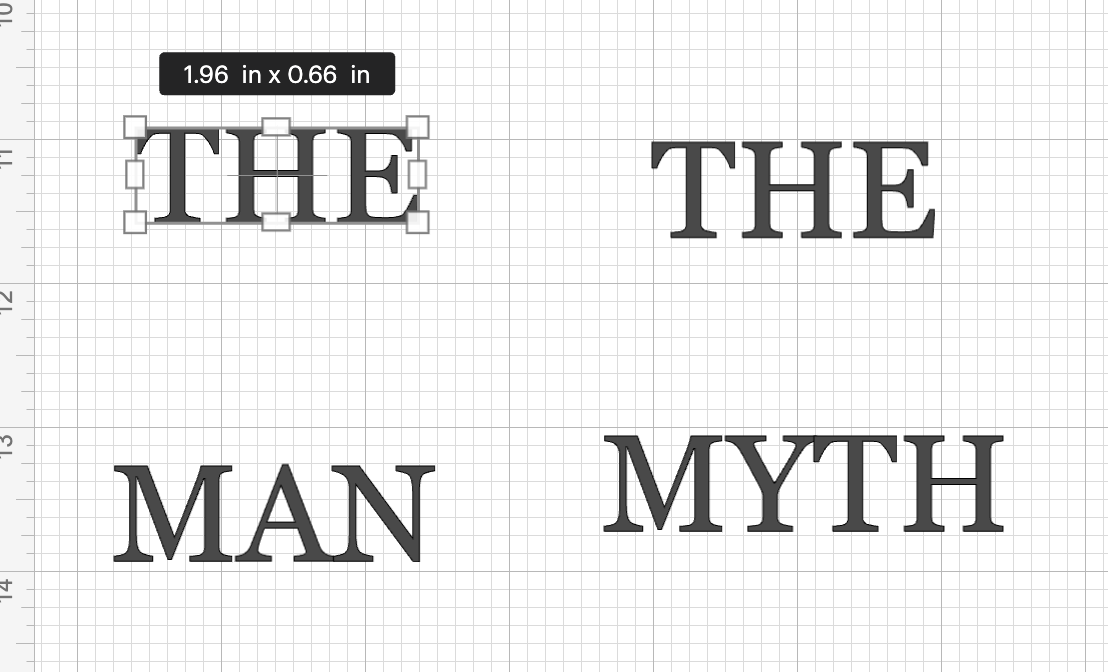
5: We are now, going to use the text functionality one more time to write in 4 different sections the following words:
- THE x 2
- MAN
- LEGEND
And we are going to change the font as we did previously, but this time we are going to use the font: Georgia
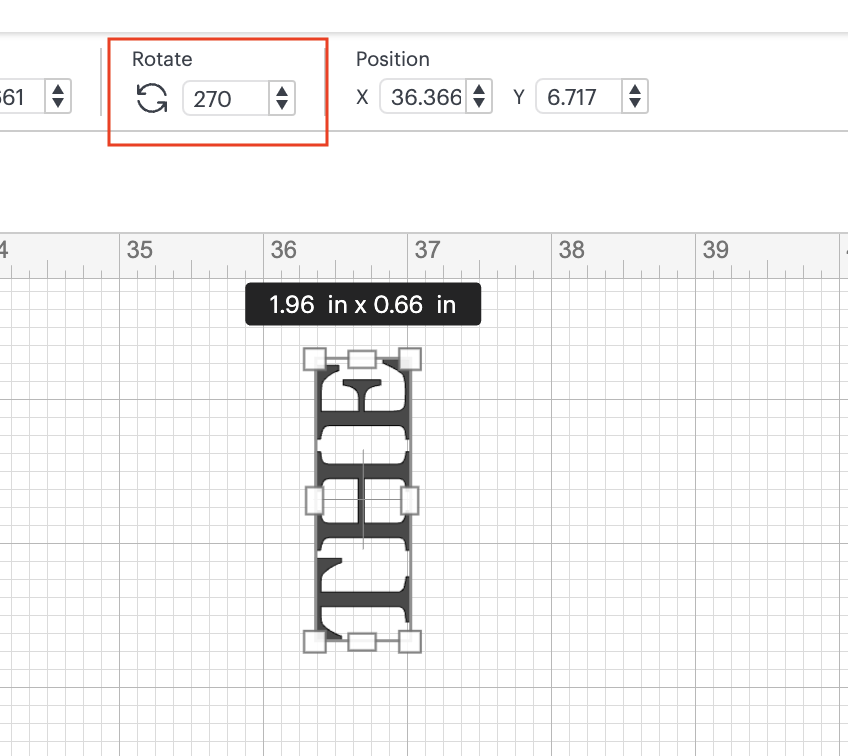
6: Using the rotate functionality, we are going to rotate the both THE, in order to do this, we are going to select one of the THE and we are going to add 270 and click enter, so now we are going to have the following:
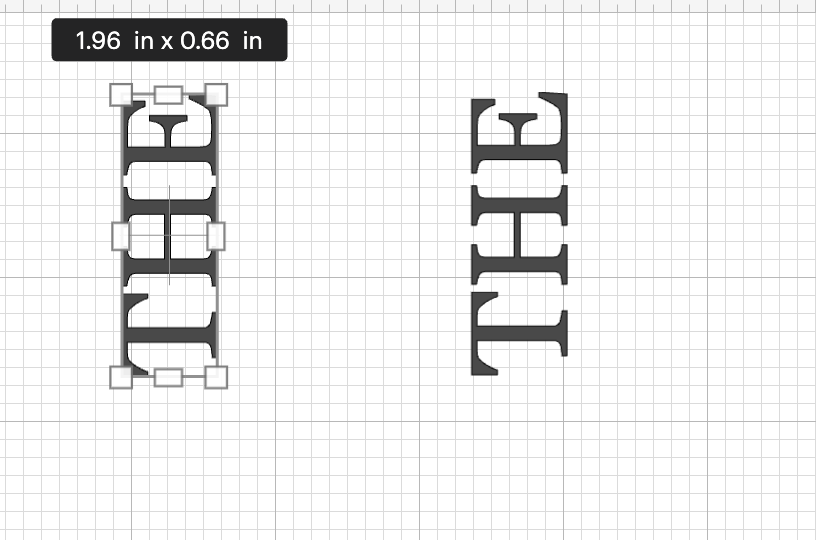
We are going to do the same with the other word THE:
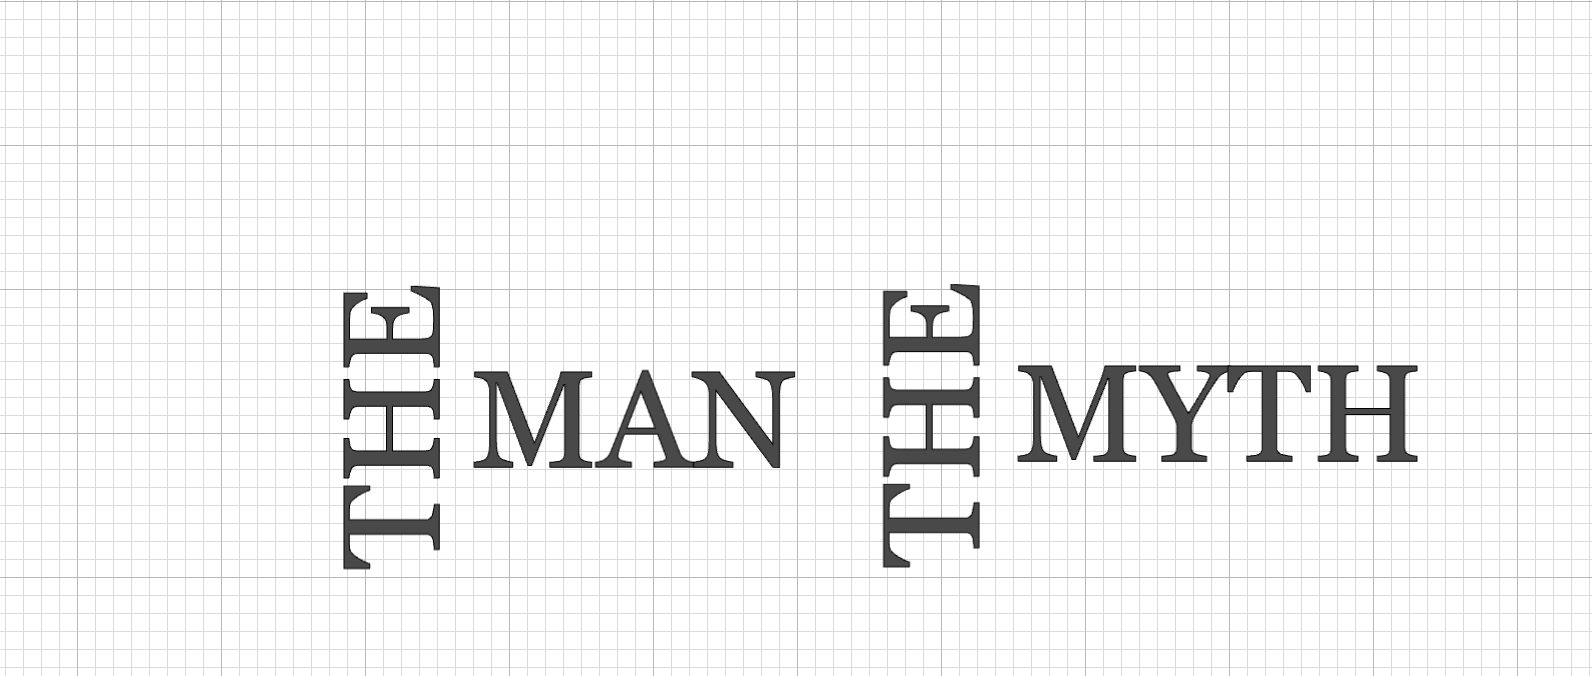
7: Now we are going to place each one of the THE words in front of the words: MAN and MYTH, something like:
8: Using the font size, we are going to resize the words MAN and MYTH in order for them to be in similar high as the words THE, something like:
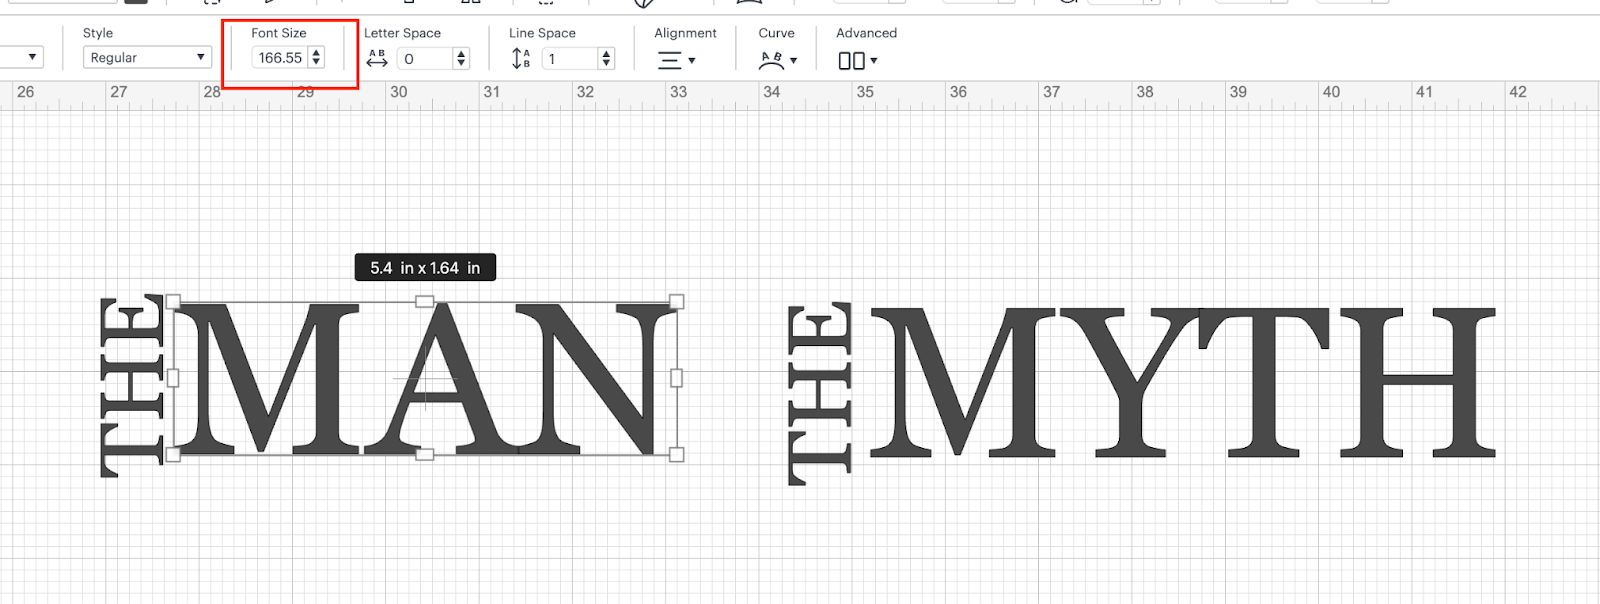
💡Tip: This are not the final measurements, there are only to start creating our design.
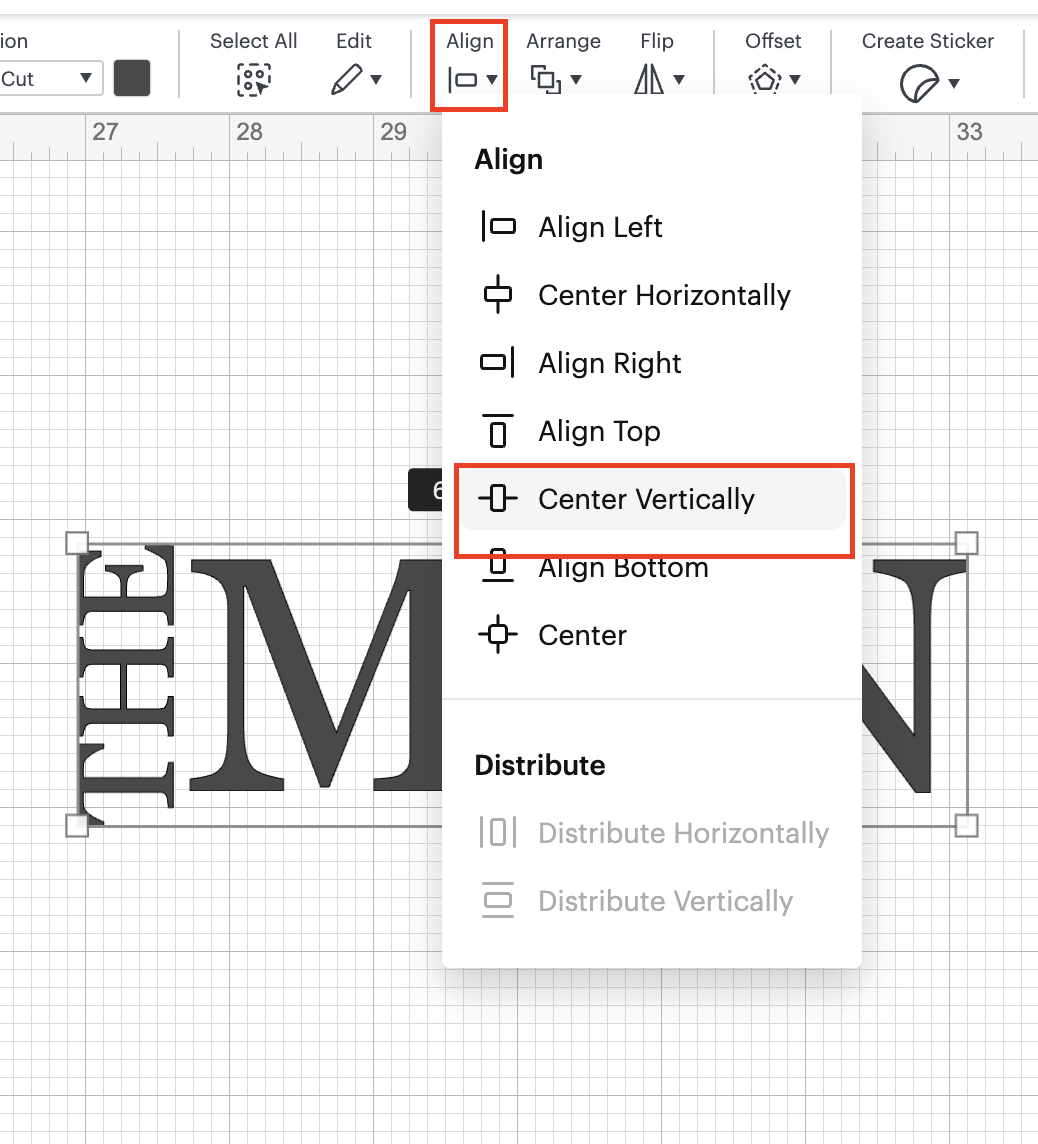
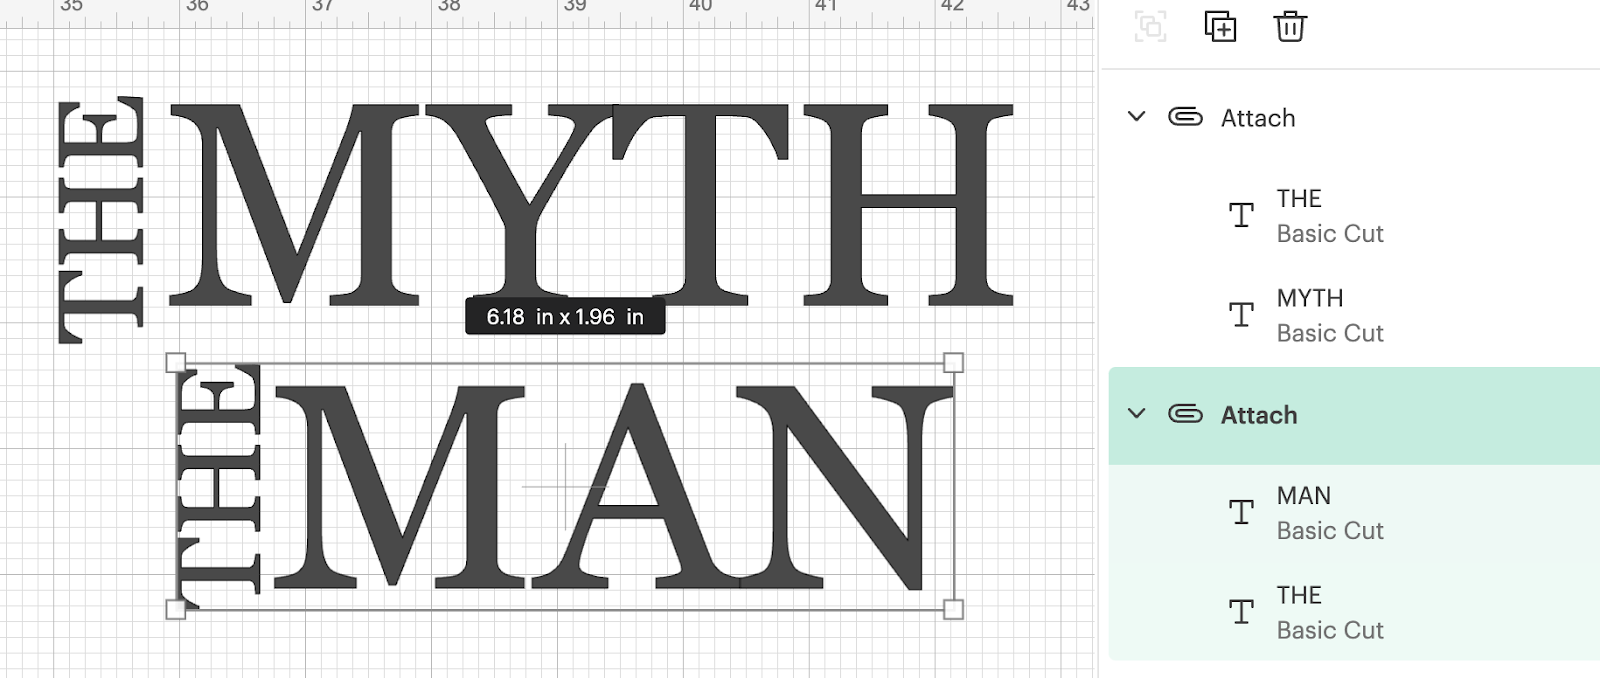
9: Now, using the Align functionality, we are going to align them Vertically:
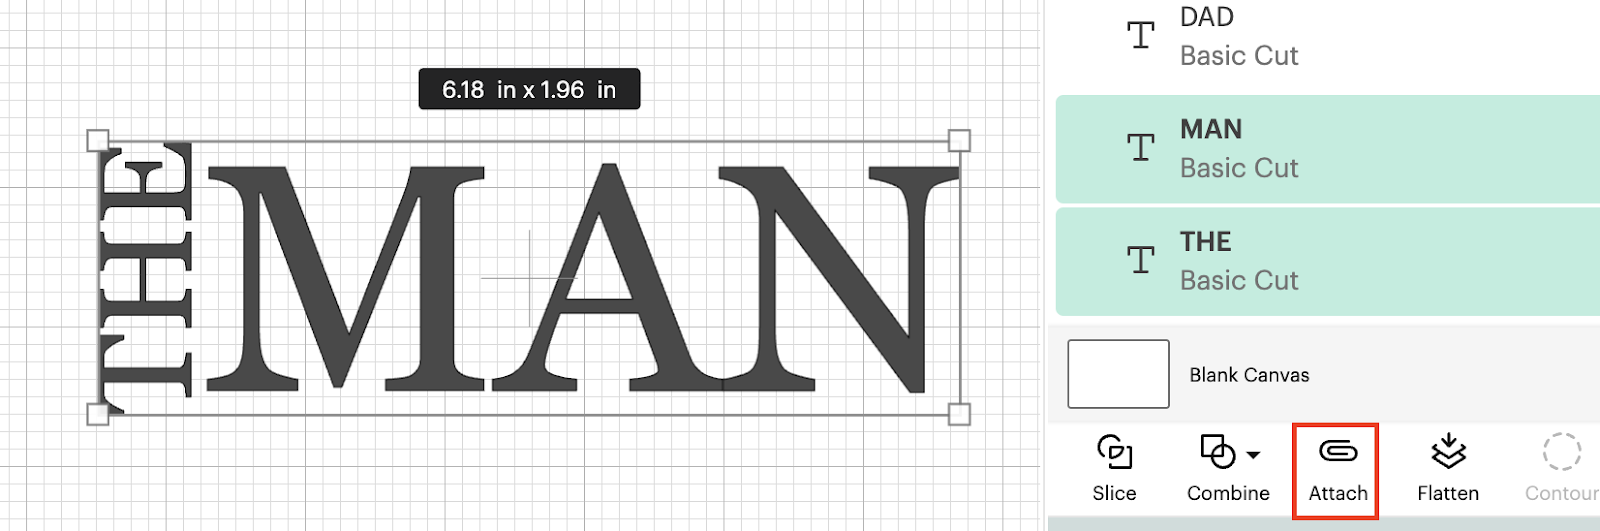
10: Now, since our two words are aligned, we are going to attach them together so it’s easy to resize them and move them around our canvas and also to make it easier to place them over our T-shirt
11: We are going to proceed and do the same process and steps with the words THE and MYTH:
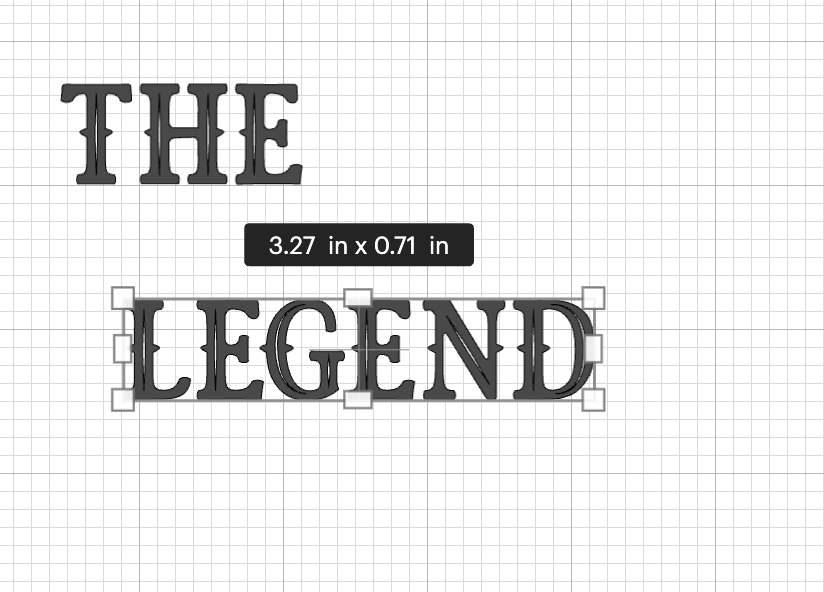
12: Using one more time the Text functionality, we are going to write in 2 sections the following words: THE and LEGEND and we are going to change the font for Royal, after this you should have:
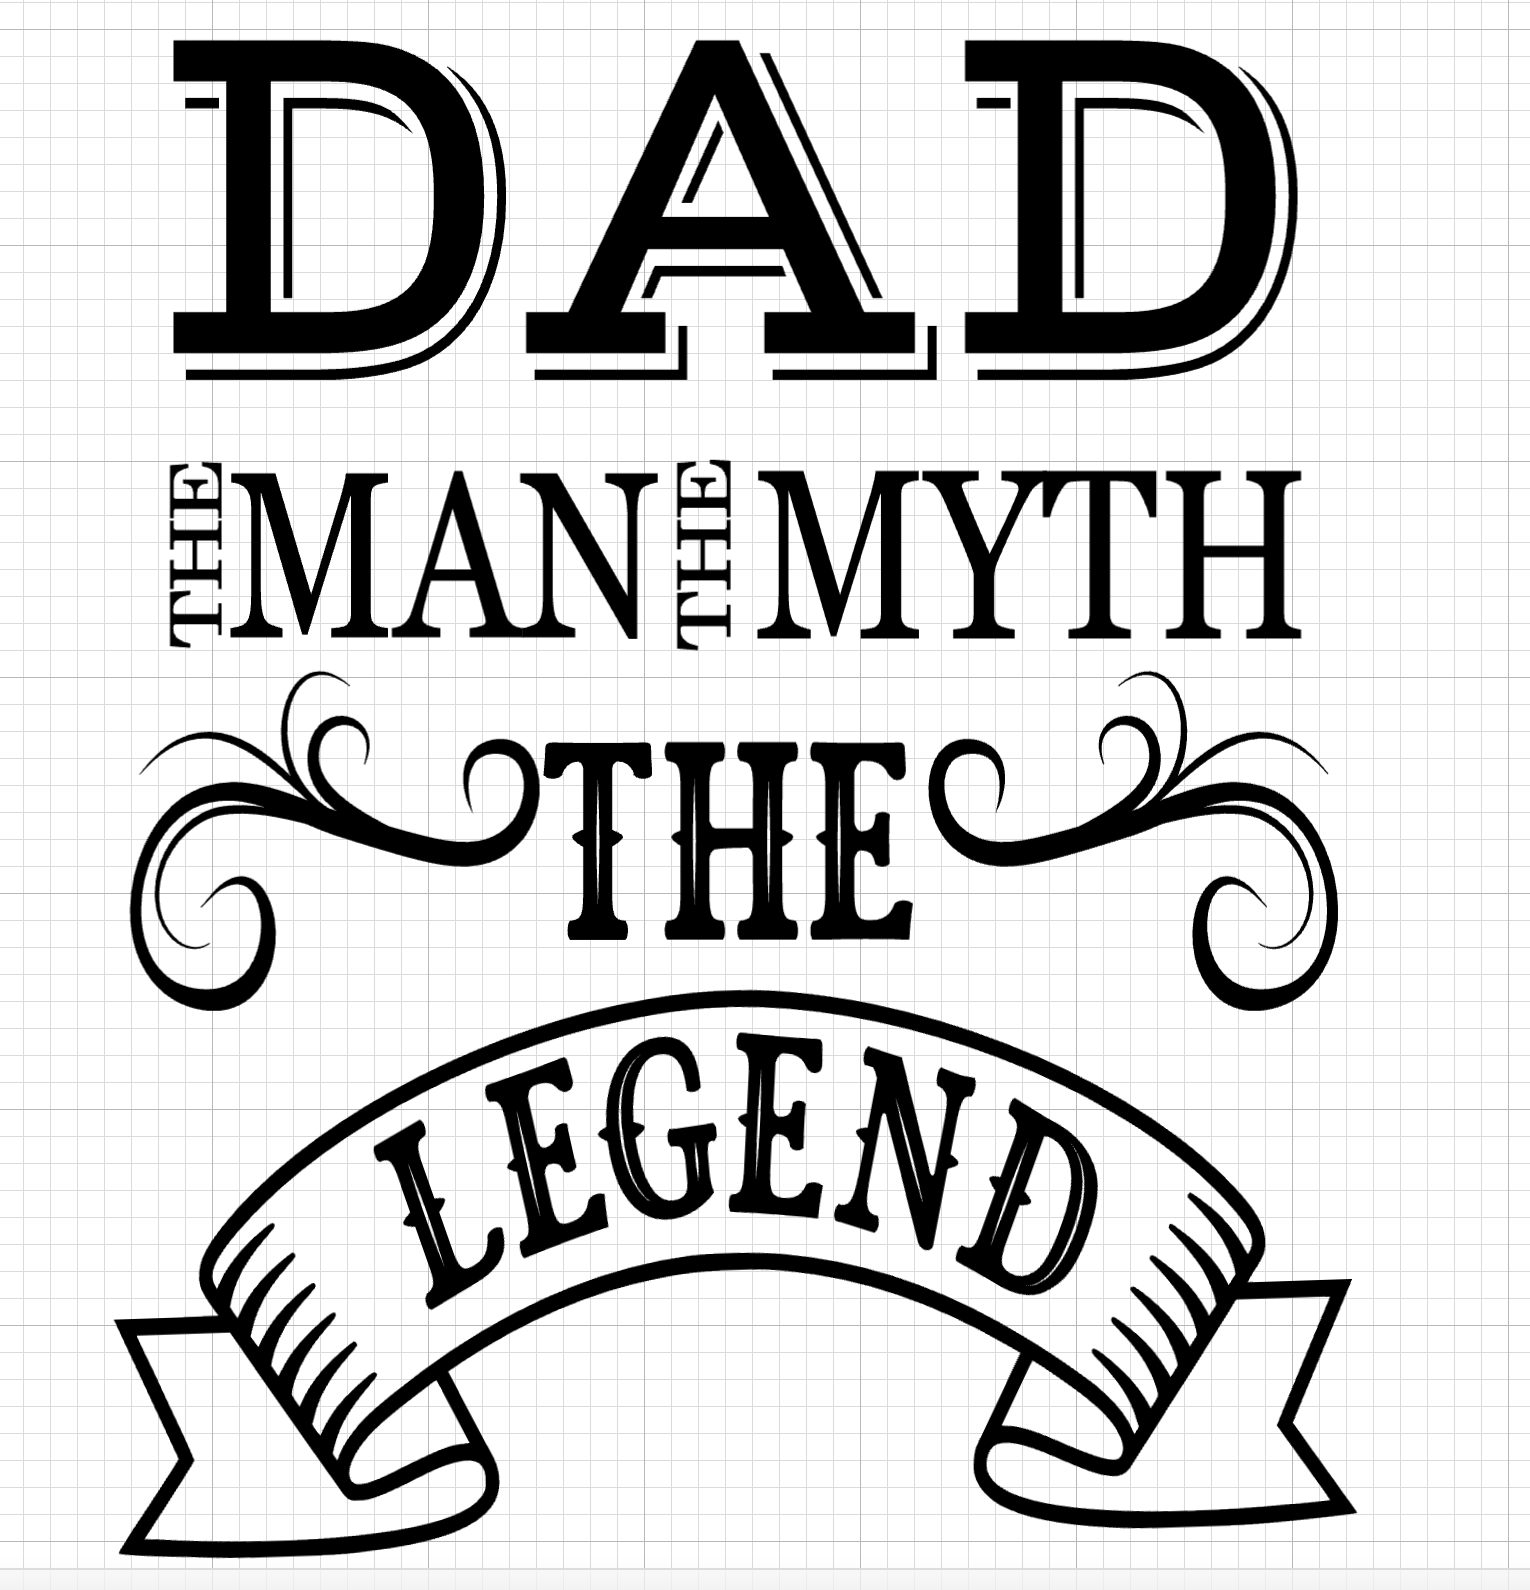
13: At this point you should have the following:
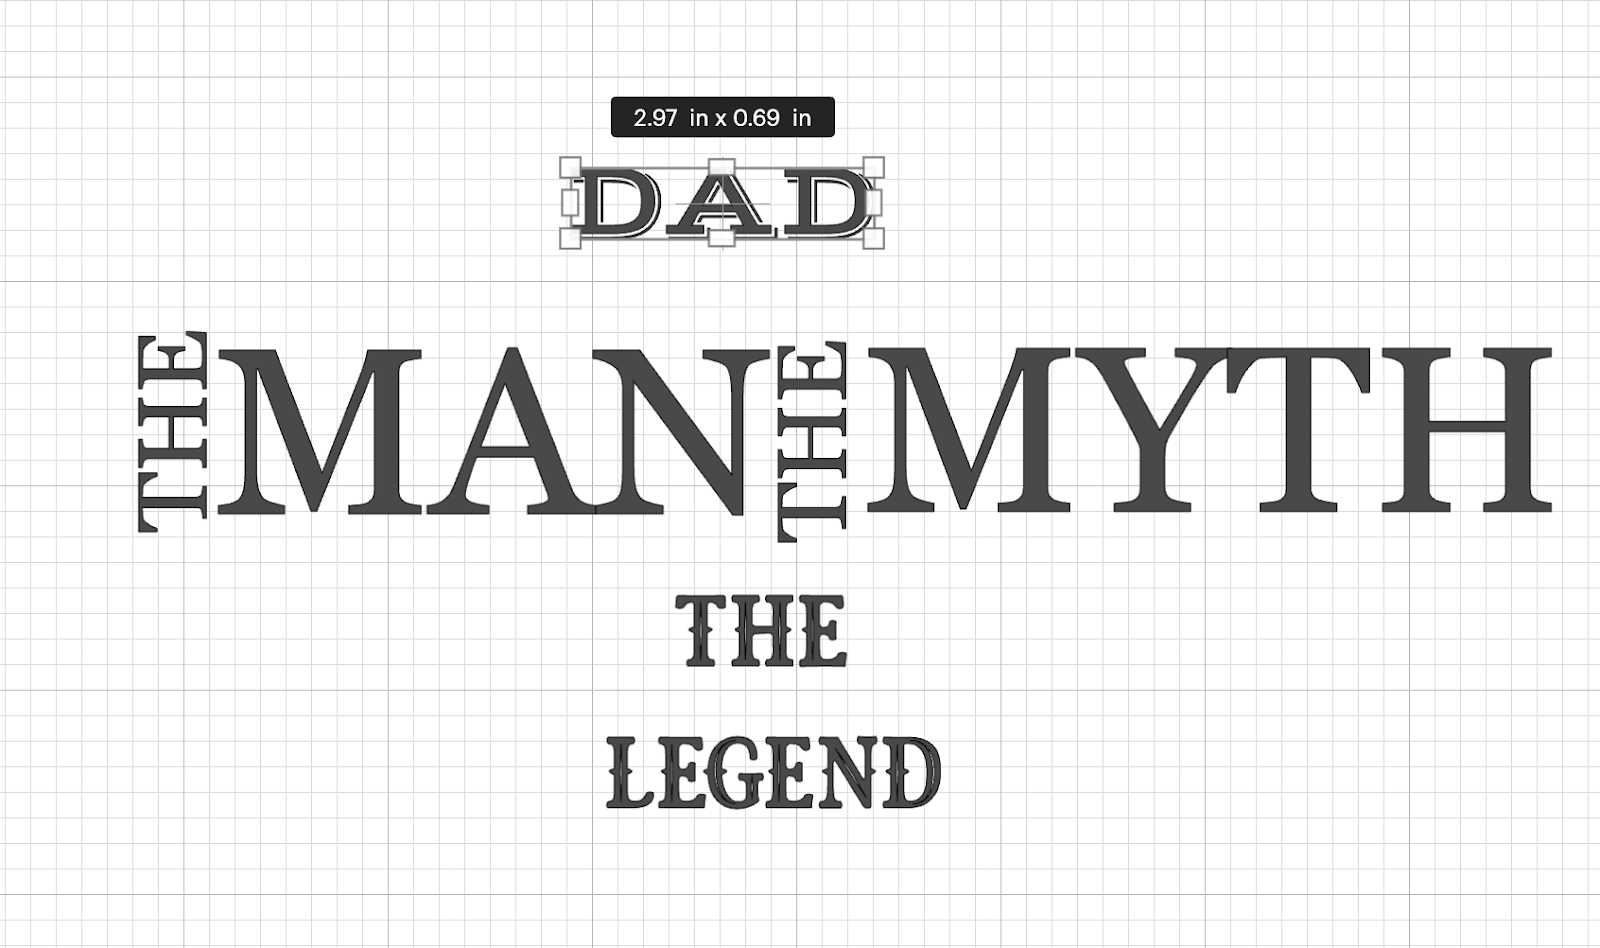
💡Tip: You can apply the same process with any other words / phrase that you want, you need to make sure when using multiple fonts on the same design that you write the ones that you want to have the different font separated or in different sections.
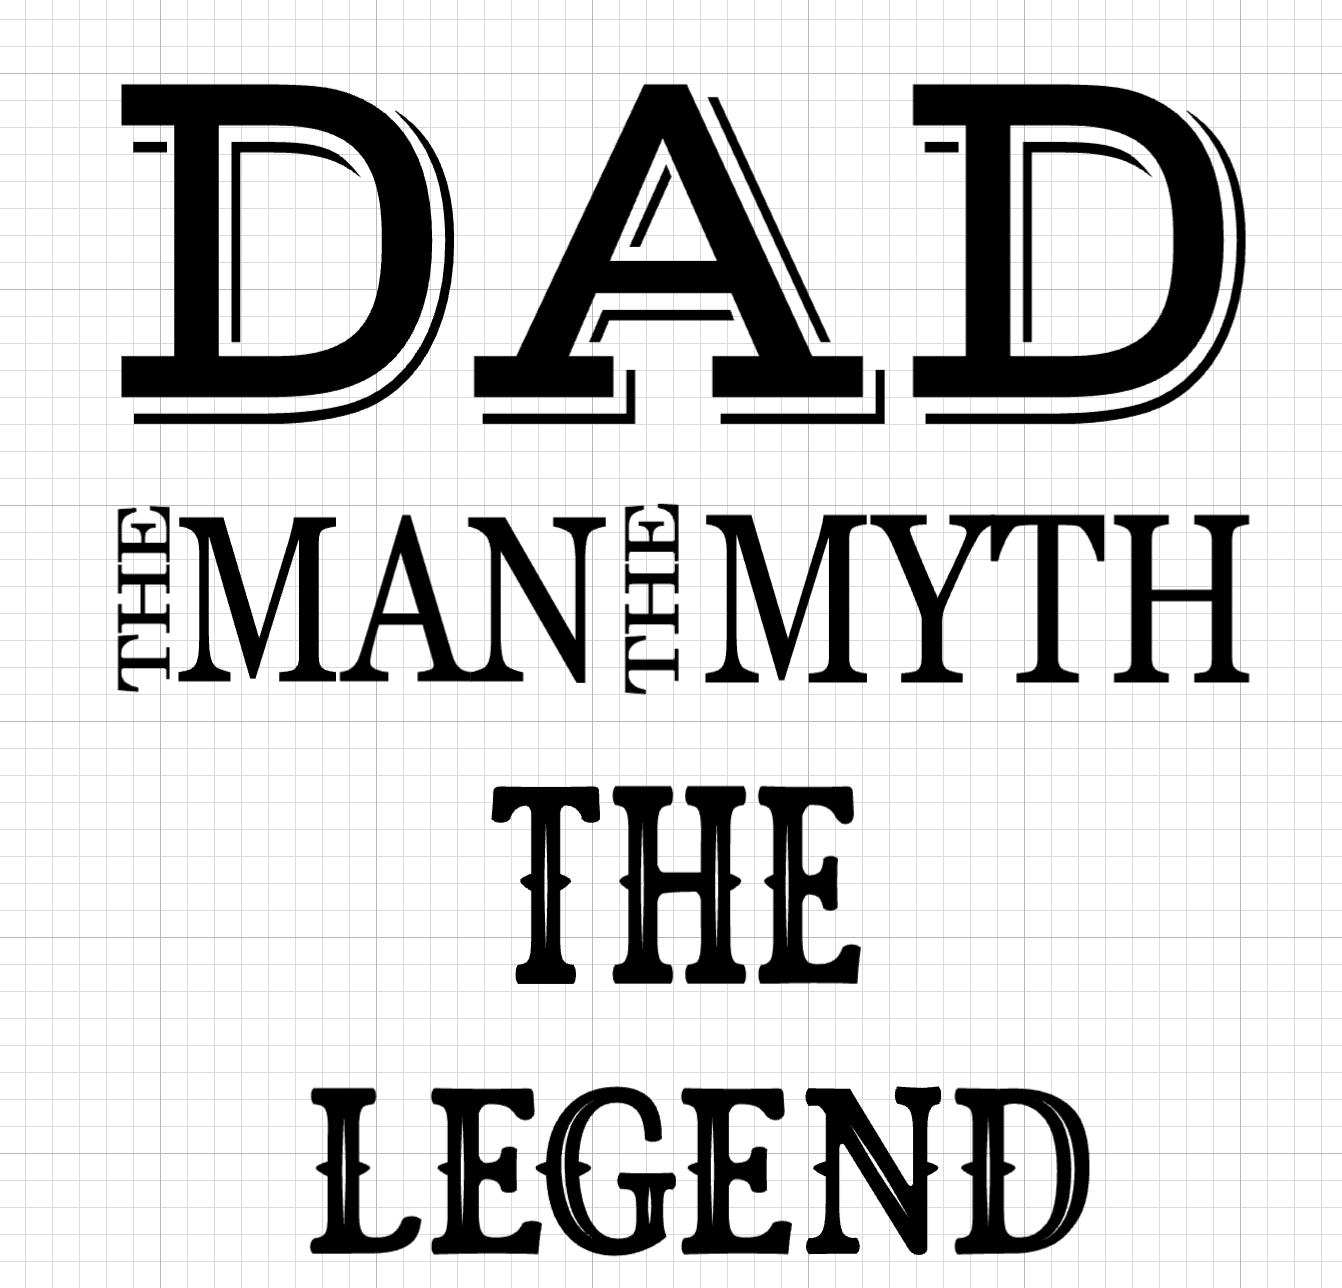
14: We are going to start resizing the different words always using the font size, the main focus is going to be the word DAD until we have something like:
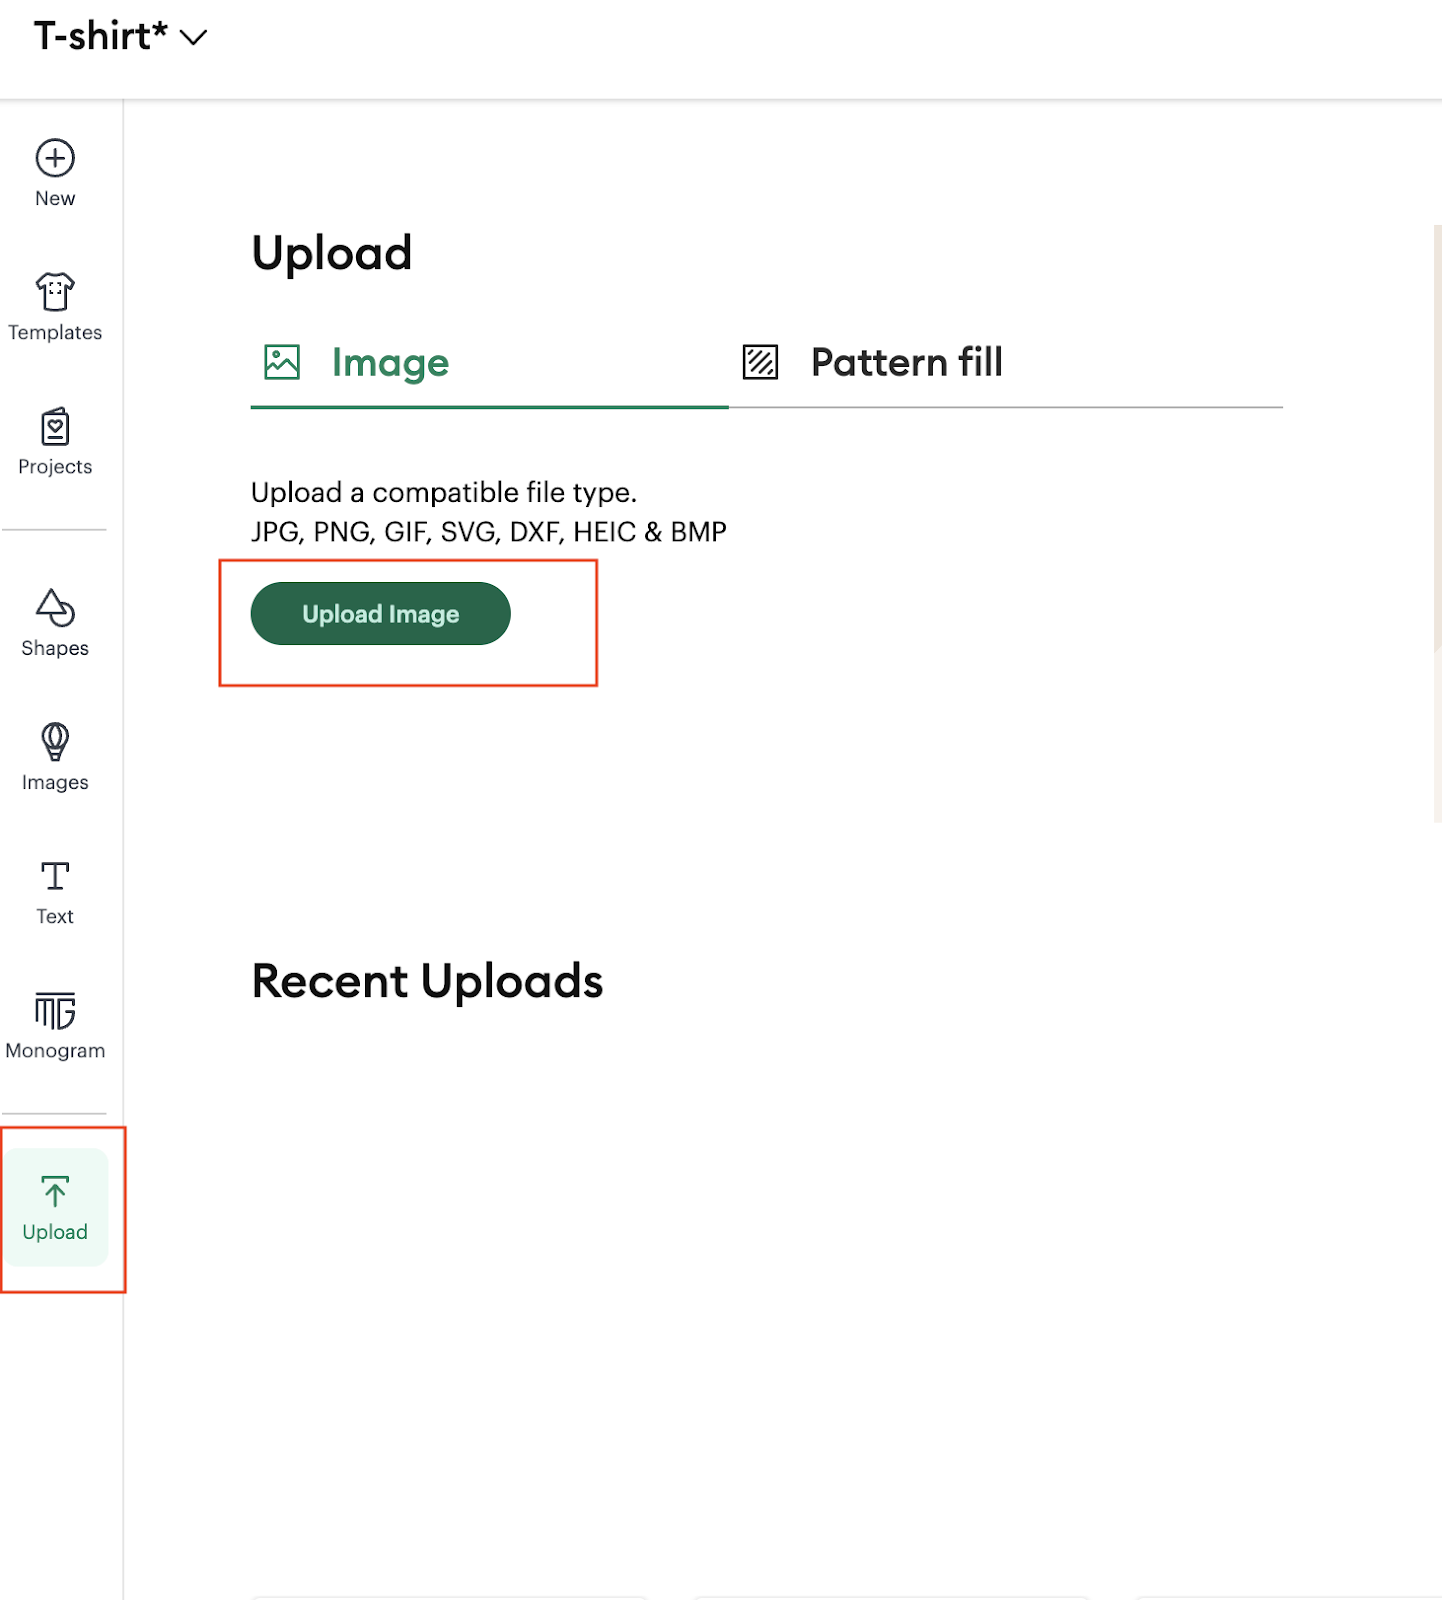
15: Now we are going to add the banner image into our canvas by using the upload functionality, we are going to click on upload image:
We are going to browse for our image and then click on the continue button:
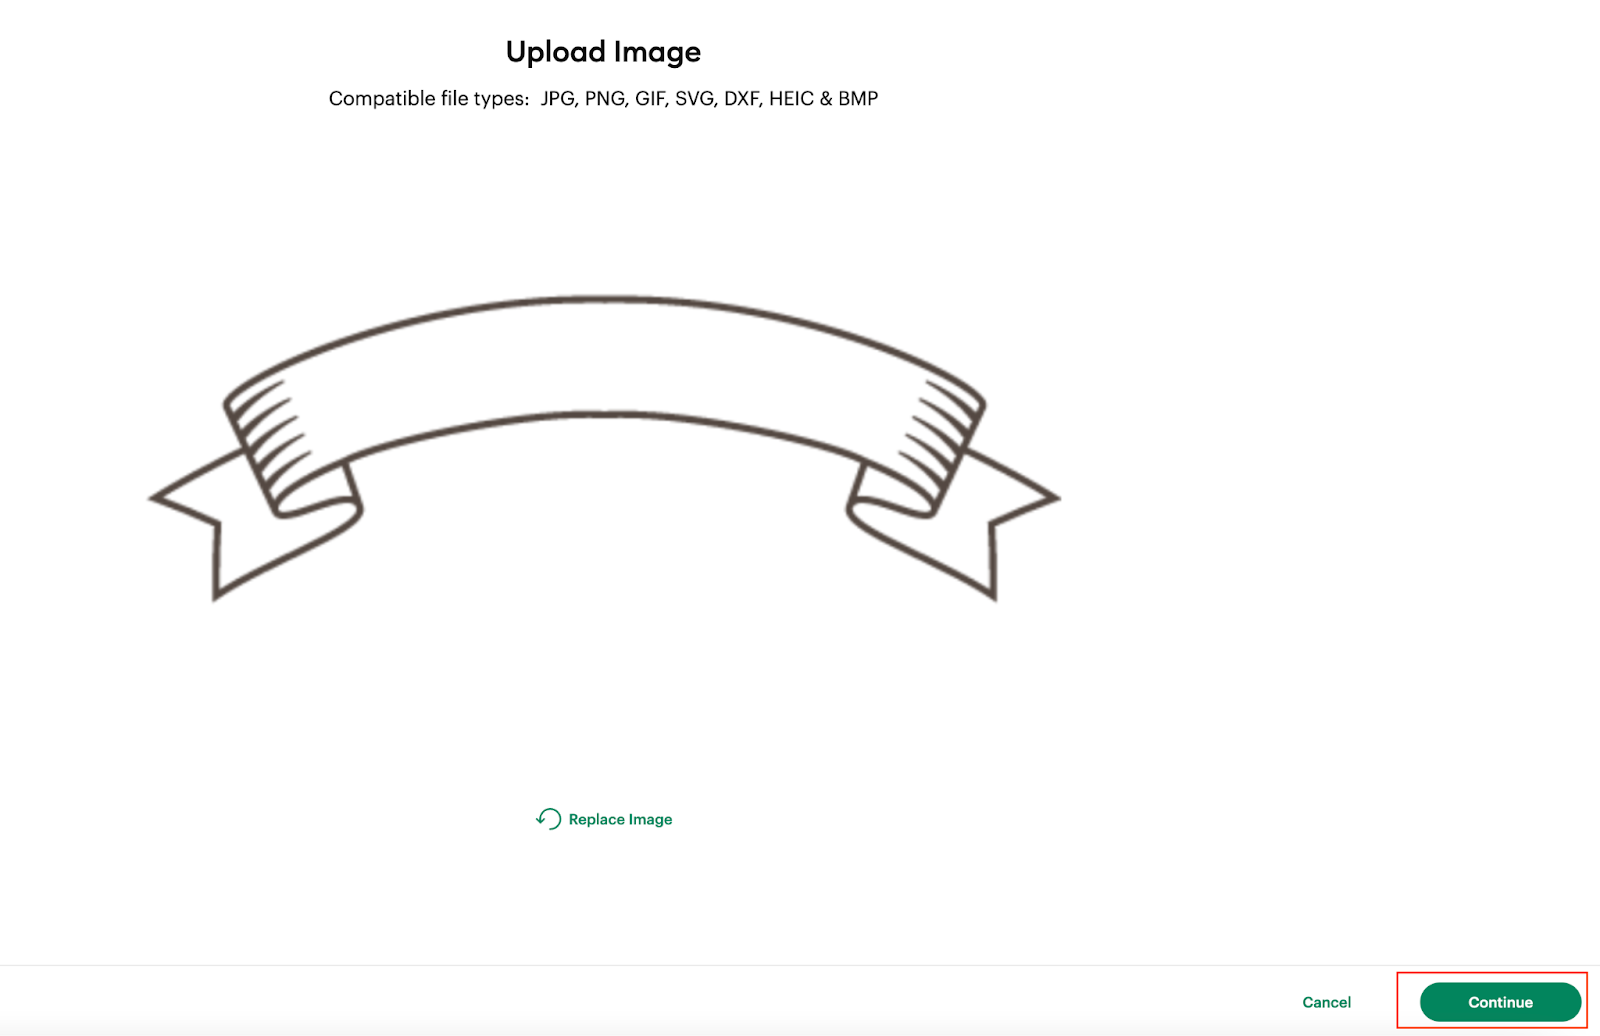
And we are going to click on upload button in order to add the image to our canvas:

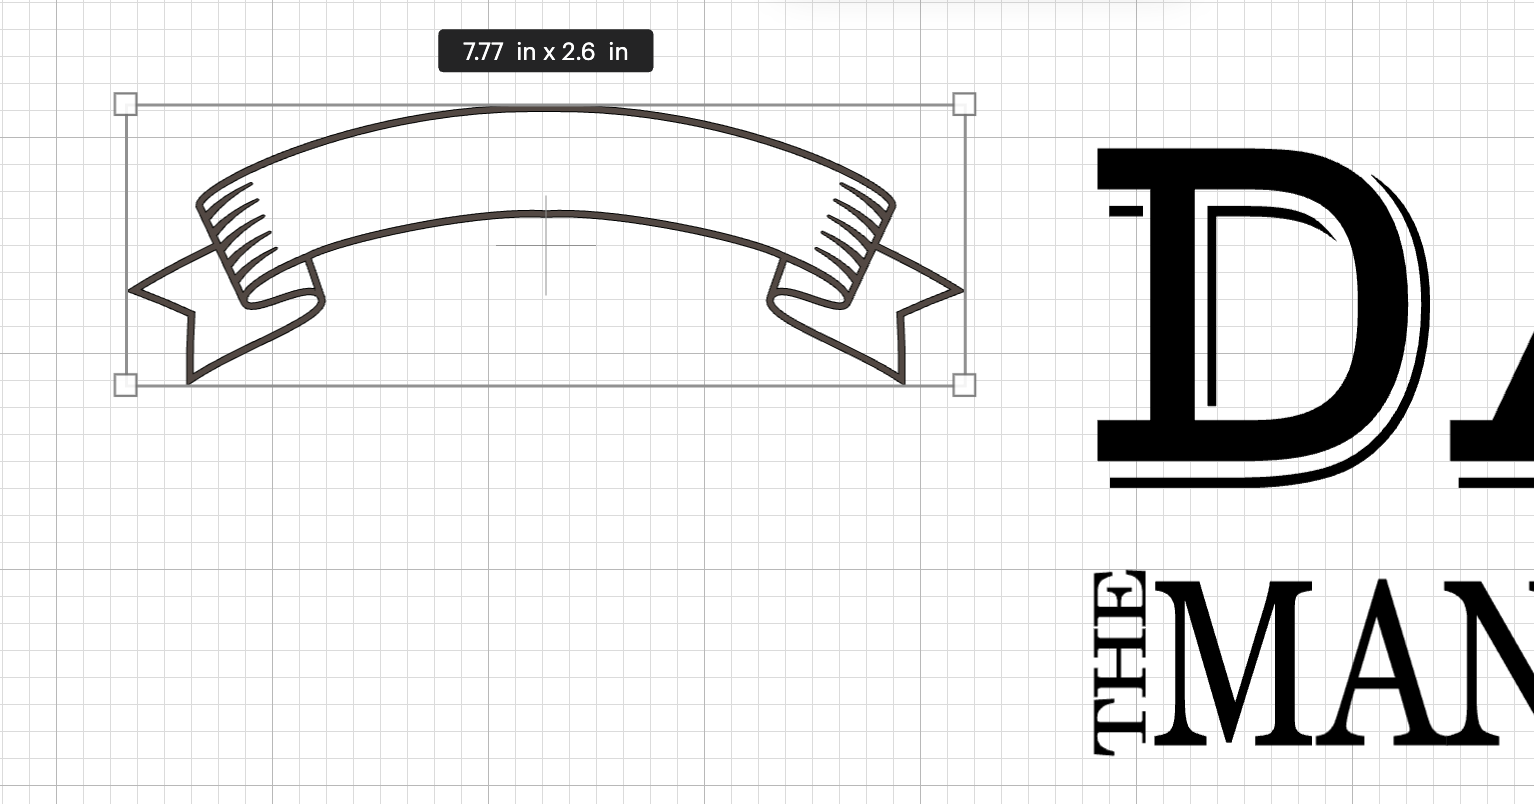
And we can see the image in our canvas after uploading it:
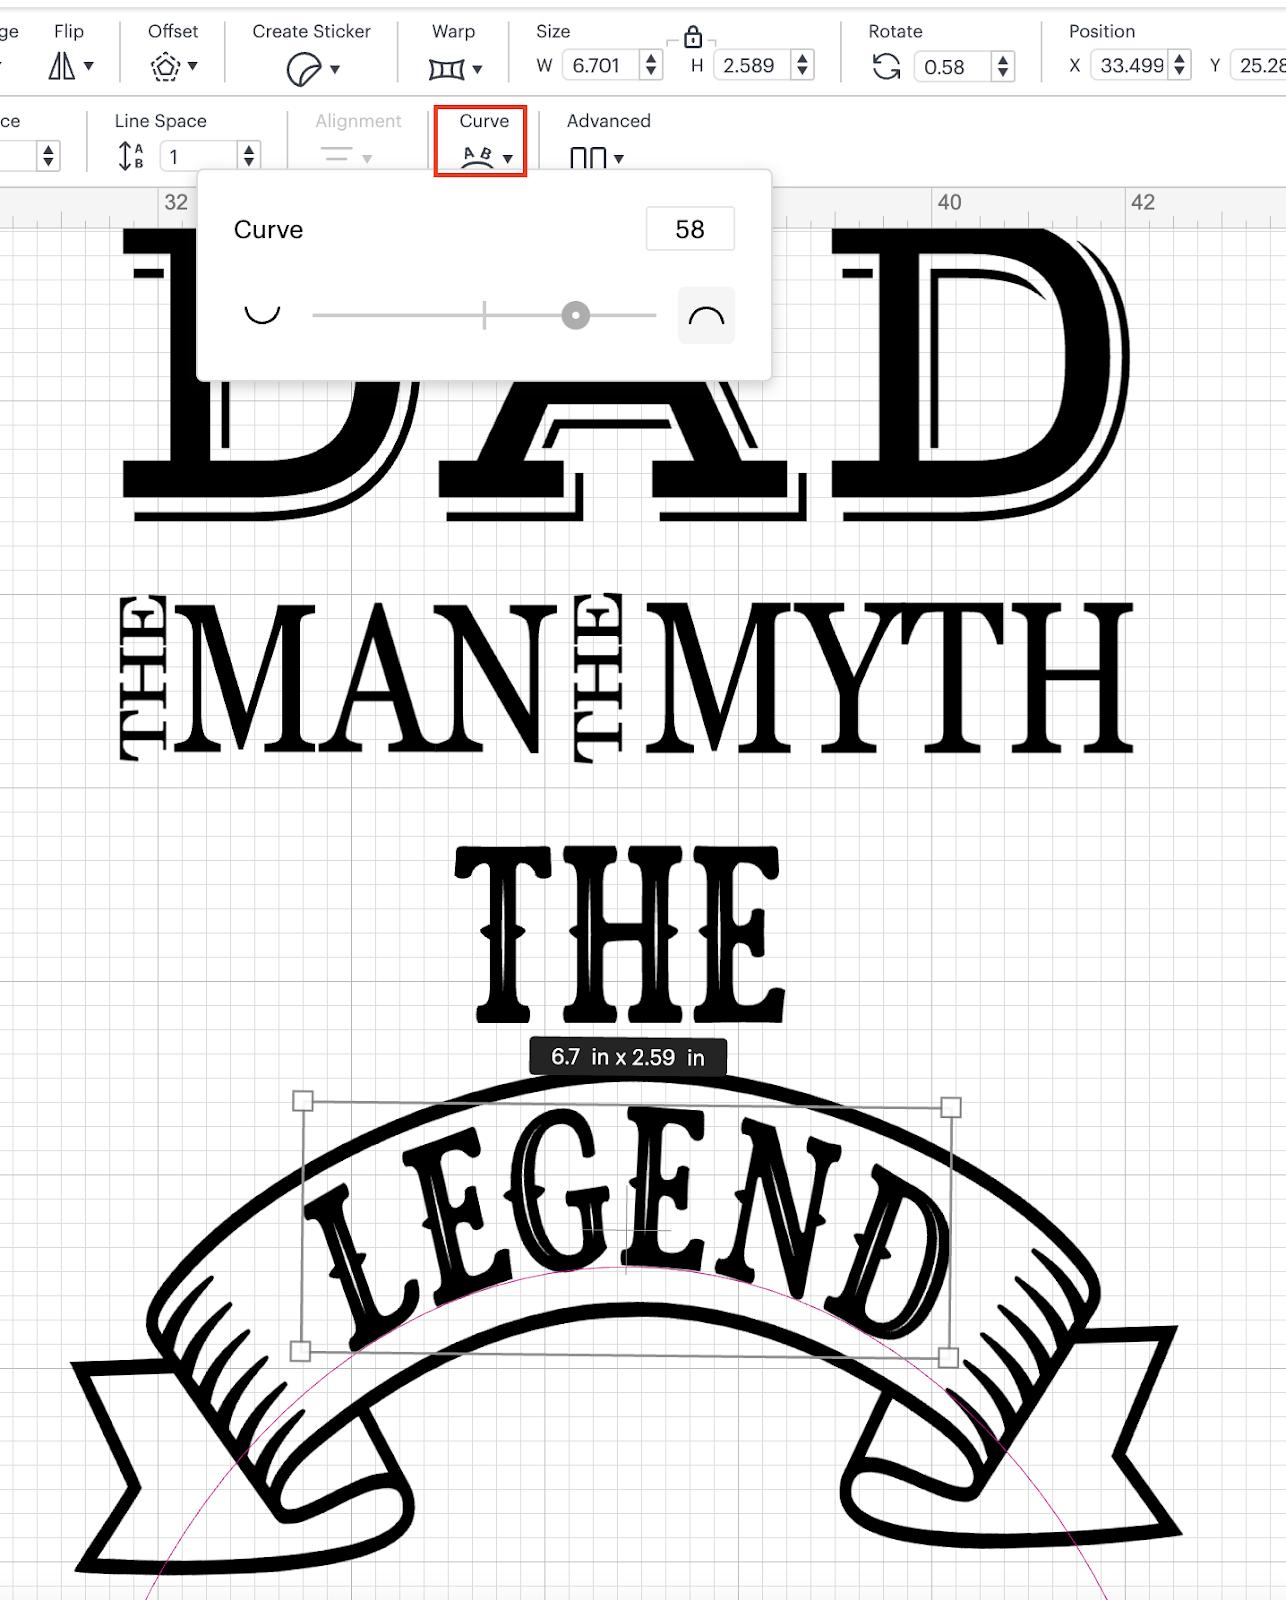
16: We are going to select the word LEGEND and using the curve functionality we are going to curve it so it fits inside the banner, in order to do it first we are going to make the banner bigger or the letters smaller so the height for both items is more or less the same:
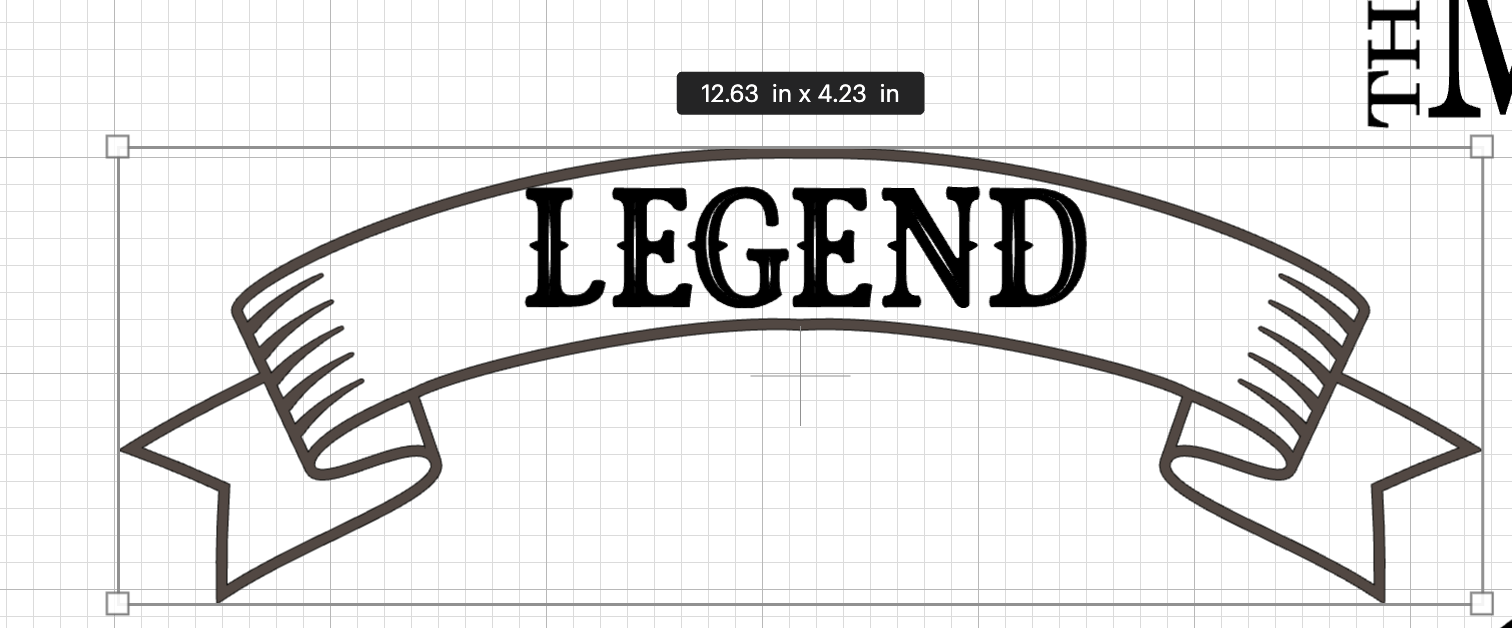
Then we are going to start curving the word:
17: Once we are done with the curving, we are going to make sure that the word and the image are centered horizontally and we are going to attach them:
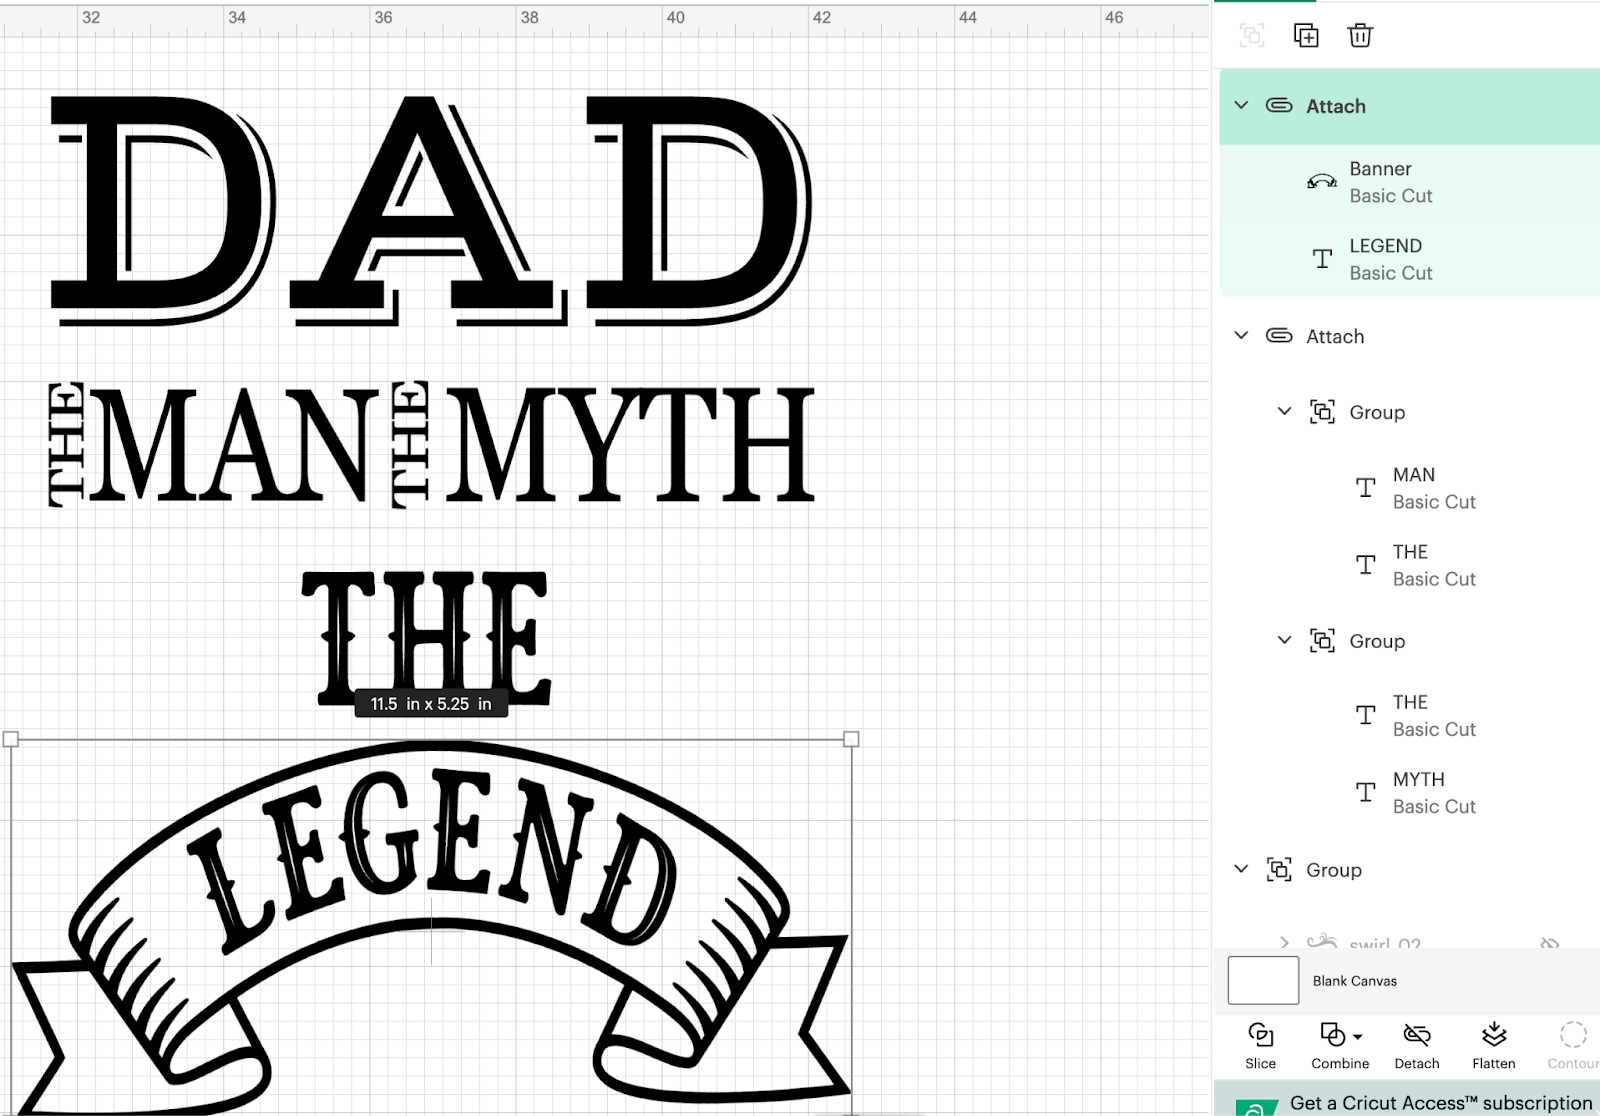
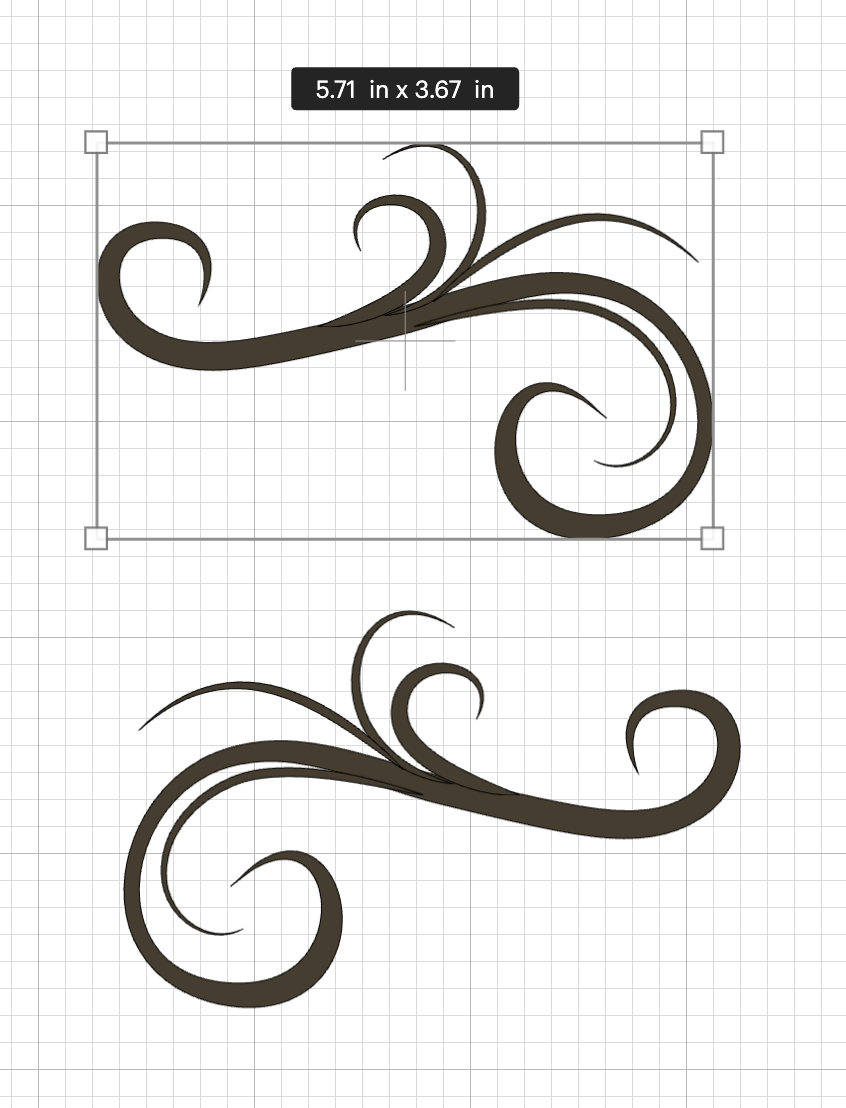
18: Using one more time the upload functionality, using the same steps we are going to add our swirl 2 times:

19: We are going to select one of the swirls and flip it horizontally:
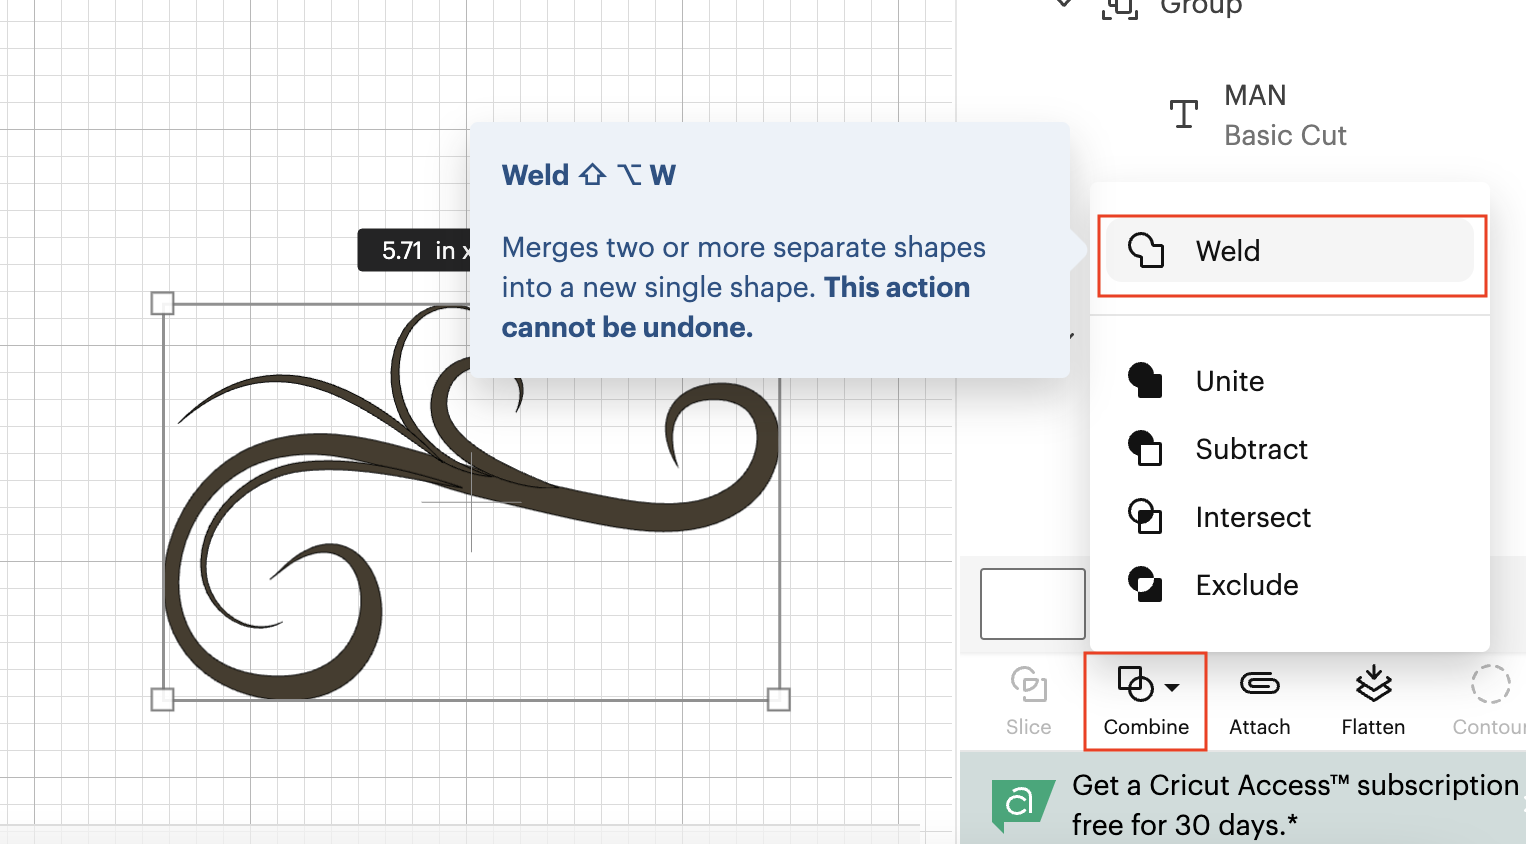
20: We are going to select each one of the swirls and we are going to weld the whole design together:
21: We are going to place the swirls on each side of the word THE:
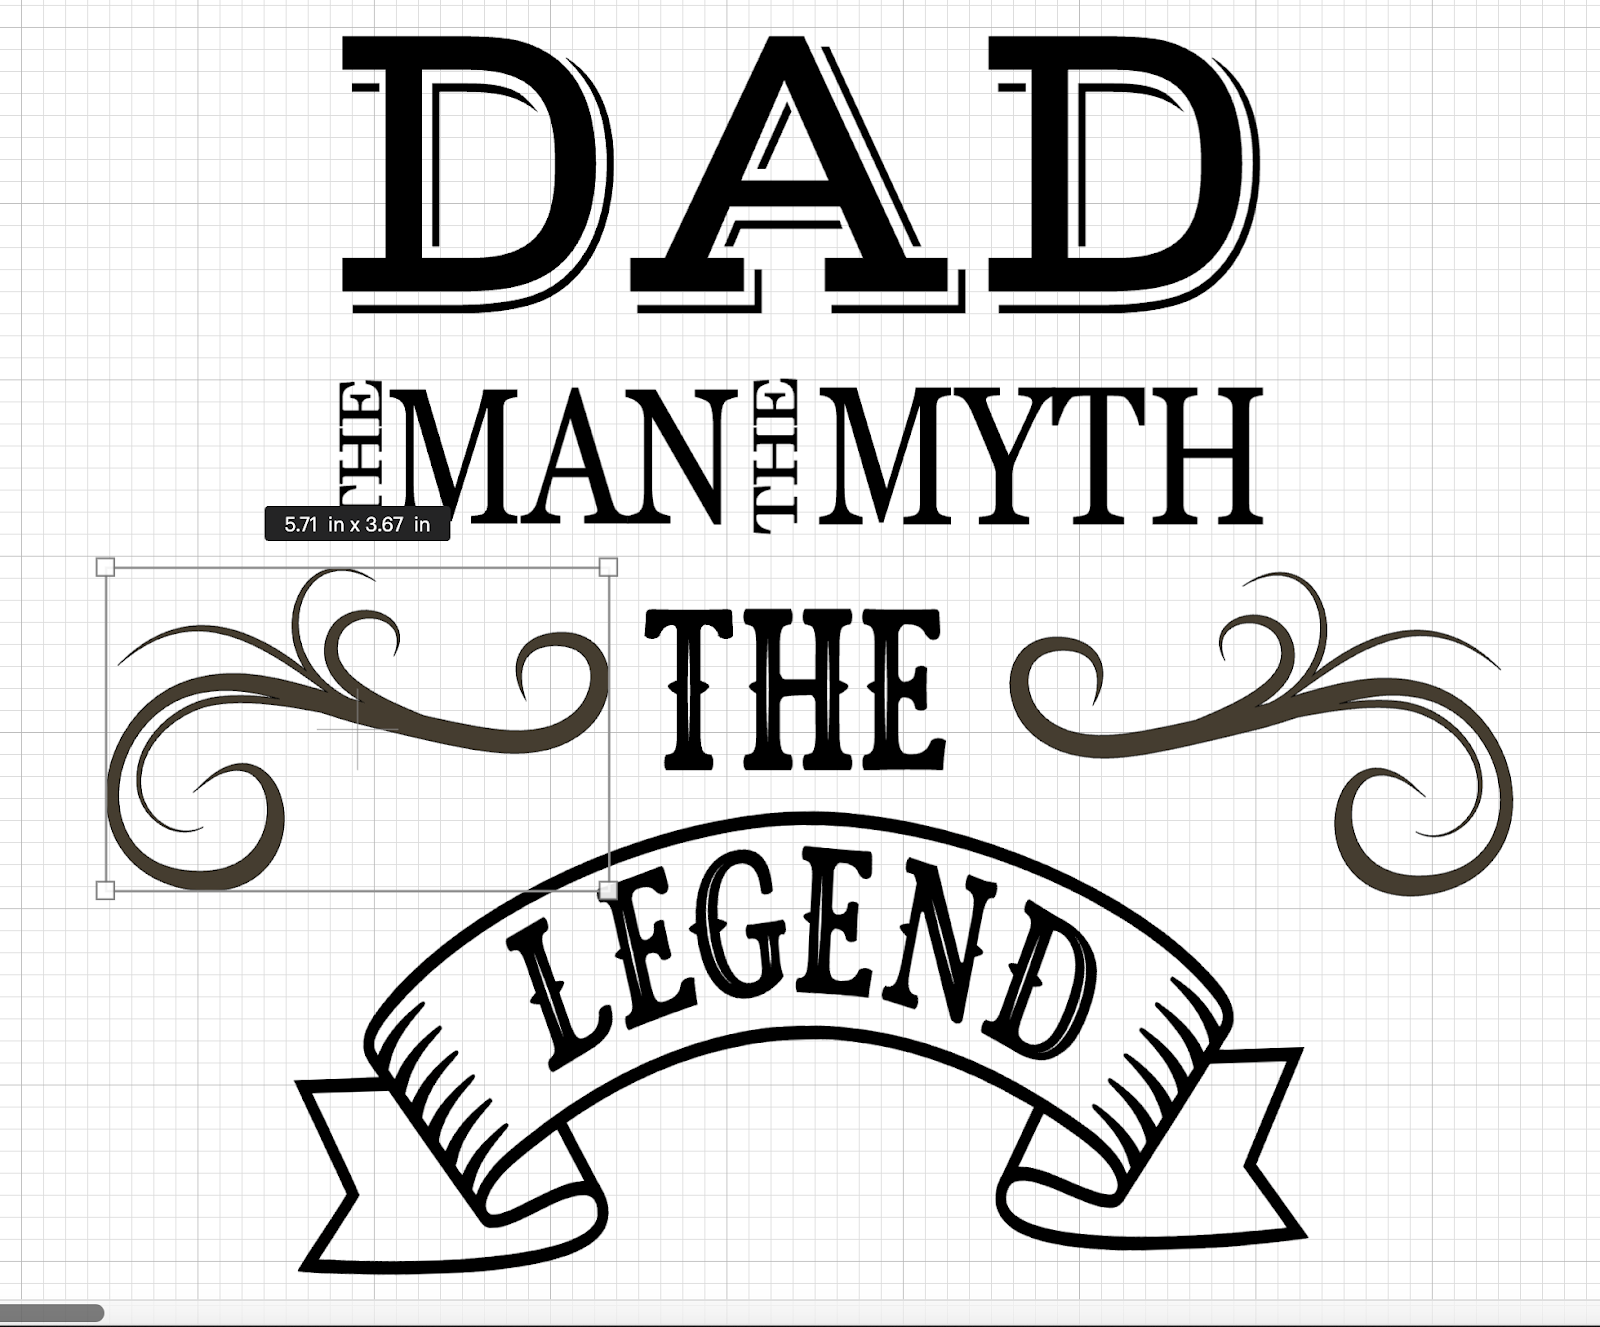
And we are going to resize them so they are inside of the “frame” for the design that we are creating:
We are also going to align the word THE and the two swirls vertically and then we are going to attach them together as we did previously with the other part of the design.
22:We are going to select all the elements of our design and we are going to attach them all together:

💡Tip: If you are going to use more than one color on your design, you can only attach the elements that are from the same color.
23: With our physical T-shirt we are going to measure where we are going to place the design and we are going to resize the whole design based on that.
In our case for a M size T-shirt, we are going to resize it to W: 11.5” and W: 14”

💡Tip: If you want to design to be bigger, you can resize it to the desired size, but do not attach the elements cut each element that is bigger than 11.5 W and you can just transfer them to the shirt one by one instead of all together.
24: We are going to make sure, in our case, that all the design is the same color:

💡Tip: Remember that the final color is the one related to the physical material that you are using, in our case is going to be white.
25: Our Design is DONE! We can proceed to cut our design!
In this tutorial, you are going to learn/practice the following skills:
- Add Images
- Resize Elements
- Duplicate Elements
- Rotate Elements
- Weld Elements
- Align Elements
- Attach elements
- Install and use fonts
- Add and resize text
- Use Heat Transfer Vinyl
- Flip and Curve Elements