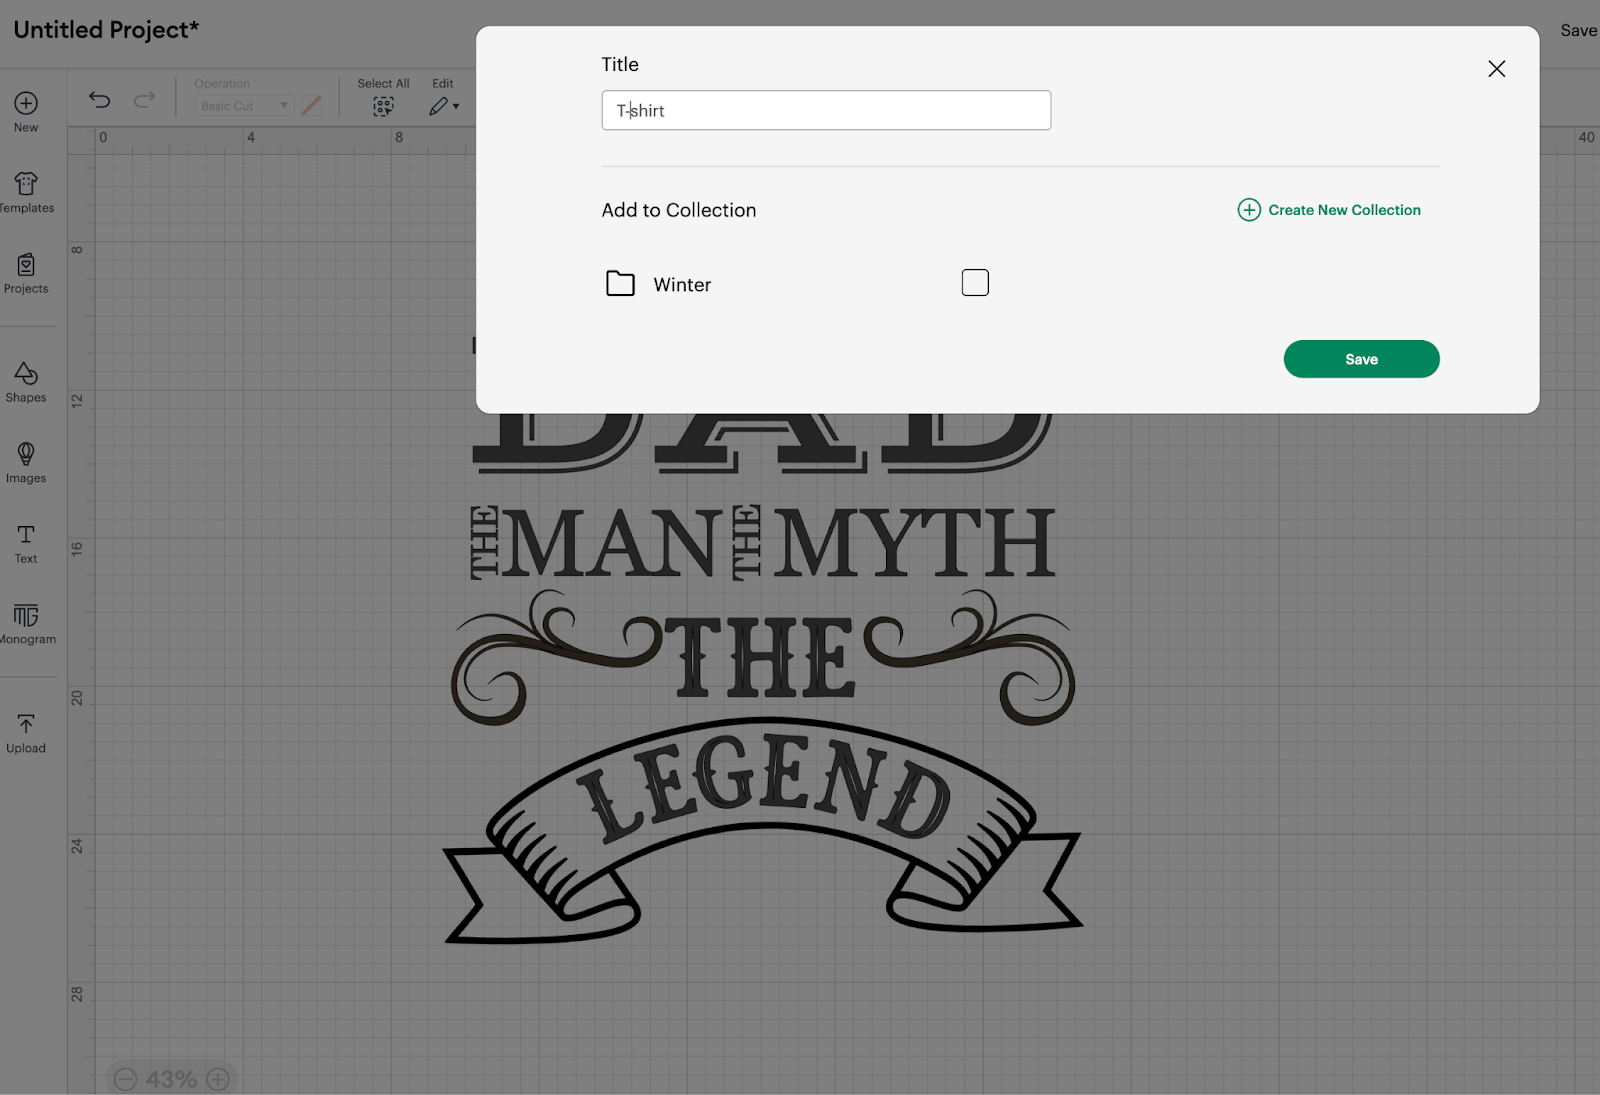
1: After you are happy with the designs, we are ready to save the project, Click on Save button on the Right Top side of the screen and provide a name to your design and click on Save button.
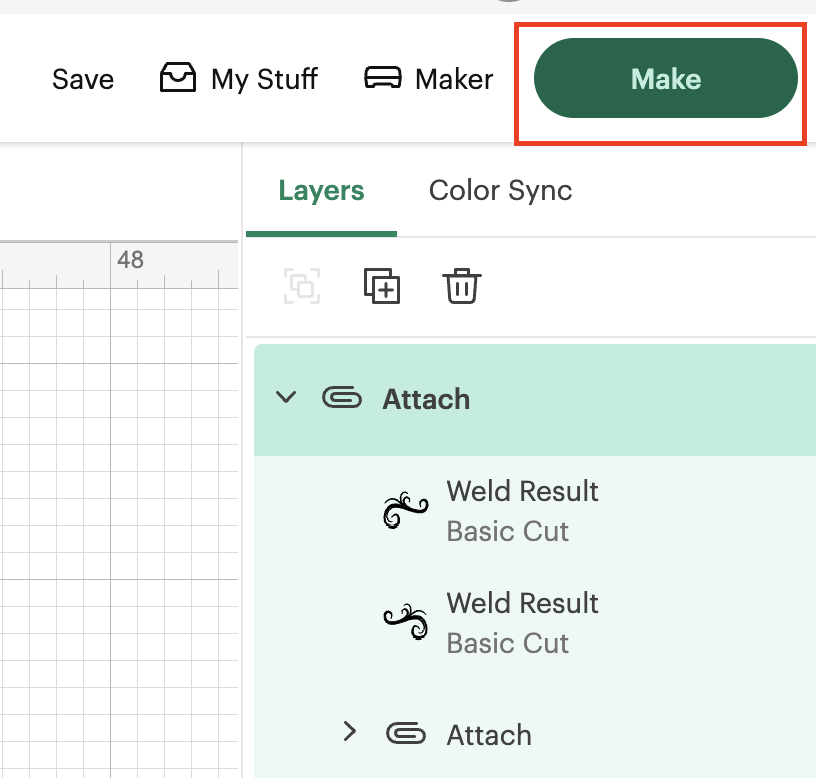
2: We are going to click on the Make button to start configuring our materials!
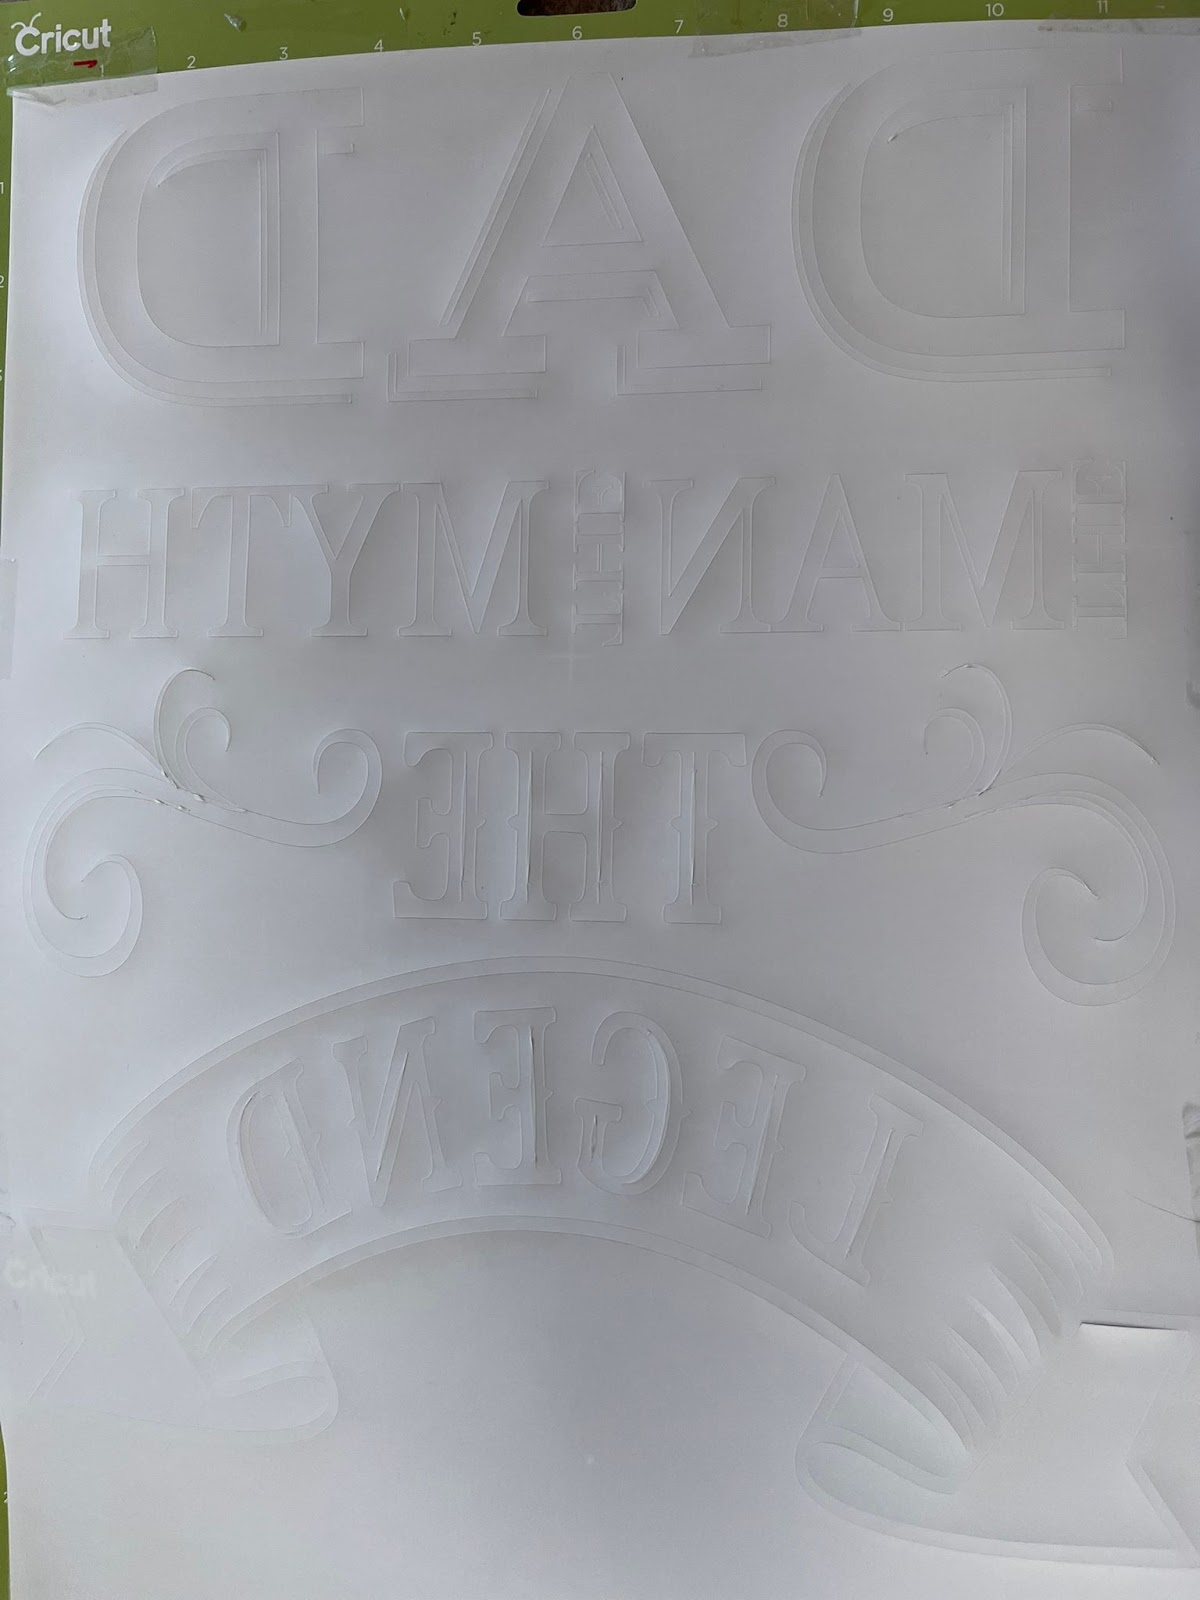
3: You are going to be able to see one mat per color of your design and in here, we are going to select the Mirror Option.
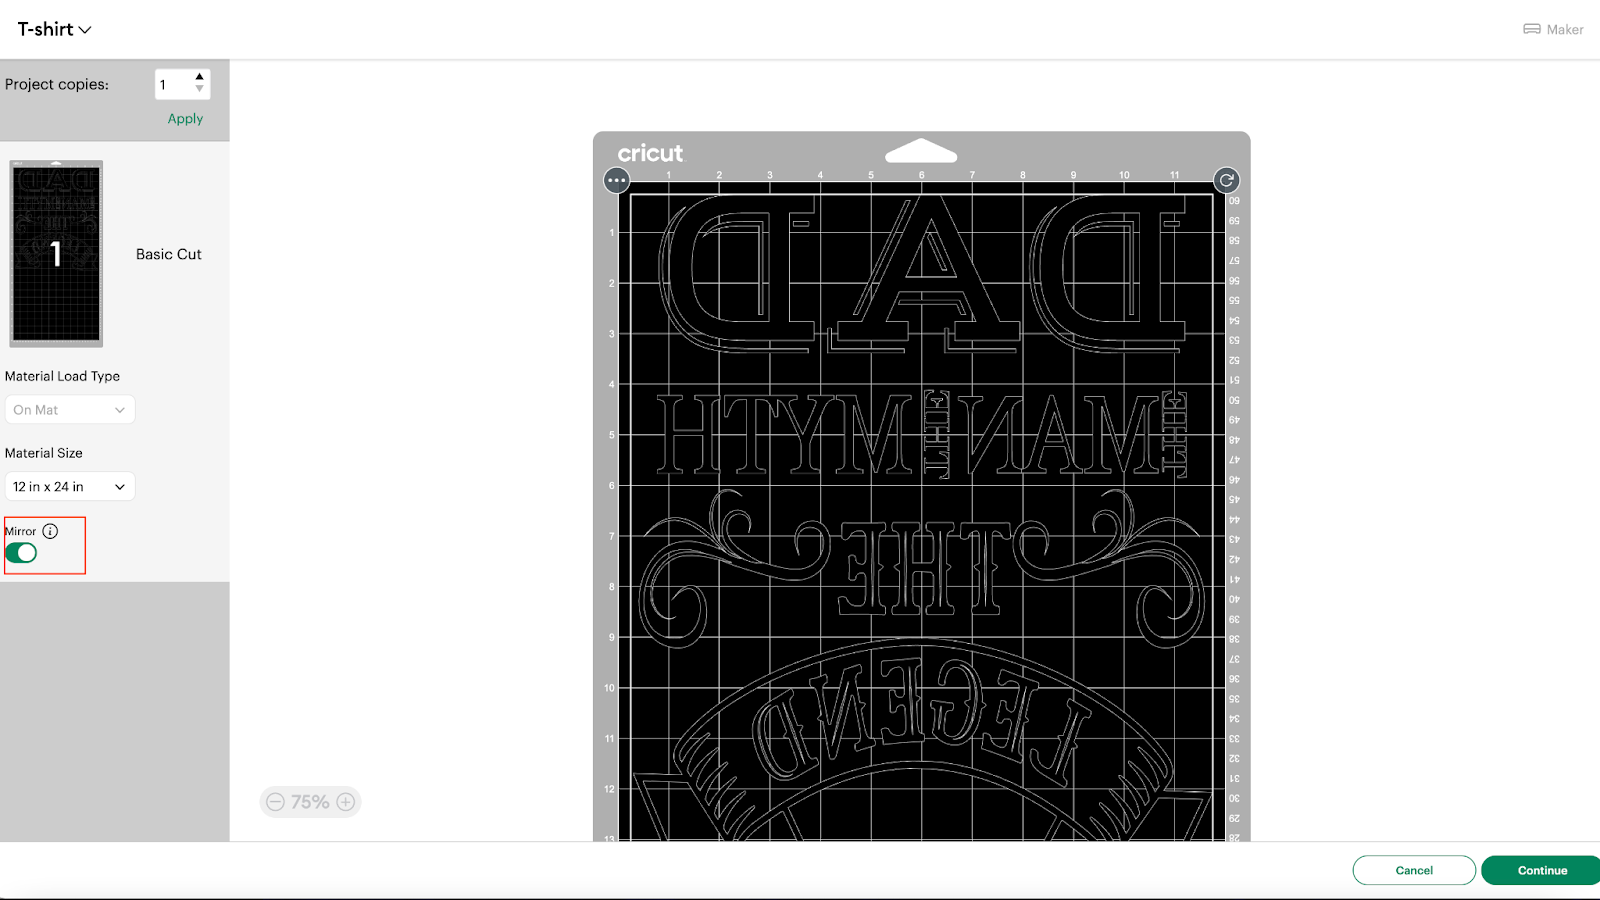
4: We are going to use the following Material:
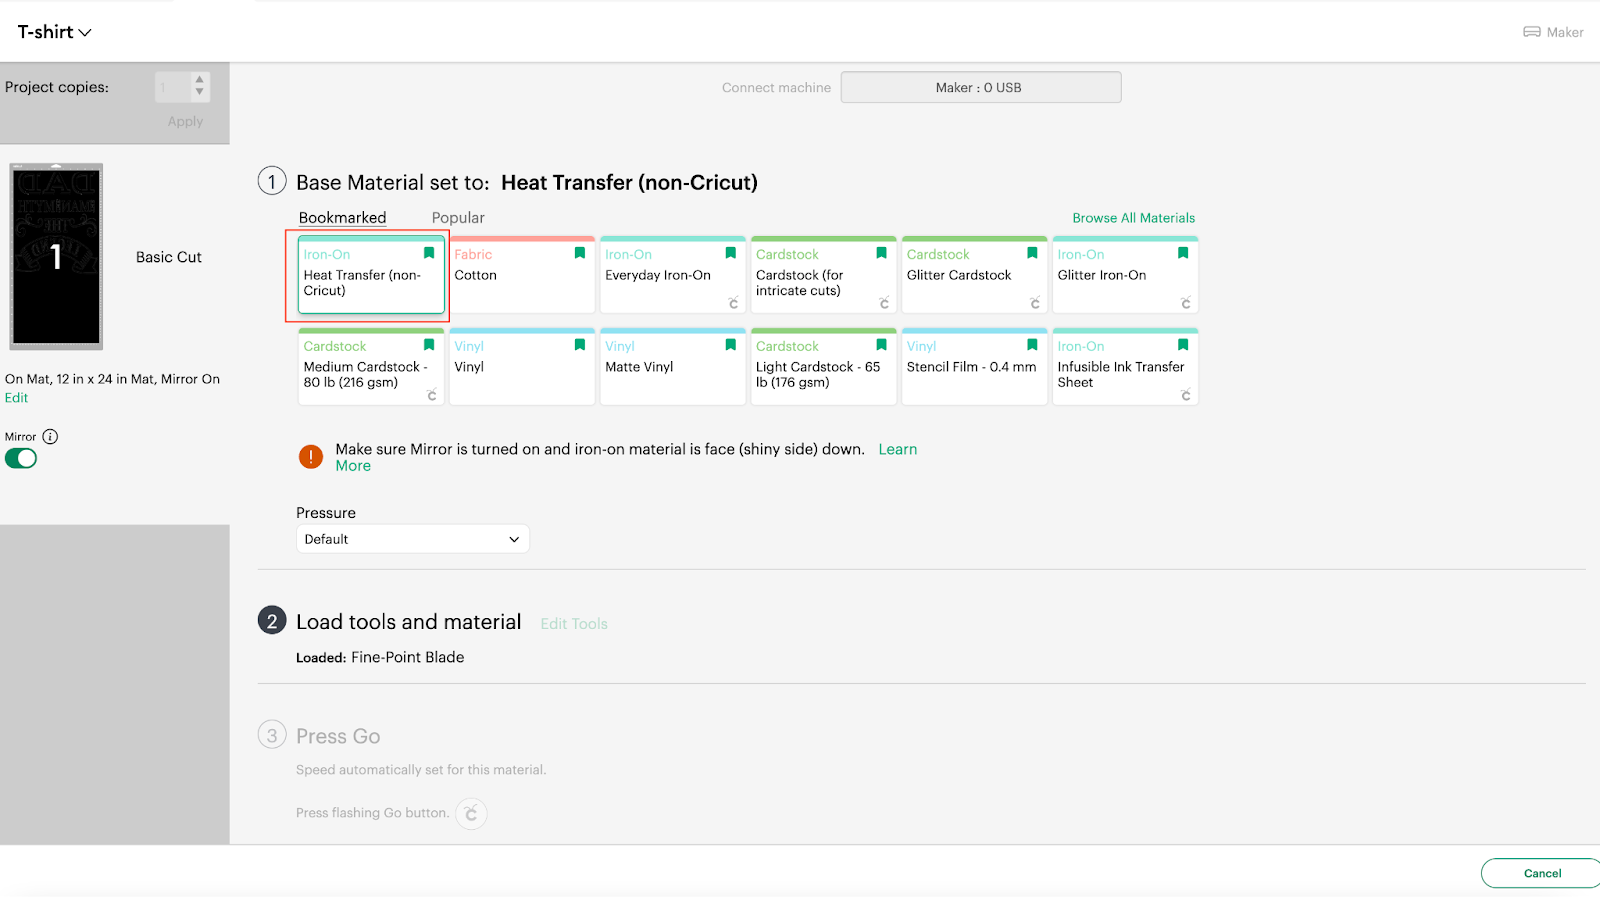
💡Tip: Make sure to check the material type that you are using to use the right settings.
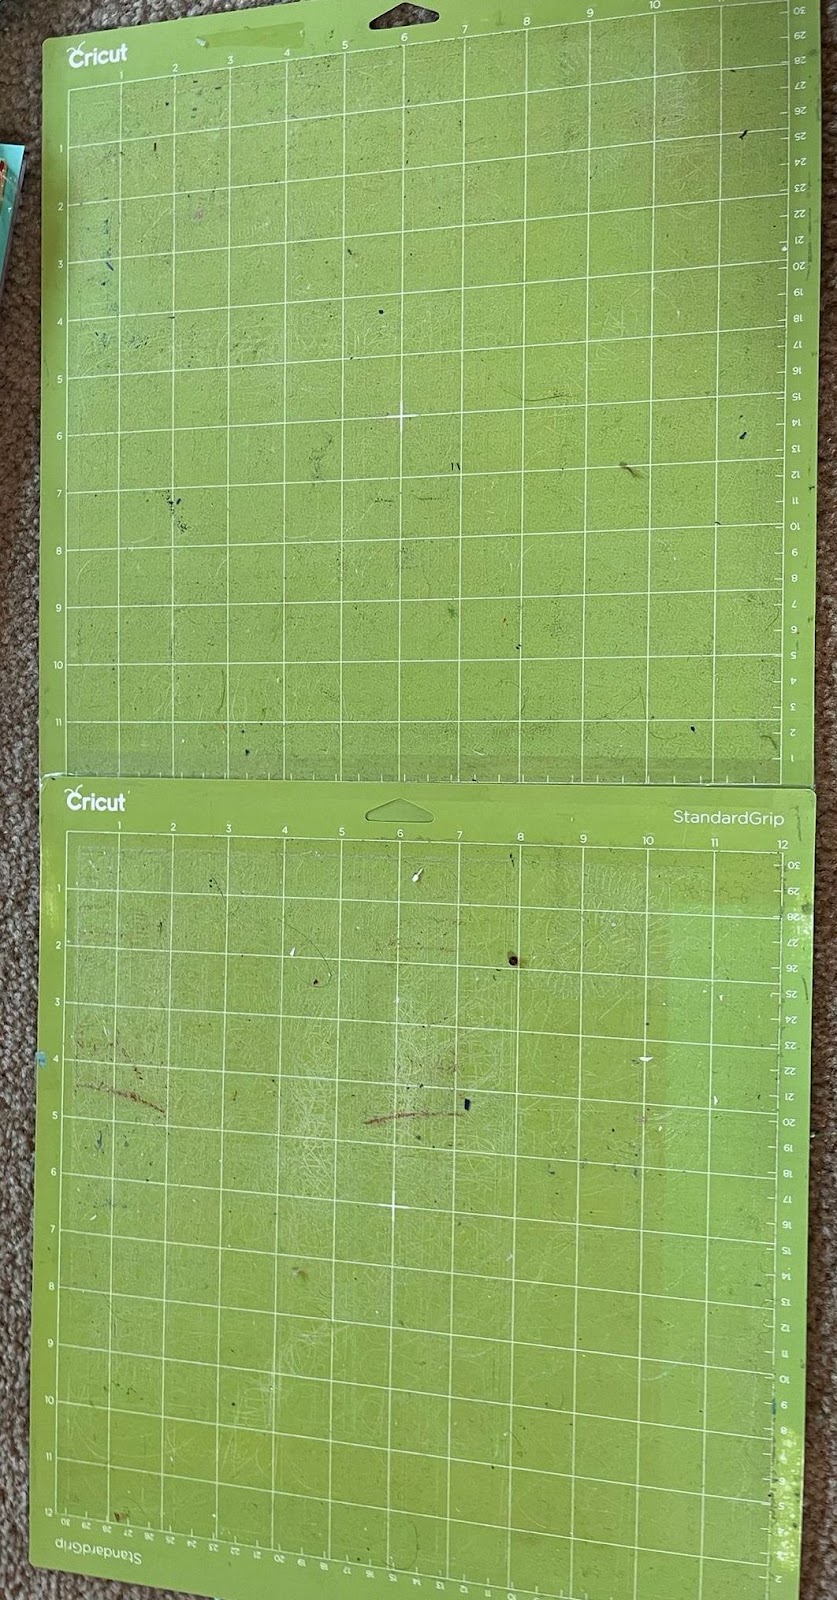
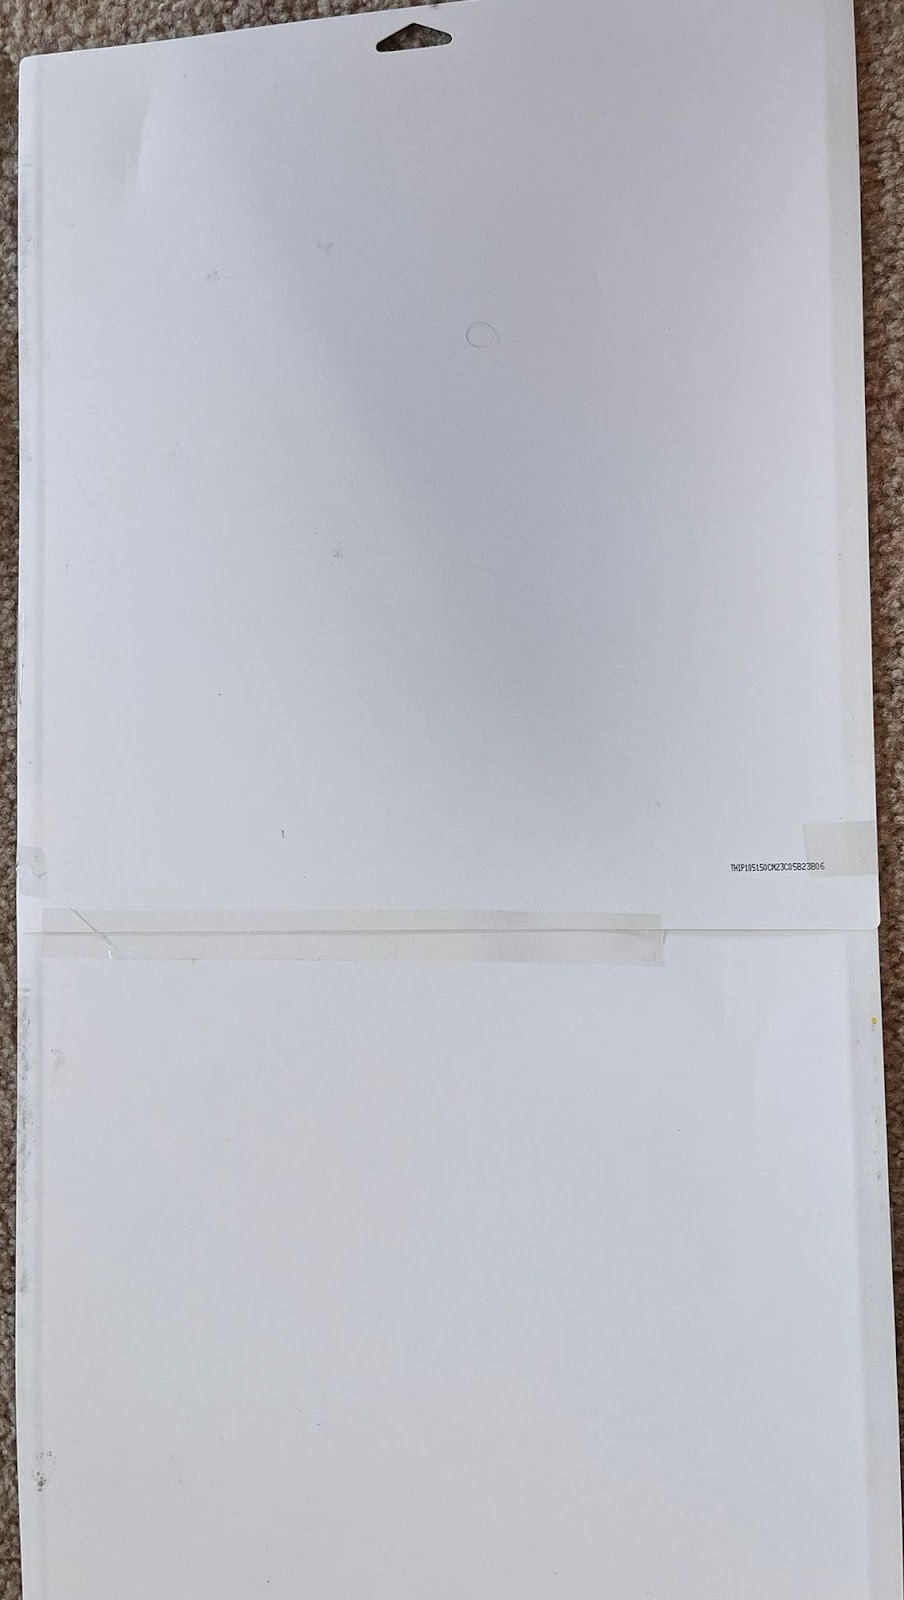
💡Tip2: If you do not have the Mat that is 12 x 24, you can attach 2 of your 12” x 12” mats together by using scotch:
5: You are going to make sure that you add the shiny part of your vinyl facing the mat.
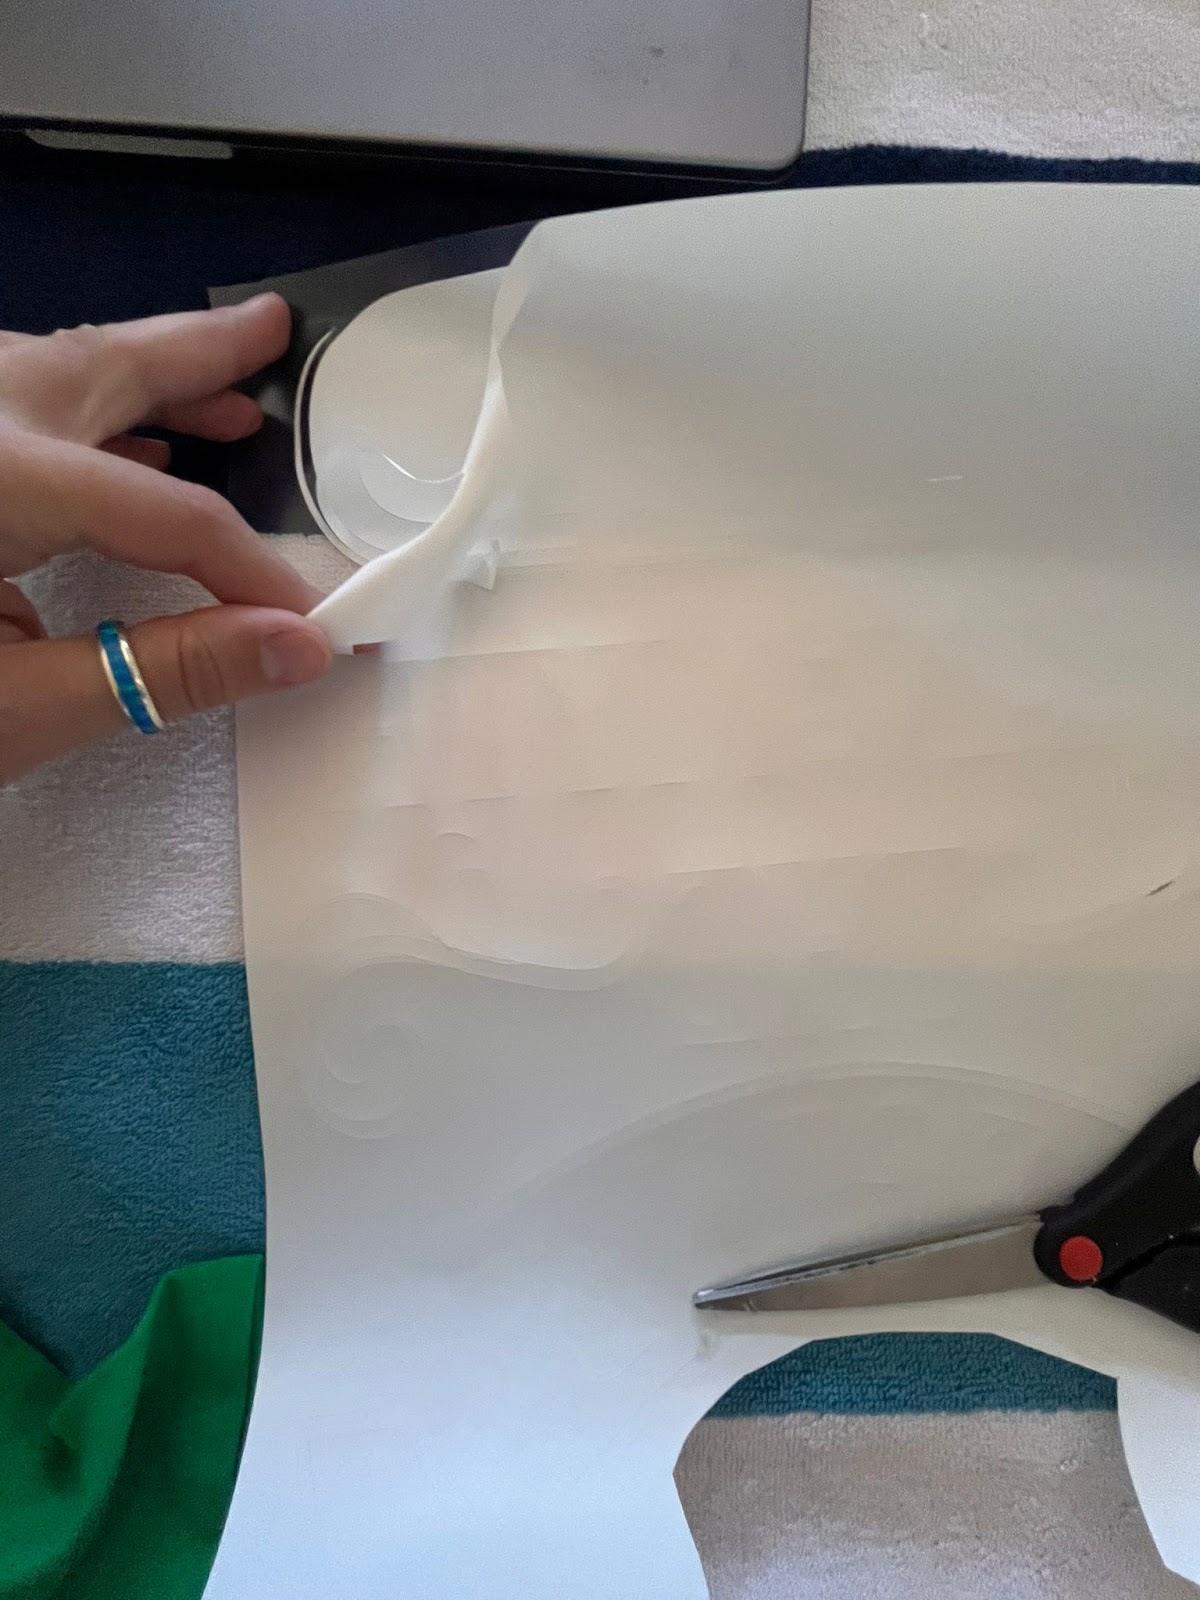
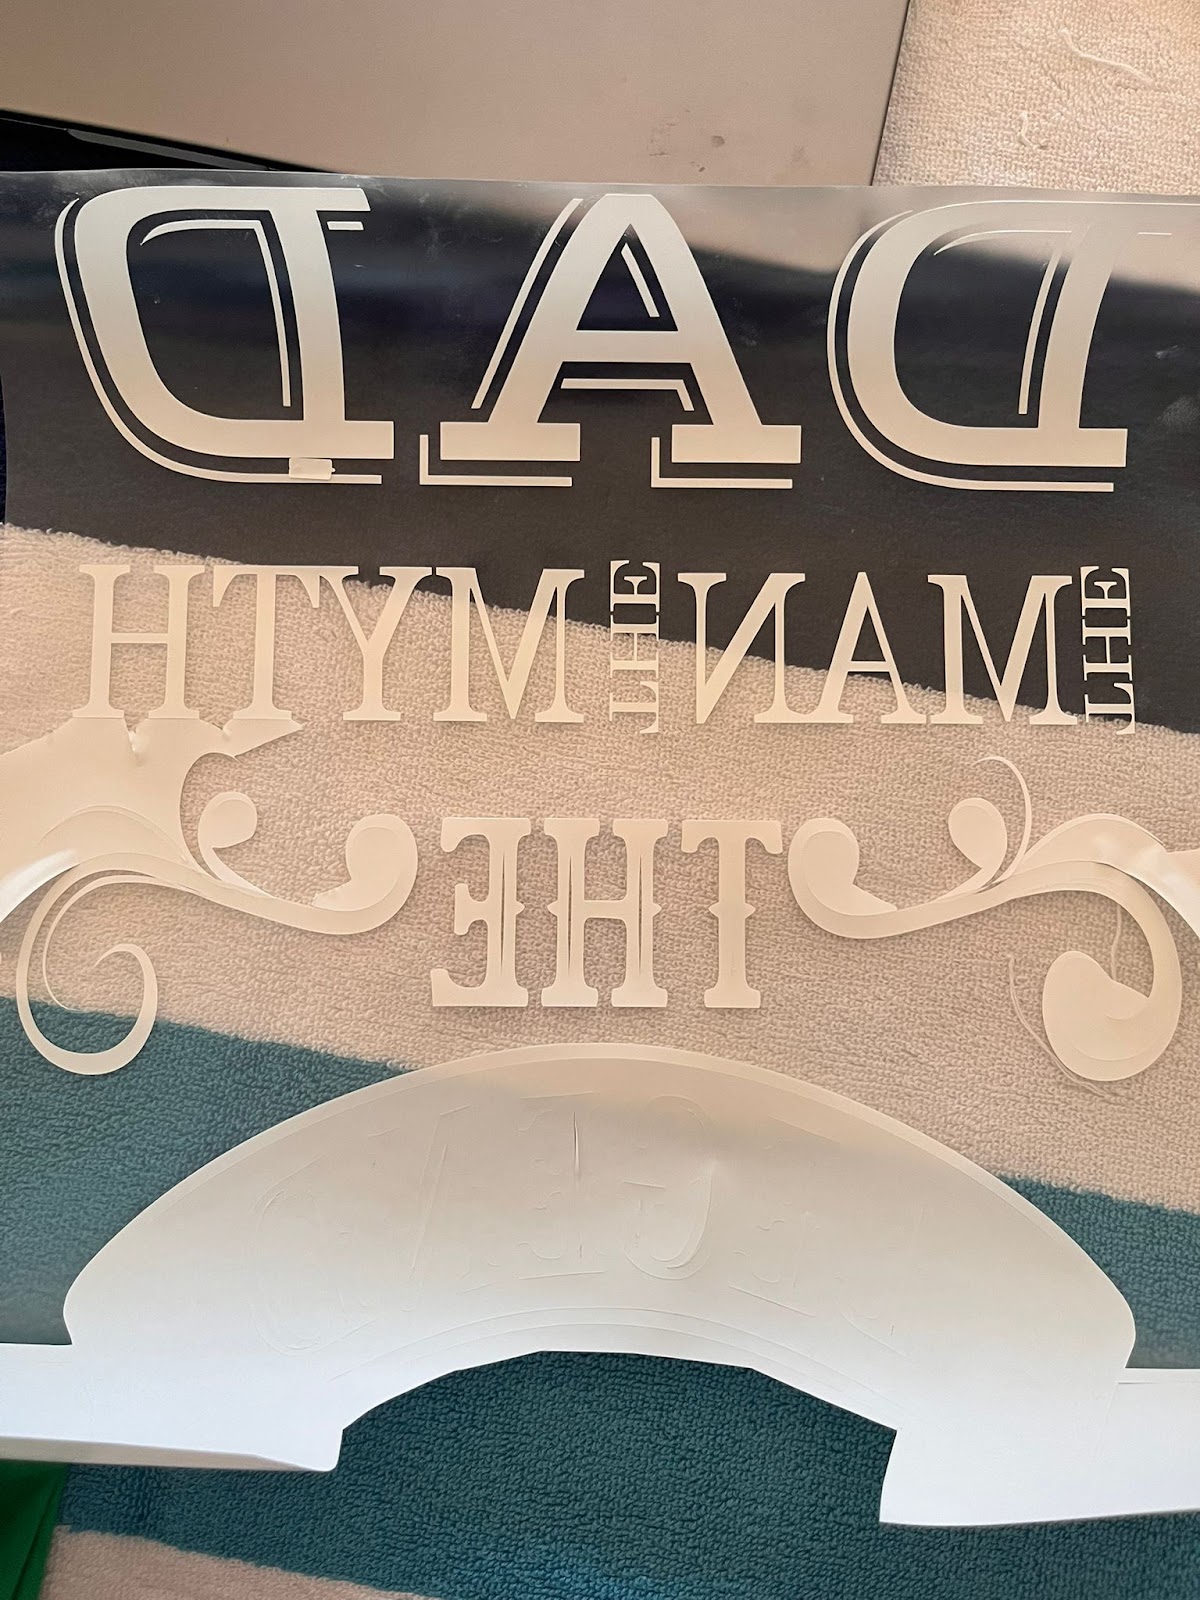
6: After the cut is done, you are going to unload the mat and remove all the elements from it very gently and cut only the part that has the design:
7: Using our Welding tool, we are going to start removing the excess from our design, you can also use your fingers as needed:
In this tutorial, you are going to learn/practice the following skills:
- Add Images
- Resize Elements
- Duplicate Elements
- Rotate Elements
- Weld Elements
- Align Elements
- Attach elements
- Install and use fonts
- Add and resize text
- Use Heat Transfer Vinyl
- Flip and Curve Elements