1: We are going to separate all the elements of the 2 different garlands and then we are going to identify the couples of elements, so it’s easy for us to place them in our garland.
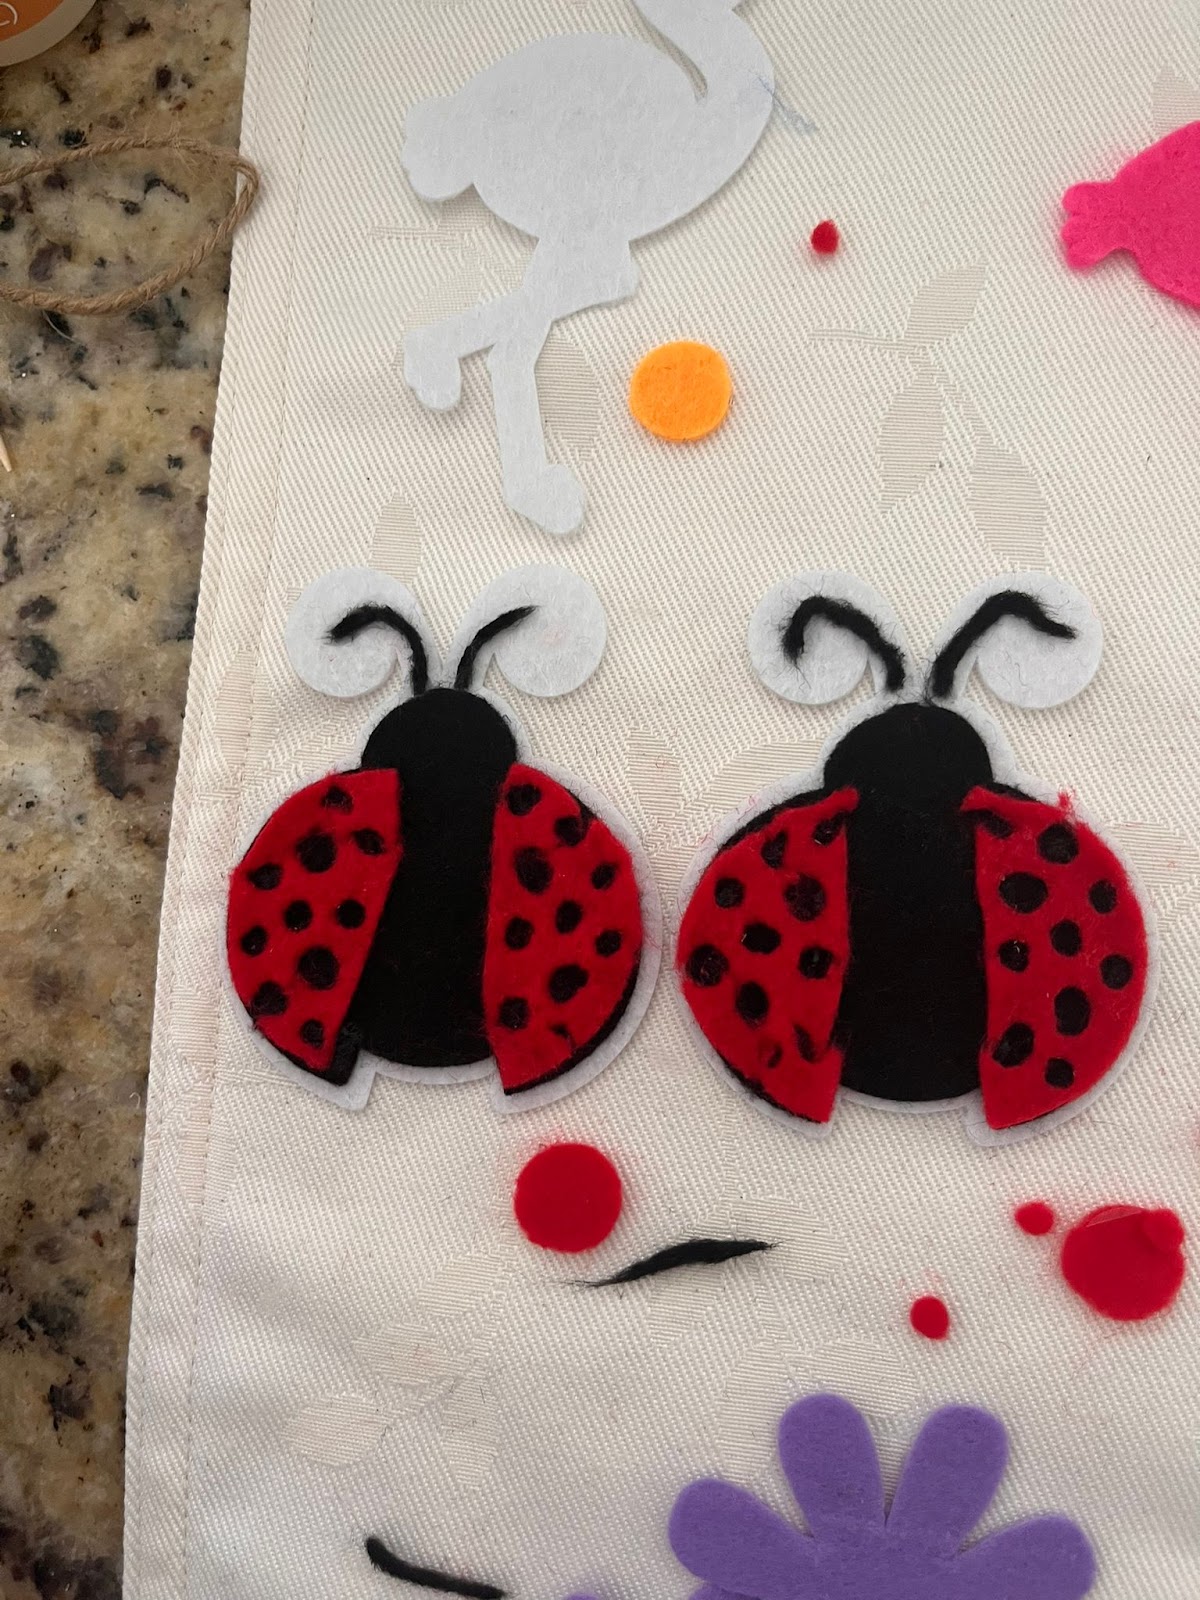
2: For the lady bug and the flamingo, we are going to first glue them into their offset, for the flamingo, you need to make sure that one of them is glued as a mirror of the other one:
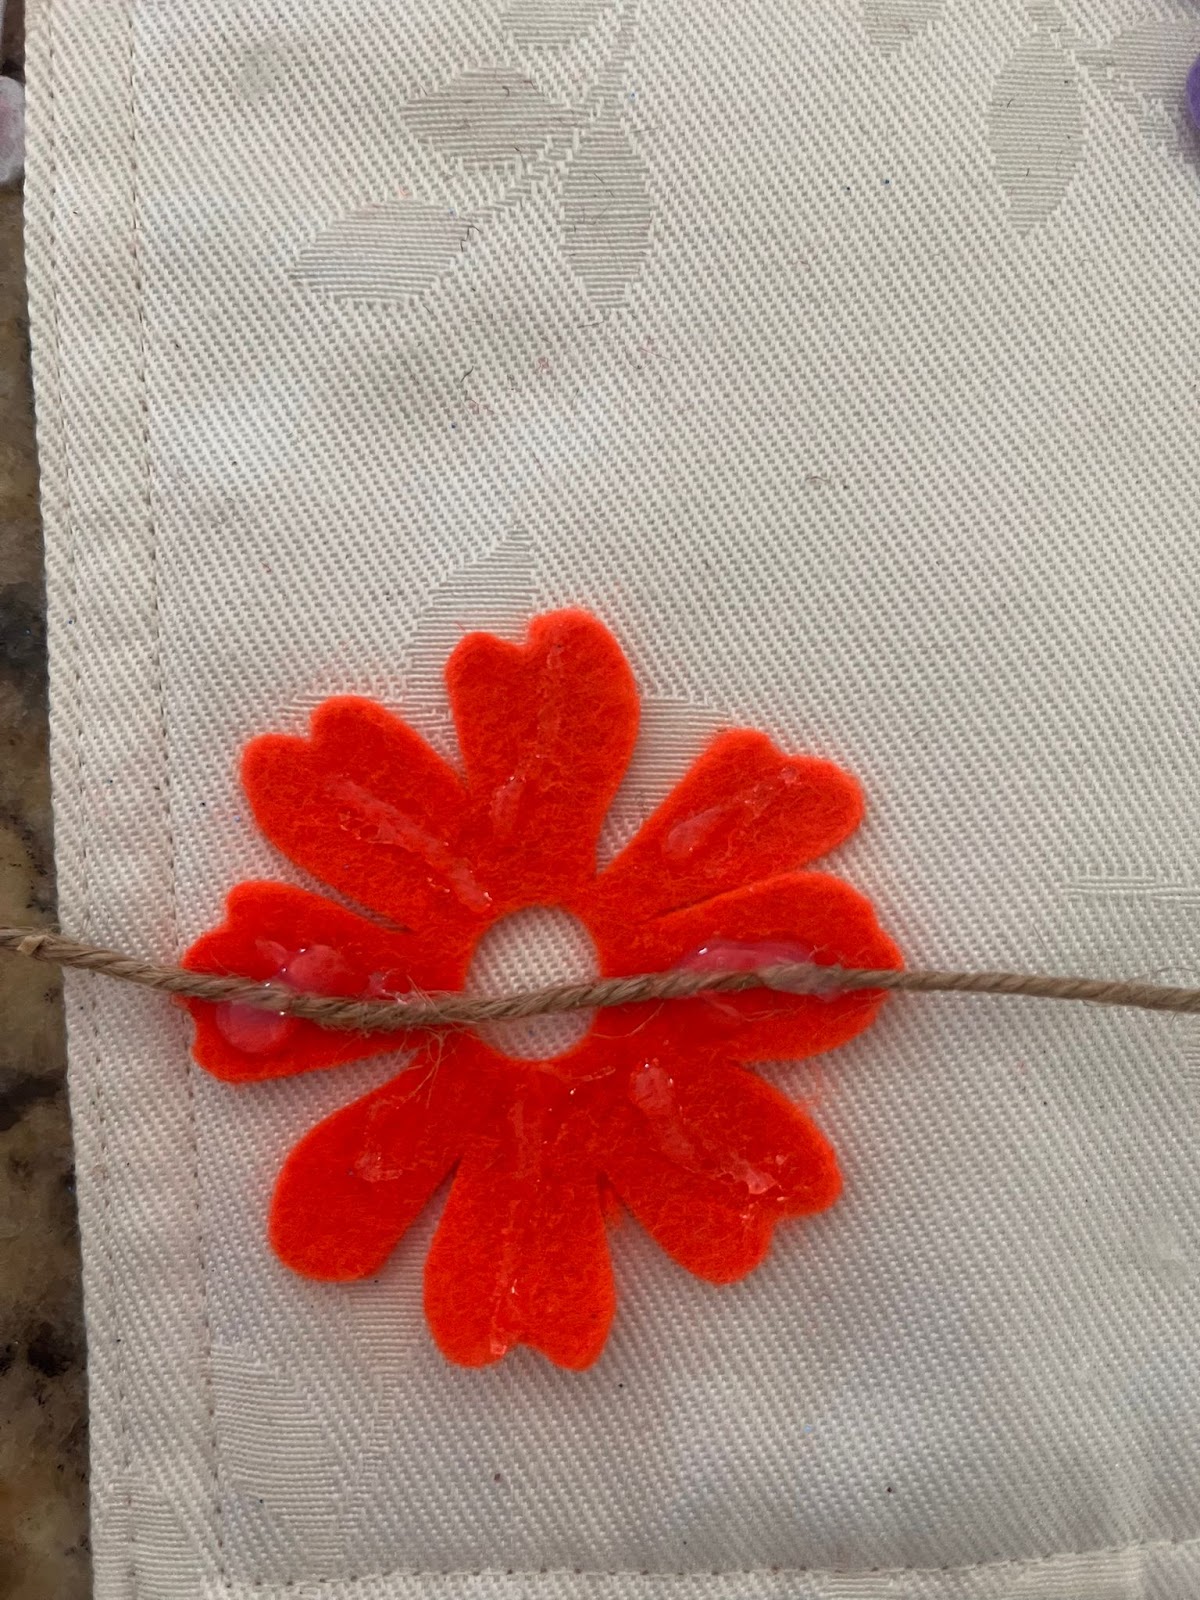
3: We are going to identify the middle of our garland, and in there we are going to glue our first element:
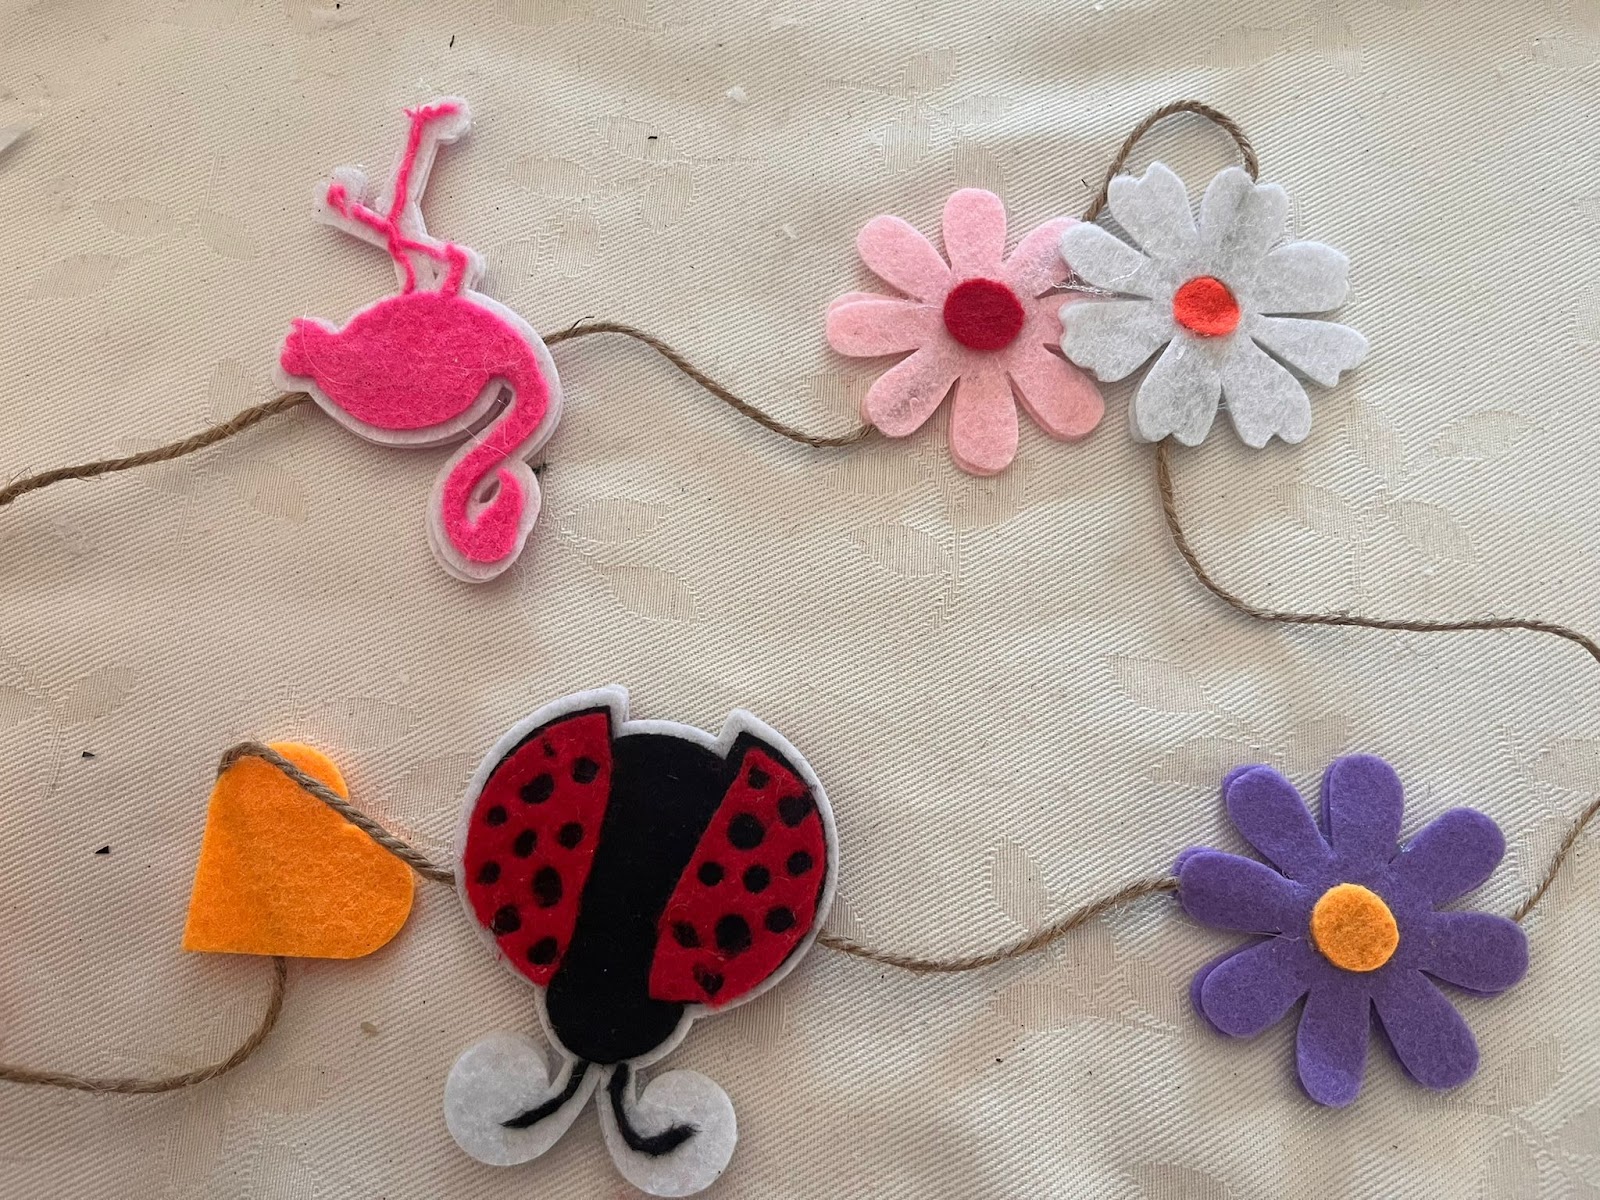
4: We are going to leave a separation approximately of 2.5“ between elements and we are going to proceed with the second element and so on until all our elements are glued on both sides.
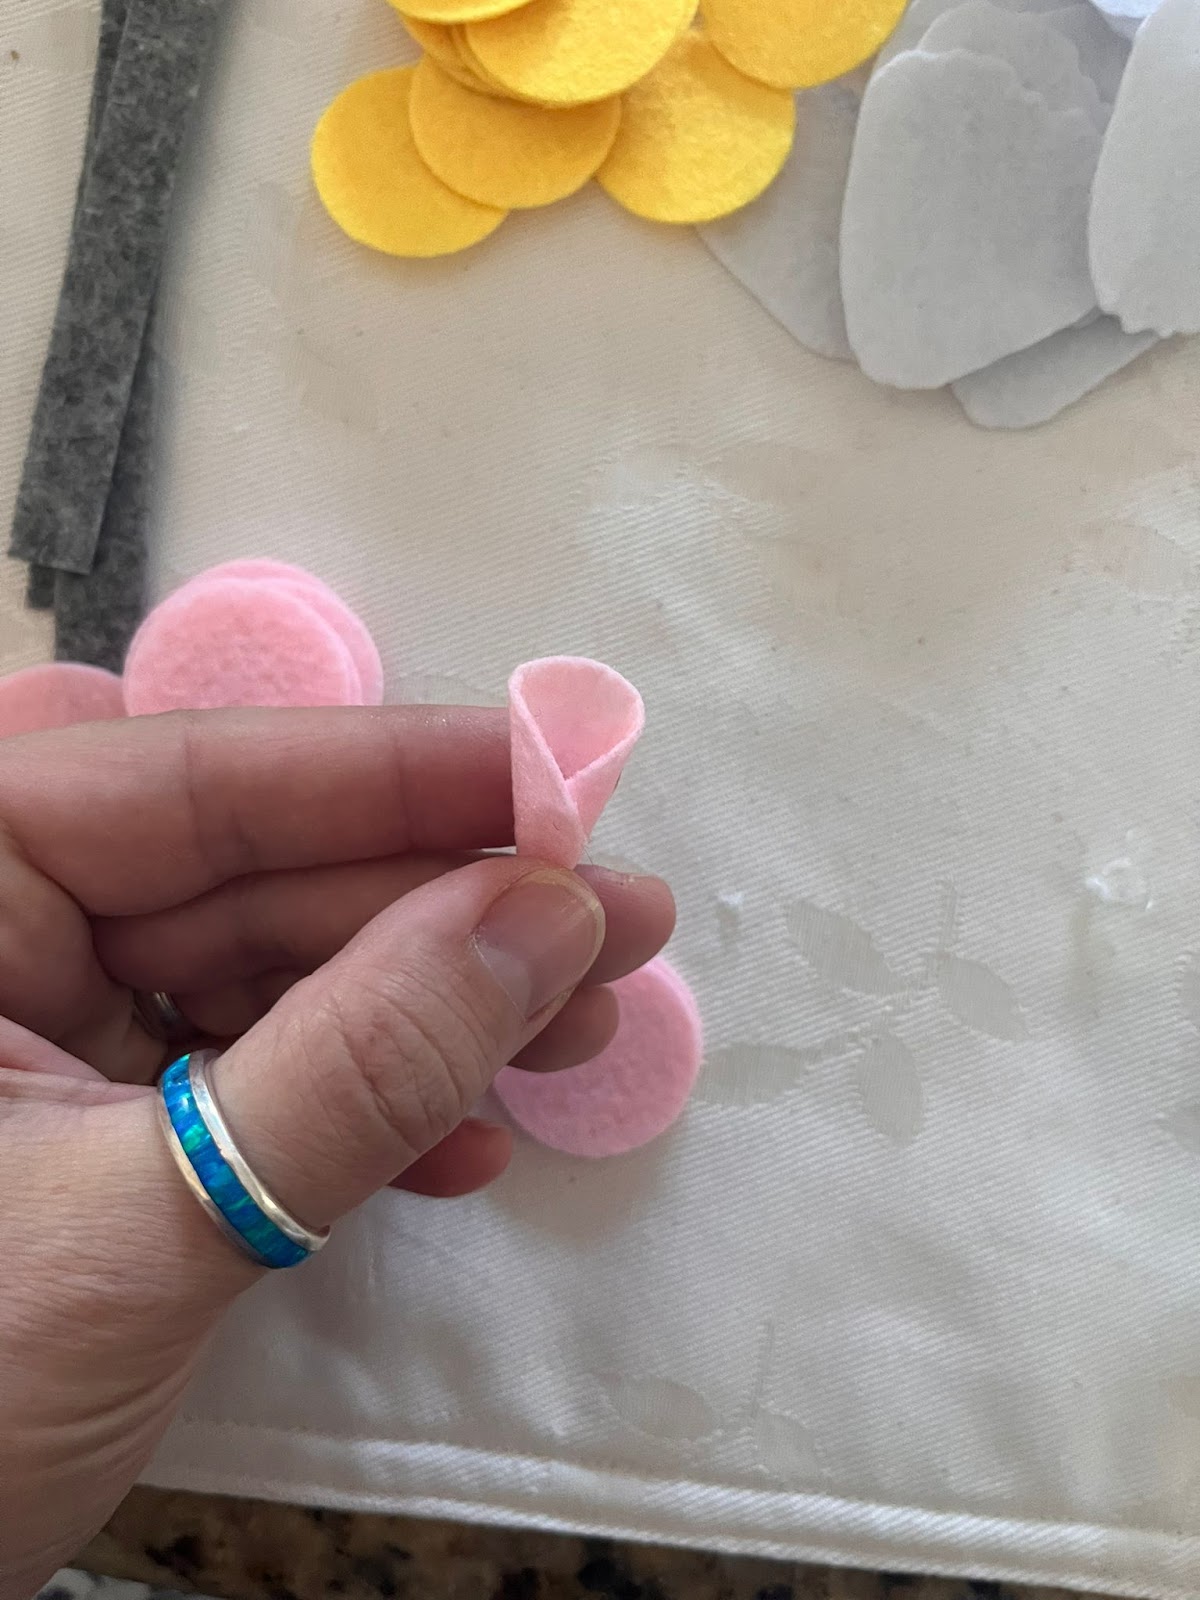
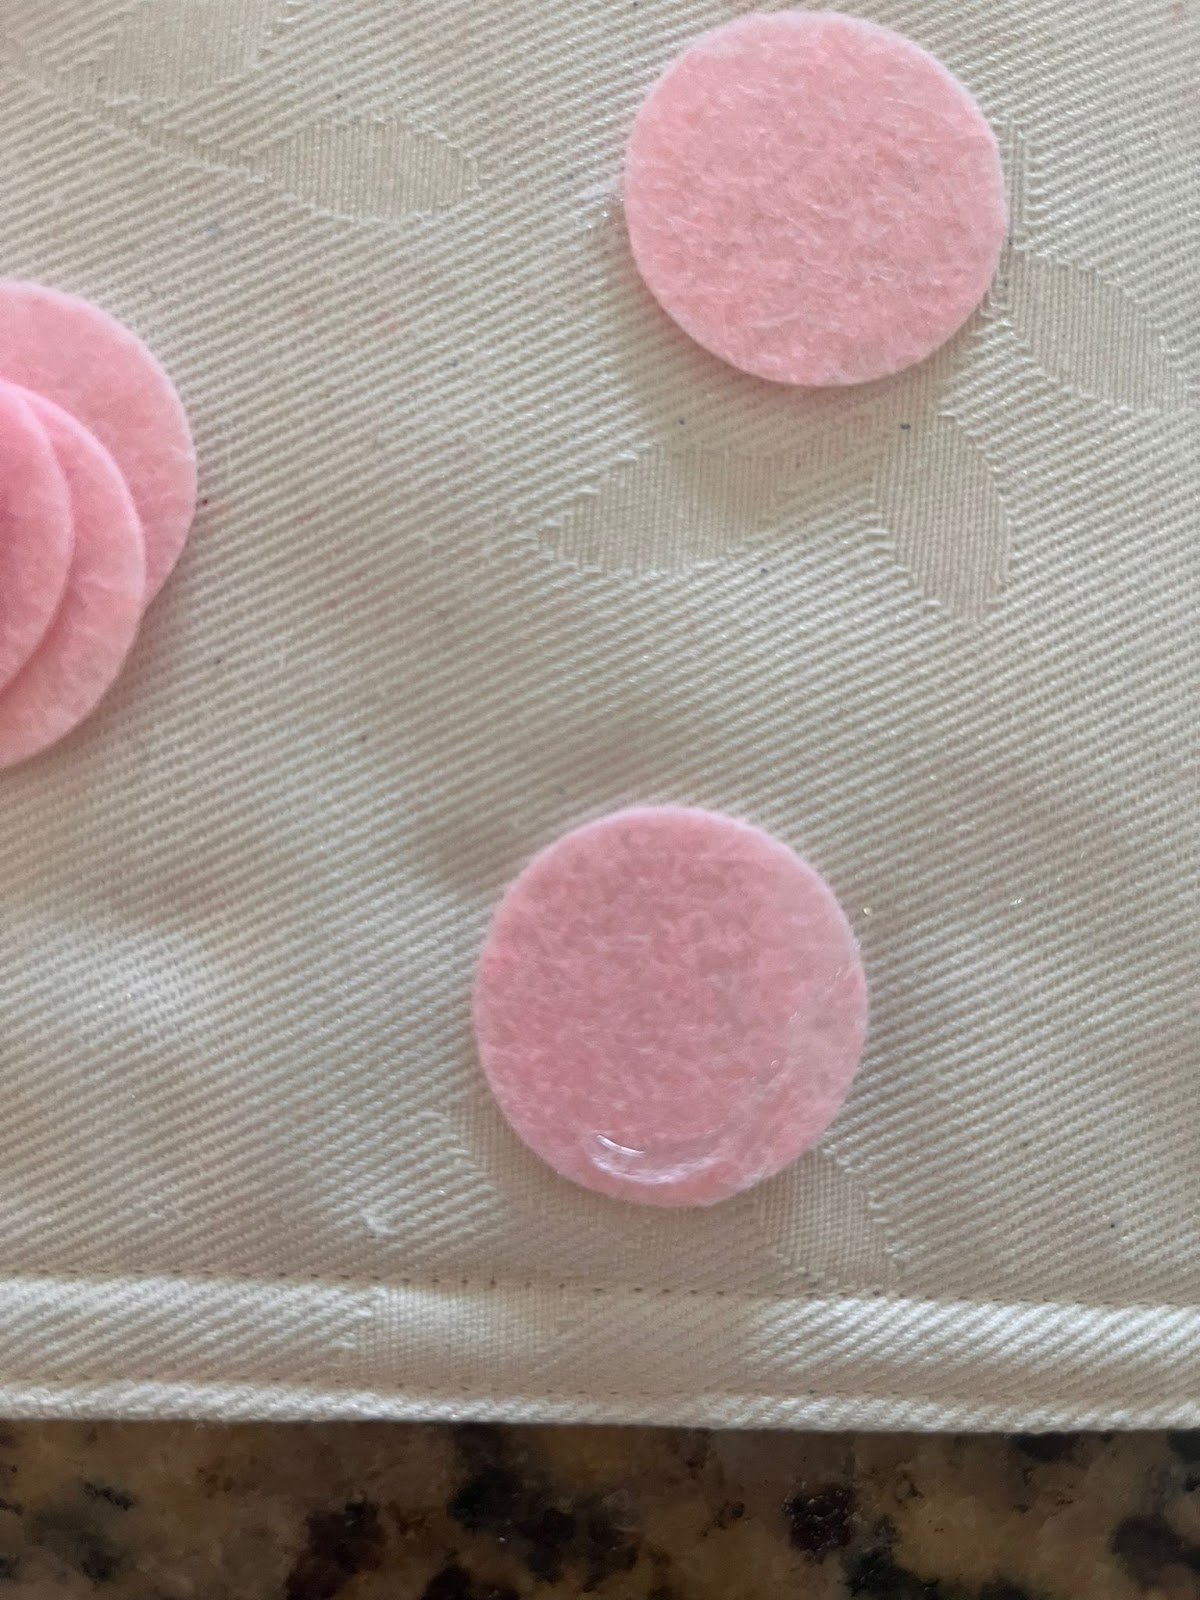
5: For the none flat flowers, we are going to start assembling the ones that are all circles, we are going to grab one circle and we are going to glue it like a cone:
6: For the following petals we are going to do like a smile with the glue:

7: We are going to repeat the process with all the circles, until we are done:

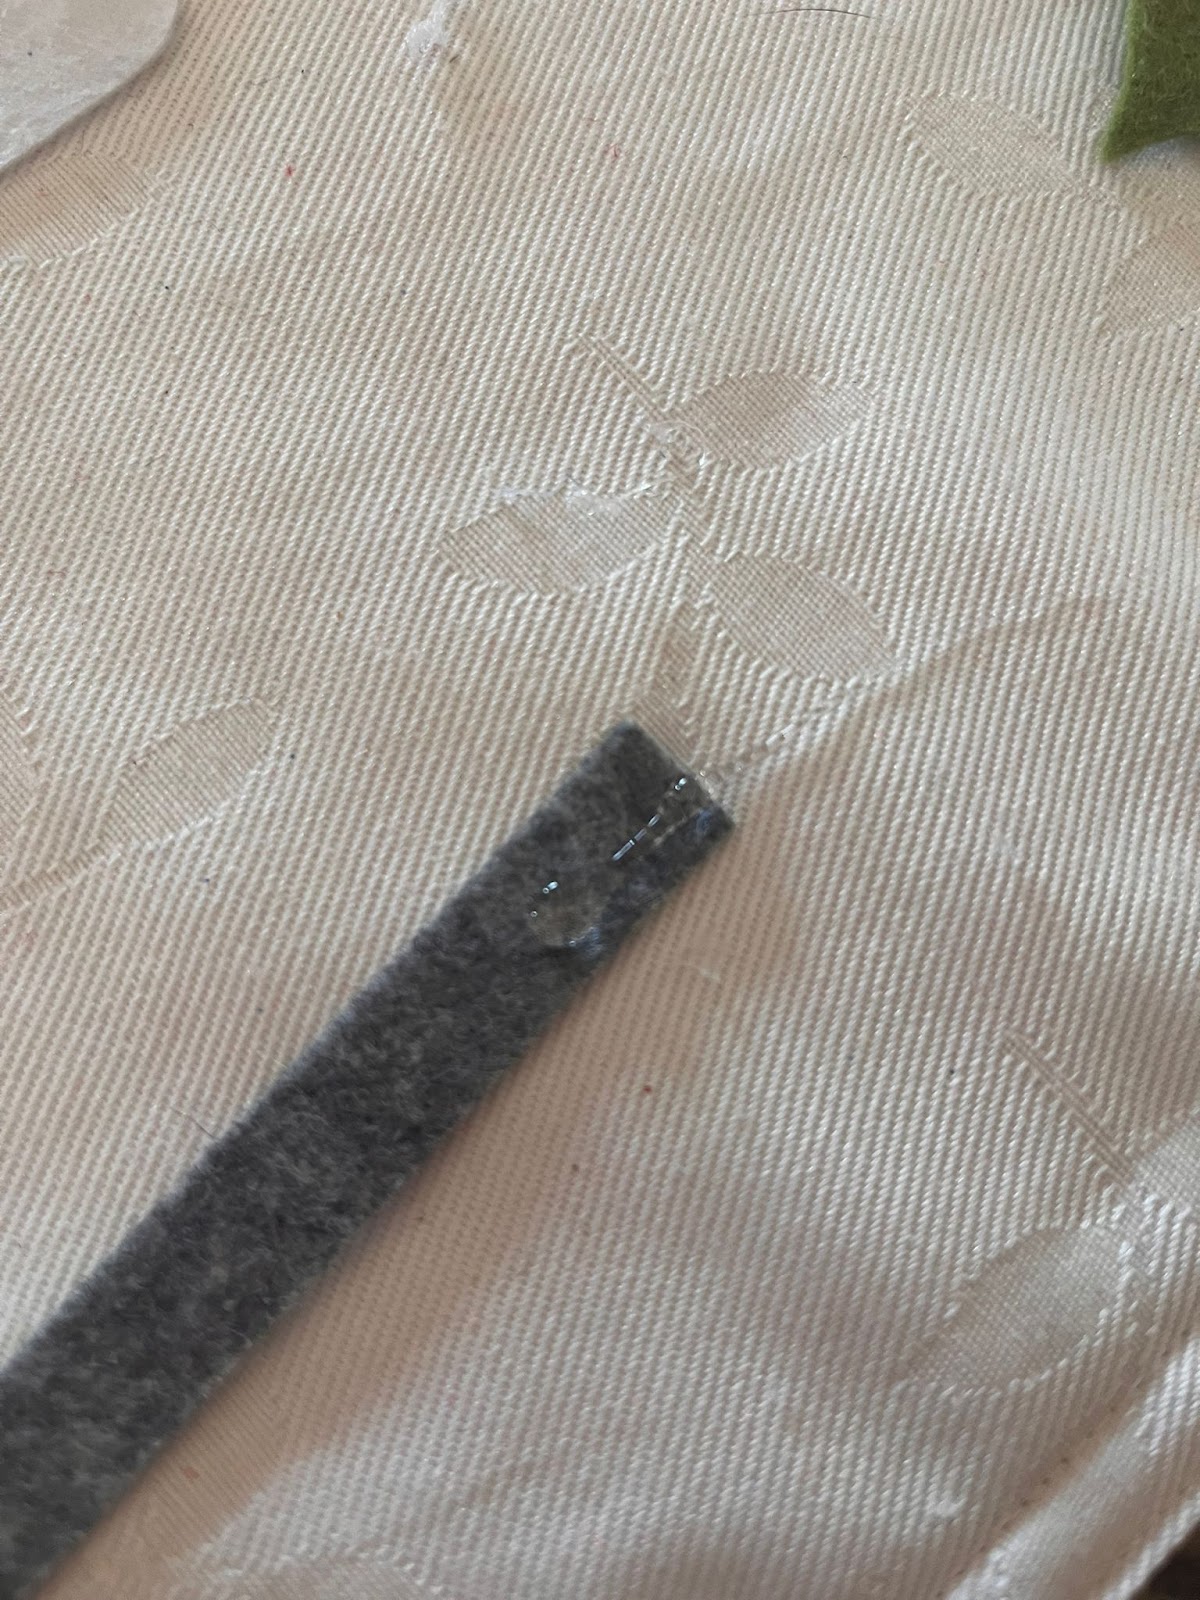
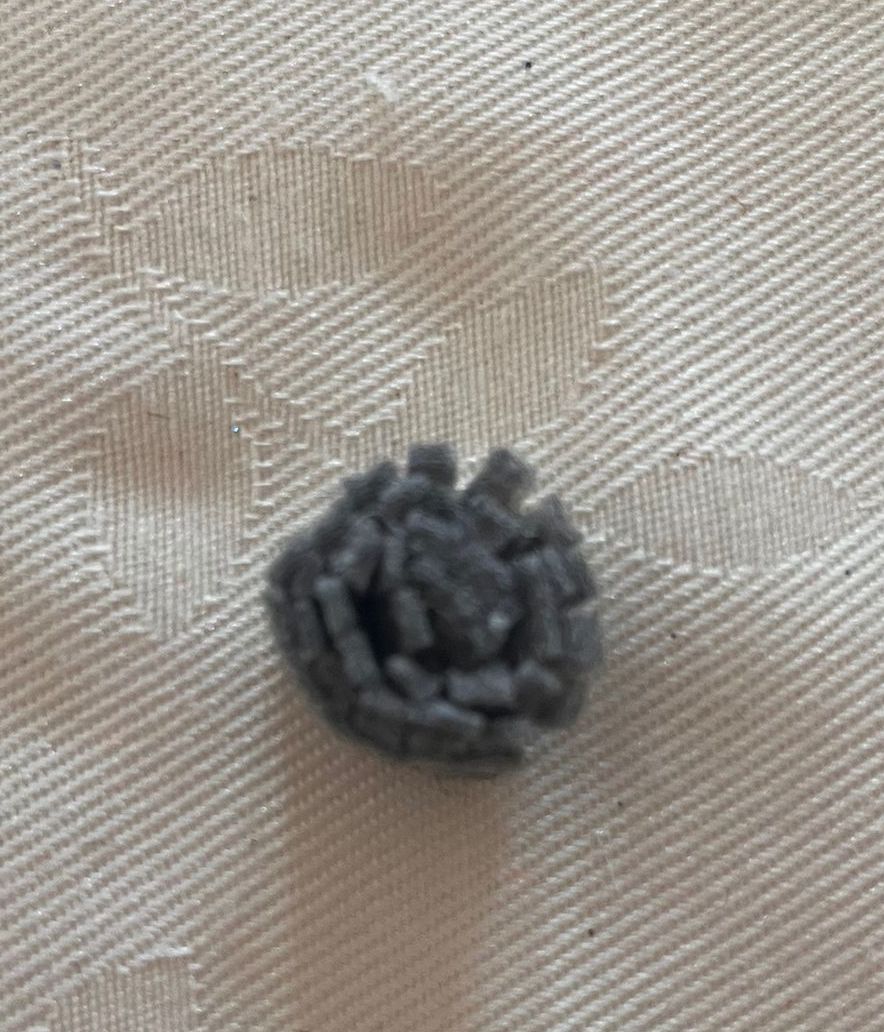
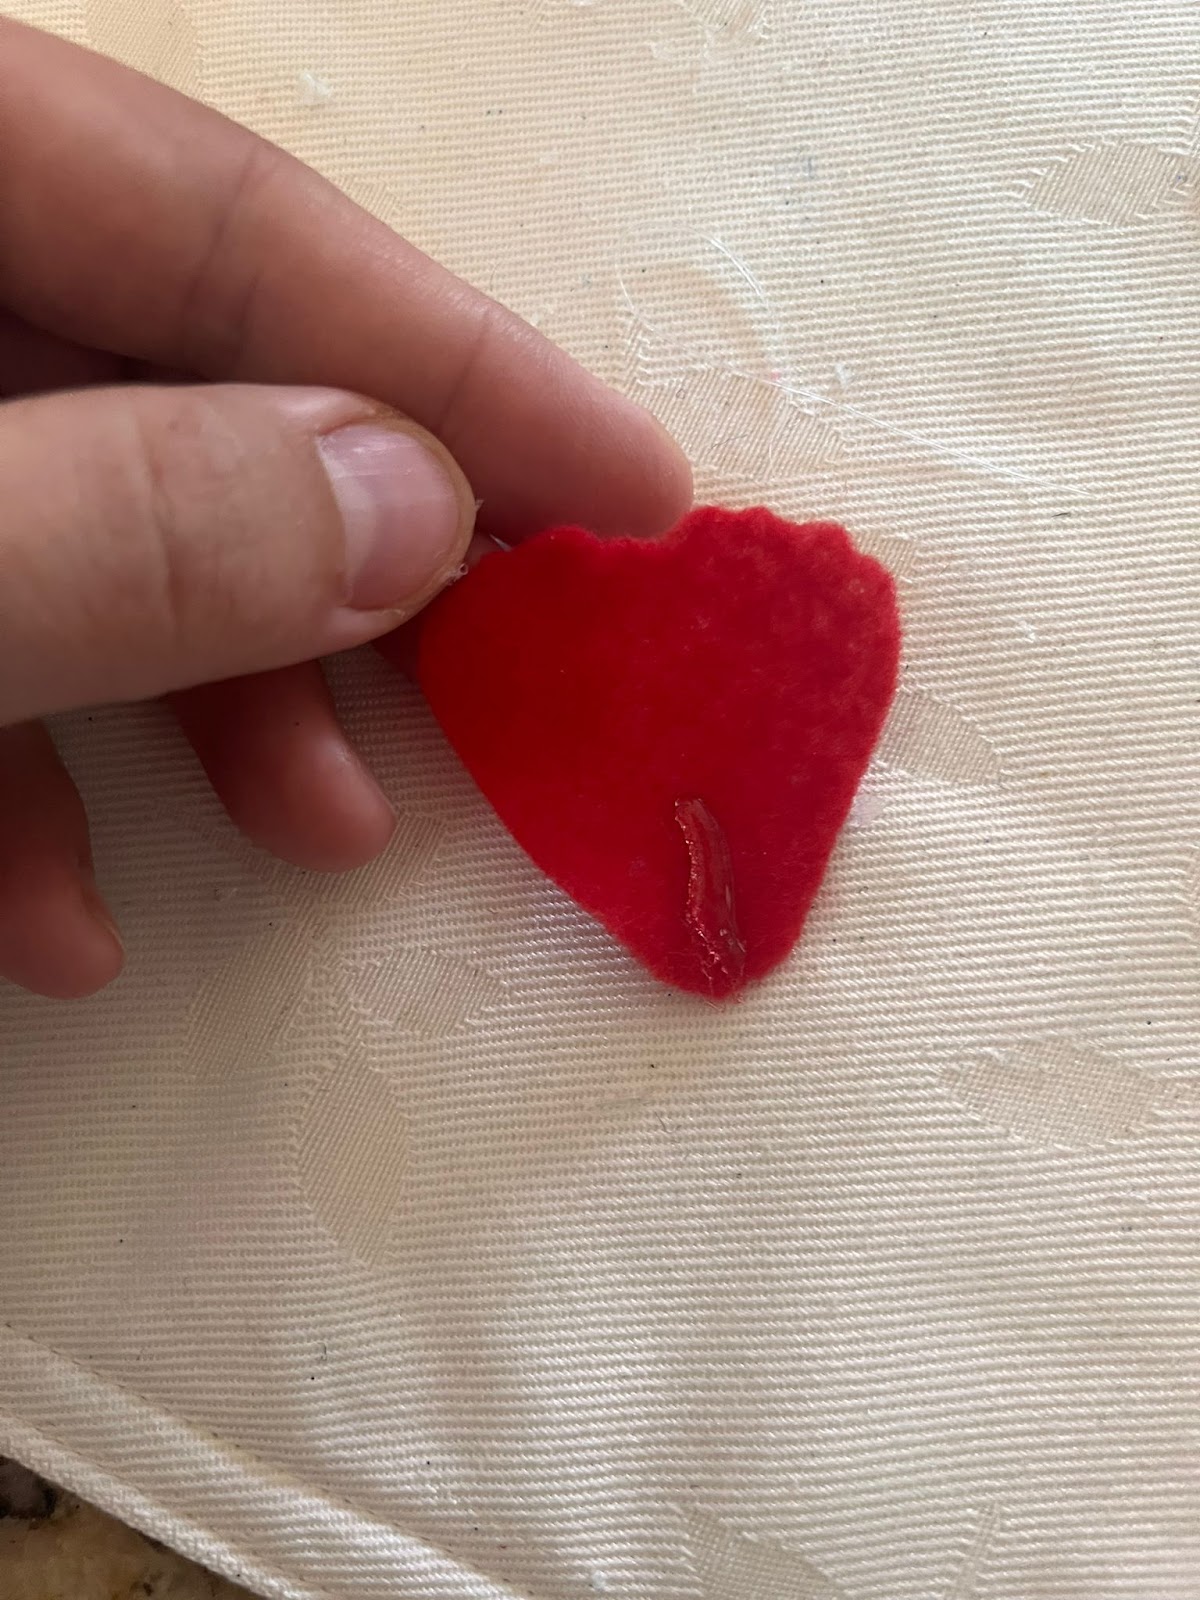
8: For the petals that are more large than round, we are going to start with the center, we are going to glue and roll the center:
10: then we are going to add like a line of glue on the bottom of the petal and we are going to glue it to the bottom of the center:
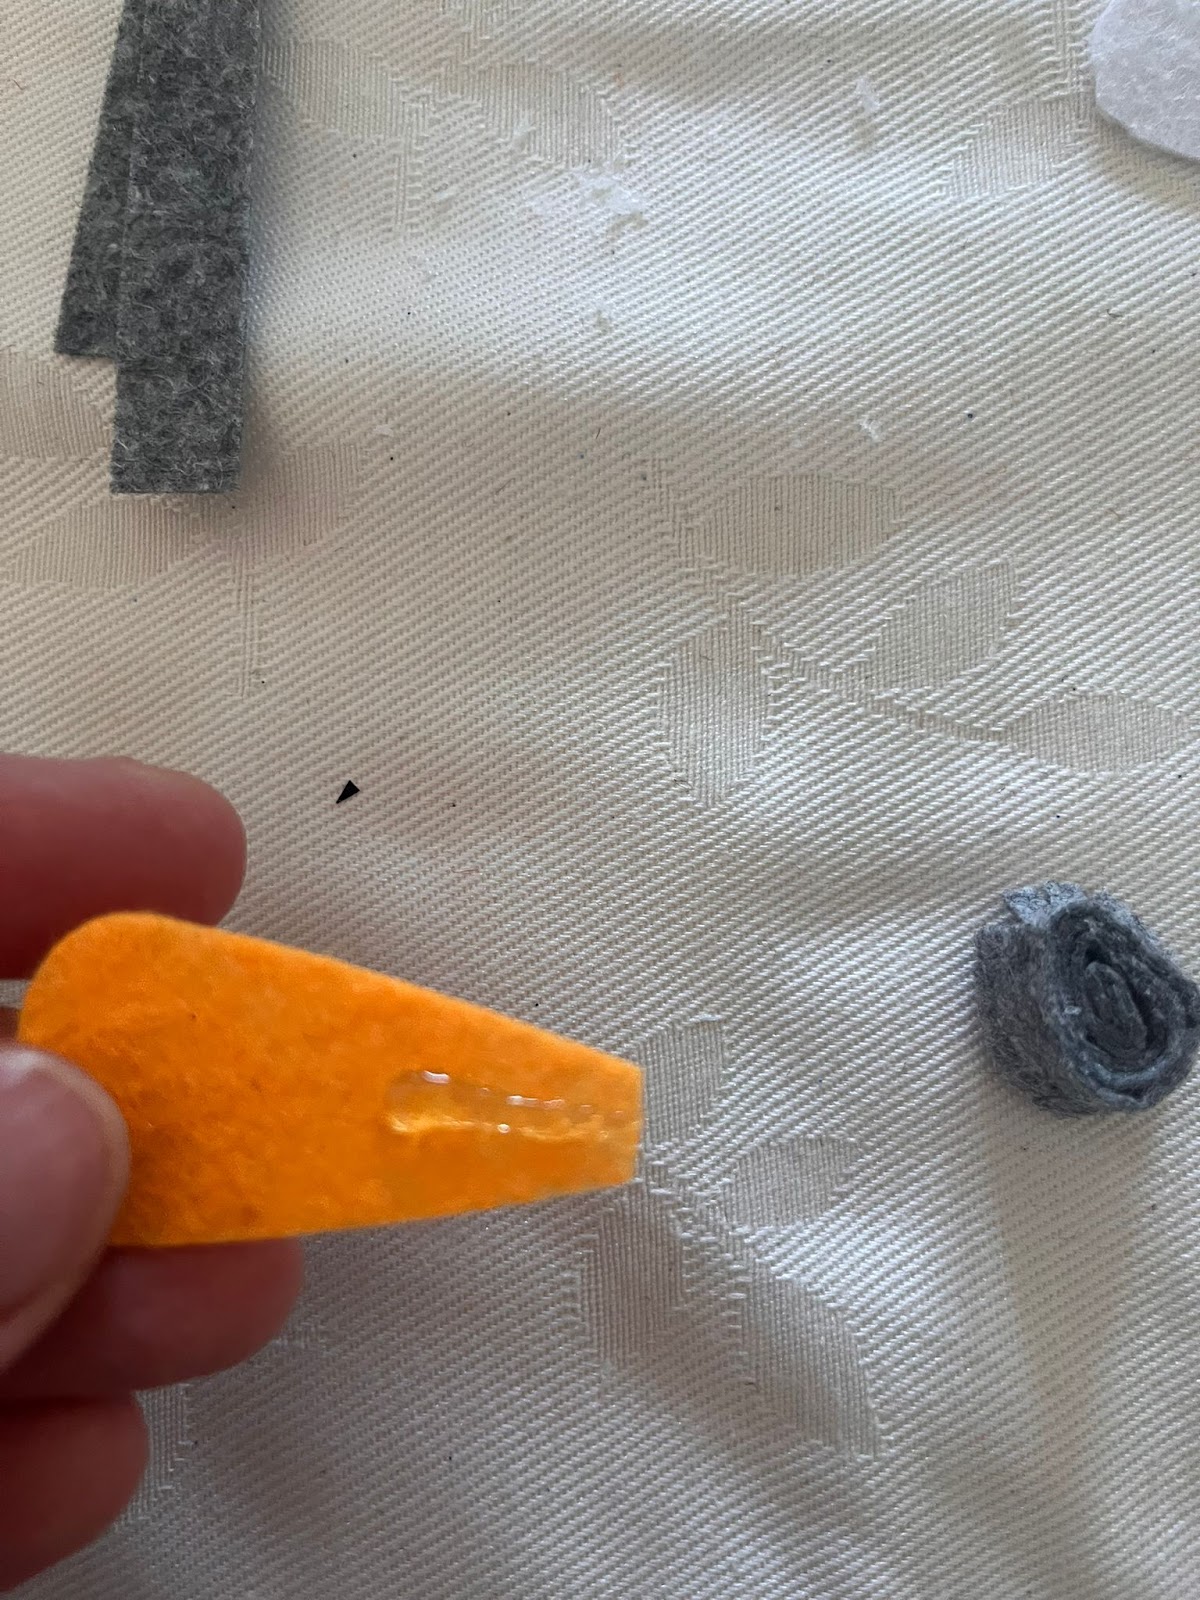
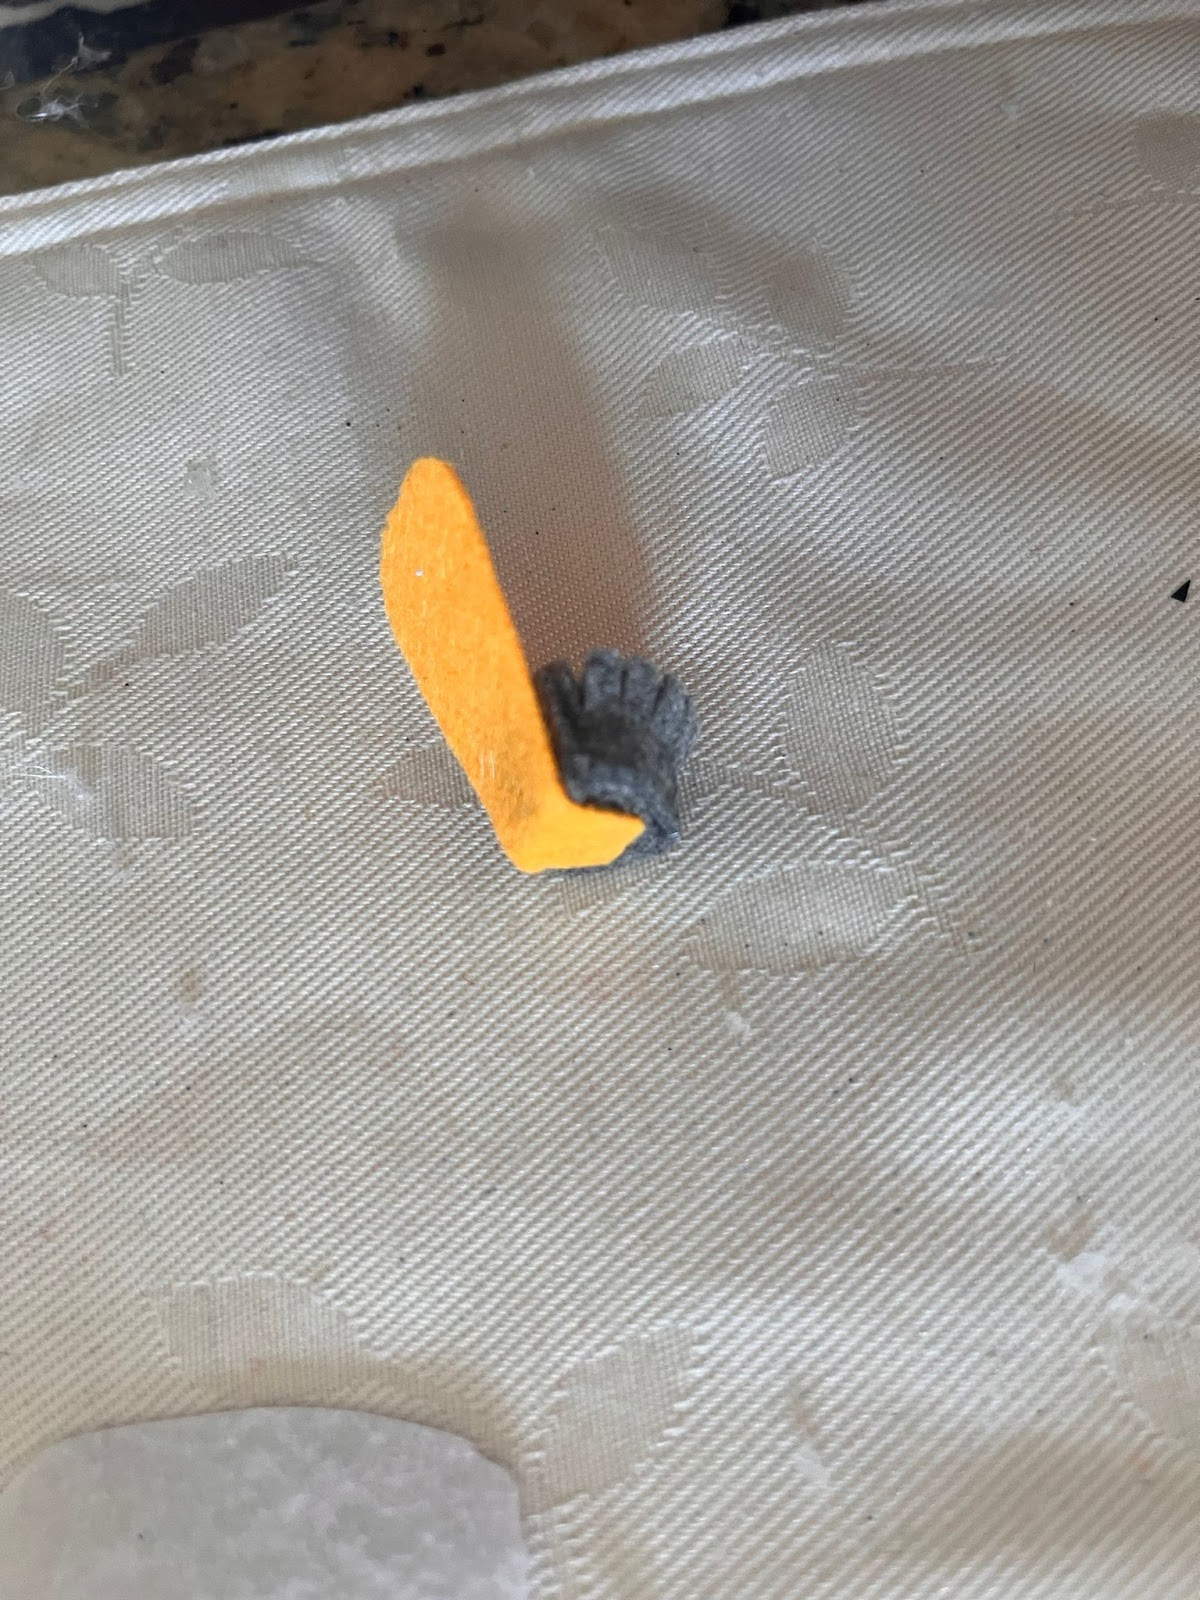
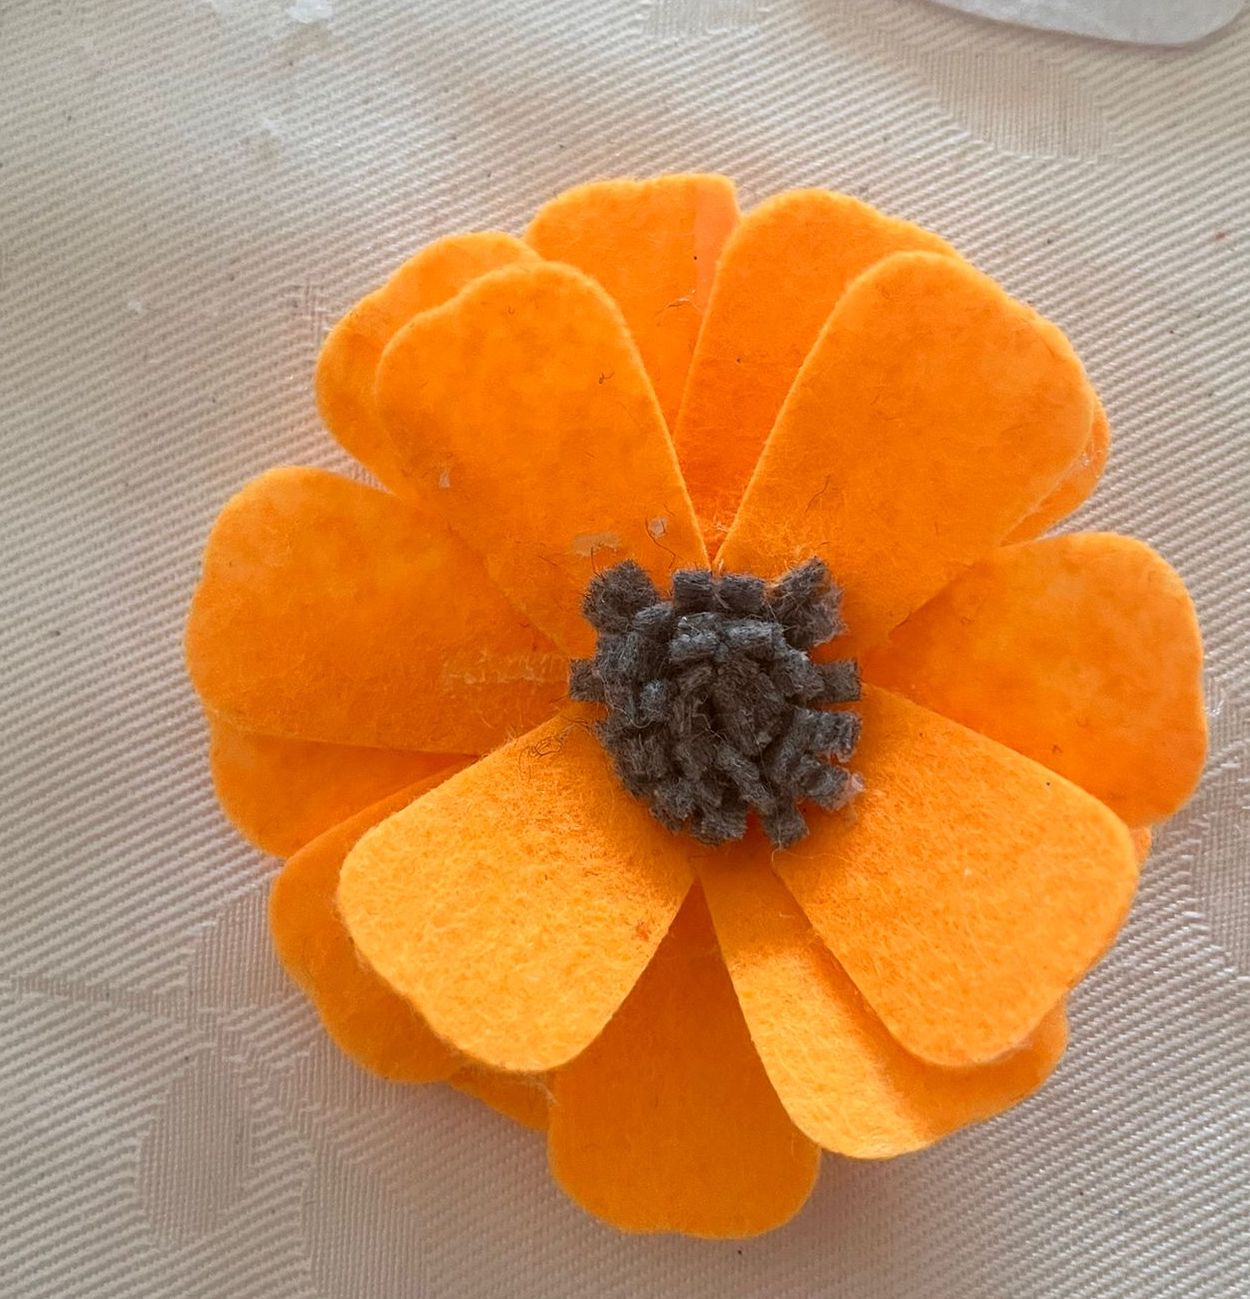
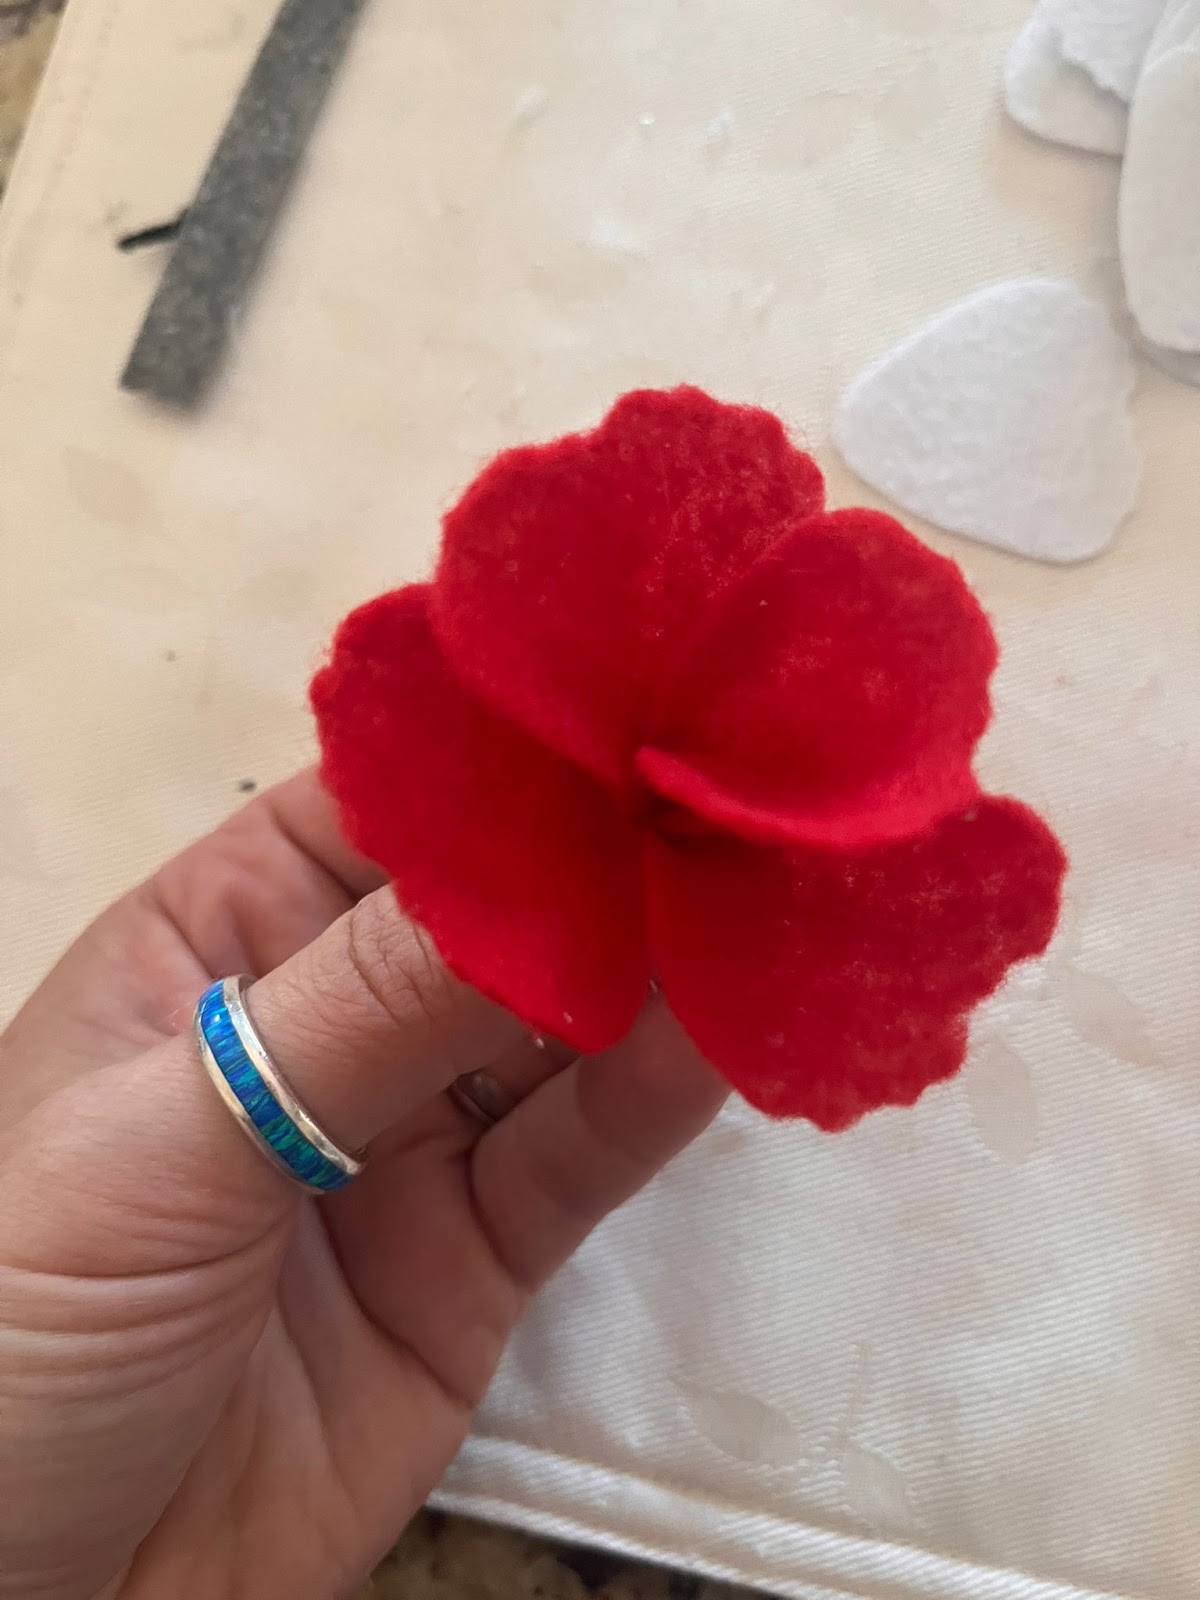
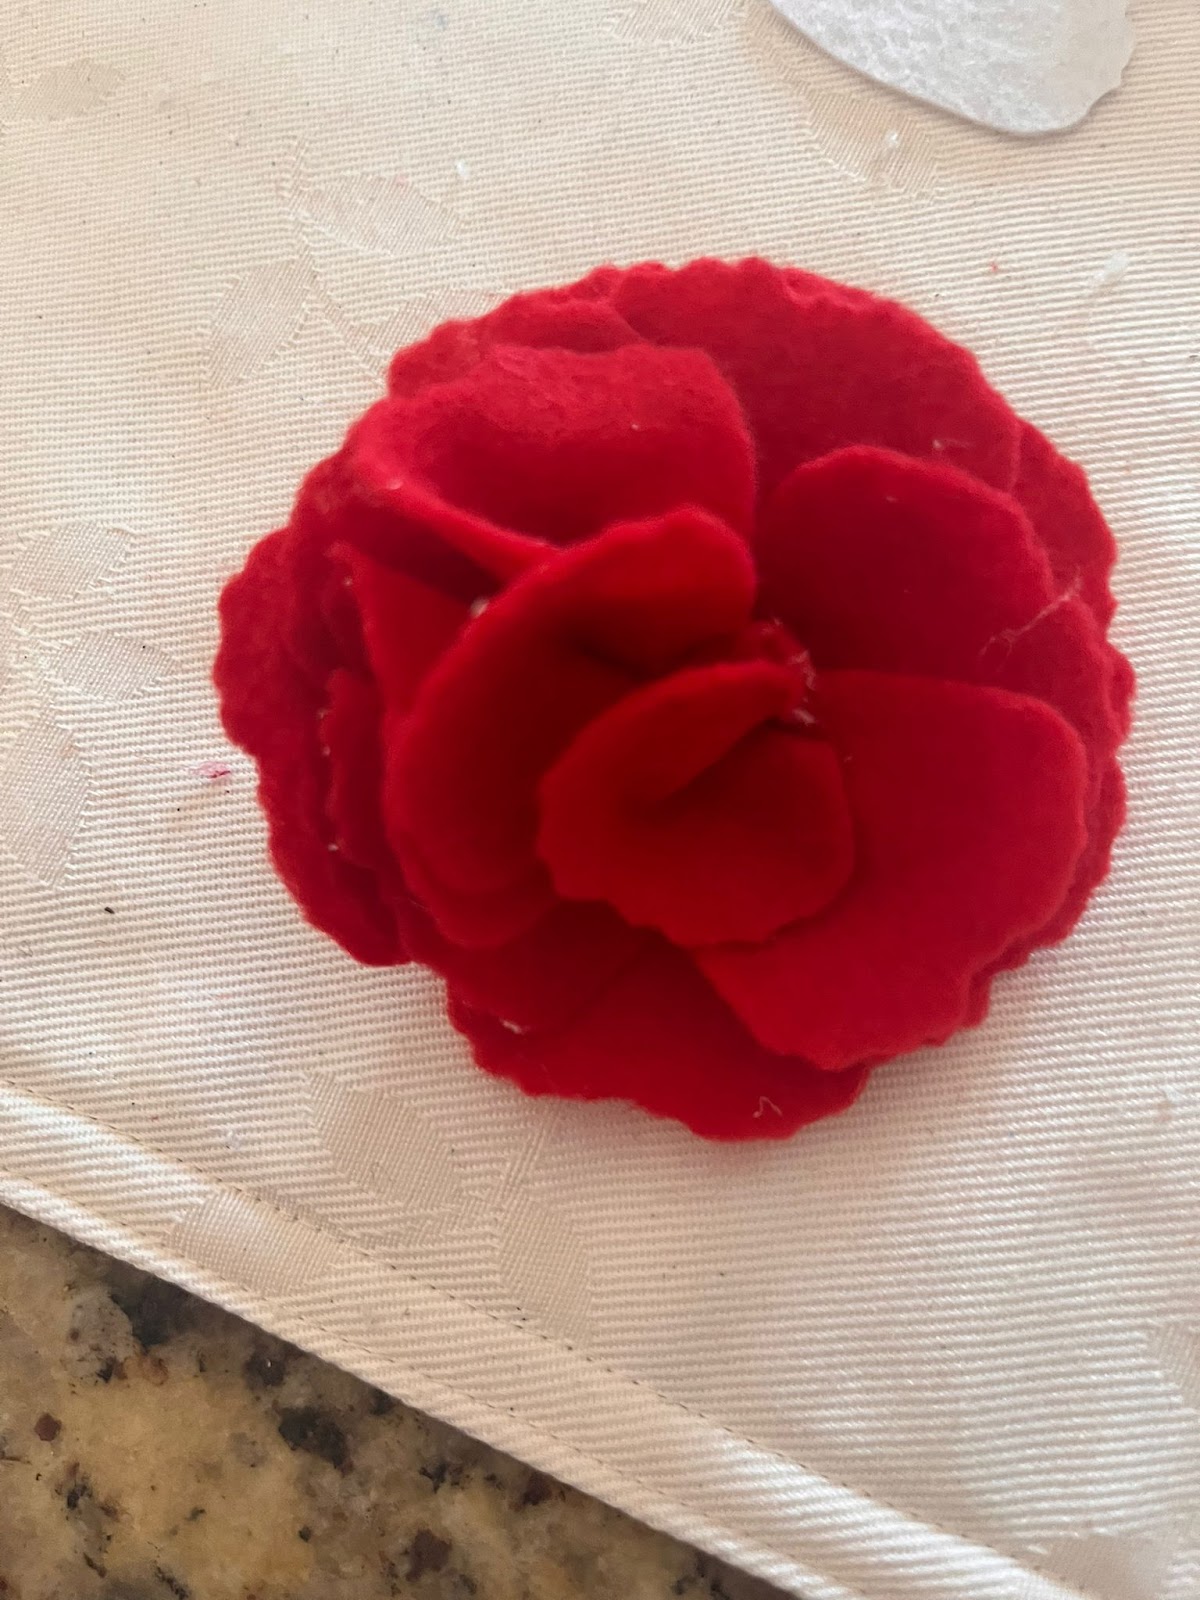
11: for the first line we are going to place 4 petals and then we are going to glue the next round between the petals and so on, in order to have something similar to:
12: For the last flower, you can add a center or not, if you add the center you are going to repeat the process as the previous flower. For no center, you are going to add a line of glue to the bottom of the petal and create like a pinch:

13: You are going to do thin pinch process with 4- 5 petals and then you are going to glue them together at the bottom:
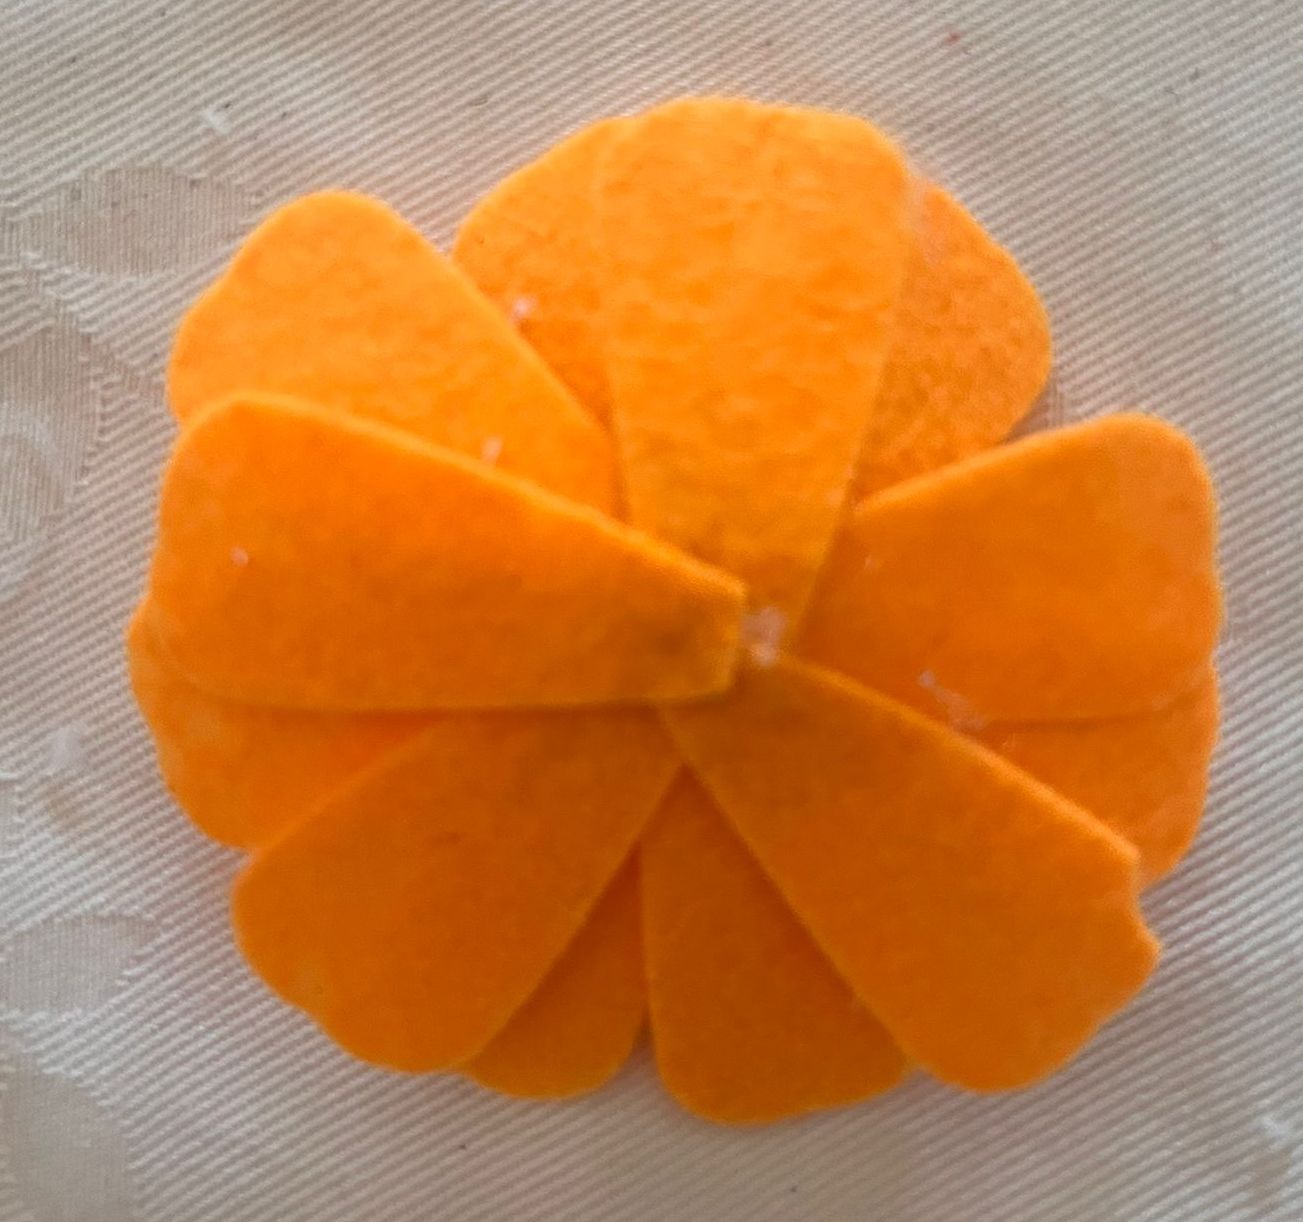
14: Then you are going to glue the rest of the petals around them until you are done:
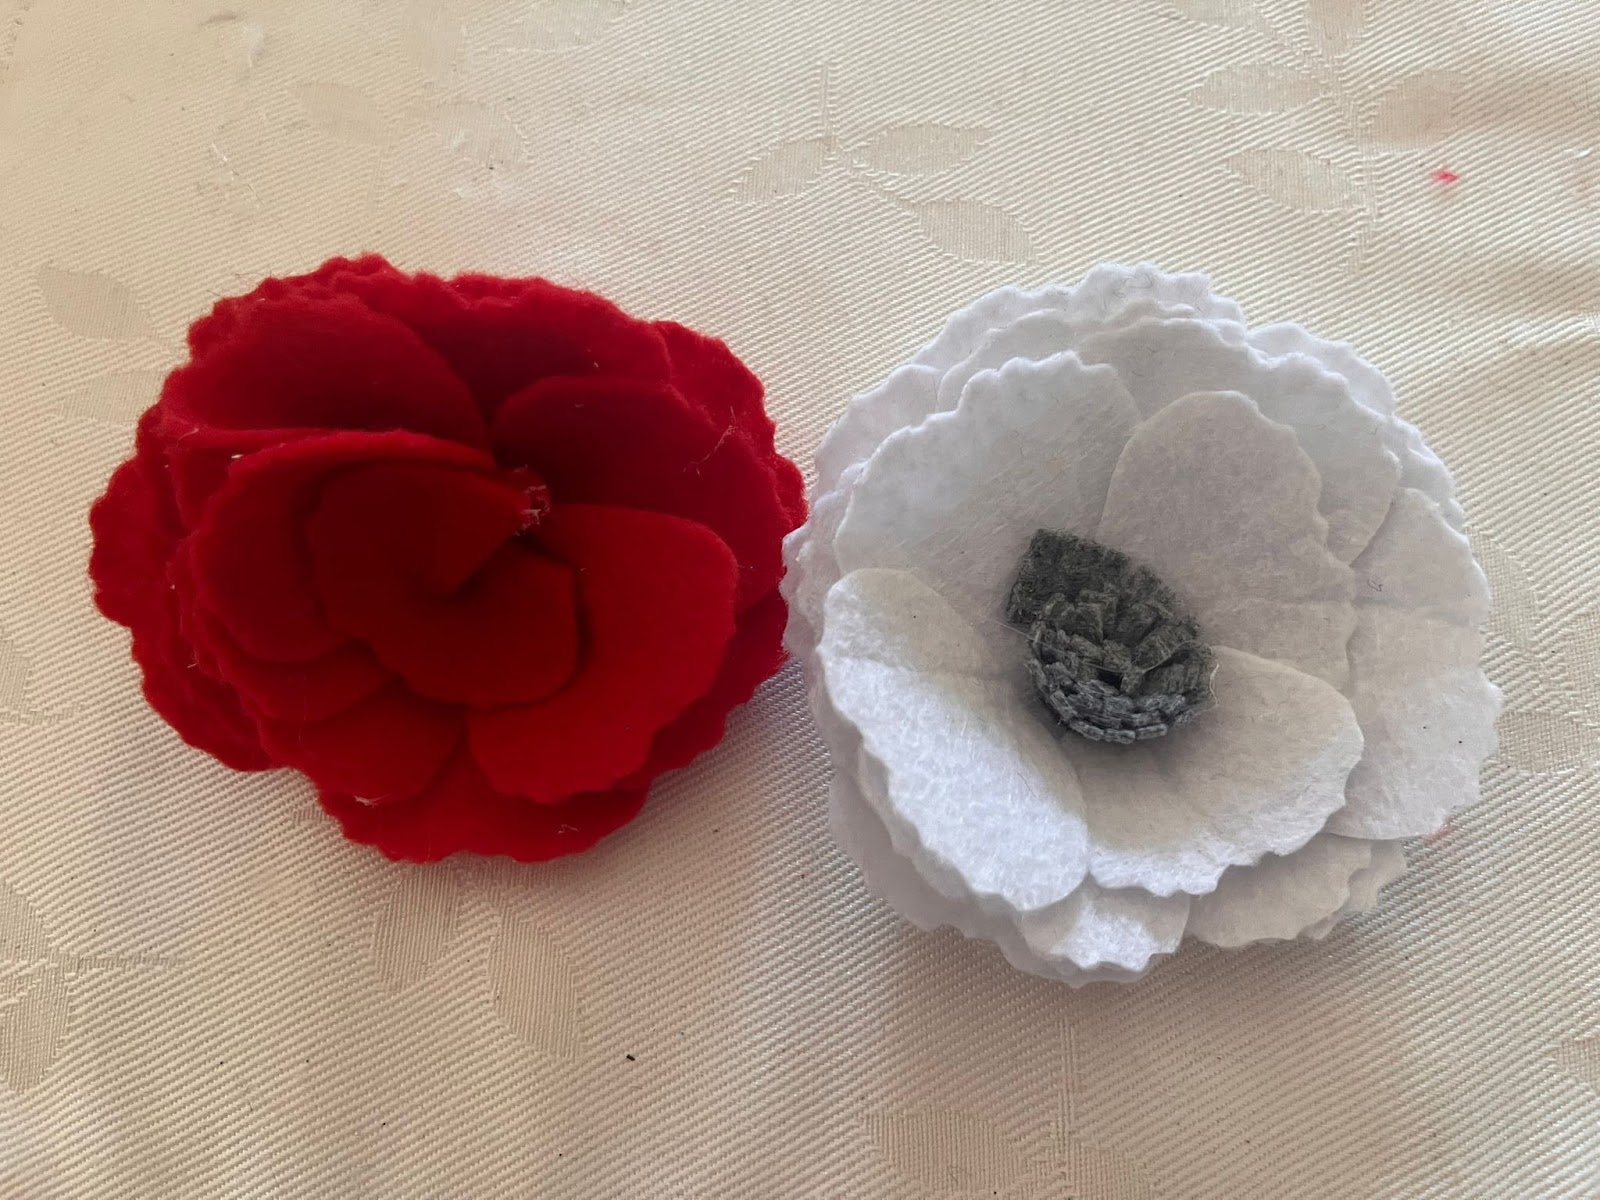
💡Tip: There are different types of felt, some of them are more tight / hard than others and that means that your flowers can look different between each other, like in the picture below:
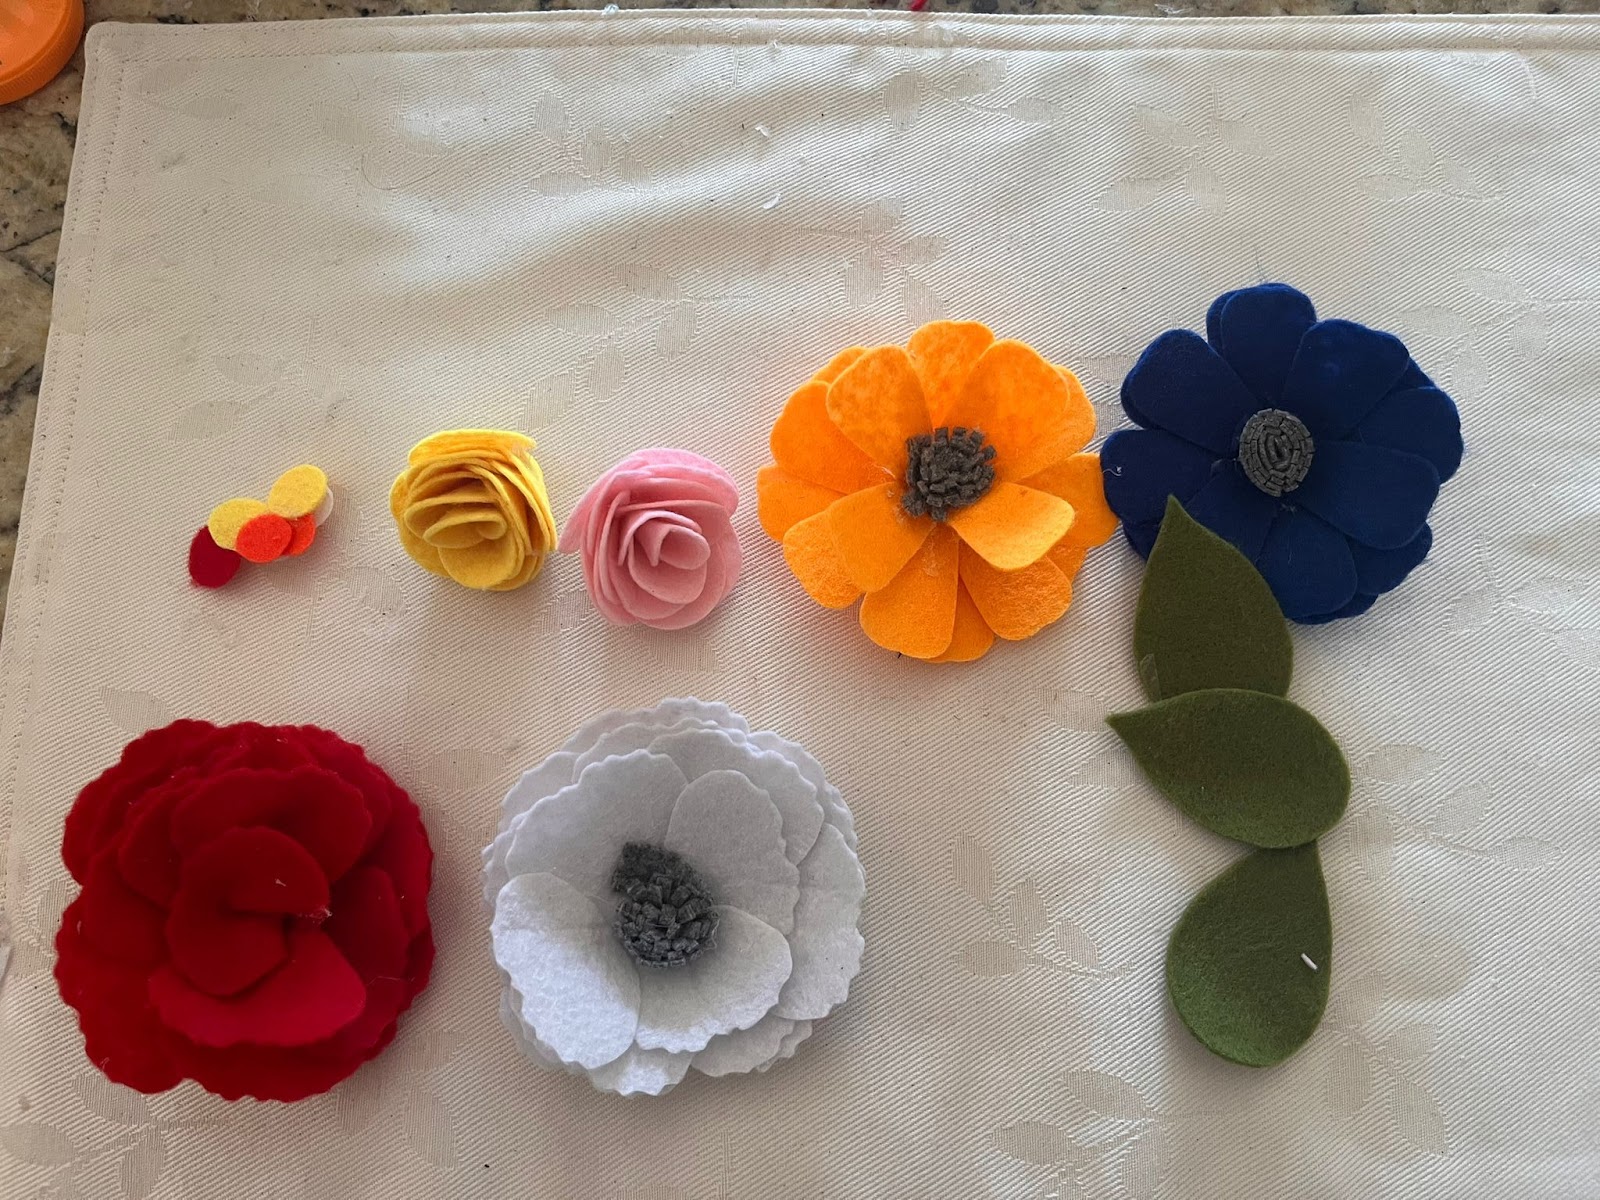
15: After all your flowers are done, you should have something like:
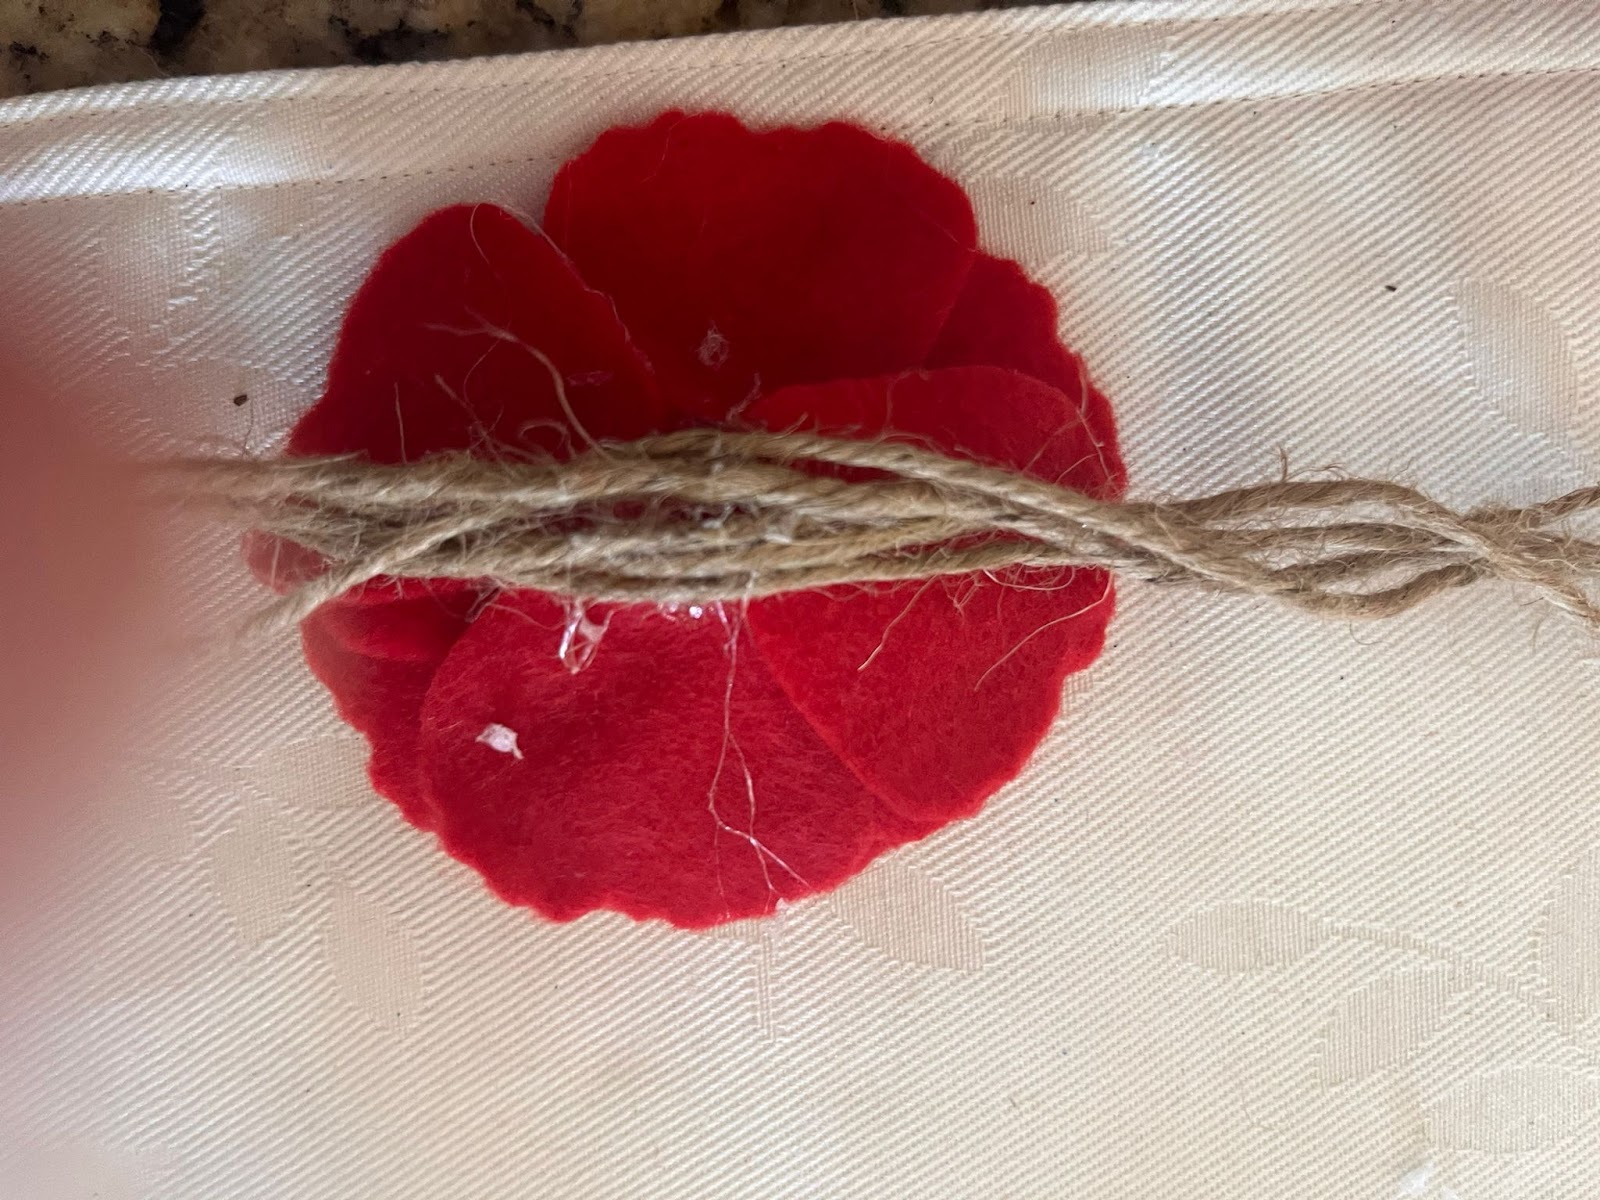
16: We are going to start gluing them into the garland, in our case we are going to use 6 strips of the material, you can use another type of material also if you like:

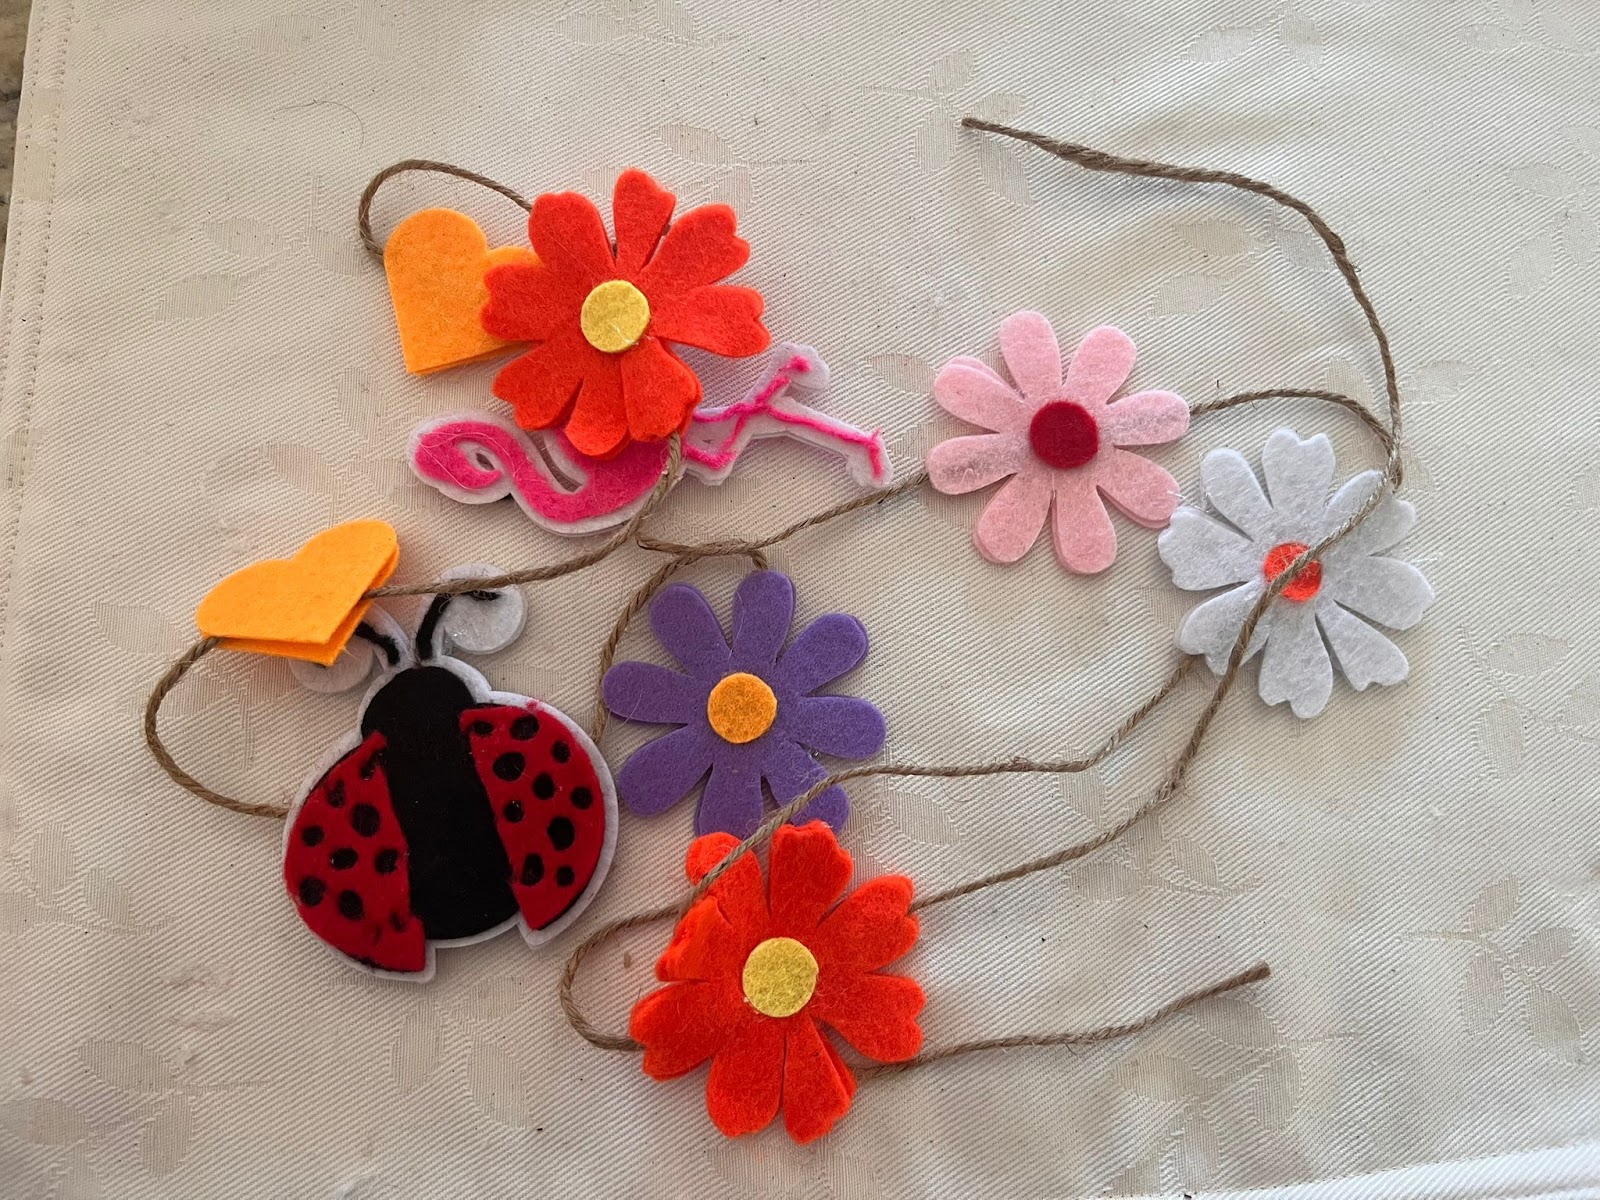
17: You can add leaves, dots or any other details that you want to your garland, and when all the elements are glued together, your second garland is DONE! GREAT JOB!
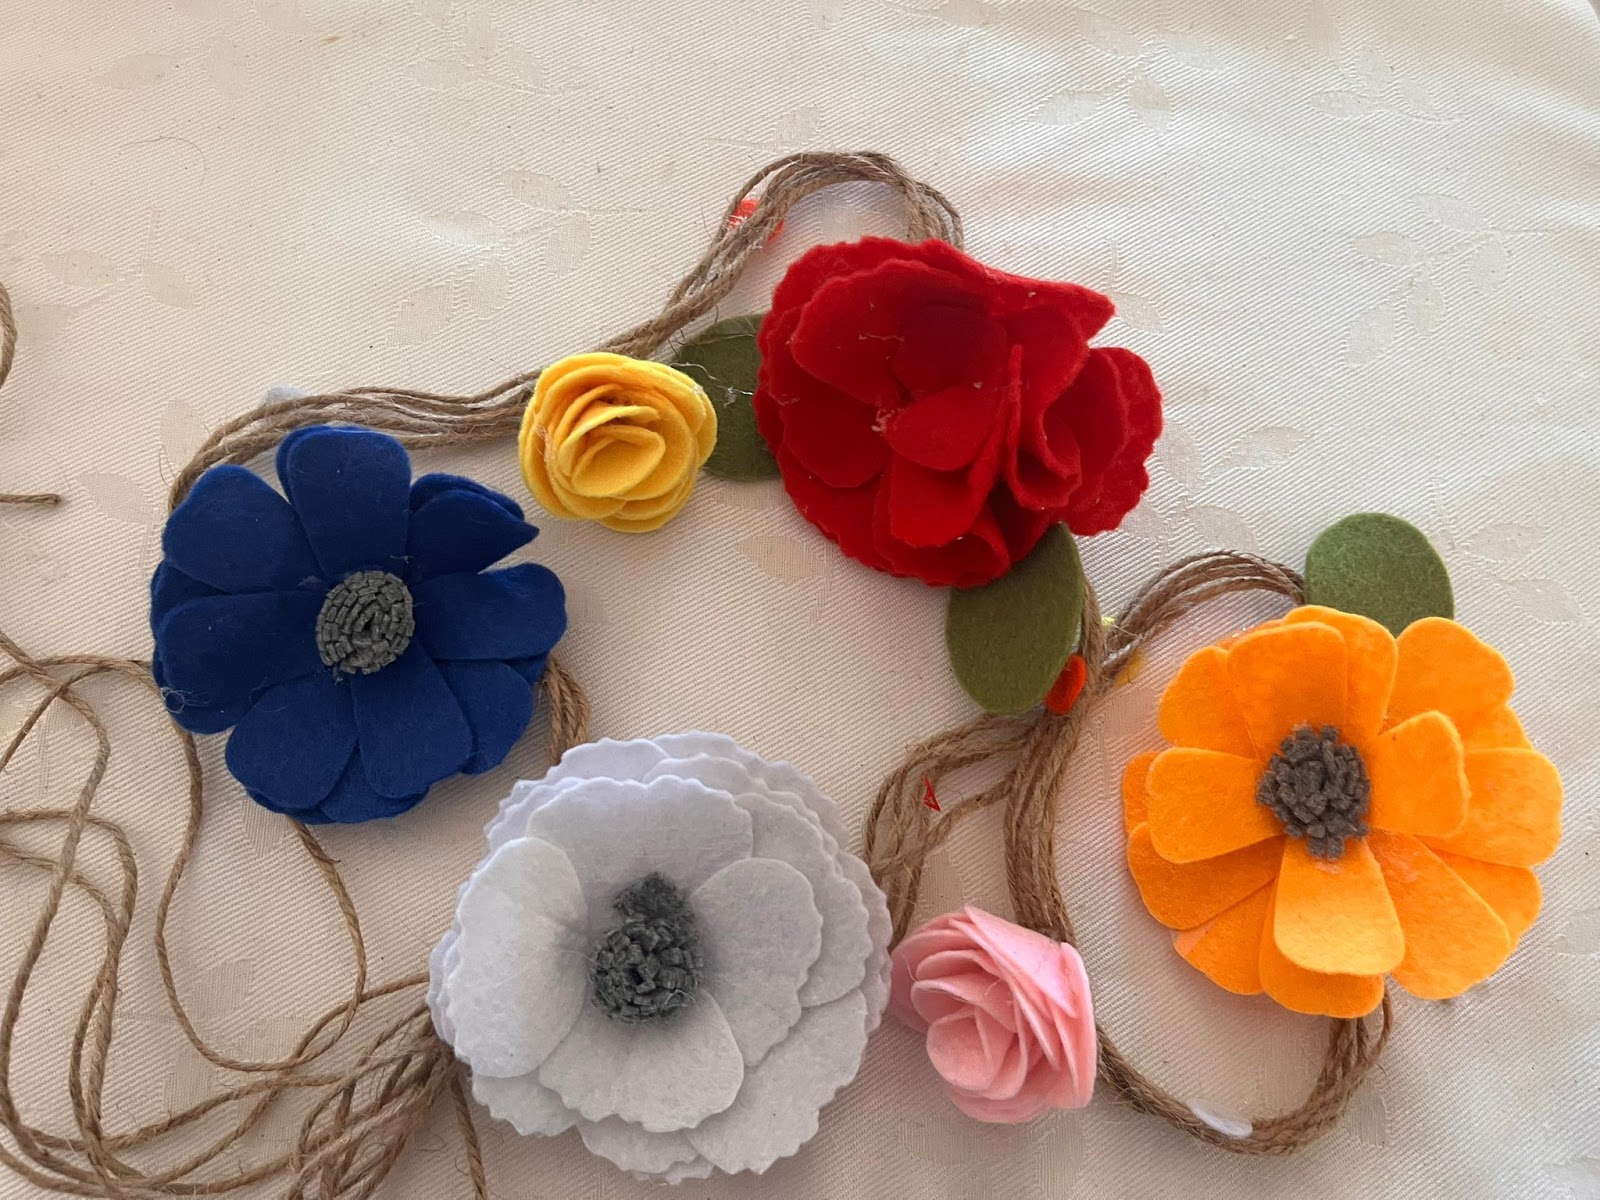
In this tutorial, you are going to learn/practice the following skills:
- Add Shapes
- Upload Images
- Resize Elements
- Duplicate Elements
- Rotate Elements
- Weld Elements
- Offset elements
- Group Elements