Step 1: Create the Design
1: Make sure to install the font before starting the project: BackHoney
2: Now open Design Space and start a new project.
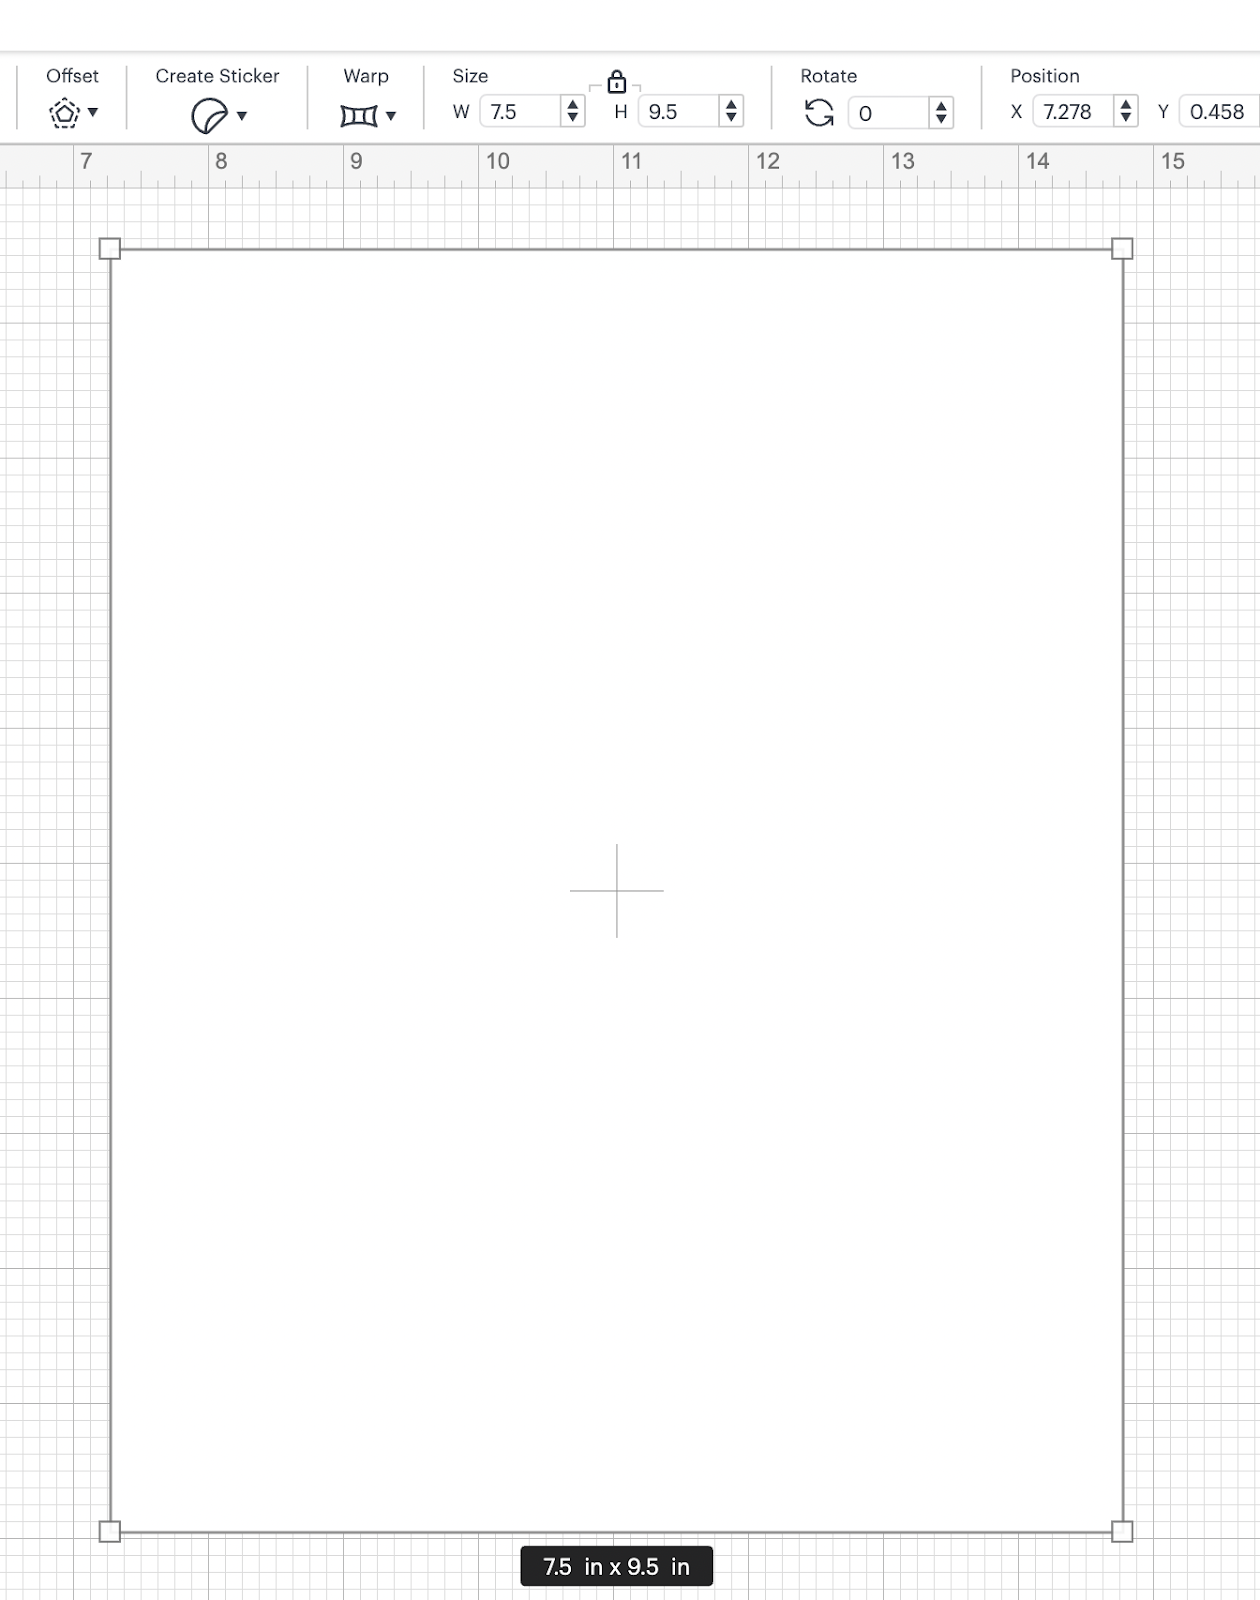
3: We are going to use the shapes functionality, and we are going to add a square or rectangle ( based on your physical shadow box) and we are going to resize it with the same measurements as the shadow box in where we are going to later transfer our design, in our case: W:7:5” and H: 9.5”
4: By using the Upload functionality we are going to upload our 3 different swirls, you need to do this process one at a time.
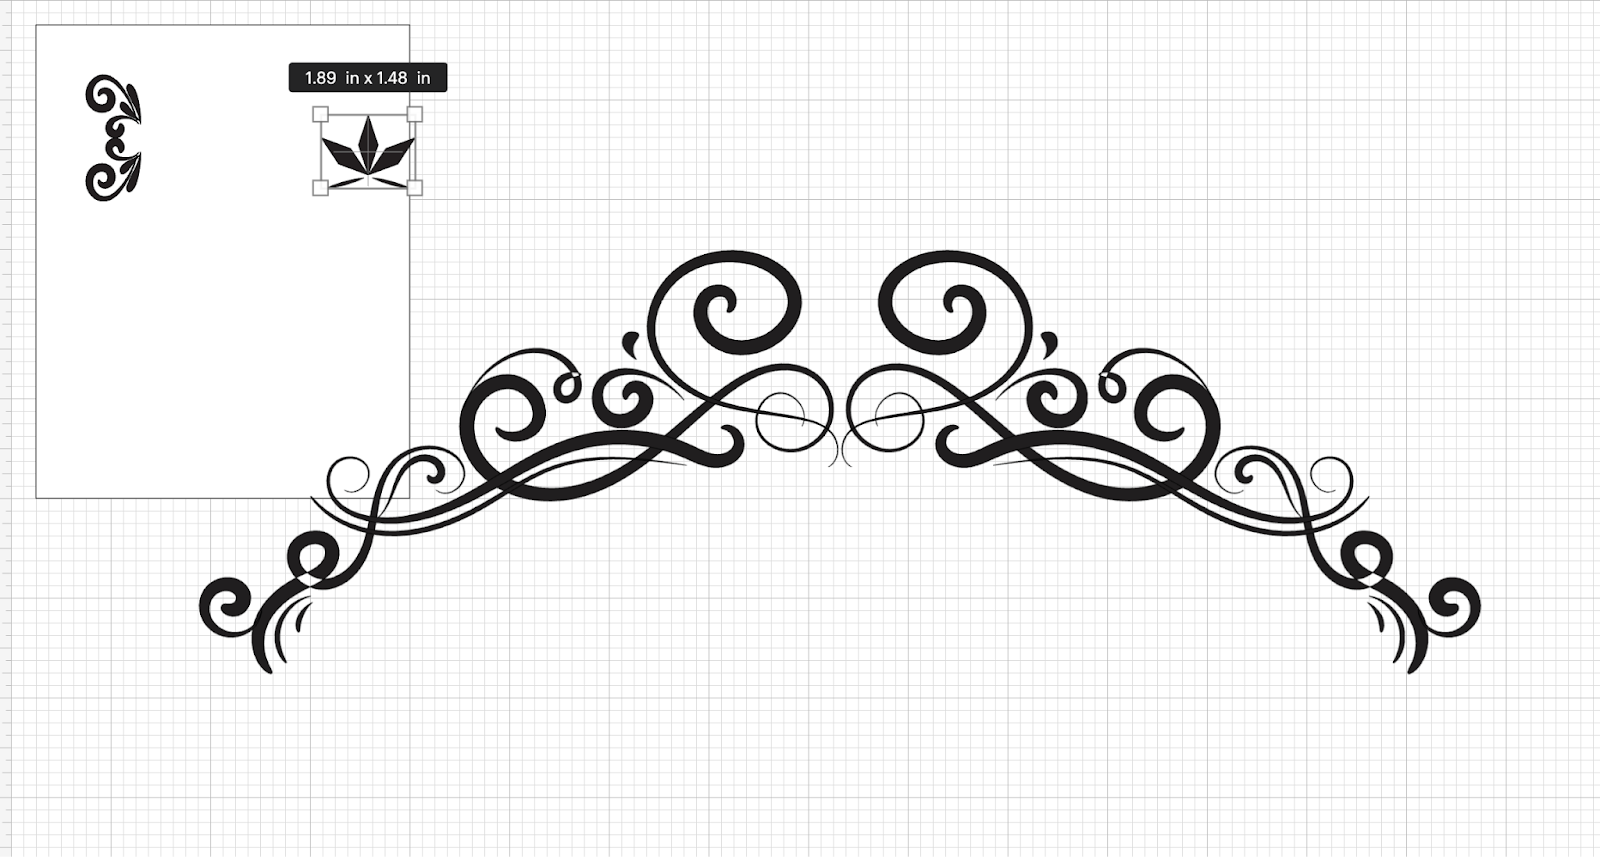
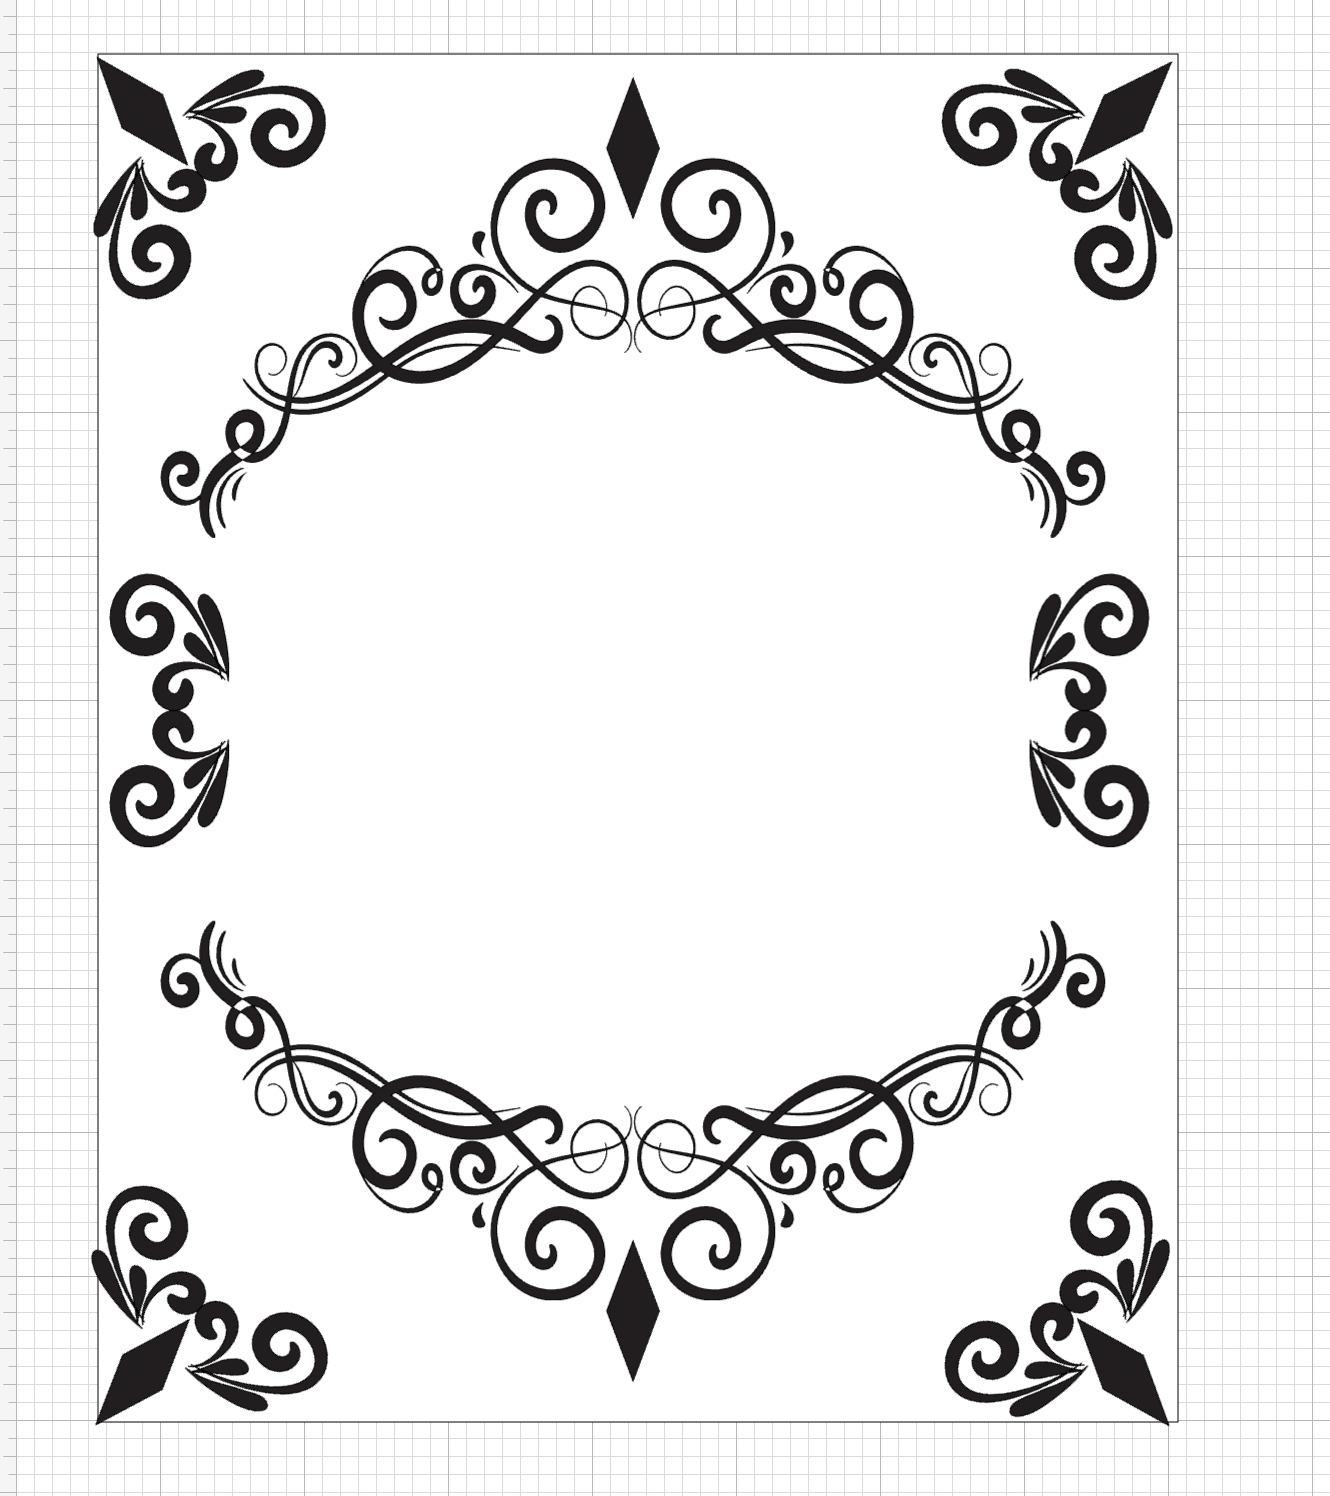
5: We are going to start placing them inside our rectangle and later one we are going to make sure that they are aligned, the only thing that we care now is that they fit nicely inside our shape.
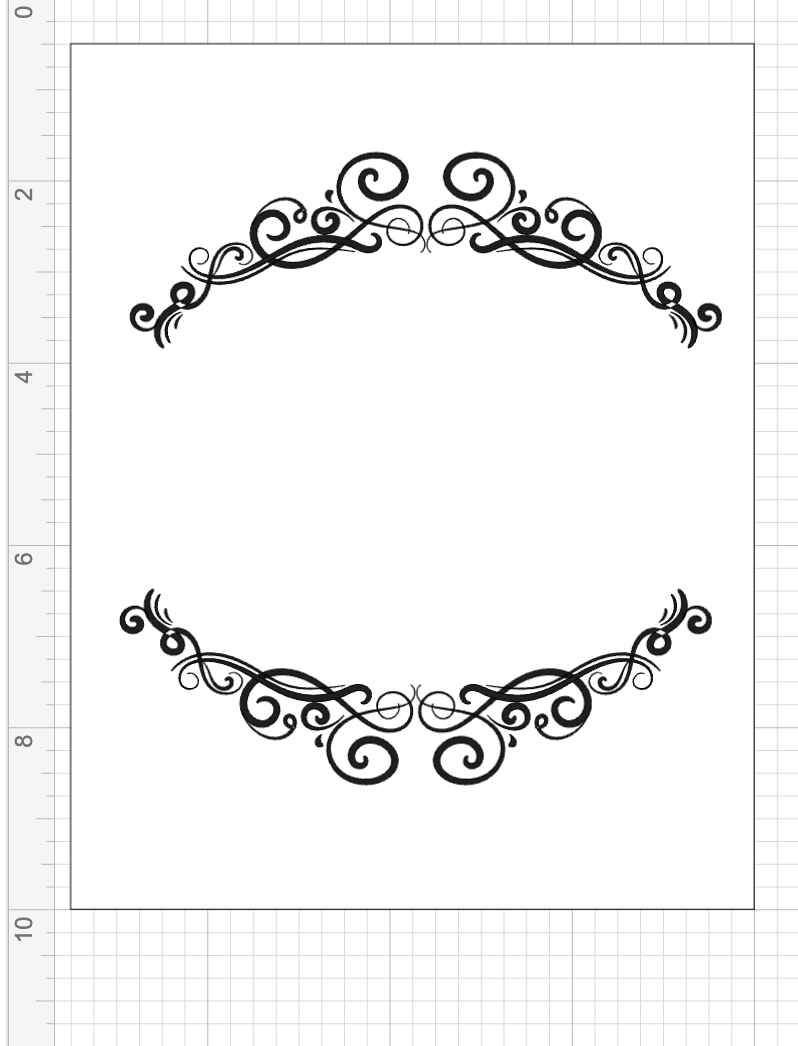
We are going to start by duplicating the Big Swirl, rotate one of them and place them inside our shape something as follows:
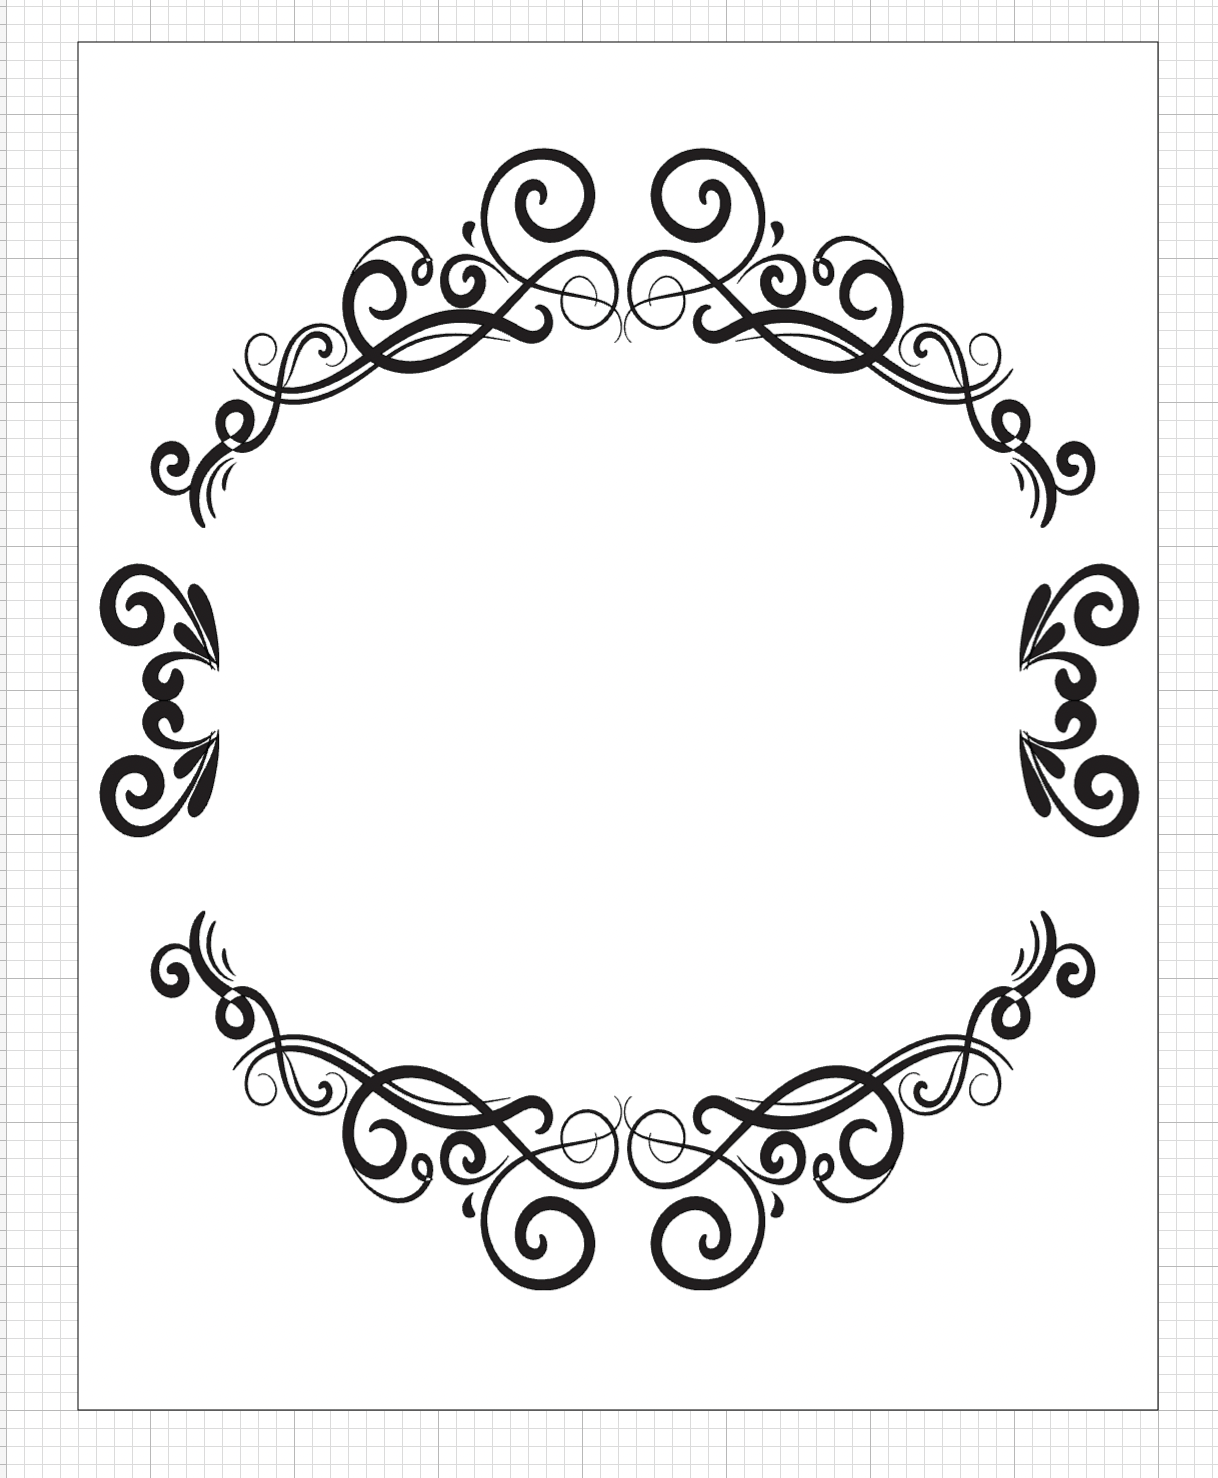
6: We are now going to apply the same process with the medium swirl but adding them vertically on each side of the big swirls, like:
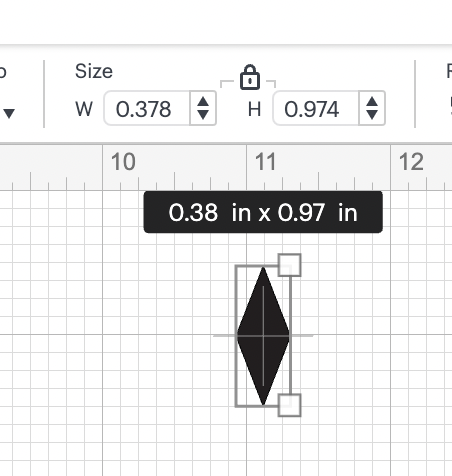
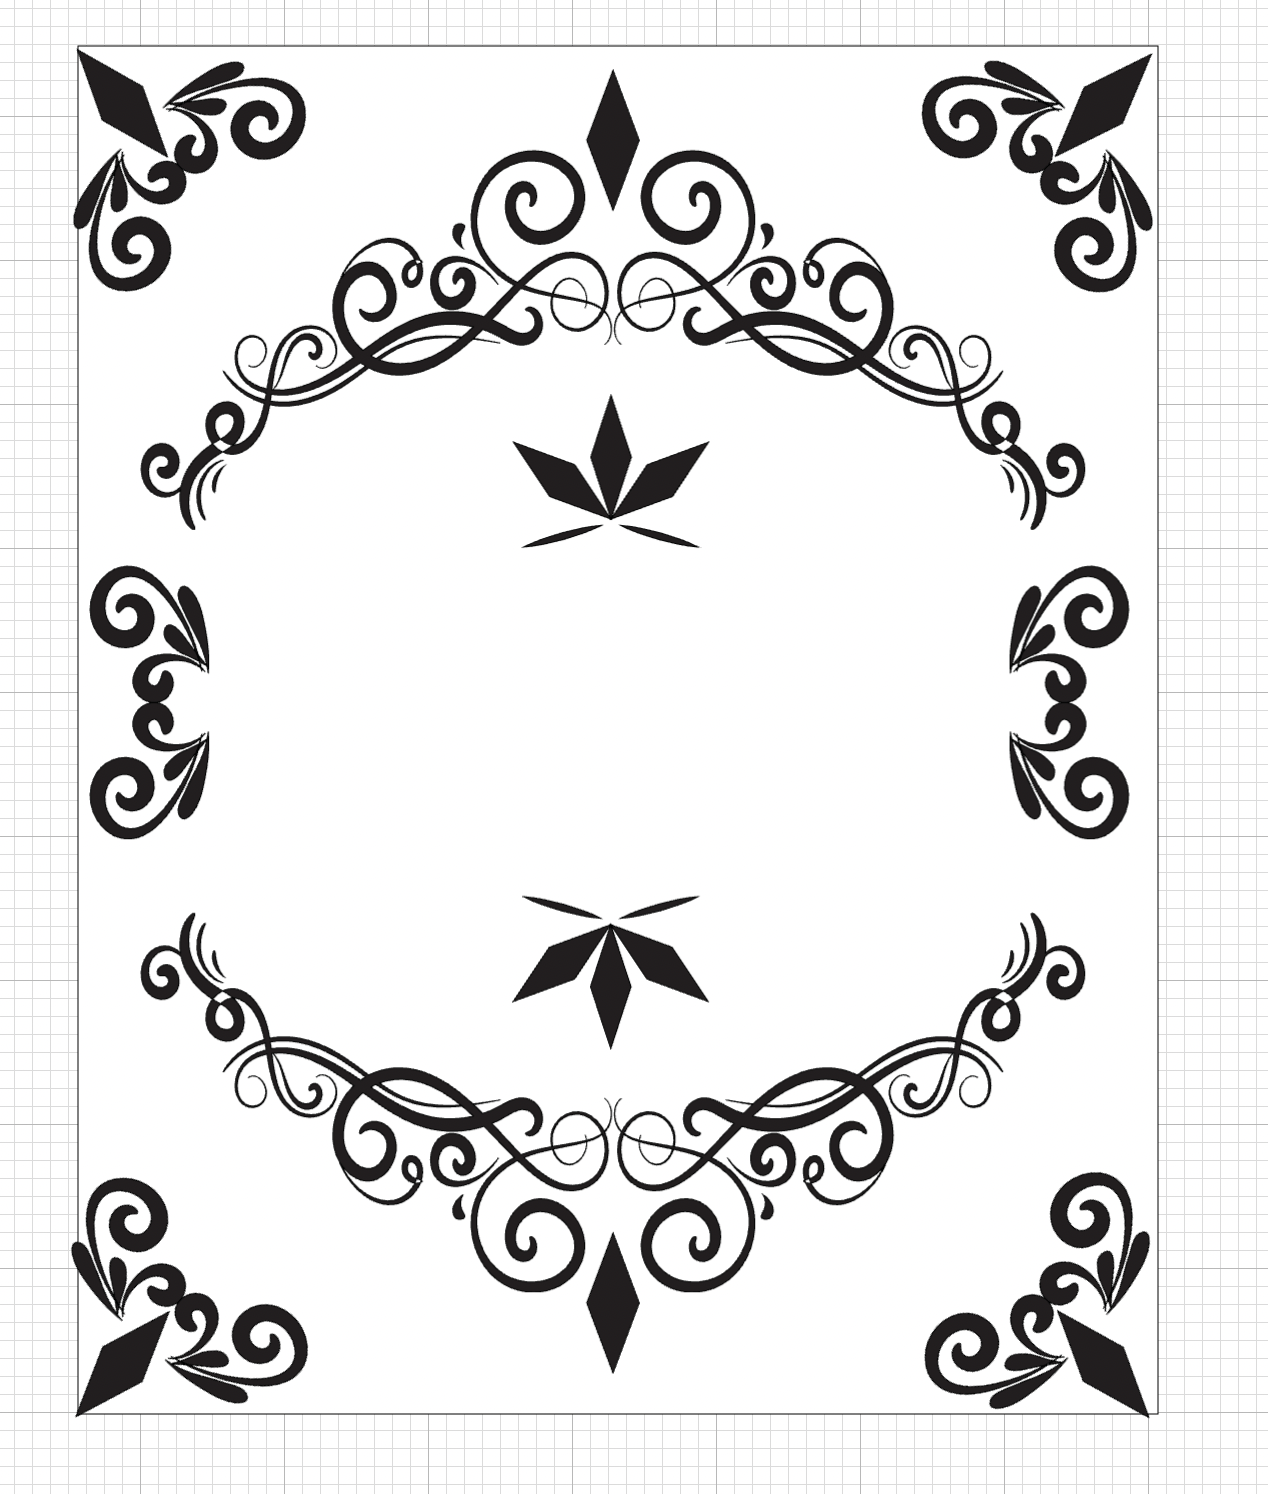
7: Using the shapes functionality we are going to add Rhombus and we are going to resize it to the following measurements more or less:
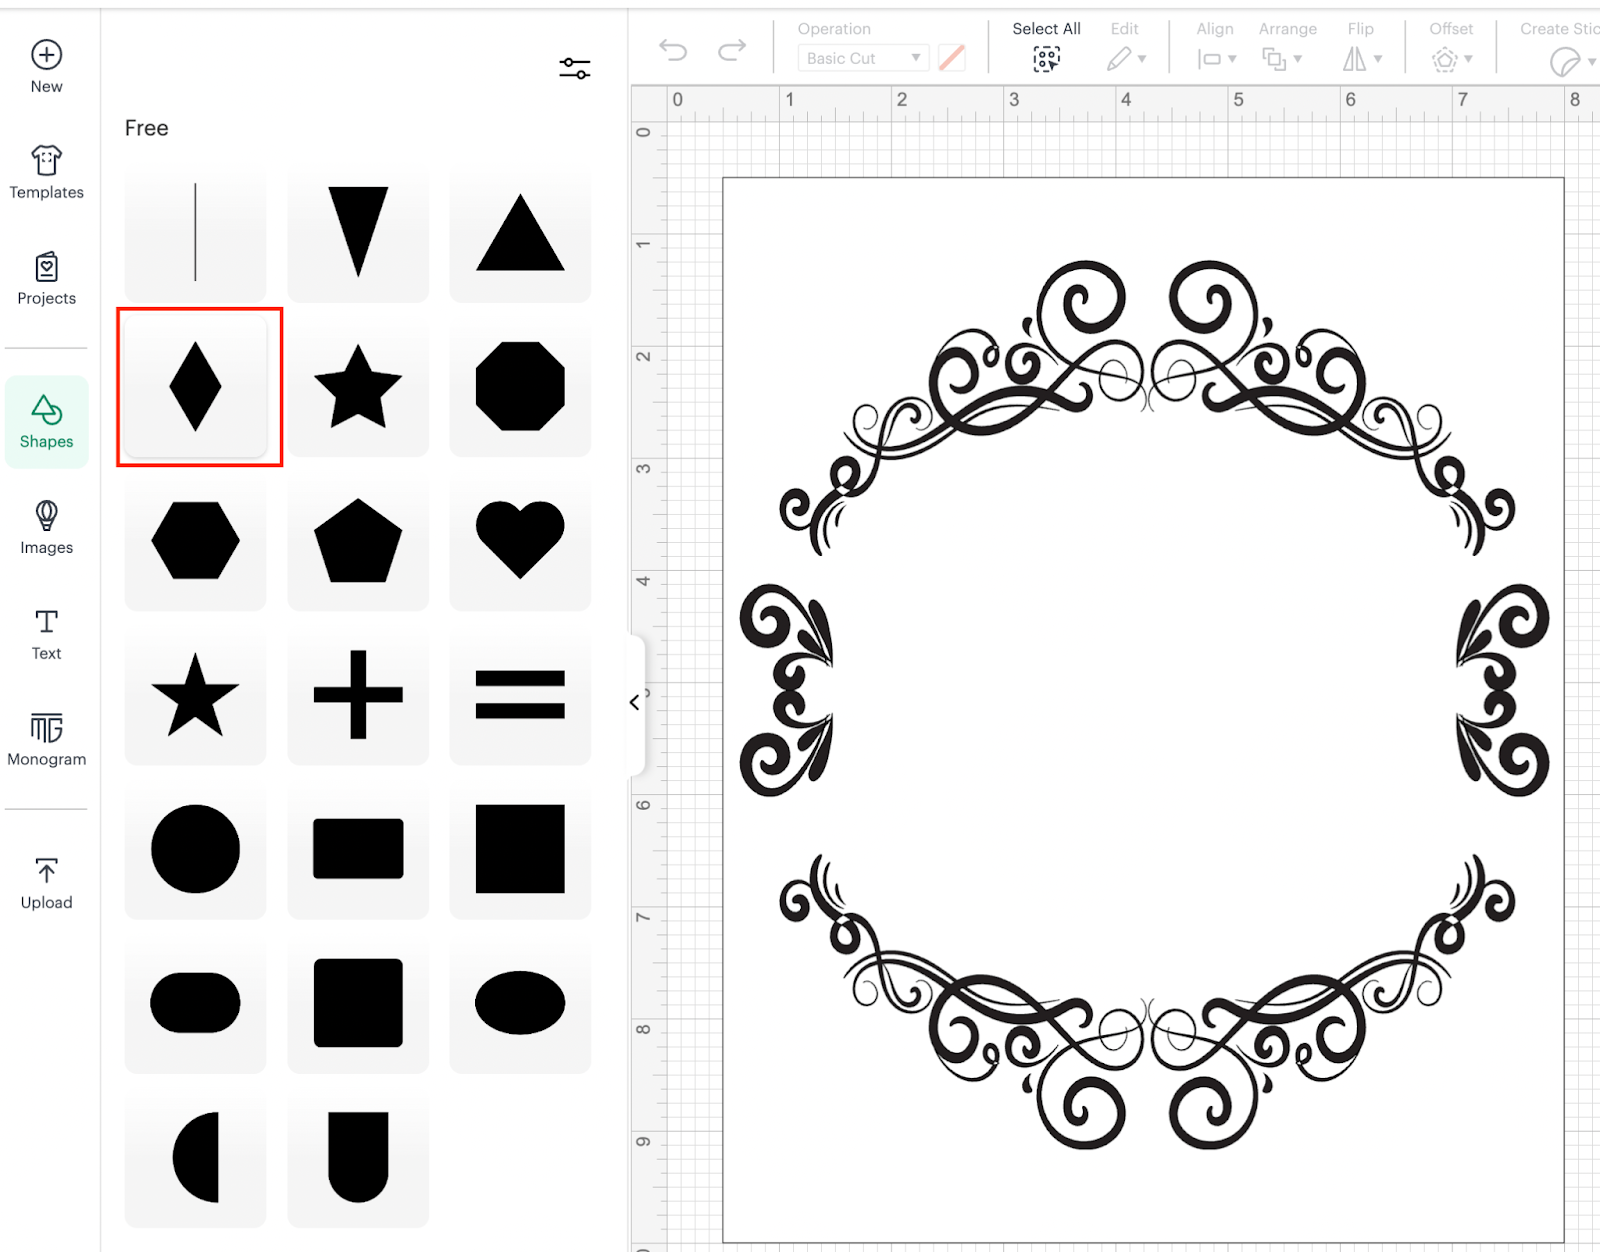
💡Tip: Remember that the measurements are based on the physicial product that we are using so we provide them as a reference, make sure to resize the elements based on your shadow box.
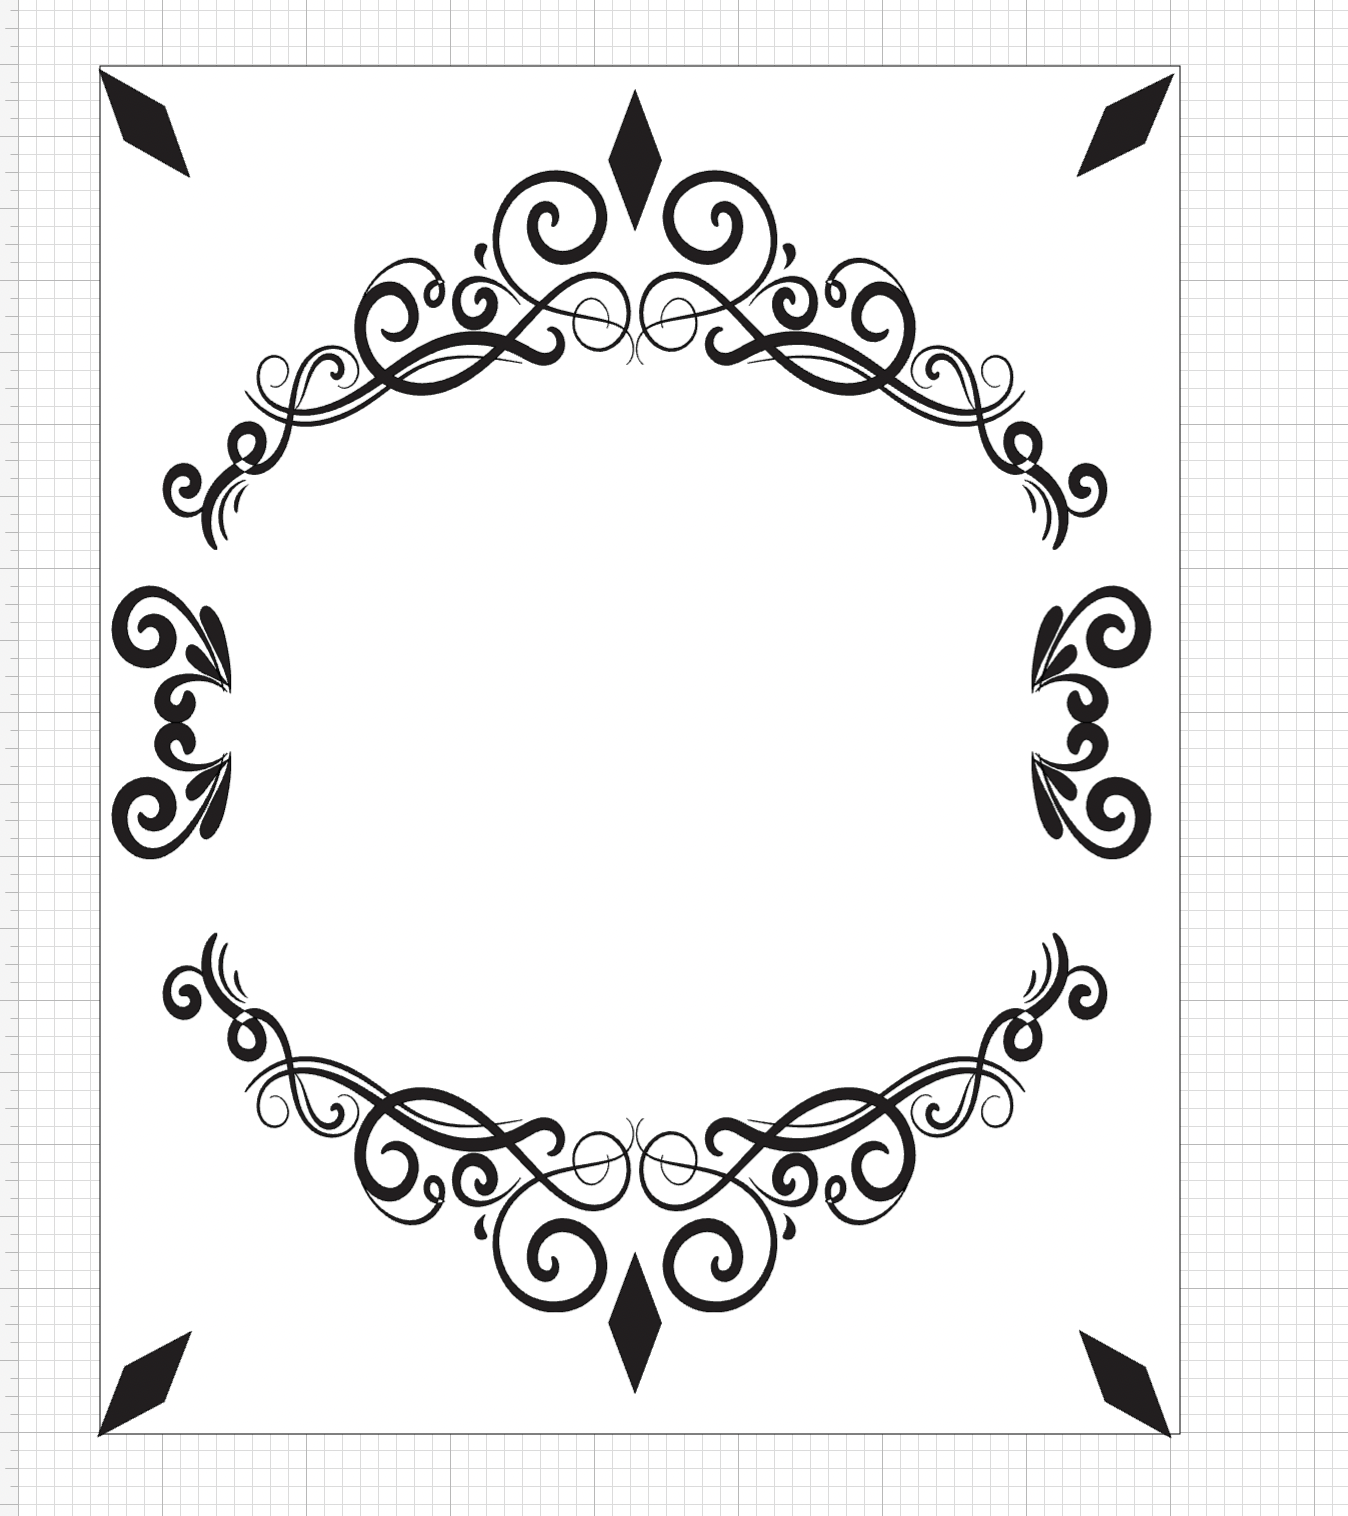
8: After our Rhombus was resized, we are going to duplicate /copy & paste our shape 5 more times, and we are going to place 4 of them one on each corner rotated, so the point of the Rhombus is pointing the corner of the square / rectangle:
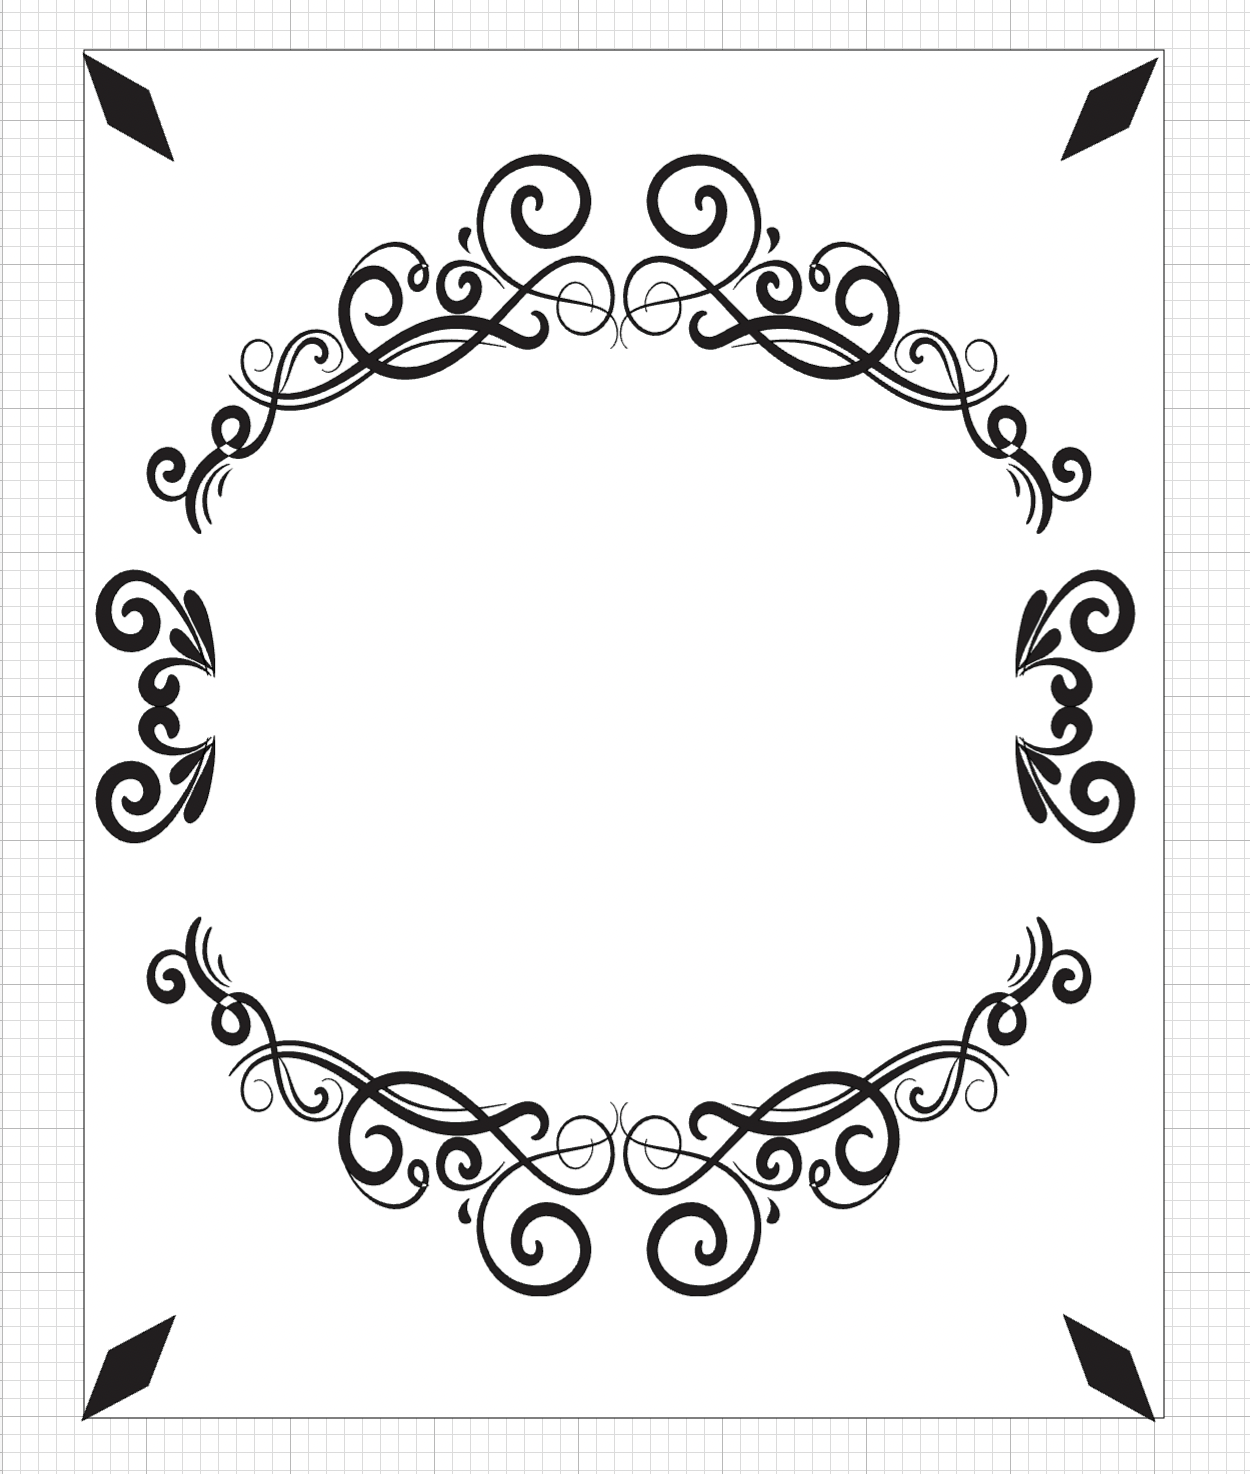
And the other 2 we are going to place them in the top center of each of the big swirls:
9: We are going to add one more medium swirl and we are going to duplicate it 3 more times, and using the rotation functionality we are going to place one on each corner as follows:
10: We are going to duplicate one time the small swirl and we are going to place them in the center one mirroring the other:
11: We are going to use the shapes functionality in order to add a square and we are going to resize it to the following measurements:

And we are going to duplicate it 3 more times.
12: We are going to use 2 of the new shapes next to each of the small swirls:
We are going to repeat the same with the other side:

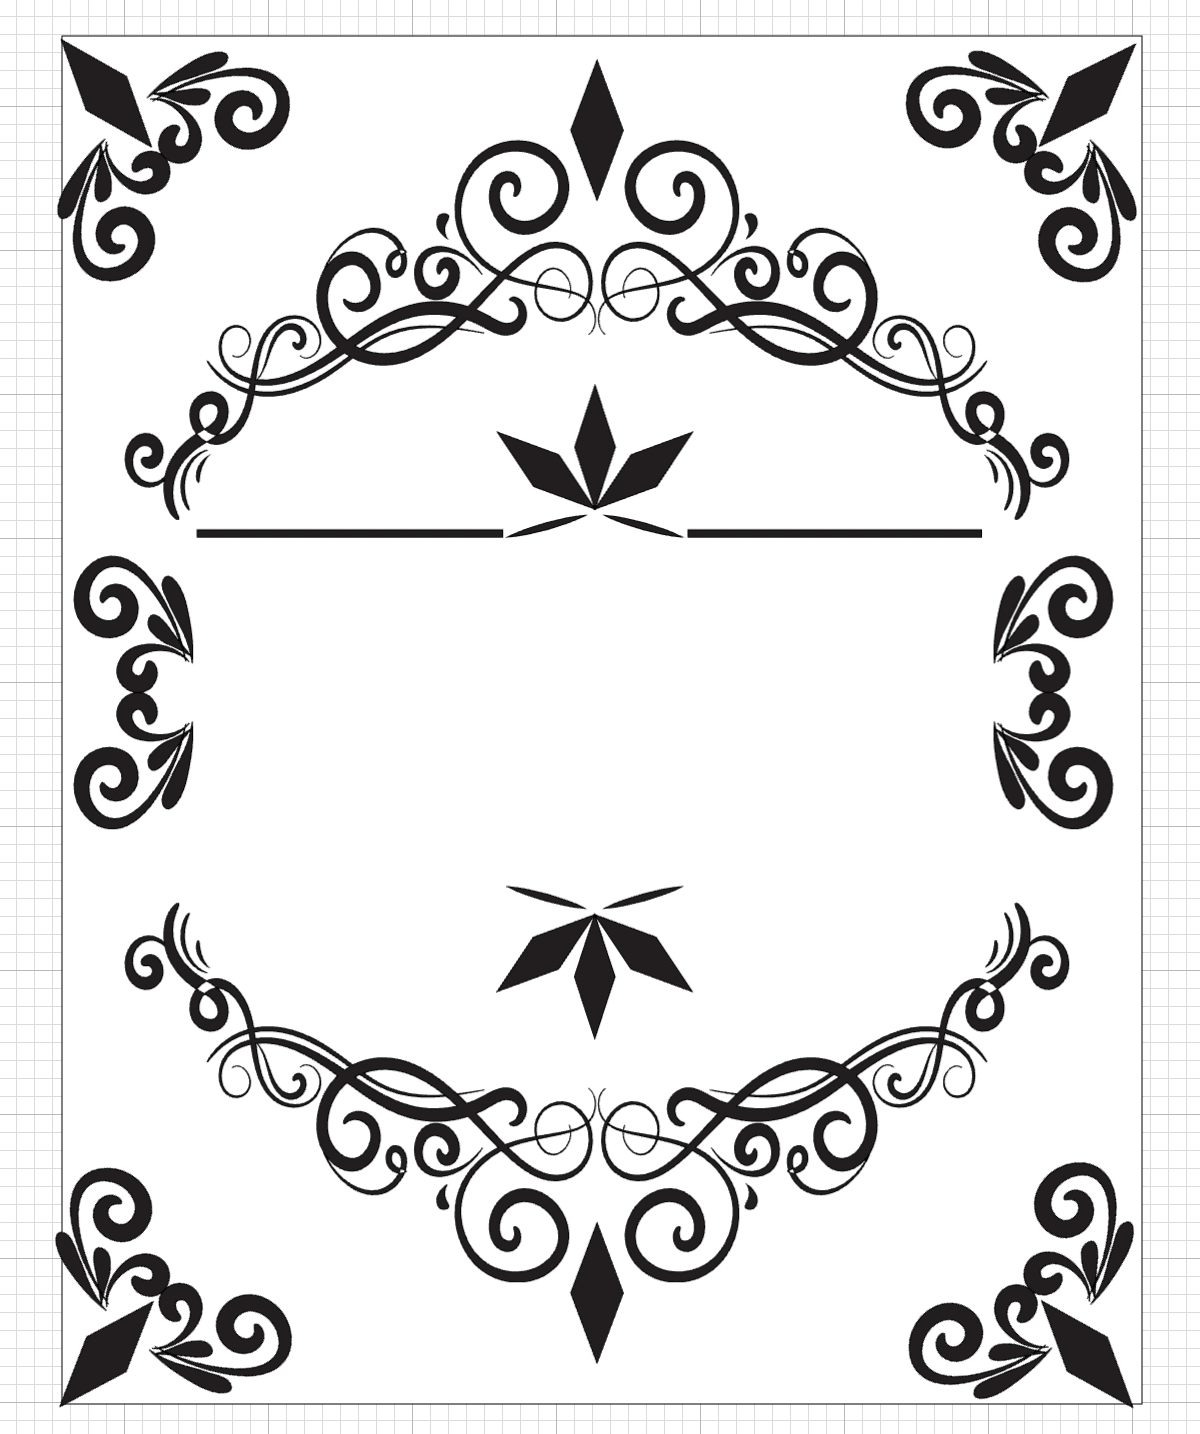
13: Using one more time shapes functionality we are going to add a square and we are going to resize it to the following measurements:
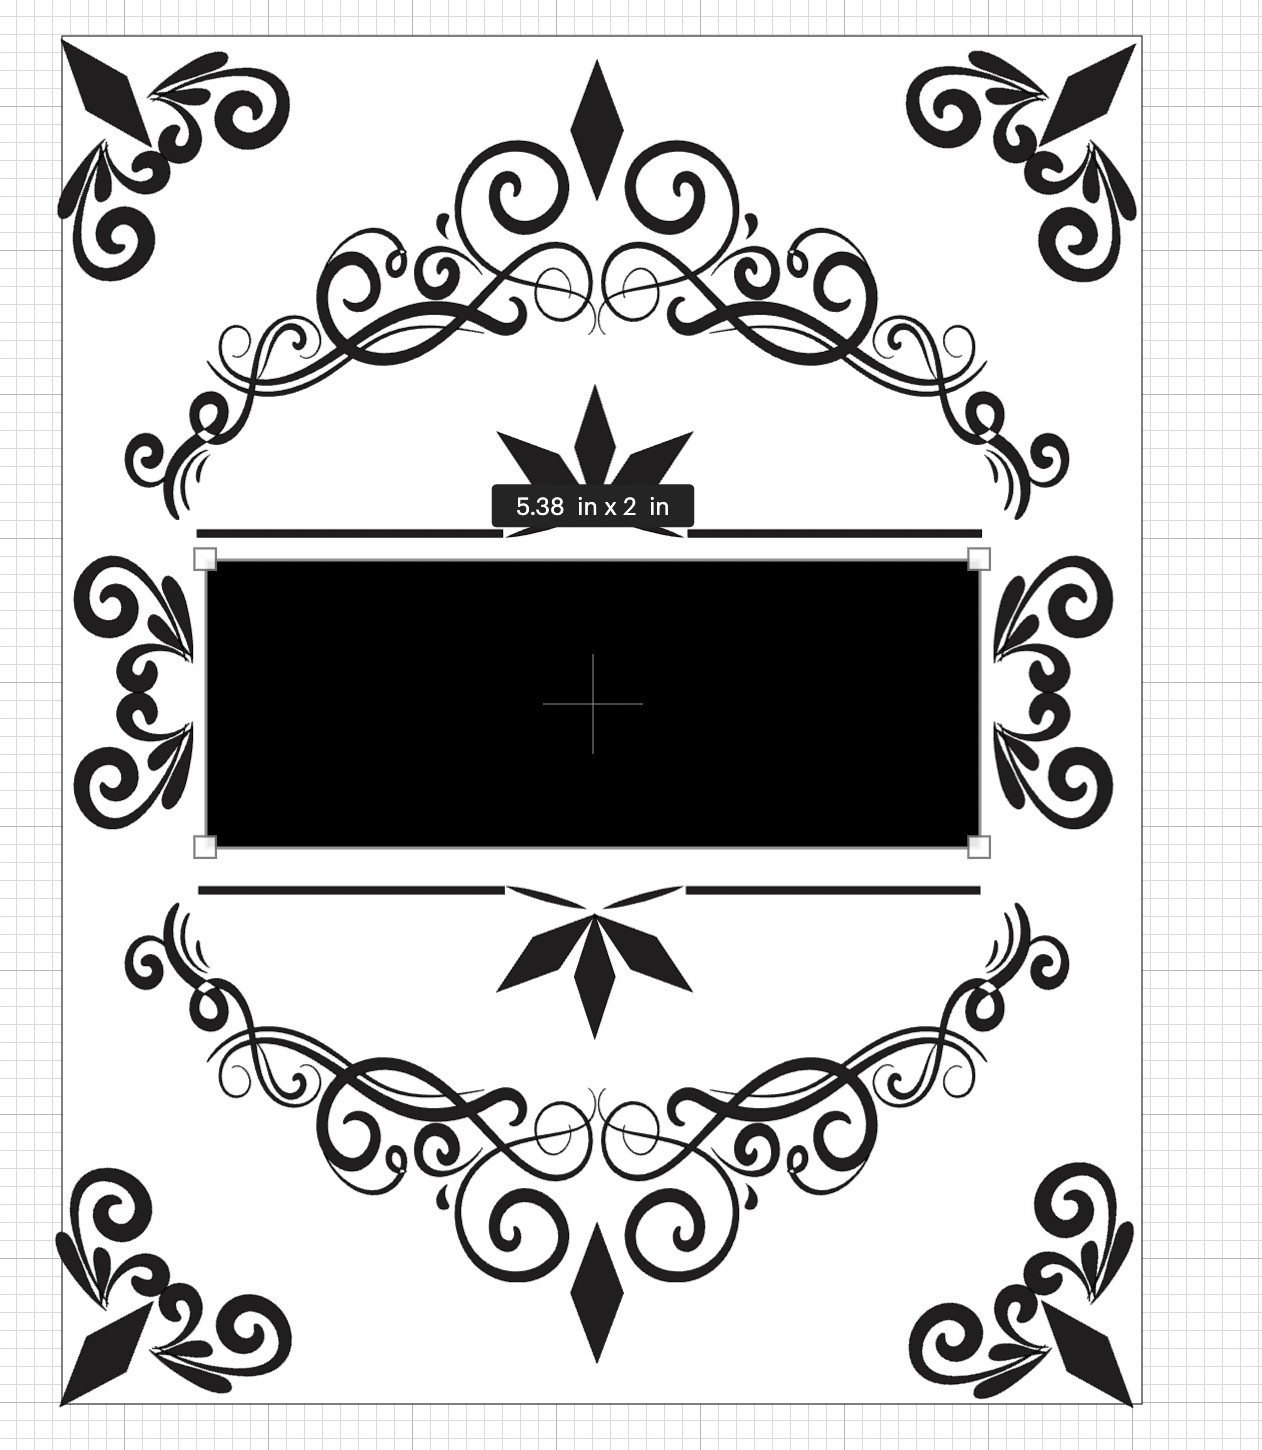
14: We are going to add a circle and we are going to resize it and place it as follows in order to have something similar to and we are going to slice them:
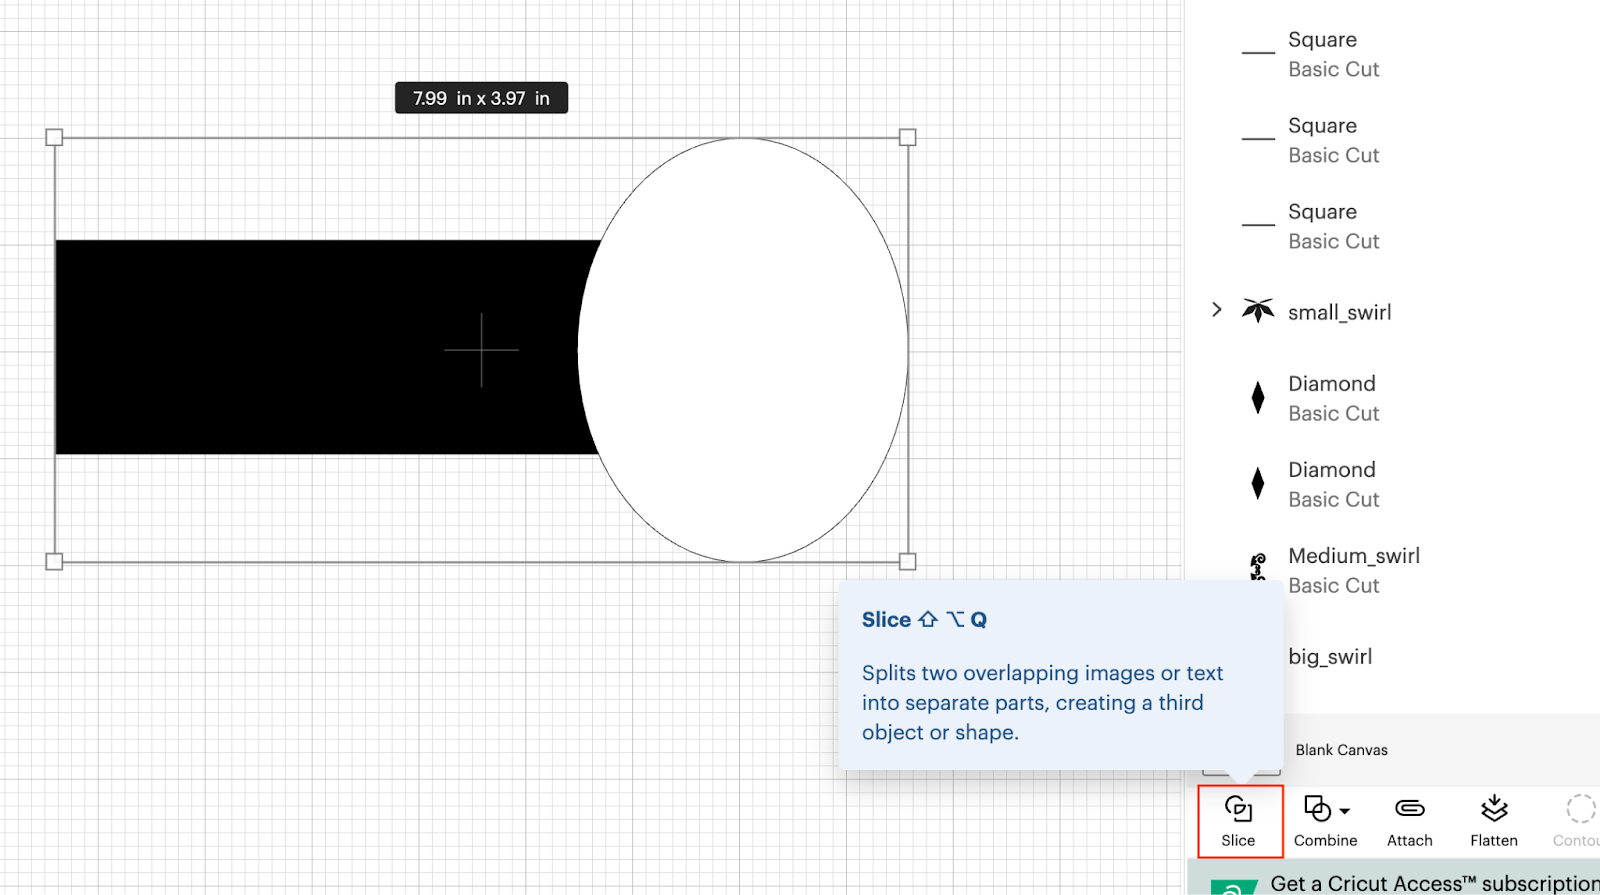
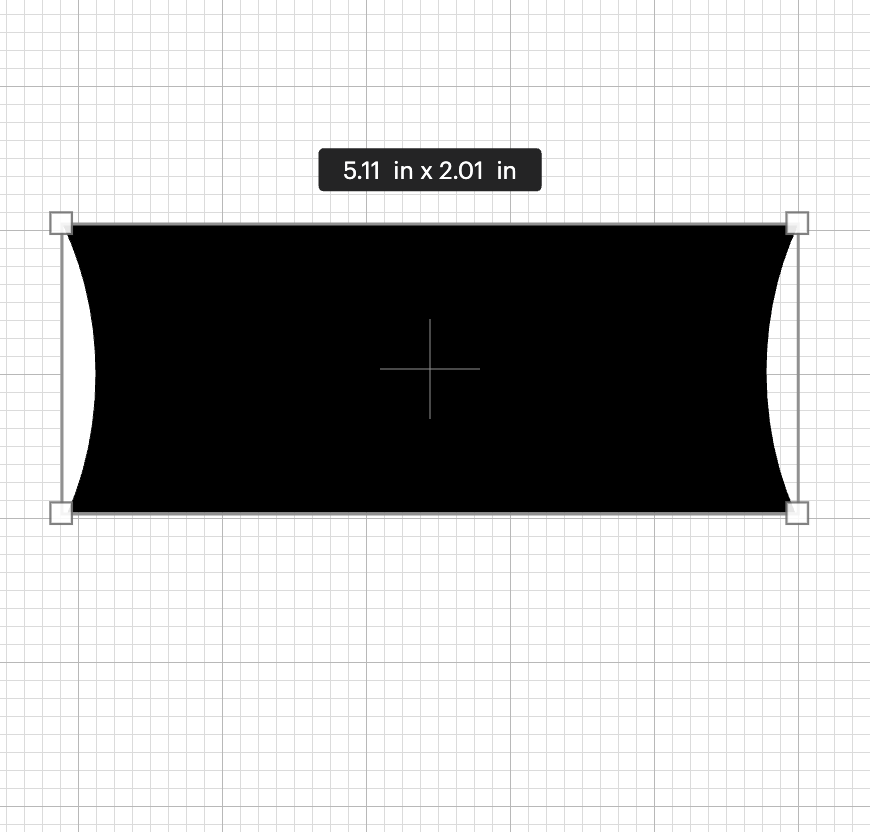
We are going to slice them on each side in order to obtain:
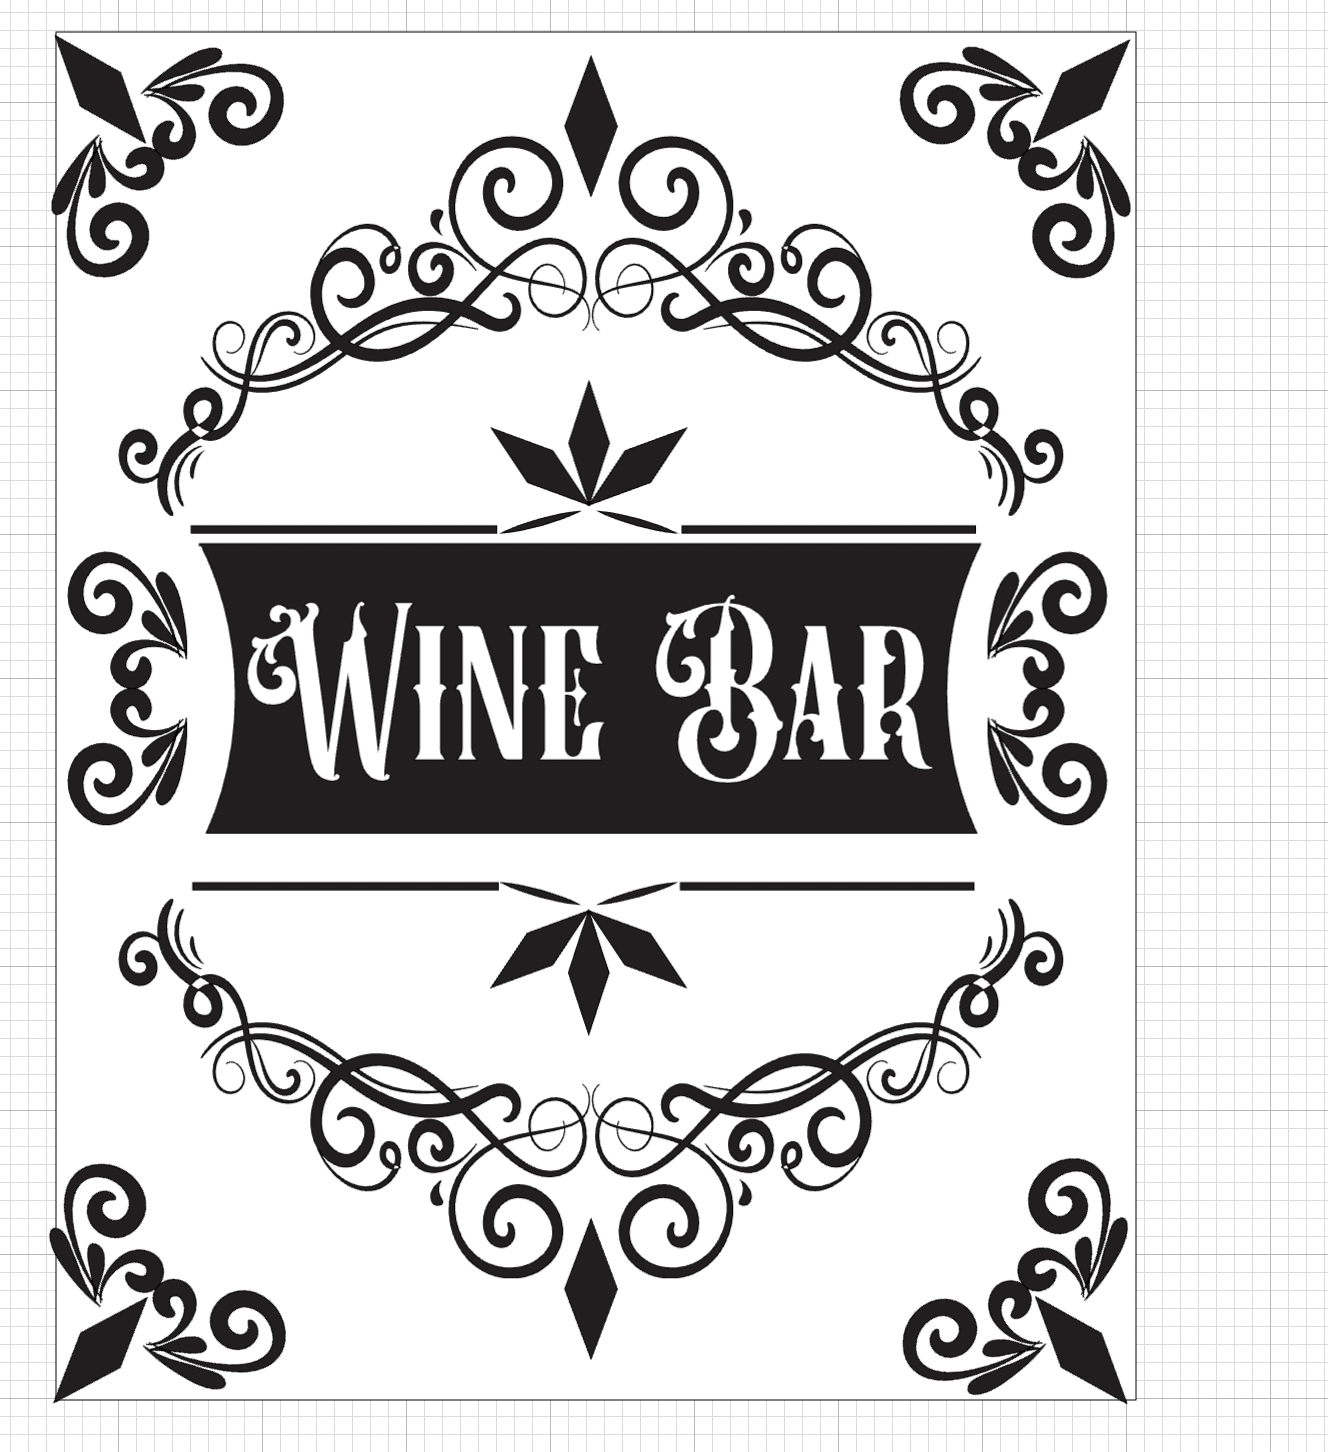
15: Using the Text functionality we are going to write: Wine Bar

💡Tip: You can add different text like name, family name, or any other wording phrase that you like or want.
16: We are going to place it over the square that we created in STEP 14 and we are going to slice them in order to obtain:
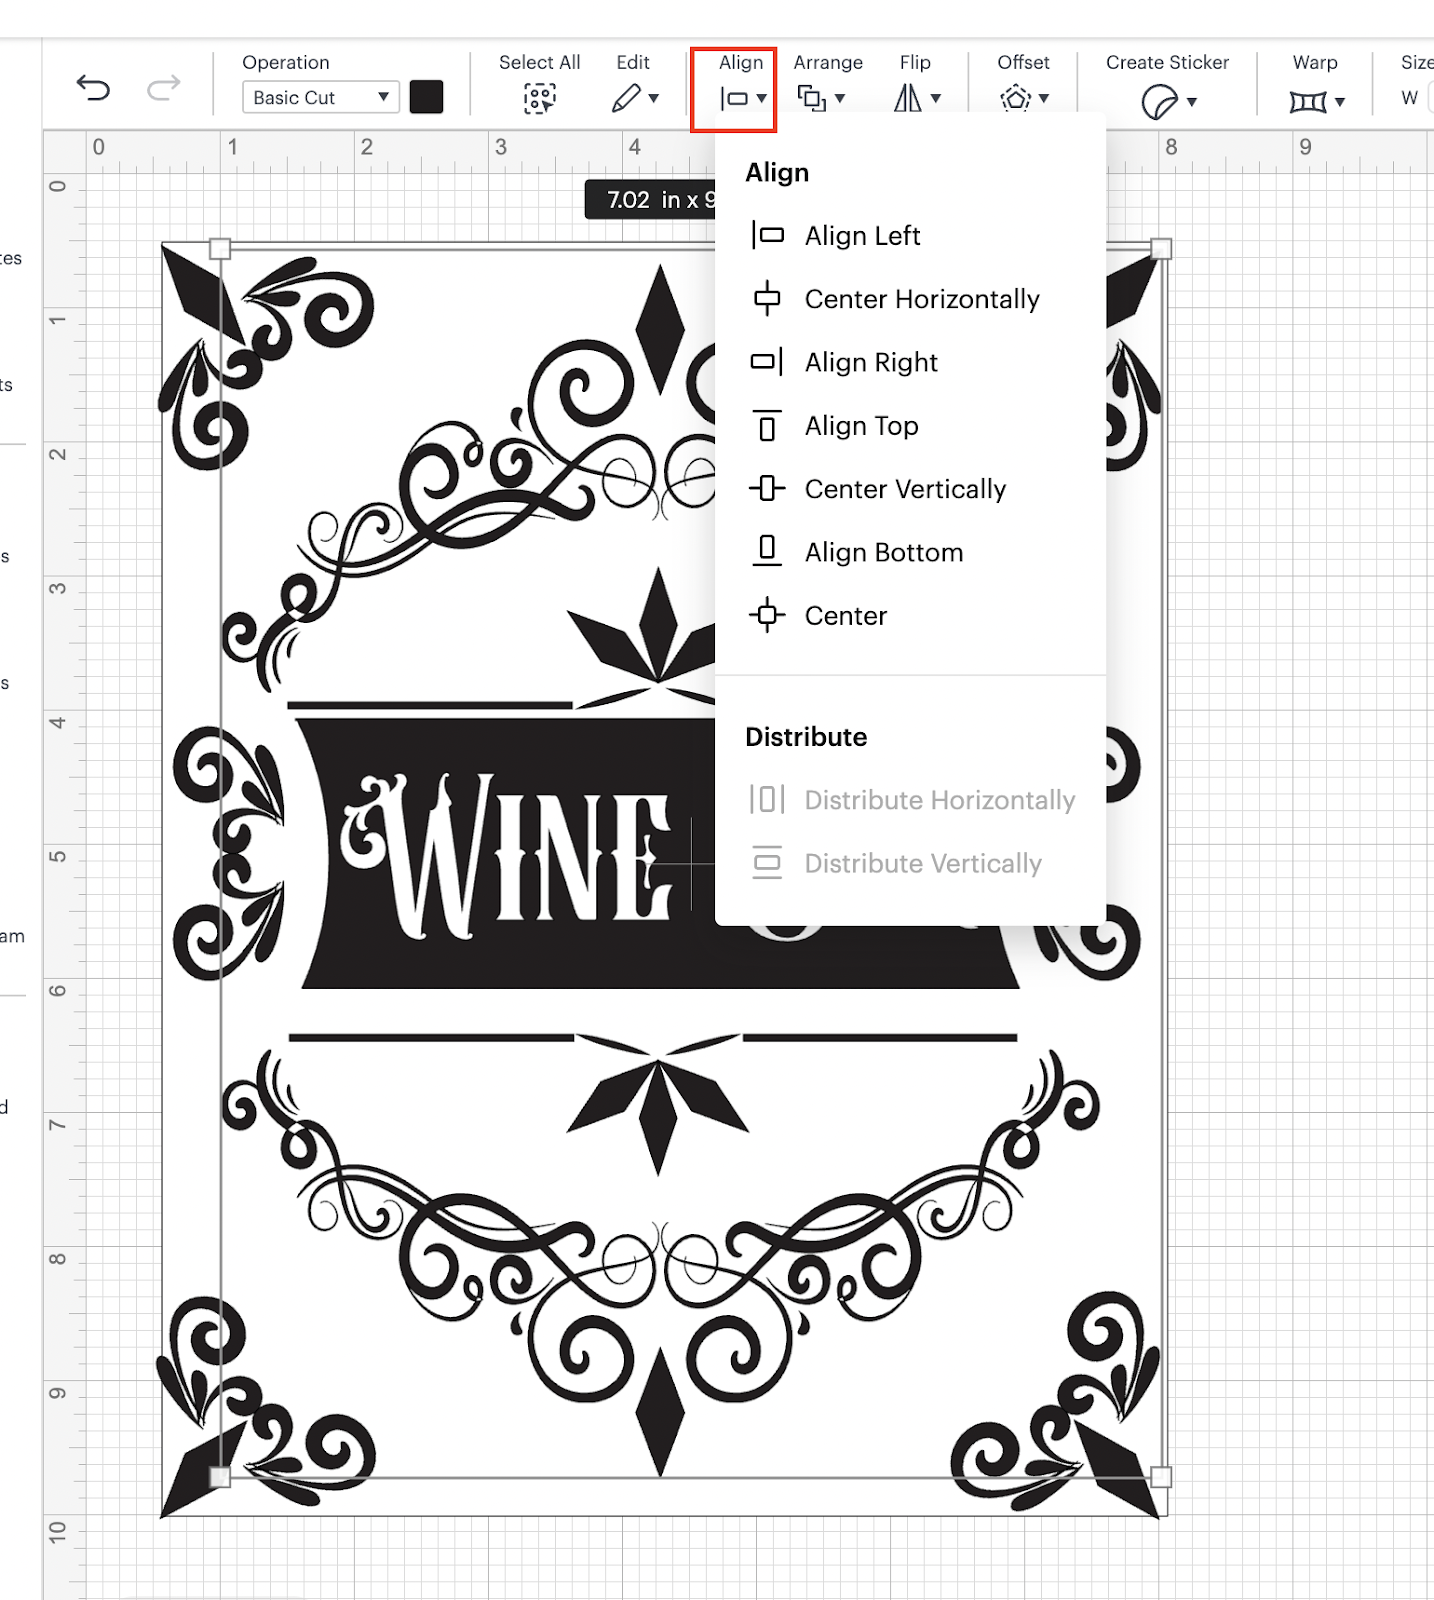
17: Last but not least we are going to use the Align functionality to make sure that each element is aligned and centered between each other and with the base of our shadow box:
18: After we are sure that all the elements are aligned (you can align them while you transfer them but it’s more complicated) we are going to hide our base square:
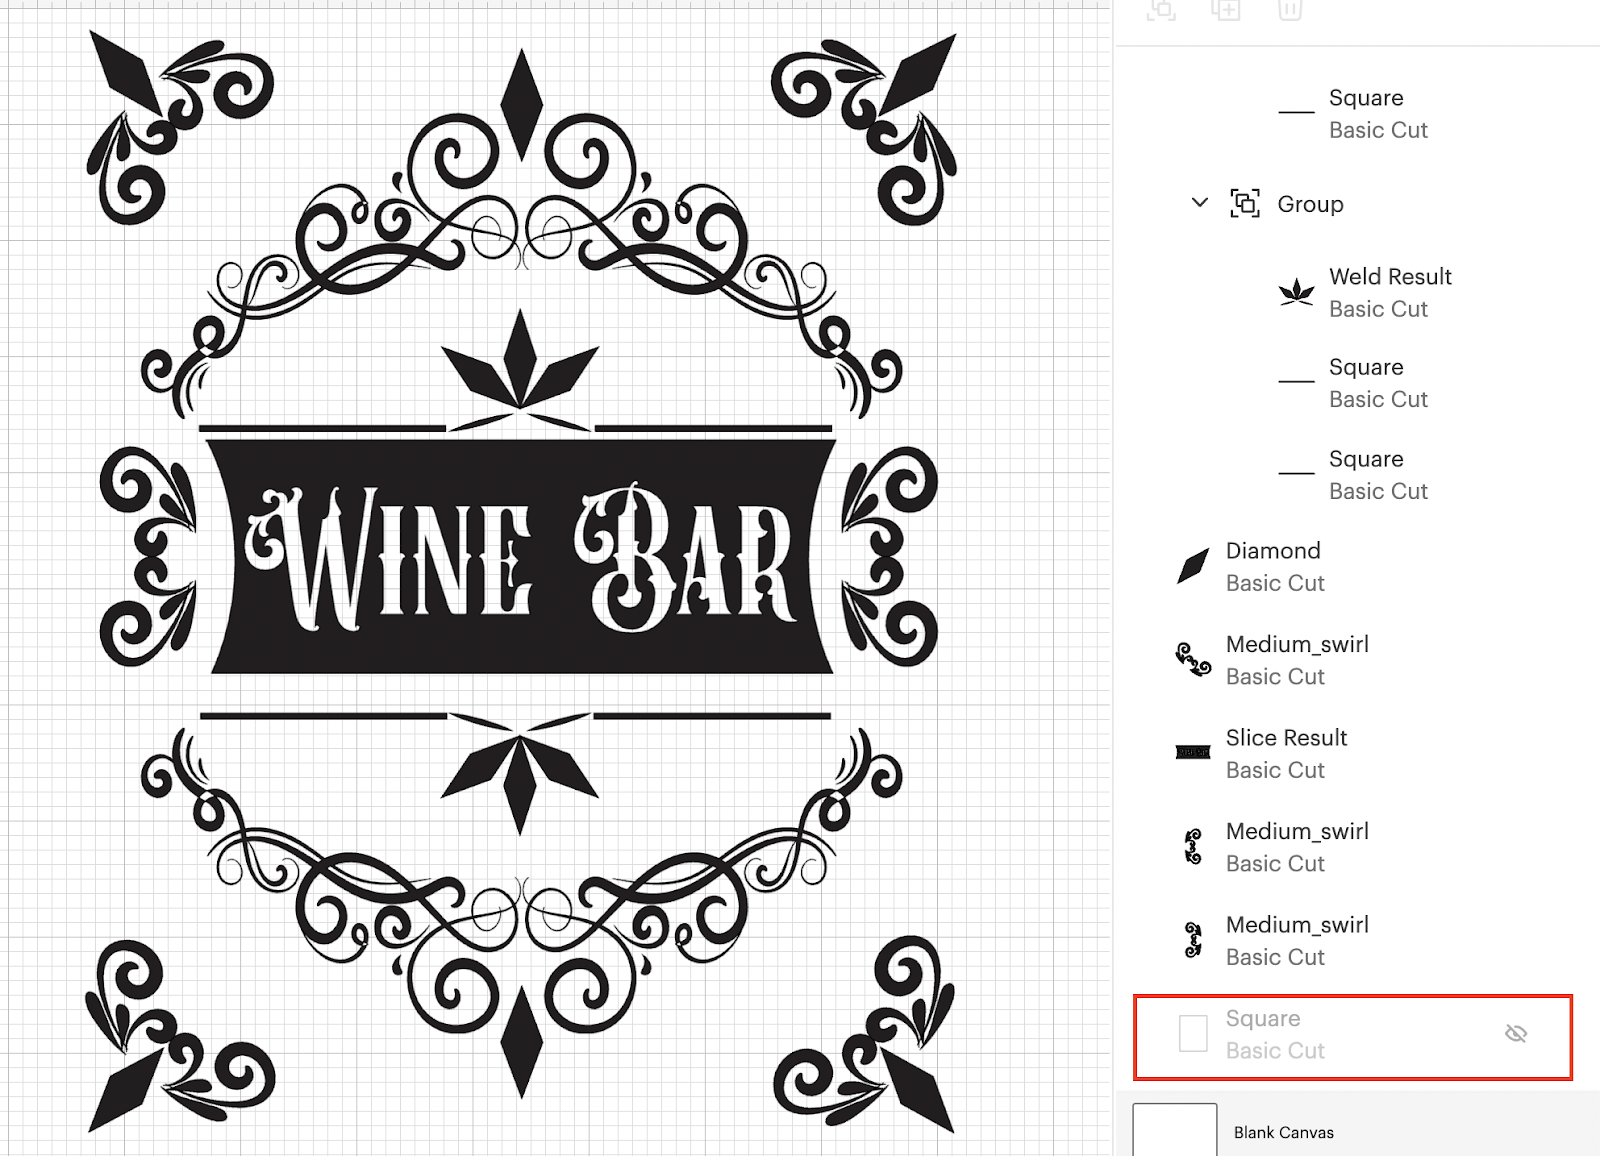
19: We are going to select all our design and we are going to weld them together
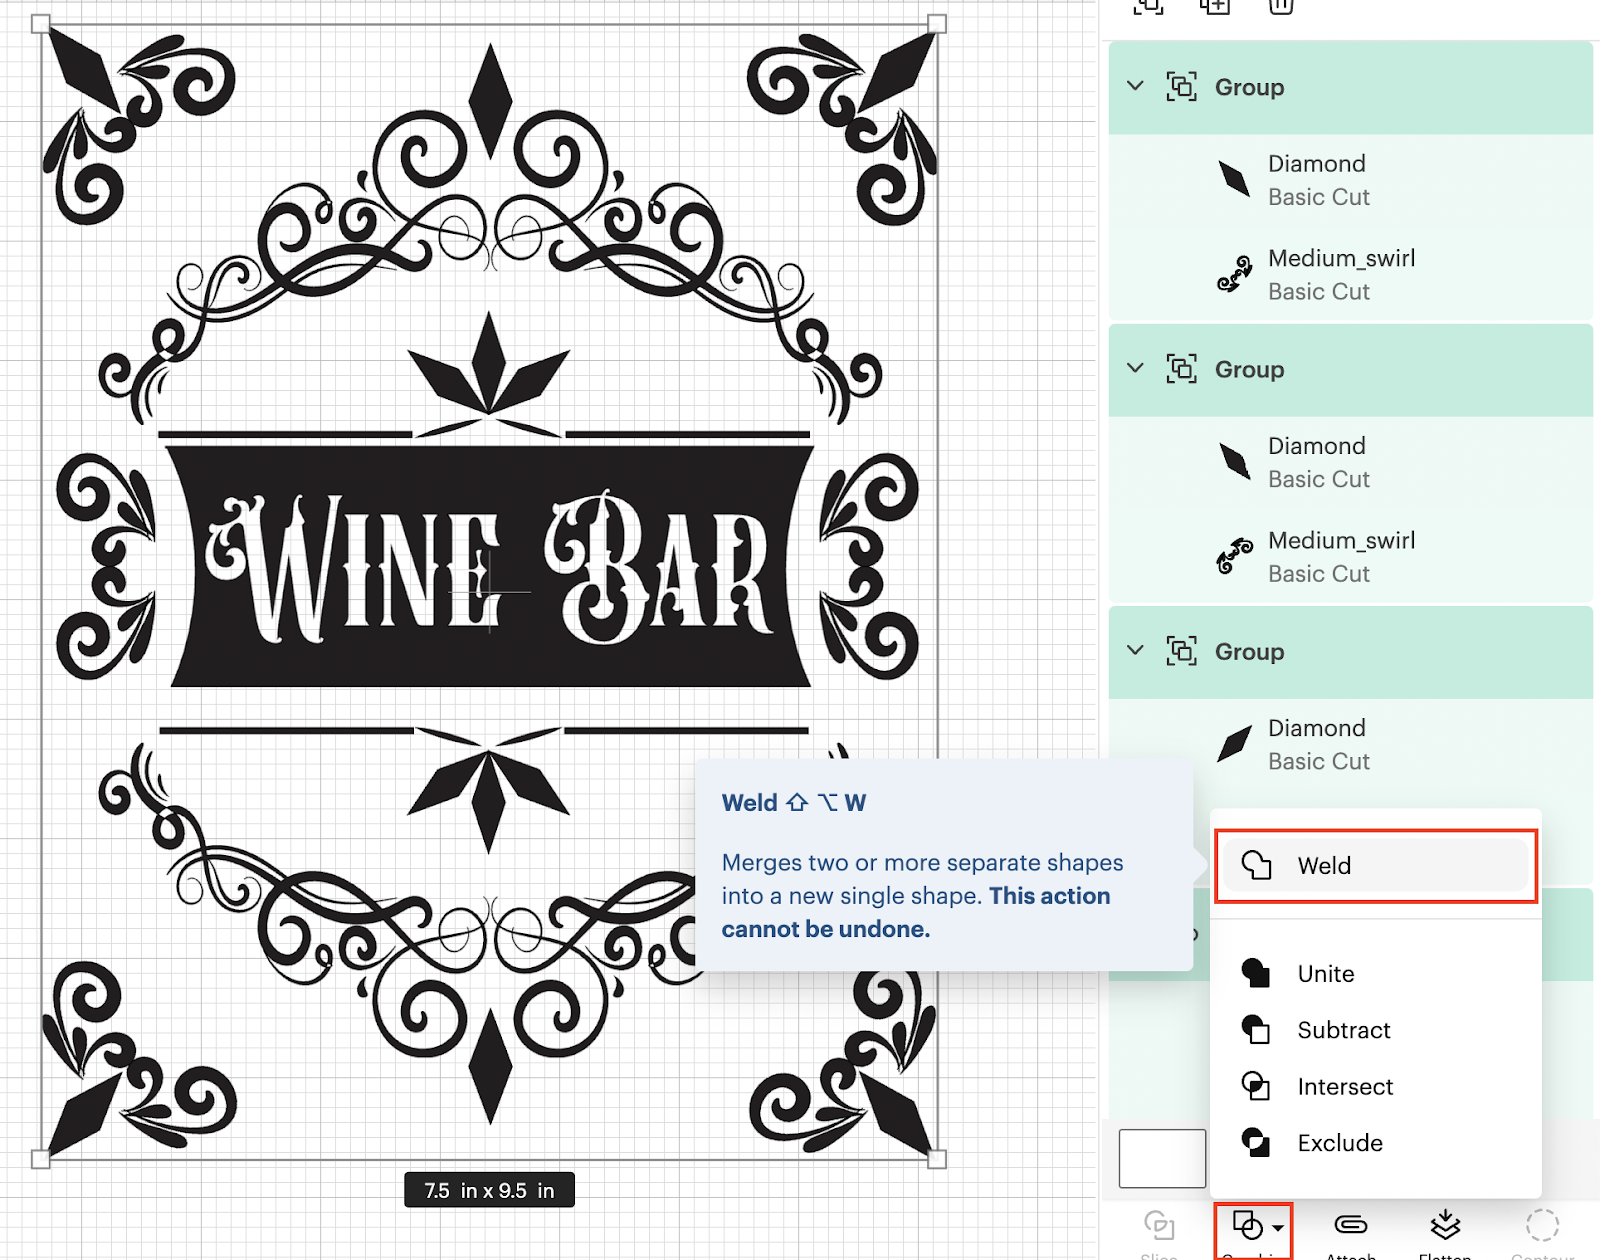
💡Tip: Use the weld or attach functionality ONLY if you are going to cut the whole design in one color and not multiple colors
20: Our Design is DONE! We can proceed to cut our design!
In this tutorial, you are going to learn/practice the following skills:
- Add Images
- Resize Elements
- Duplicate Elements
- Rotate Elements
- Weld Elements
- Align Elements
- Attach elements
- Install and use fonts
- Add and resize text
- Use Permanent vinyl
- Create new elements
- Flip and Curve Elements