After all the pieces from all the different colors are scored and fold, we can start with the assembling process.
You are going to have the following amount of pieces from each color:
- White 28 pieces
- Yellow 7 pieces
- Orange 3 pieces
- Lavender 2 pieces
- Fucsia 5 pieces
- Turquoise 6 pieces
- Black 4 pieces
- Green 6 pieces
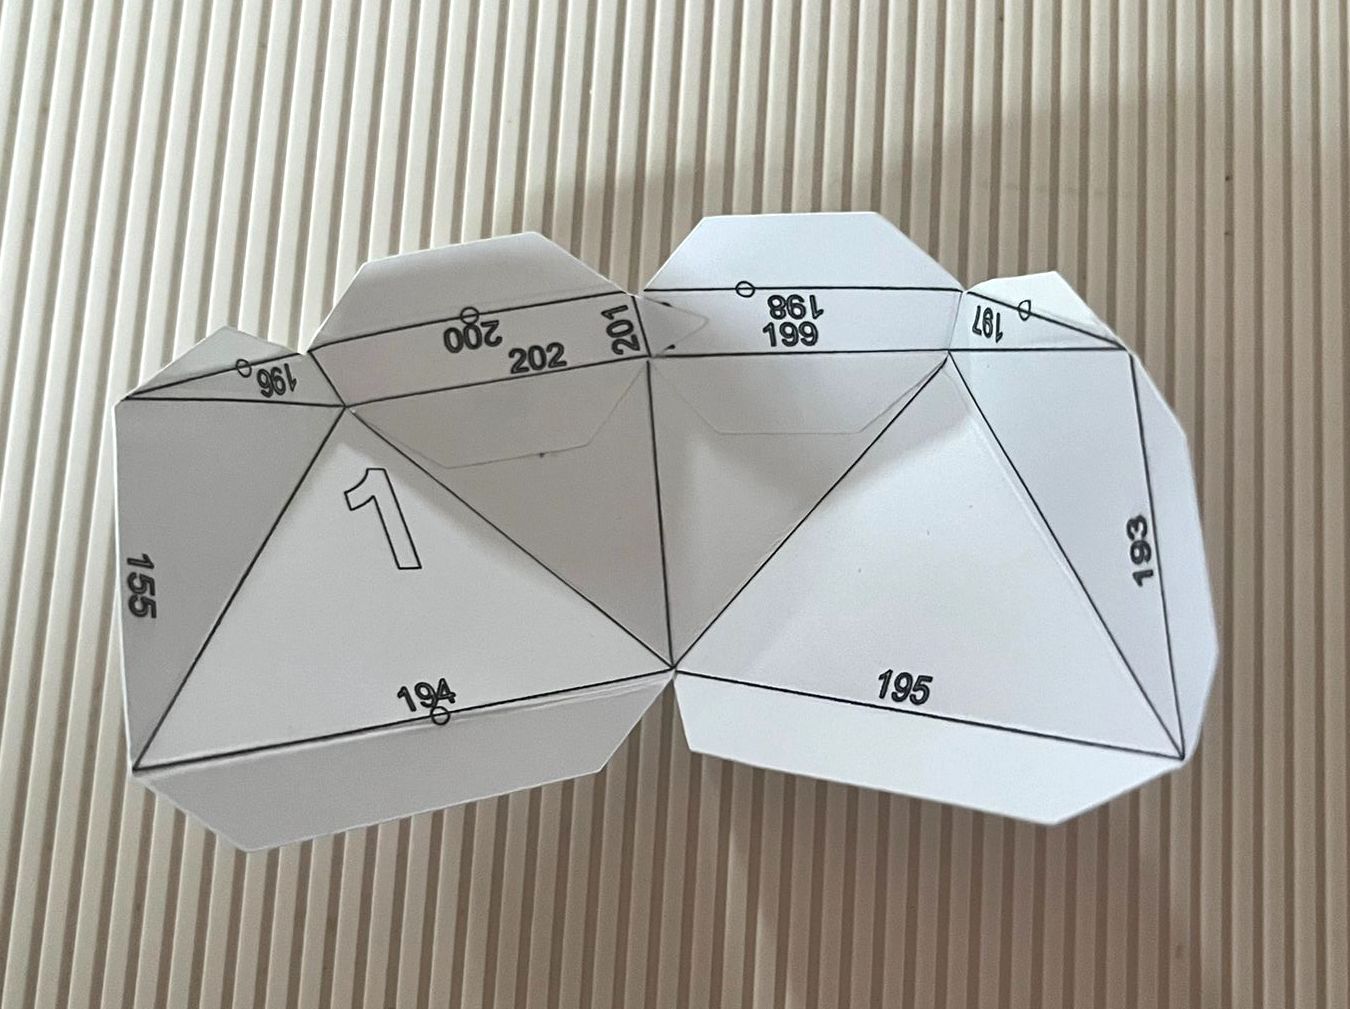
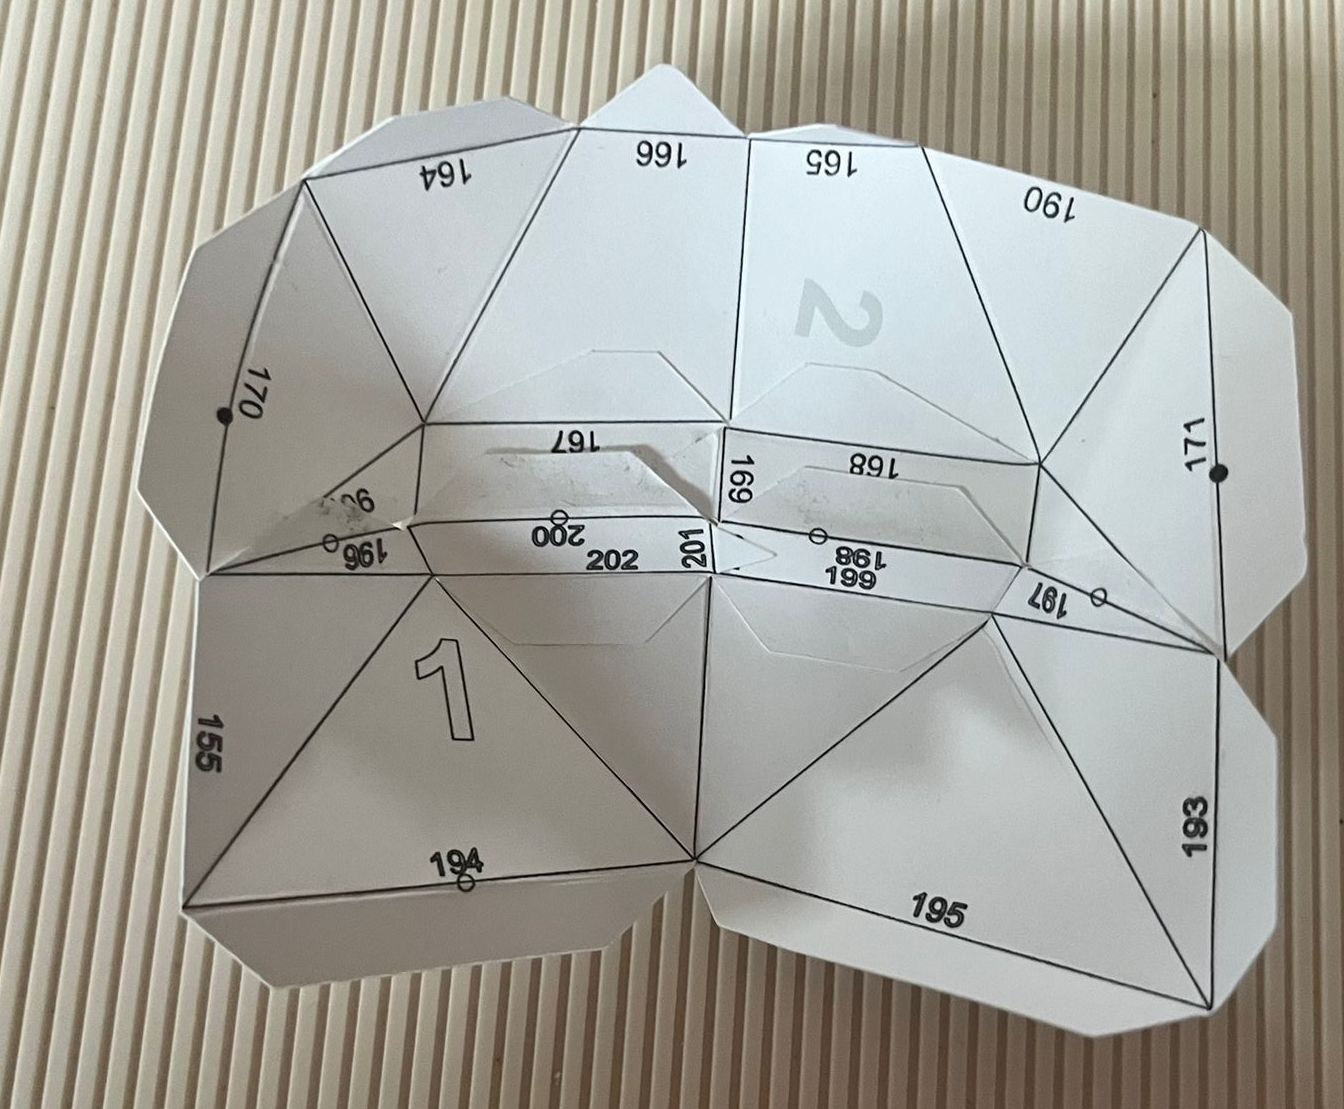
1: You are going to grab the piece that contains the number 1 Start (that is a white piece).
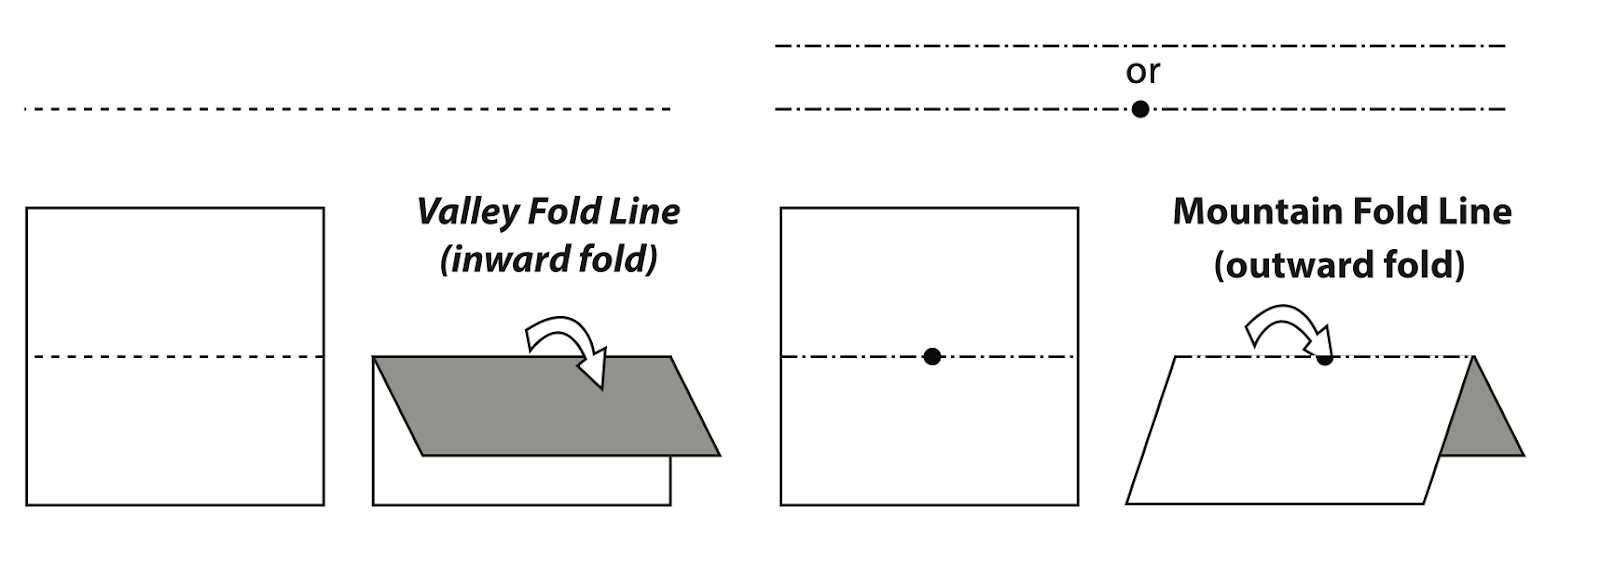
2: As you may have noticed, over the scoring lines we have lines and lines with dots. We are going to fold those lines as follow:
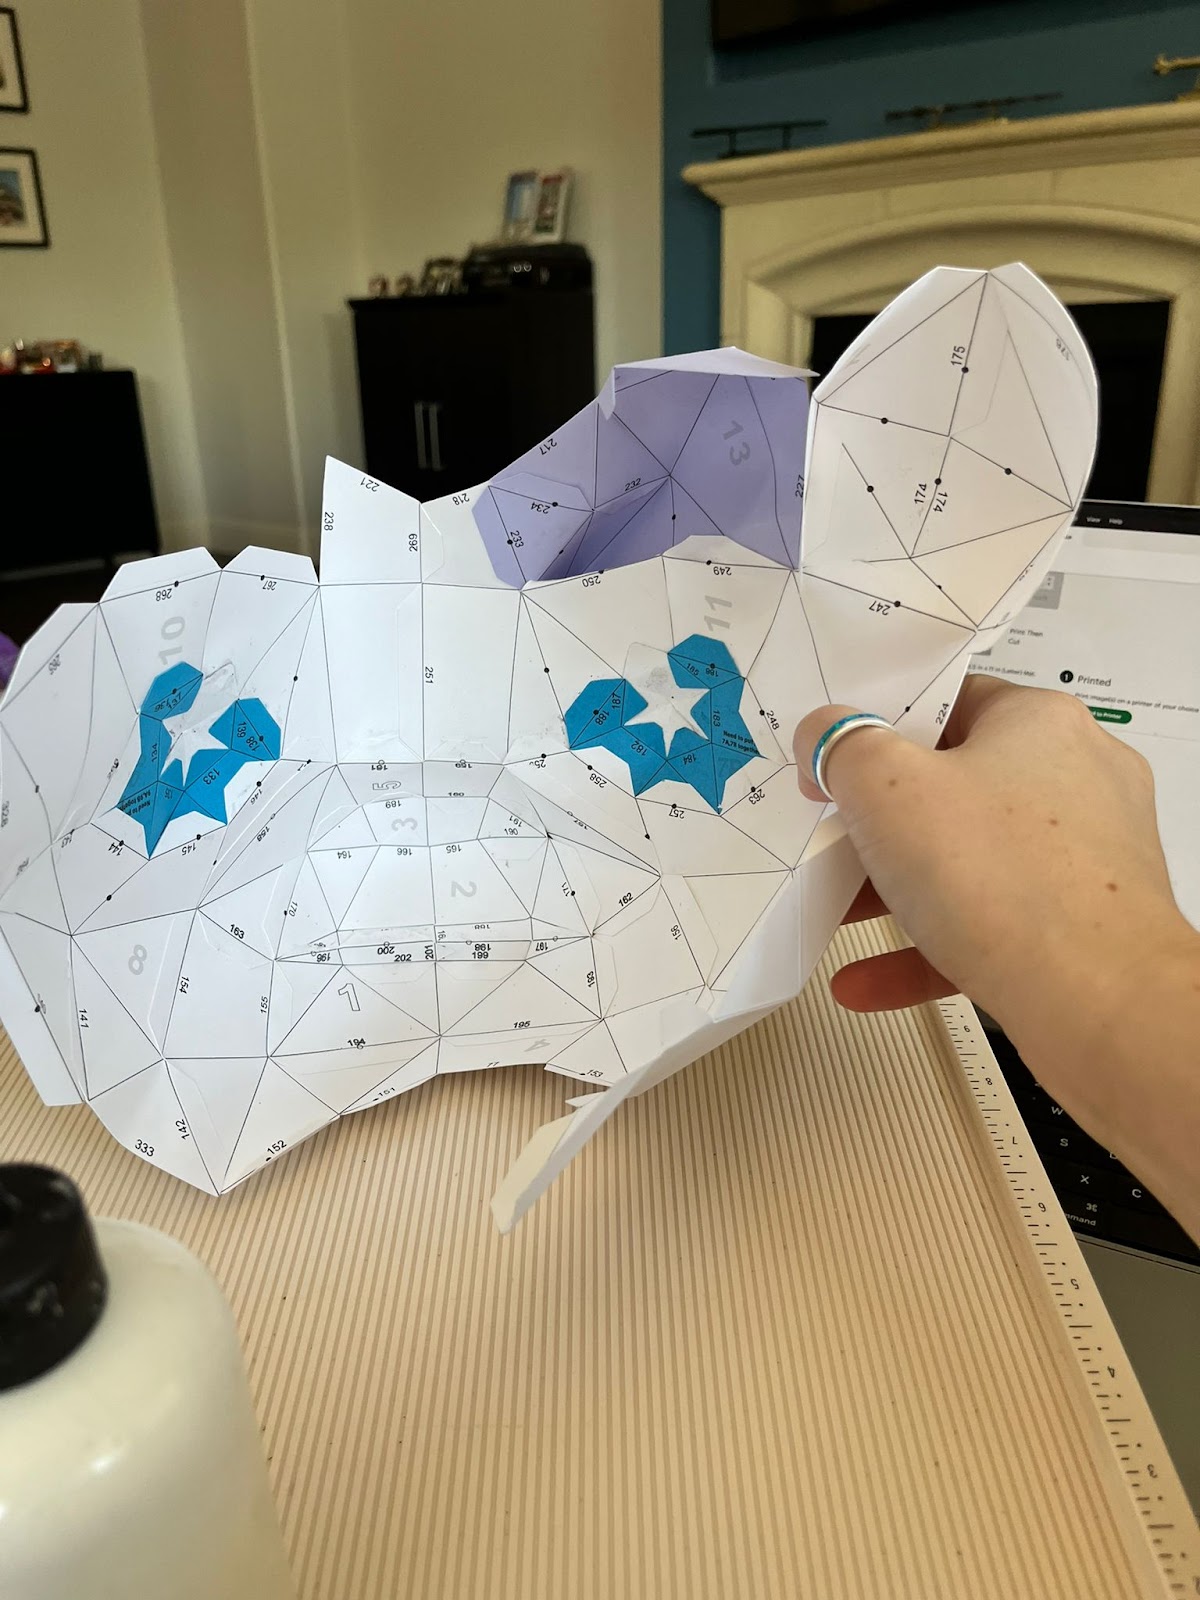
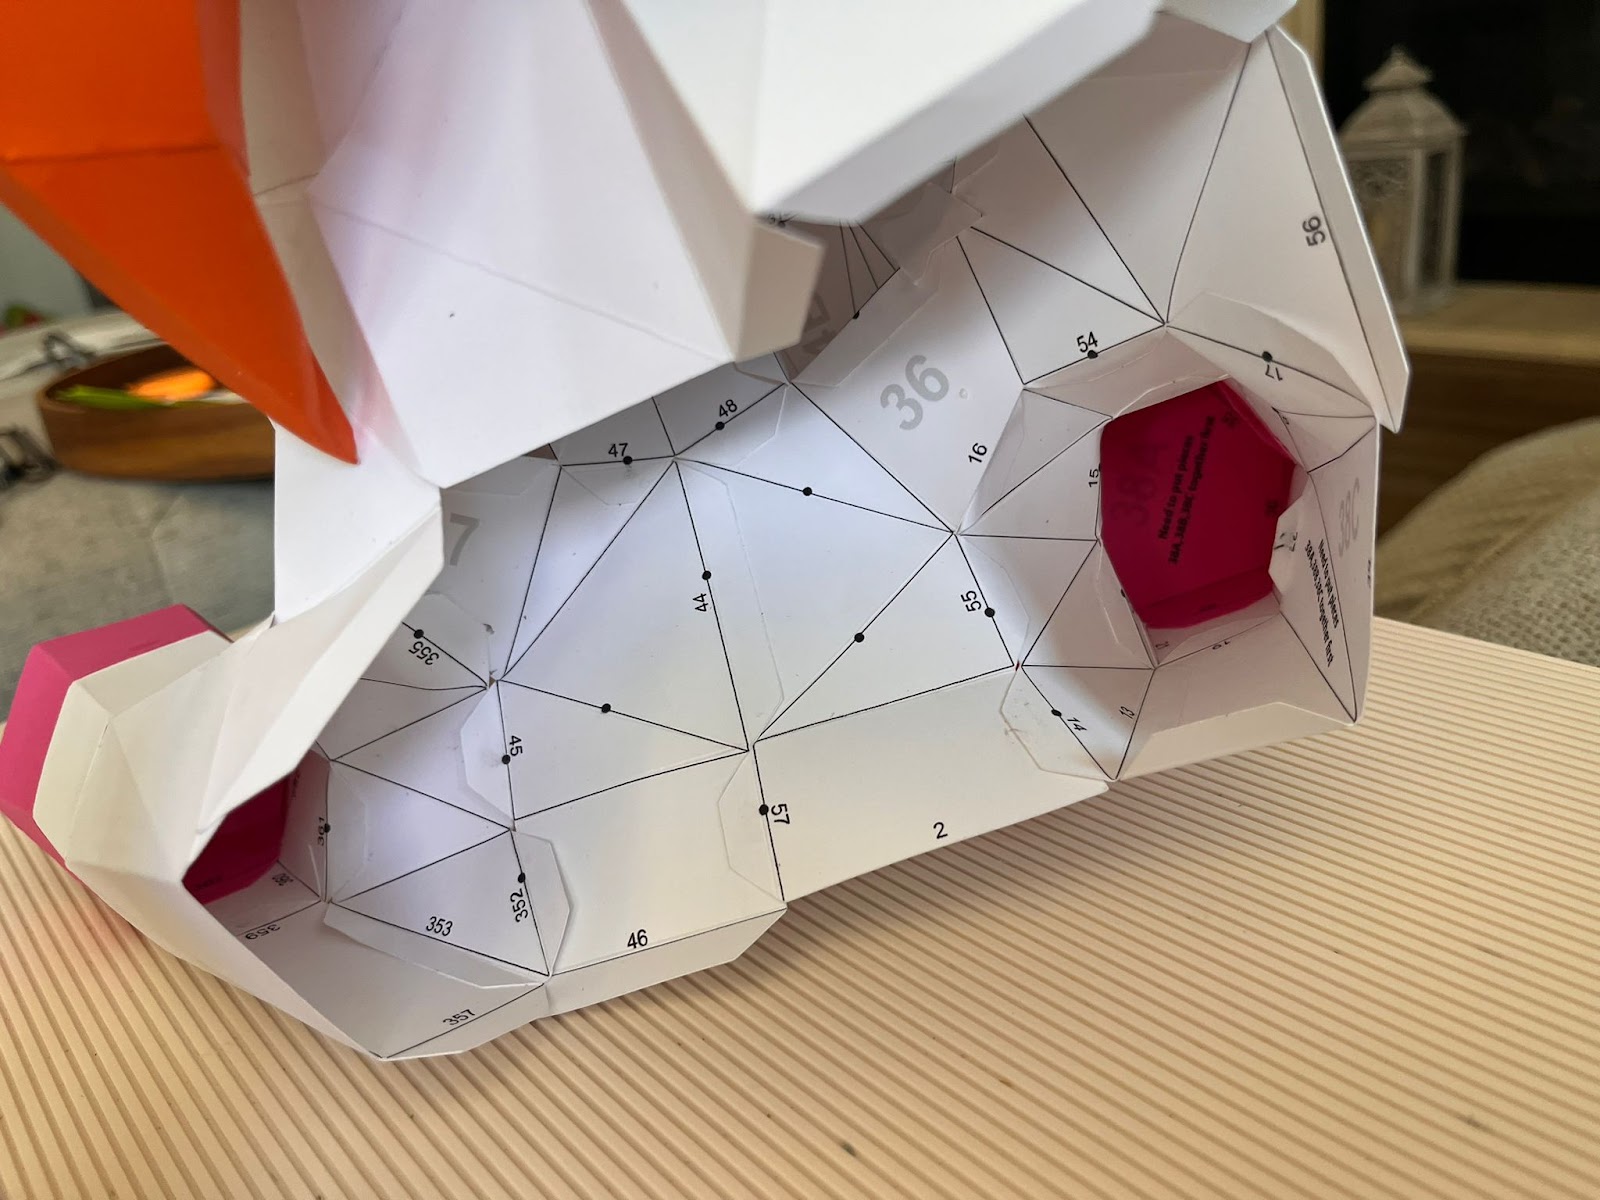
3: In each individual piece, you are going to see/identify numbers, those numbers are ALWAYS going to be looking inside the unicorn, the same as the folding piece that is going to be glued from one piece to another and inside each piece as needed.
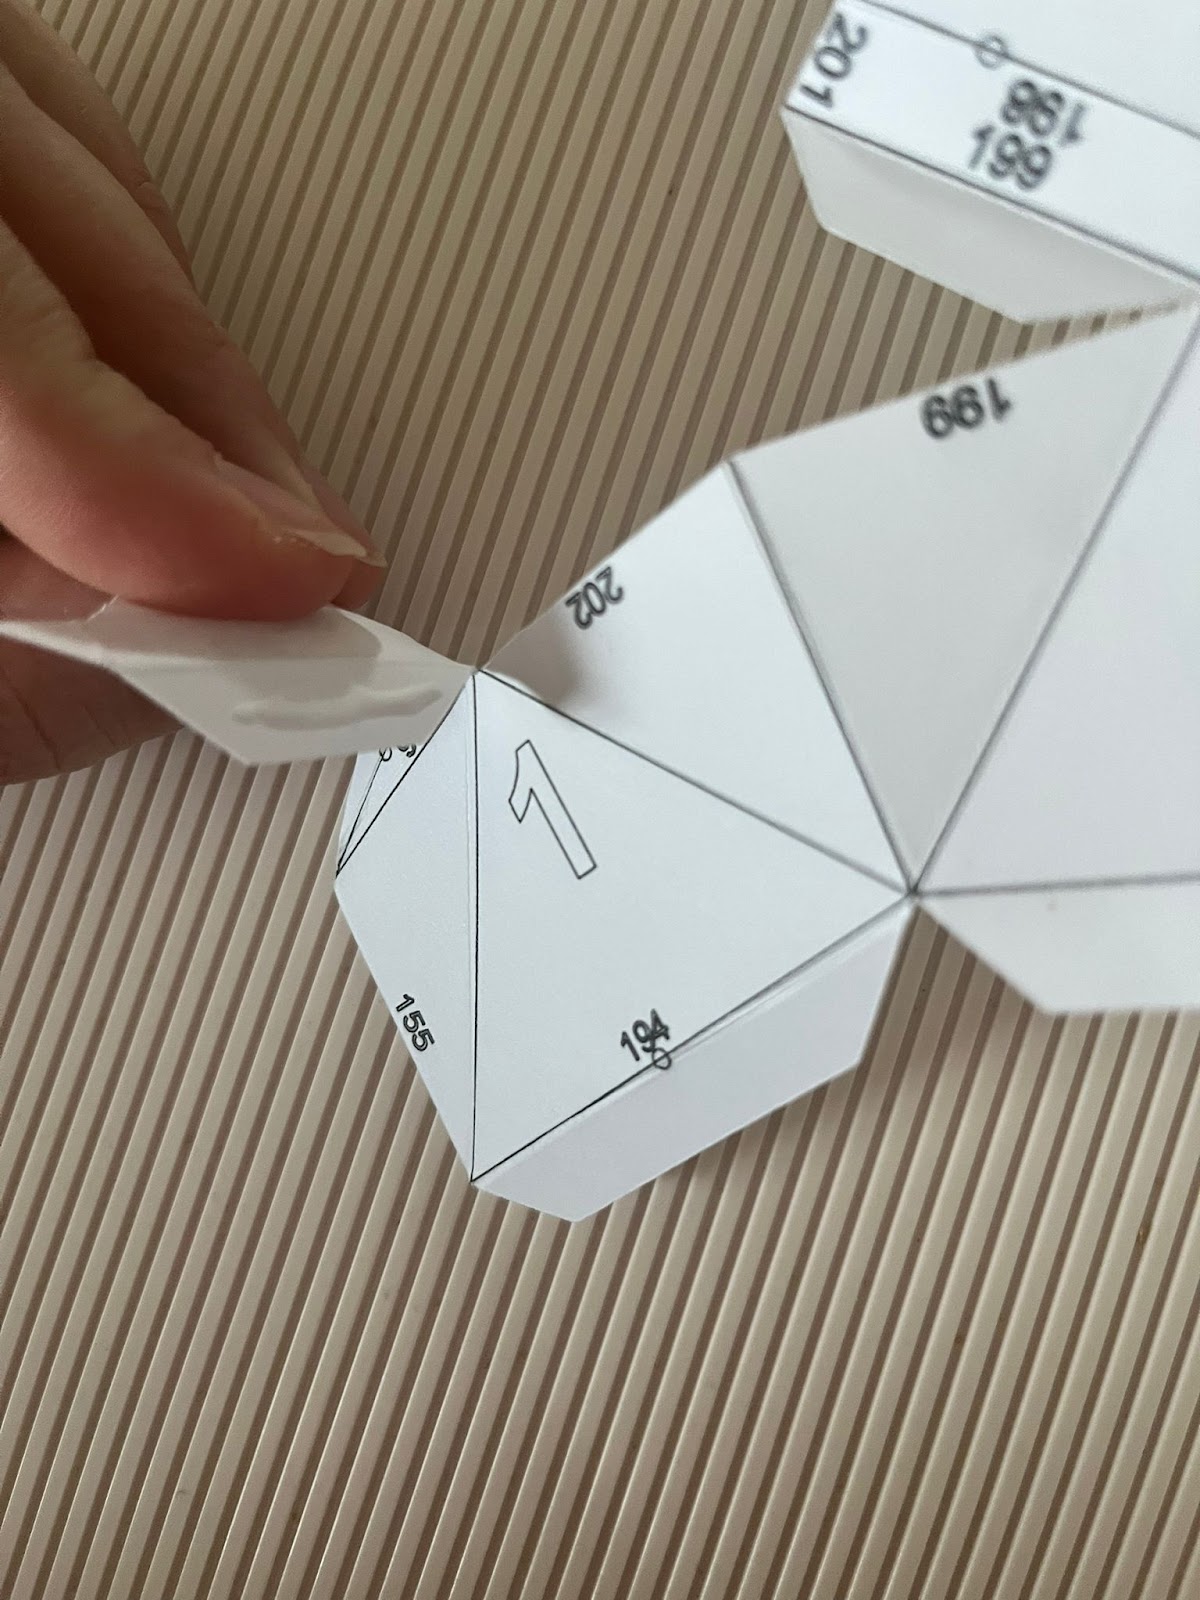
After gluing the numbers inside each piece yo should have something like:

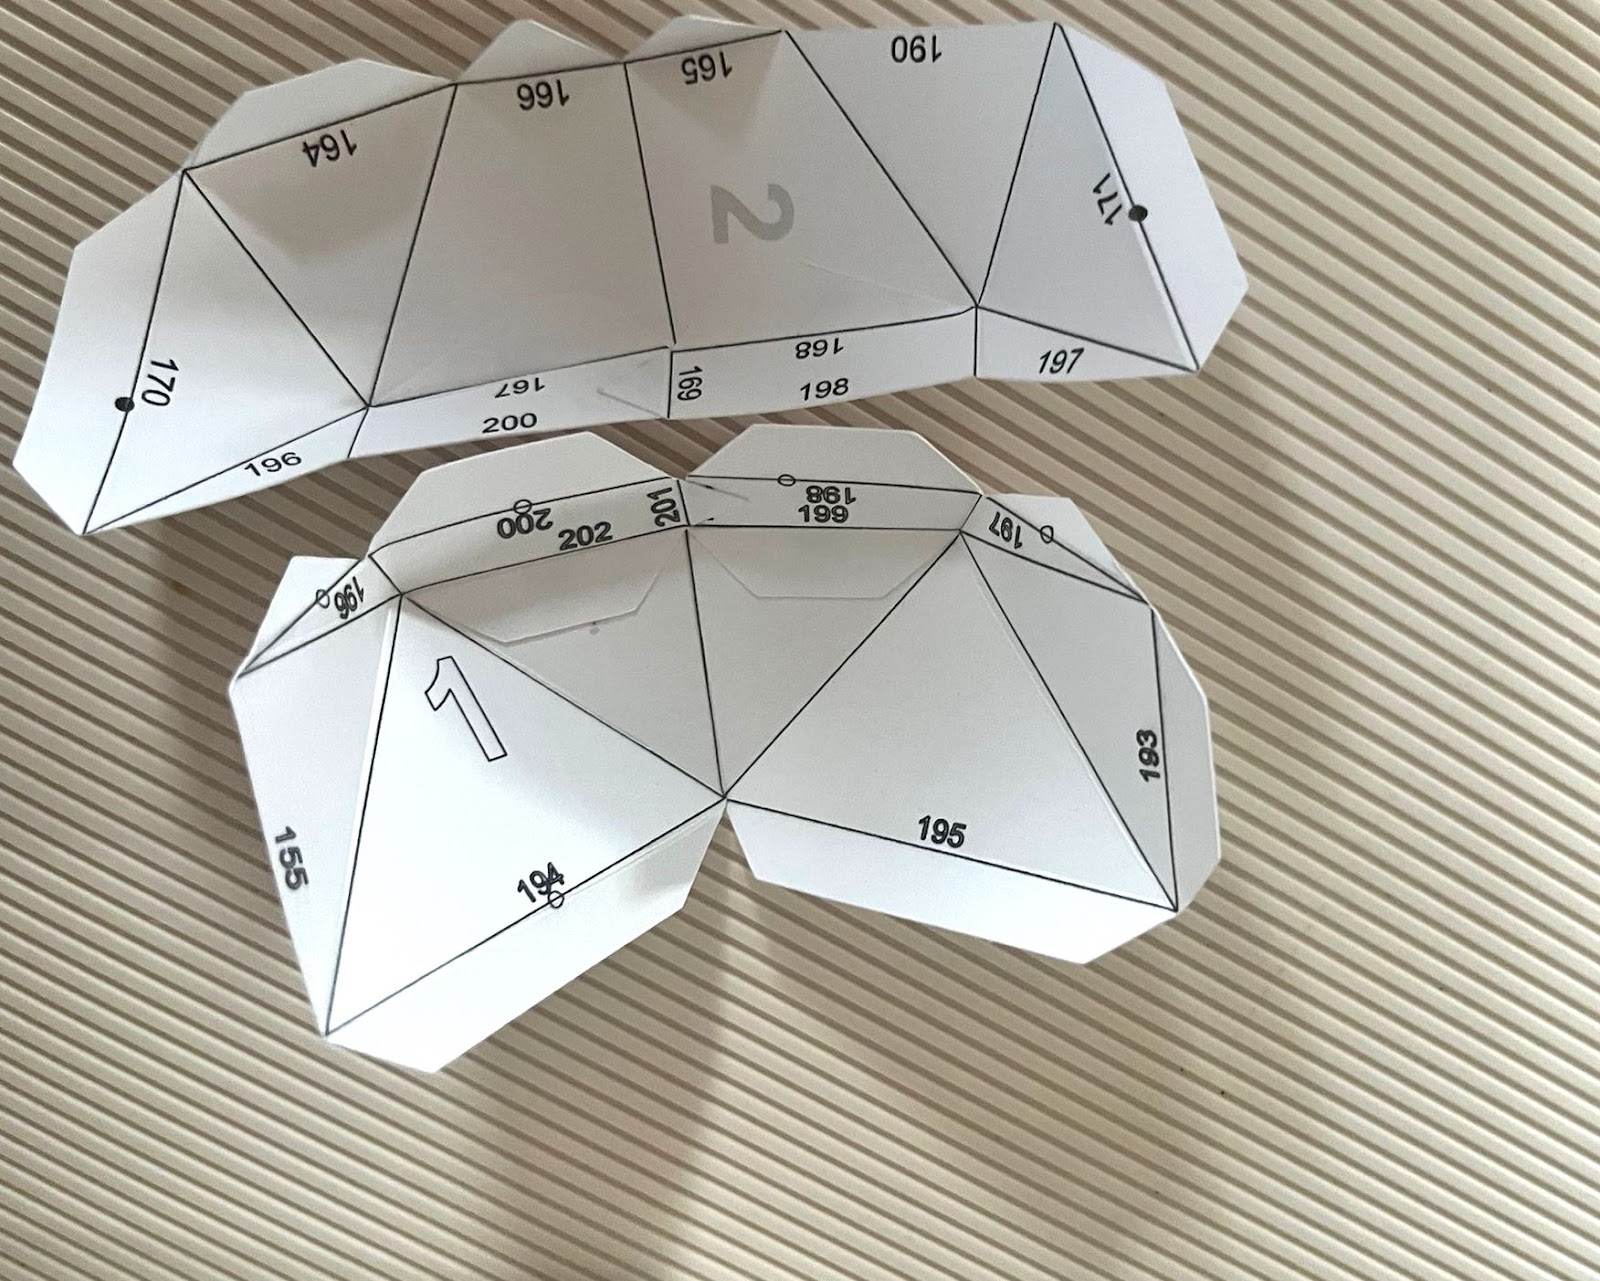
4: After all the internal sections were glued together as needed (some of them do not need this step) you are going to grab the piece with the next number, in our case number 2 and you are going to identify that are some of the numbers that are showing in both pieces, those are the sections that you need to glue together:
After you glue them, you should have something like:
Internal part:
External part:
5: You are going to follow with the next number piece following the same process.


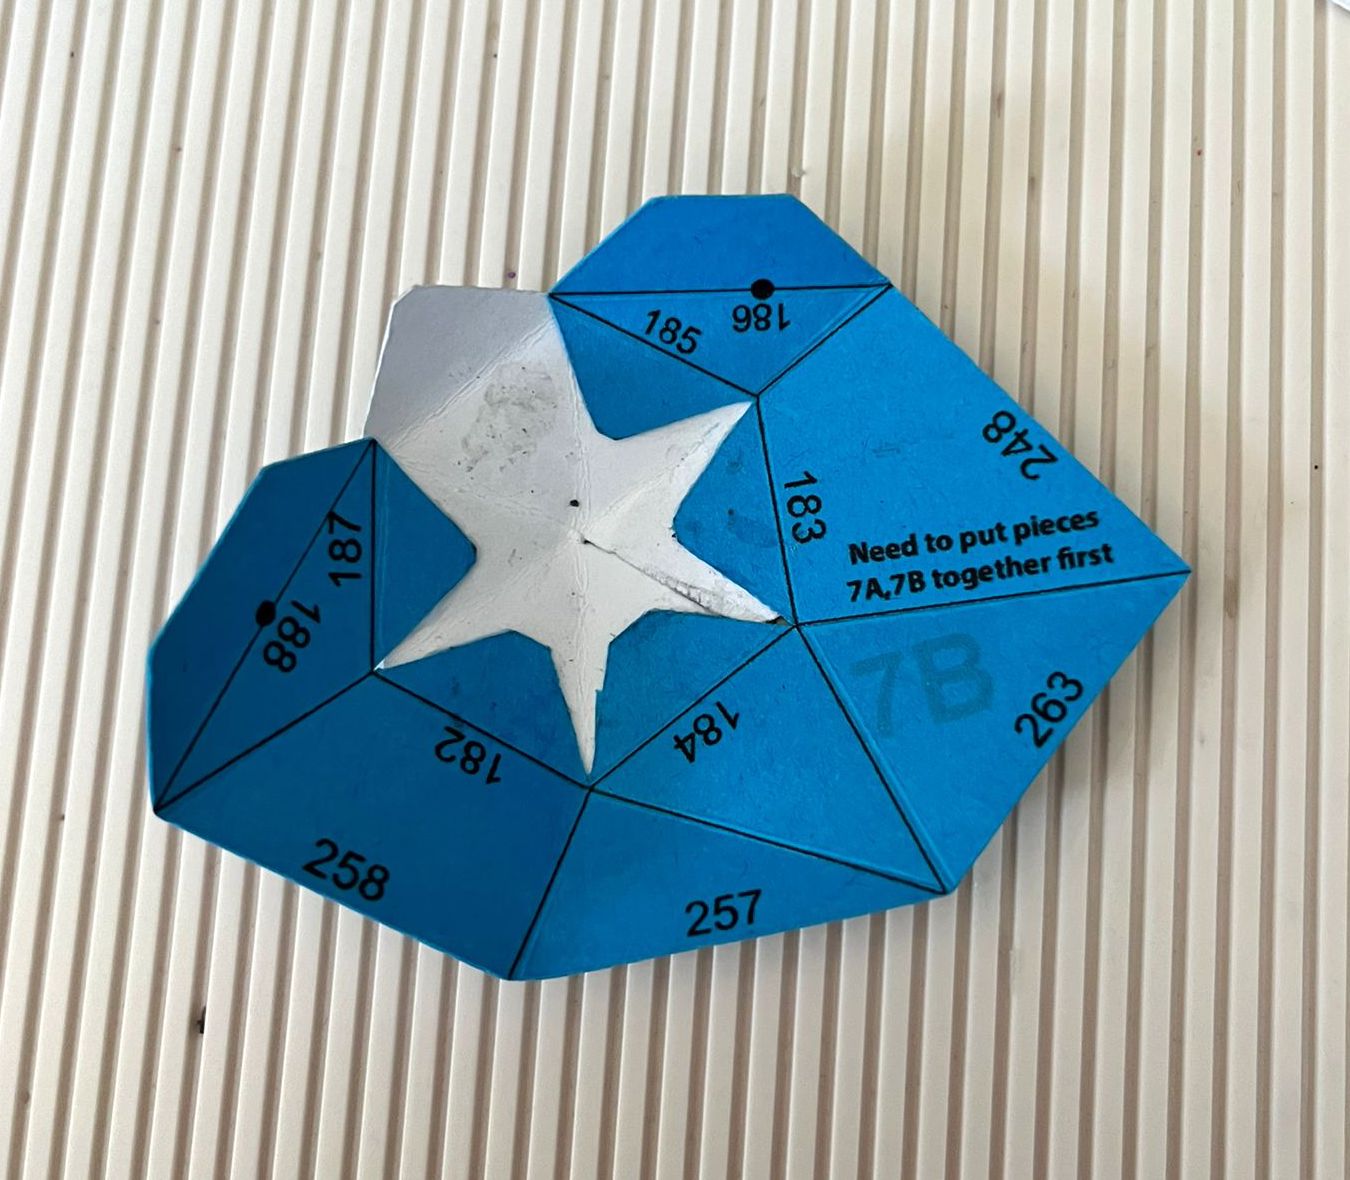
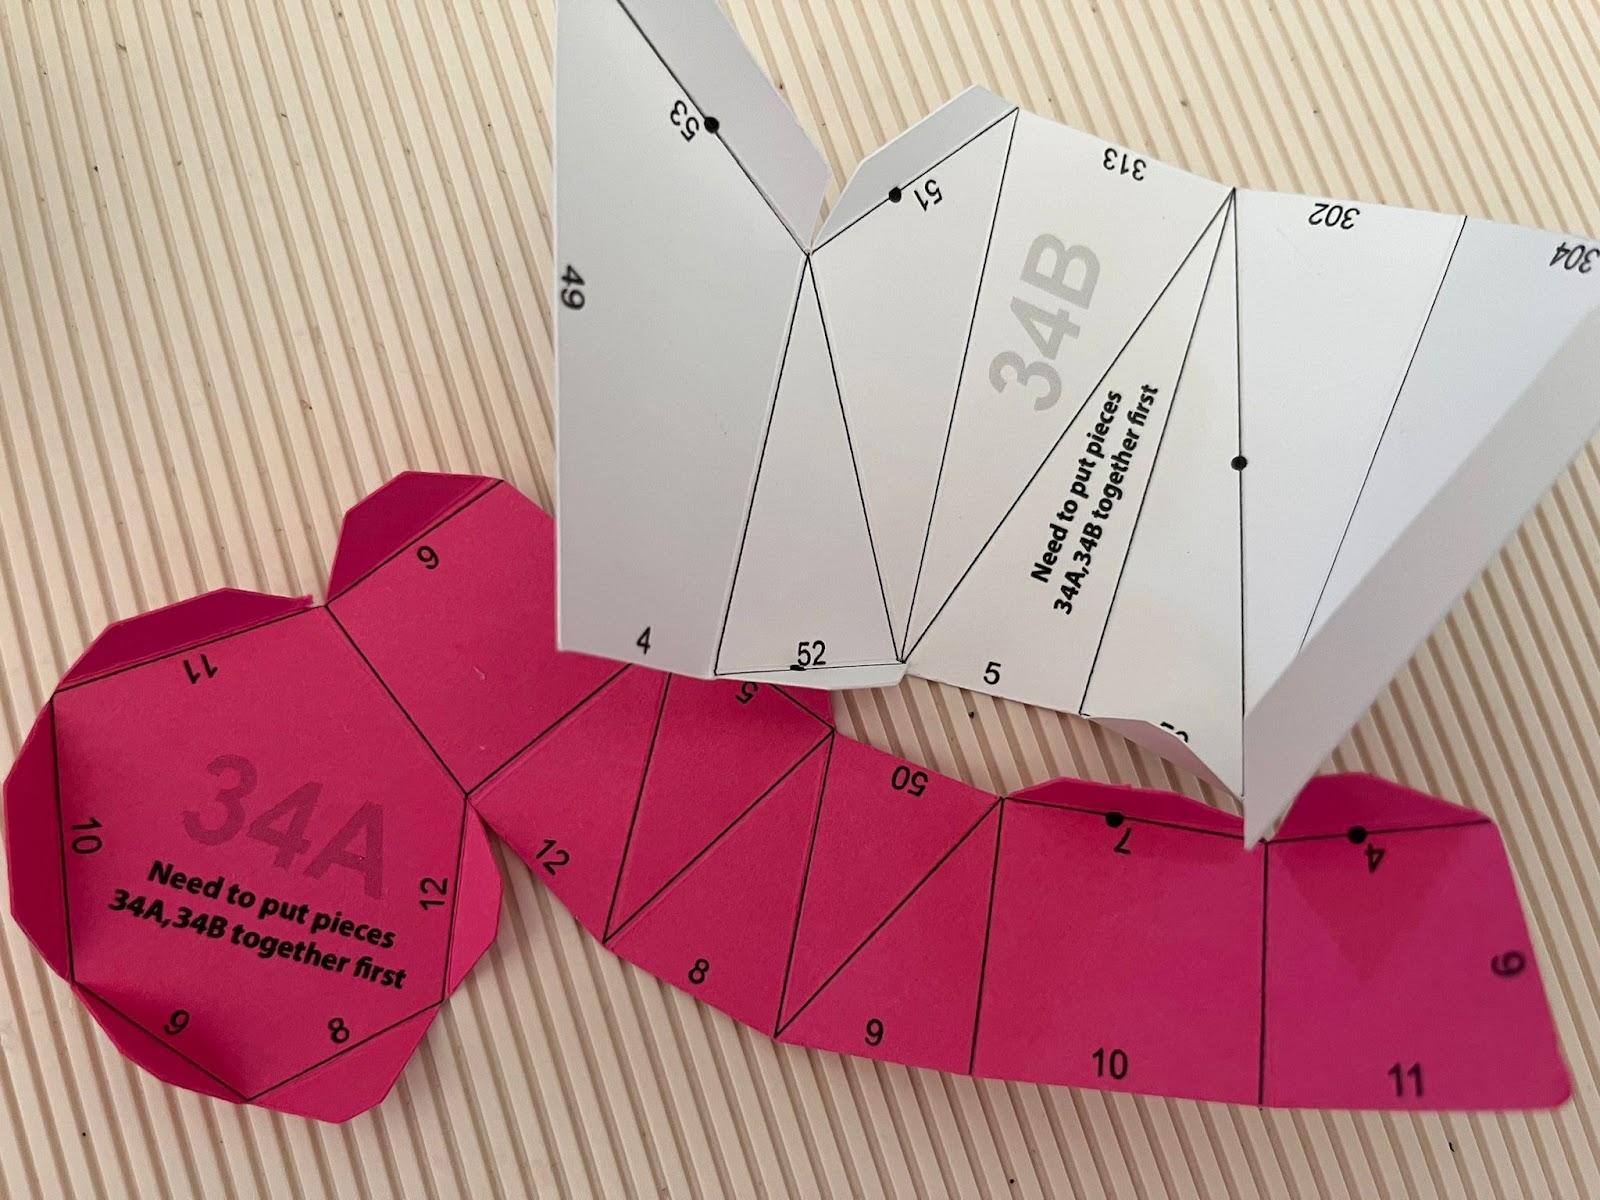
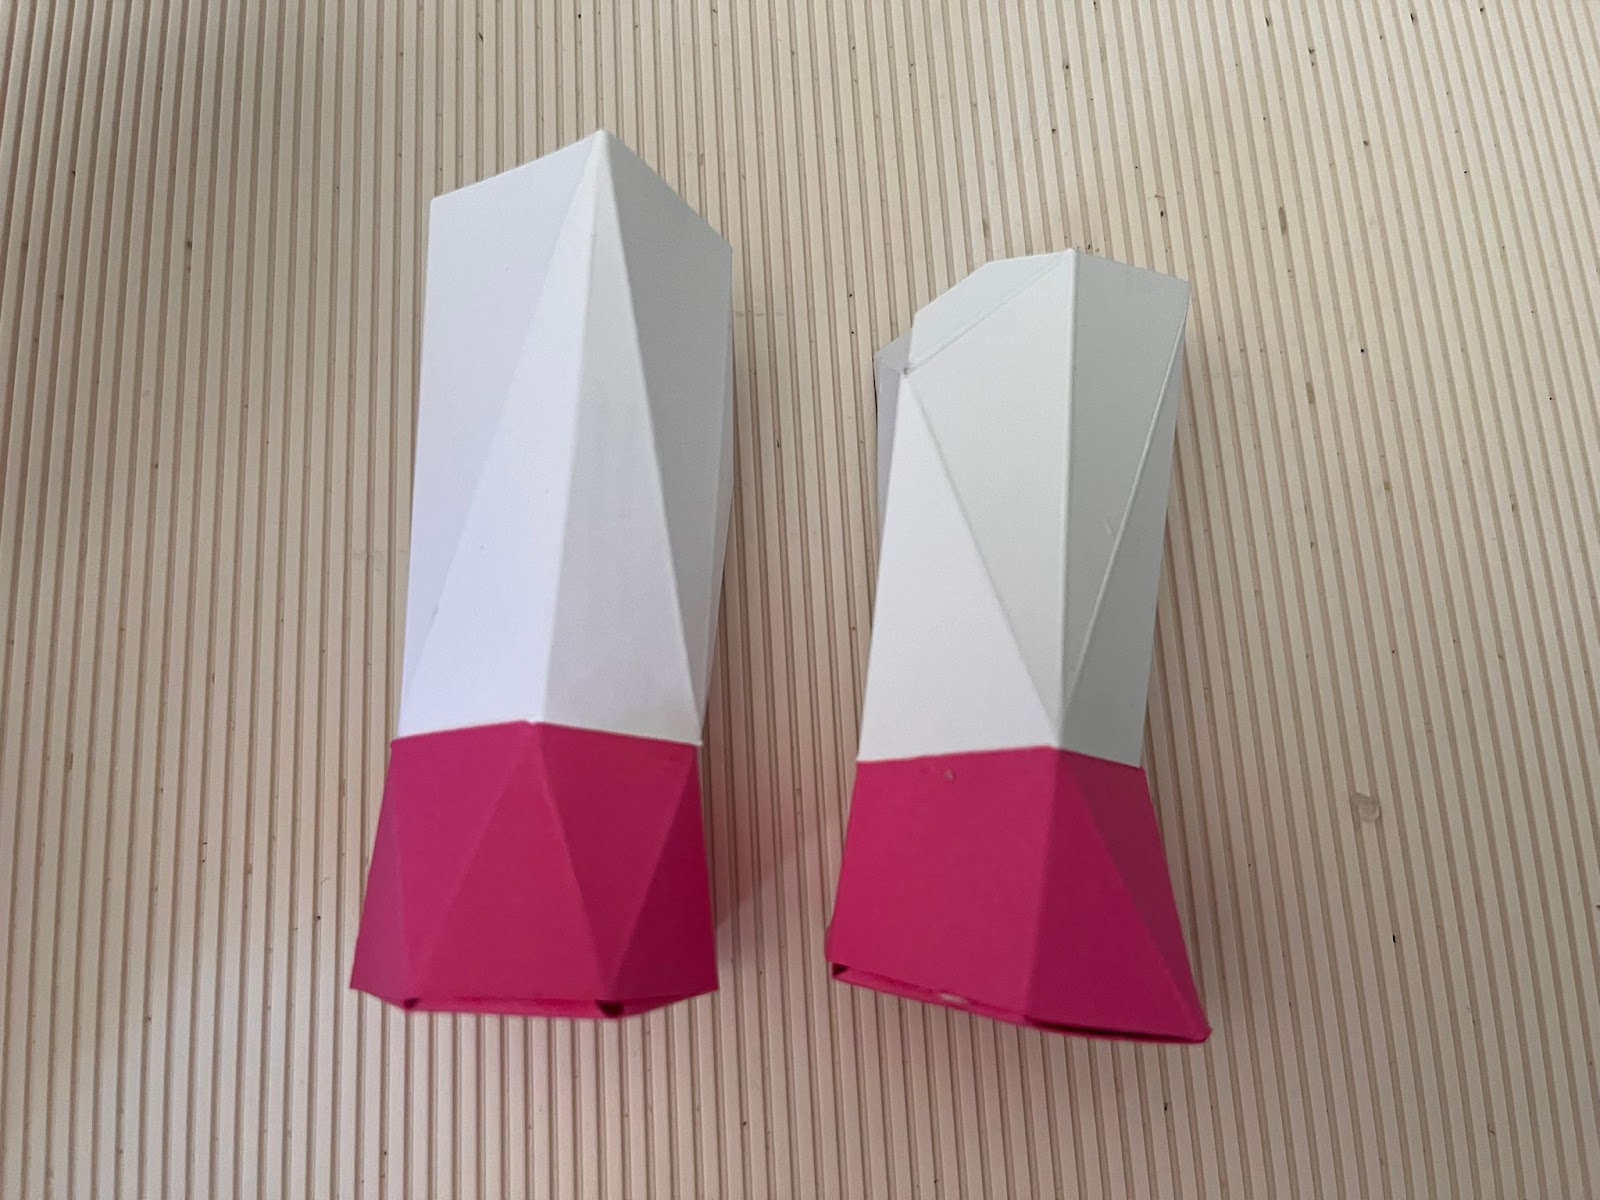
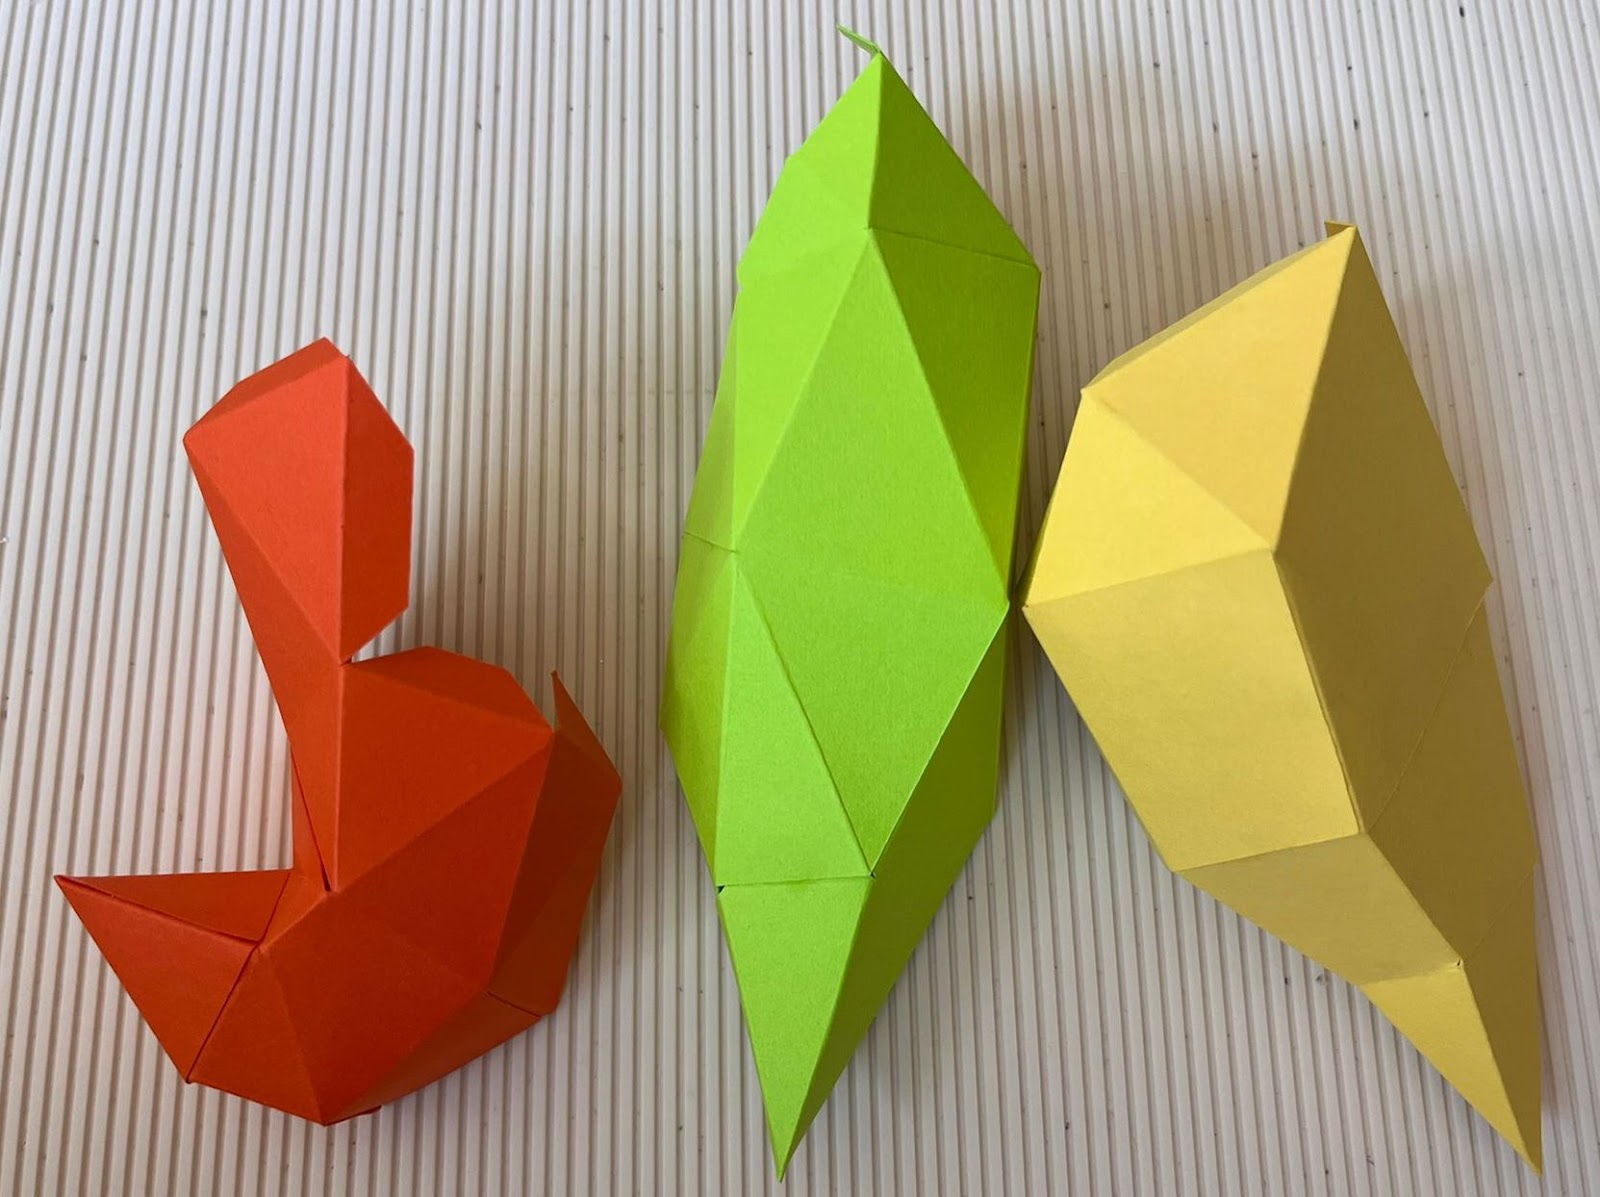
💡Tip: You are going to notice that some pieces, mentioned that you need to assemble some pieces together, follow that instruction, because if not is going to be harder to assemble them.
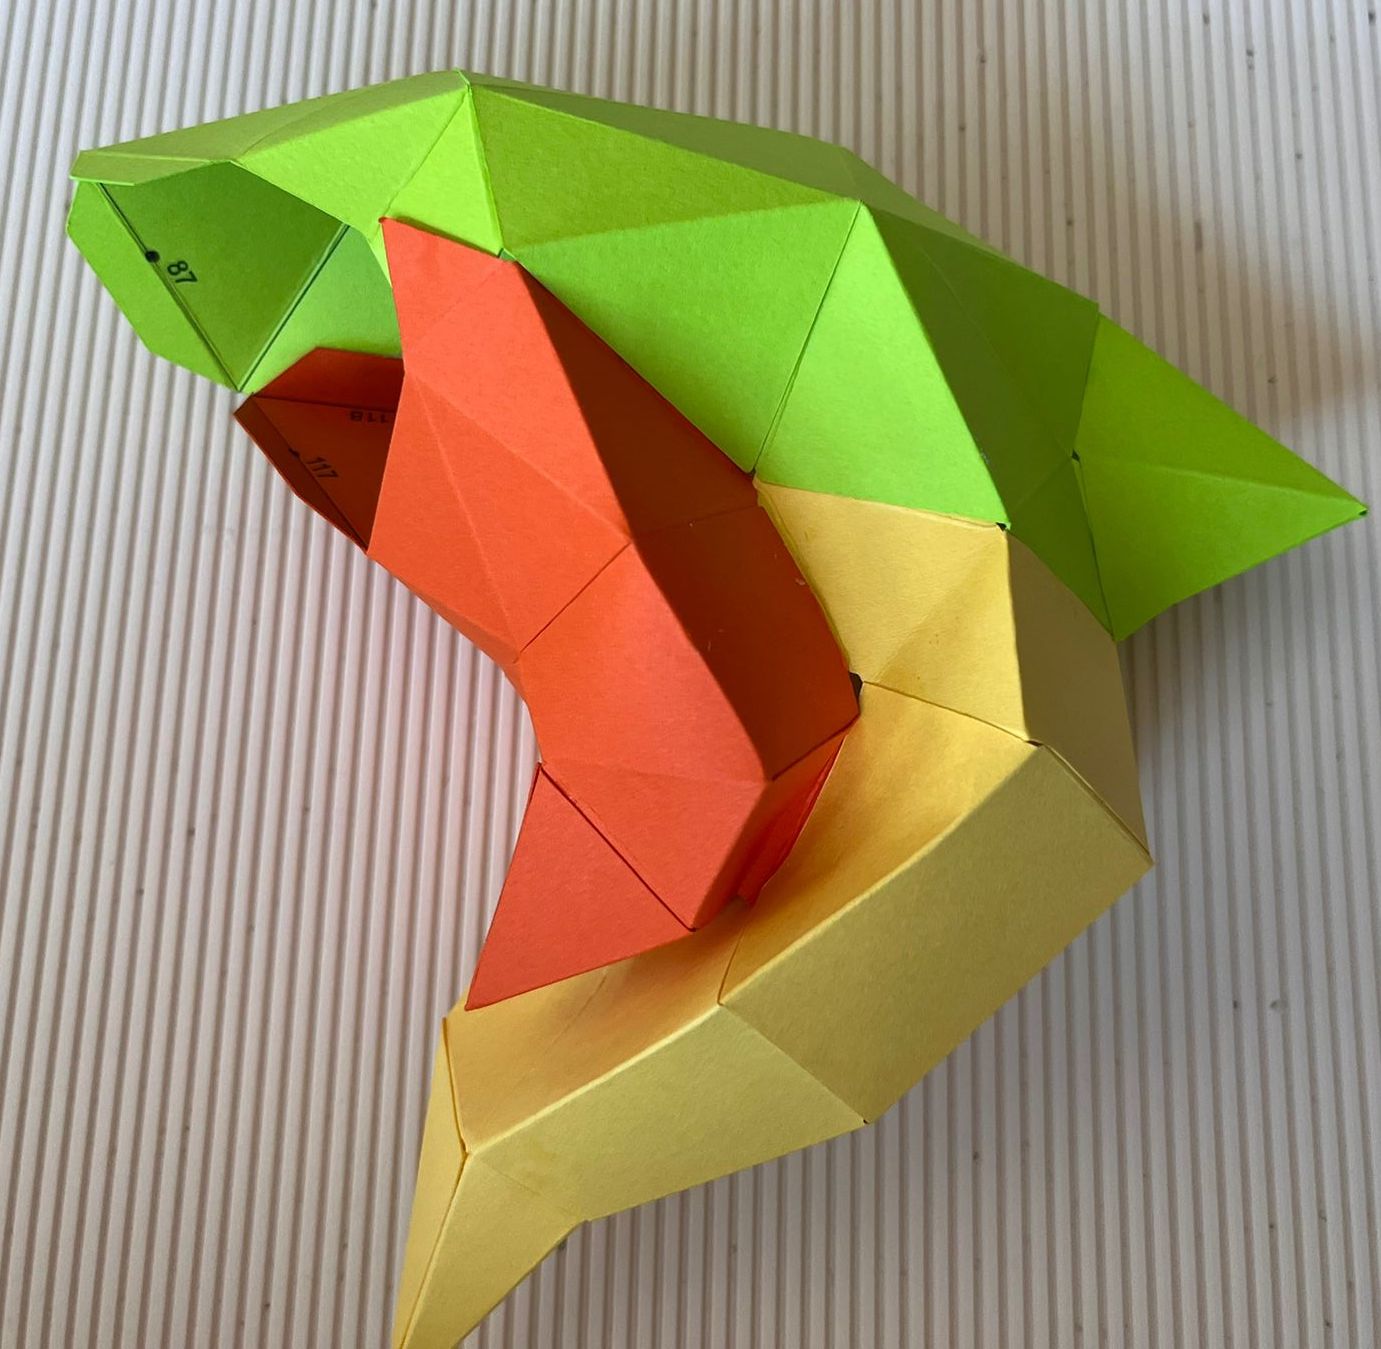
Like for example the following piece:
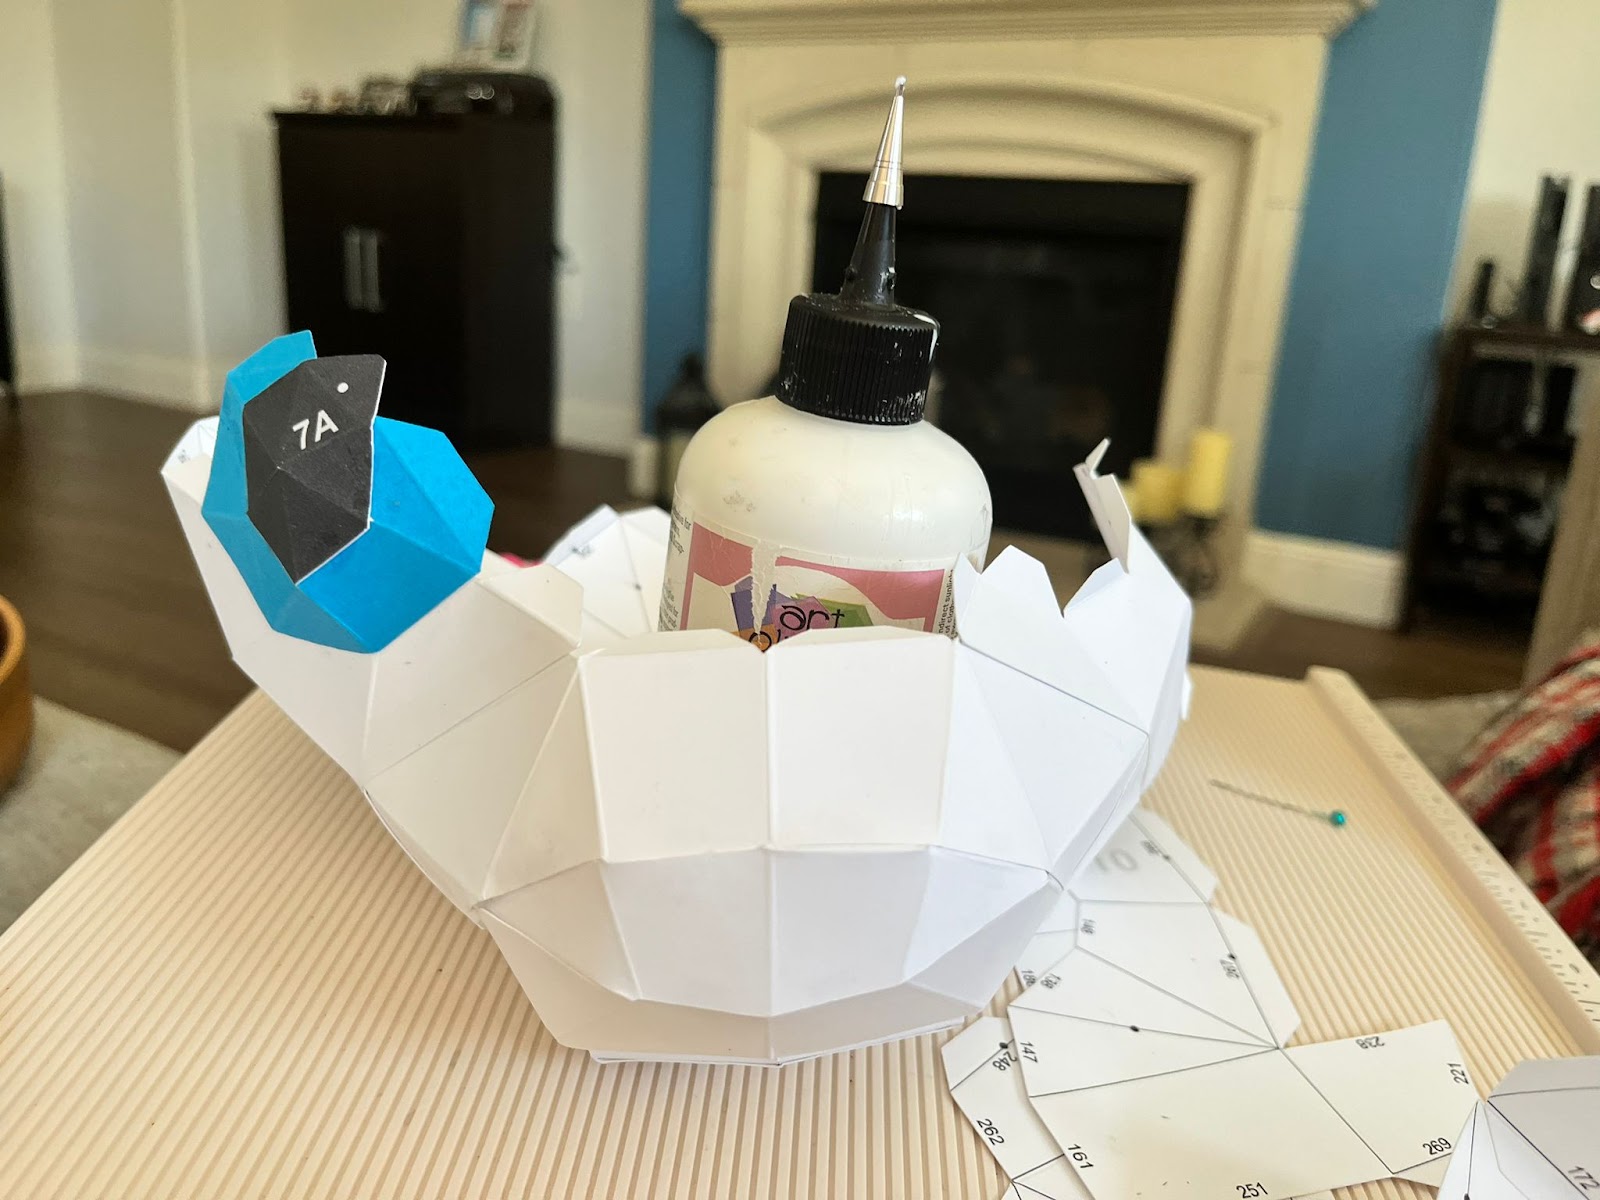
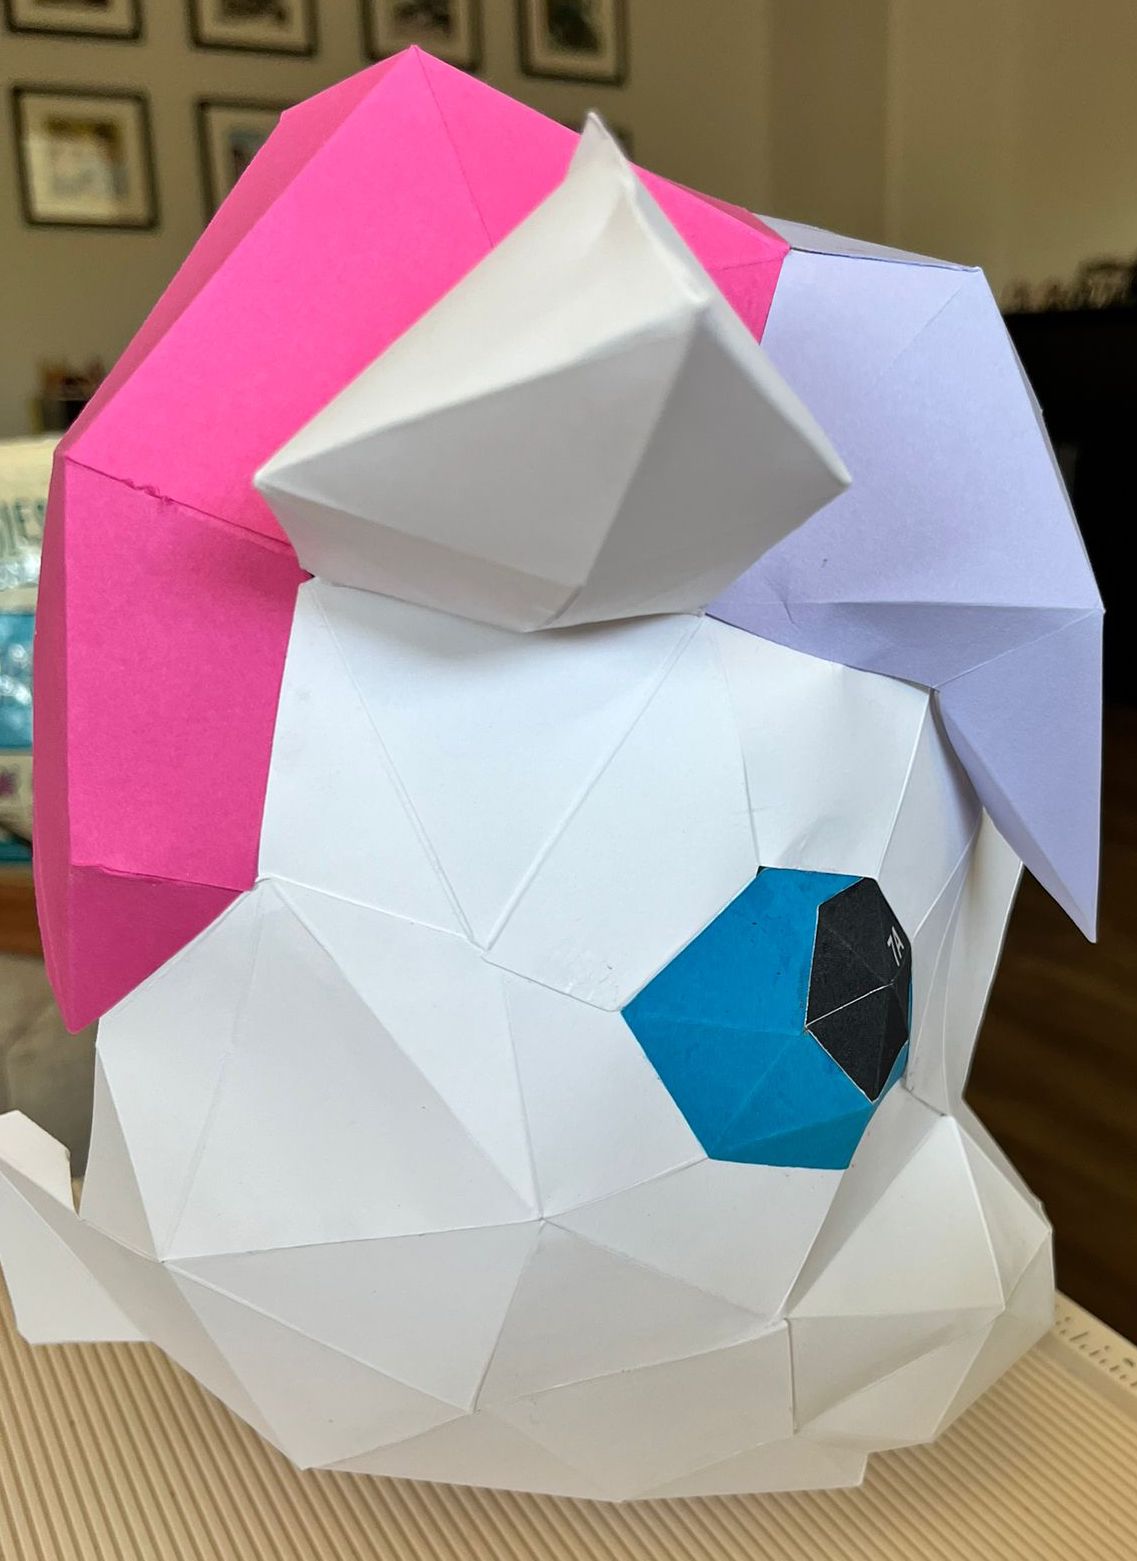
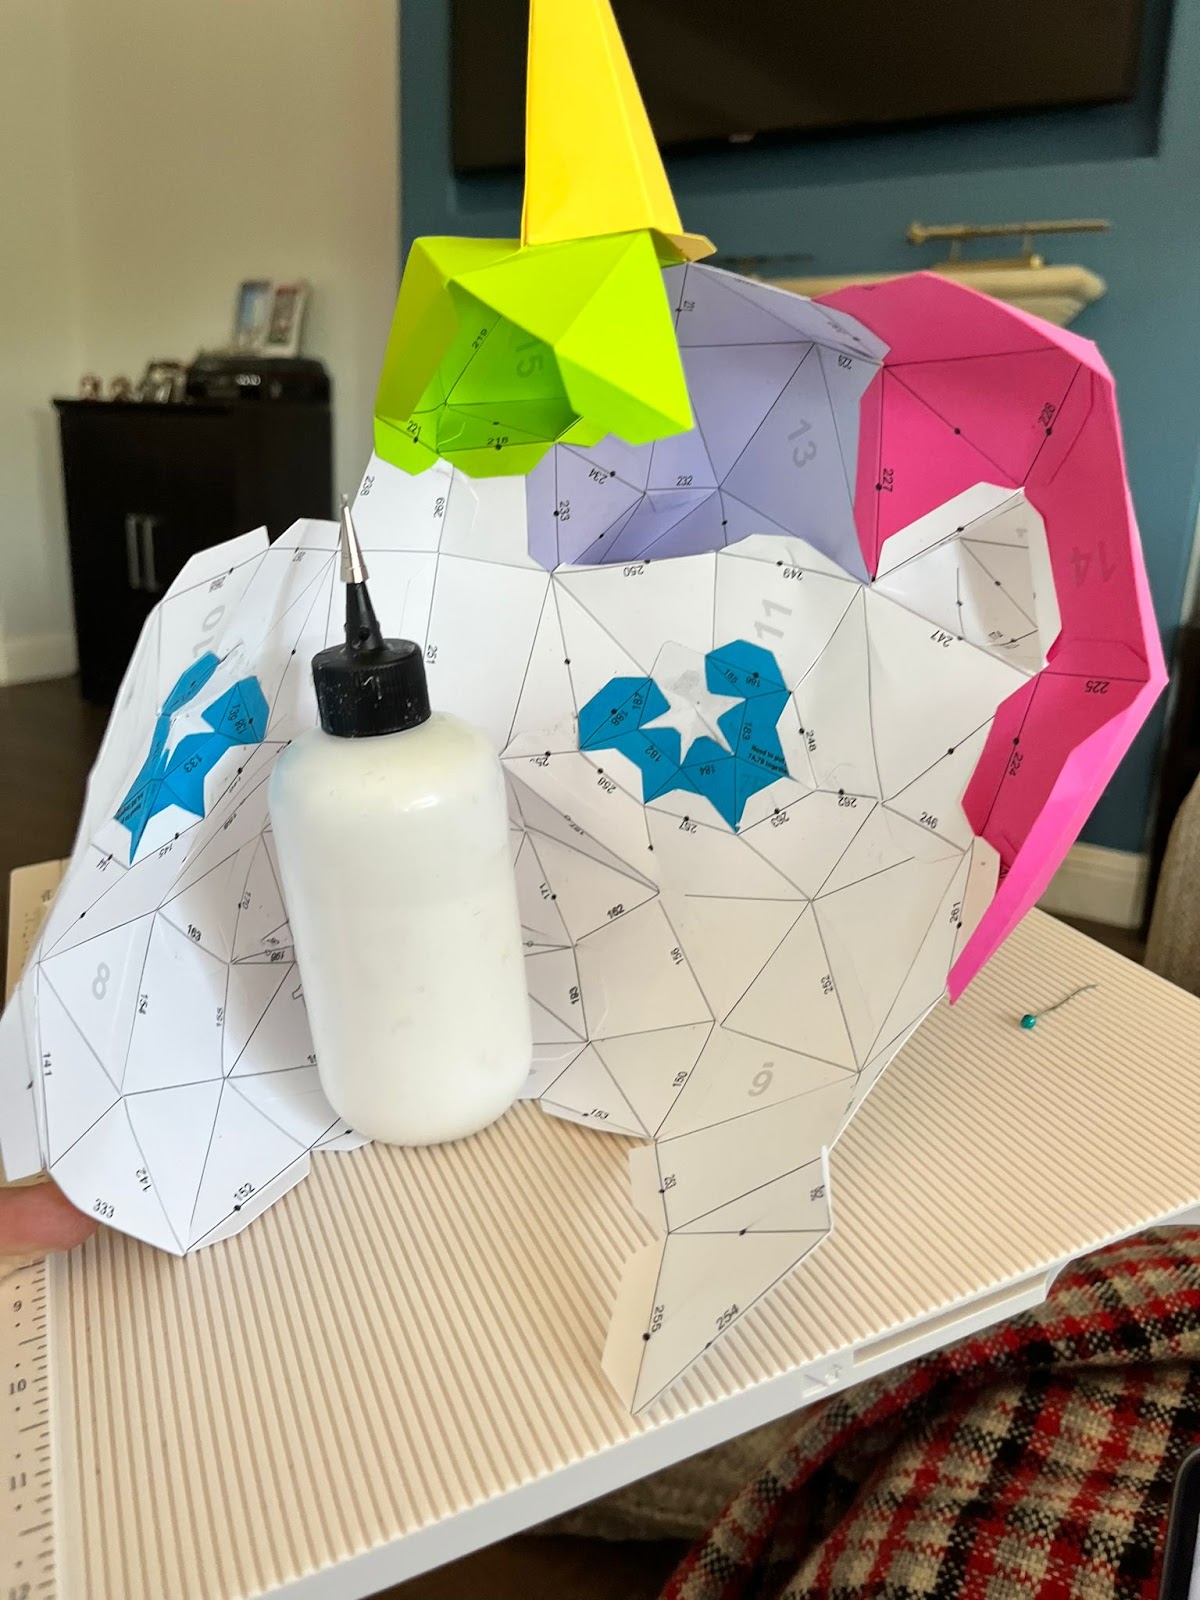
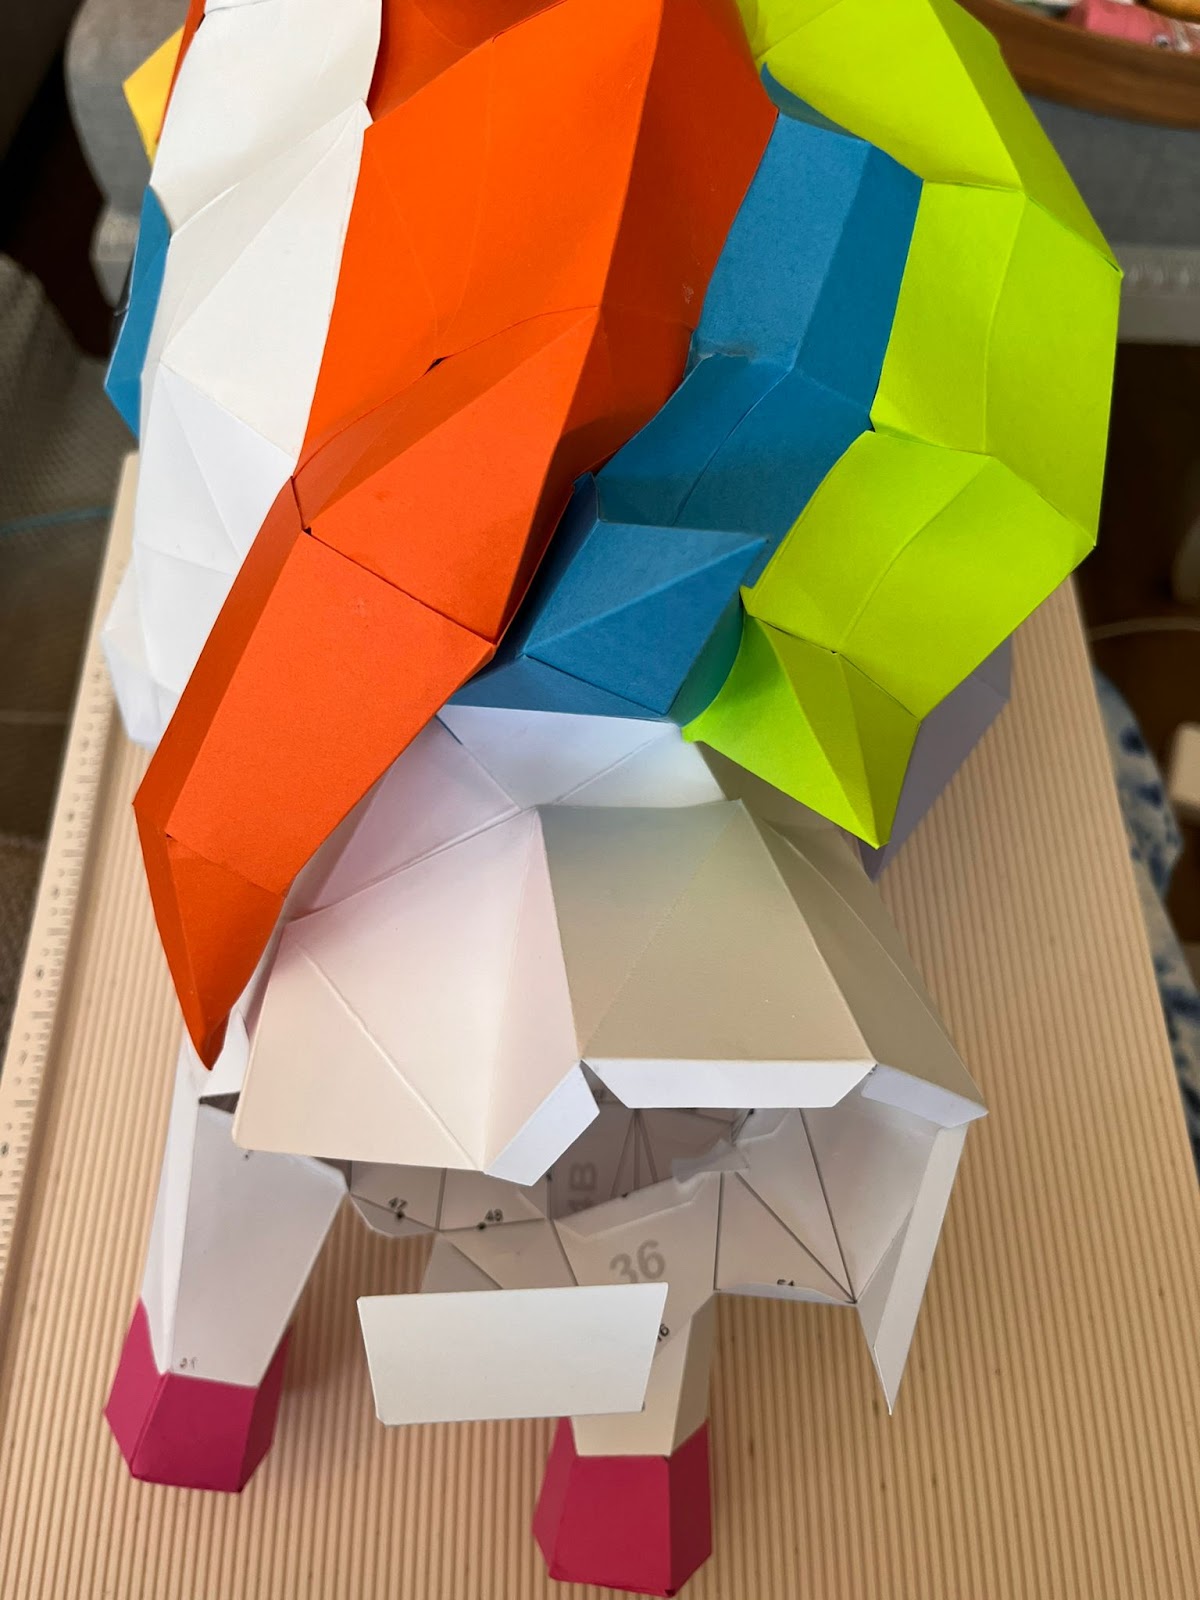
As you are moving with the assembling you are going to start seeing how the unicorn start appearing:
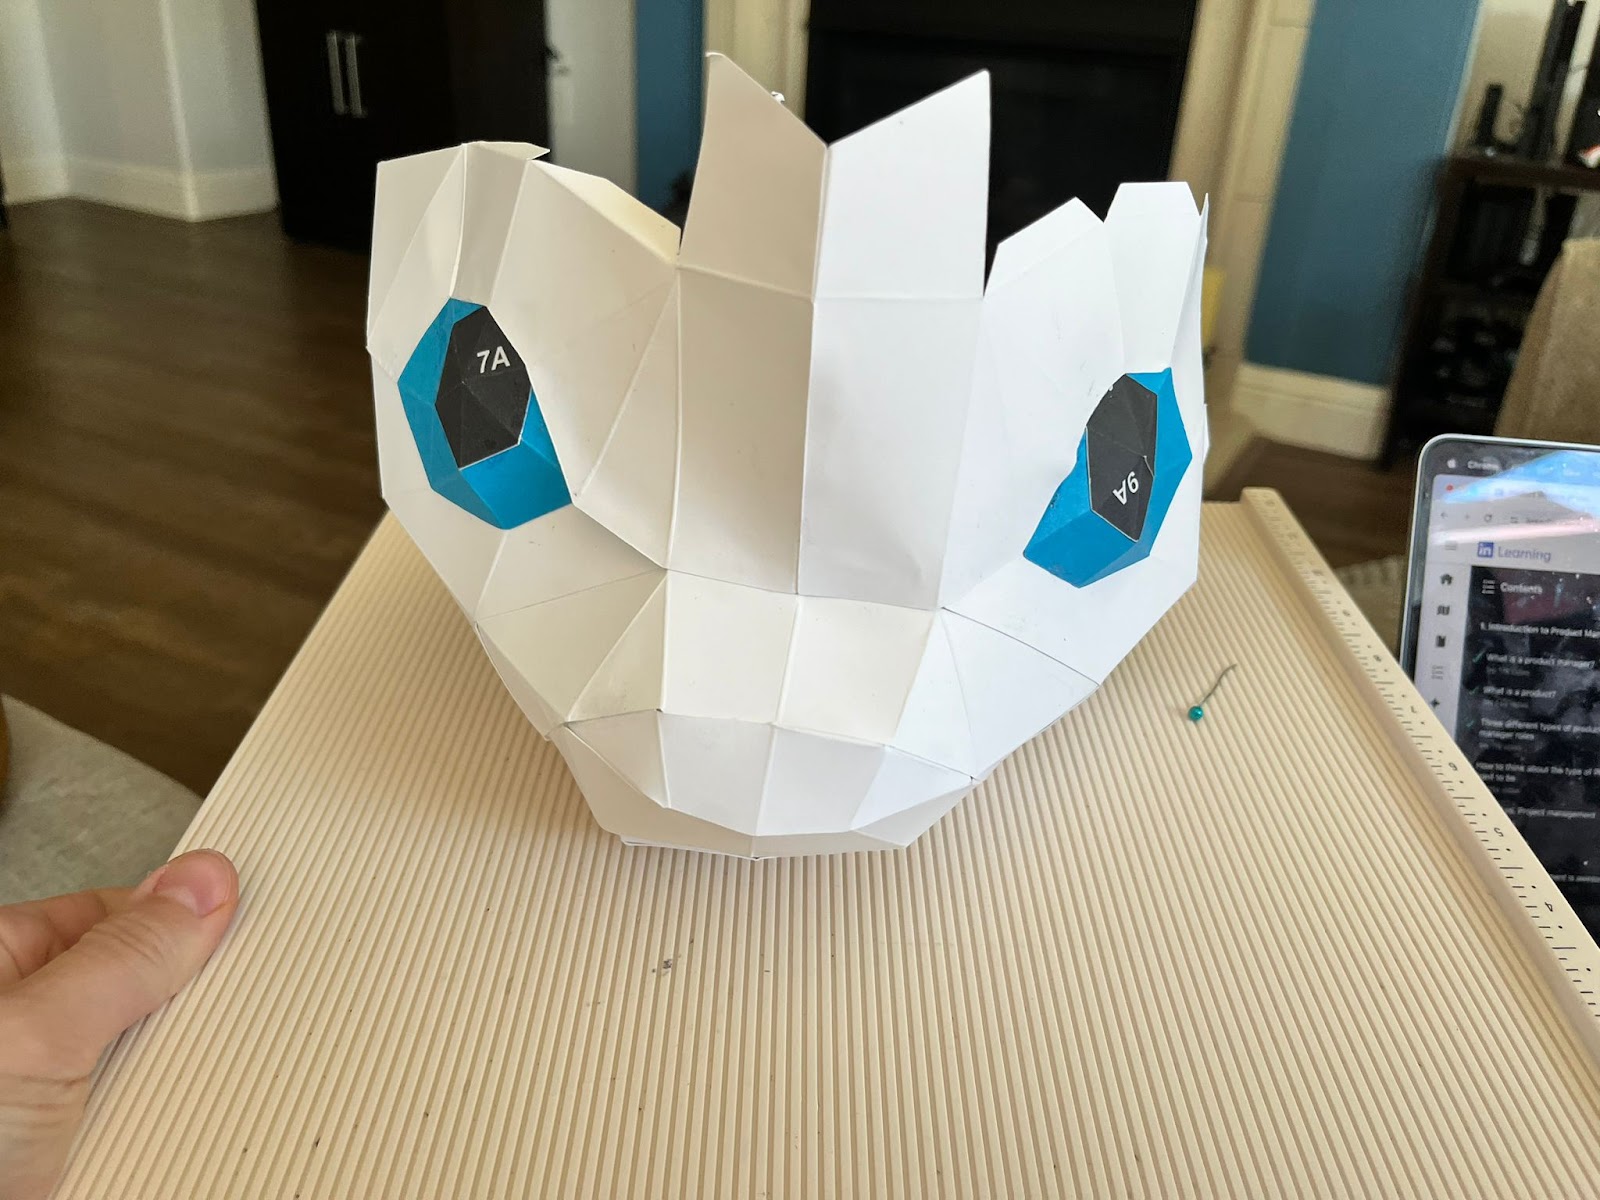
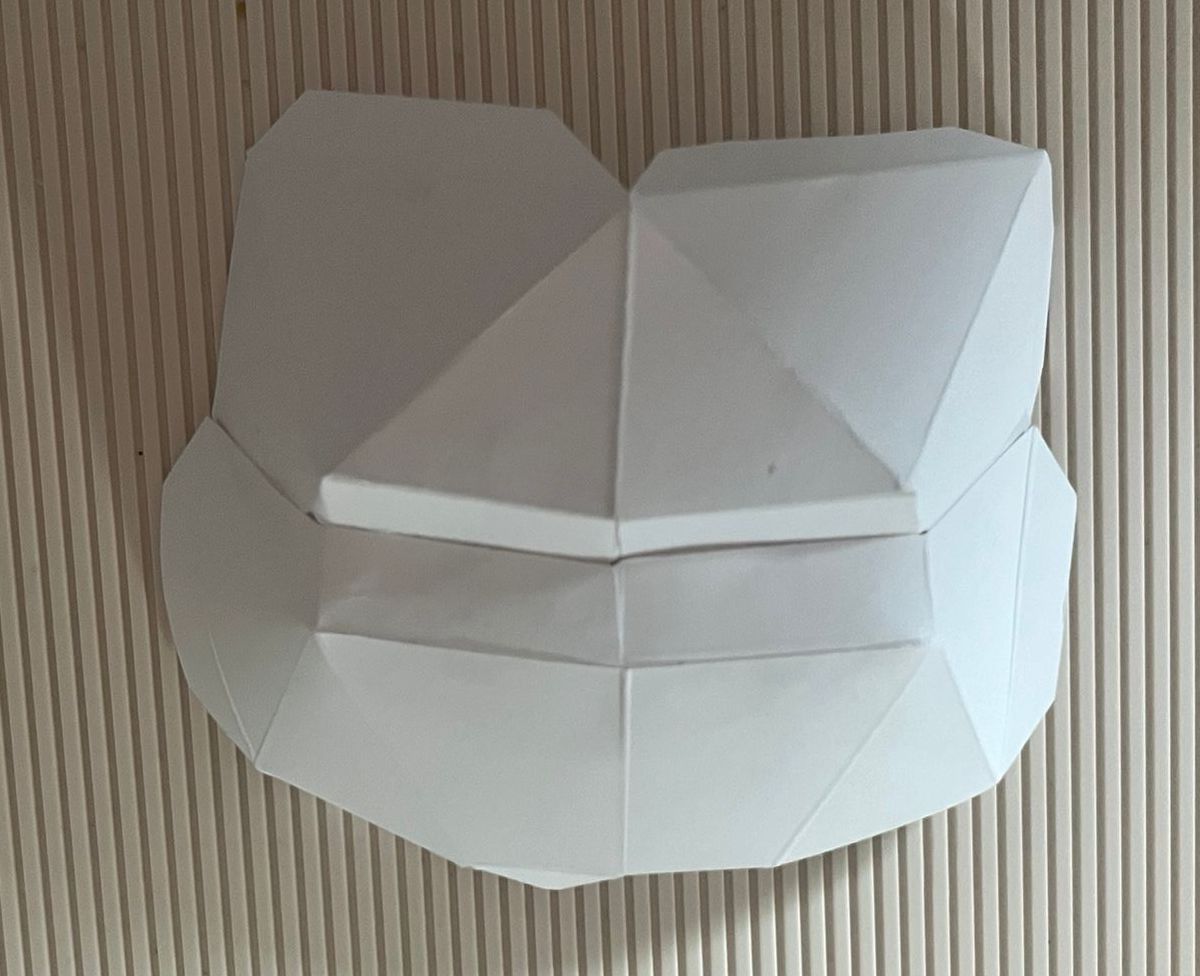
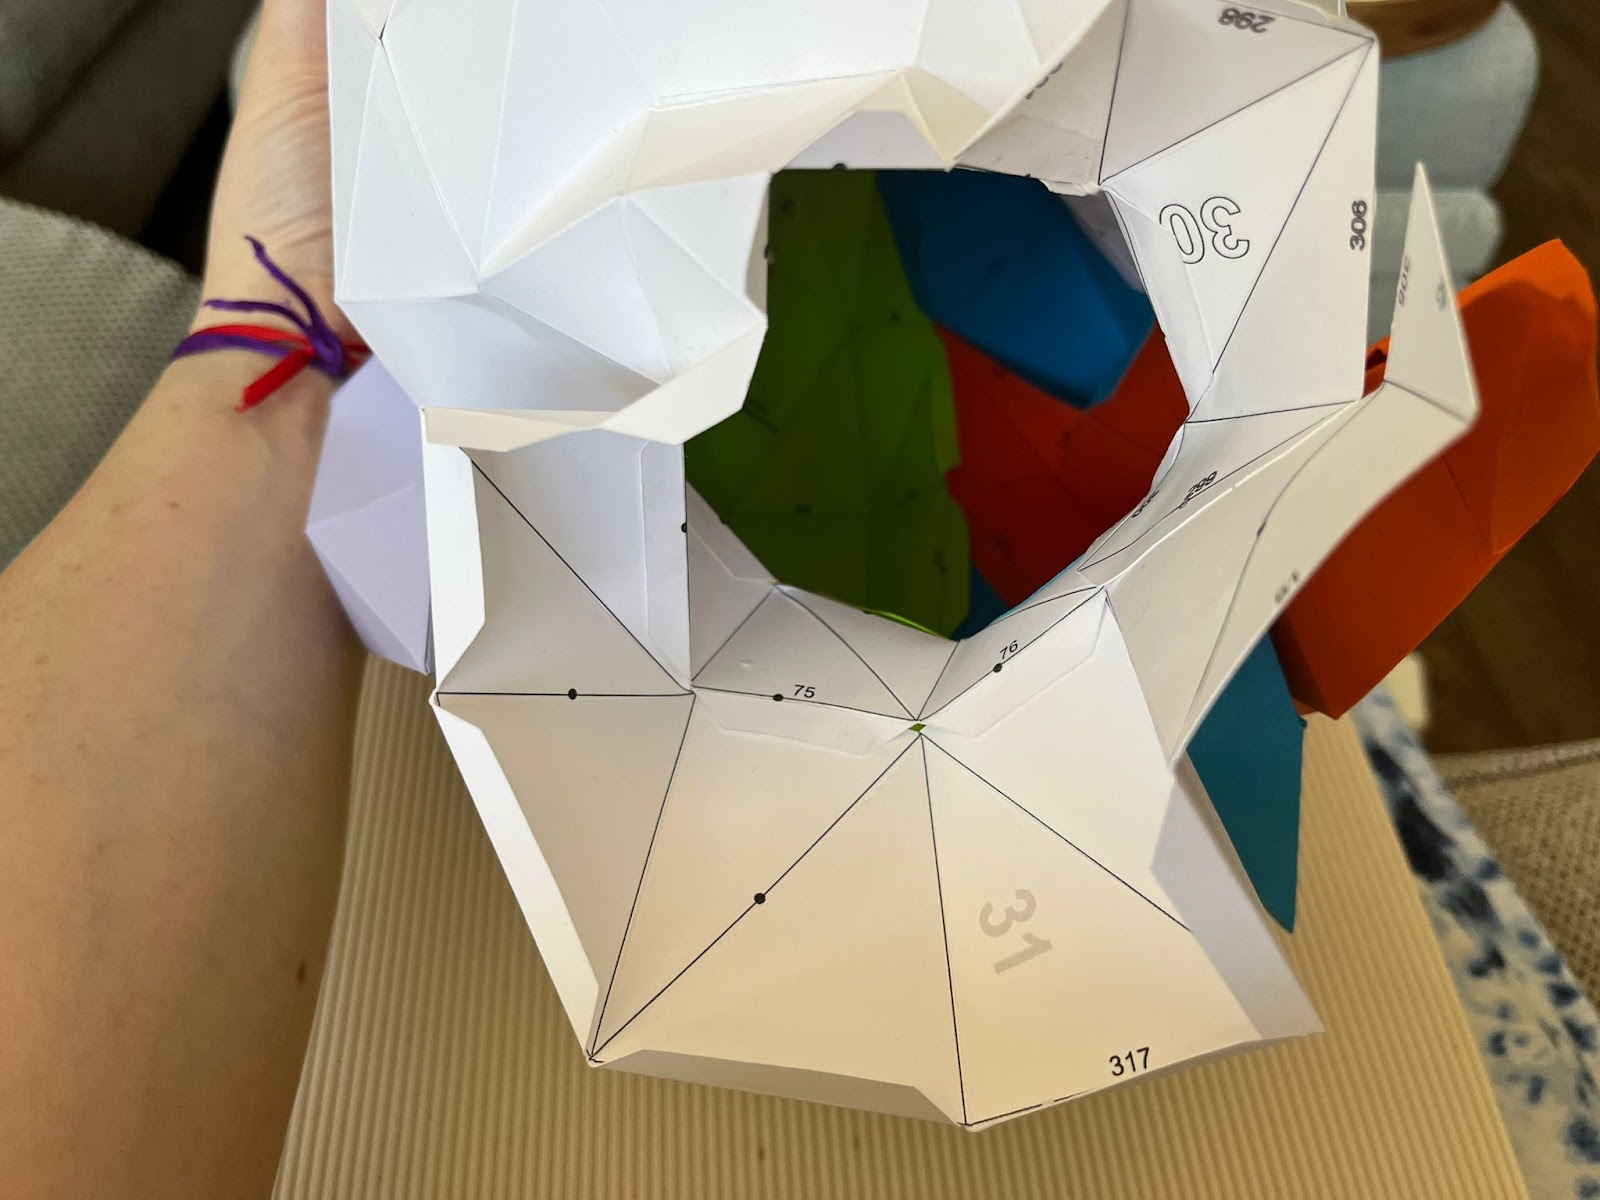
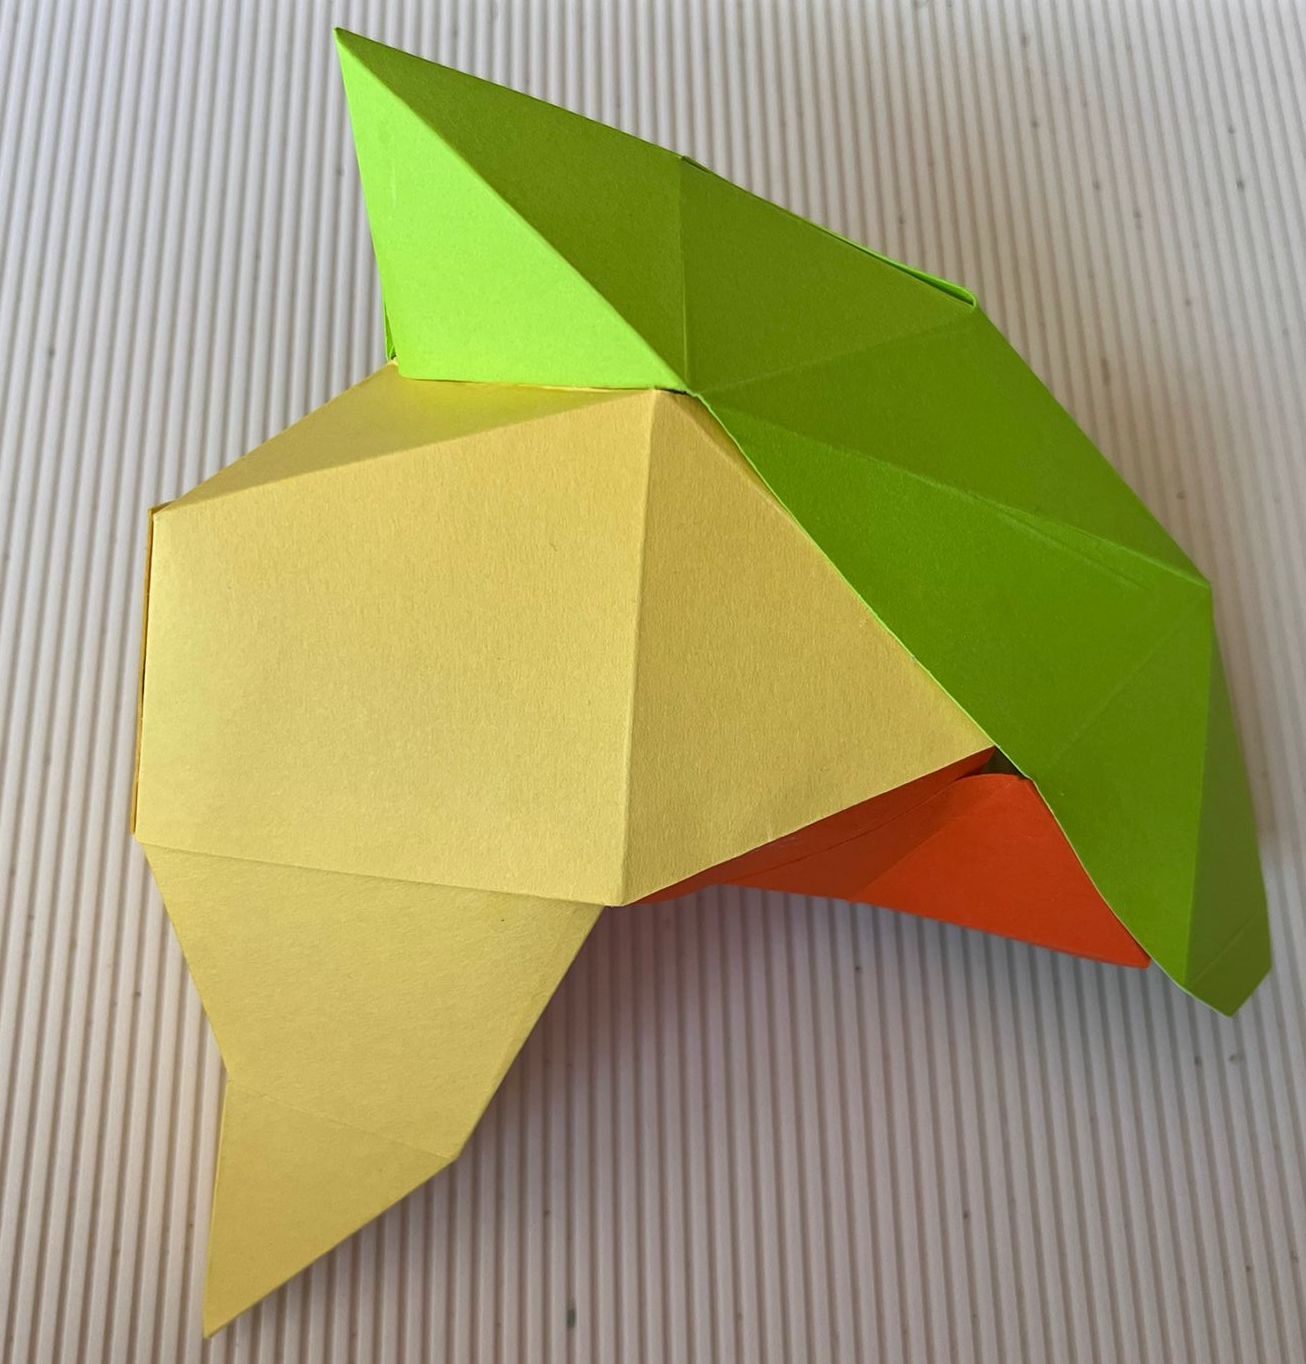
And as you move, you are going to start seeing the unicorn’s head:
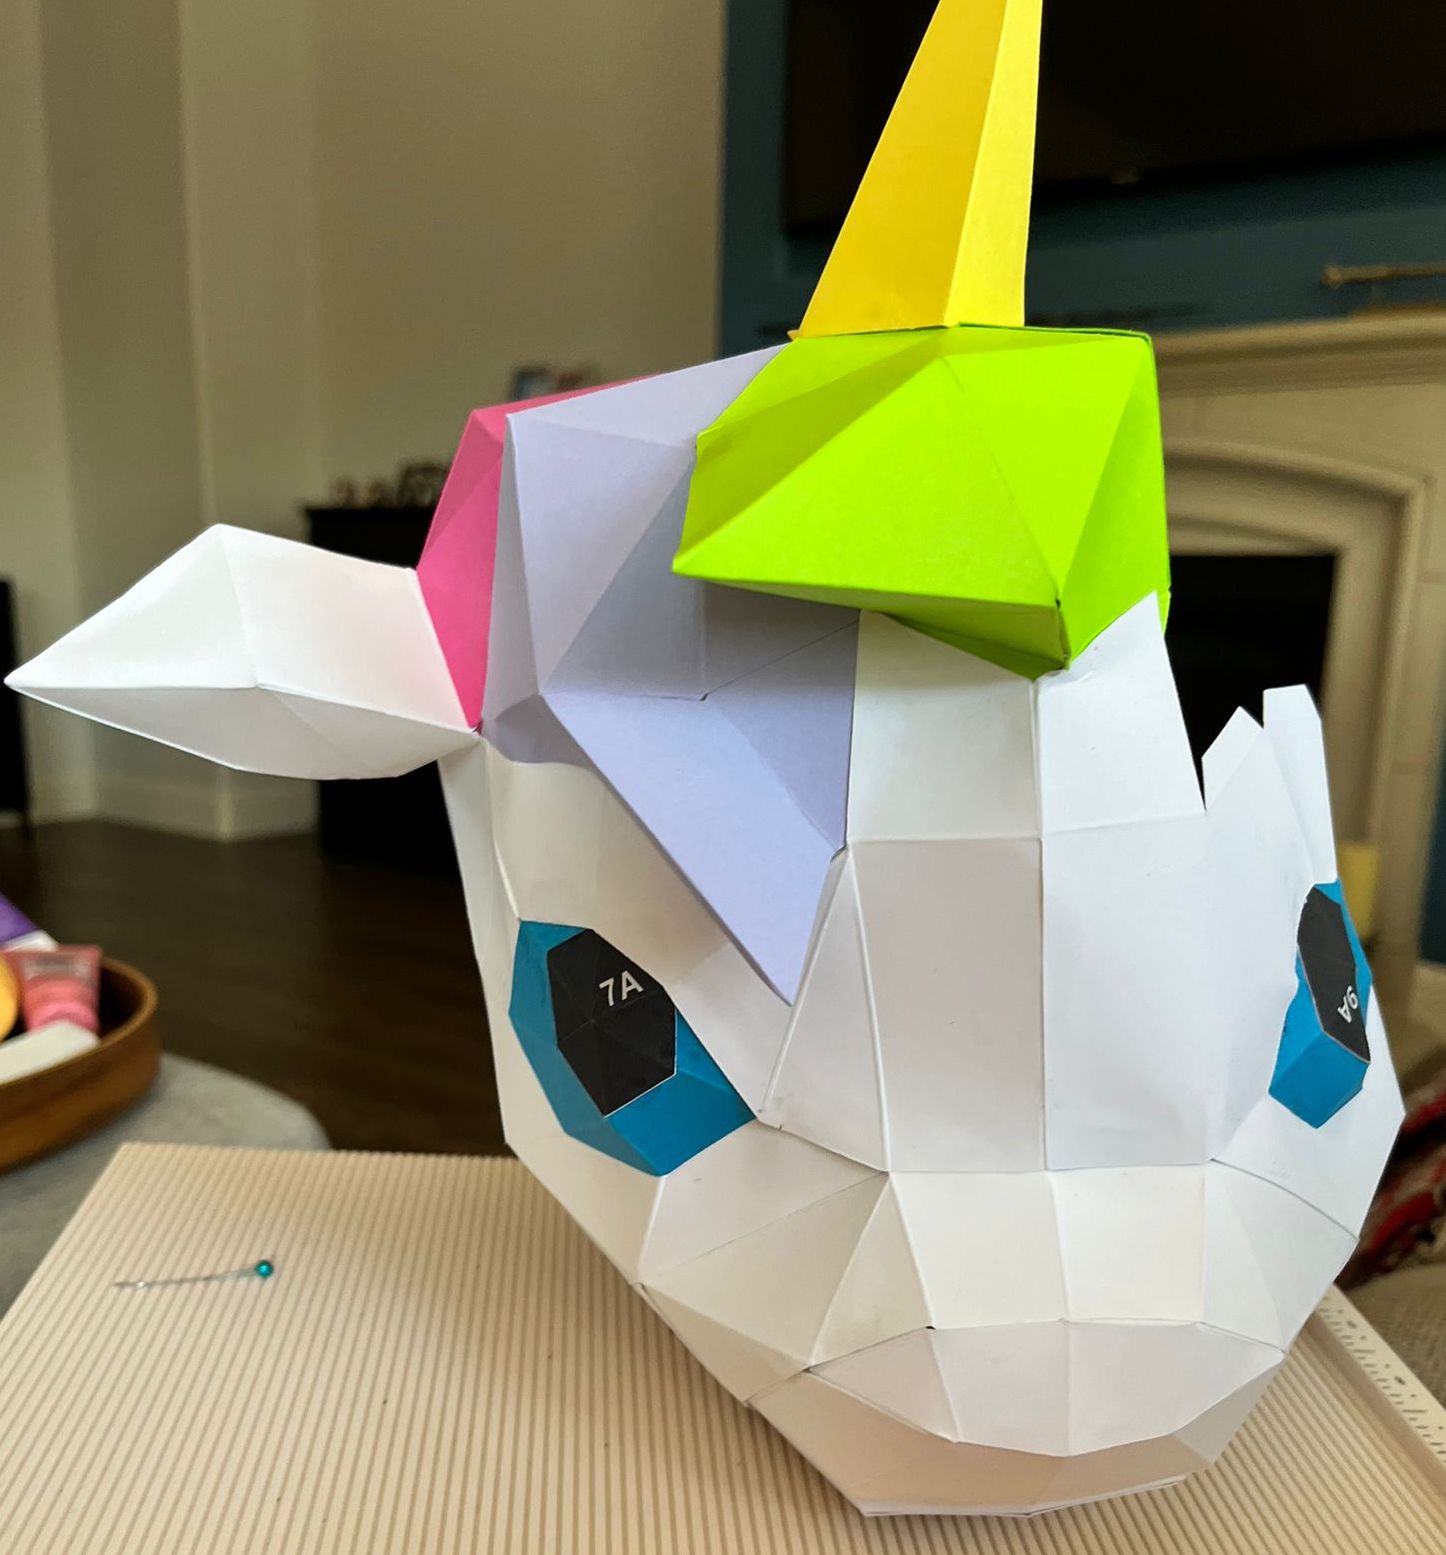
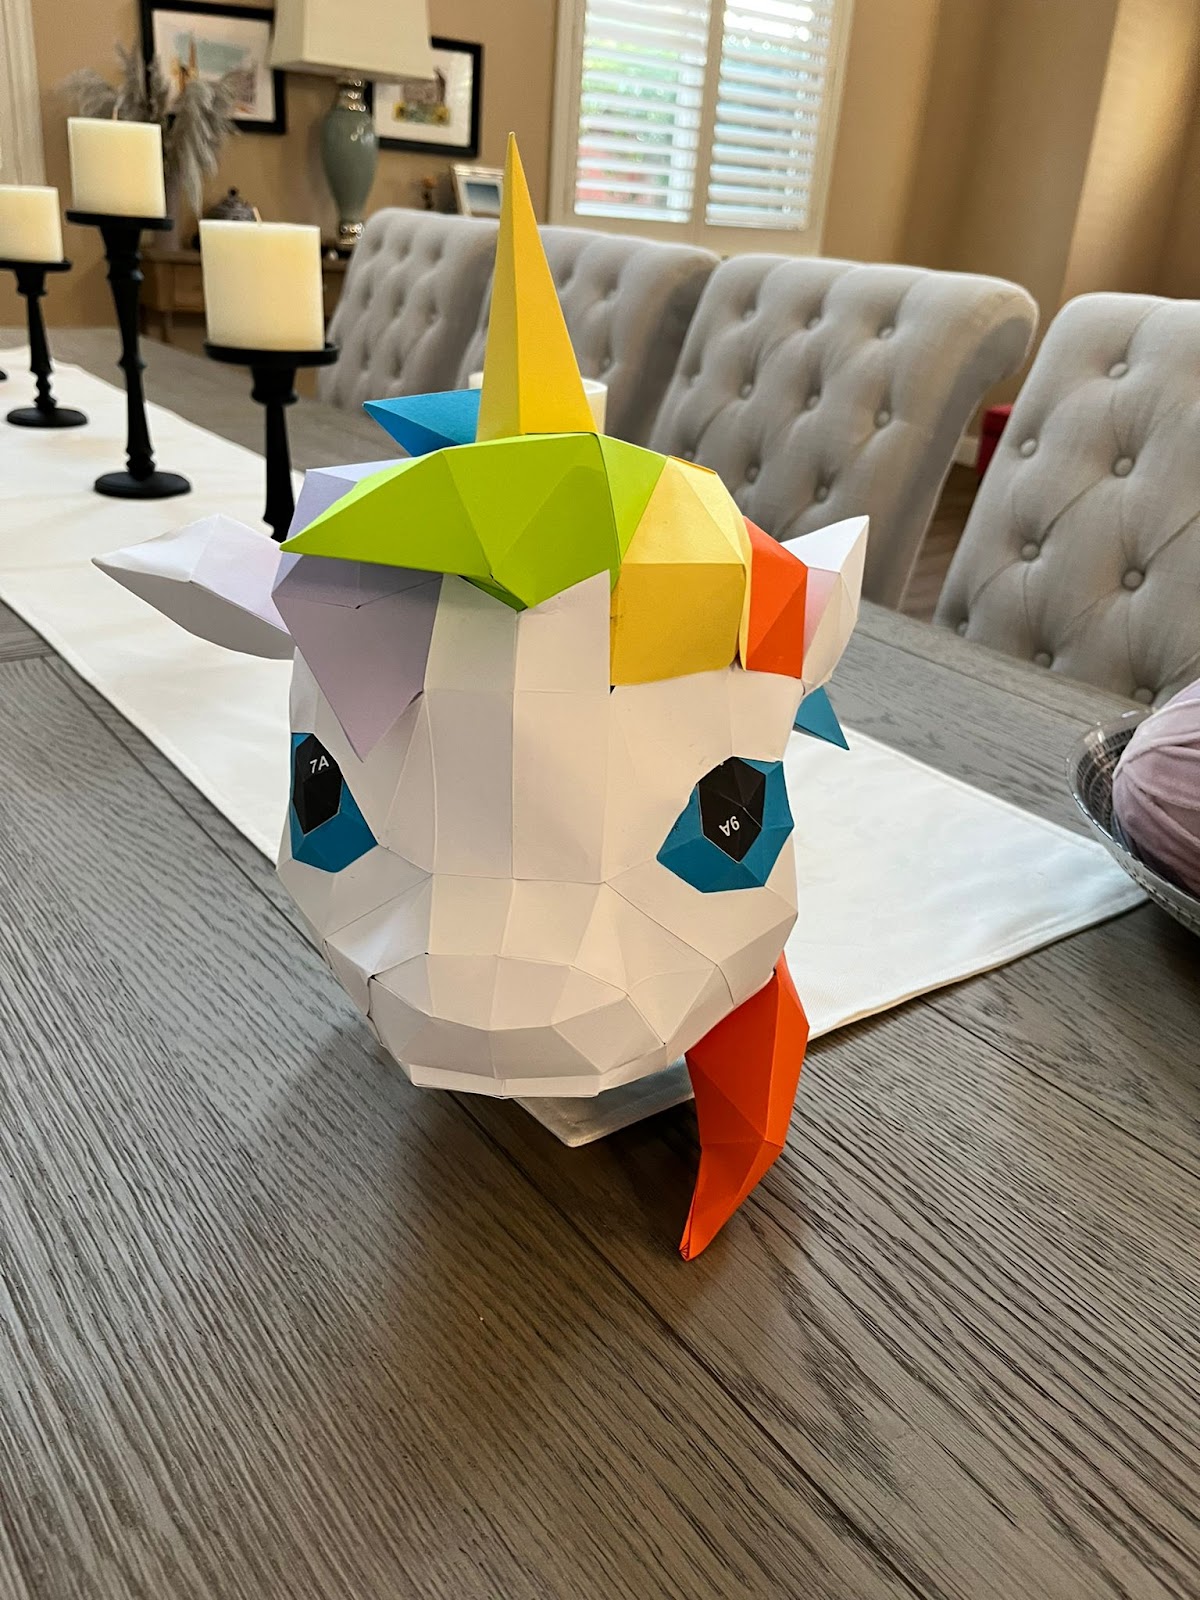
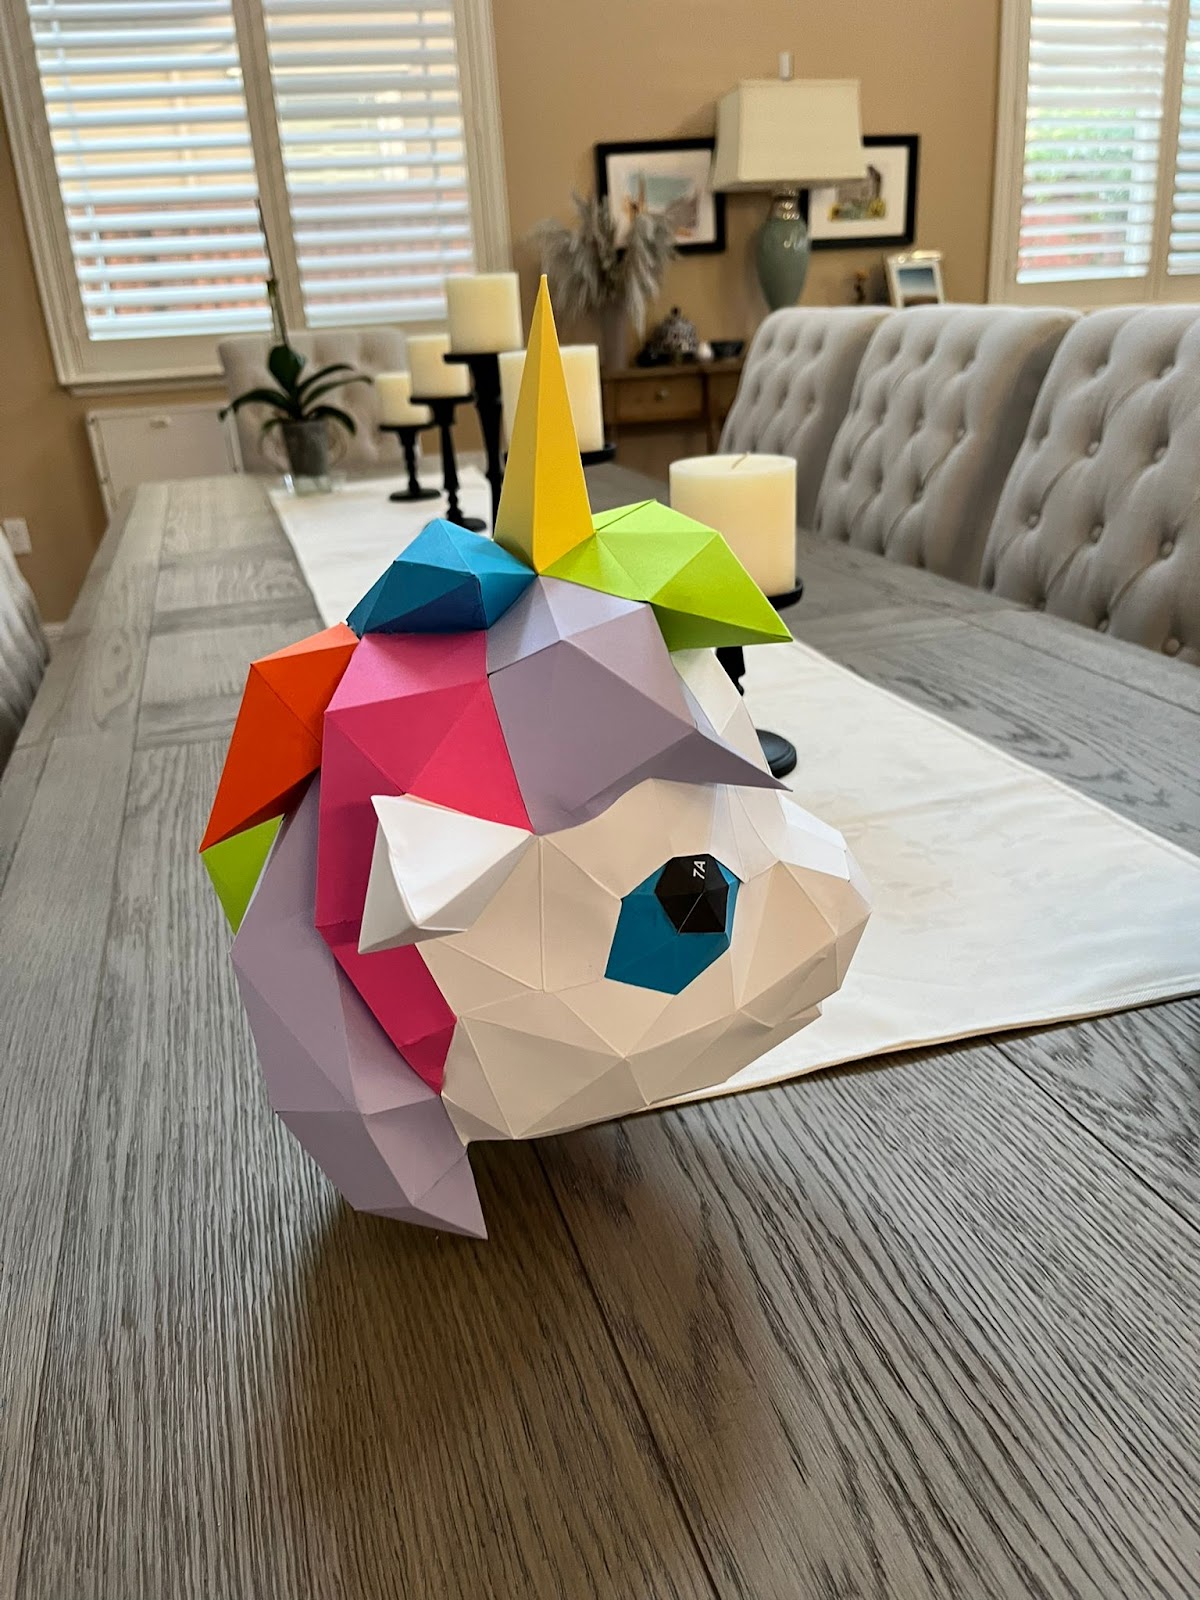
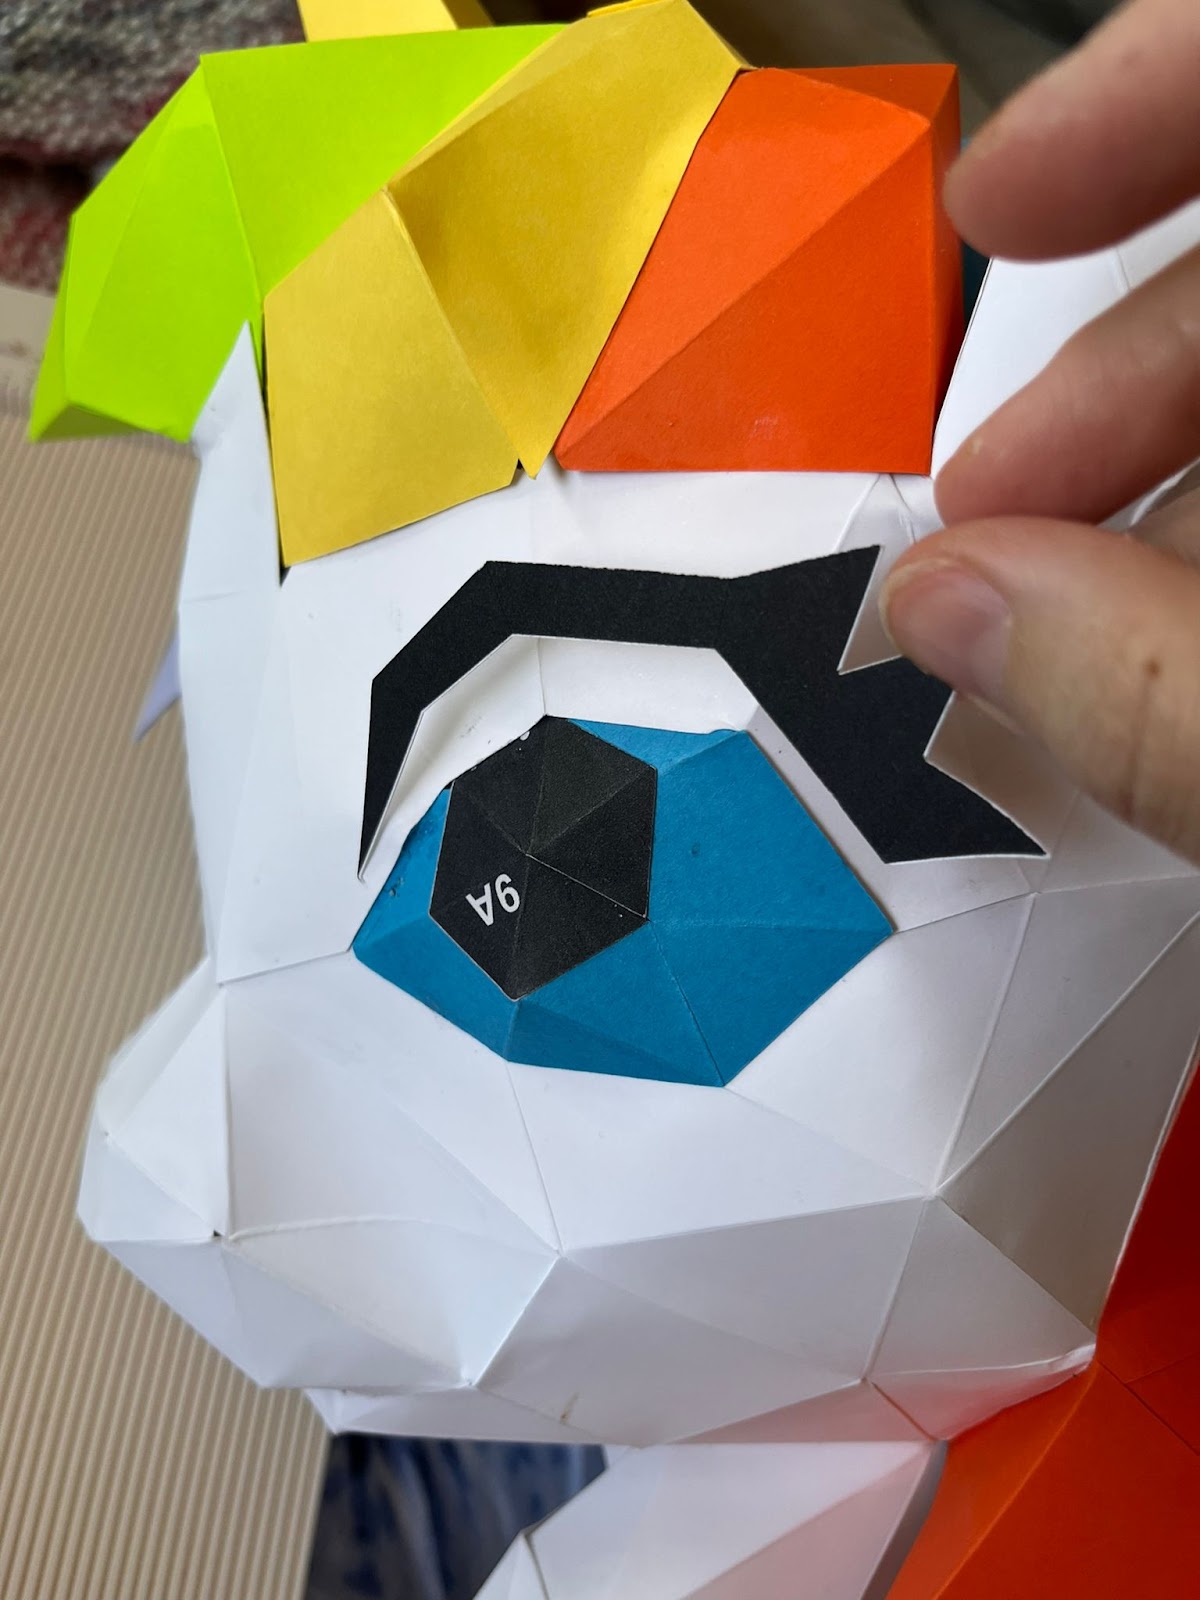
The complete head should be shown like:

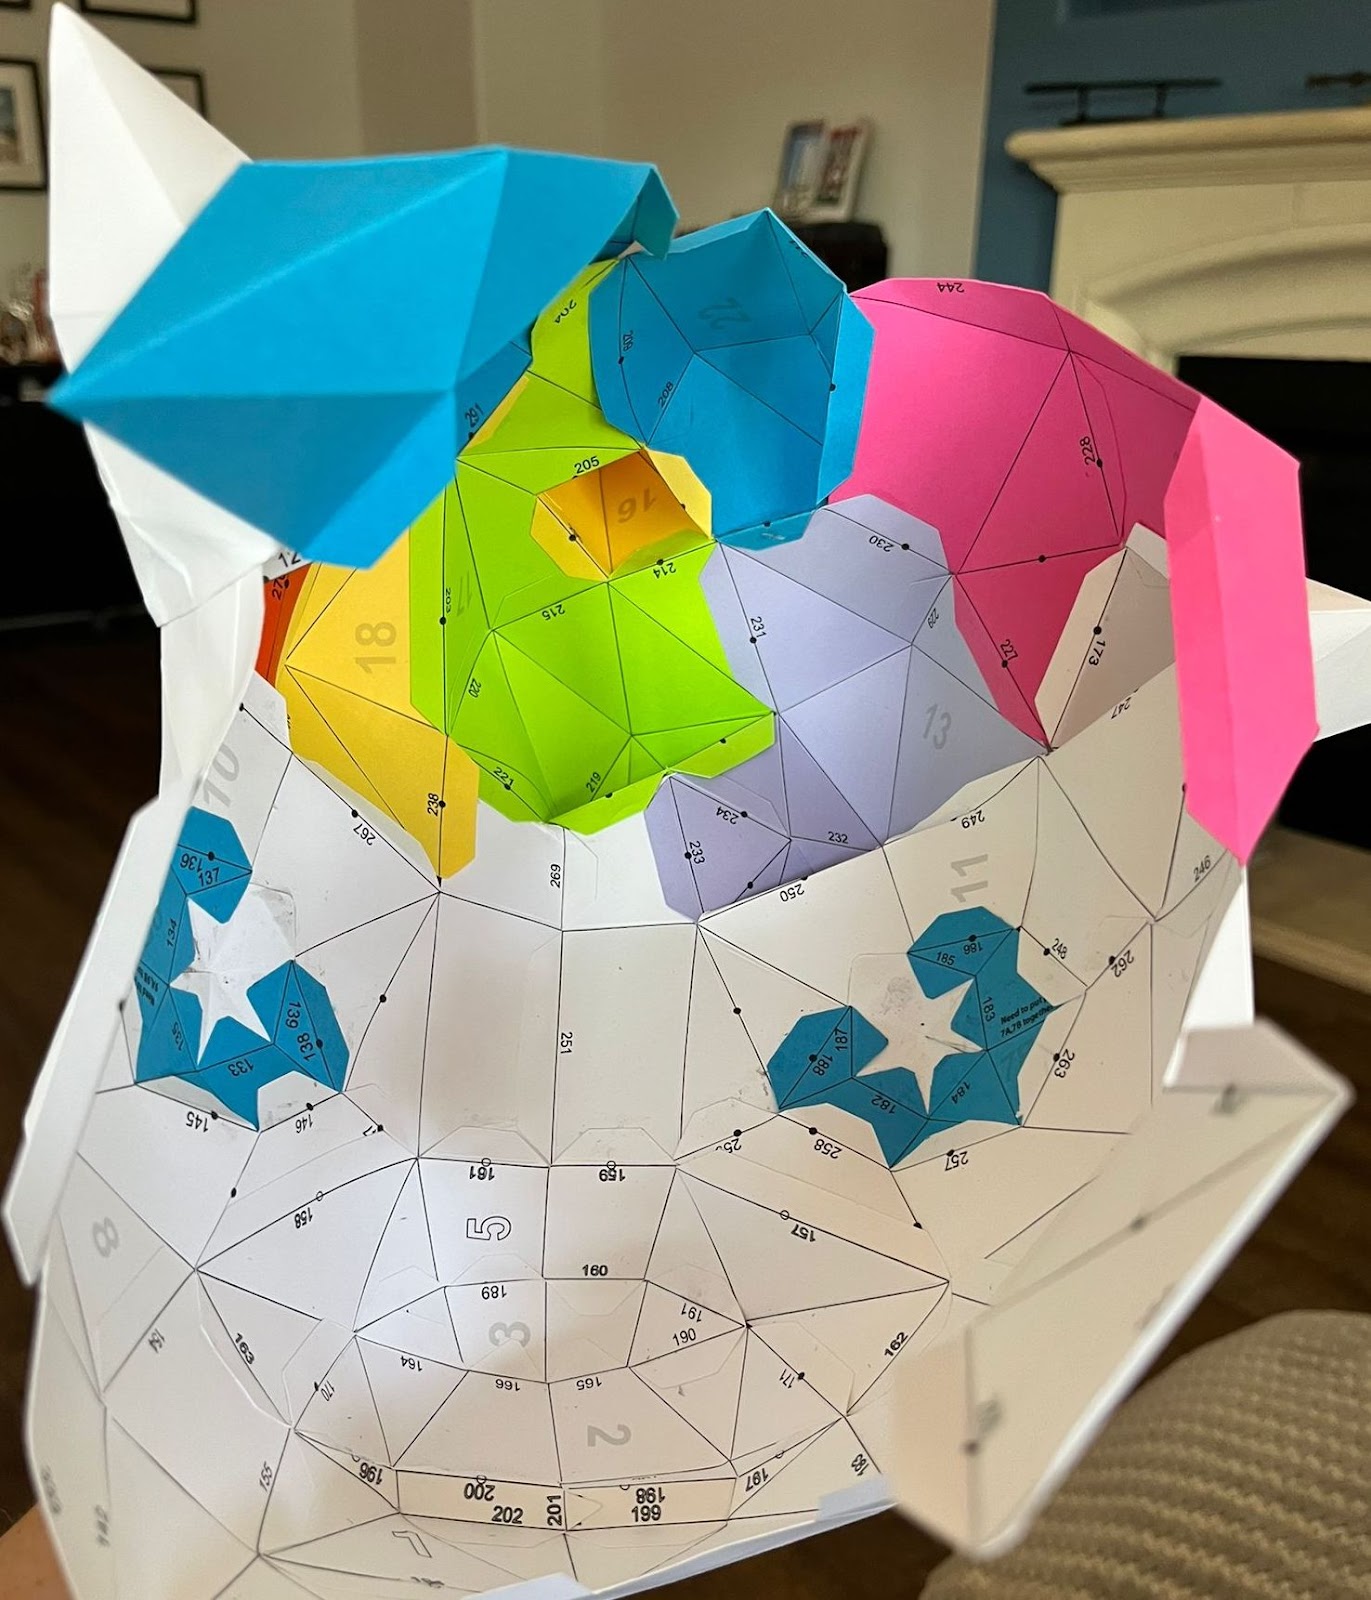
💡Tip: The neck is one of the most complicated part, so we suggest you to open the pieces in Design Space to check the numbers associated to each piece as needed.
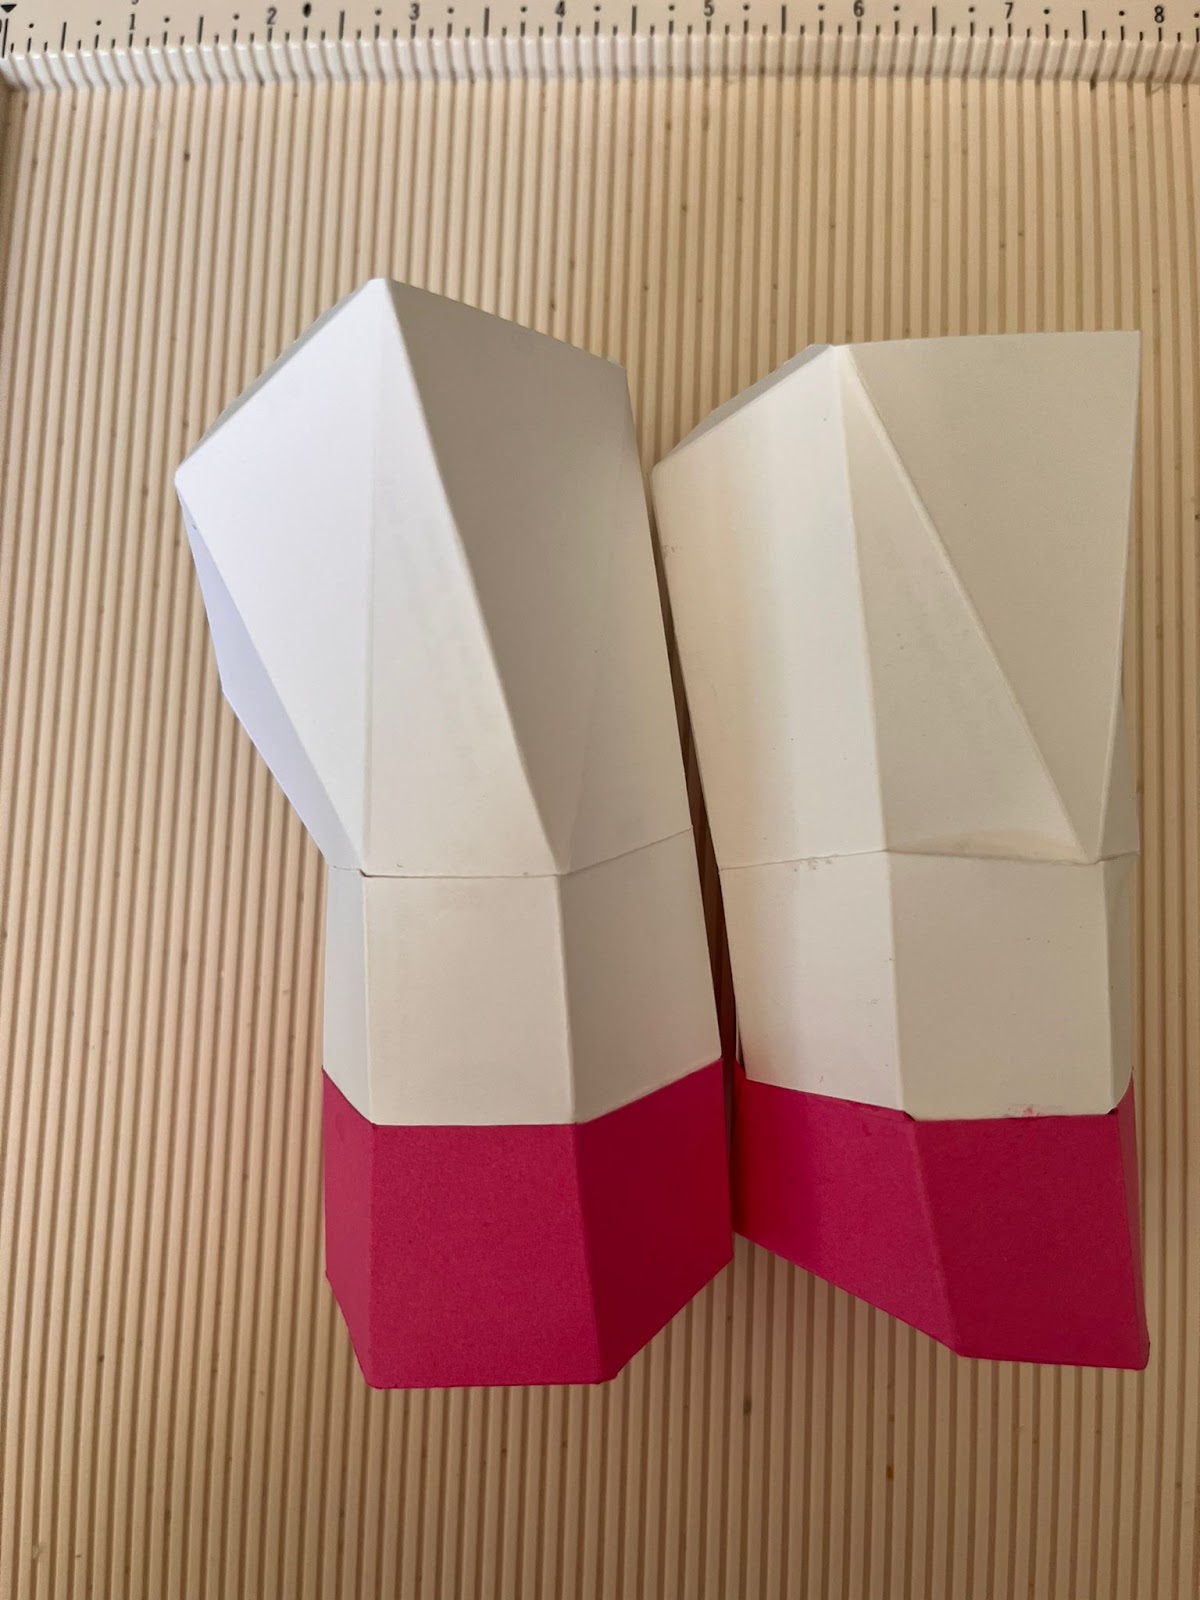
💡Tip: Remember to follow the instructions about the pieces that needs to be assembled together like the 4 legs:
After adding the front legs, your unicorn should be shown like:
The back before adding the back legs:
Back Legs:
After adding the back legs:
Almost there!!! We are going to assemble the whole tail before adding it to the body:
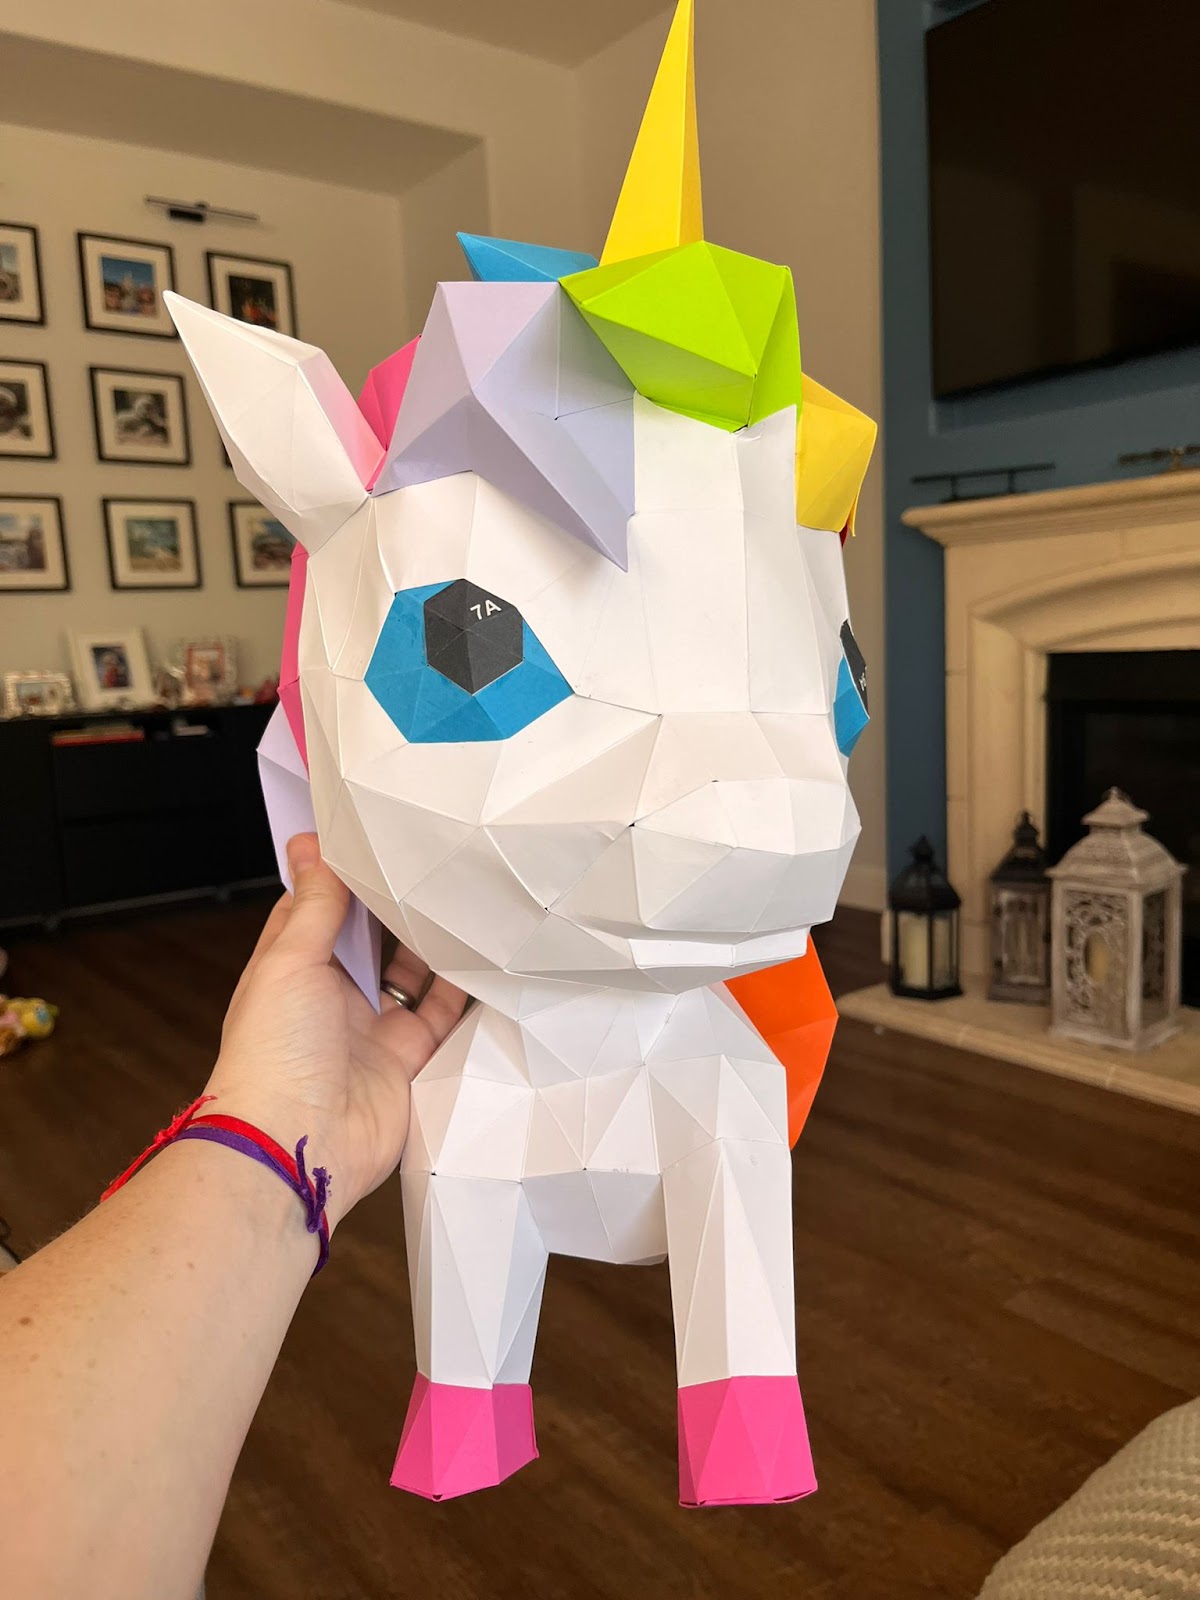
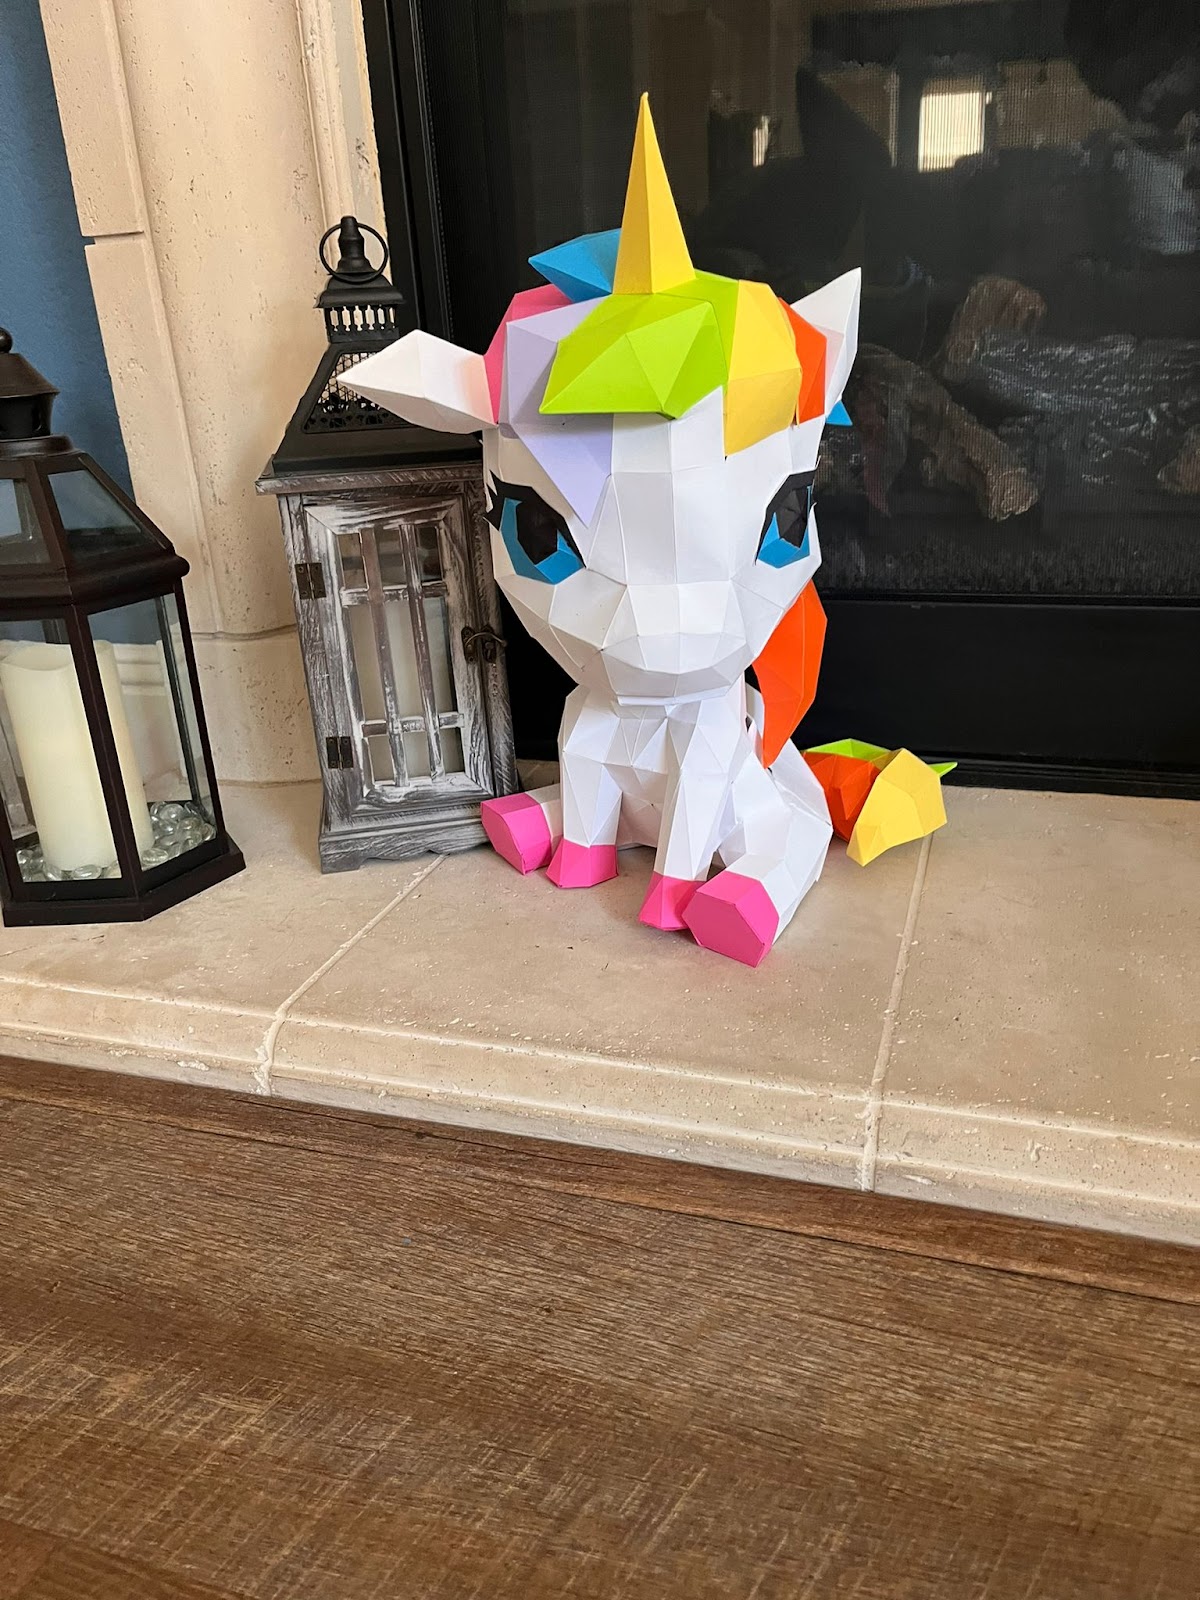
After adding the tale and the base.. You are ready to add the Lashes!
AND YOU DID IT!!!! AMAZING WORK!!!!
In this tutorial, you are going to learn/practice the following skills:
- Print Then Cut
- Flatten
- Attach
- Assemble 3D cuts
- Score
- Change colors
- Upload images