After the cut is done you will be left with this:
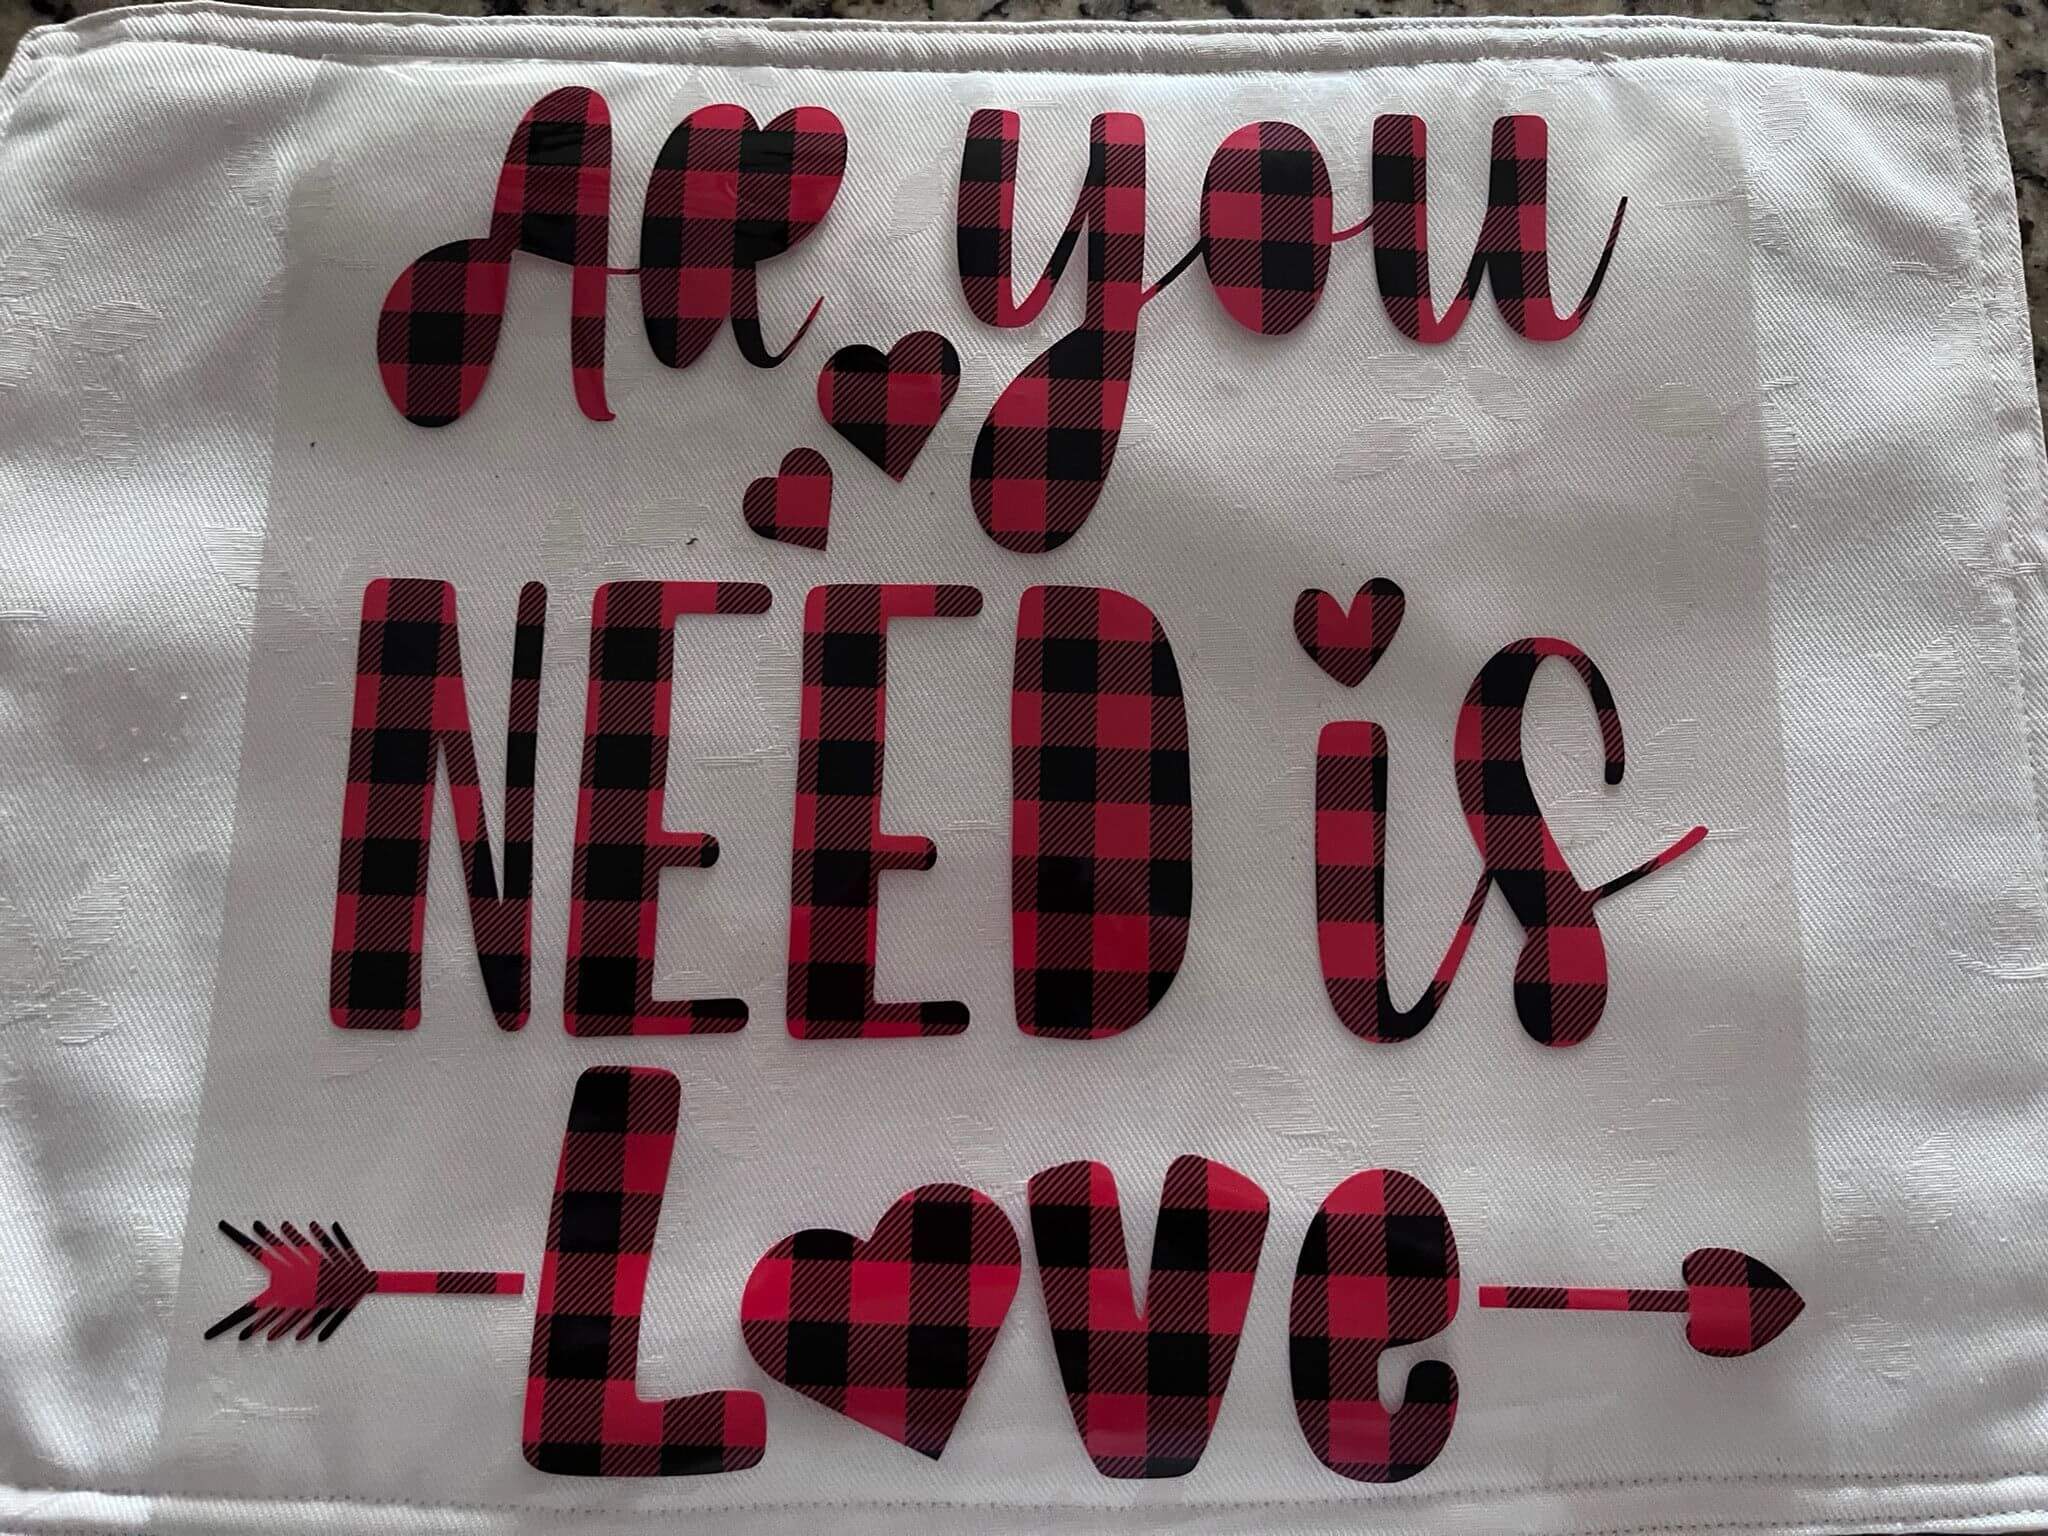
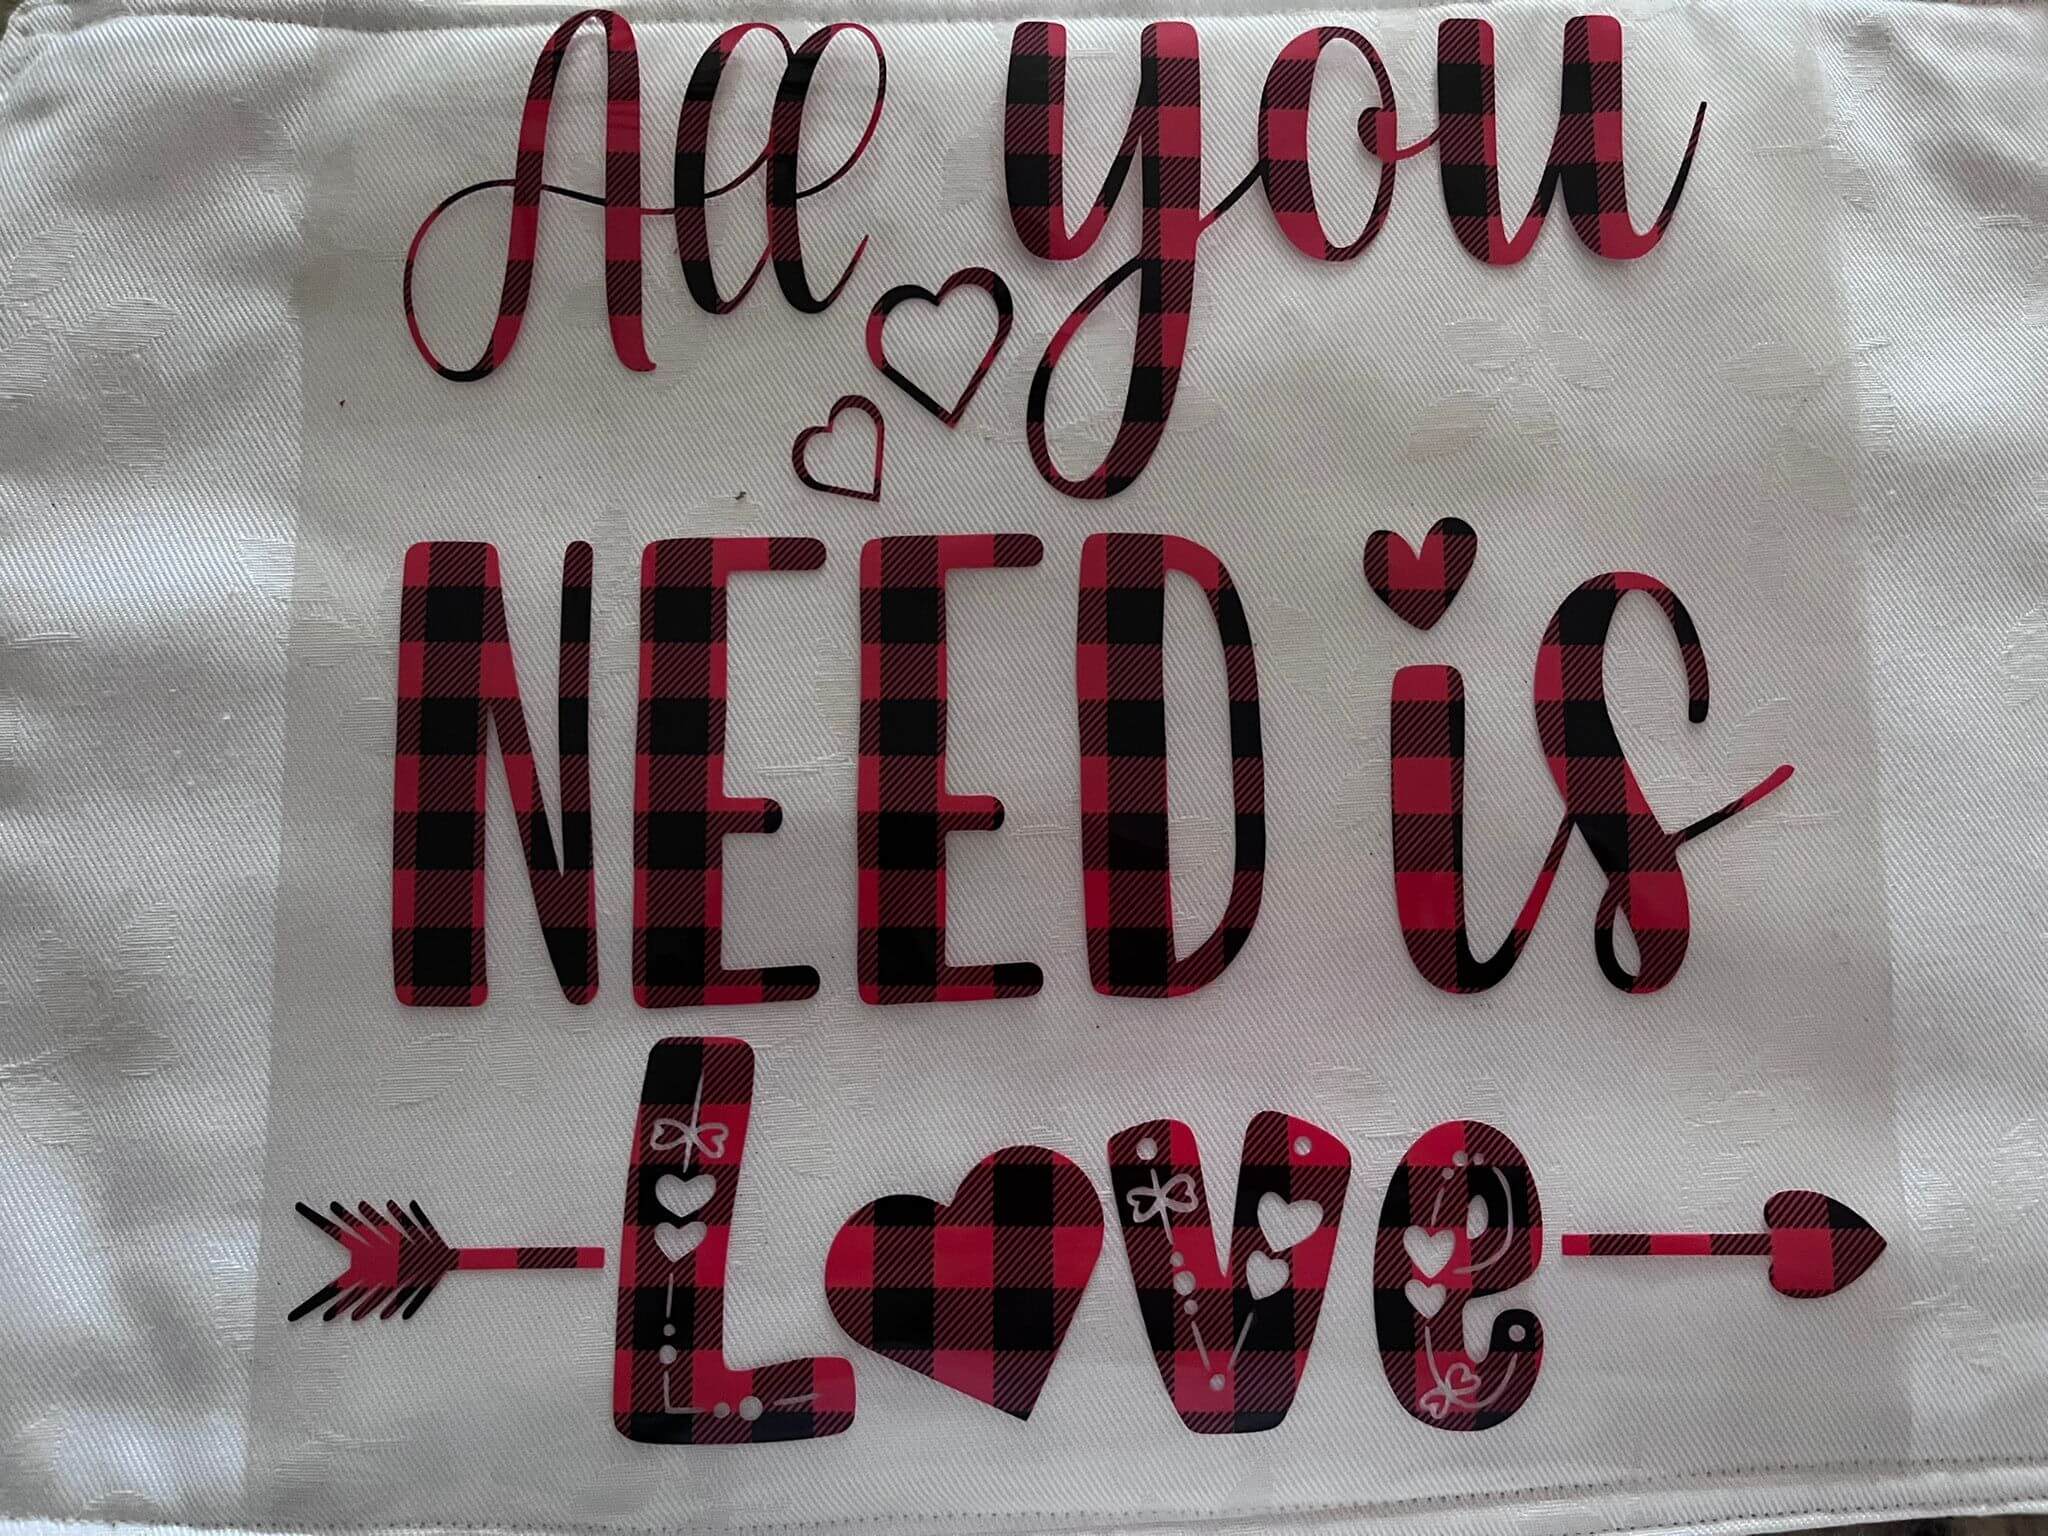
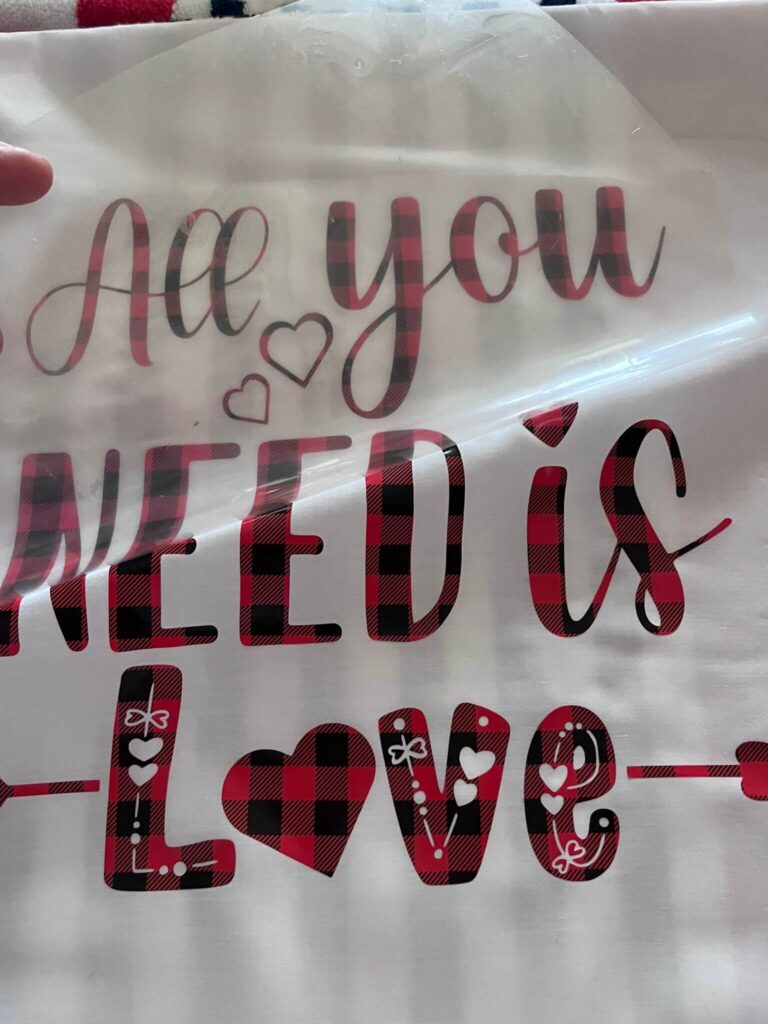
1-Proceed to weed the HTV so you’re left with this:
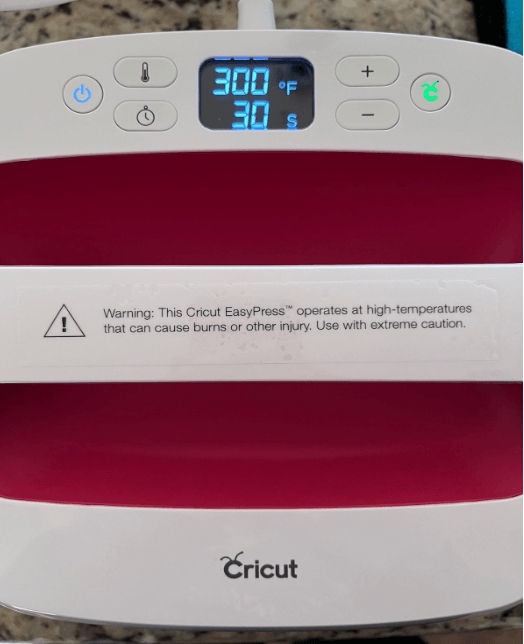
3- Now we are READY to start ironing/pressing our design into the pillow. We are going to use the Easy Press with the following settings:
- Temperature: 300 F
- Time: 30 Seconds
4-When the easy press is ready, we start with the pressing:
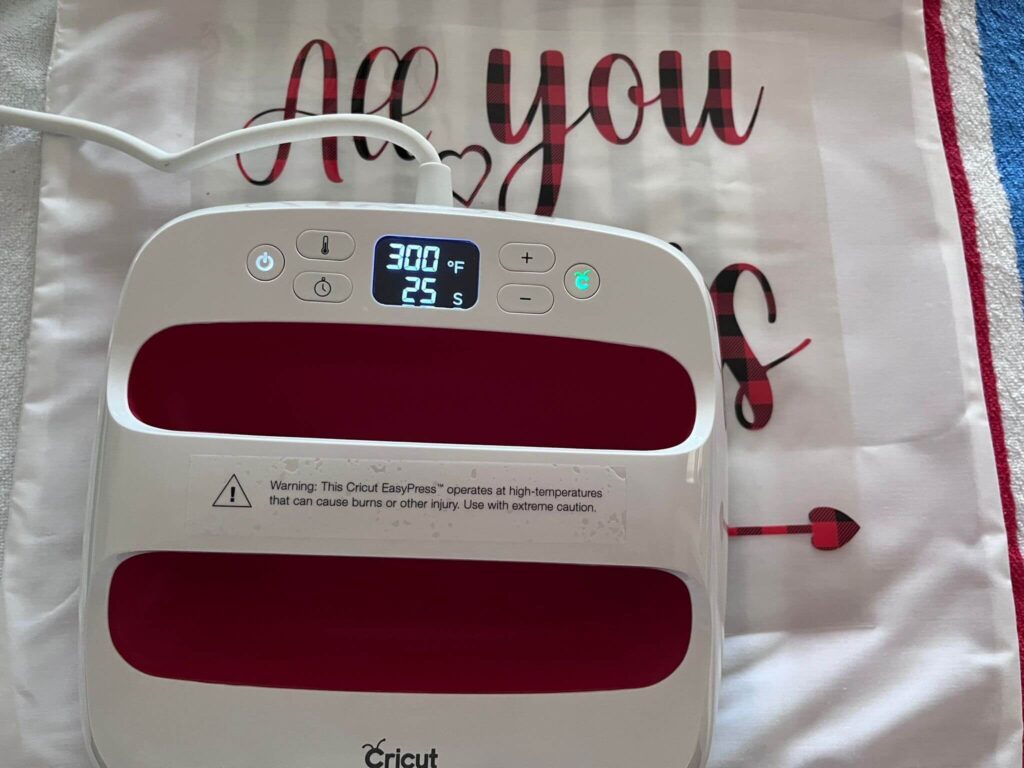
💡 Tip: In my case, since my design is bigger than my easy press, I have to apply the heat again on the bottom part of my design with the same configurations.
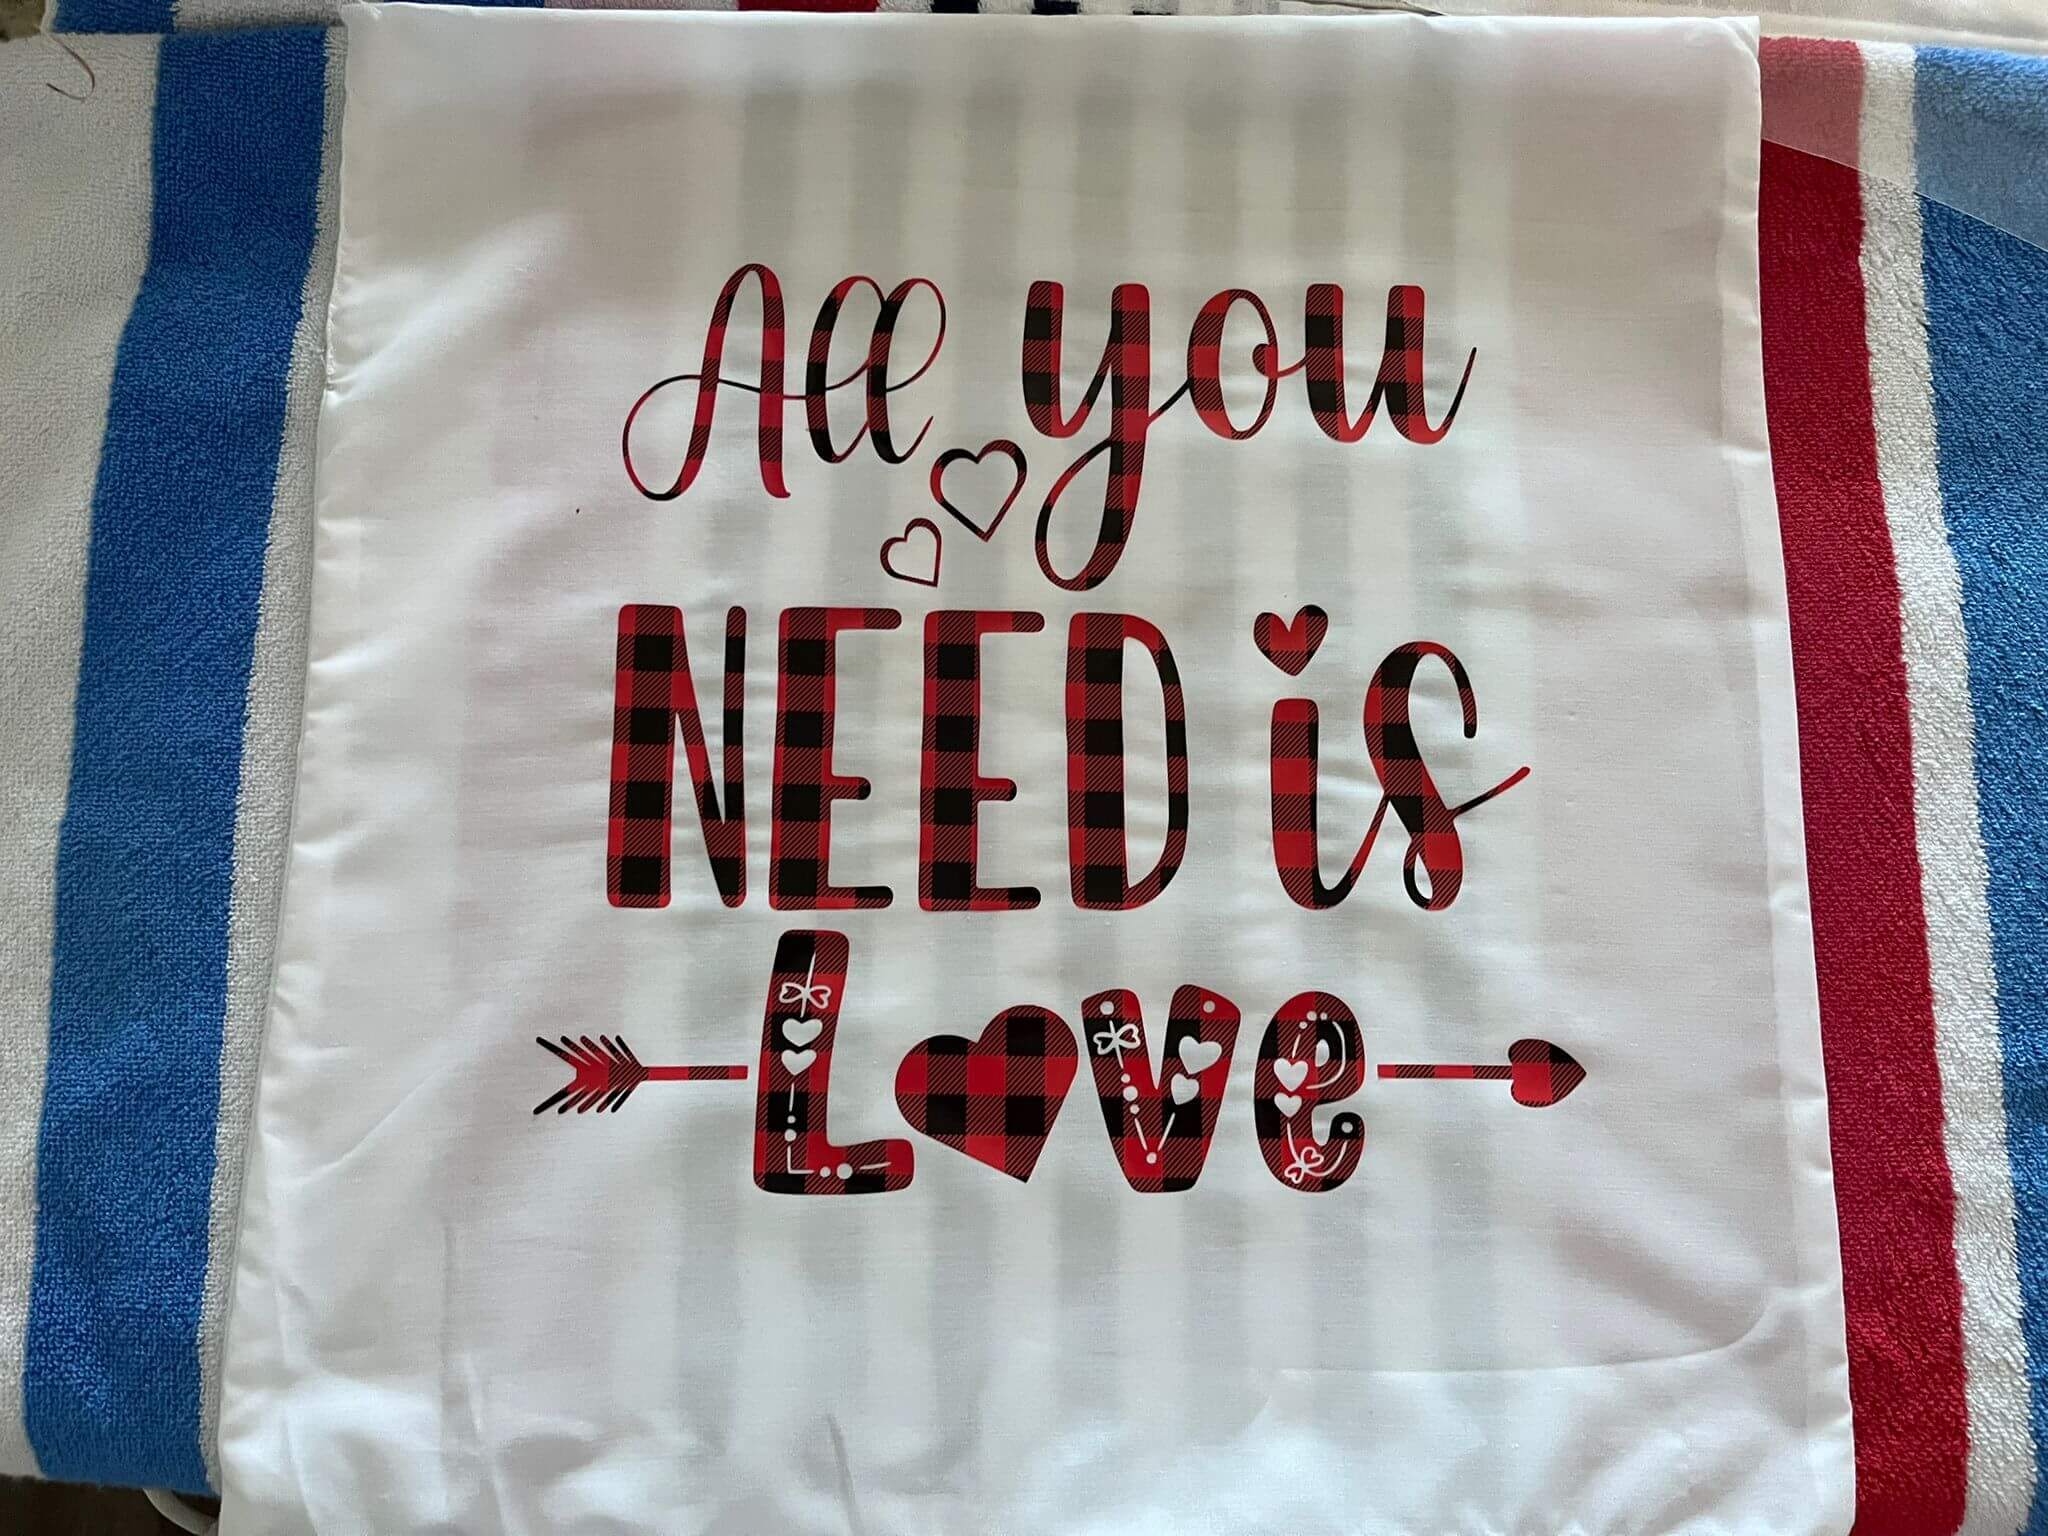
5- After the press is done, we are going to wait until the design is cool to peel the contact translucent paper:
6- And YOU DID IT! You have a beautiful Pillow!
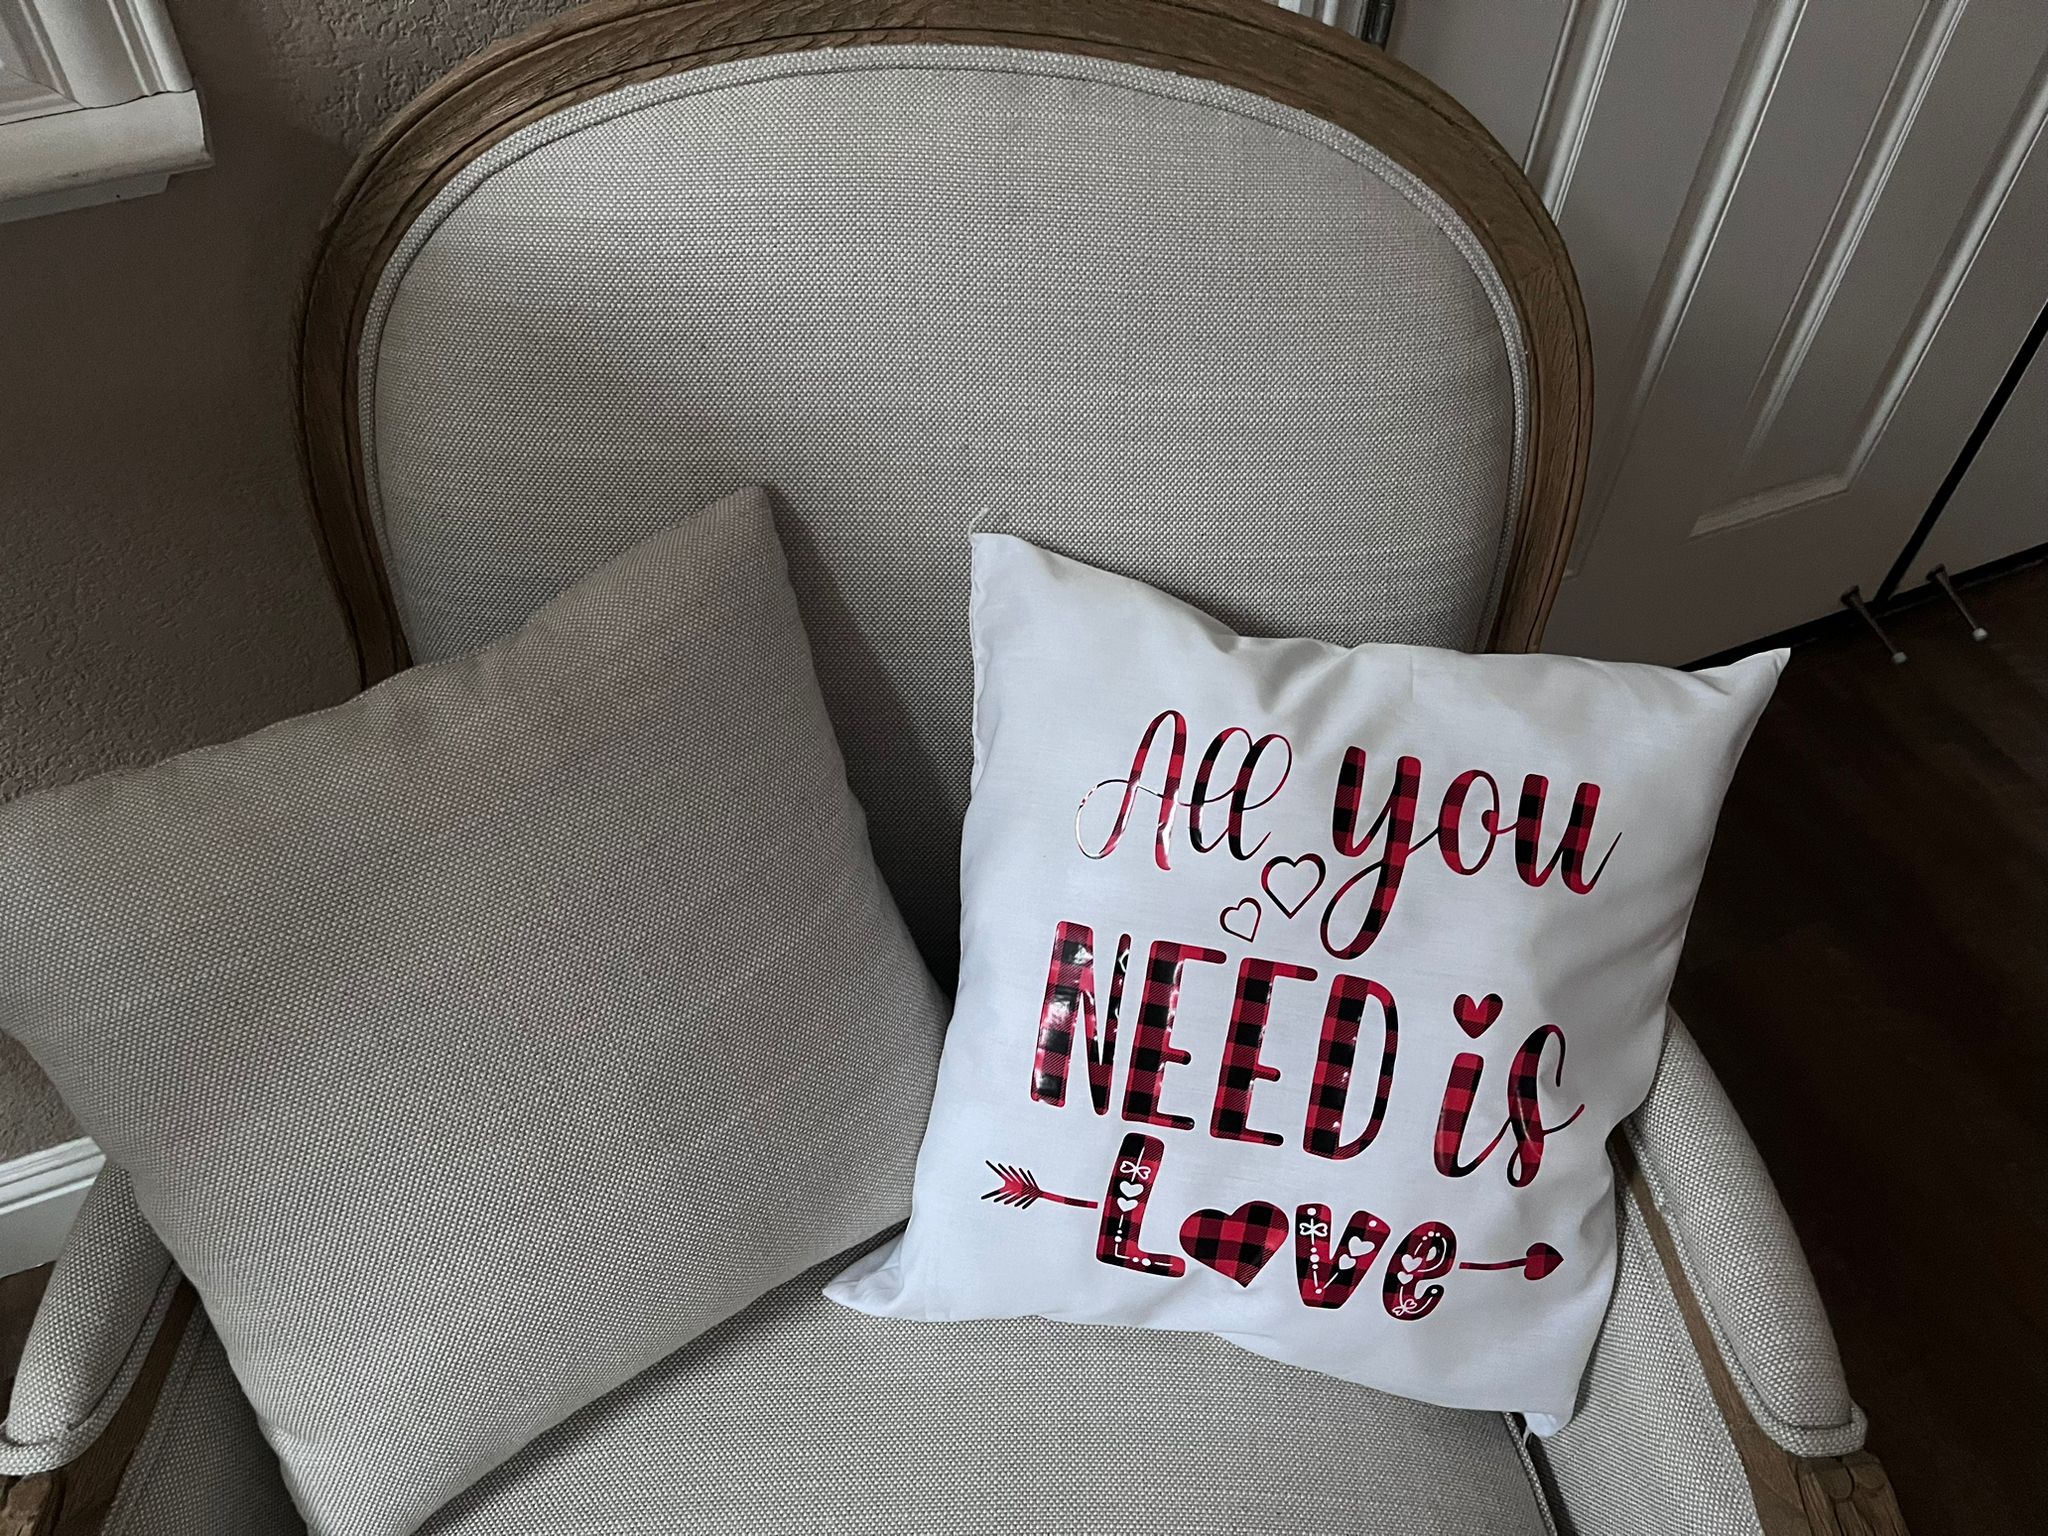
Congratulations! You’ve completed an intermediate-level project!