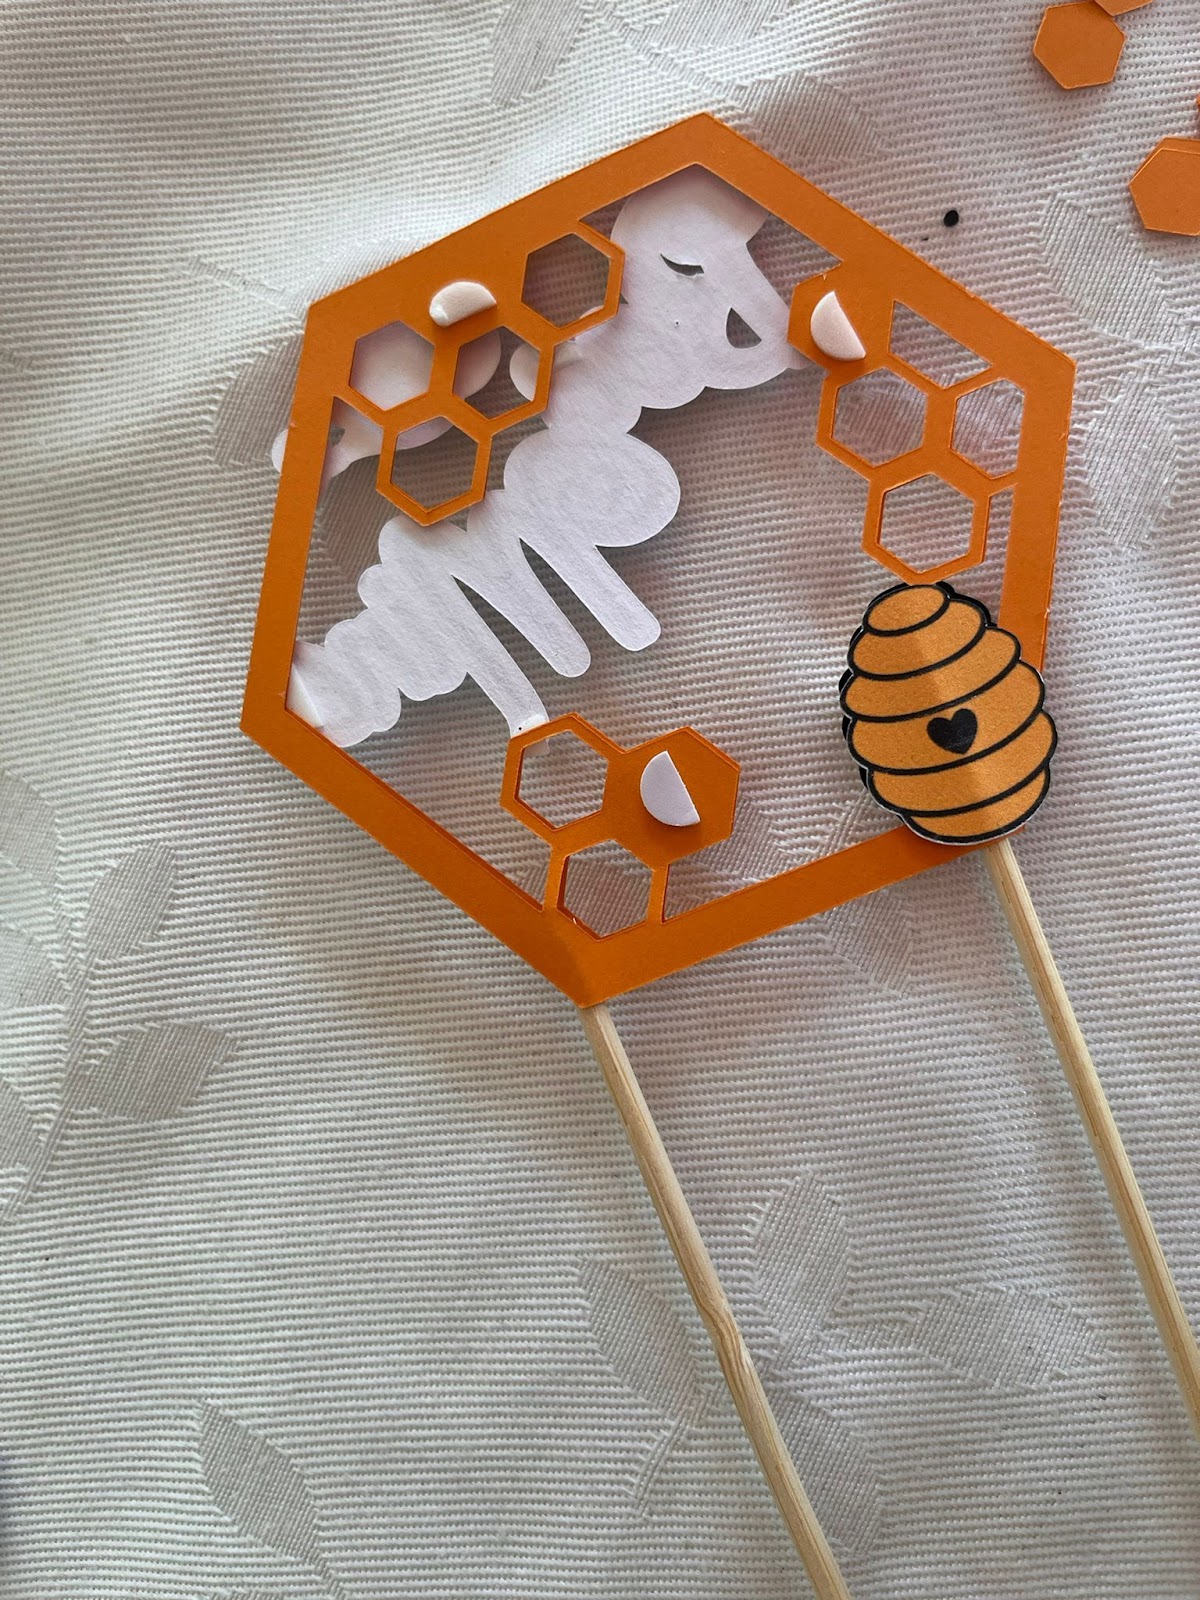
1: We are going to start by adding some foam dots (or middle dots in our case since the dots were too big) in some of the places in where we are going to attach the other element:

2: We are going to add some of the extra hexagons over the foam dots in order to have more a 3D design:
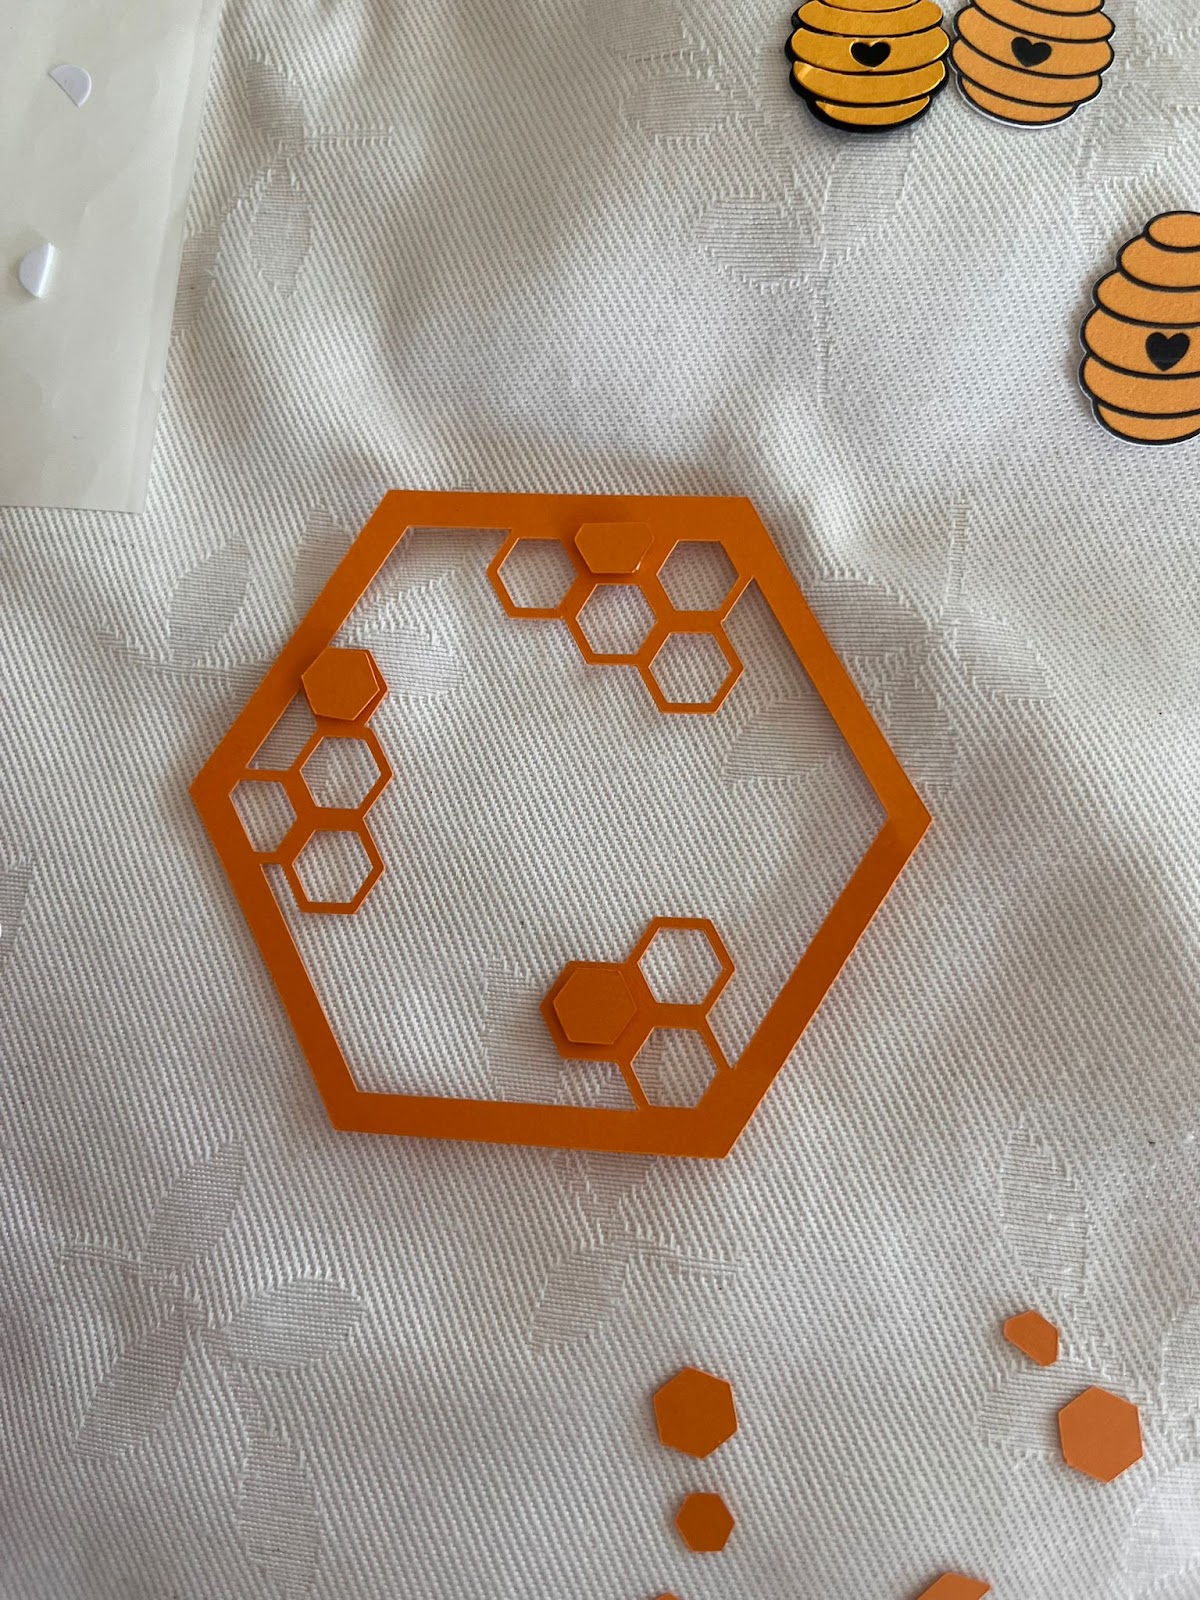
3: We are going to start adding the phrase, beehive and the bee:
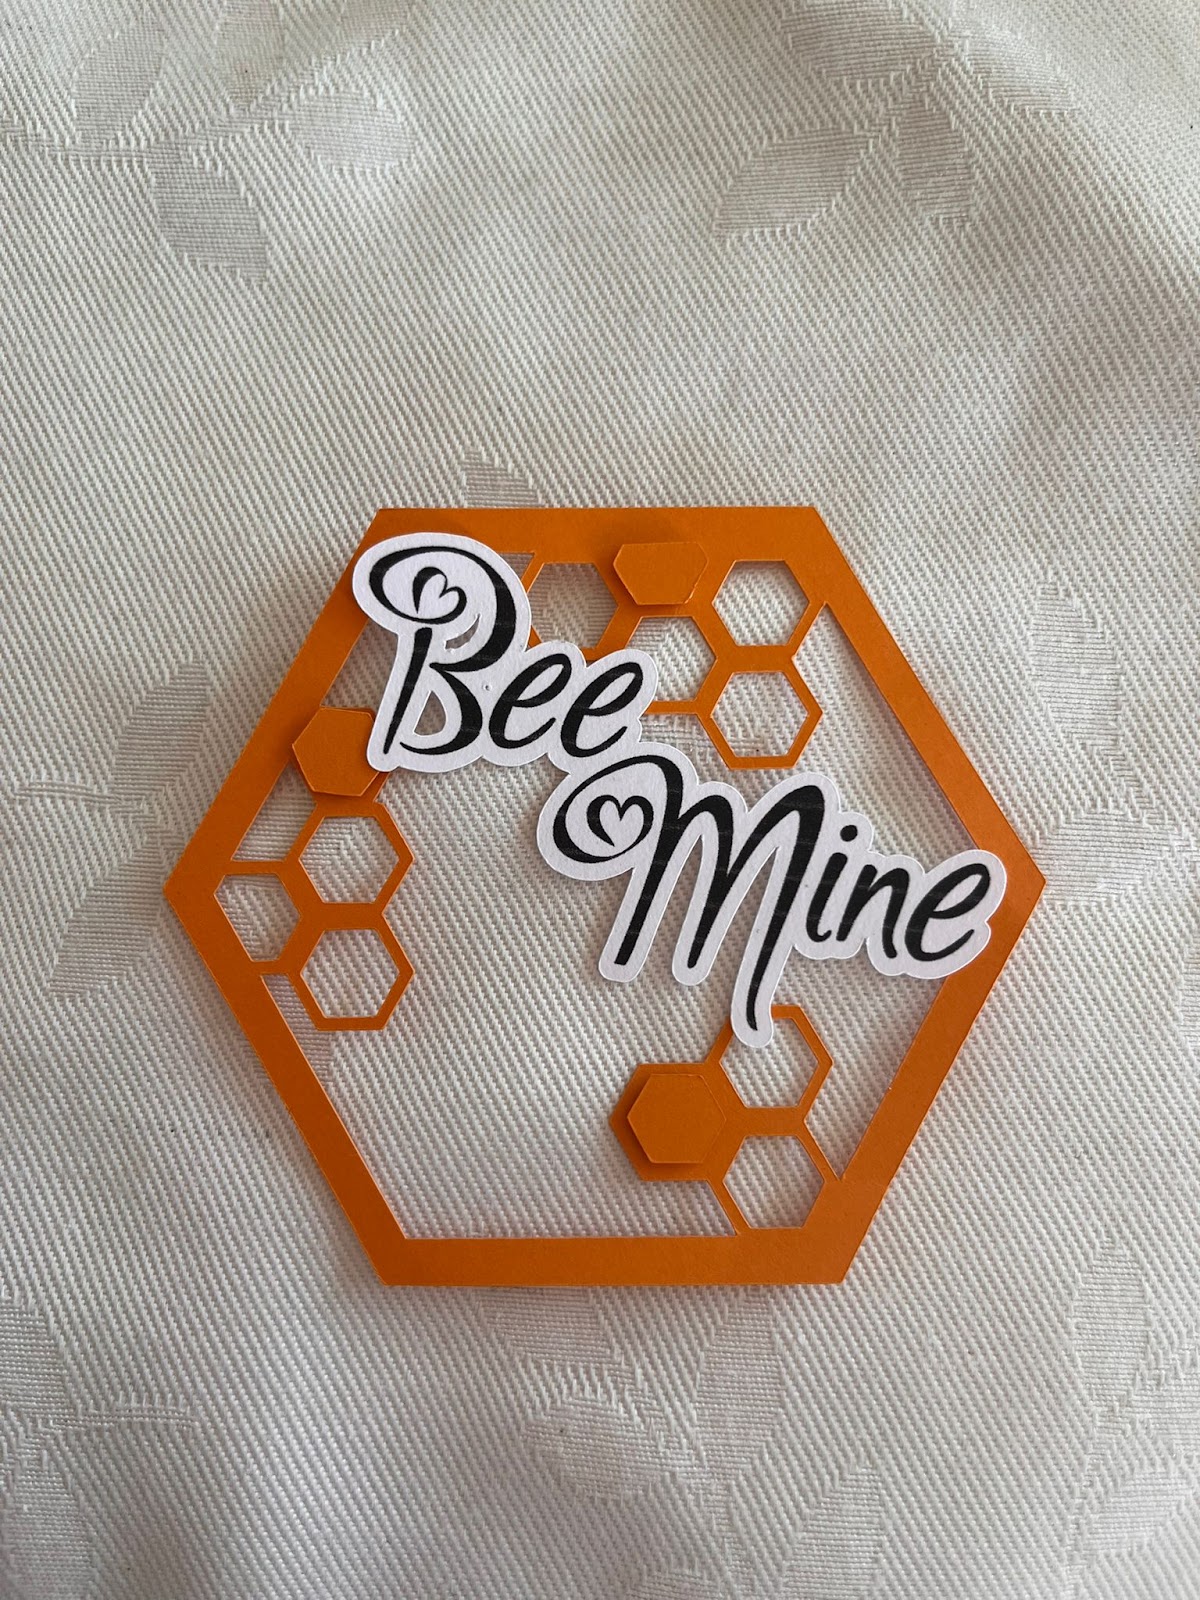
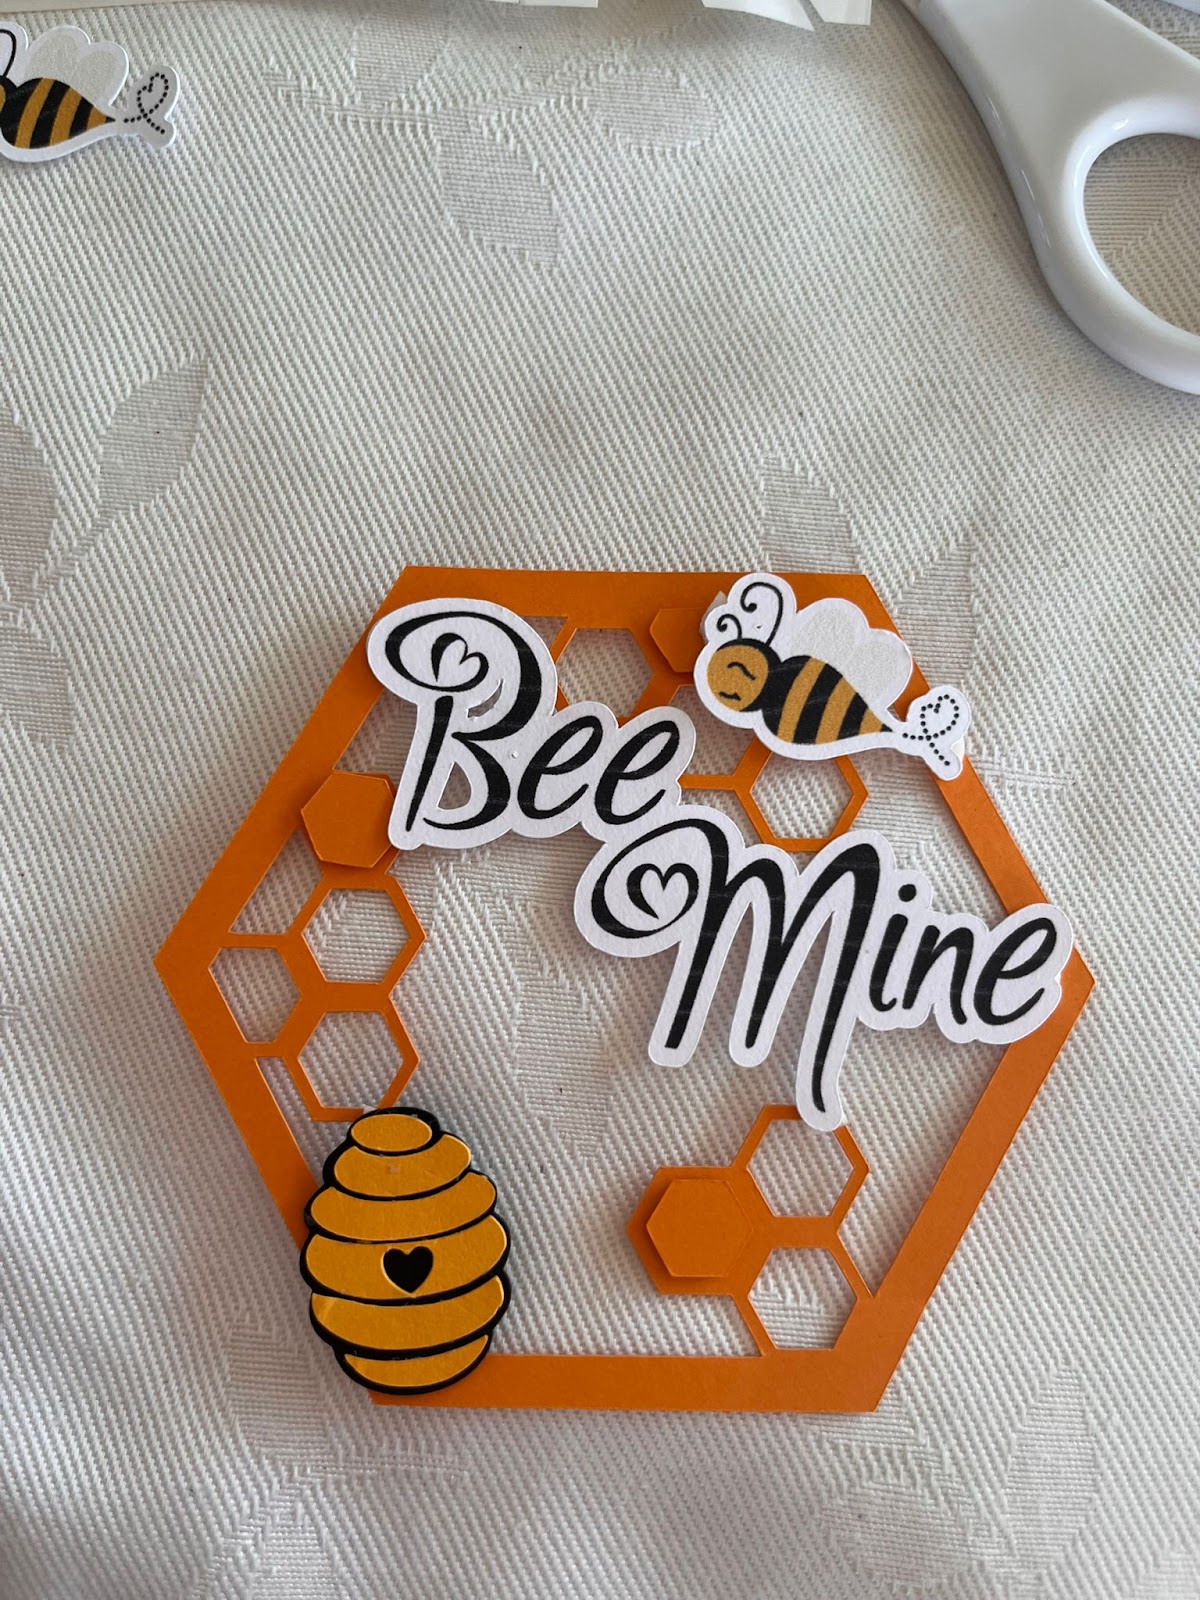
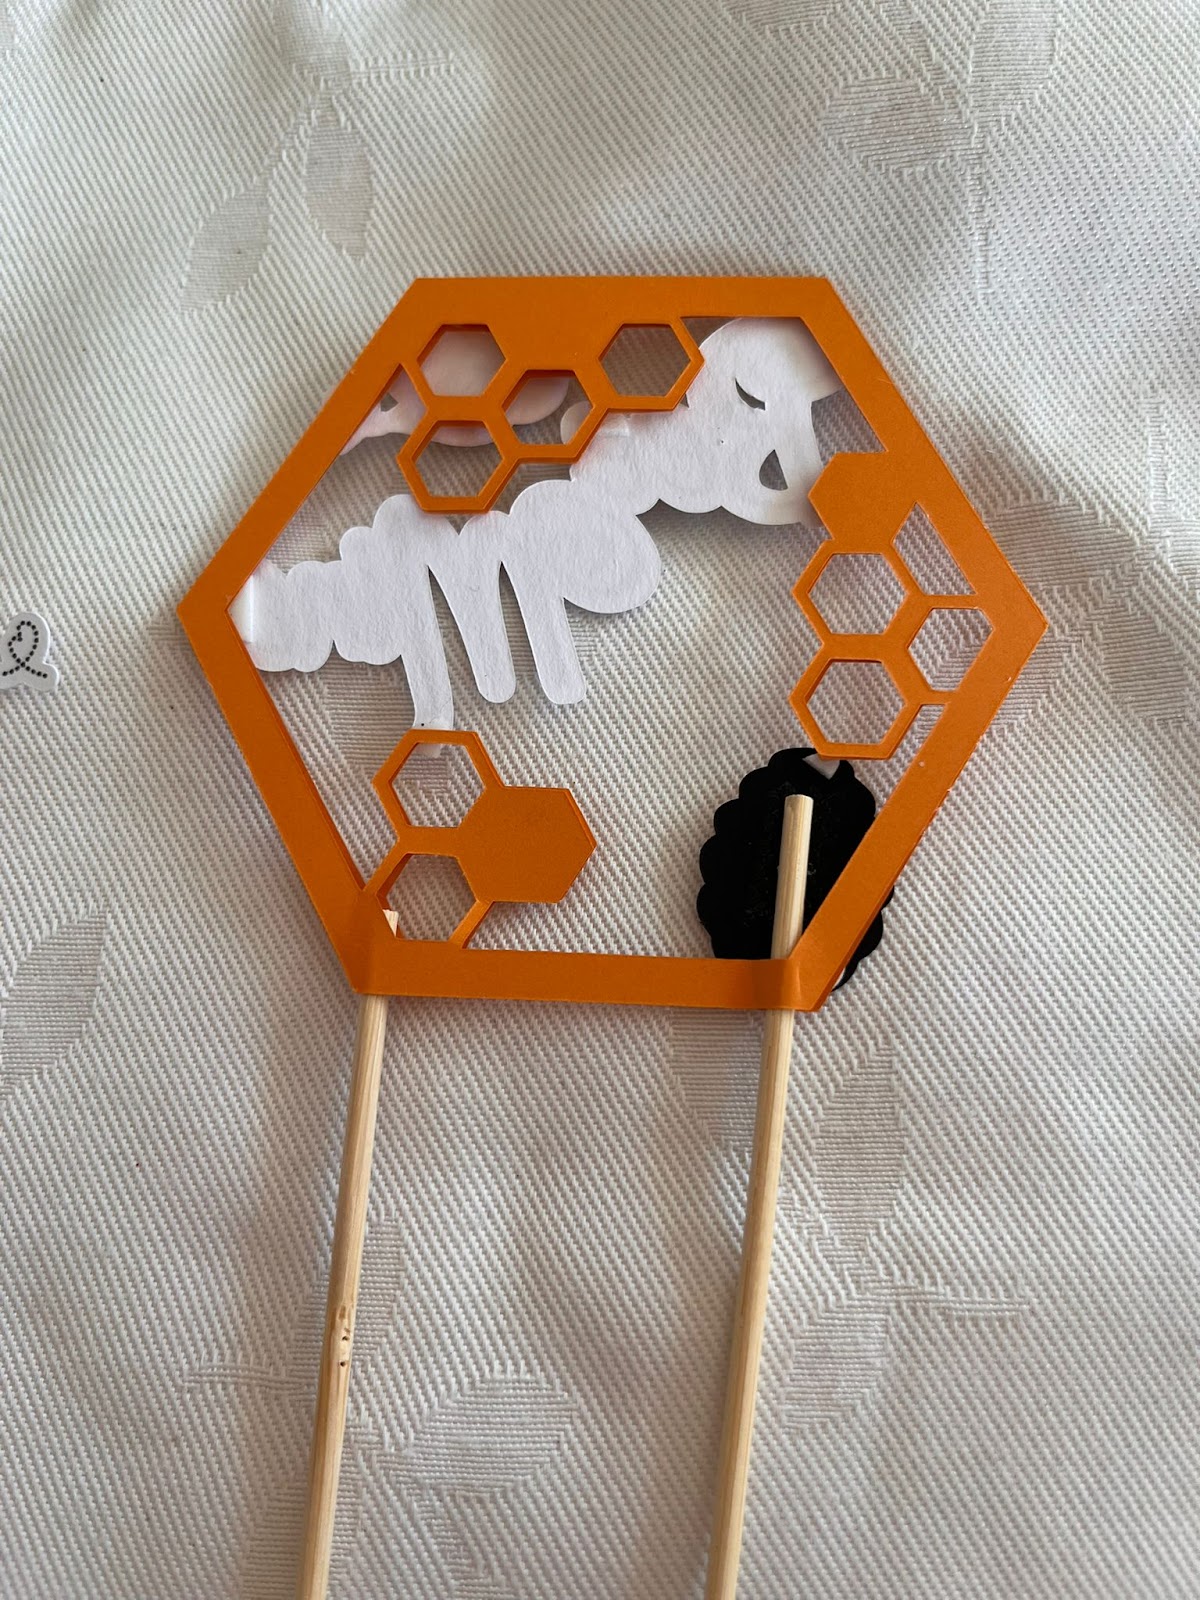
4: We are going to place the cake sticks in the back of the design. We are going to use glue to attach them:
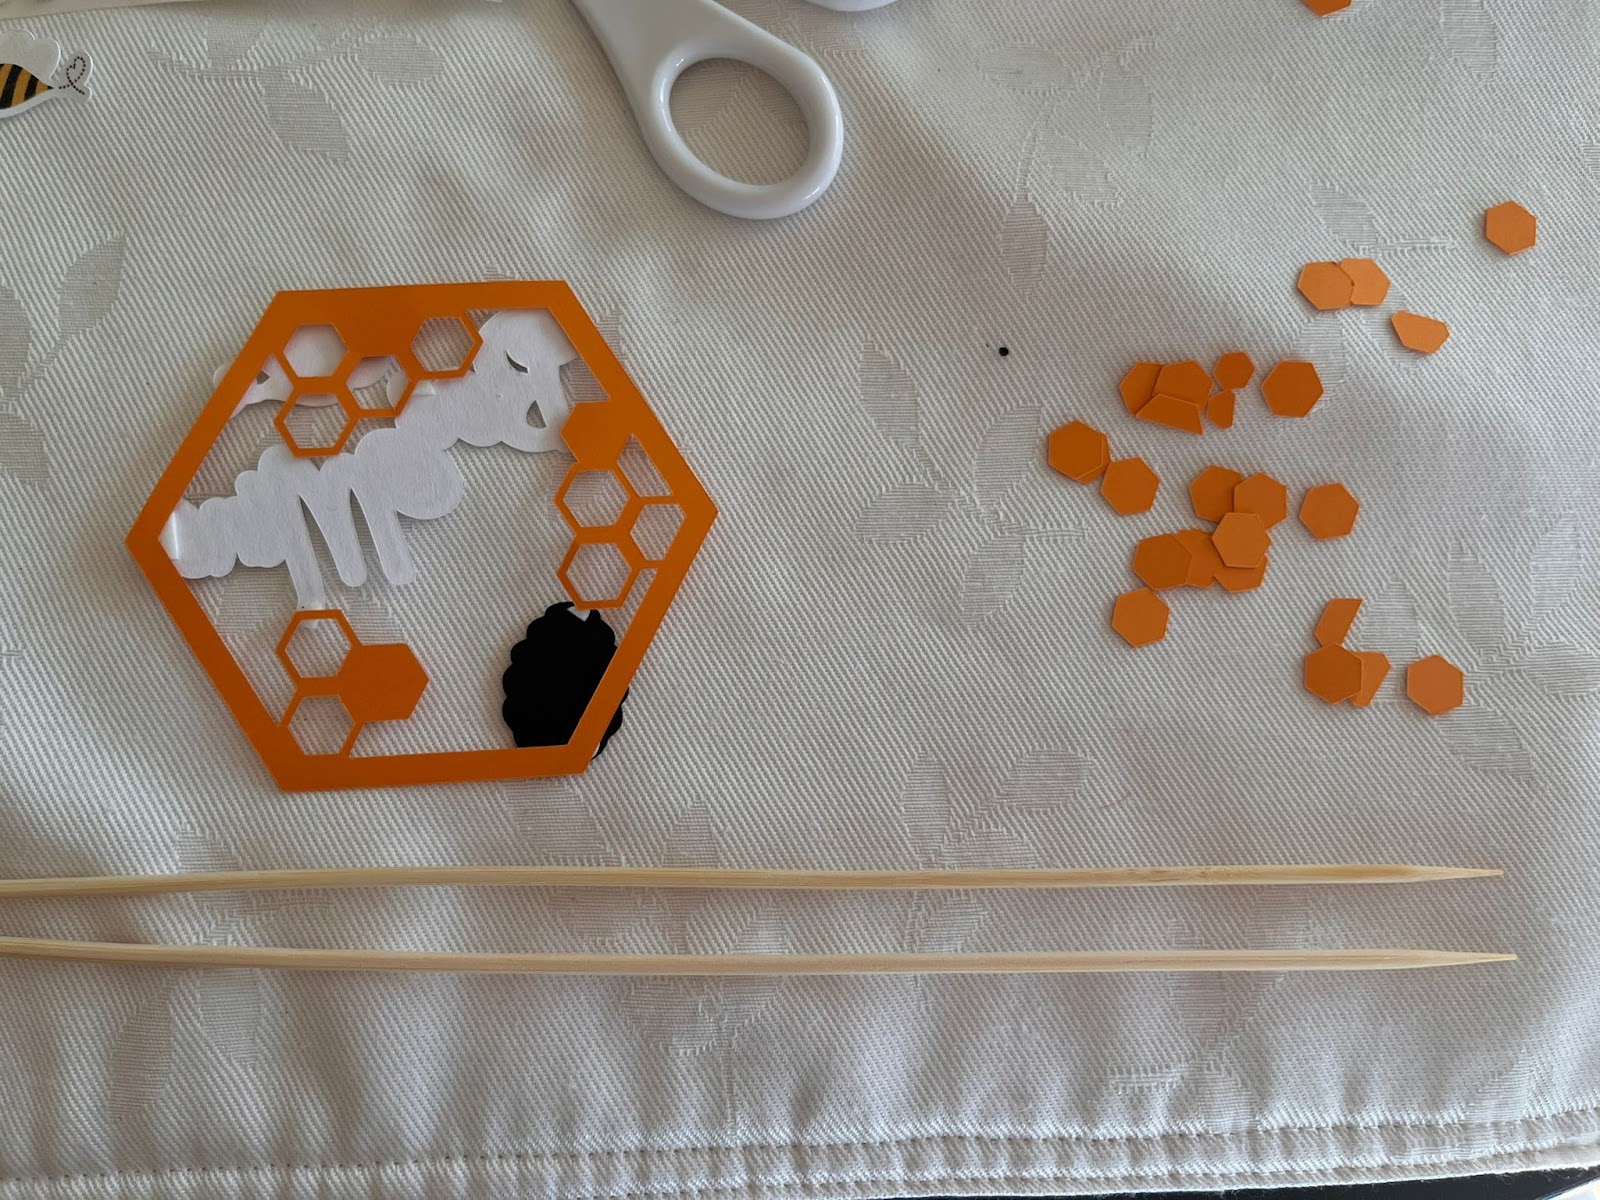
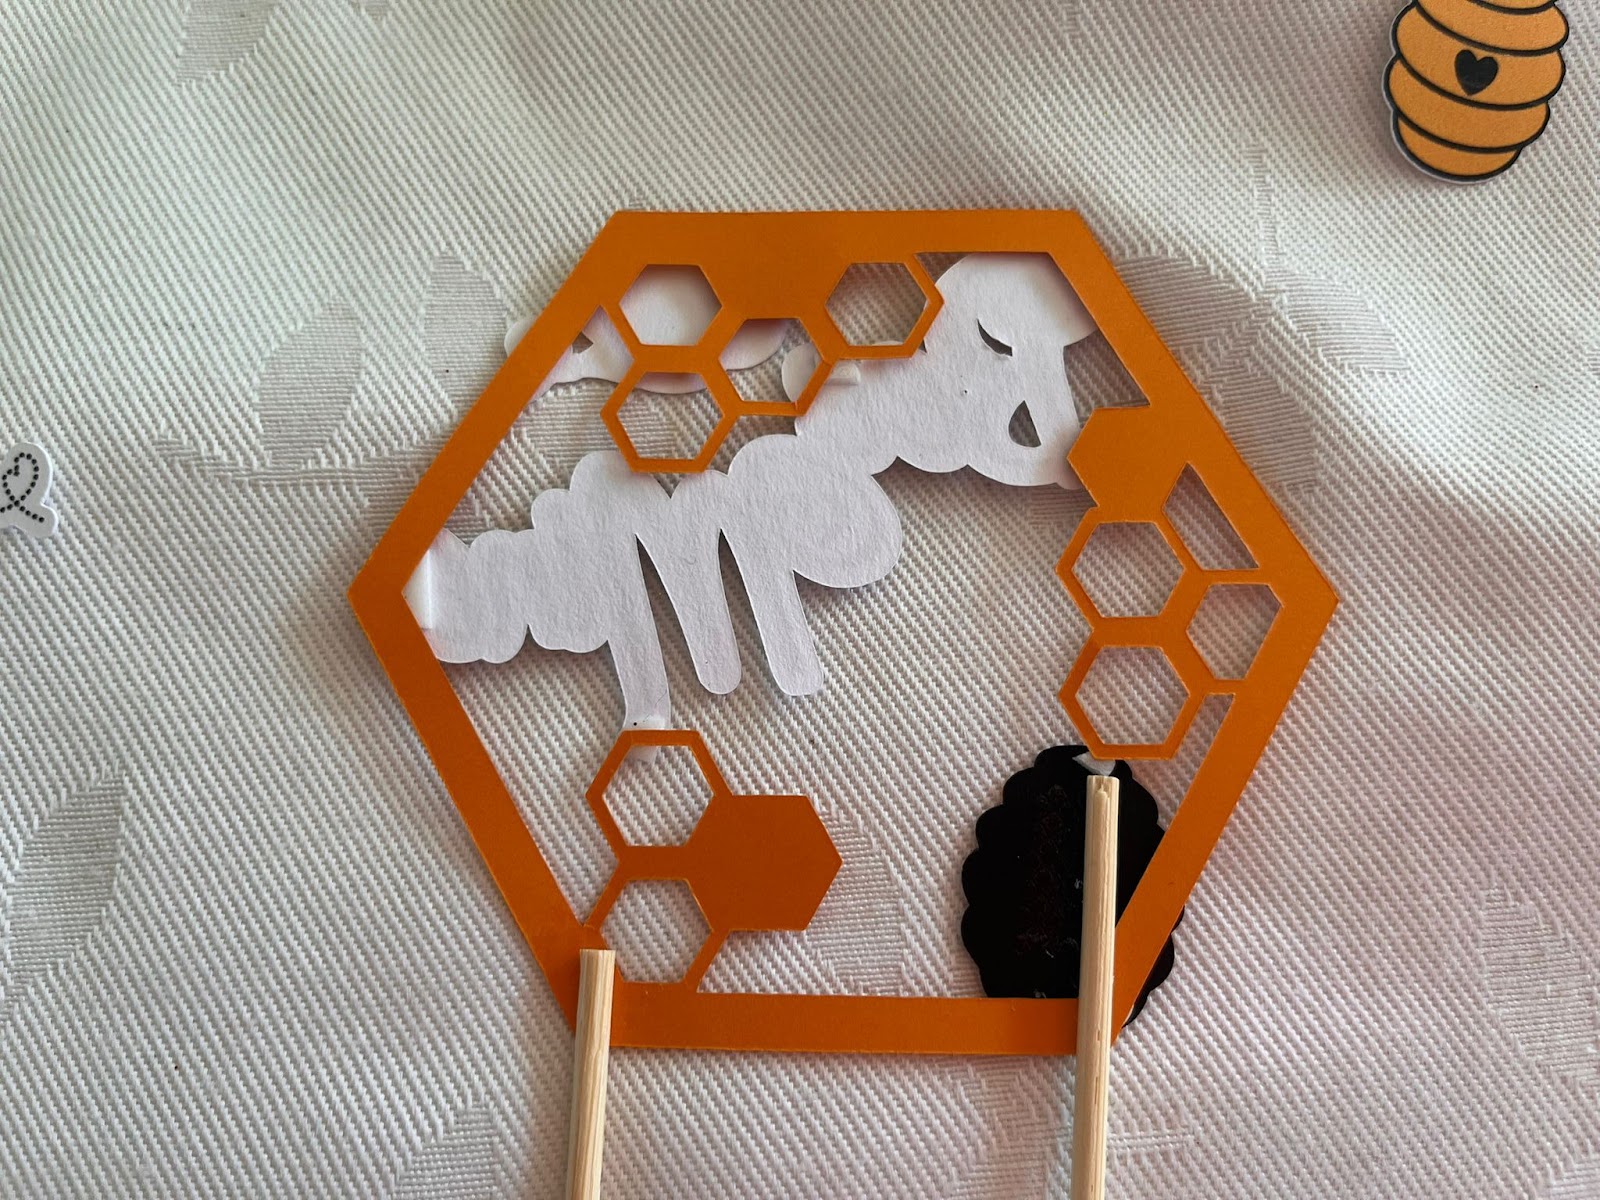
5: After placing and glue them, we are going to attach the second honeycomb by gluing the border:
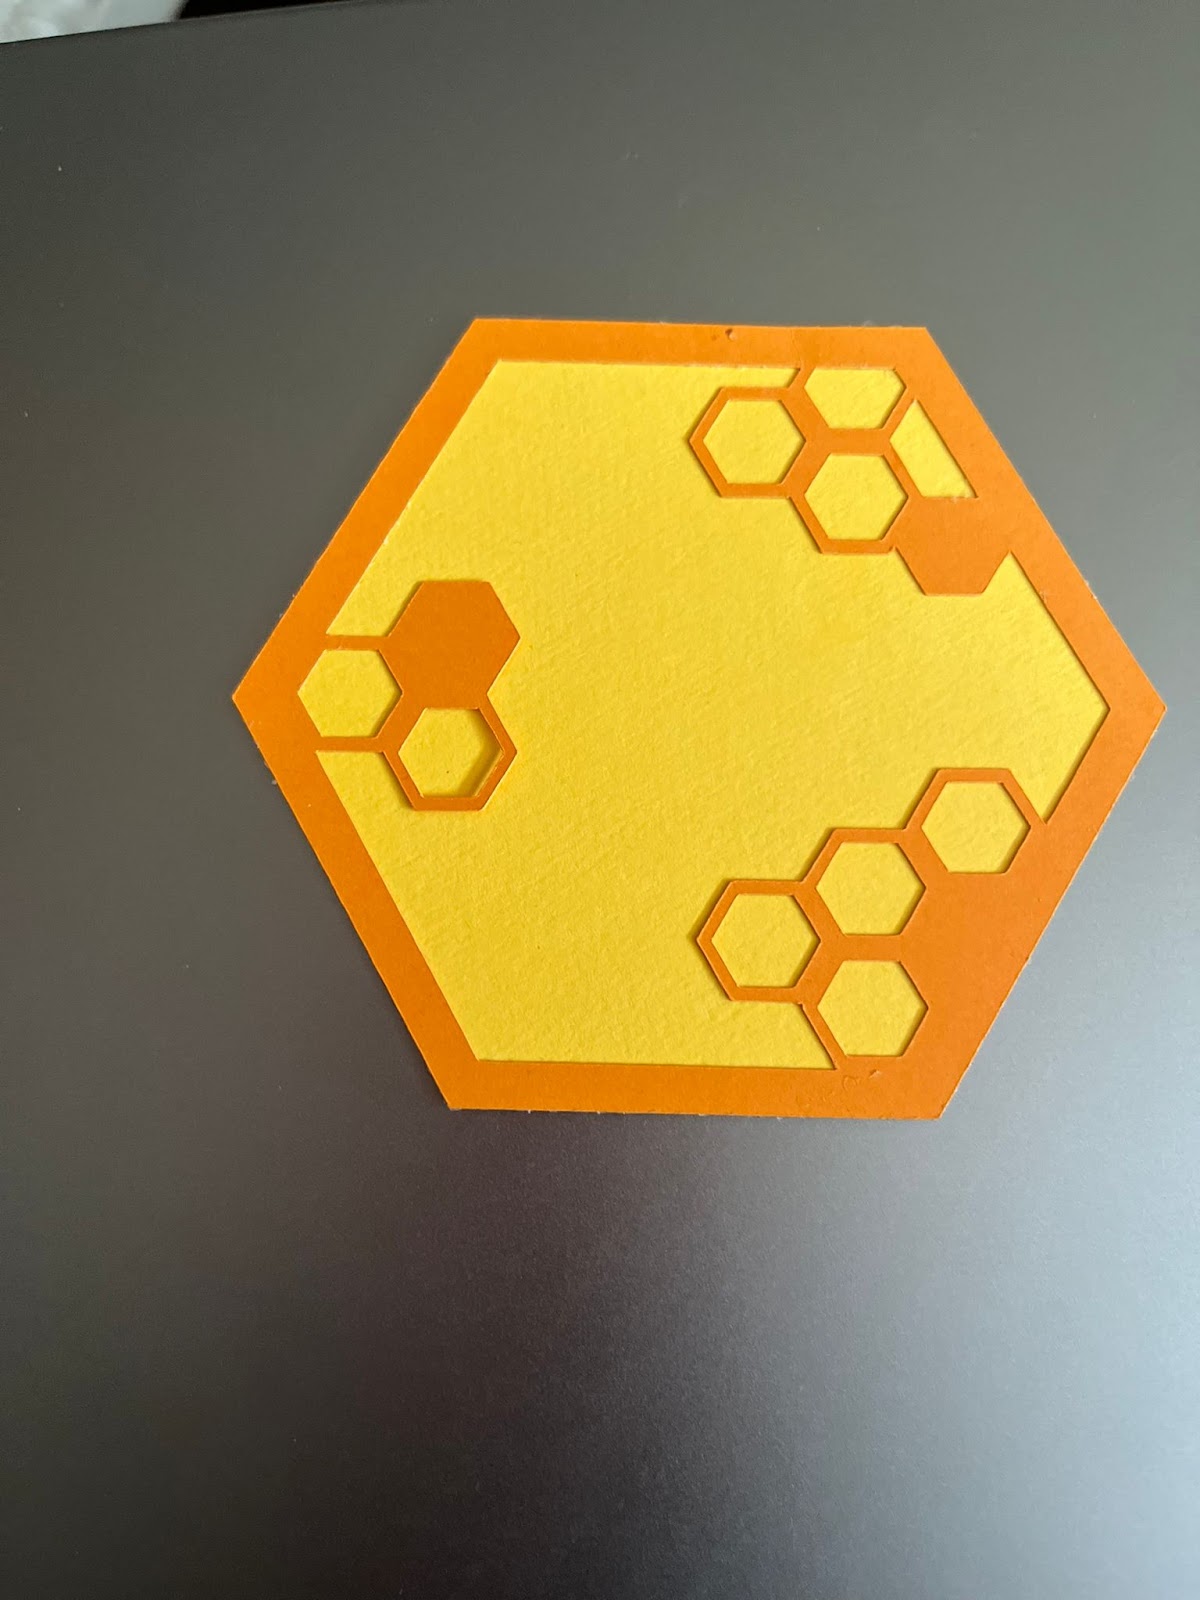
6: In the back you can add more details related to design ( we do not recommend to add text since they are going to look weird)

💡Tip: If you want to add text on both sides, we recommend to do like a background between the 2 honeycombs, something like:
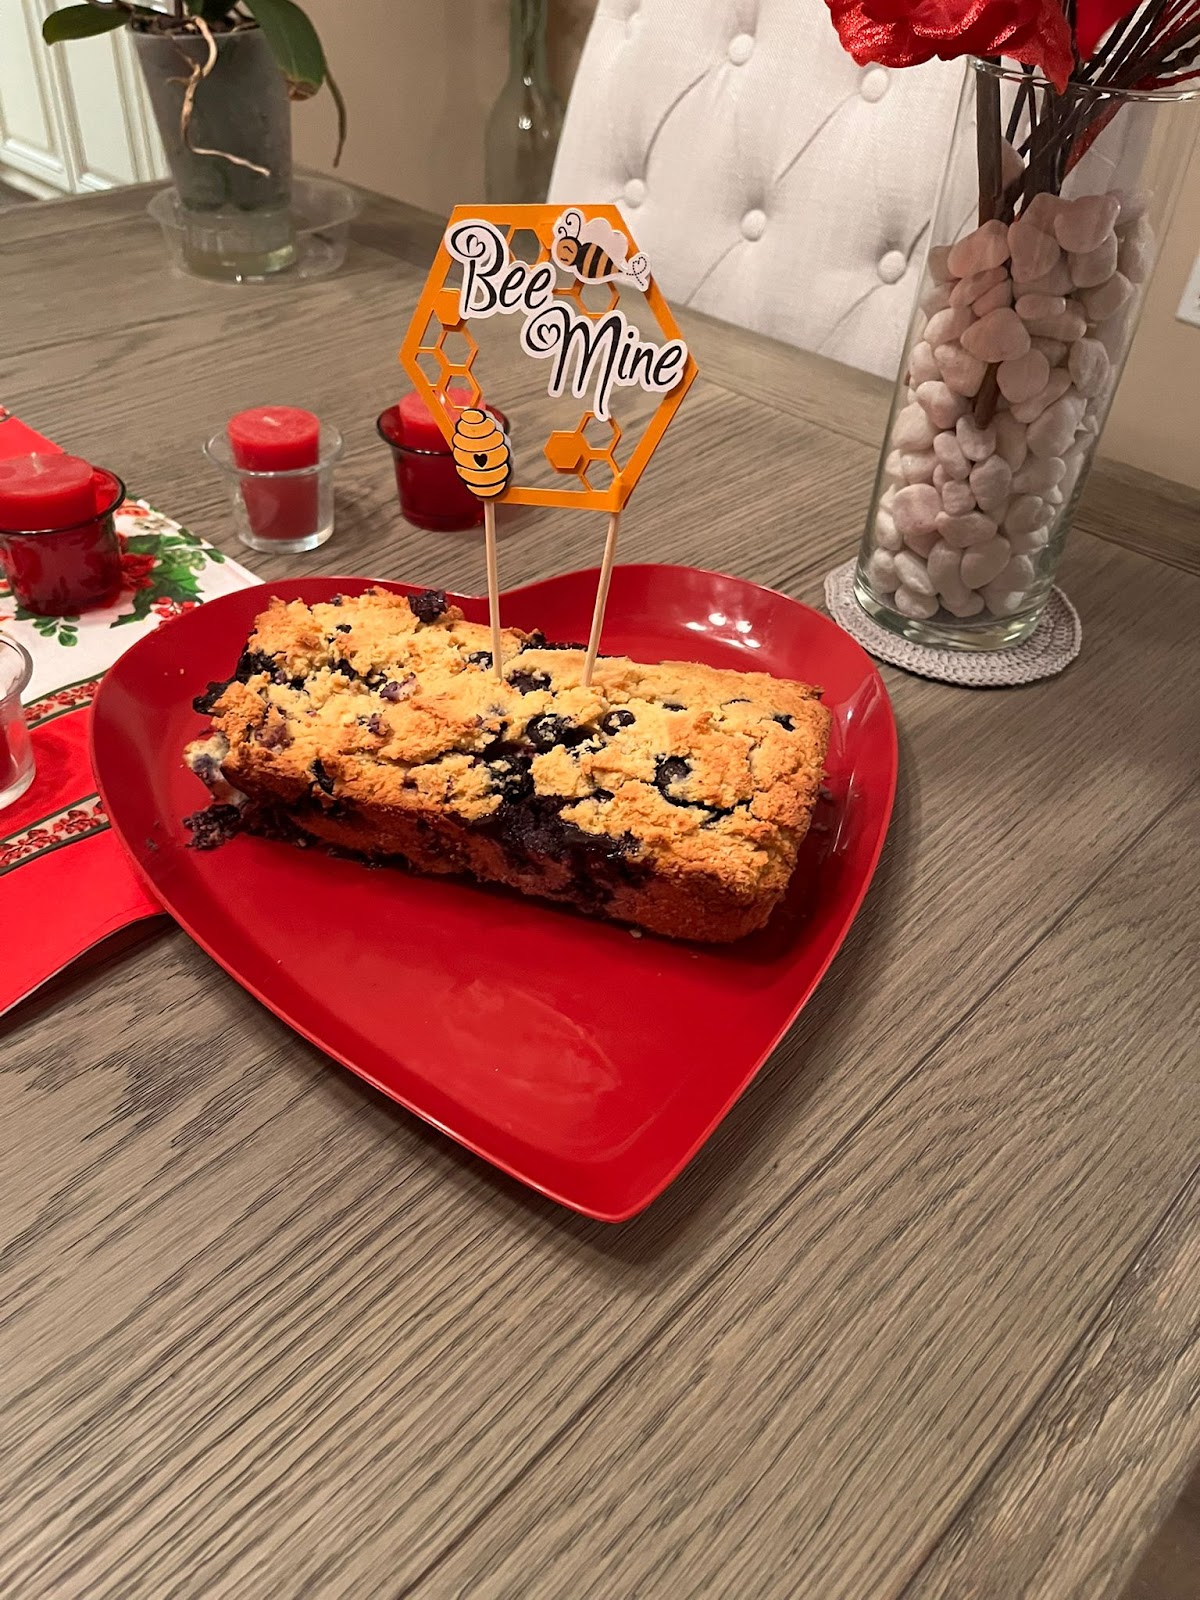
7: After assembling your cake topper, you are ready to place it over a cake/pie or any other dessert or dish that you want!
In this tutorial, you are going to learn/practice the following functionalities:
- Slice Images/shapes
- Search Images
- Add Shapes and Images
- Upload Images
- Resize Elements
- Delete Elements
- Attach Elements
- Change colors
- Weld Elements