Step 1: Designing the Christmas Card
Note: For this project you already need to have installed Cricut Design Space Desktop App and your Cricut machine should be already installed and ready to use.
1- Open up Cricut Design Space.
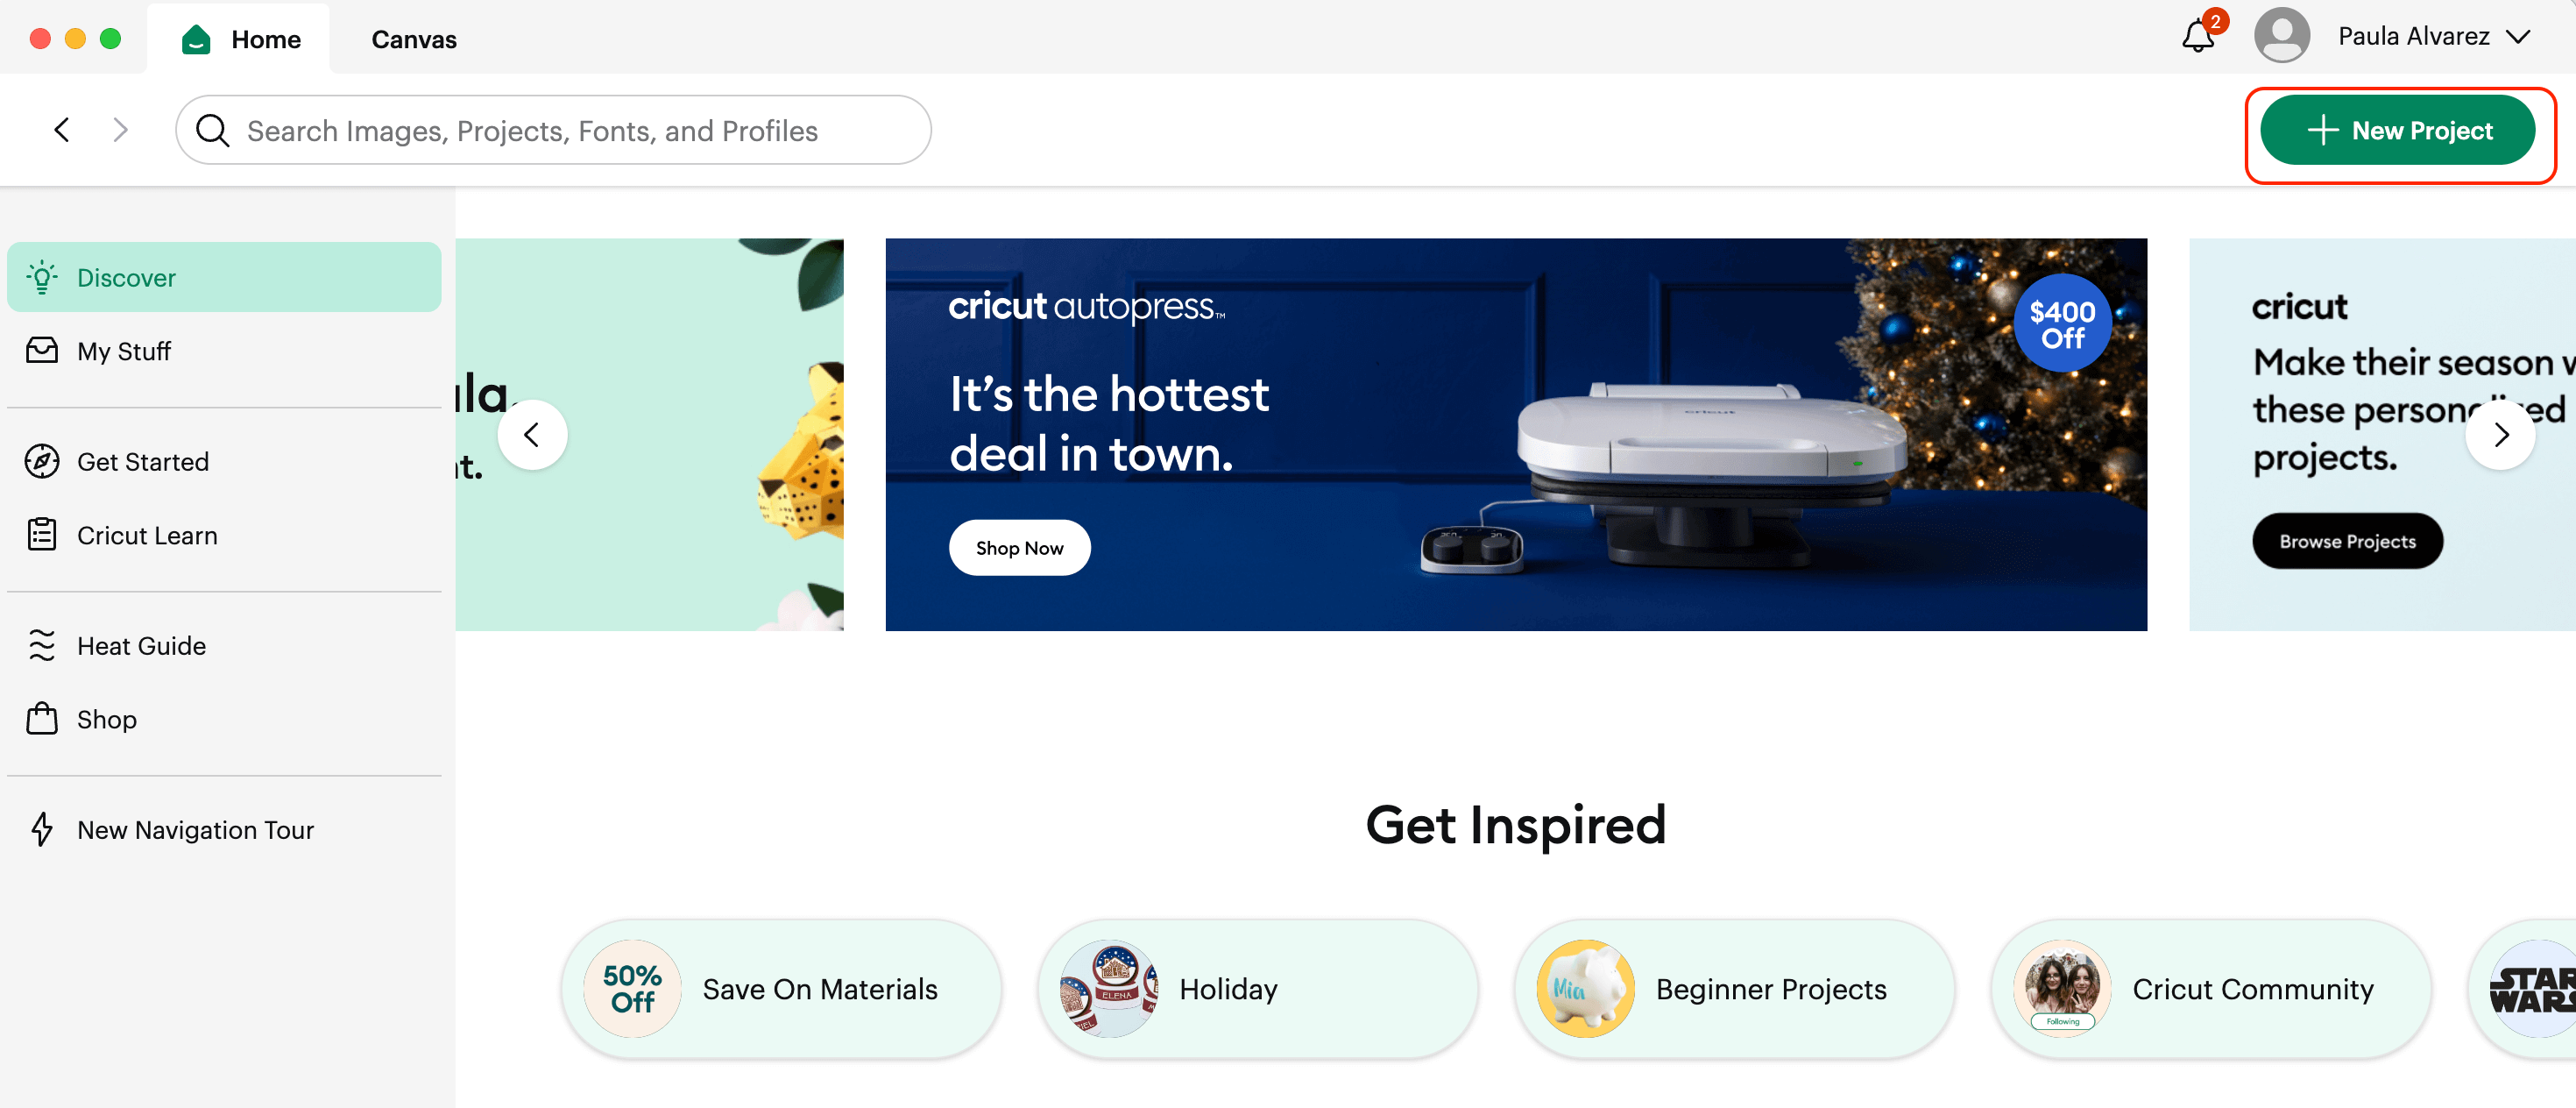
2- From the Home Screen, click on the top Right Green Button “New Project”. This is to be able to start creating the design for your project.
3- With the Blank Canvas ready to use, we can start our design!
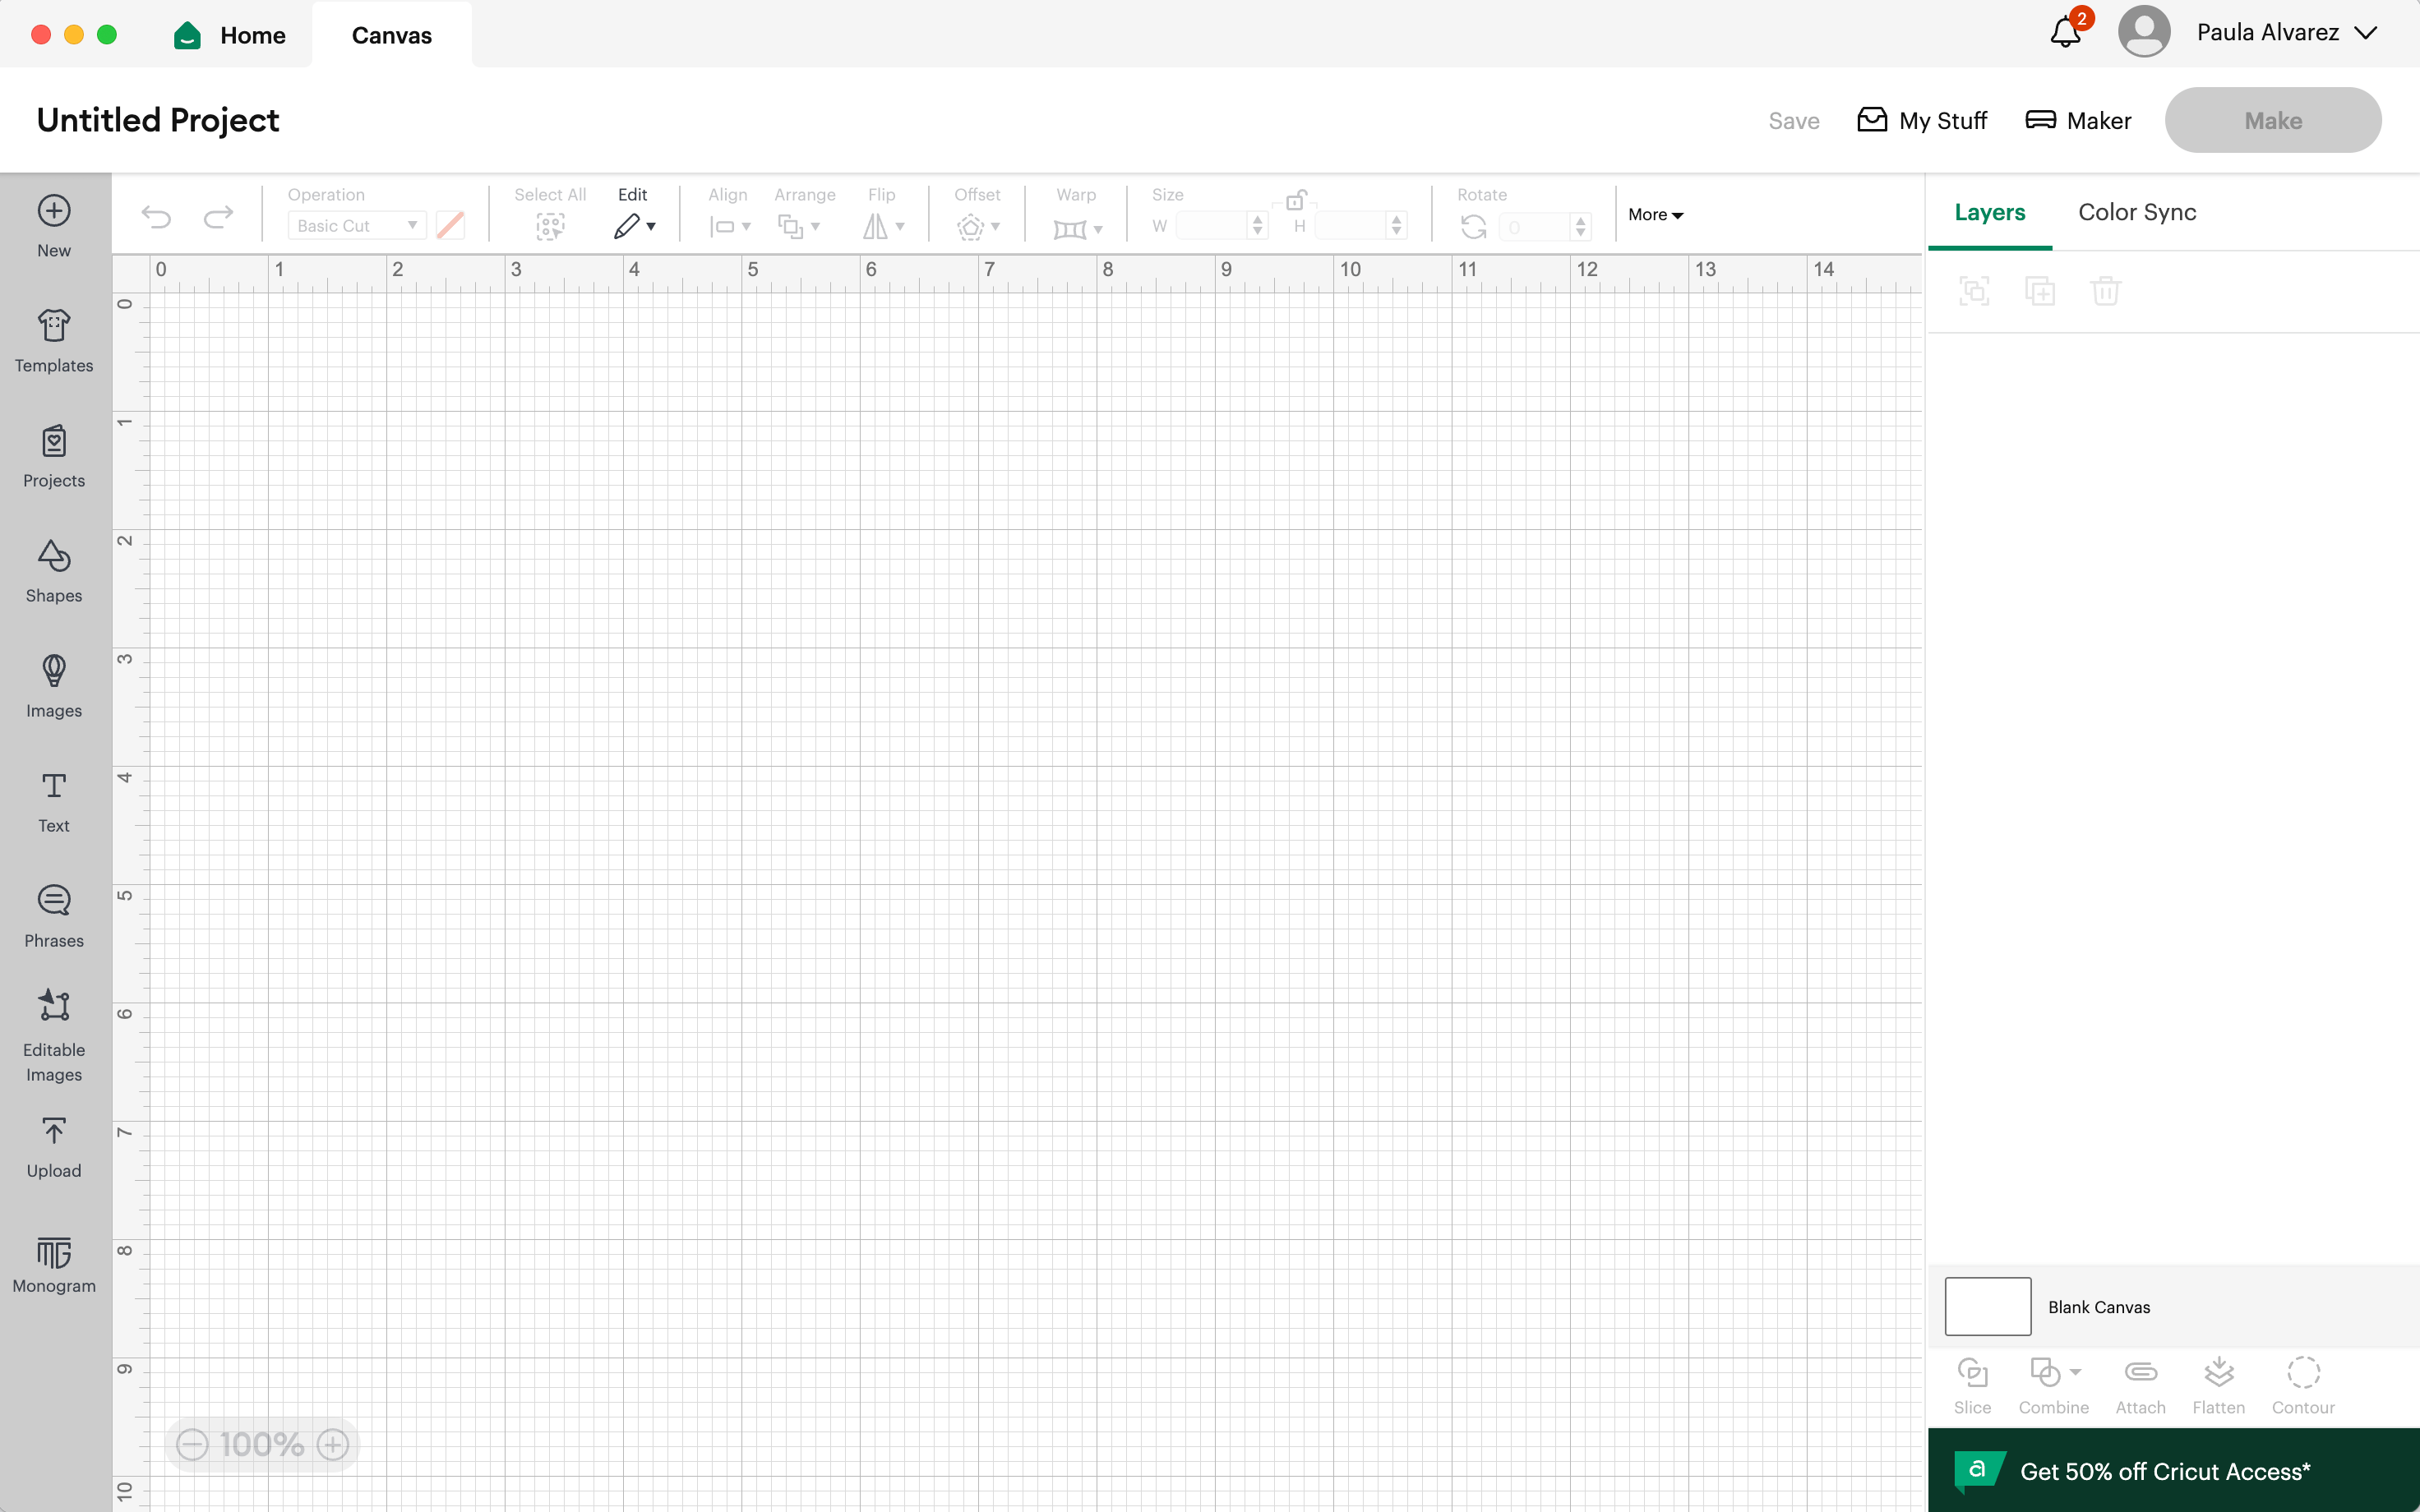
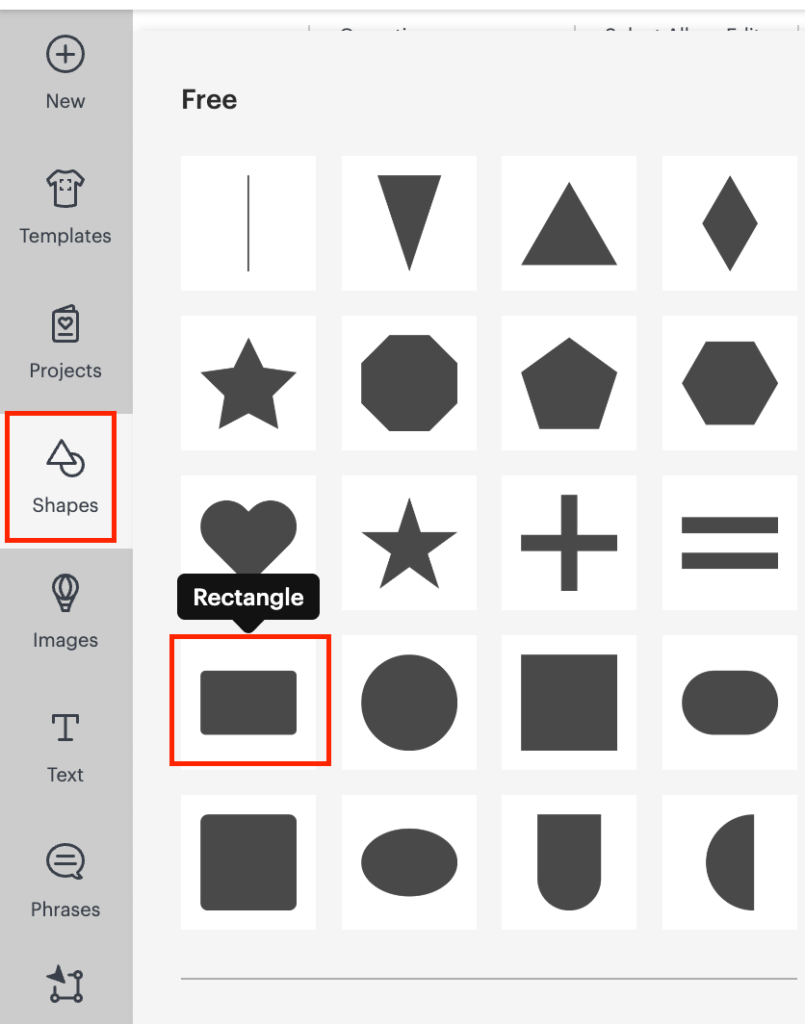
4- We are going to proceed with the card by choosing a rectangle that is on the left menu bar, under the shapes option.
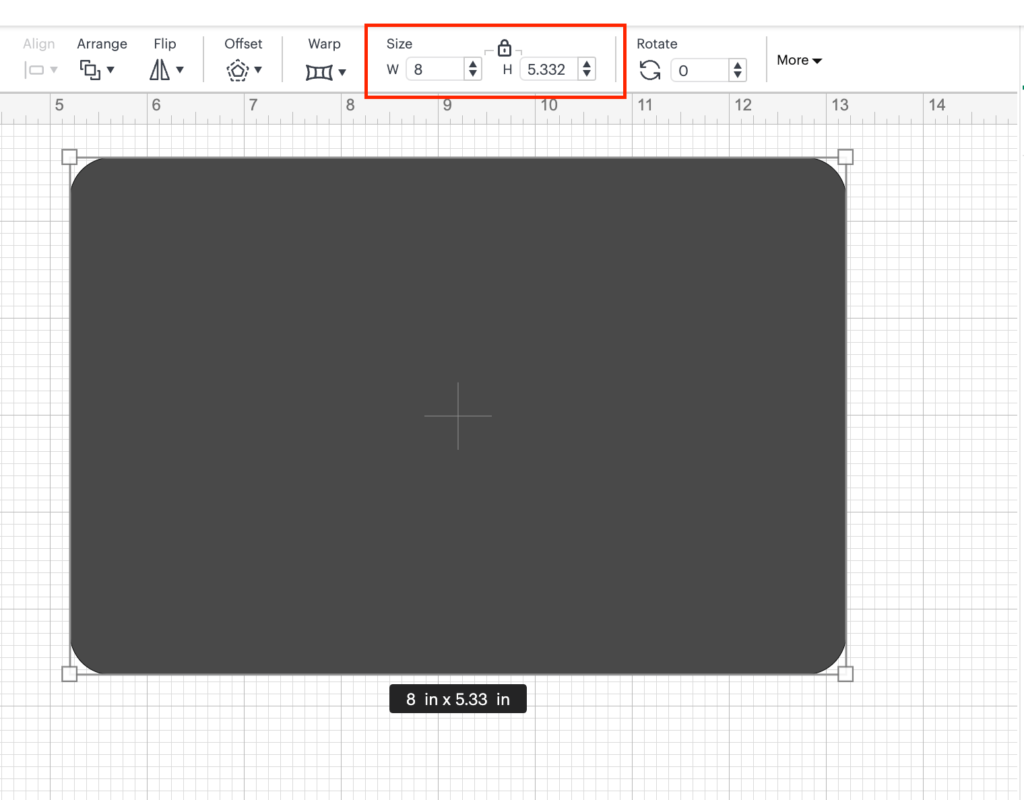
5- We are going to resize the rectangle circle: to do this, you click on the rectangle shape, go to the top bar menu and locate the Size functionality. In there click on the W (Width) and add 8 and click on the return key in your keyboard. You are going to see that the H (Height) is automatically populated. And the rectangle is resized to the desired size.
6- We are going to change the color of our rectangle, by clicking on the rectangle shape and locating the Operation Functionality on the top bar menu, and in there clicking on the color square icon. In this case We are going to use a Dark Green paper for the base of our card, so we are going to choose a dark green color. Once you click on the color, you can see that the rectangle change the color to the one that you choose.
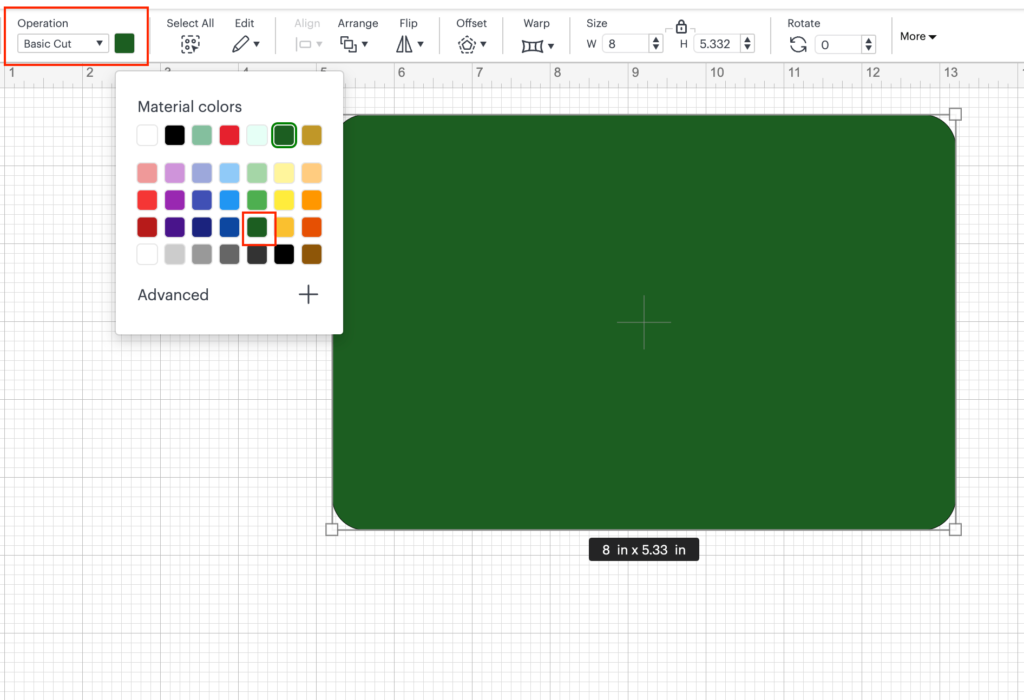
💡 Tip: You can choose any color that you want, ideally we suggest a similar color based on the material that you are going to cut.
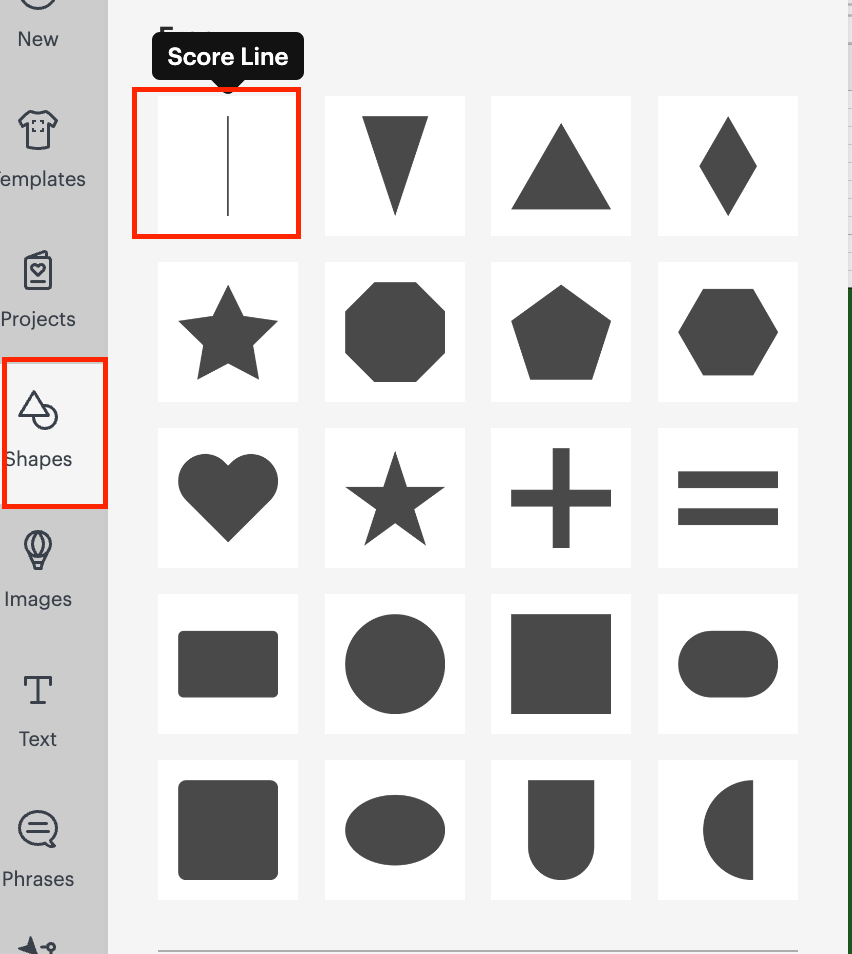
7- Now we are going to create a line, for where we are going to fold the card, to do this, we are going to go to Shapes (the same as the one that we choose to select the rectangle) but in this case, we are going to choose the score line
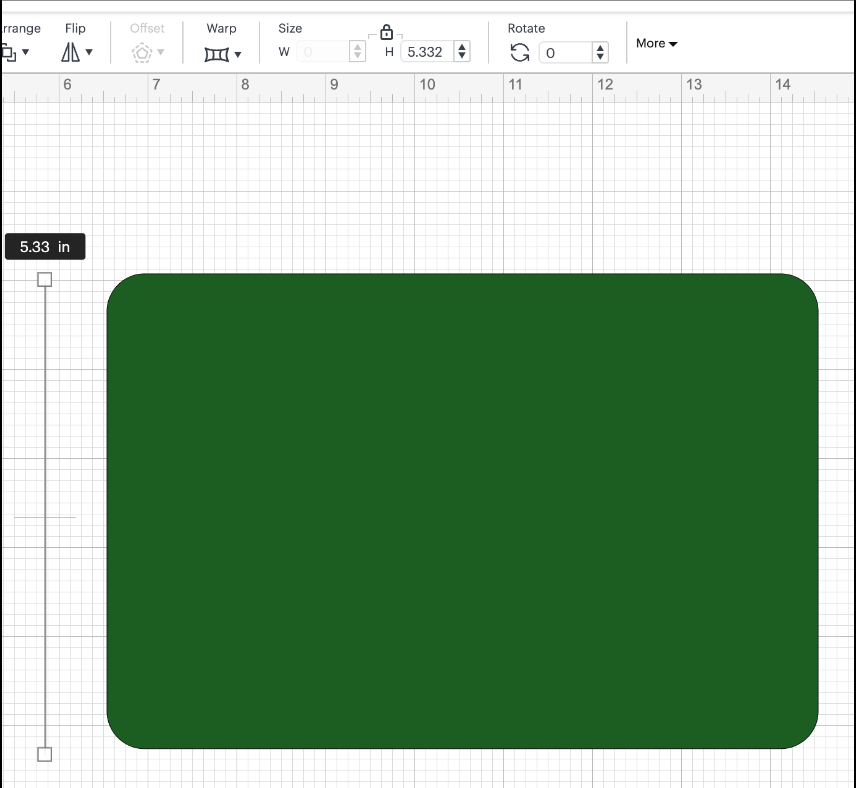
8- Once that we have the score line on our canvas, we need to resize the height to the same as the card, to do this, we apply the same steps as the one mentioned on STEP 5, but in this case, we are going to add the value on the H (Height) field, that needs to be the same as our rectangle, in my case is: 5.332 inches.
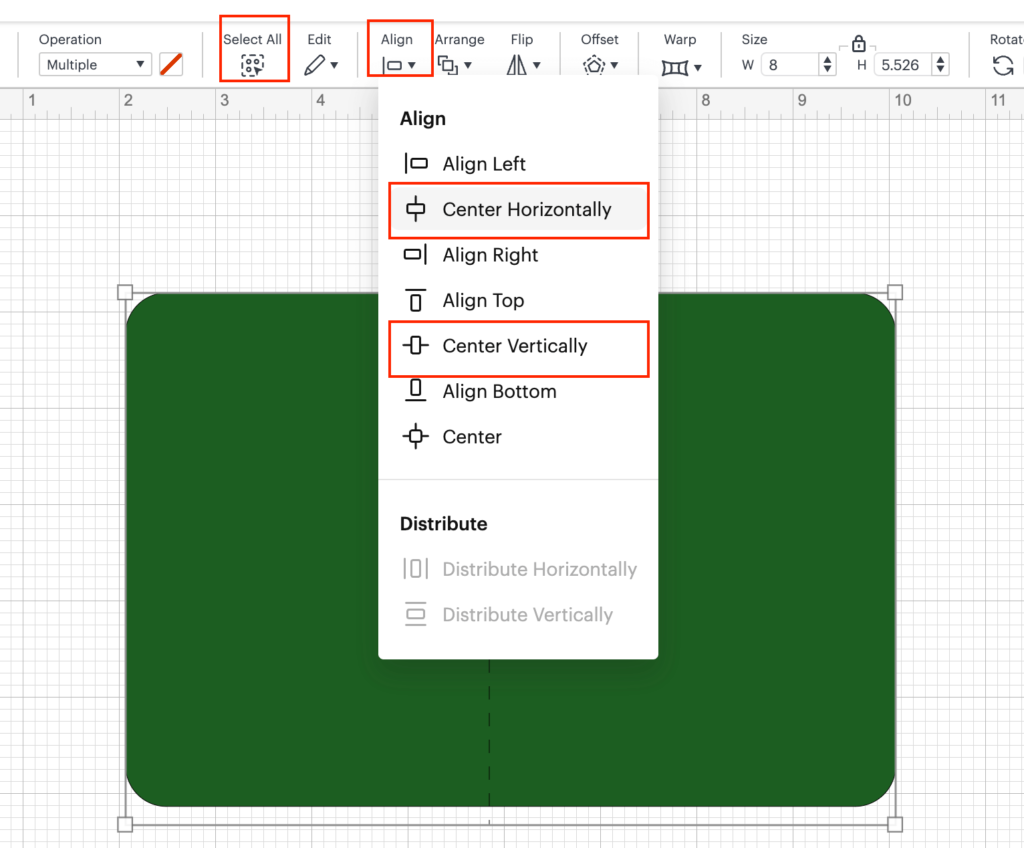
9- We are going to move the score line over the rectangle,once that is already over the rectangle, we are going to locate on the top menu bar the Select All (to make sure that our score option and rectangle are selected) after that we are going to locate our Align Functionality, and we are going to choose Center Horizontally and Center Vertically. This step is to make sure that our score line (in order to be able to fold the card is centered in the middle of the rectangle)
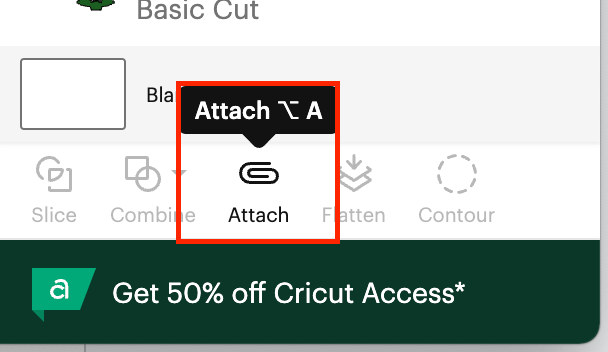
10- Now on the Right Bar menu, at the bottom, we are going to locate the Attach functionality, and making sure that the rectangle and the score line are selected, we are going to click on it.
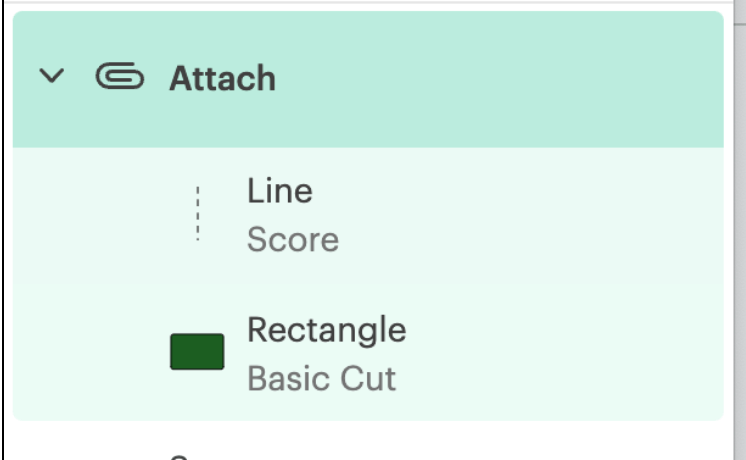
After you clicked on Attached, on the Right Menu under Layers, you are going to be able to see the following:
💡 Tip: Attach functionality is to make sure that when we are going to score in this case the line, is going to be marked(scored) into the main rectangle part and not in any of the other parts.
11- Using the same process as STEP 4,5 and 6 we are going to add:
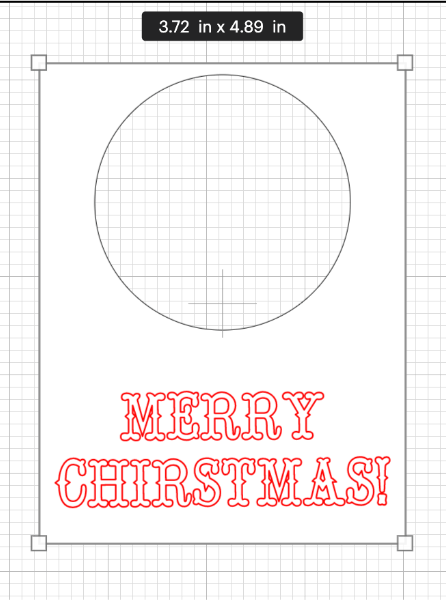
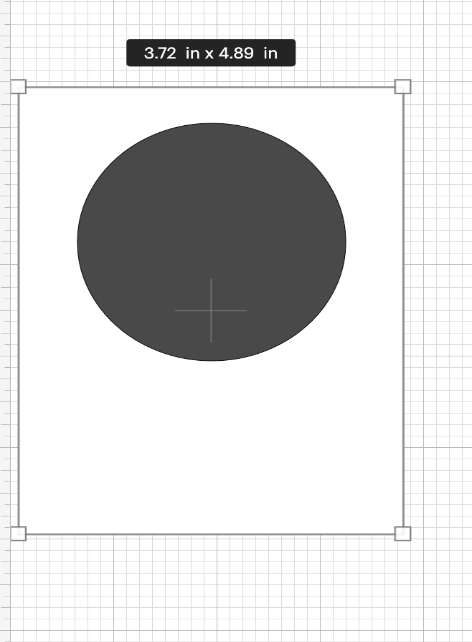
- Rectangle: size: W: 3.725 inches and H: 4.889 inches in White Color
- Circle: W and H: 2.6 inches.
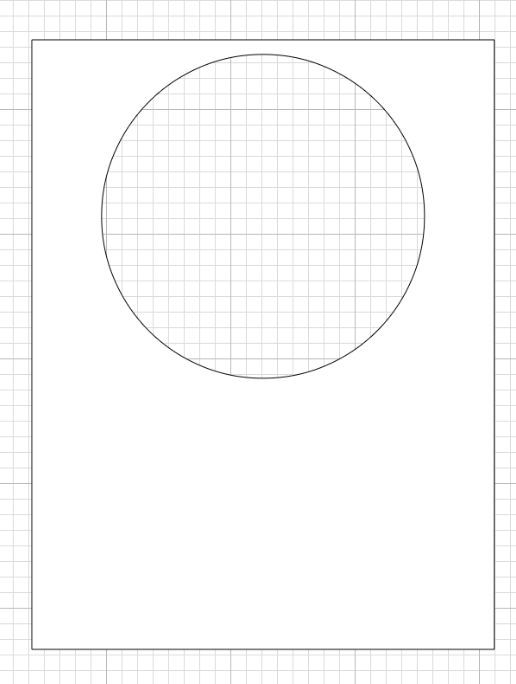
12- Once we have the rectangle and the circle, we are going to overlap the circle over the rectangle in the position that we want. In this case it is going to be a little over the middle of the rectangle horizontally.
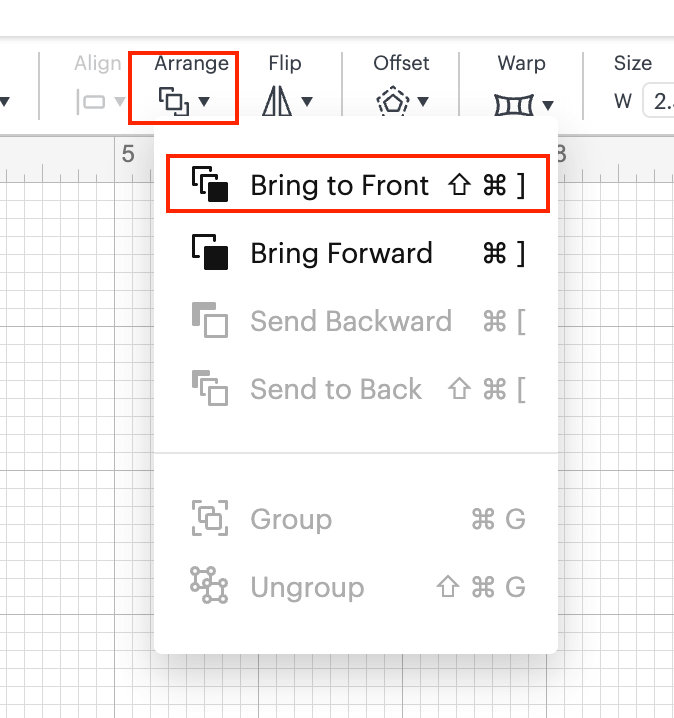
💡 Tip: If the circle is not showing over the rectangle, click on the circle, and then proceed to the top menu Bar and locate Arrange functionality. Click on Bring to the Front functionality and the circle is going to be shown over the rectangle.
13- When we have the circle over the rectangle in the position that we want and making sure that is align horizontally, we need to select the rectangle and the circle, to do that, on the Right Menu, clicking Command / Ctrl, click on the rectangle and the Circle option, both of the option should be highlighted in green color.
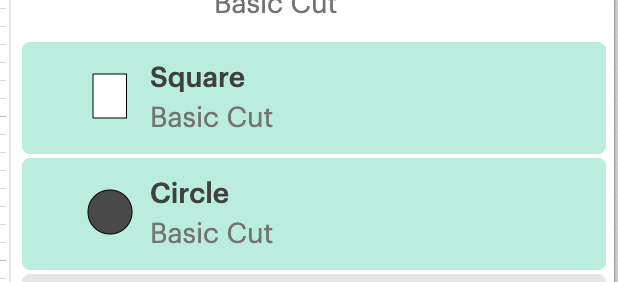
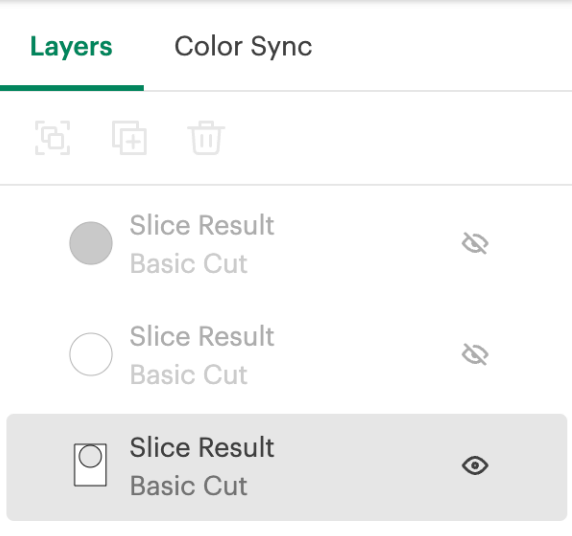
14- Once you have done these previous steps, go to the Right side of the screen and click on Slice functionality, now you are going to be able to see that there are 2 circles showing on the Layers of the project. You can hide them or just delete them since we are not going to use them.
💡 Tip: You can hide the images by clicking on the “eye” icon next to the images on the Layers section. If the images are in Hide mode, you are not going to be able to see them and also to cut them.
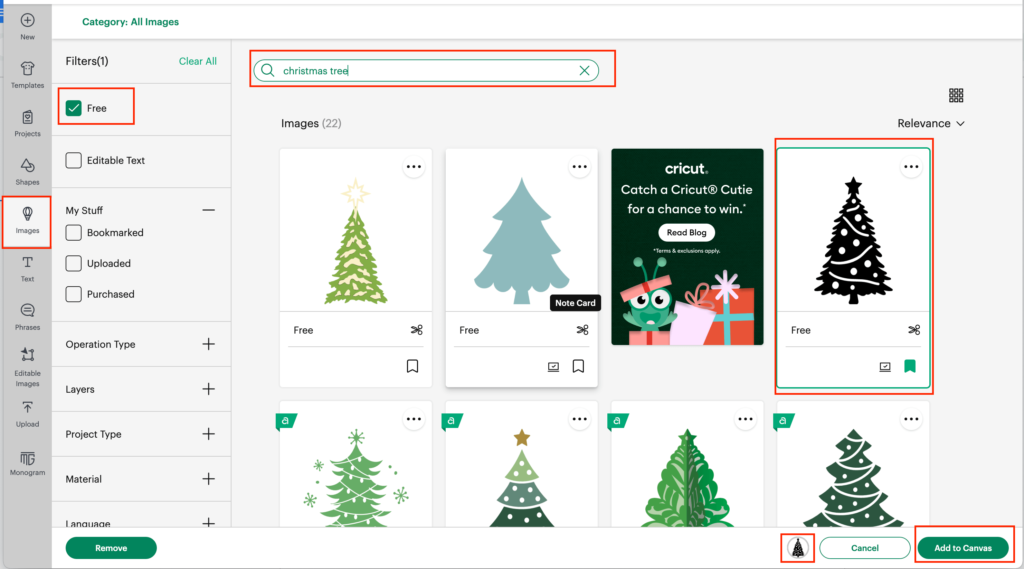
15- In the left Bar Menu, click on: “Images”
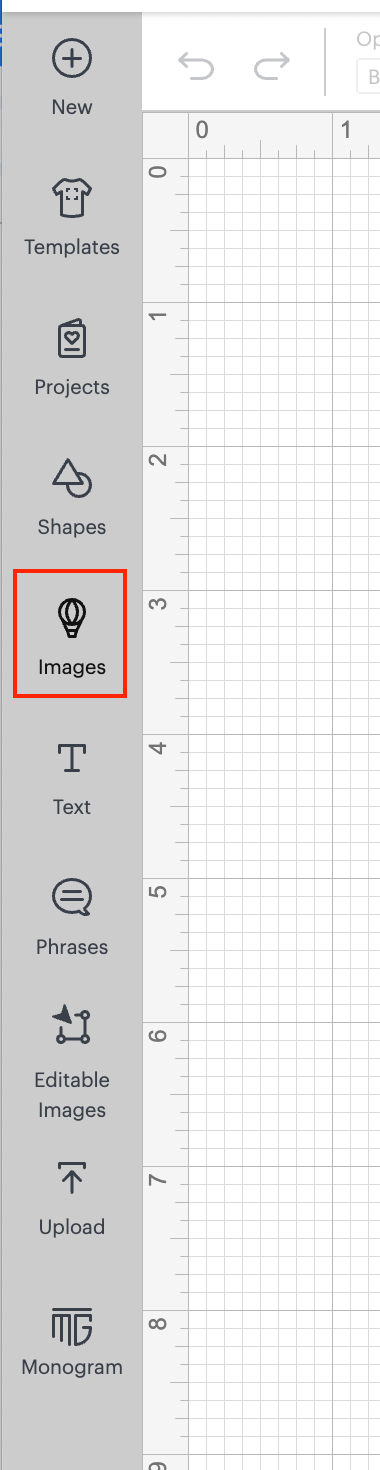
16- Once we are inside the Images section:
- Under the Filters Section we are going to check the box for Free
- On the search bar we are going to search by: Christmas Tree
- We are going to click the Return key on our keyboard and wait a couple of seconds to see all the different results.
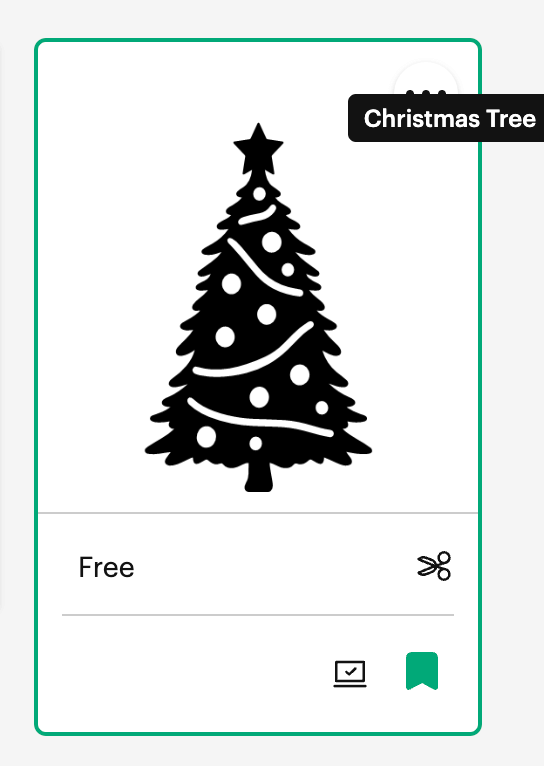
- In this case, we are going to use the fourth image that is showing, we are going to click over the image and a Green rectangle should be showing highlighting the external border of the image.
💡 Tip: If you click on the three small dots that are showing on the right top corner of the image you are going to be able to see Image information like the Code for the image, and you can search the image by using that code:
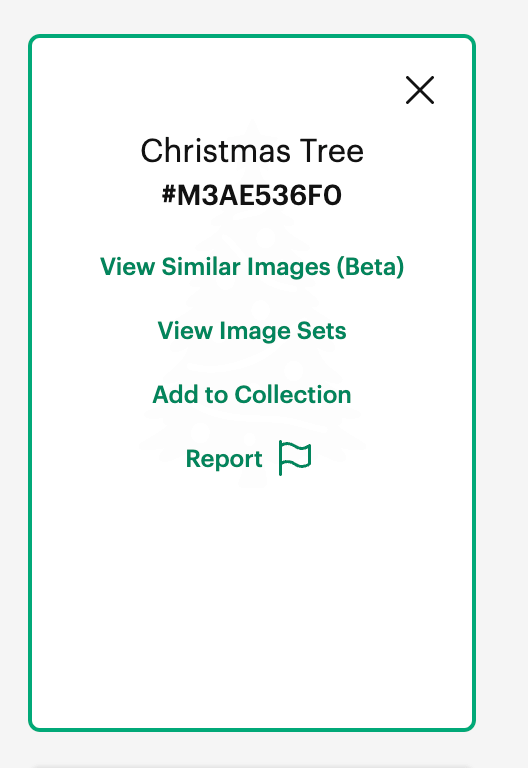
Searching by the Code/Tag of the image
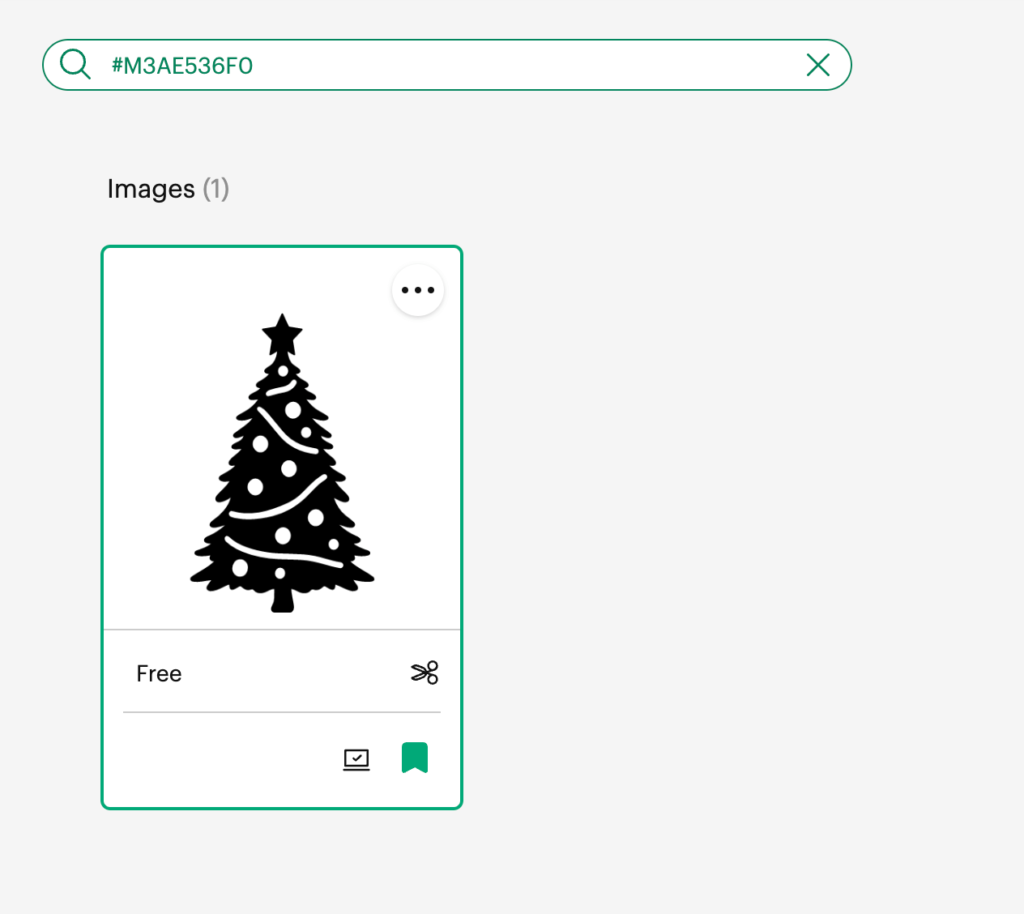
- At the bottom of the page, the same image should be showing as an small icon next to the Cancel Button
- We are going to click on the Add to Canvas Green button, to add it to our current project page.
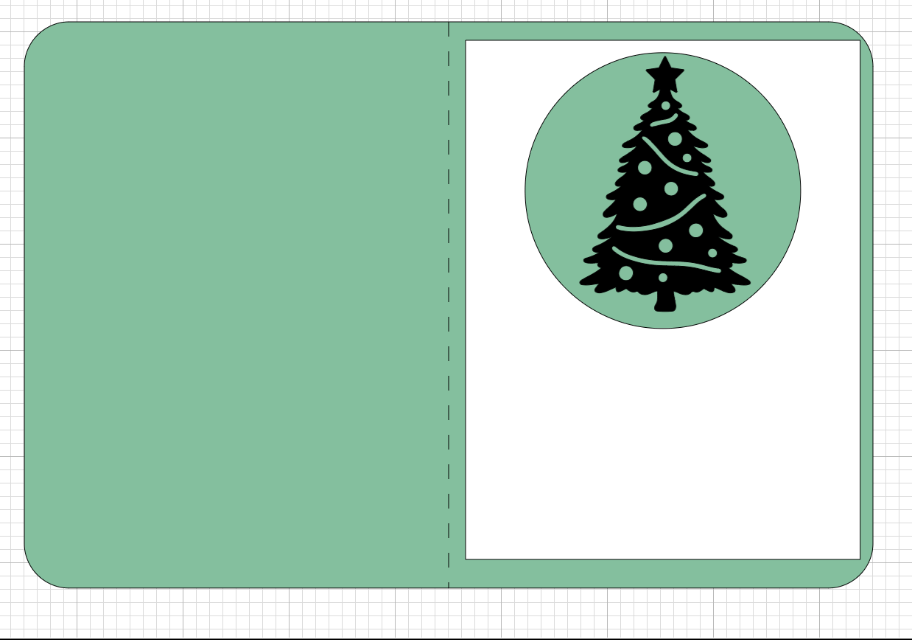
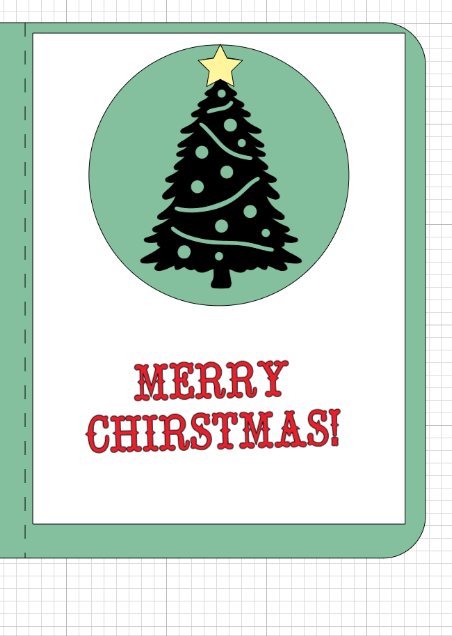
17- We added the Image to our Canvas. The same as we did previously, we are going to resize the Christmas tree, this tree is going to be over the light green paper and inside the rectangle with the circle that we sliced on STEP 14.
18- Using Shapes functionality one more time, we are going to:
- Select STAR shape
- Added to our canvas
- Change the color to yellow
- Resize it to the similar size of the one showing on the christmas tree.
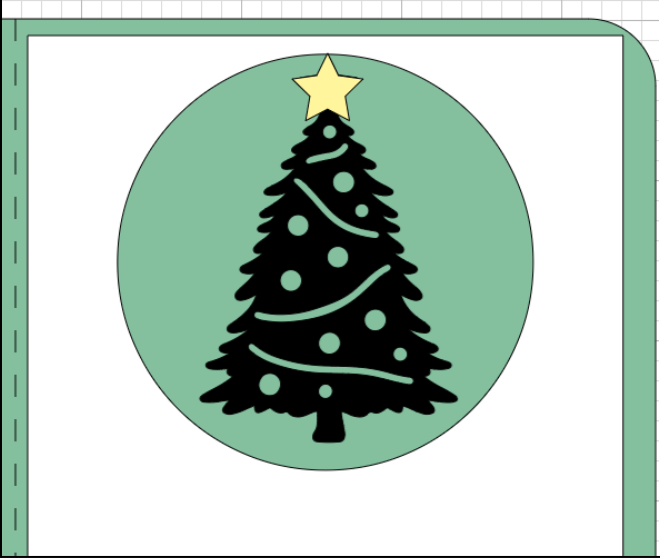
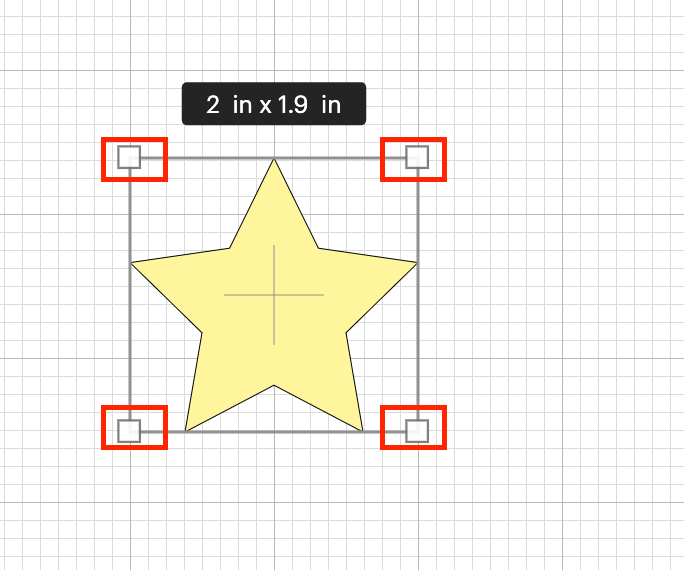
💡 Tip: If we need to resize any shape to a size that we do not know, we can do the following steps:
- Overlap in this case the star over the Christmas tree
- With the image selected, overlap your mouse on any of the small squares that are showing on each of the four corners, click on it and move the mouse to the center of the circle image until the desired size.
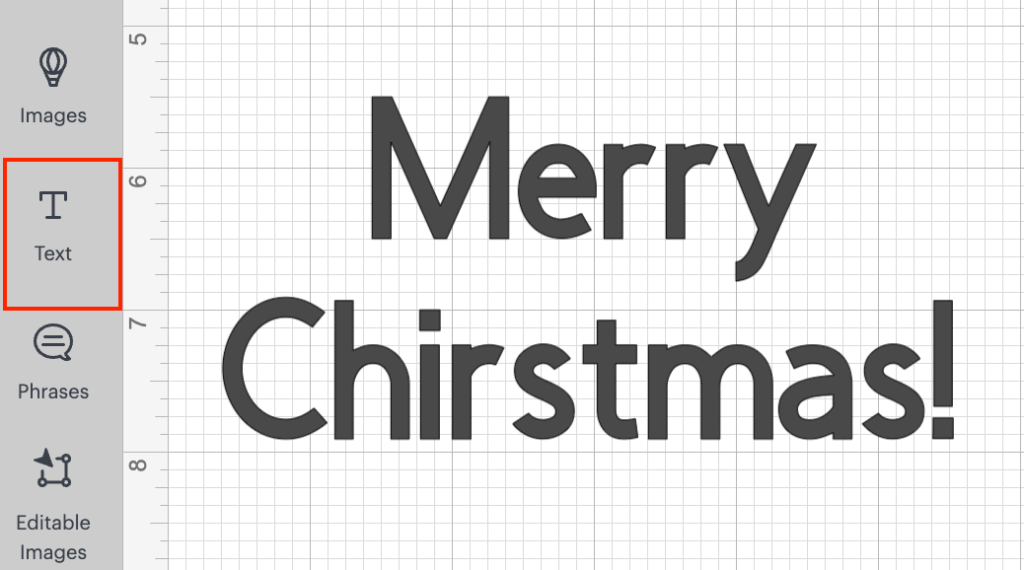
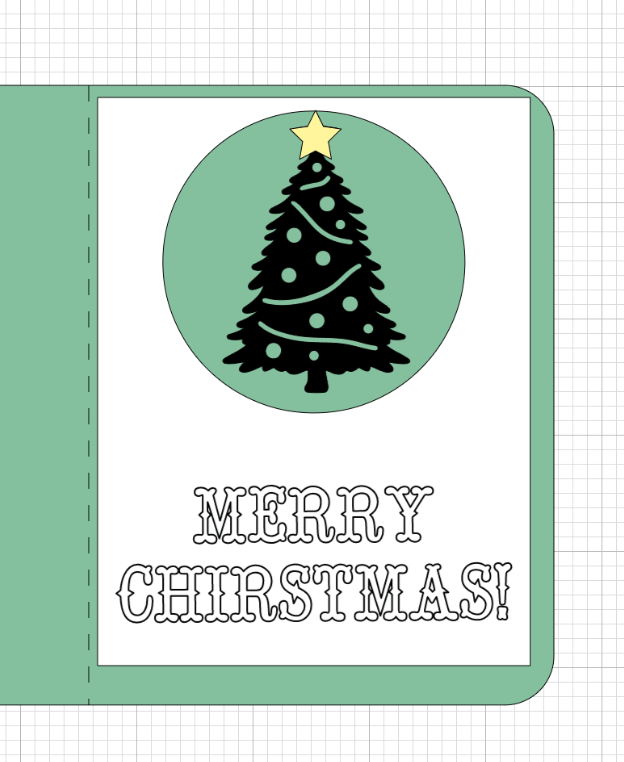
19- We are going to proceed with the last steps of our project, that is adding a Writing to our Card. To do that, we proceed to the Text functionality and we write the message that we want, in our case: Merry Christmas!
20 – We move the text over our white rectangle and as previously, we resize the text to the desired size and change the font and color if we want.
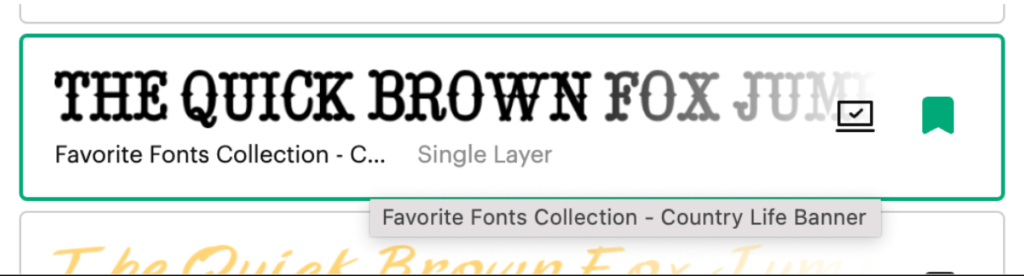
💡 Tip: We can change the Font type by clicking on the text and locating Font functionality. In there, under Cricut Section we can find a lot of different fonts, we are going to filter by Free and choose any font that we want. In our project we are using: Favorite Fonts Collection – Country Life Banner.
21- Since the text that we just wrote is going to be Draw by the cricut pen, we need to change the operation, from Cut to Draw, in order to do this, select the text that you just writing, on the top Bar section, locate Operations functionality and in there, change it to Pen -> Draw
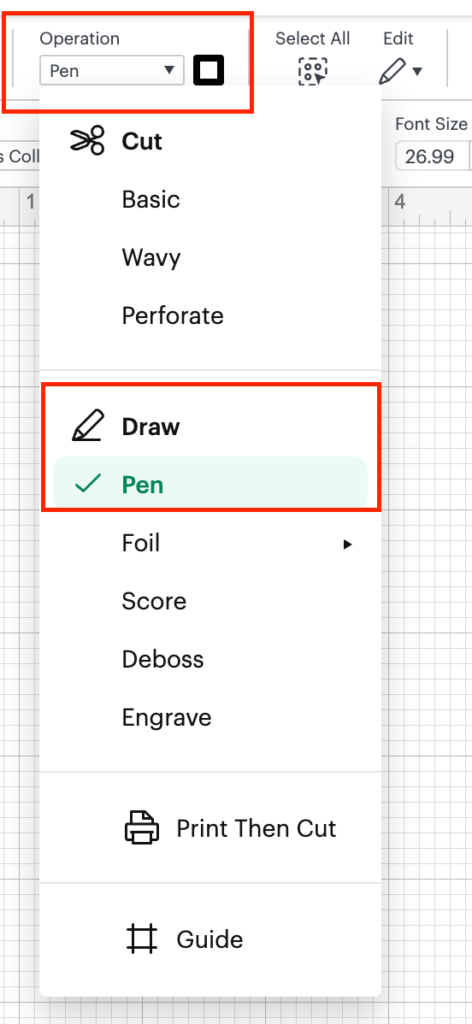
After changing from cutting, to Draw, you are going to notice a change in the text, this is because we are going to use the Cricut Pen to write this message, instead of cutting it.
💡 Tip: You can change the color of the draw by following the same steps as we did with the star, by going to the Operation functionality and clicking on the square that has a color in it.
22- Last step, before starting to cut our Card! Since the Message is going to be written , we need to attach the message to the white rectangle, the same as we did with the score line in the STEP 10.