Lesson 1 of 4
In Progress
Step 1: Creating the front design
- Open up Cricut Design Space
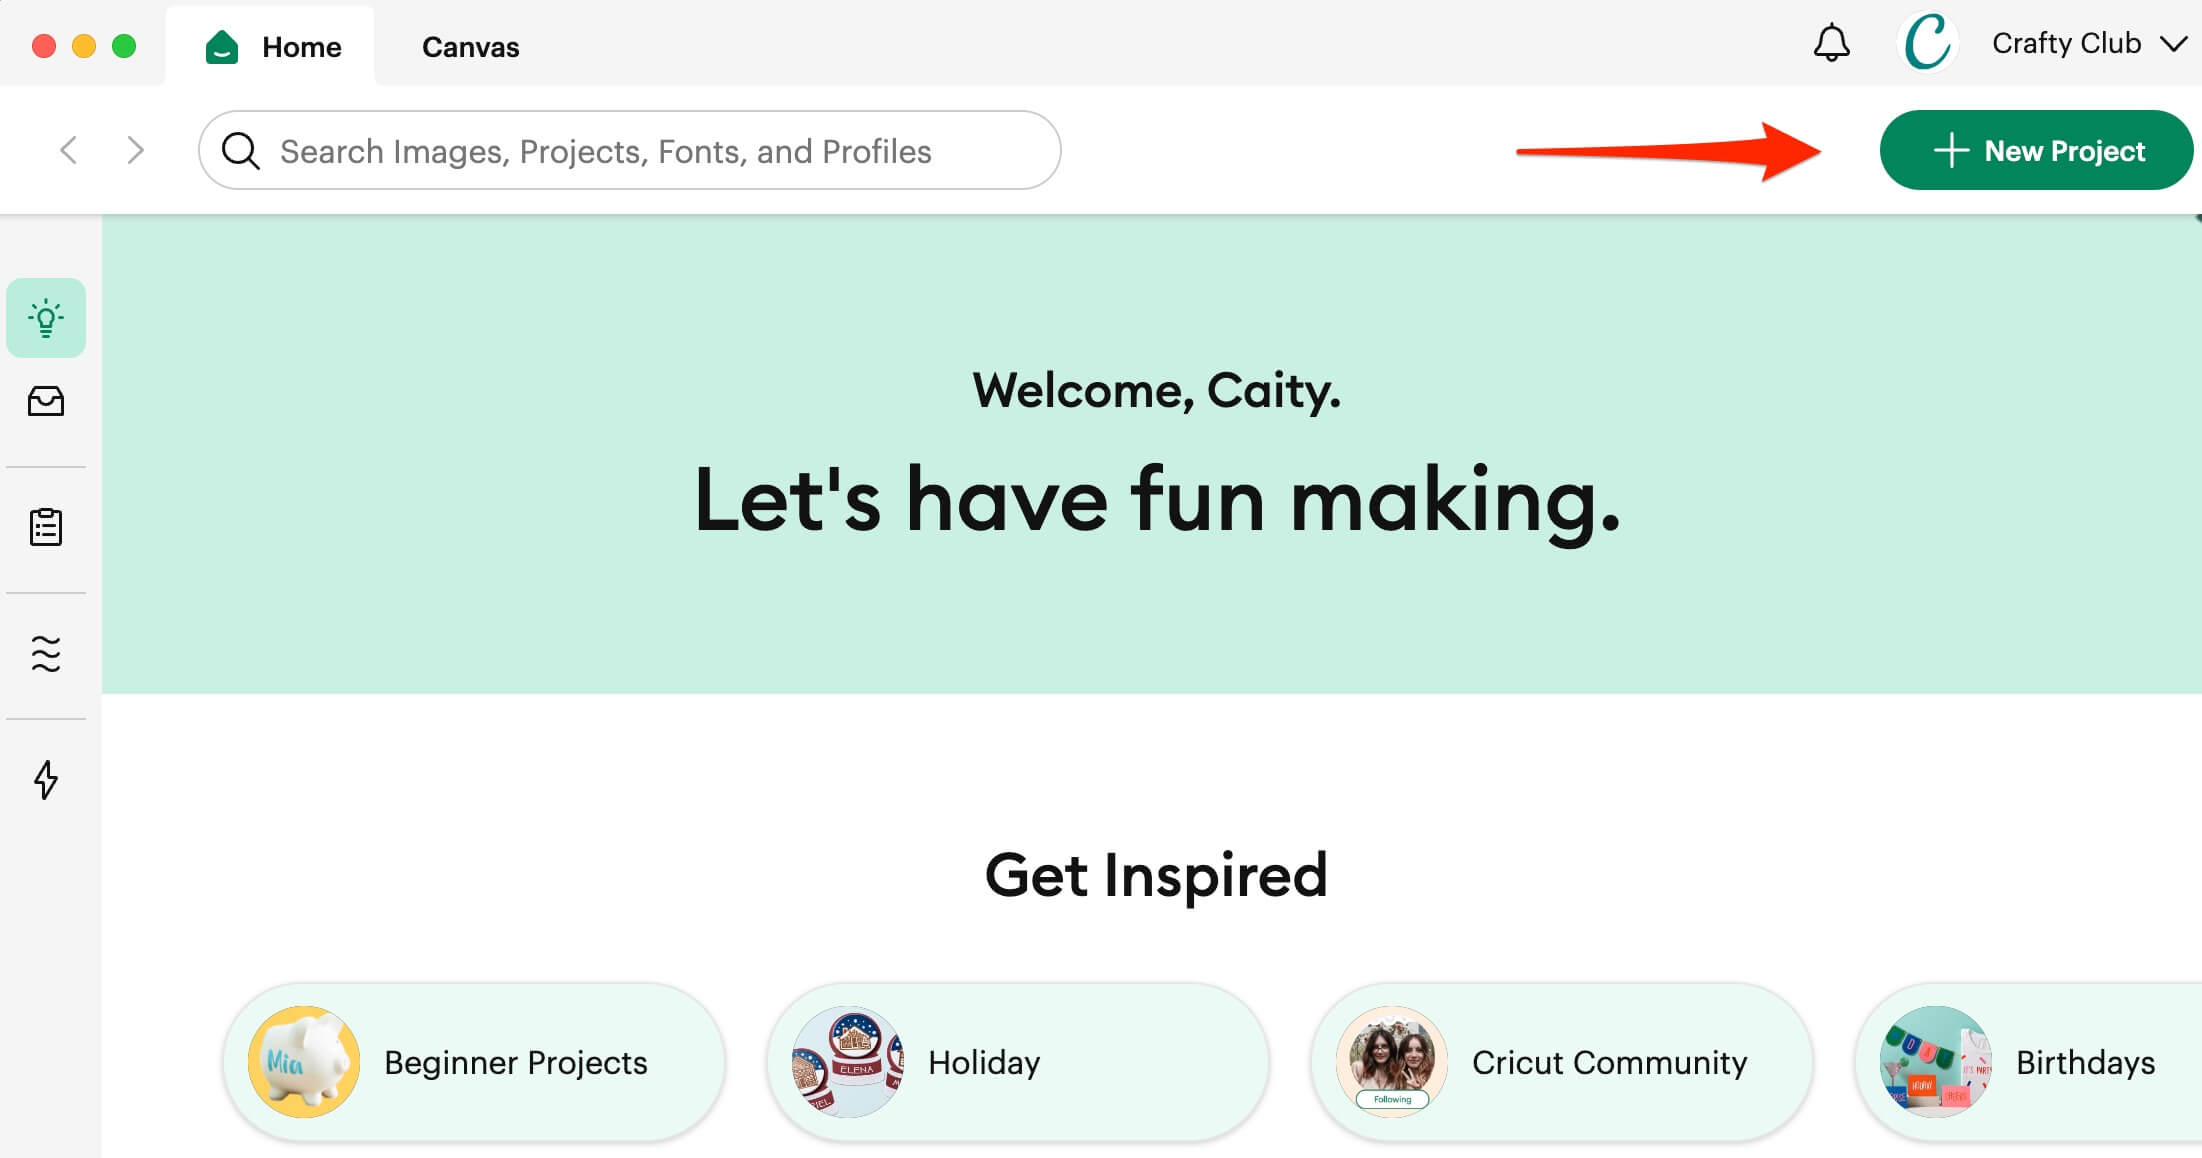
- From the Home page click the New Project button in the top right. This will open up your canvas screen.
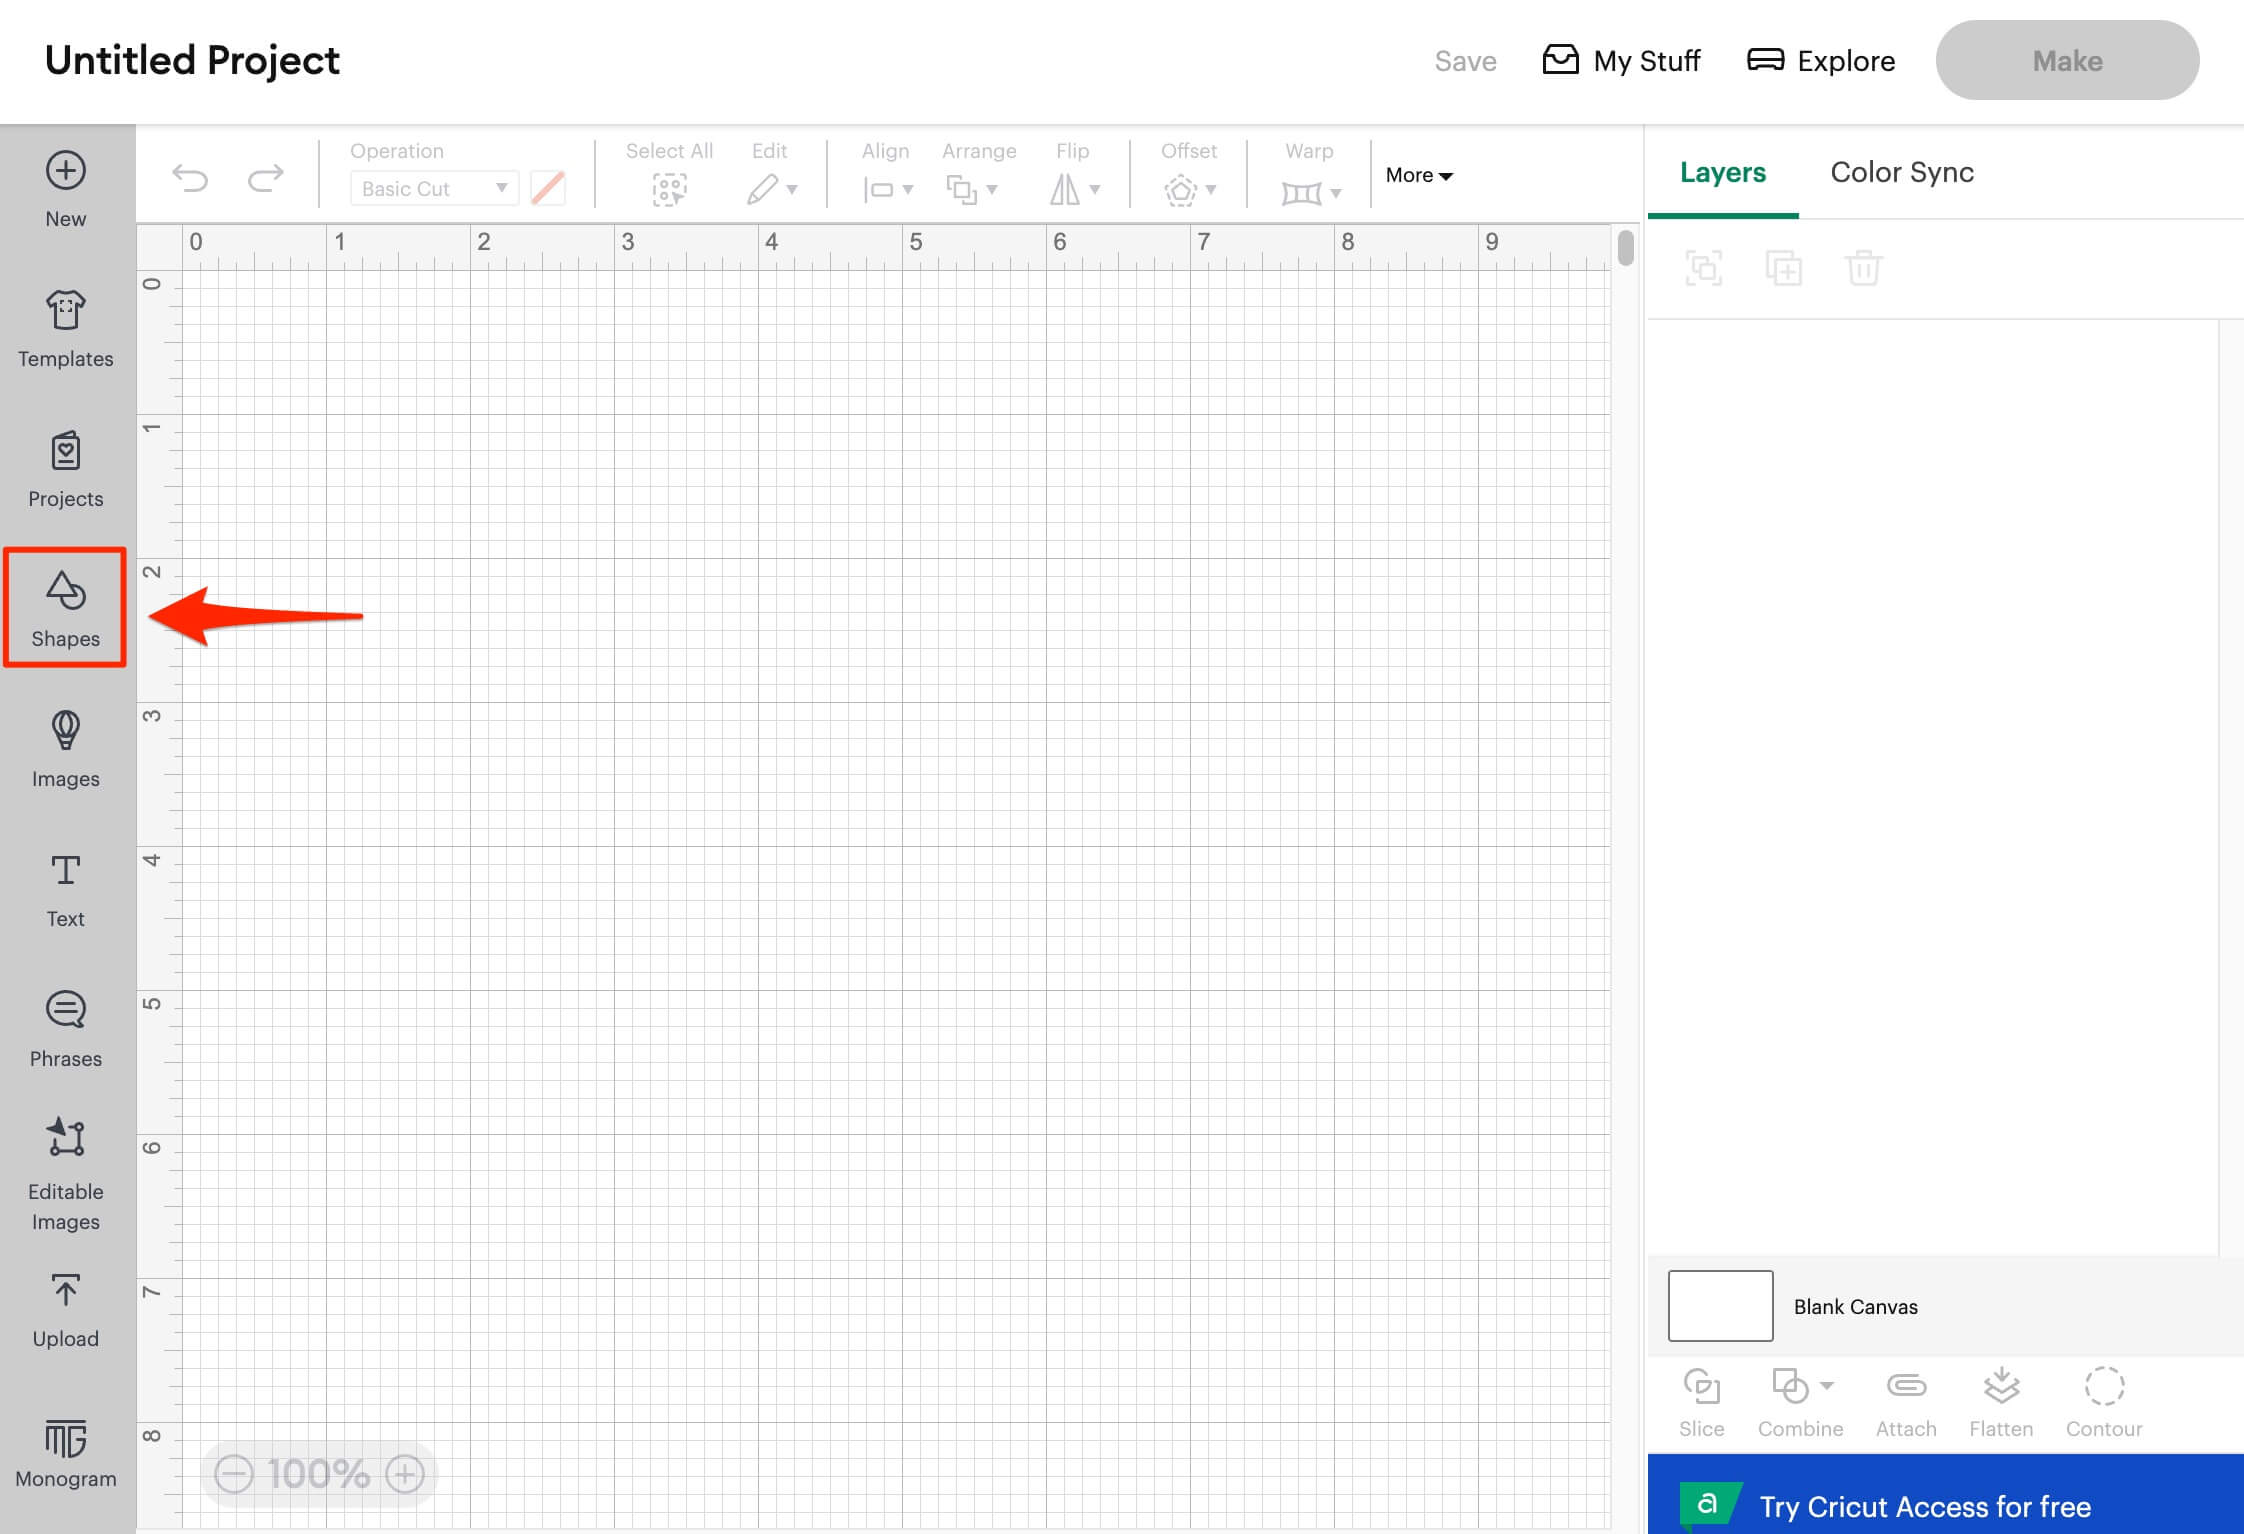
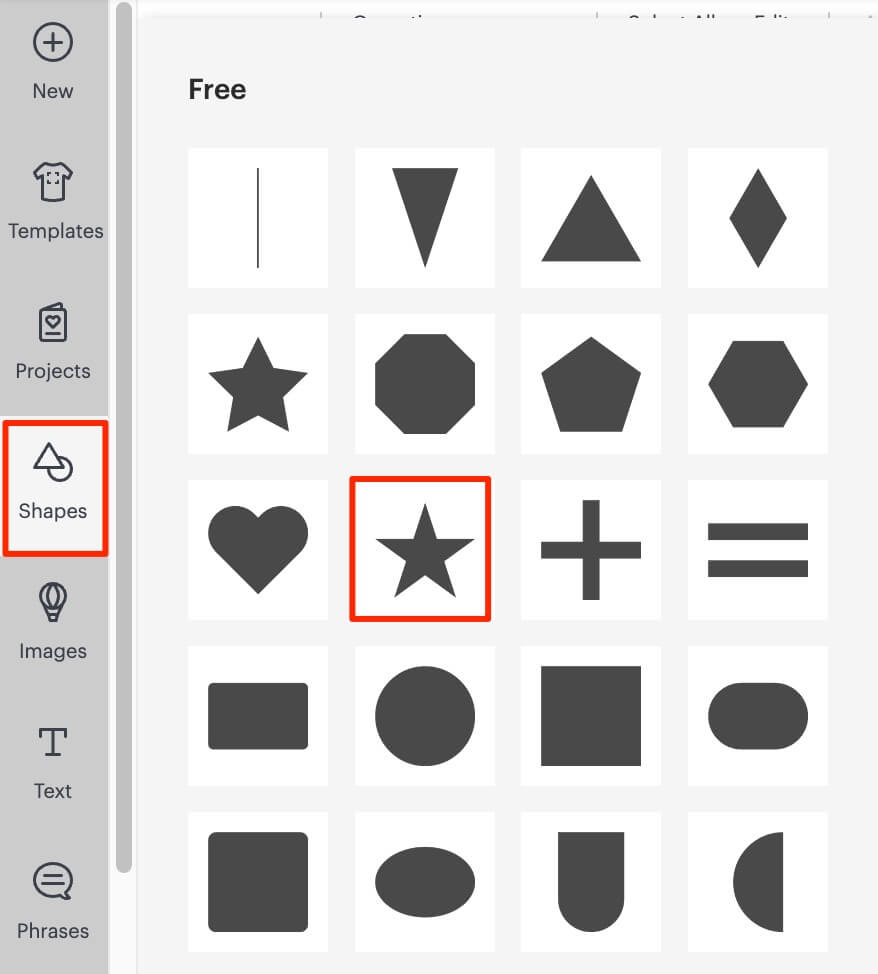
- With the blank canvas open, click Shapes towards the middle of the left hand Design Panel.
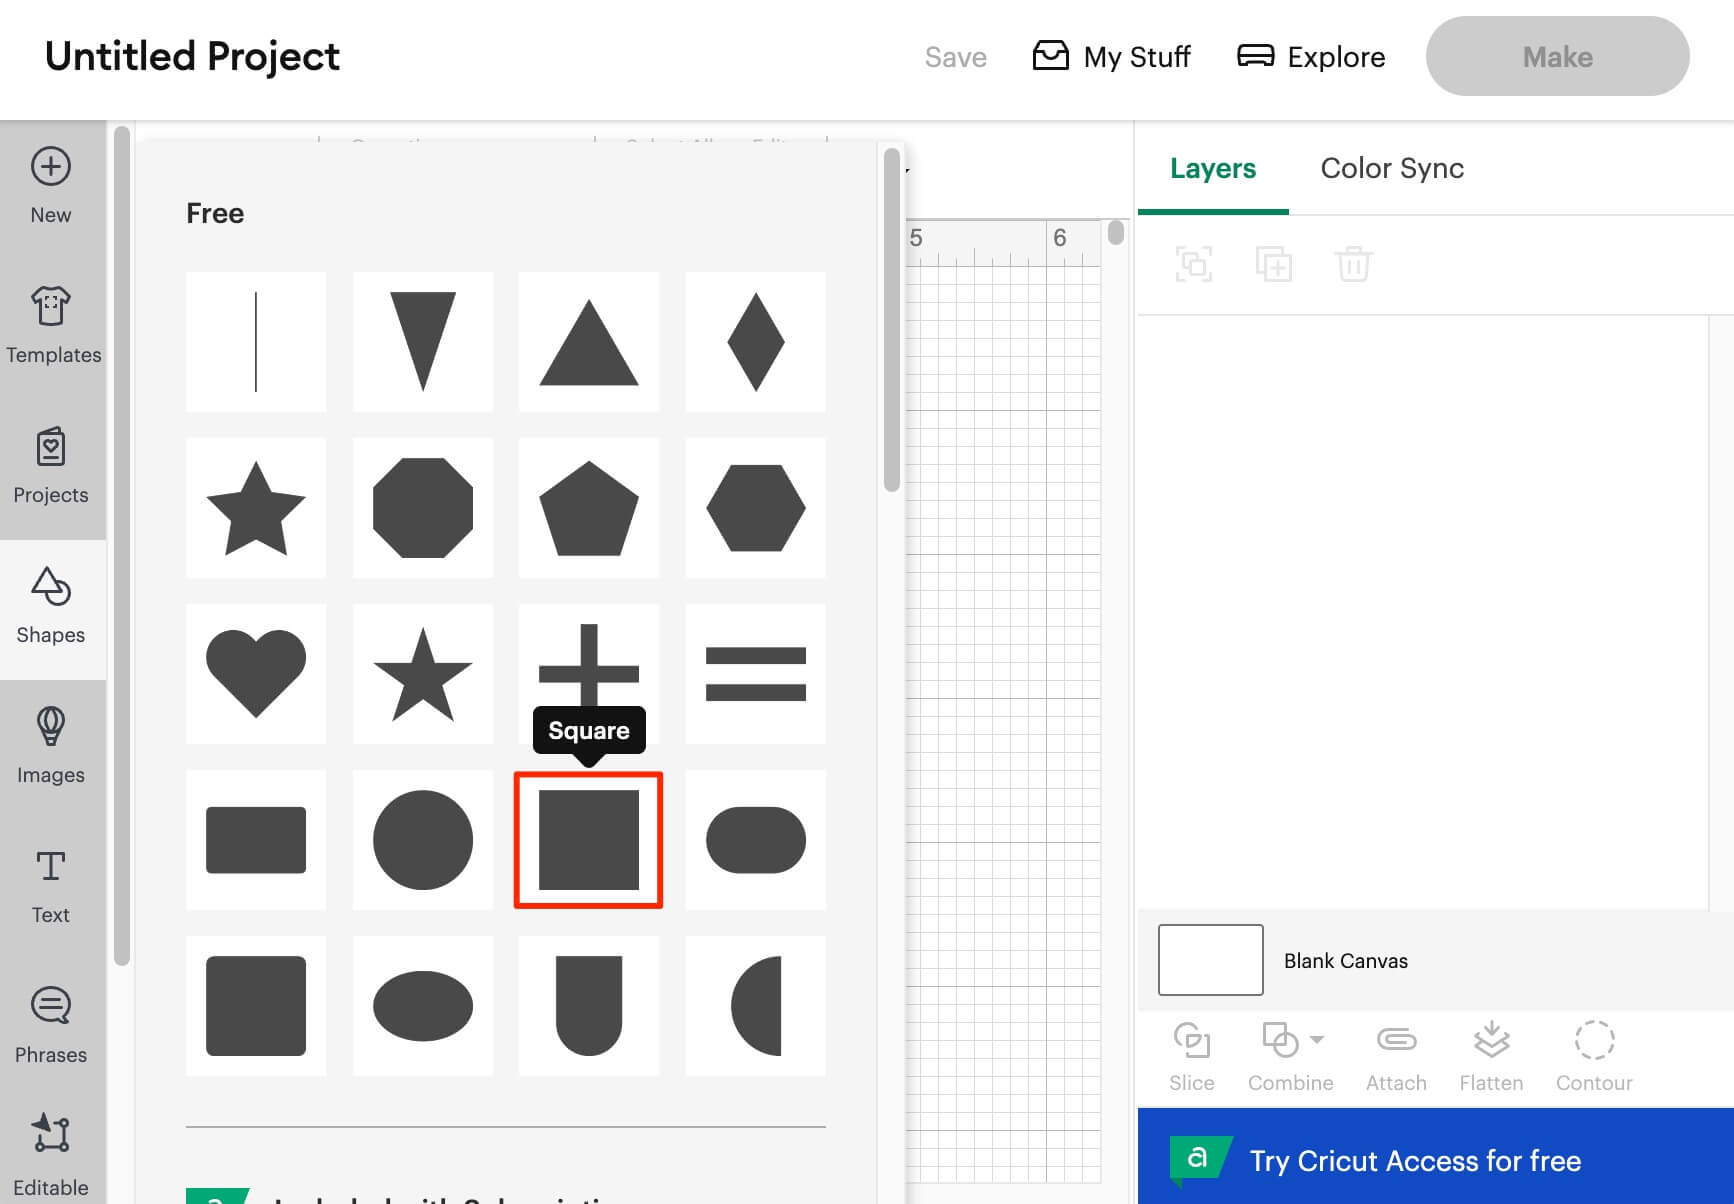
- Click on the rectangle with square corners to add it to canvas.
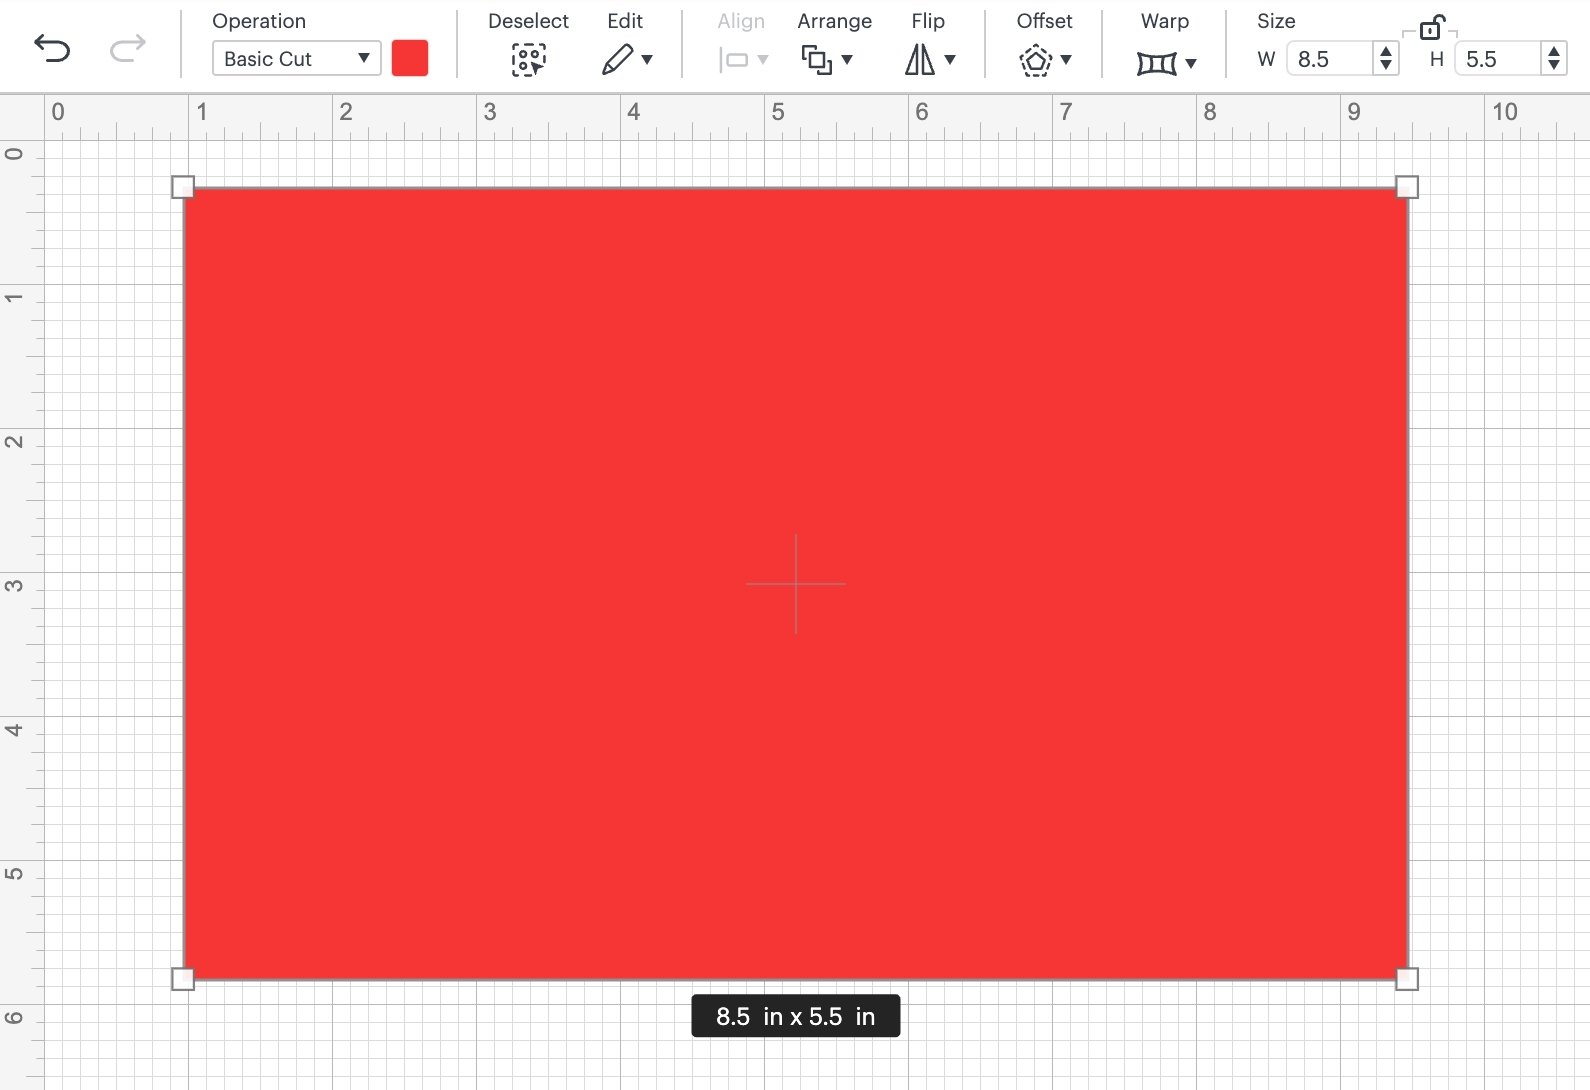
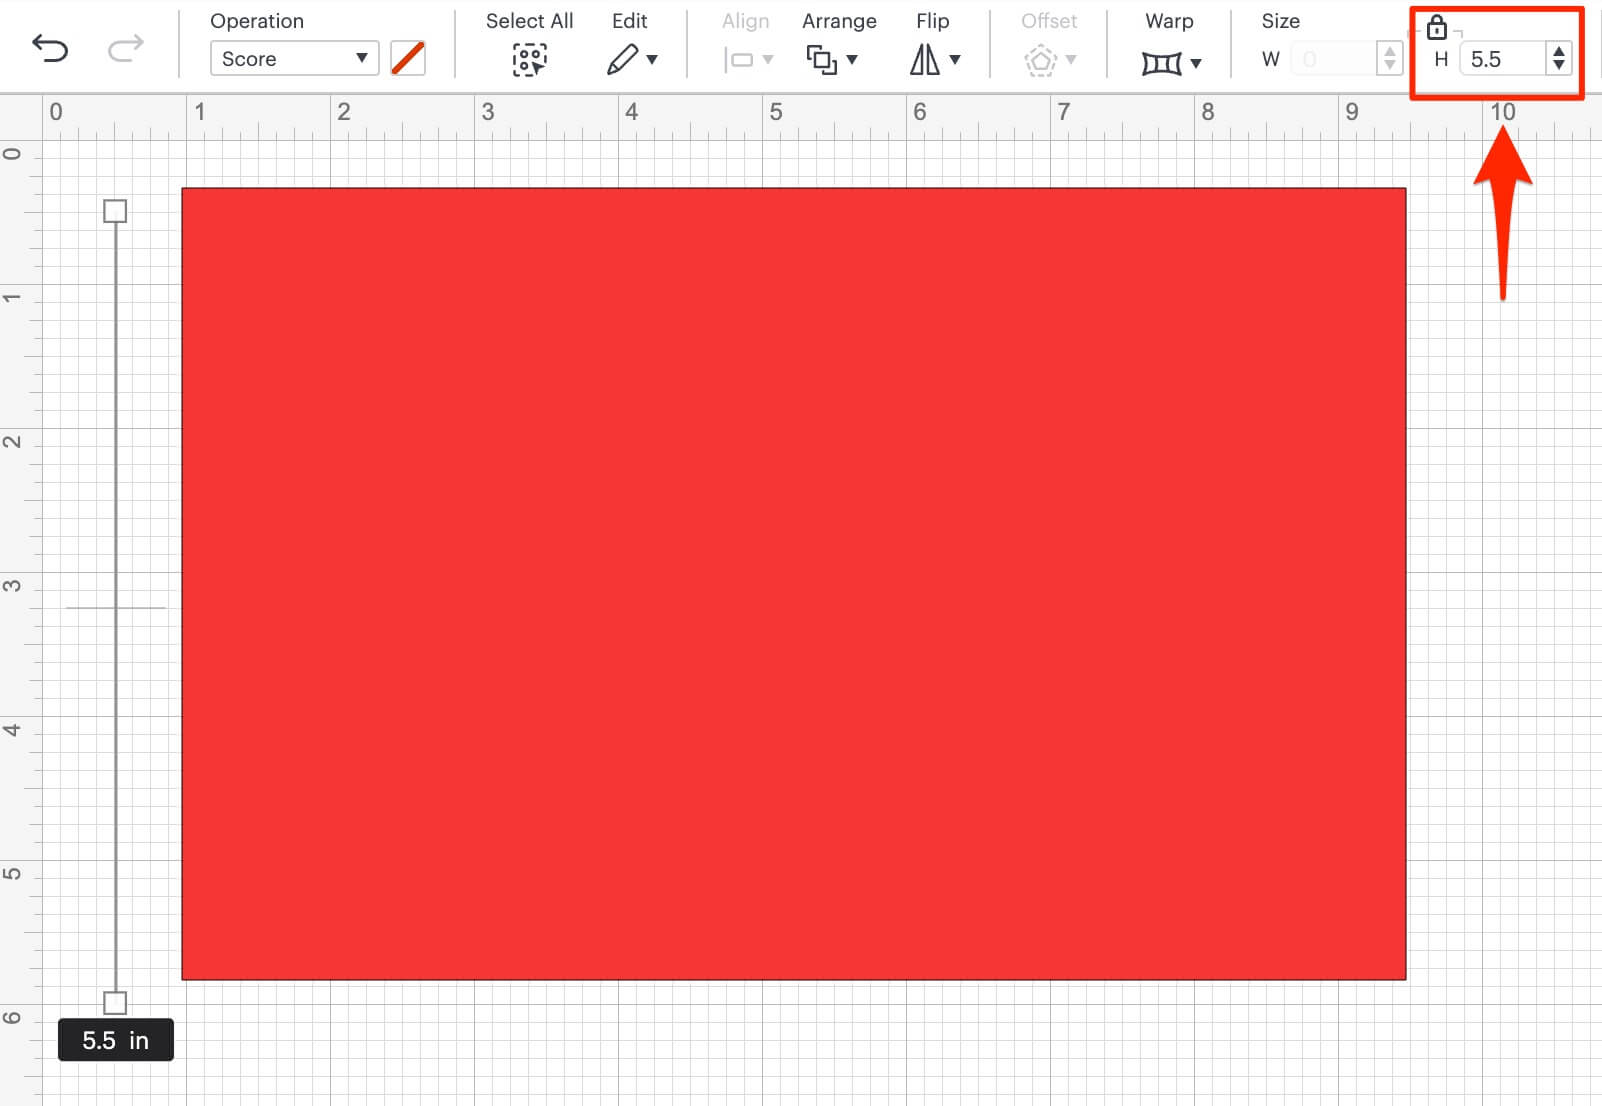
- Now click on the padlock icon in the Size area to unlock the padlock
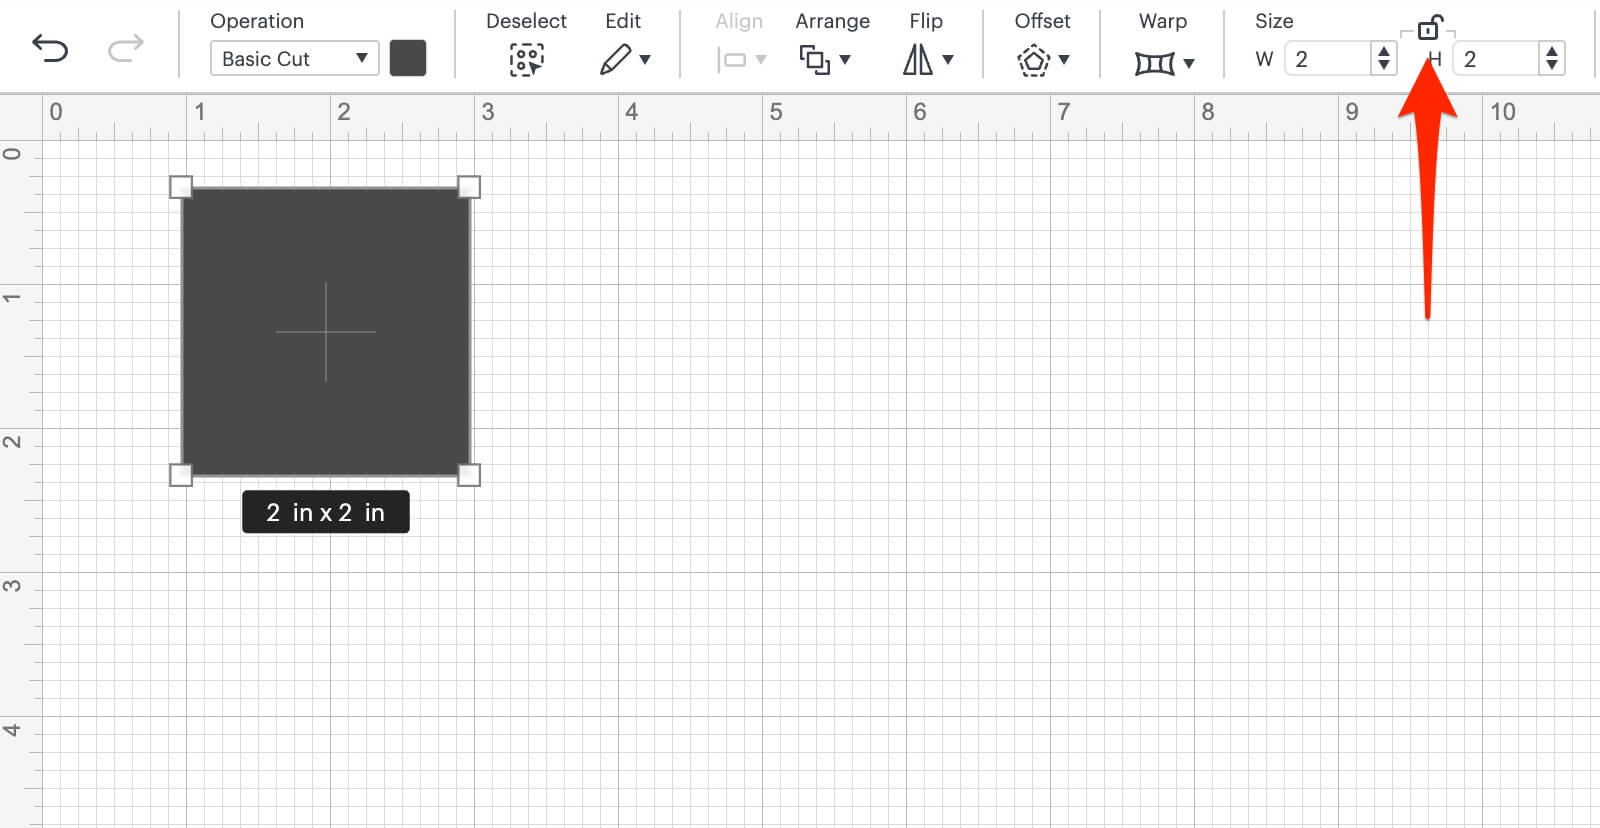
- Type in 8.5 for W, and 5.5 for H.

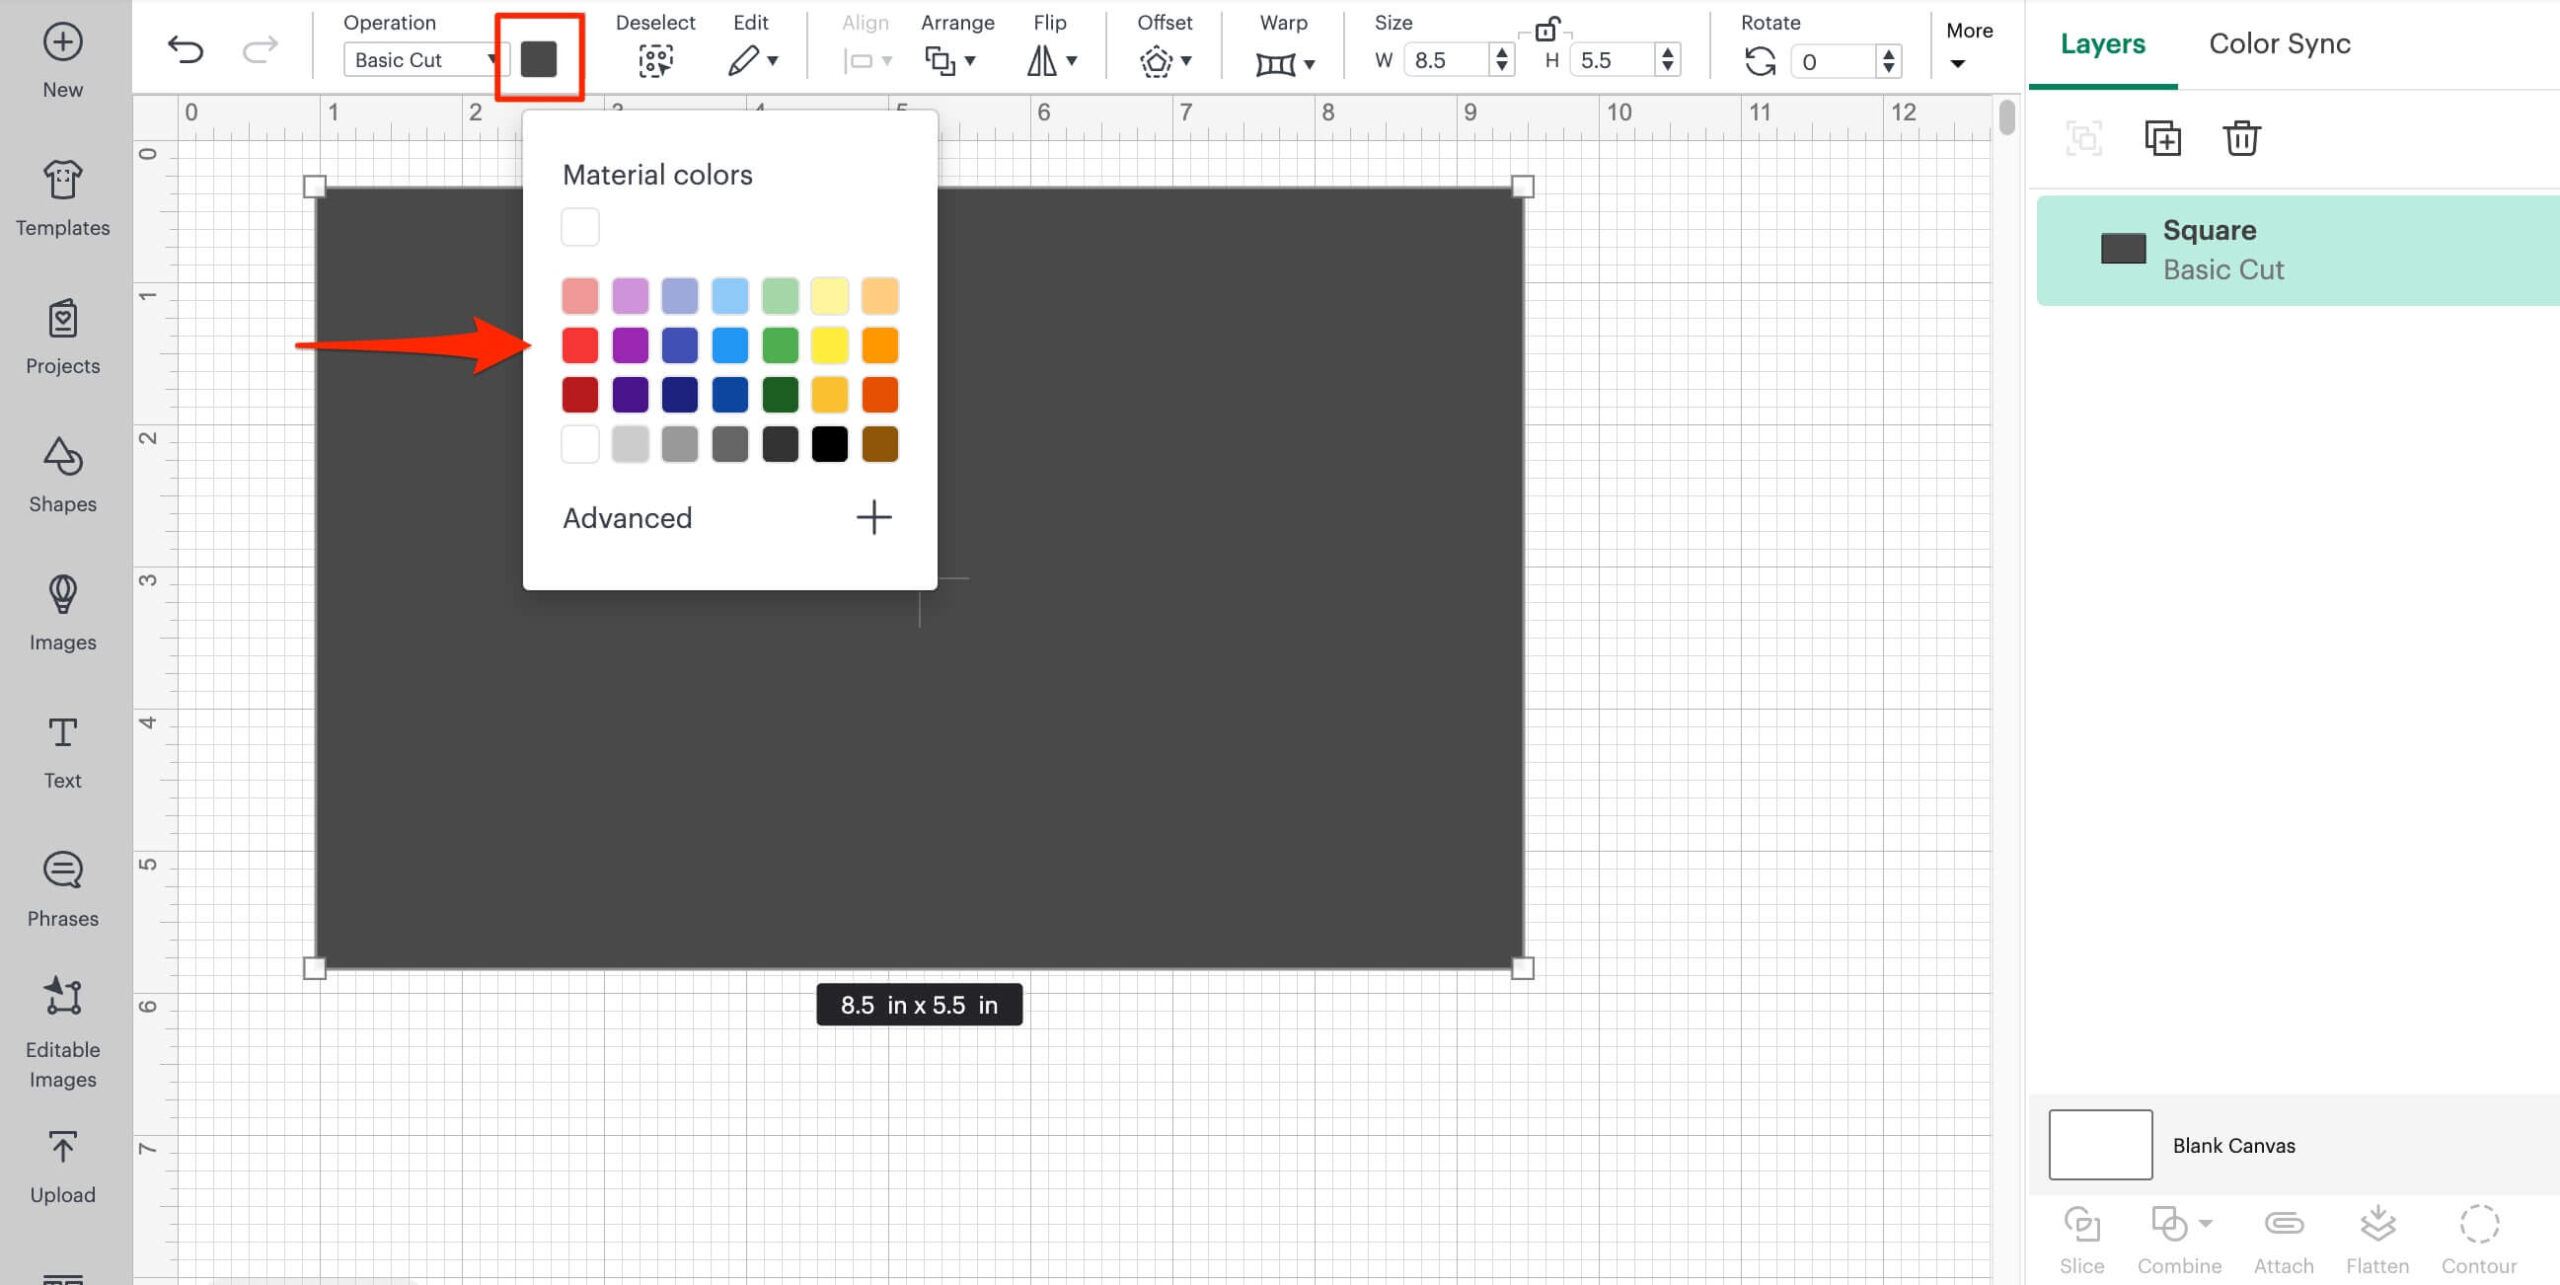
Now let’s change the color to red, because that’s the color of the cardstock we’re going to use.
- Click the color swatch, and select red.
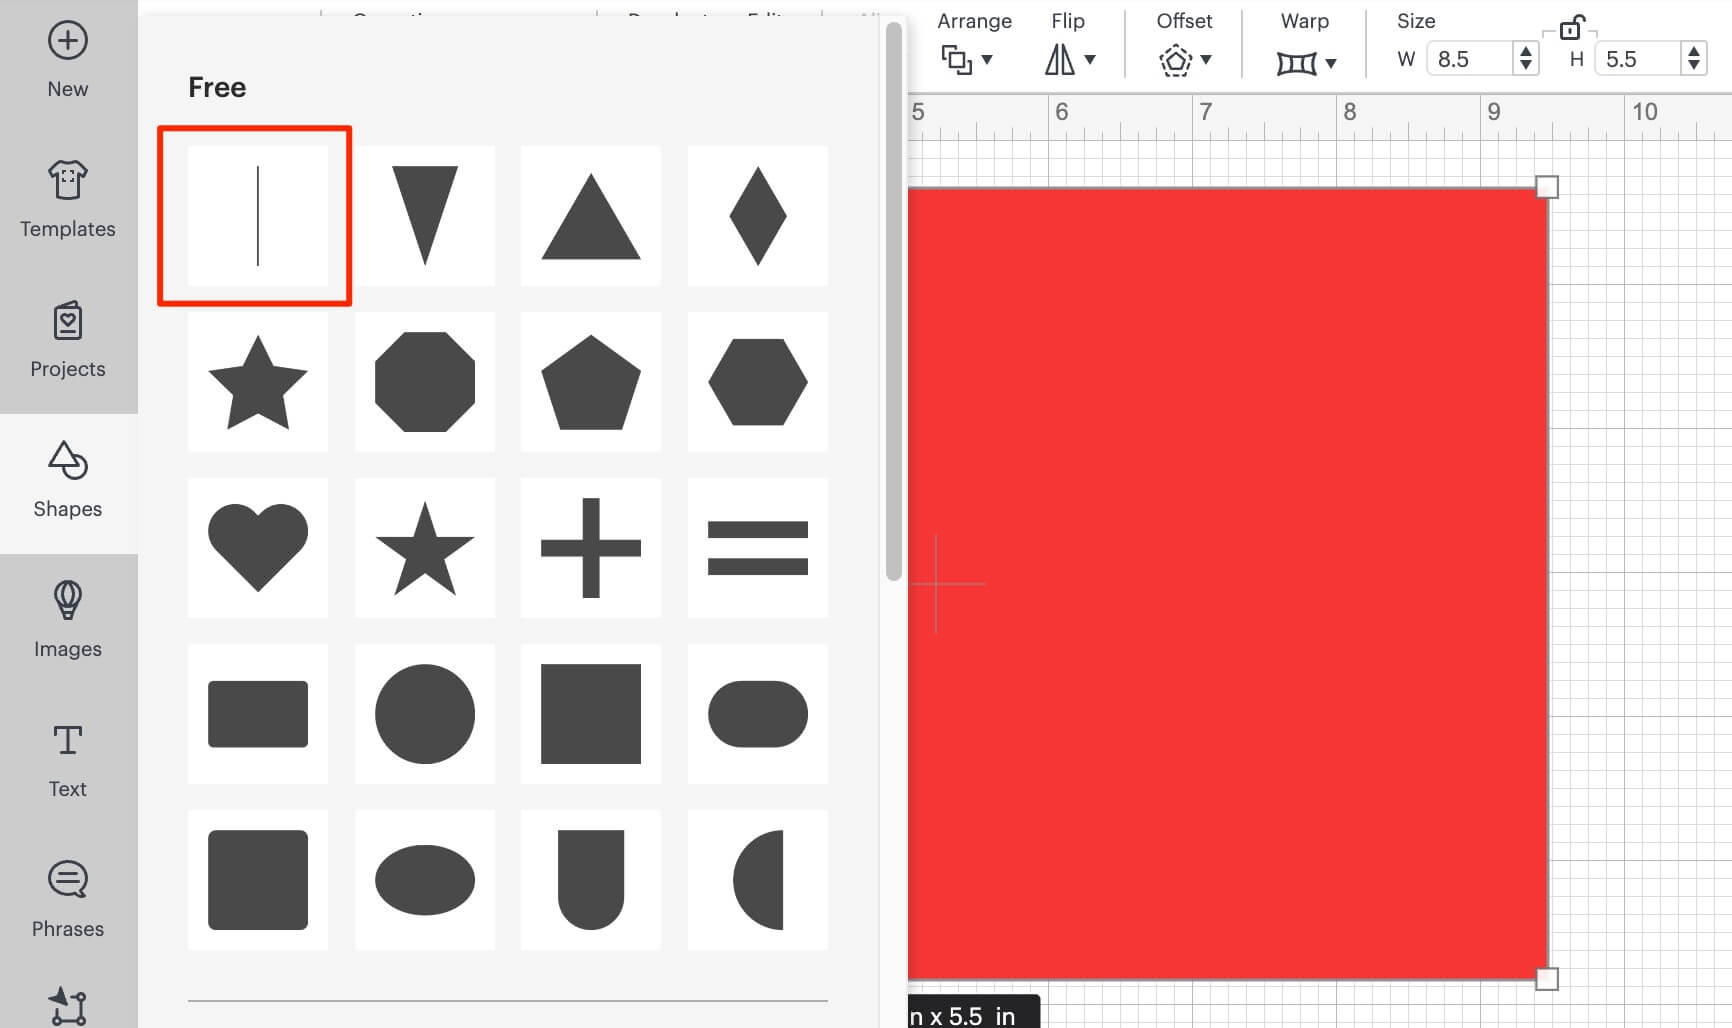
- Now click on Shapes again. This time we’re going to add a Score Line (top left)
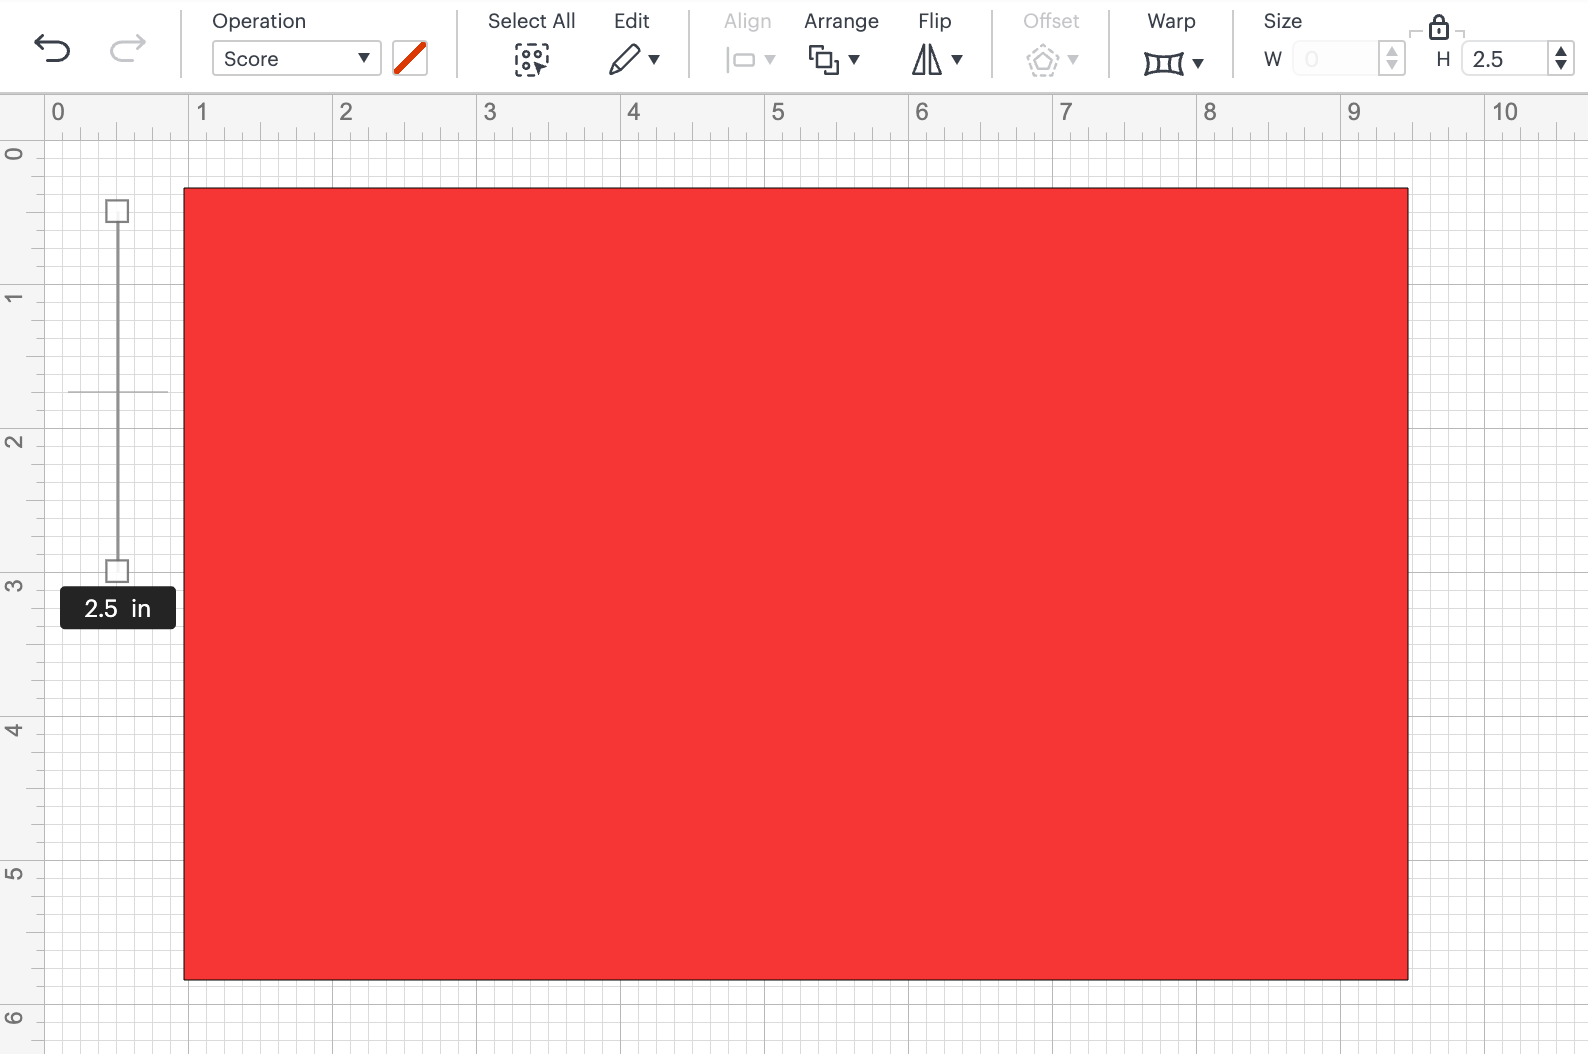
- Now select the Score Line and enter in the Height value of 5.5.
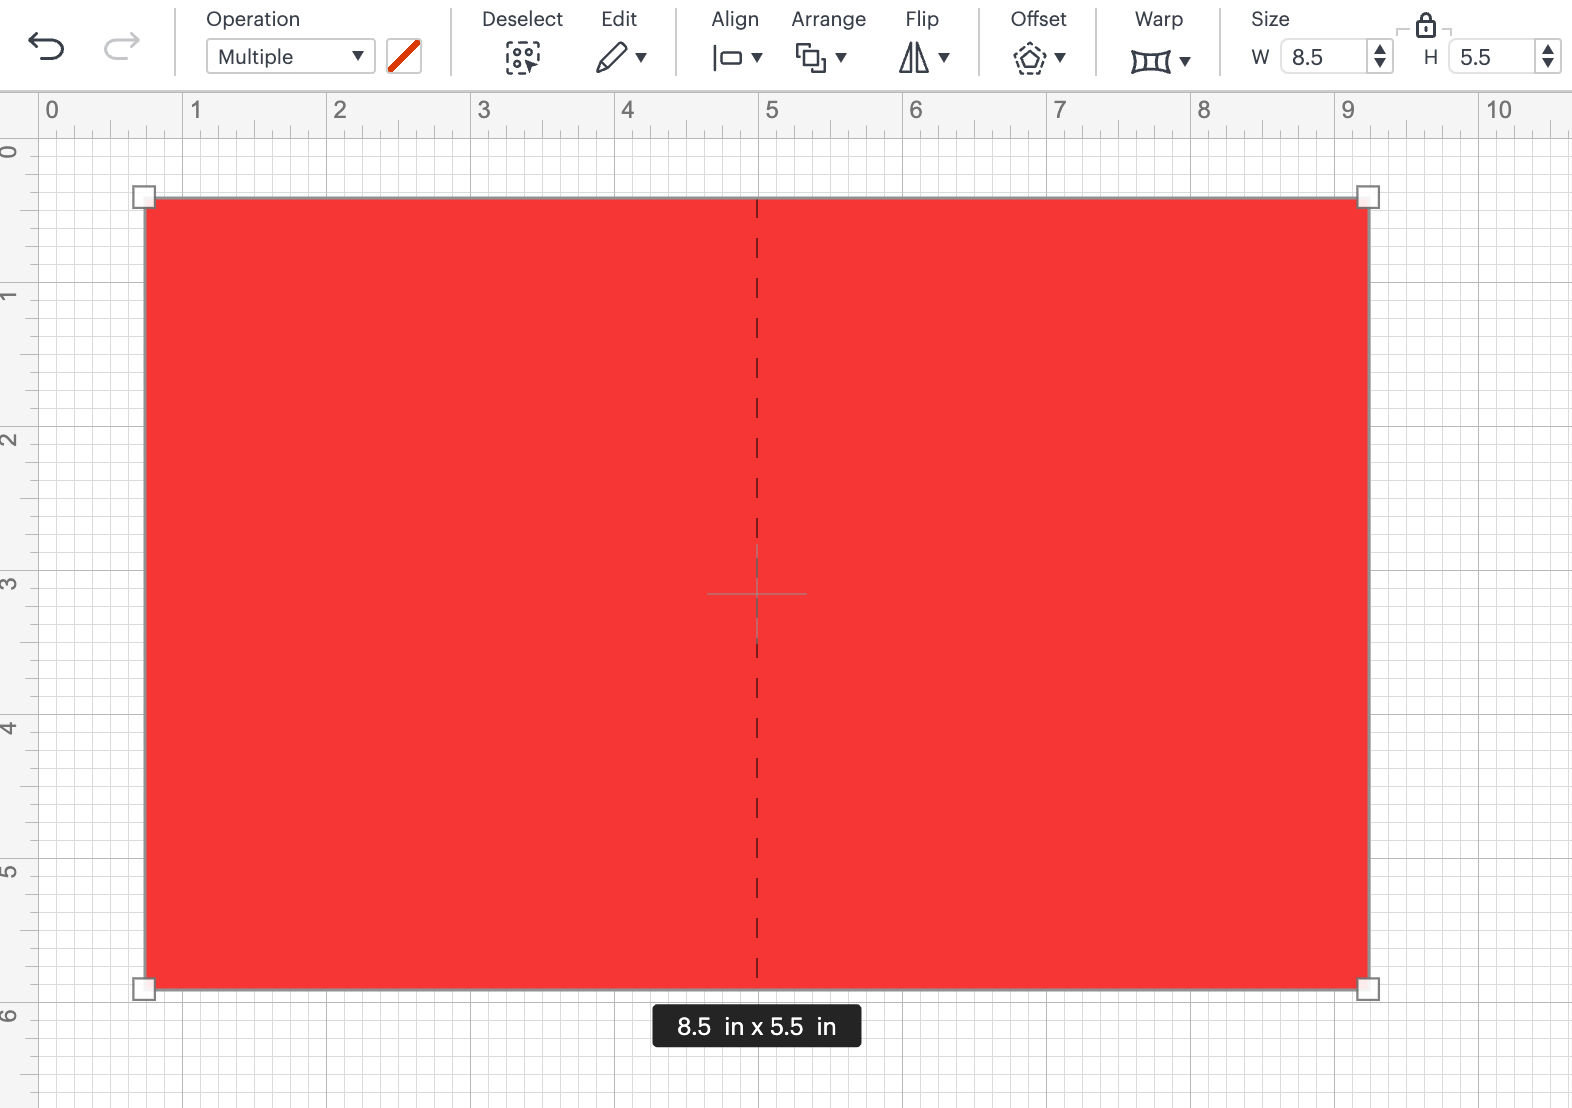
- Now select both the Score Line and red rectangle and then click on the Align icon and select Center
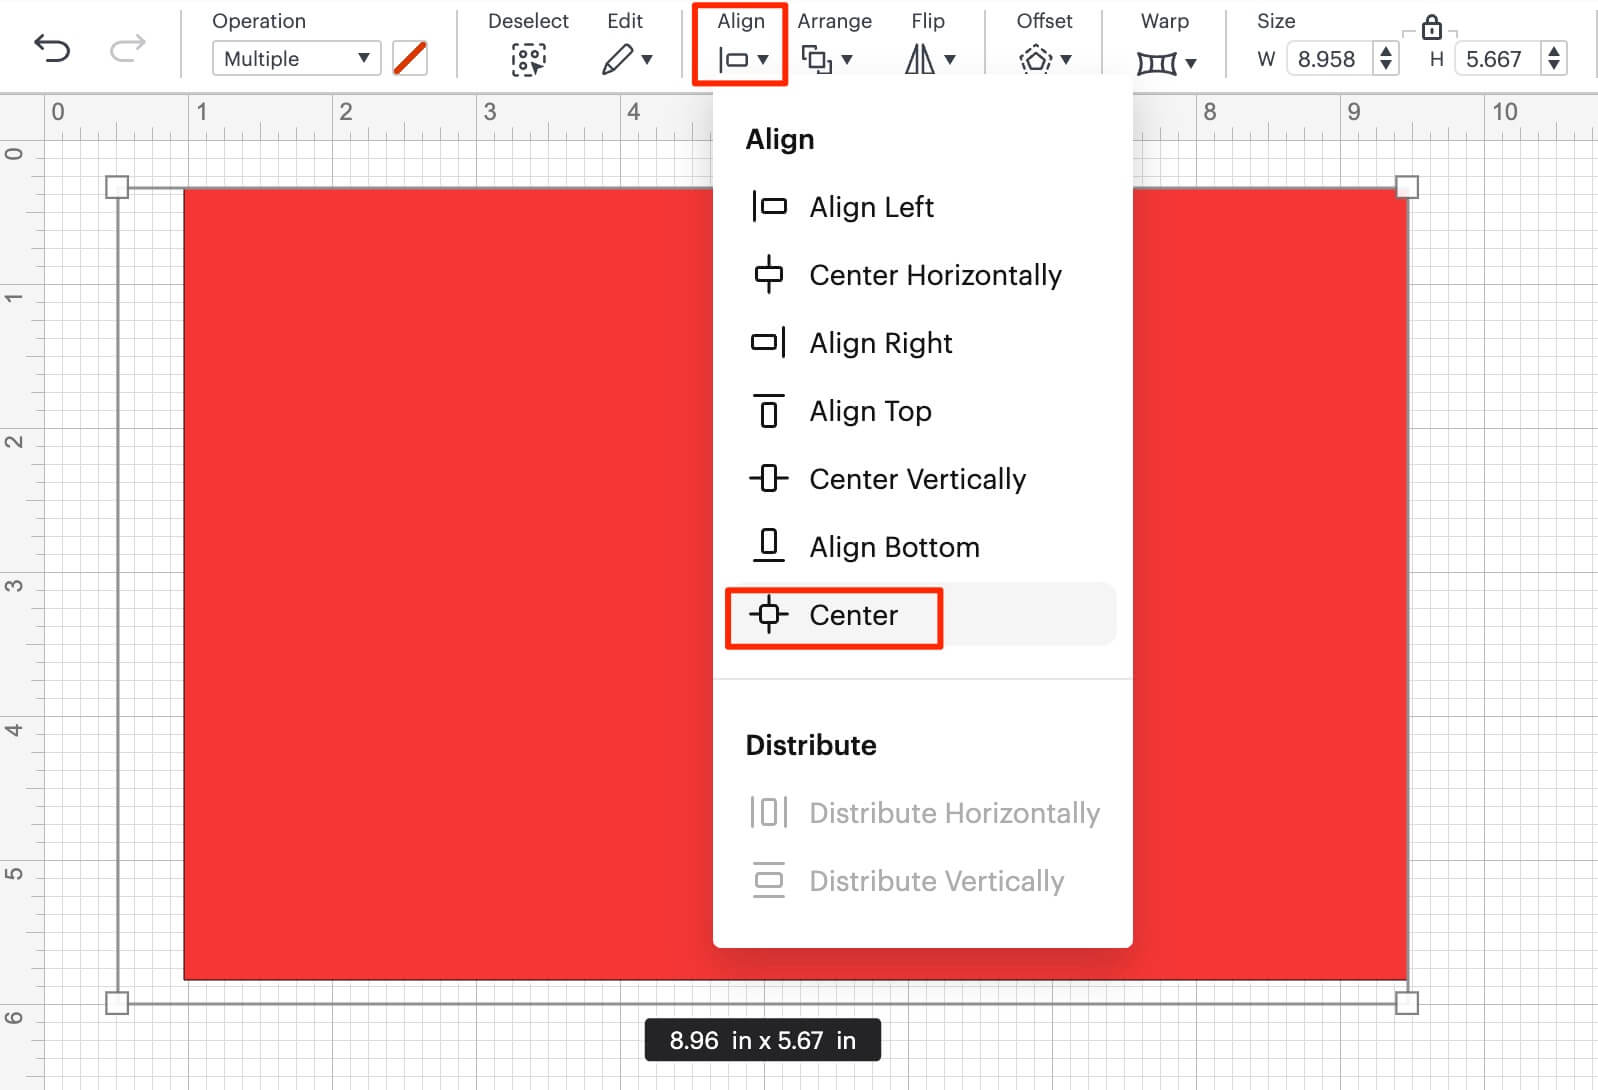
Good work, now the Score Line runs down the center of the card.
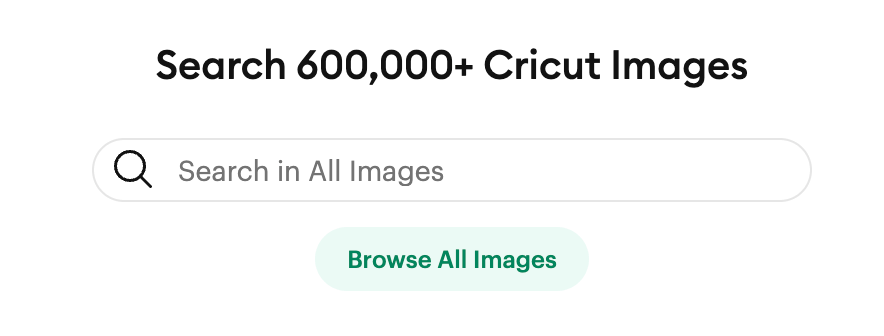
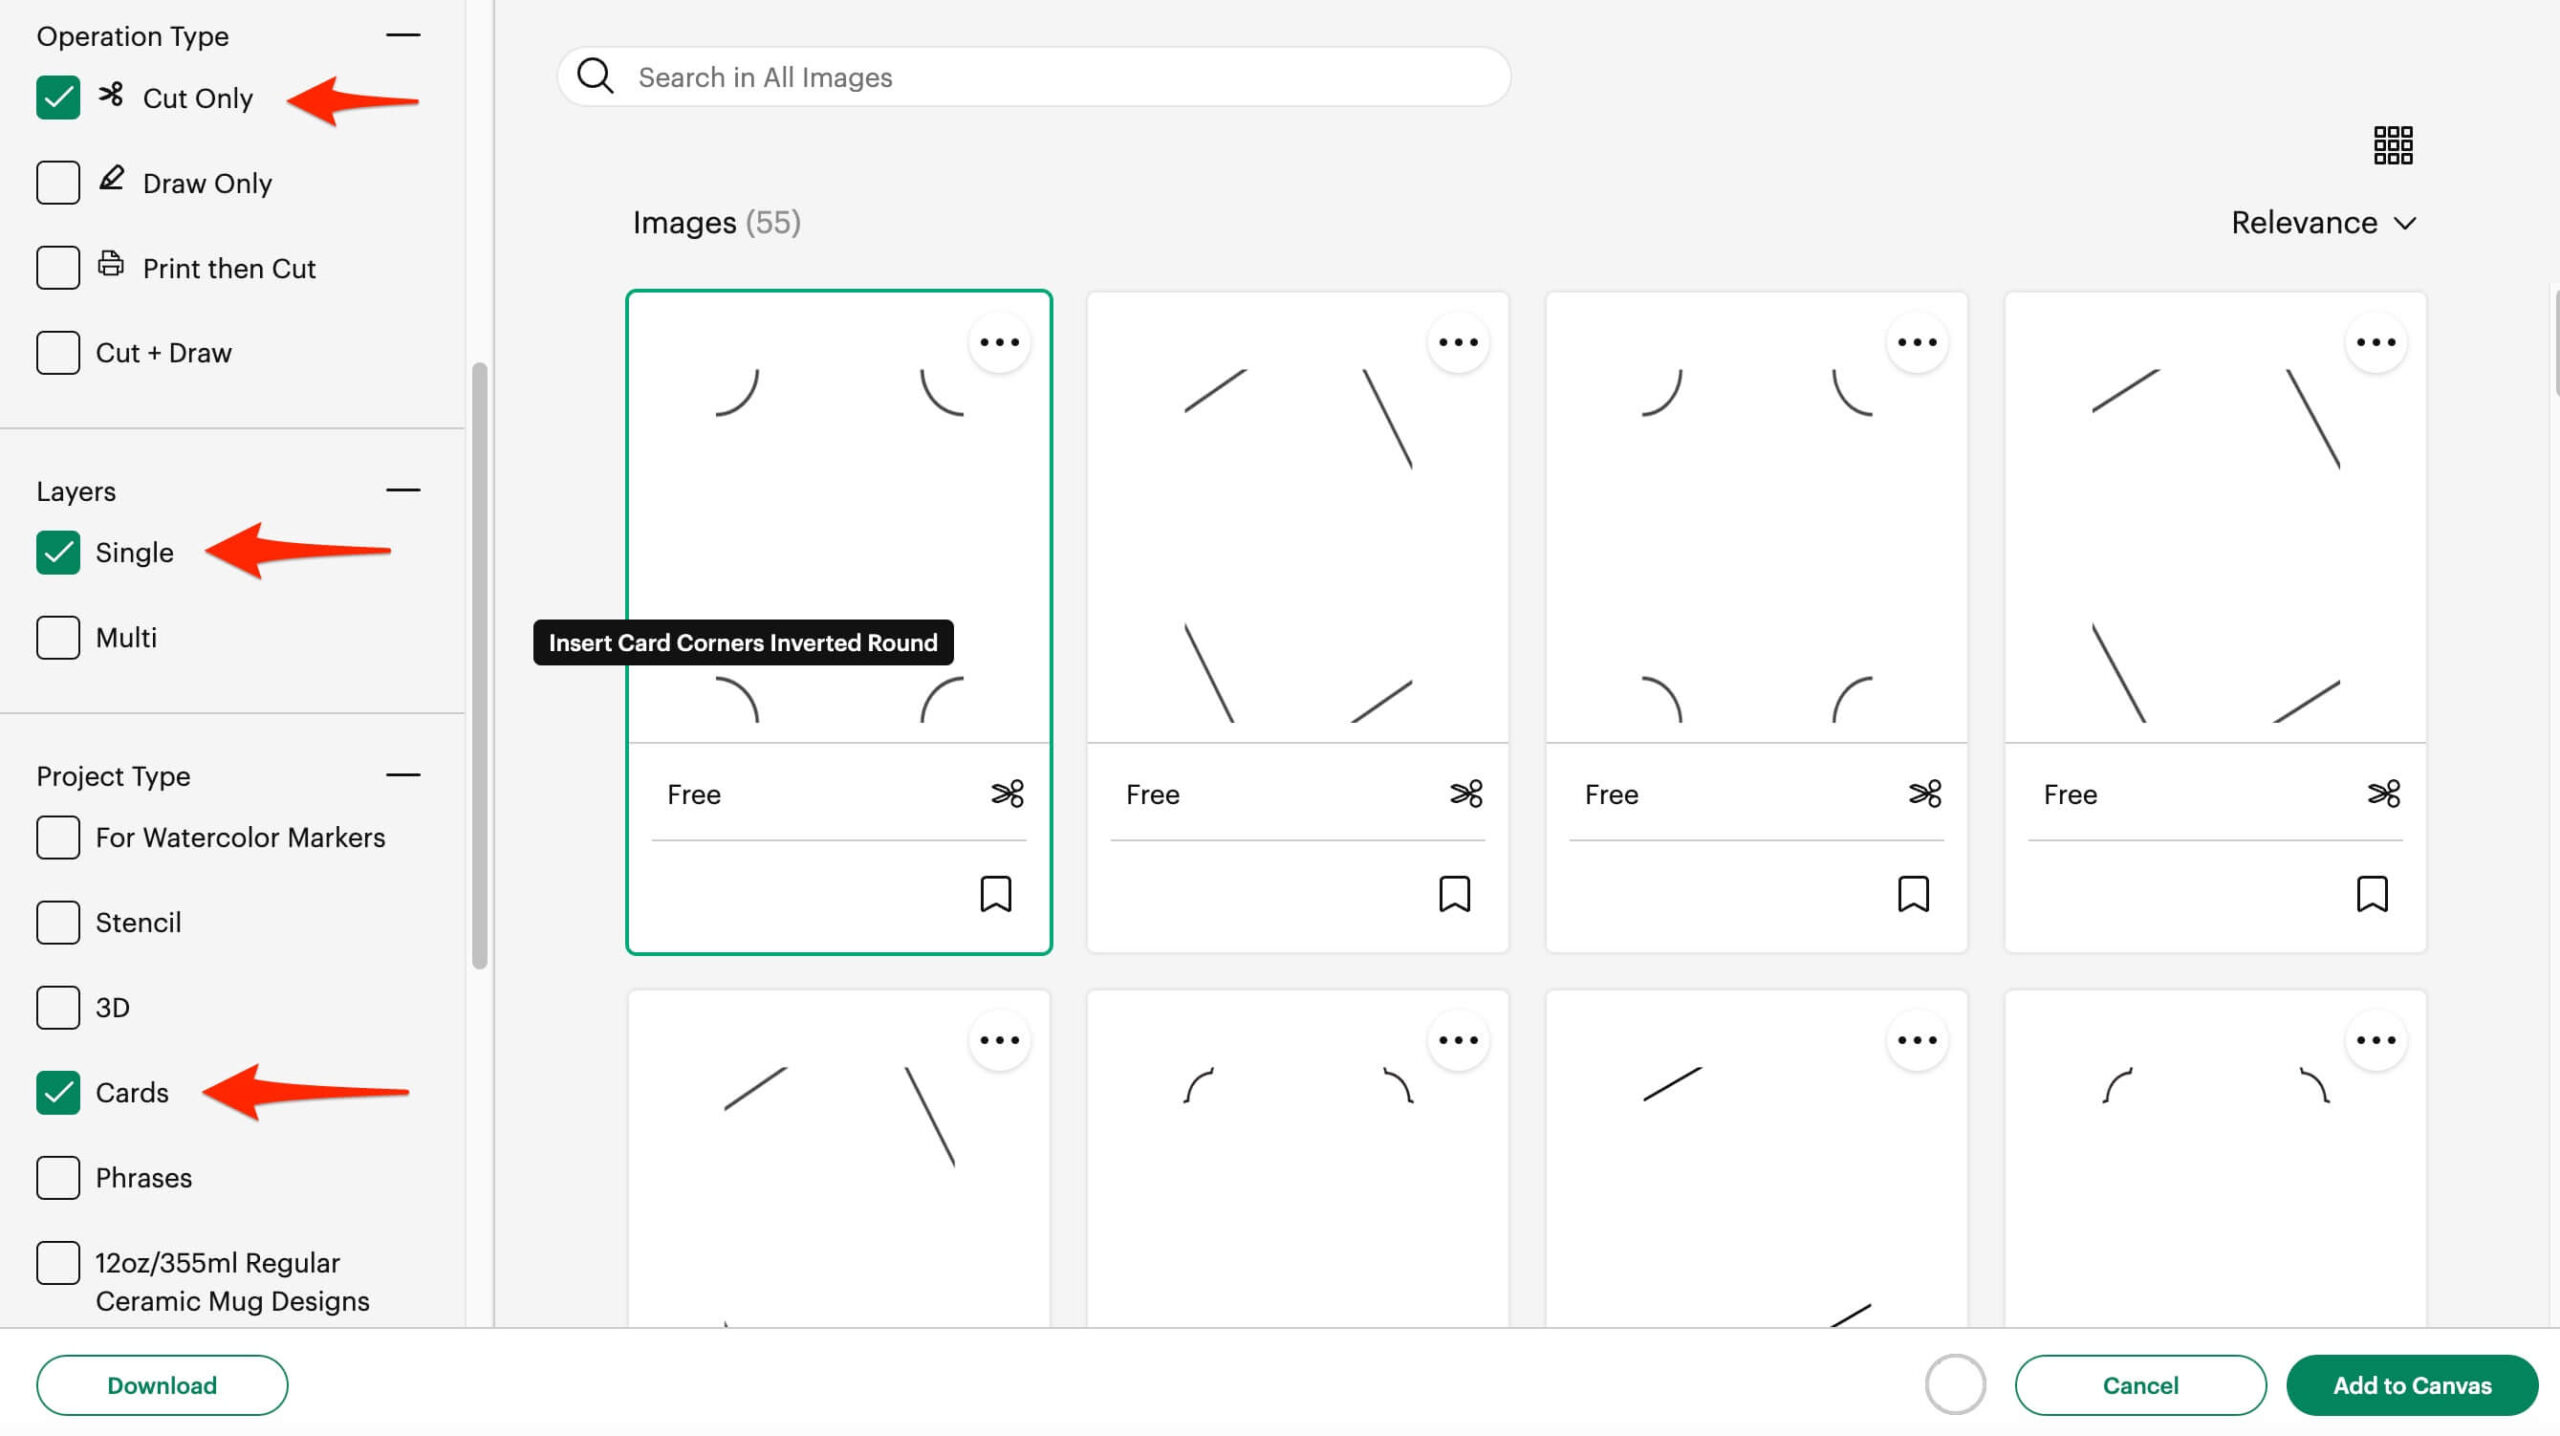
- Now Click on Images in the left hand Design Panel, then click Browse All Images.
- In the Filters on the left hand side, tick the following options:
- Free
- Operation Type: Cut Only
- Layers: Single
- Project Type: Cards
- Click on the first option, then click Add To Canvas in the bottom right.
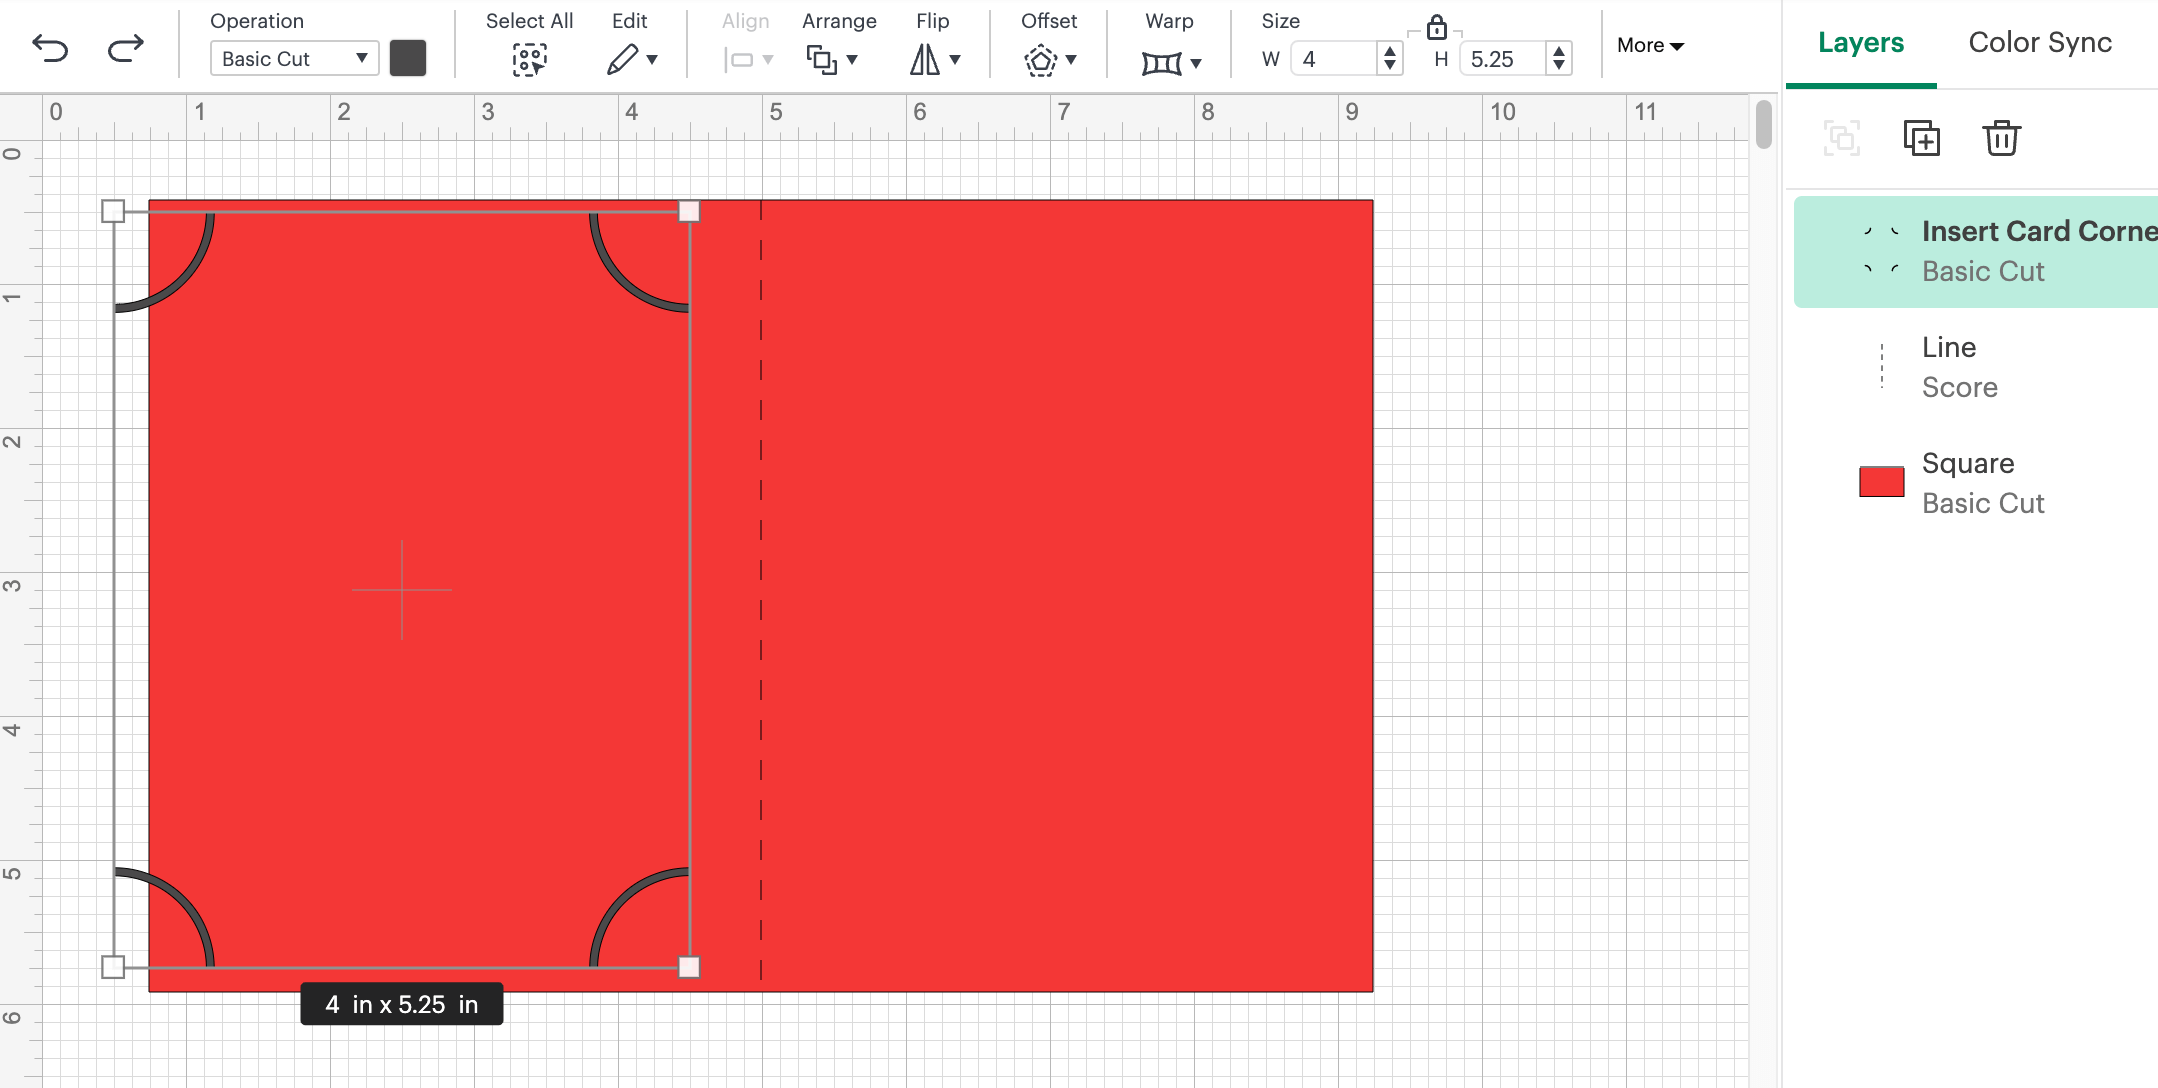
- In the Size panel, make sure the padlock icon is locked and type in 3.6 for W.
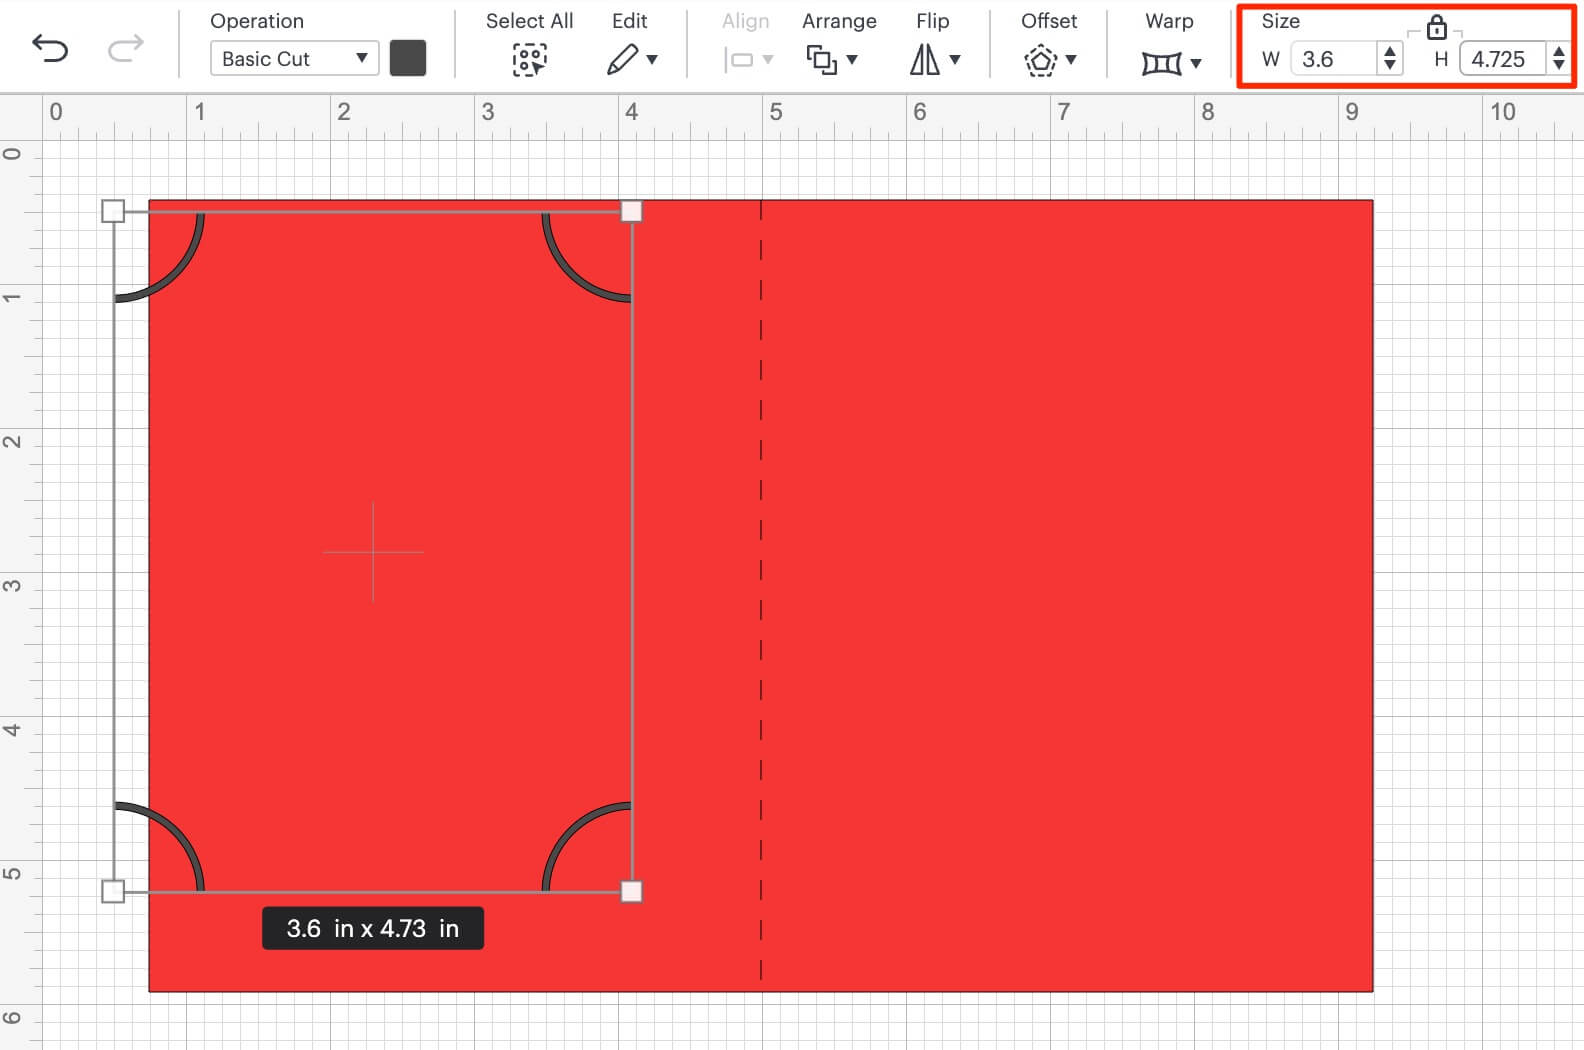
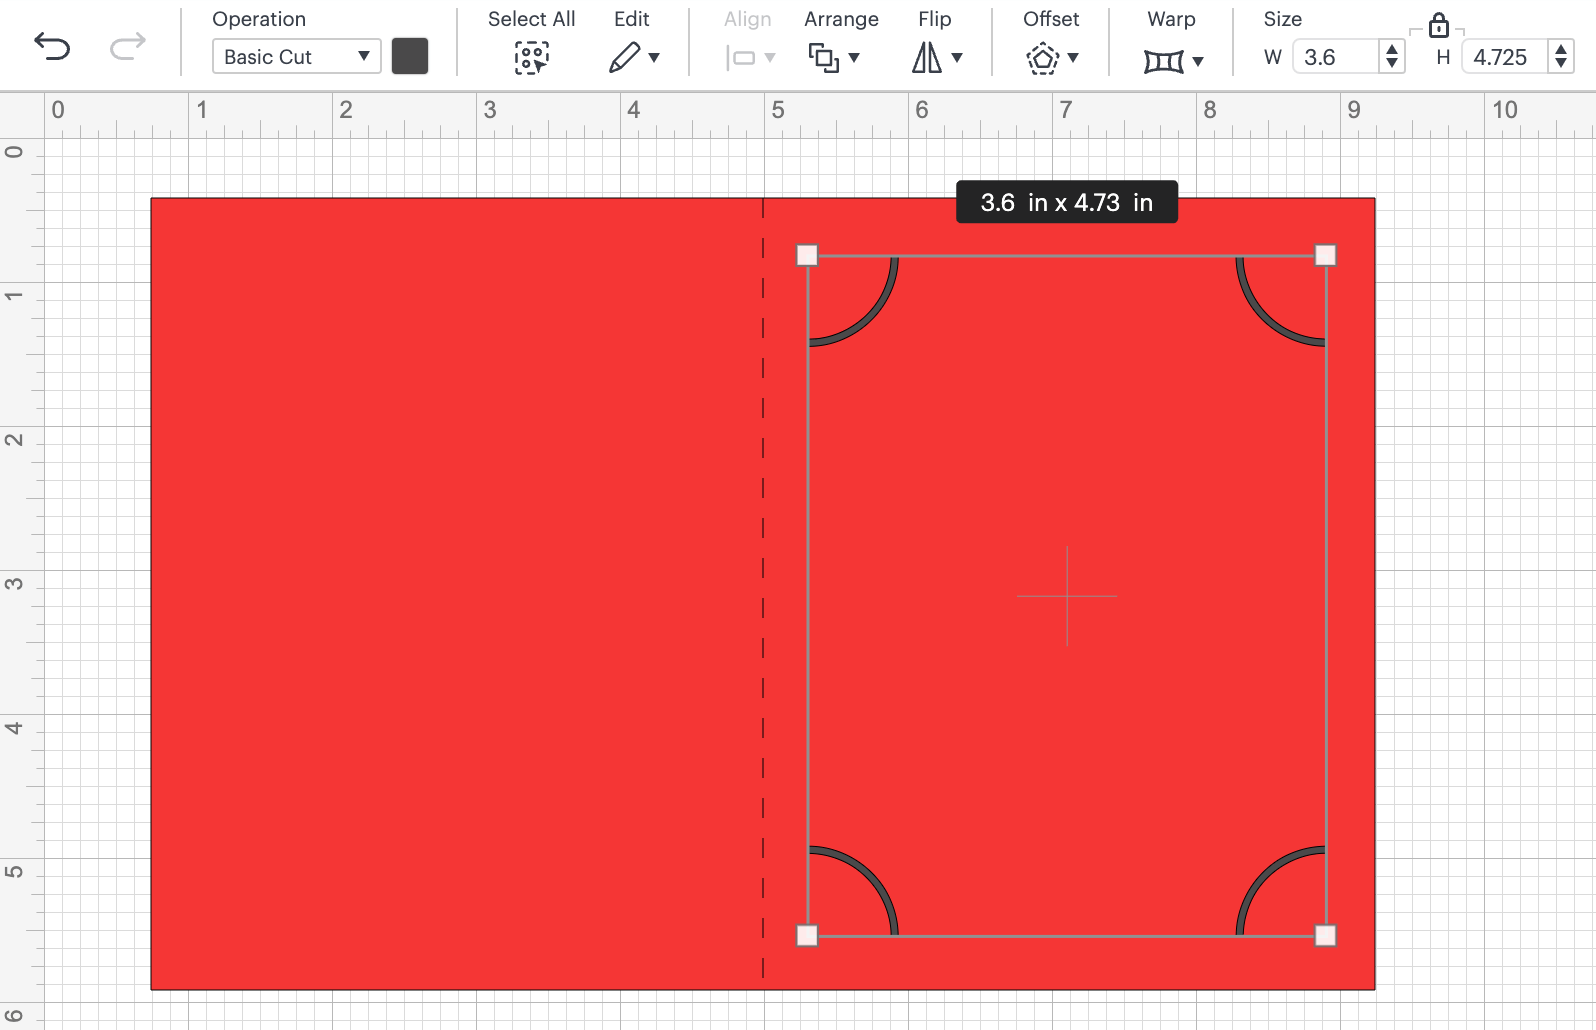
- Now move the corners to roughly the center of the right hand panel of the card.
- Now click on Shapes again and this time add a Star.

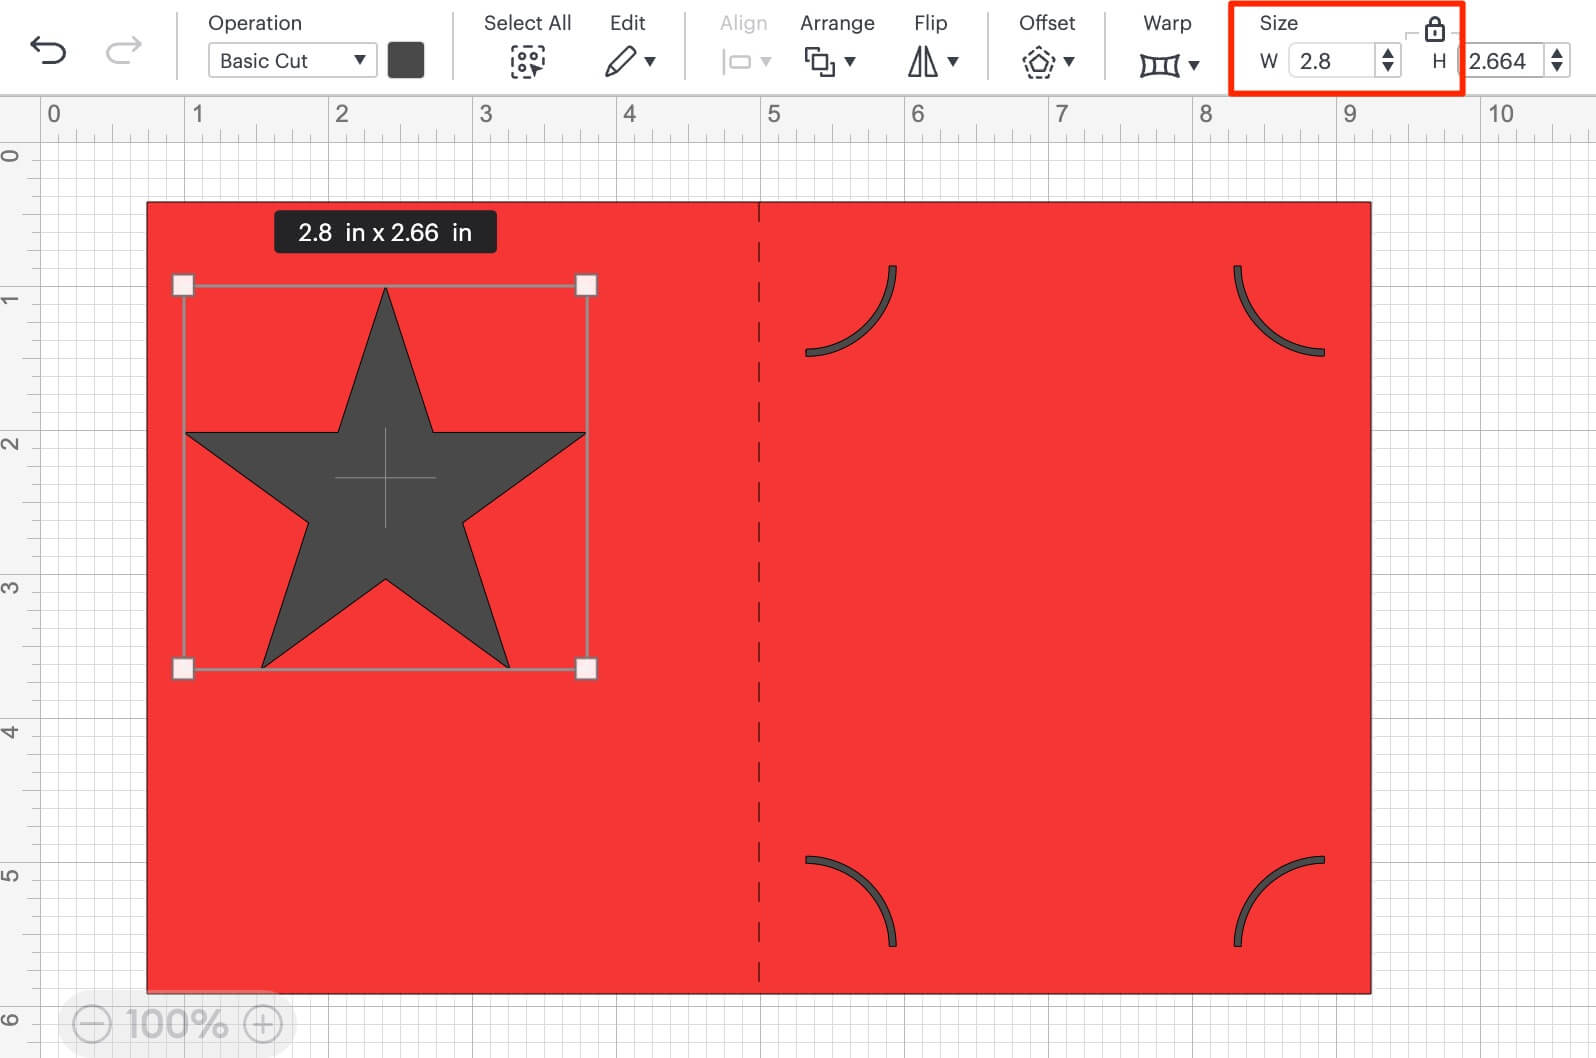
- With the Star selected, give it a Width of 2.8”.
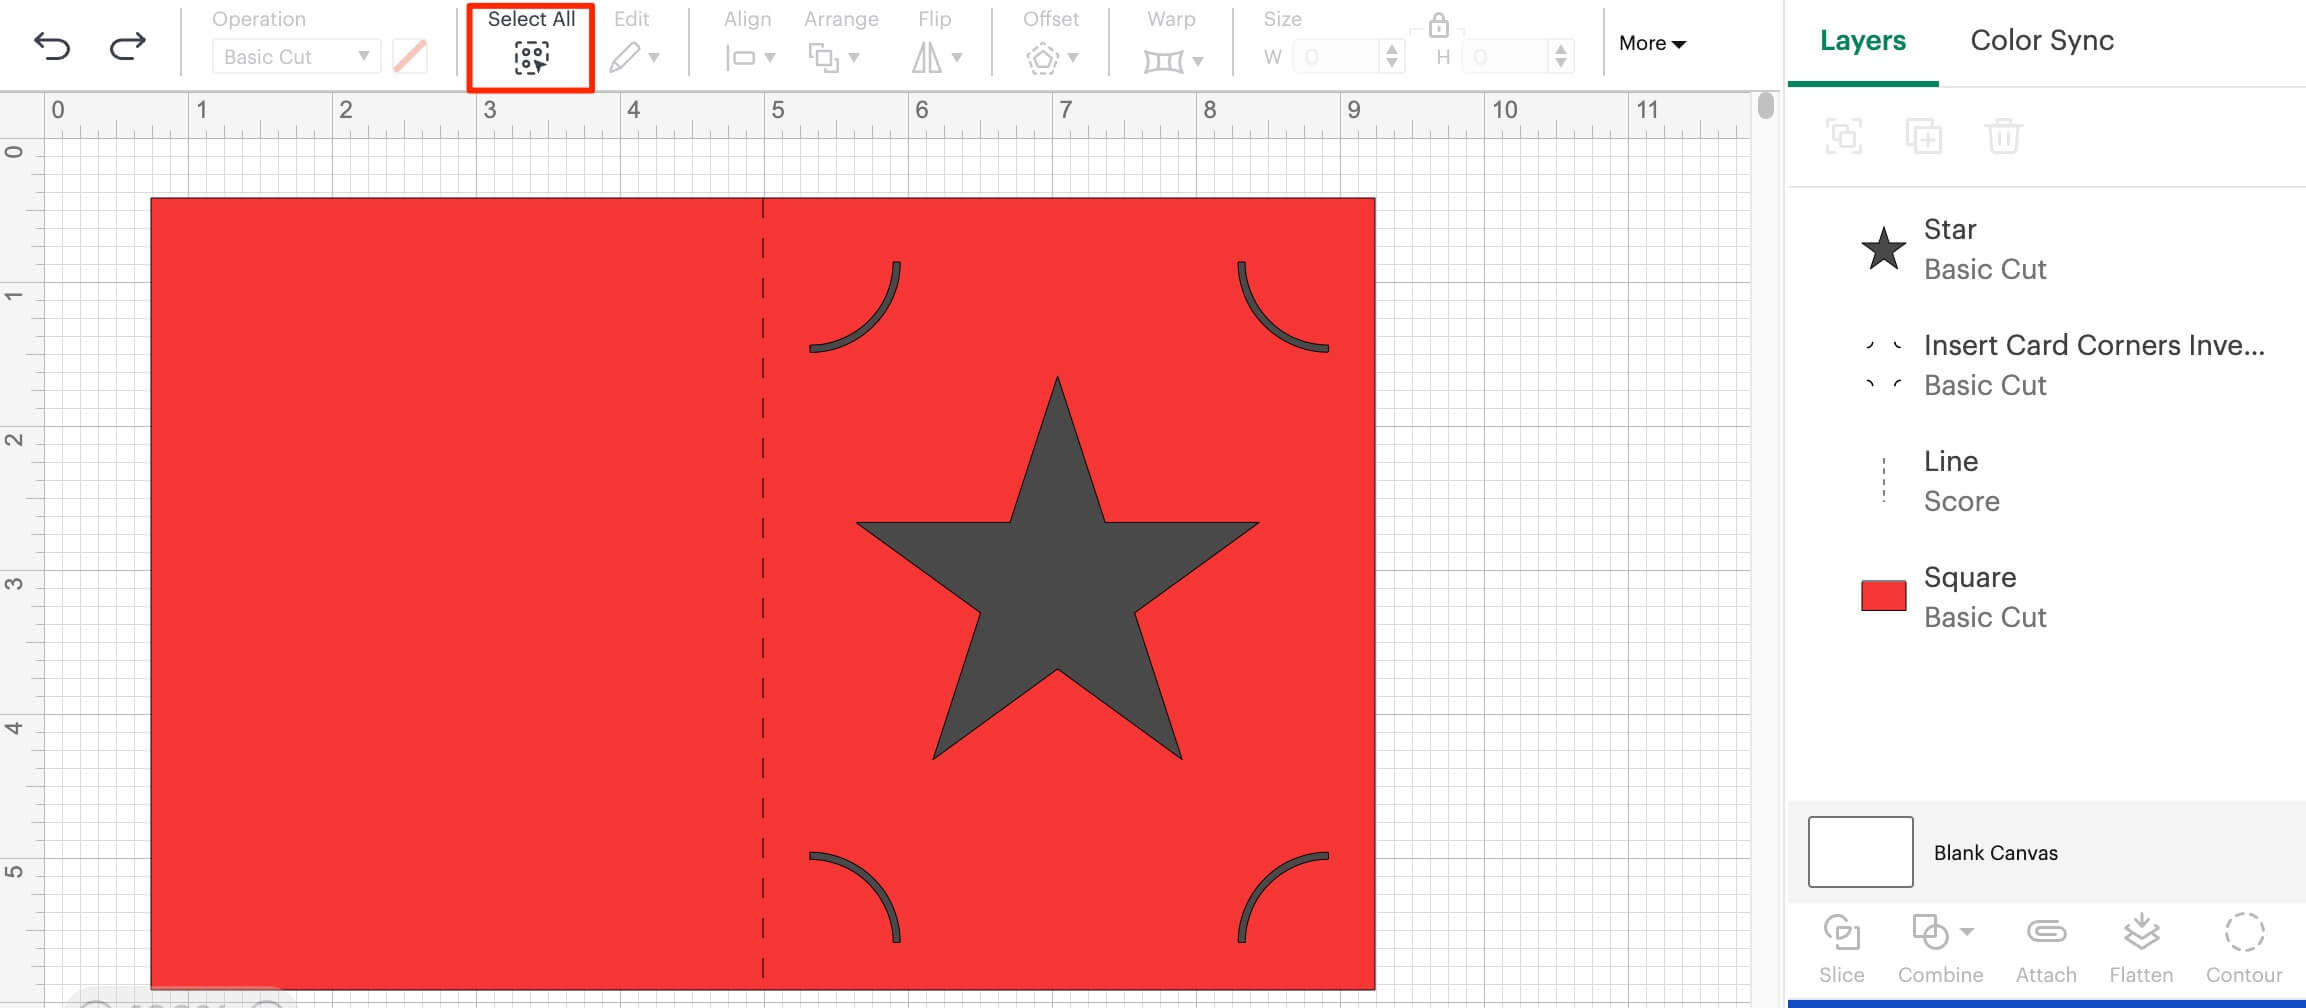
- Move the star over to the center of the right panel, and click Select All.
- With all the layers selected, click the Align icon and choose Center Vertically.
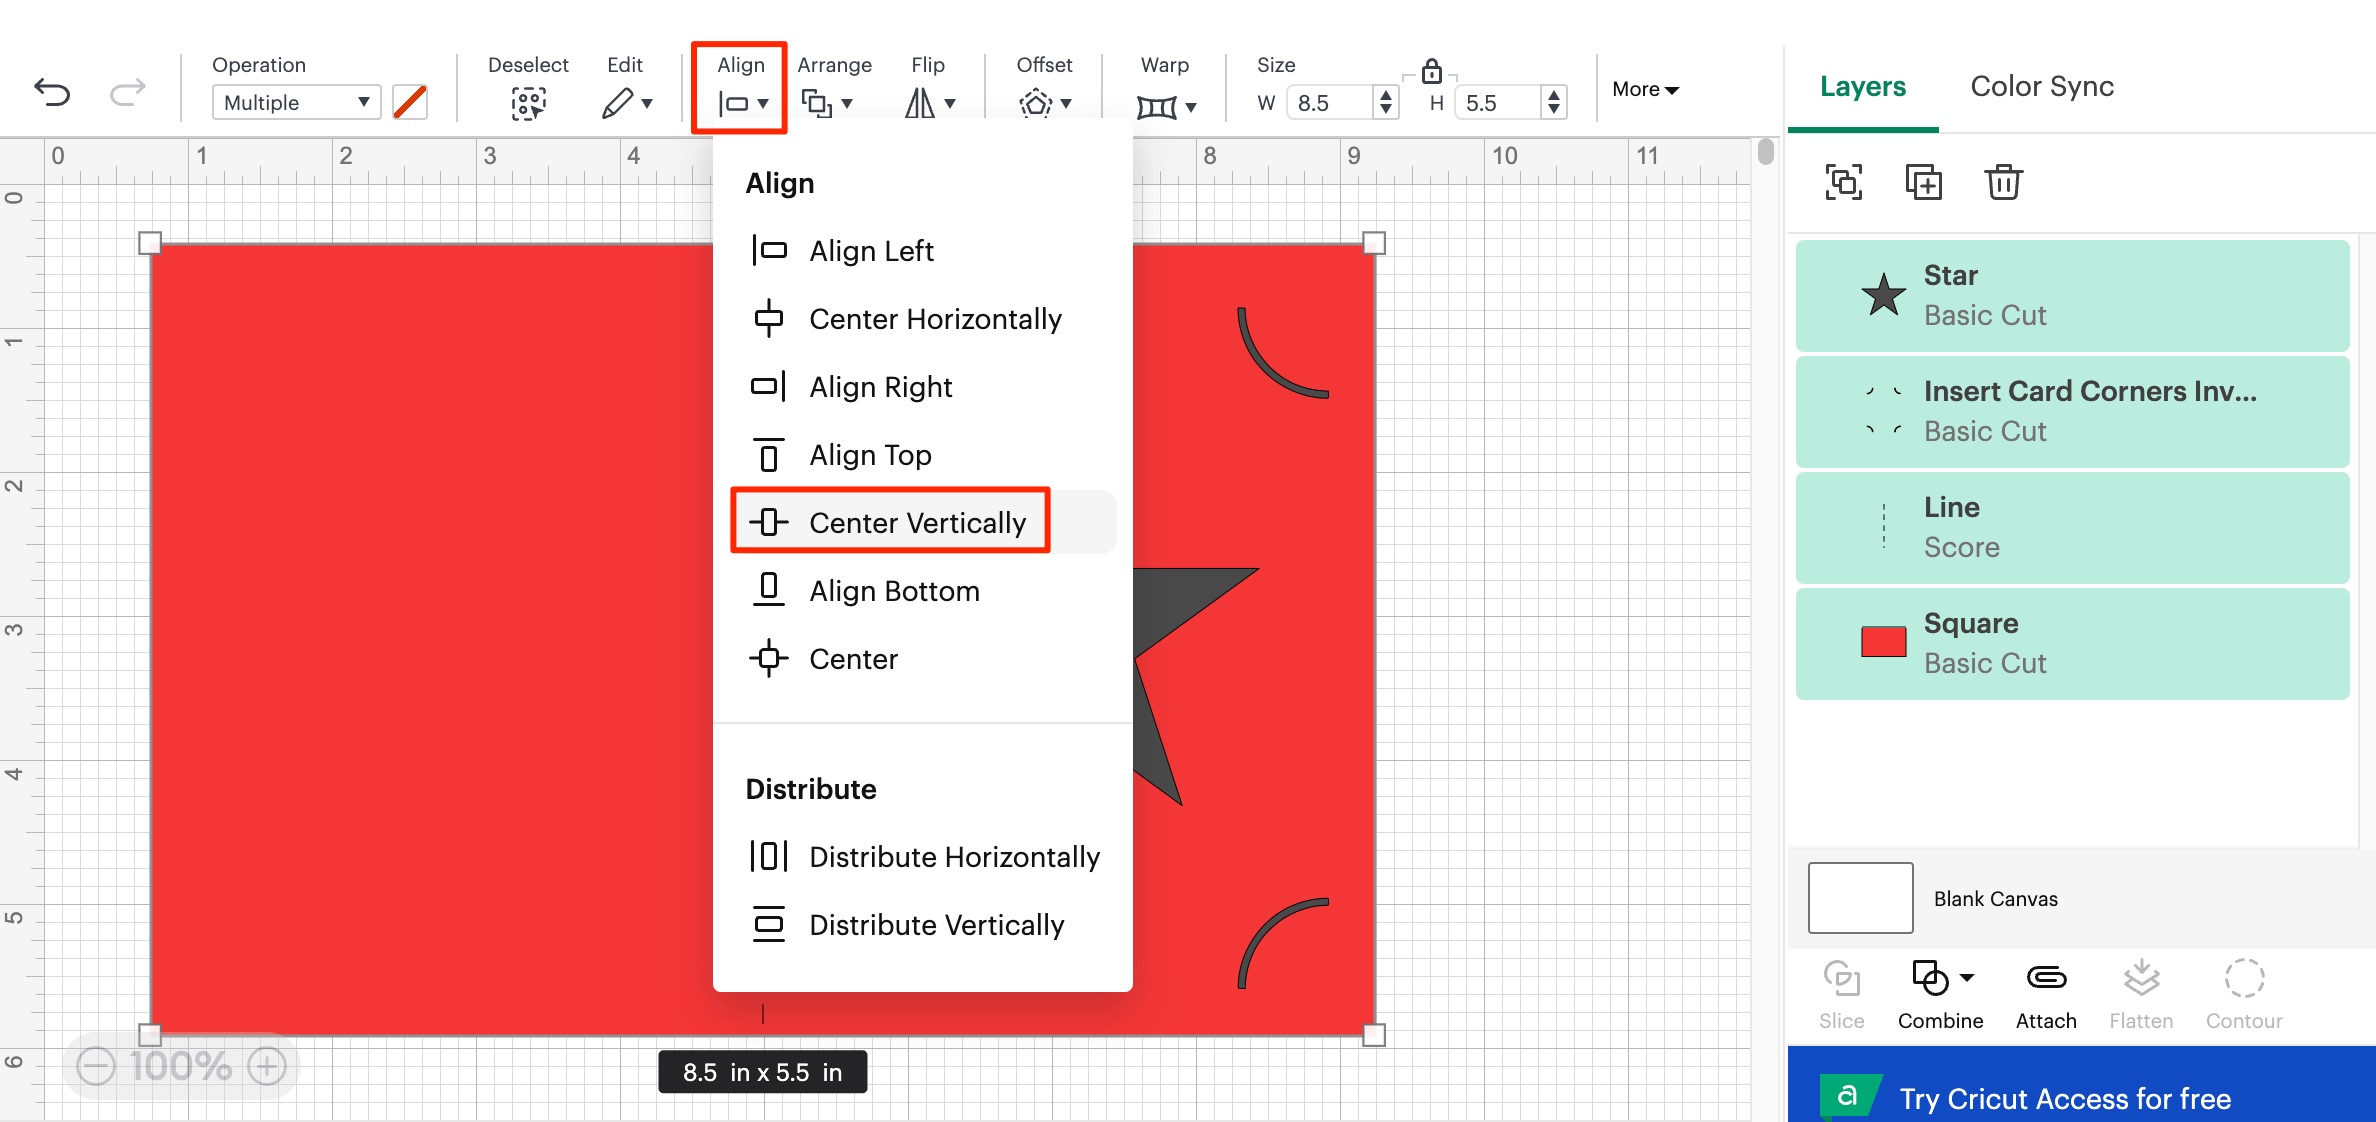
This gives them the correct vertical alignment.
- With all the layers still selected, click Attach in the bottom right.
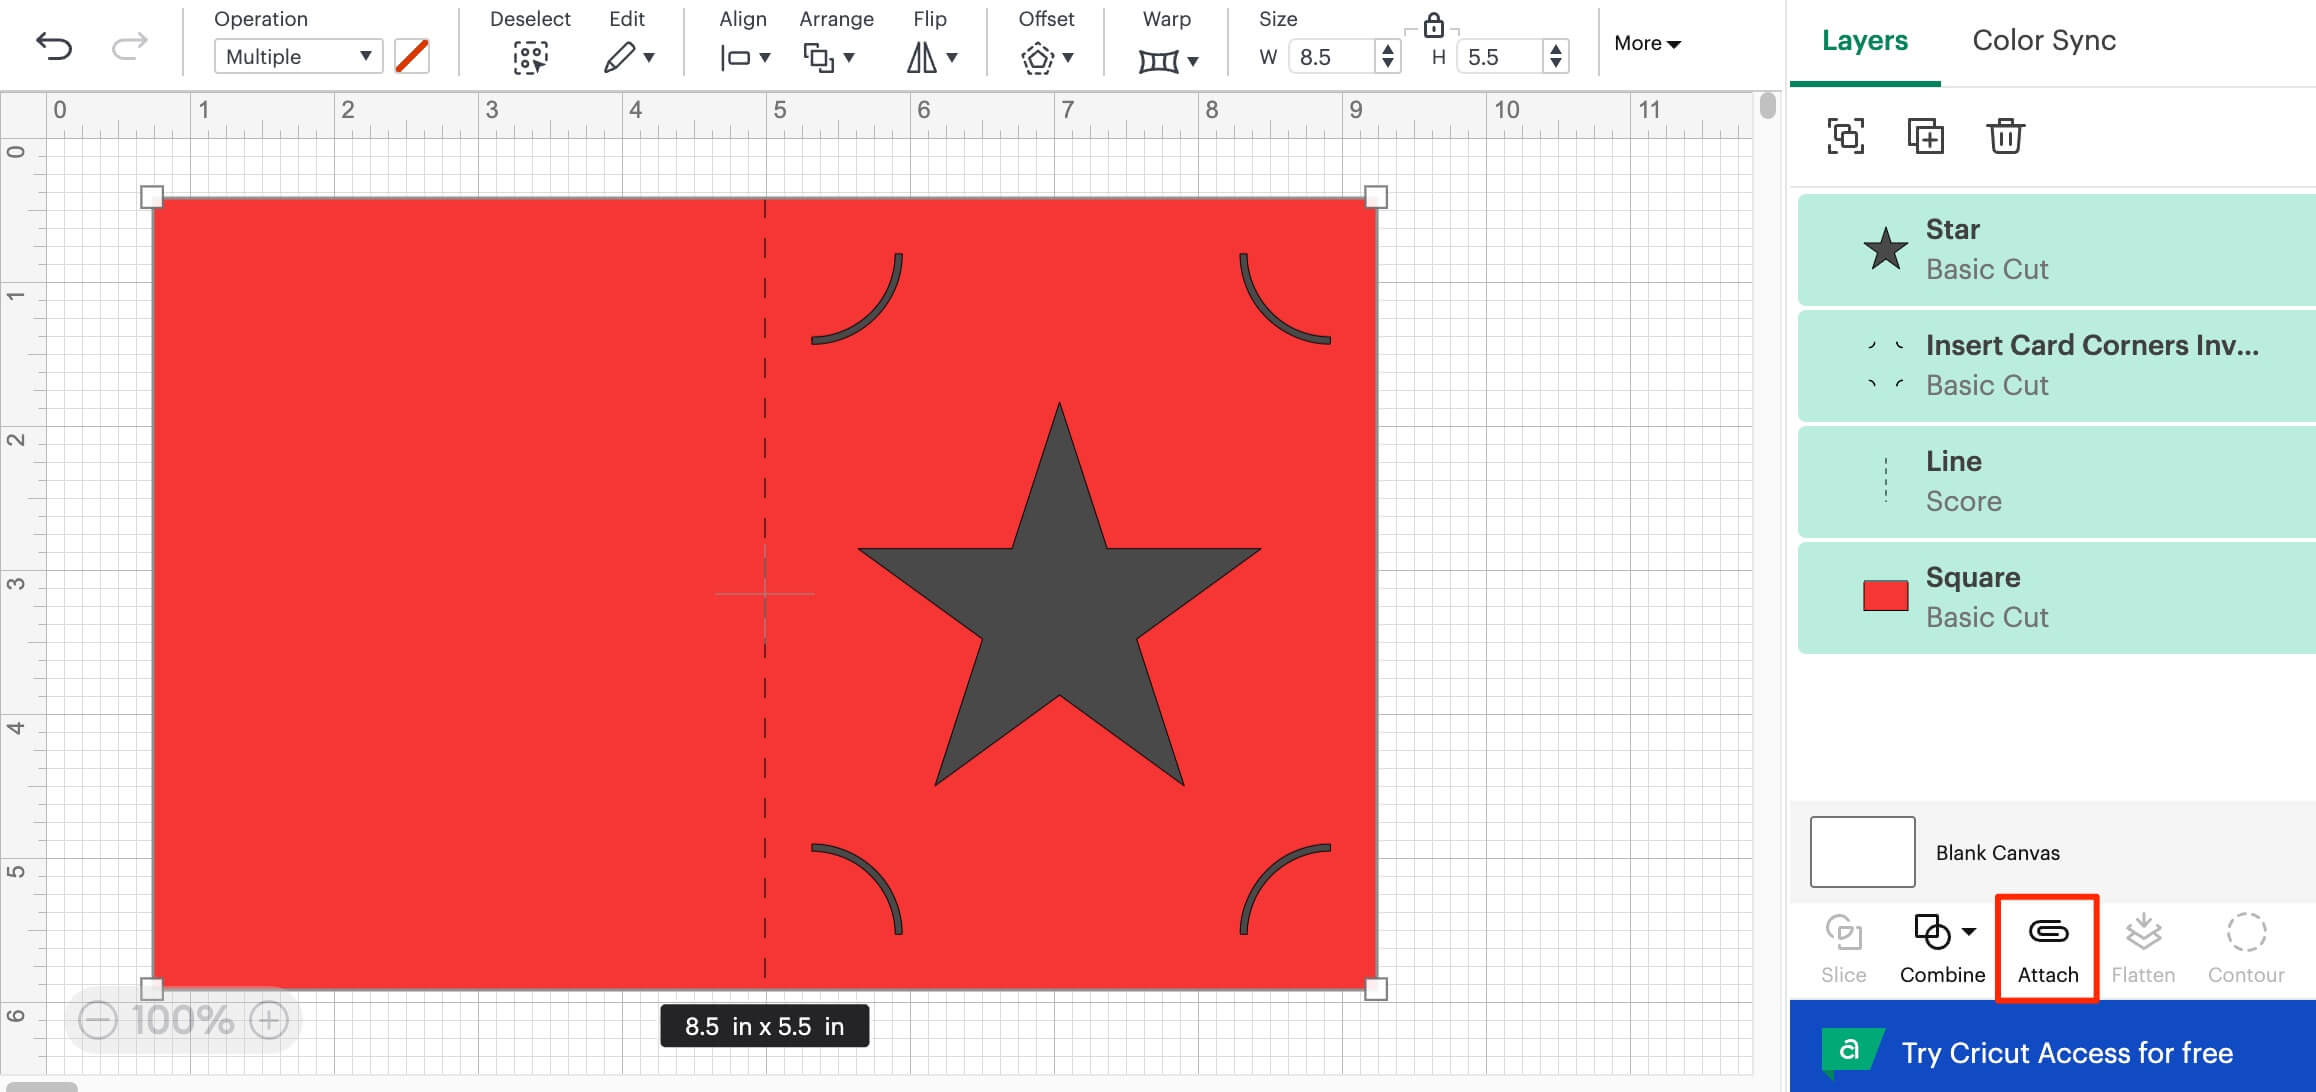

Good work. Now you have the design for the outer card itself ready!