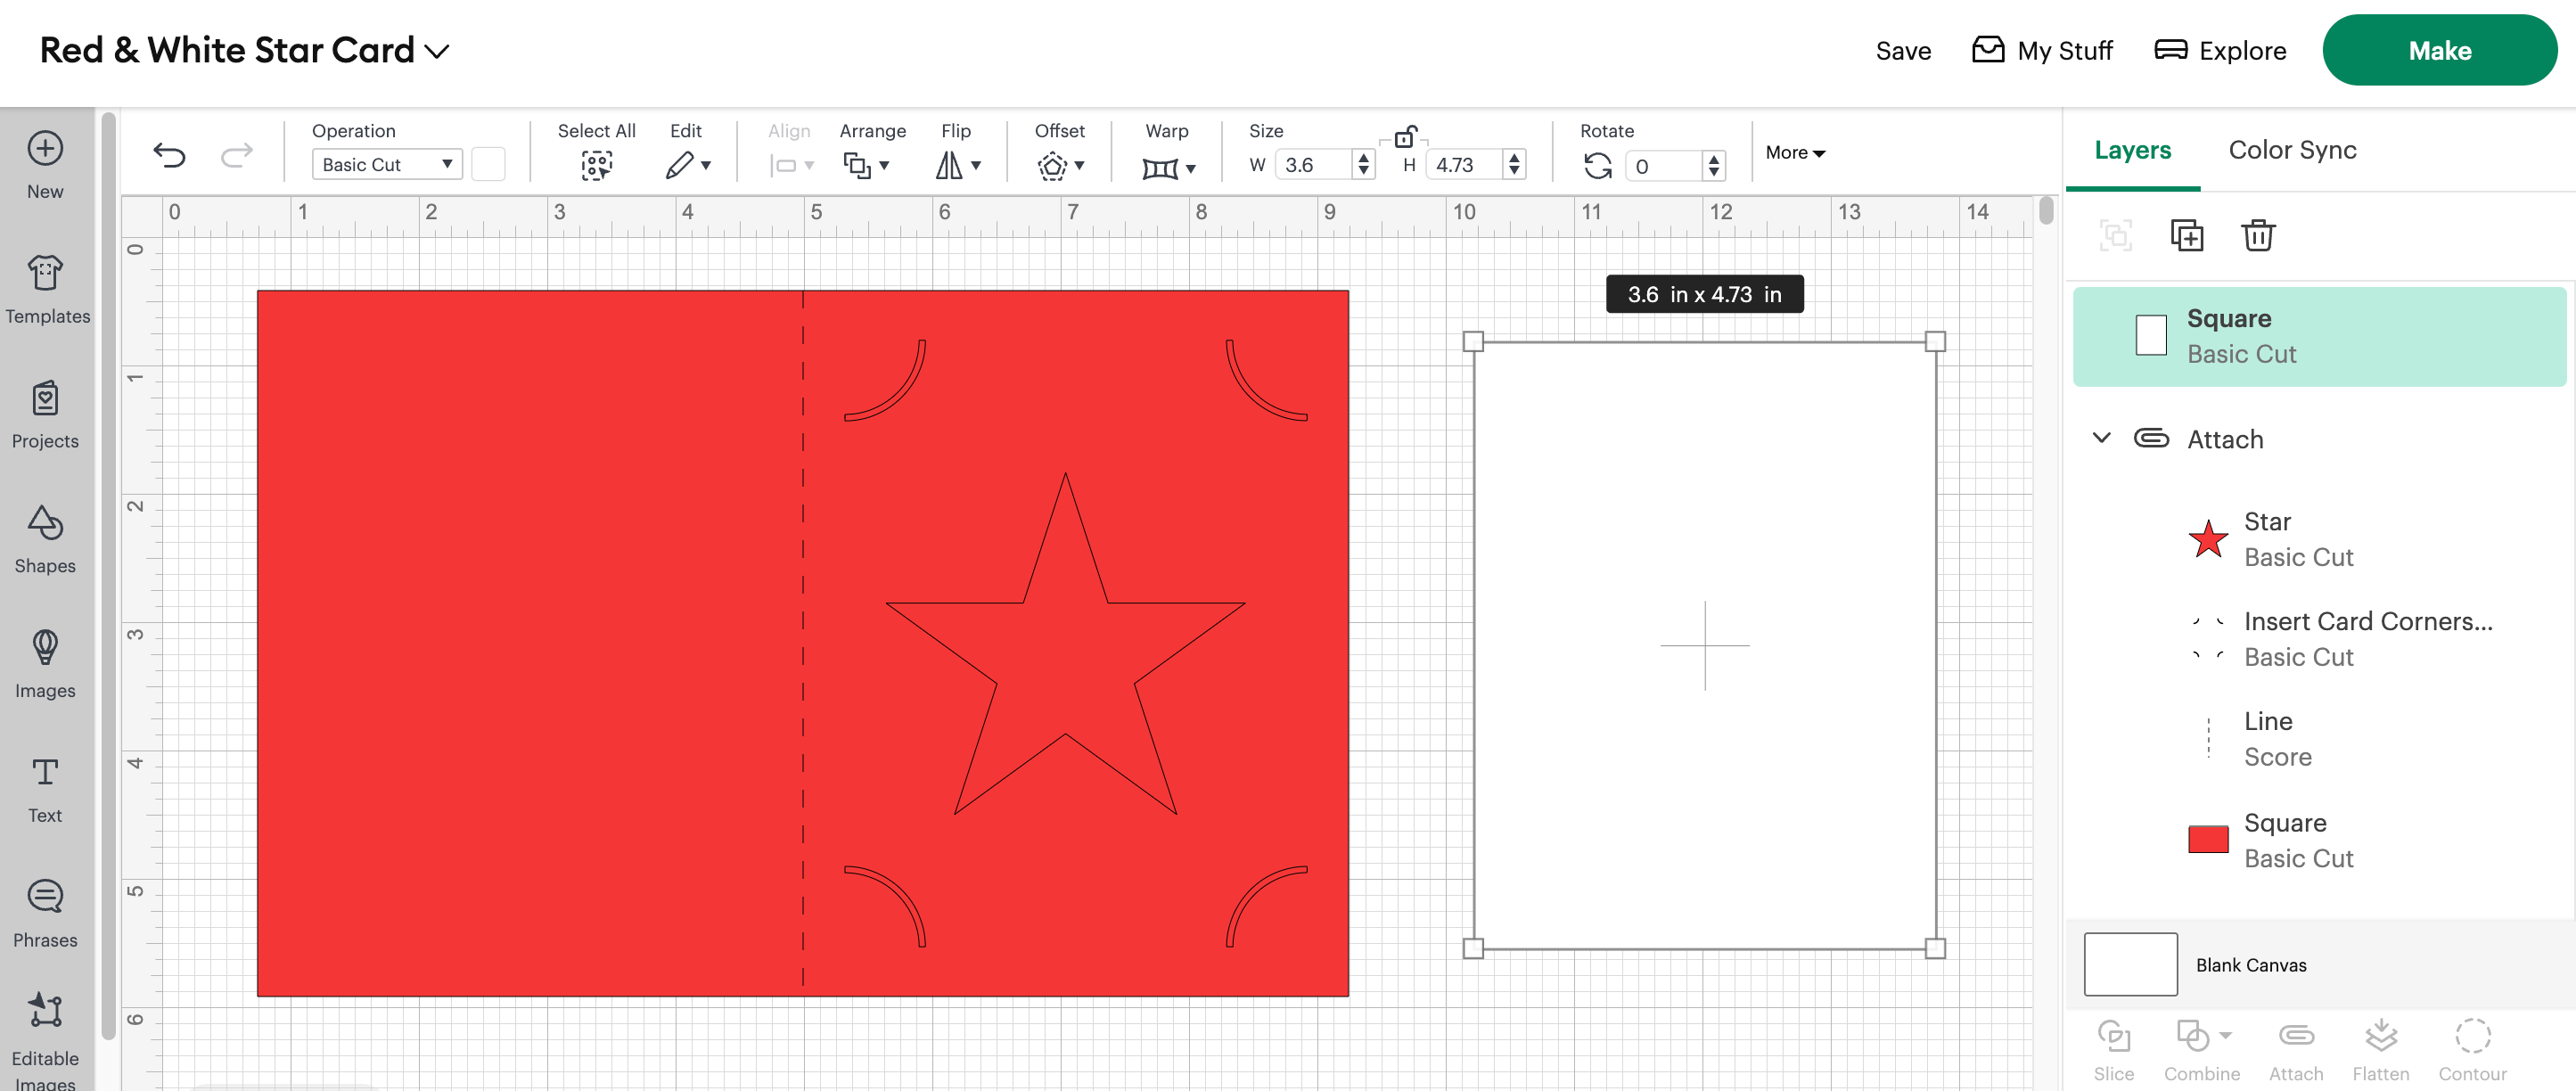
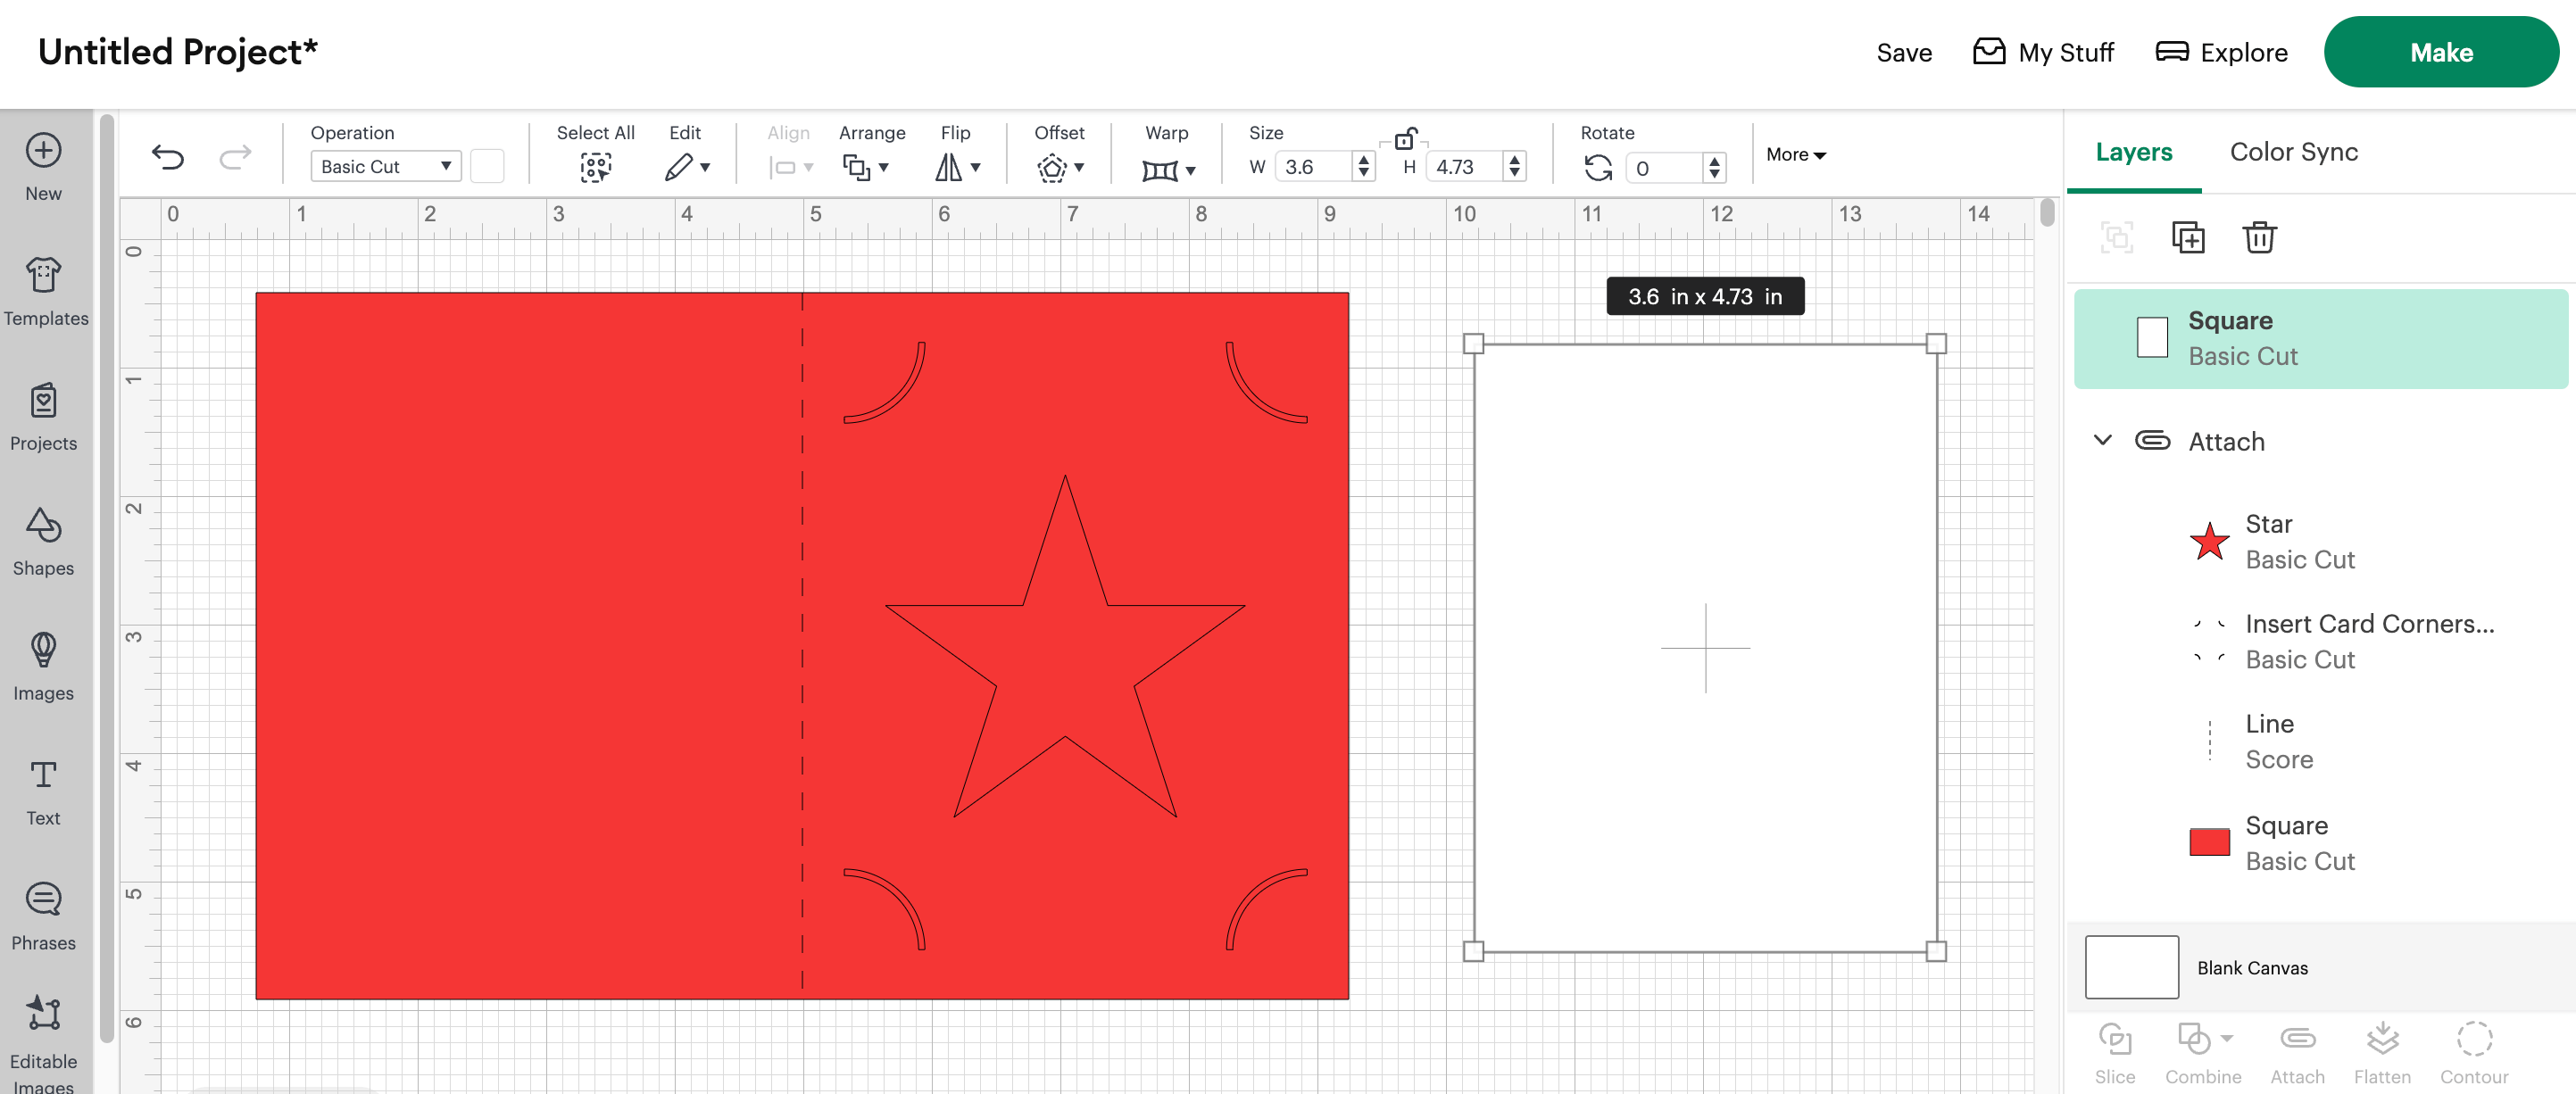
Next we’re going to create a white insert to slot in behind the front face of the card, to give it some dimension.
1: Click on Shapes and add a Rectangle.
2: With the rectangle selected, click on the padlock icon to make sure it’s unlocked.
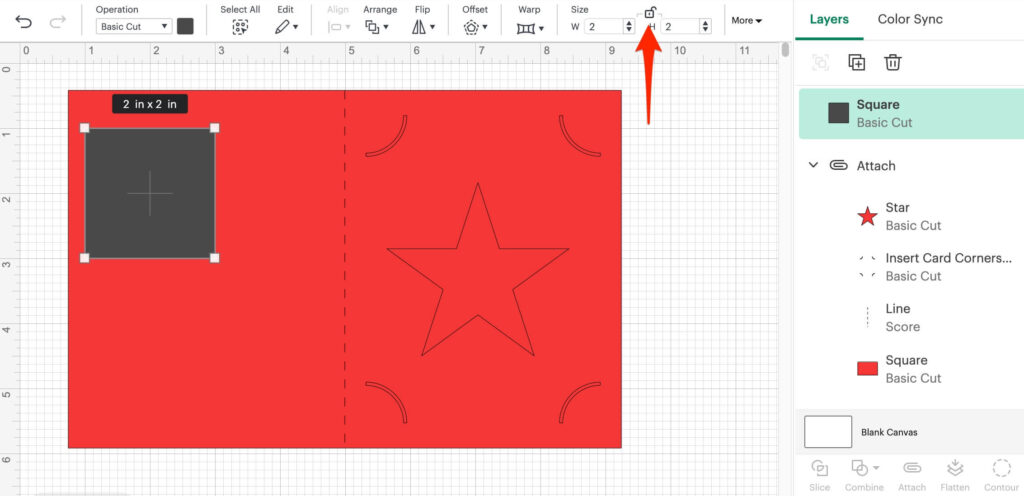
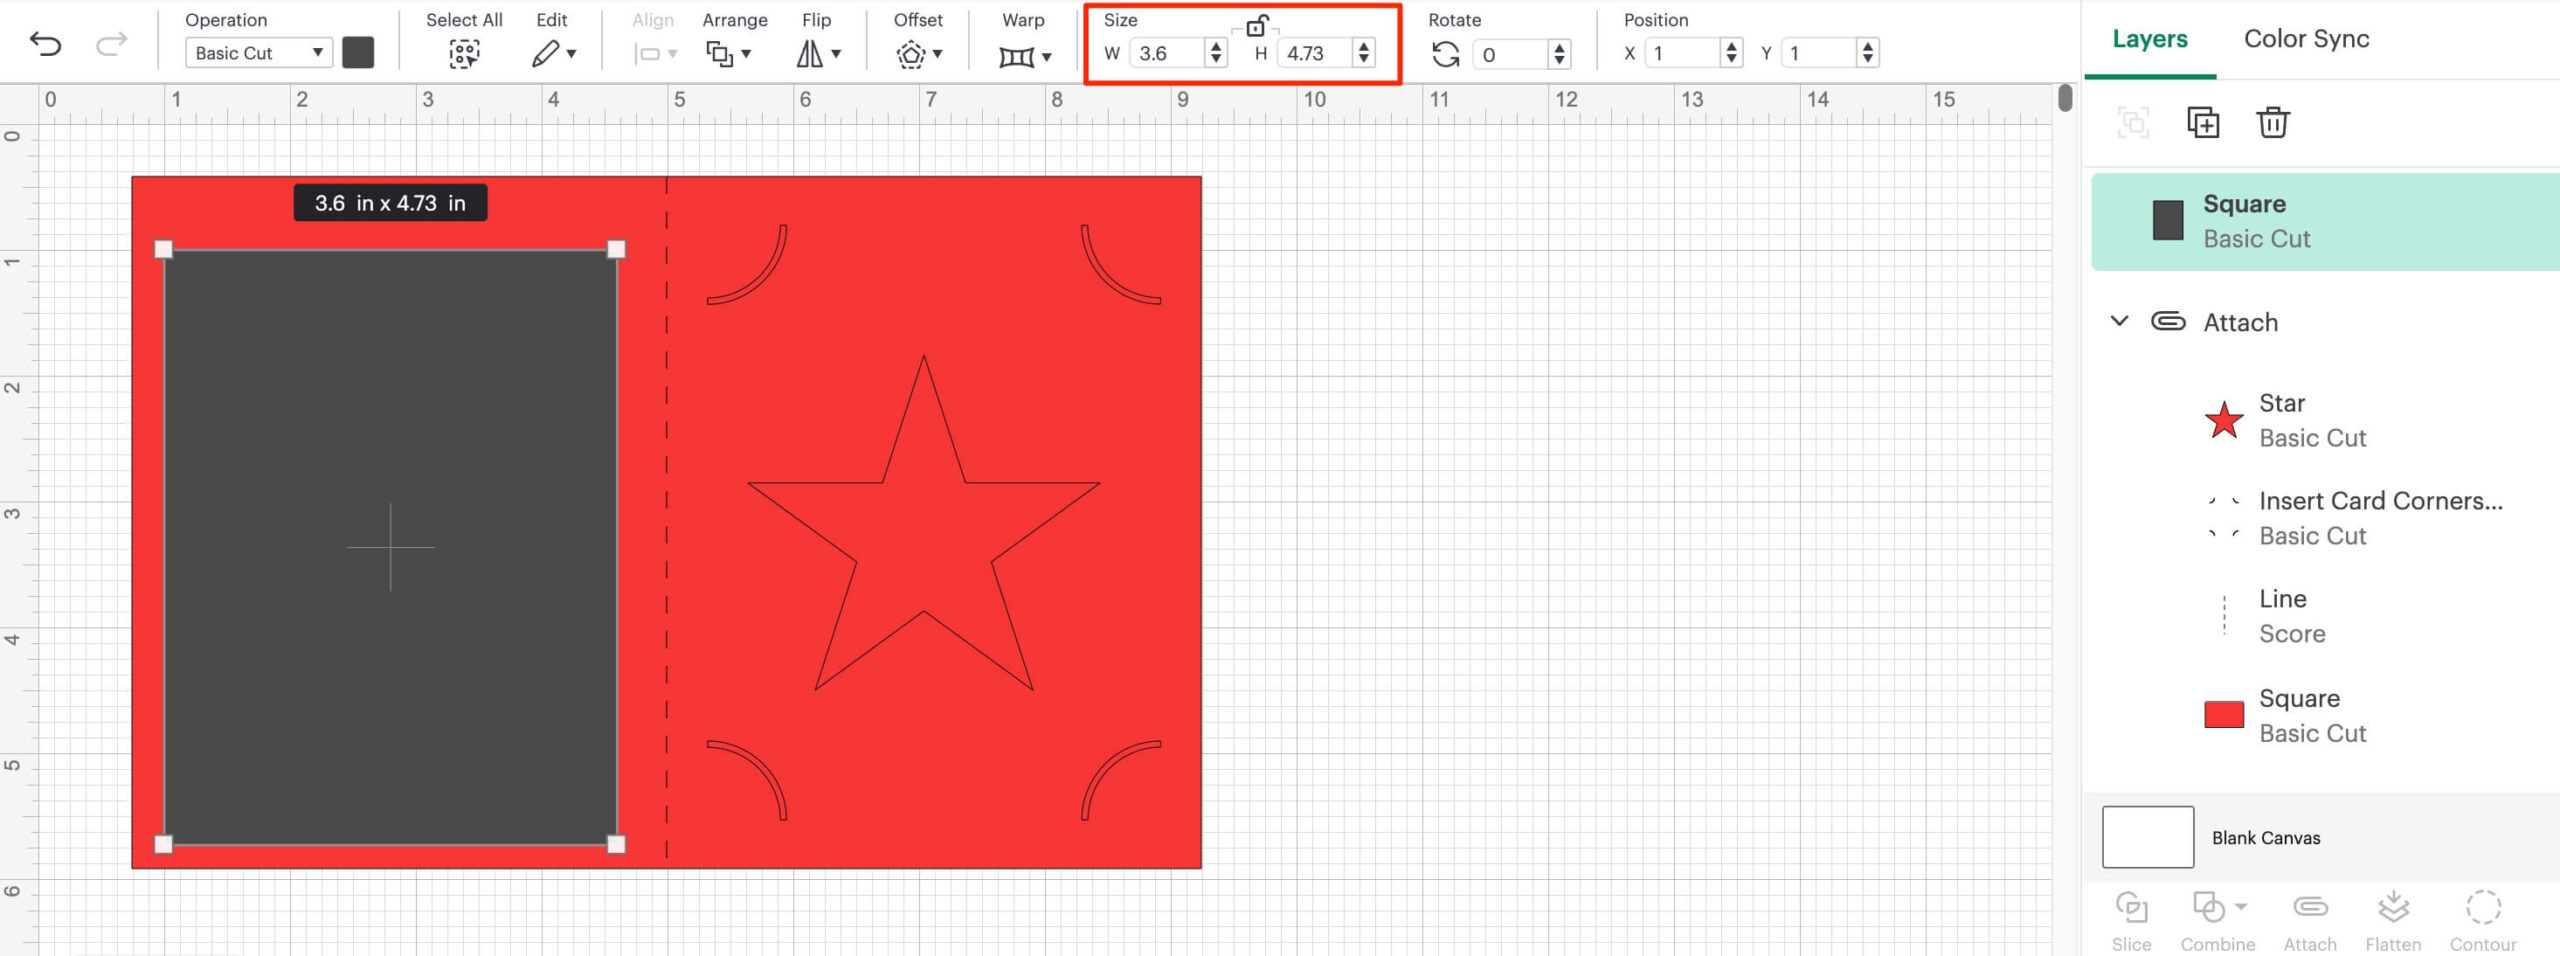
3: Now type in 3.6” for W, and 4.73” for H.
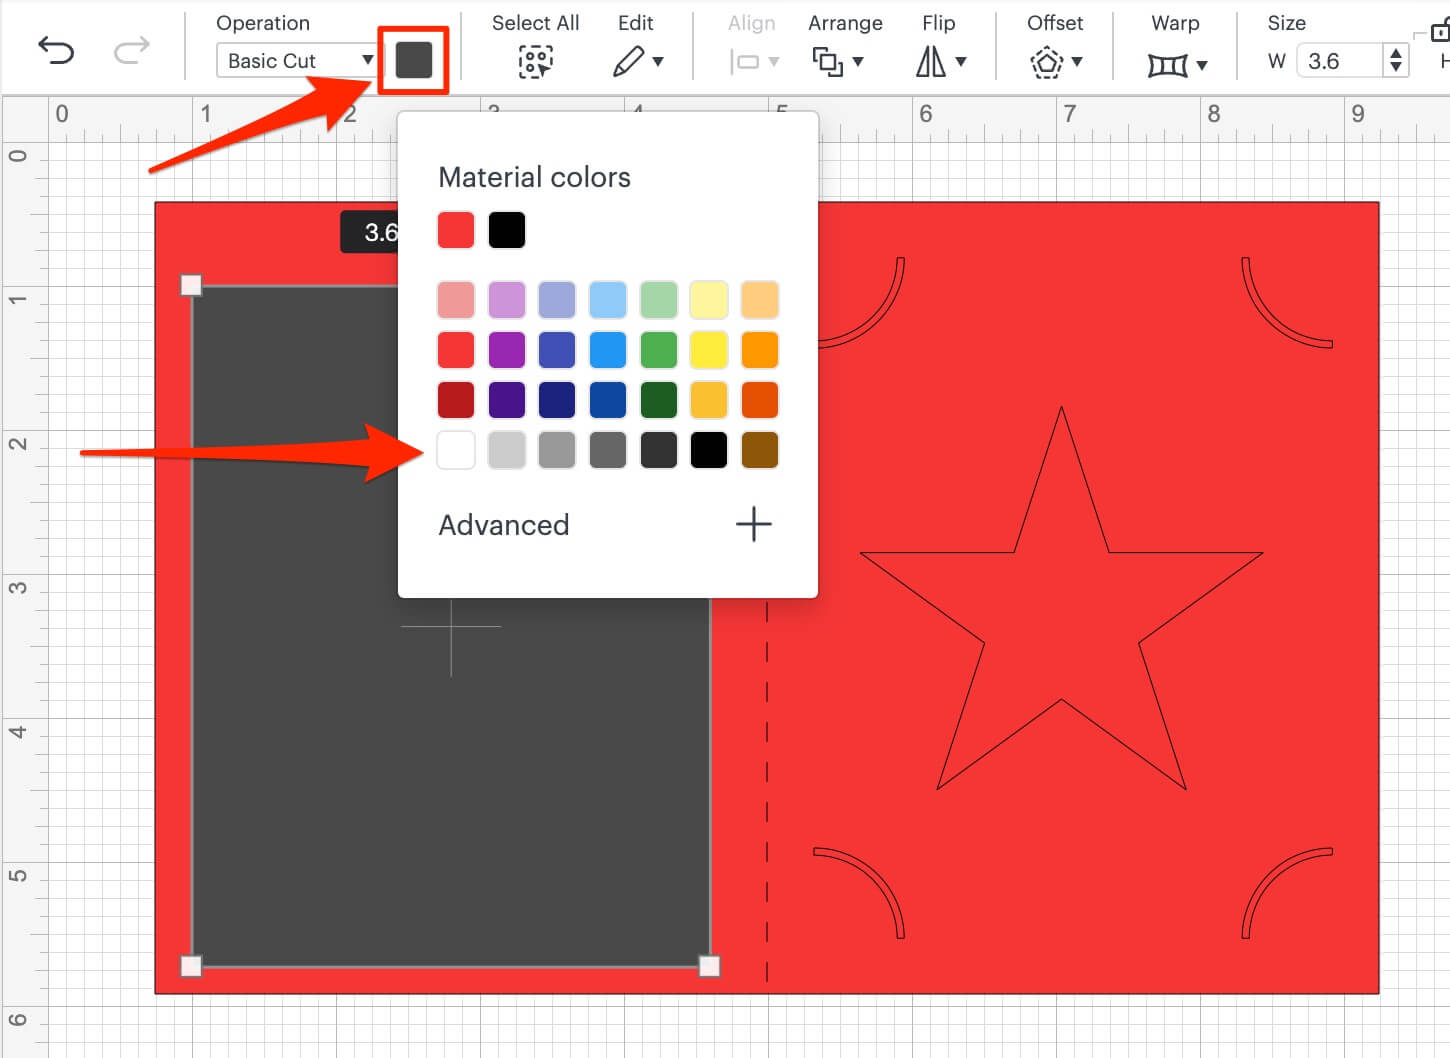
4: Click on the Color Swatch and change it to White
5: Move it over to a free part of your canvas.
Good work. Now let’s save your project.
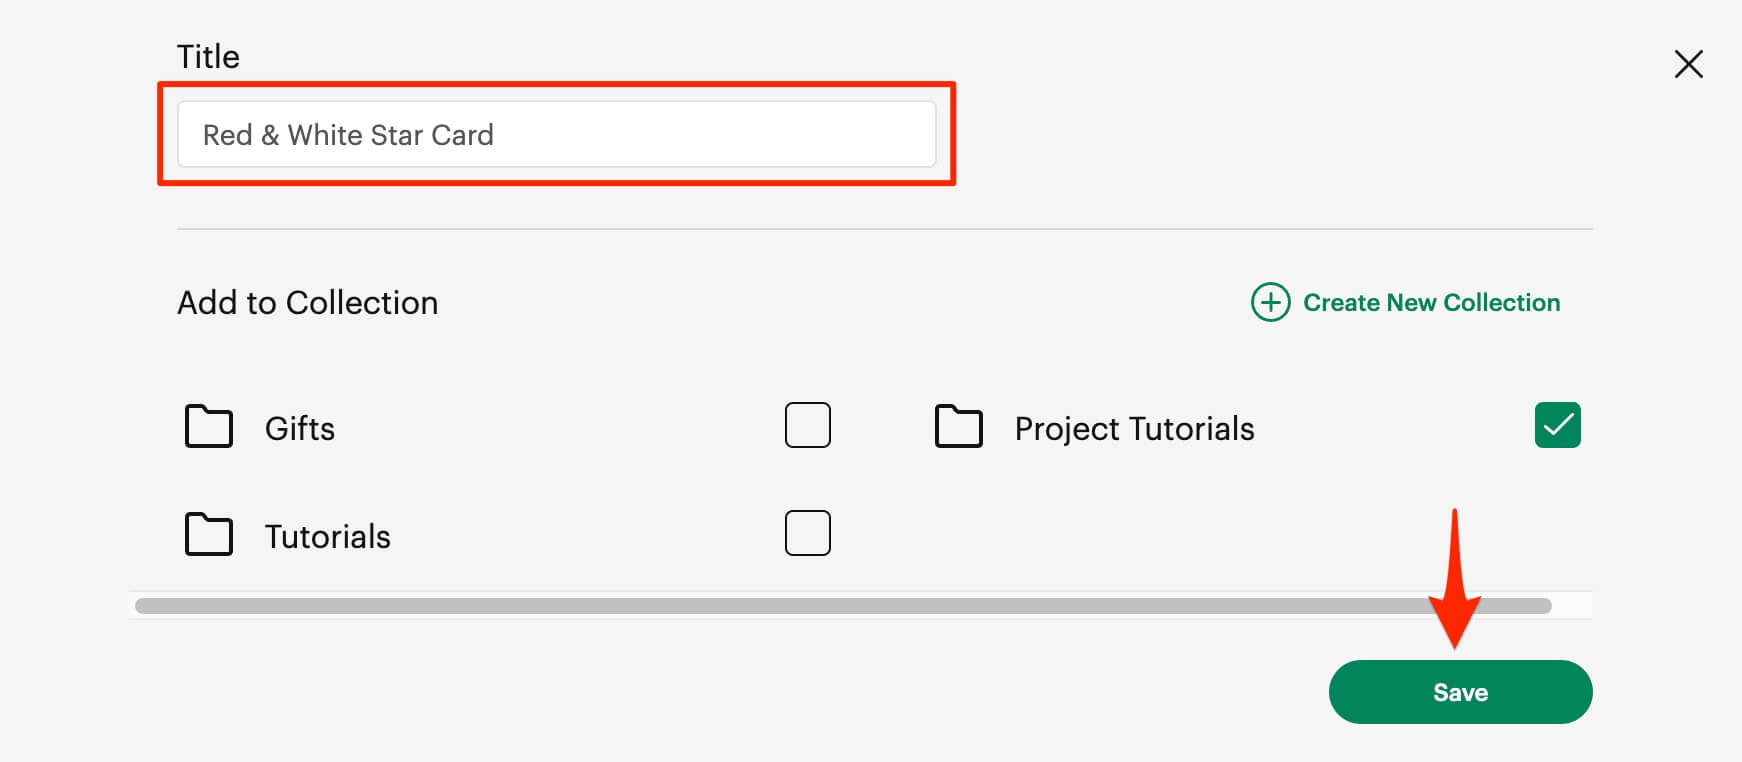
6: Click Save in the top Header bar.
7: Give it a memorable name and click Save.
Your project is now saved!