1: After all your elements were removed from the mat, we are going to start assembling our card, we are going to start filling the inside of the letters from our inside and also, we are going to use ink to add more finish details to it.

💡Tip: You can leave your text without filling the inside or avoid the ink, you can also add stickers or other embellishments if you preferred.
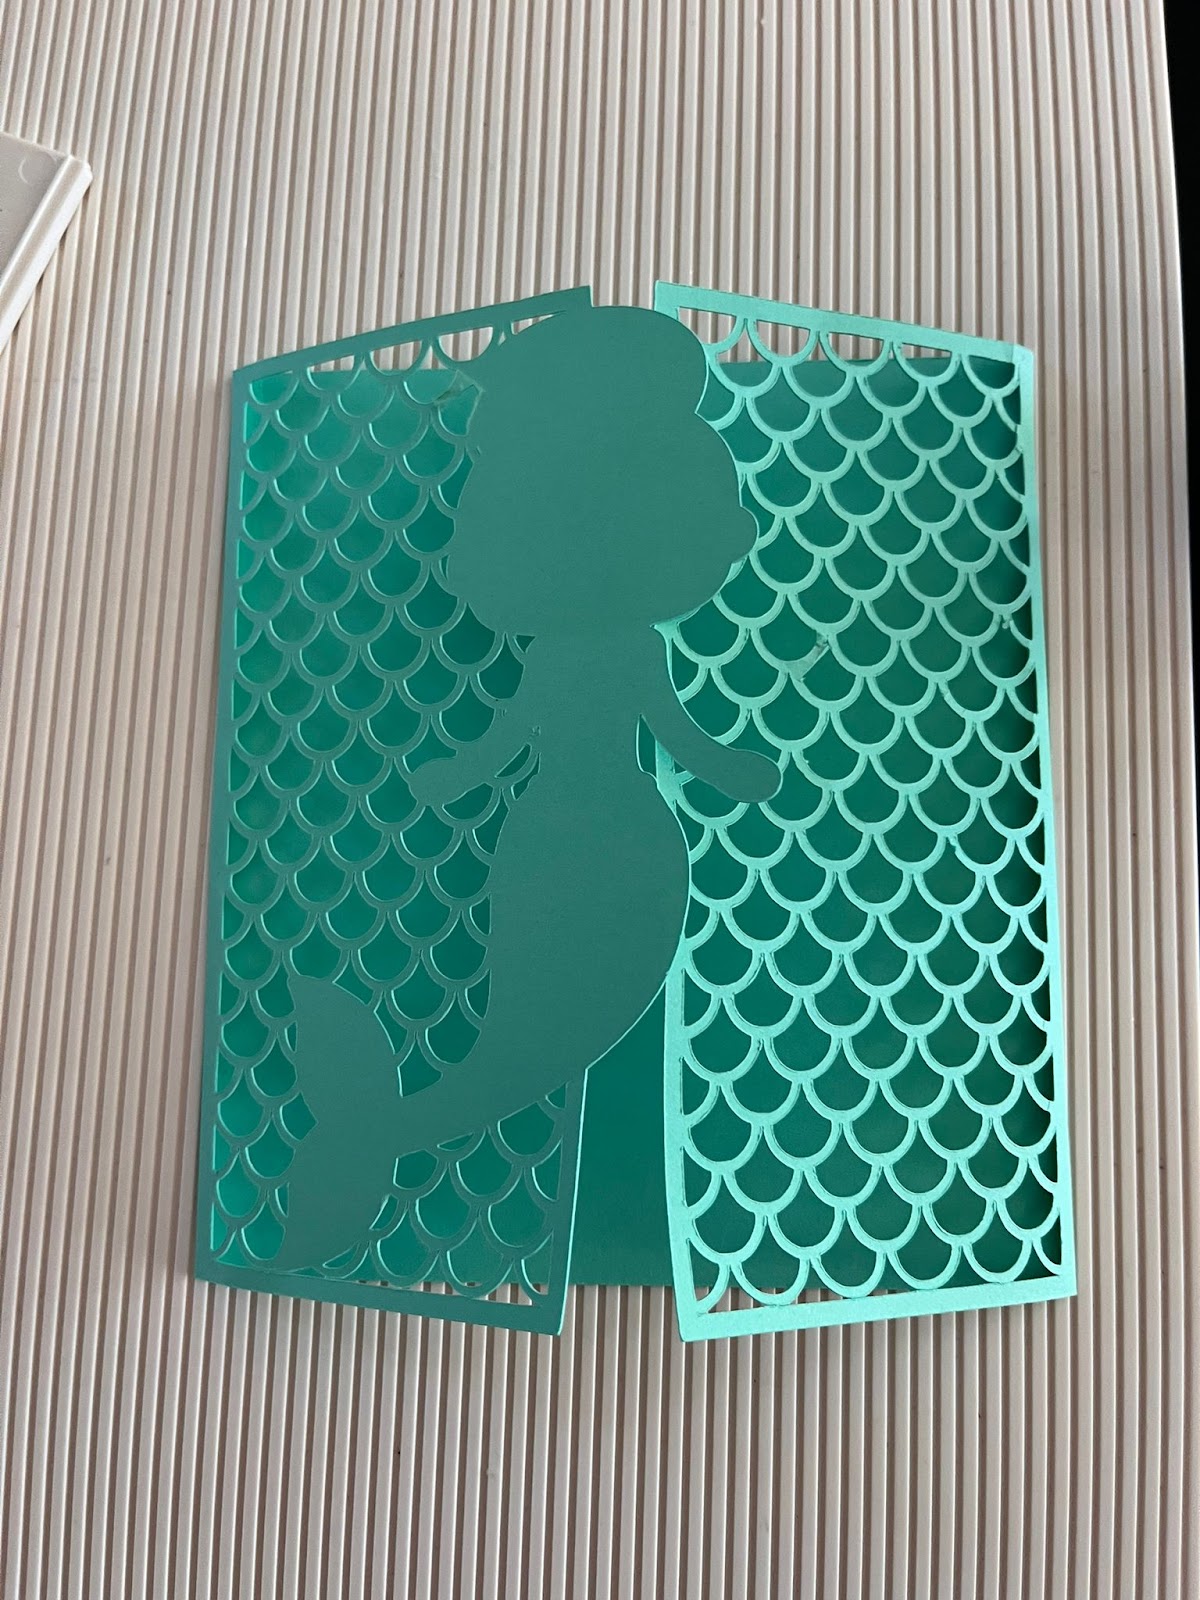
2: We are going to fold our base card by following the scored lines:
3: We are going to start adding our mermaid components by using glue, first we are going to start with the body, then the hair and after that the star:
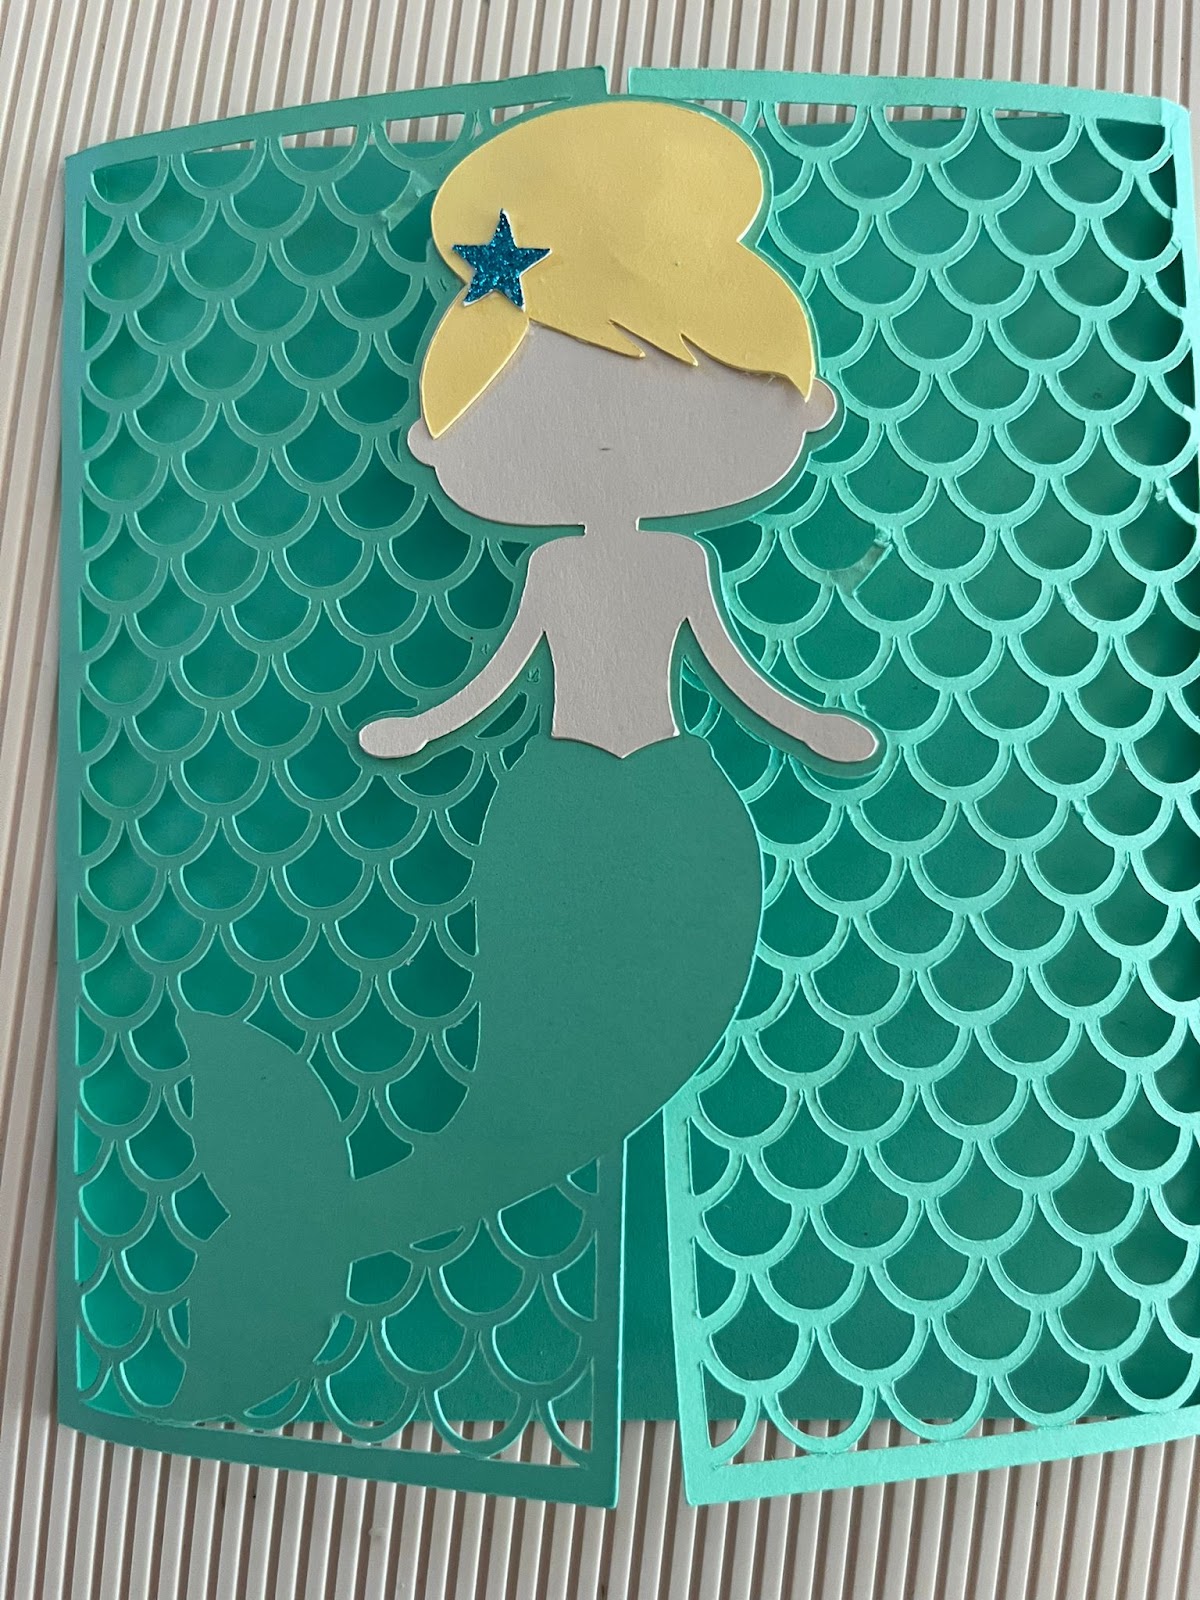
We are going to proceed with the top and the tale:
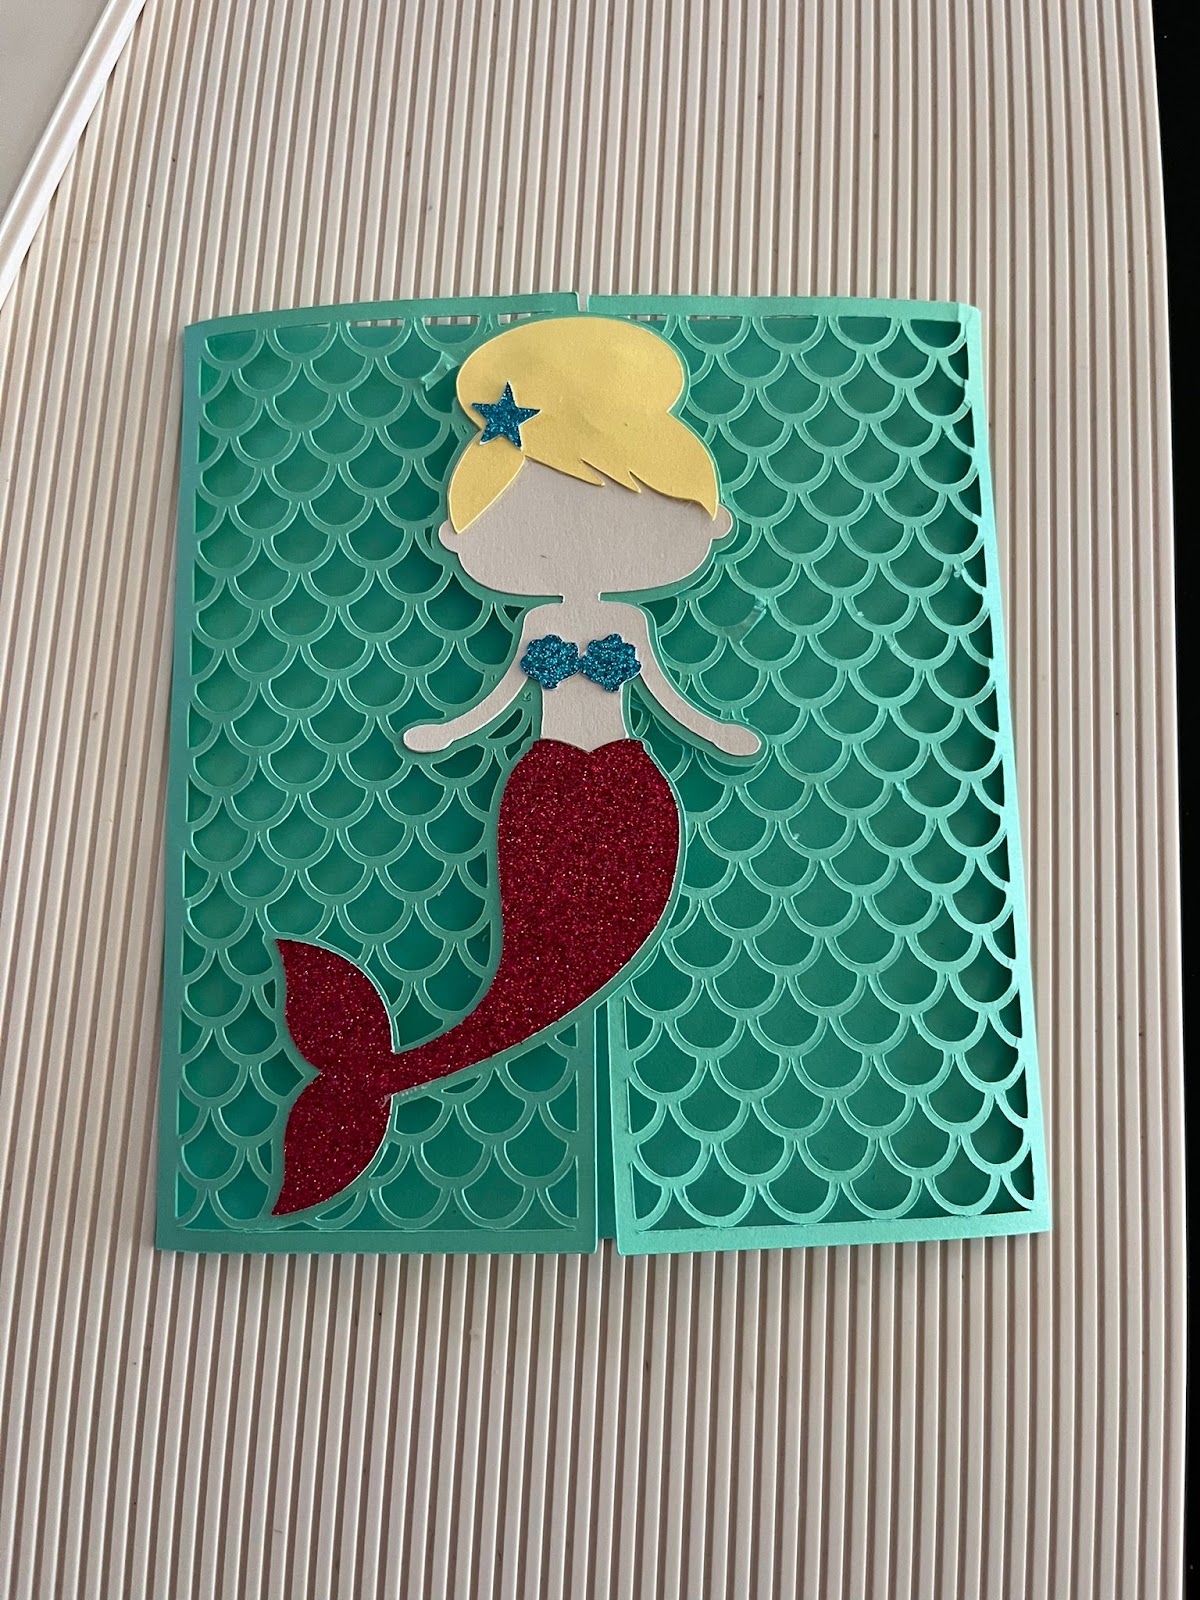
4: We are going to glue our insert inside the base card and we also are going to apply some ink on all the borders of our base card, inside and outside:
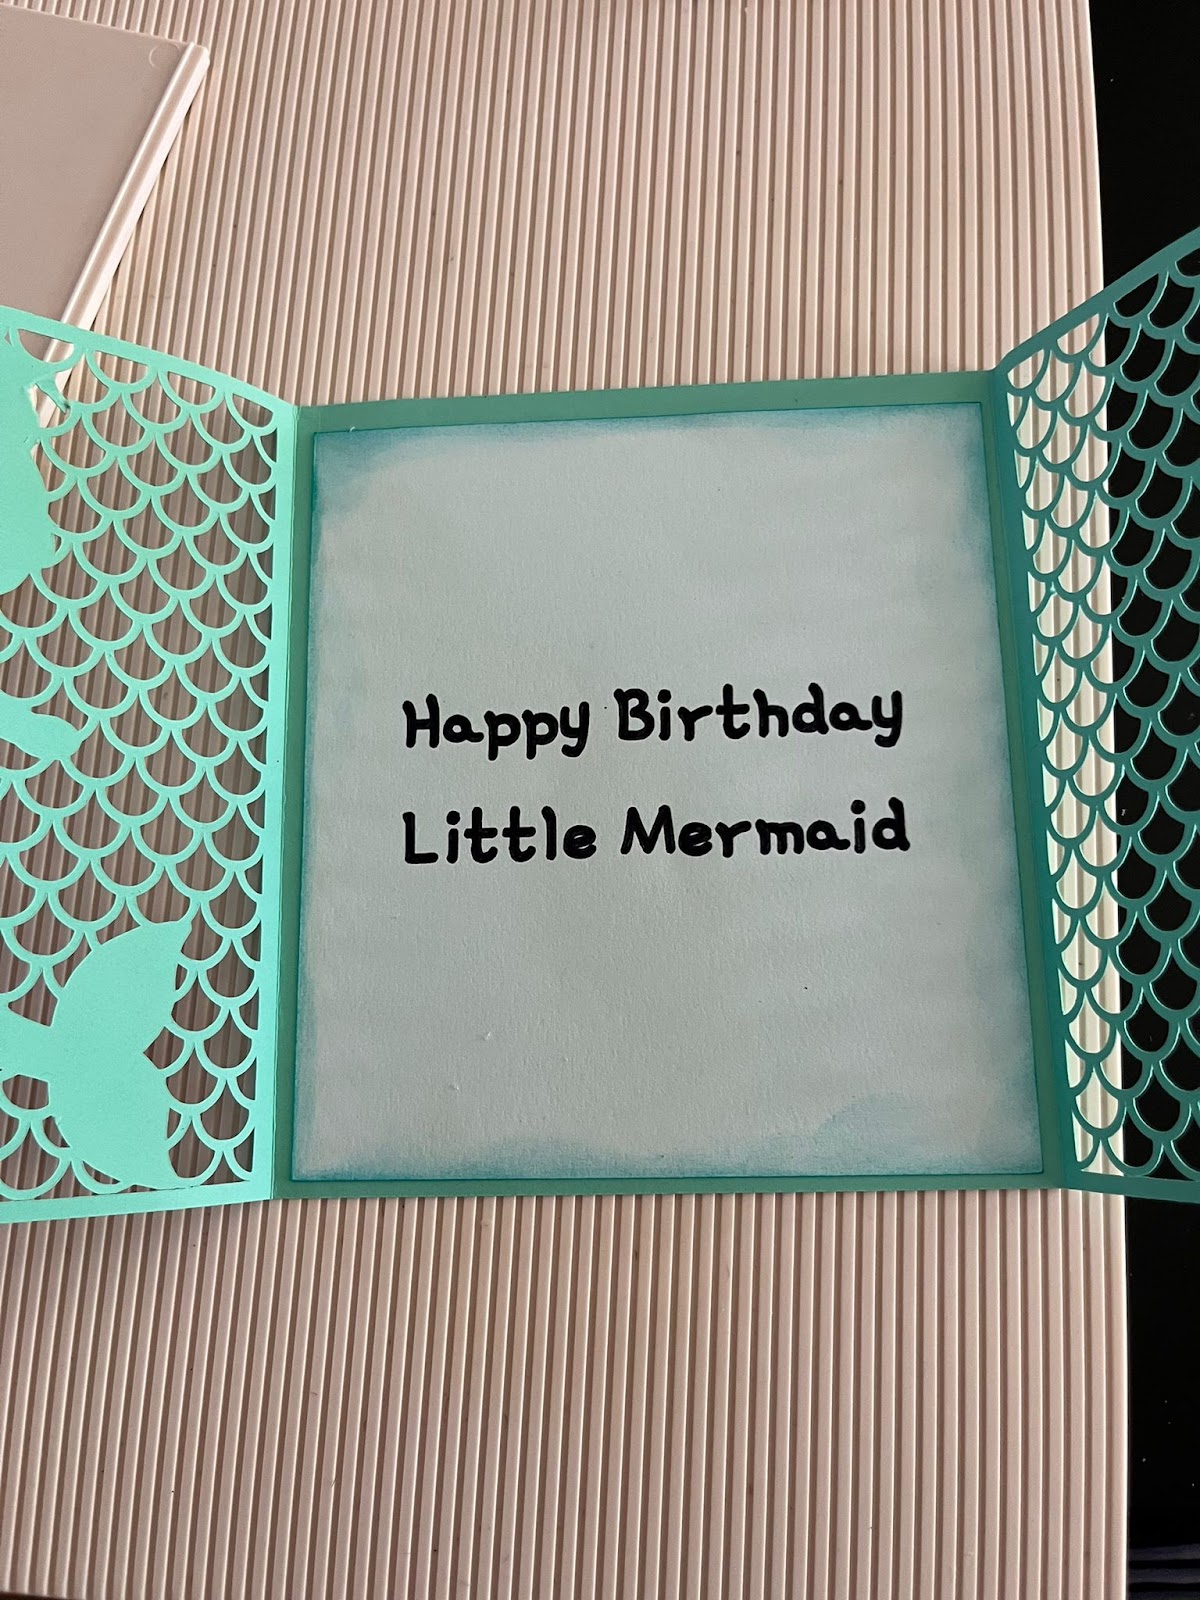
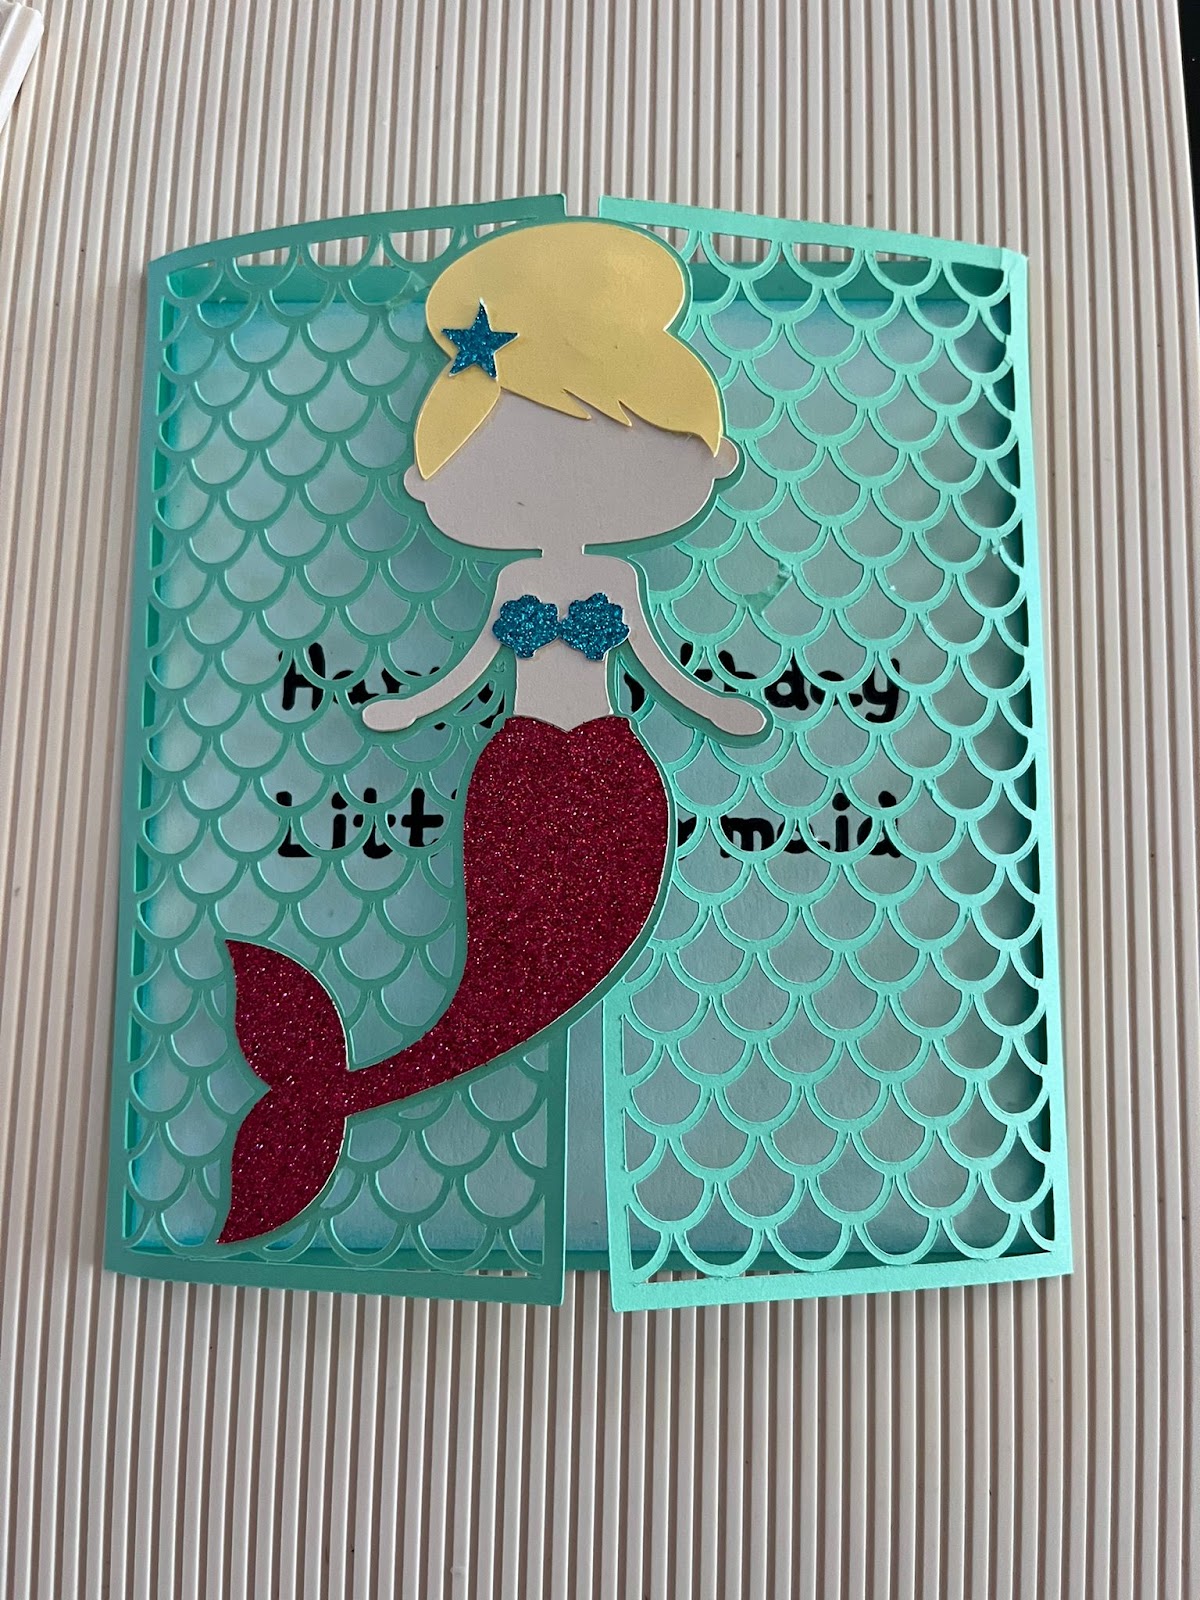
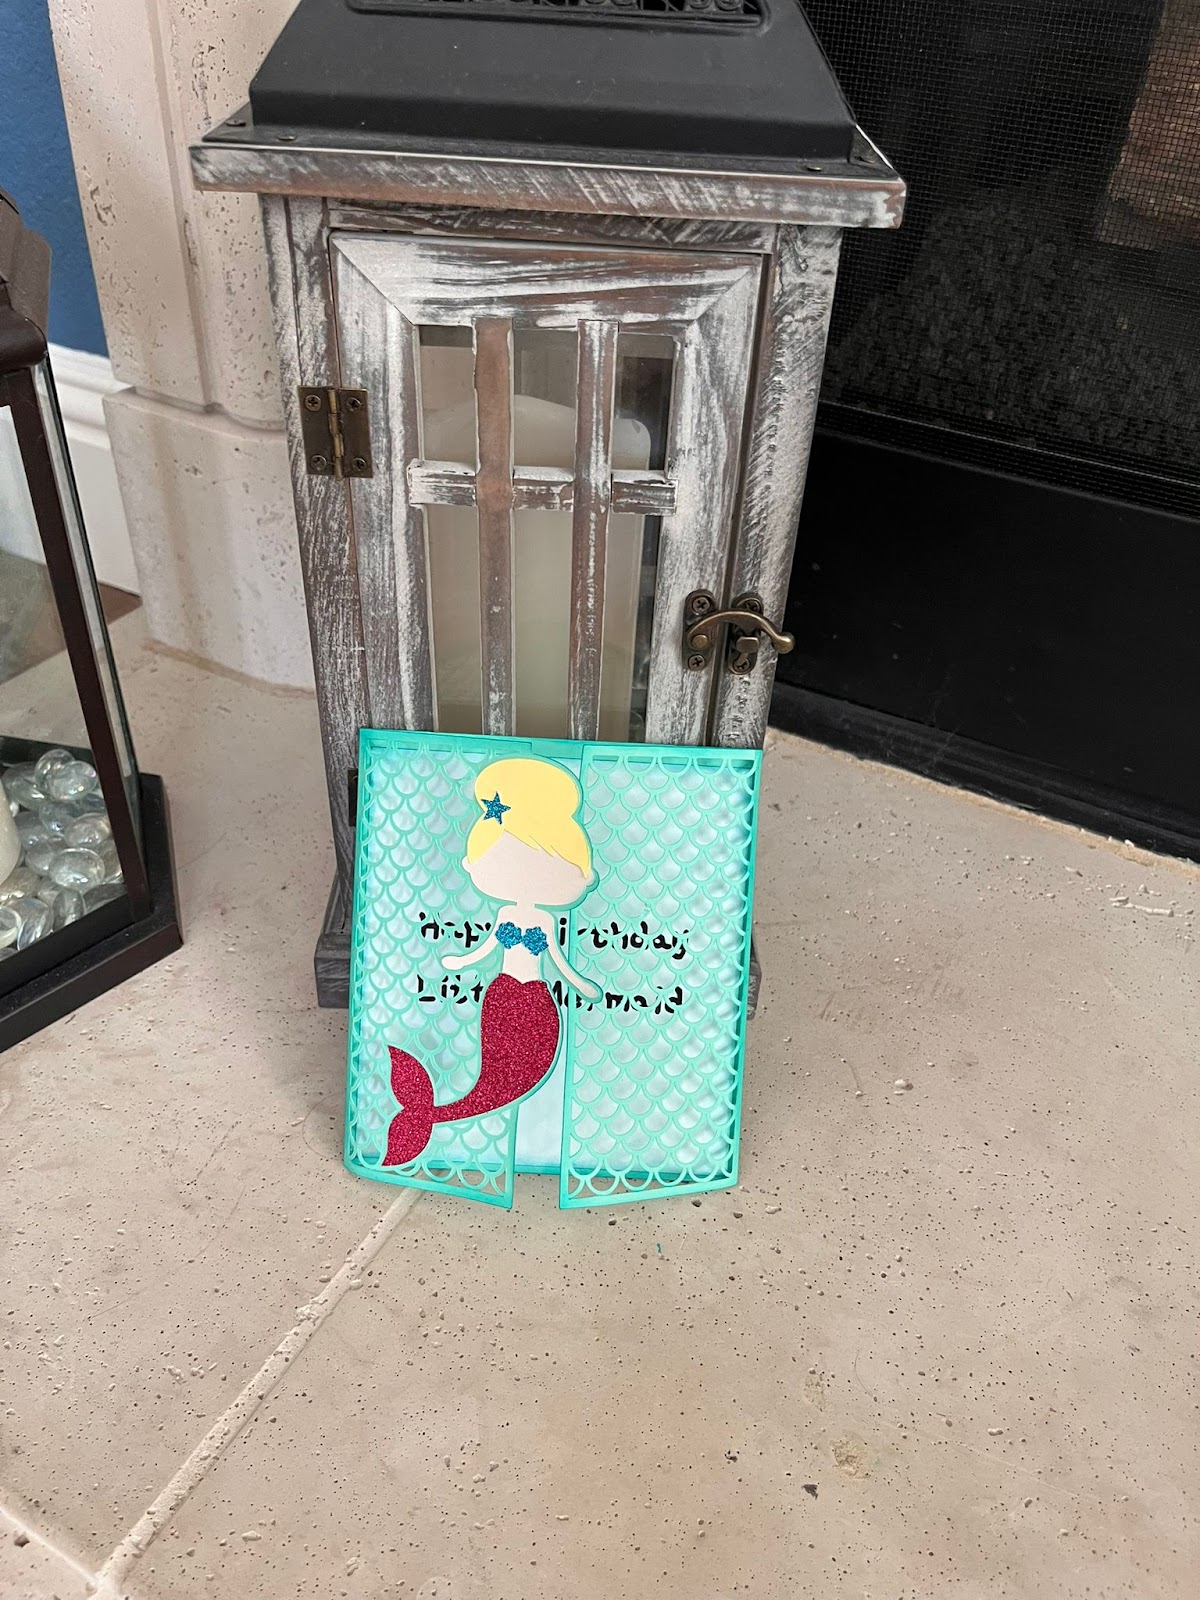
5: Our card is READY, you did an amazing job!
In this tutorial, you are going to learn/practice the following functionalities:
- Slice Images/shapes
- Search Images
- Add Shapes and Images
- Upload Images
- Resize Elements
- Add Text and Change Fonts
- Delete Elements
- Create an Offset
- Attach Elements
- Change colors
- Weld Elements