Step 1: Creating the Design
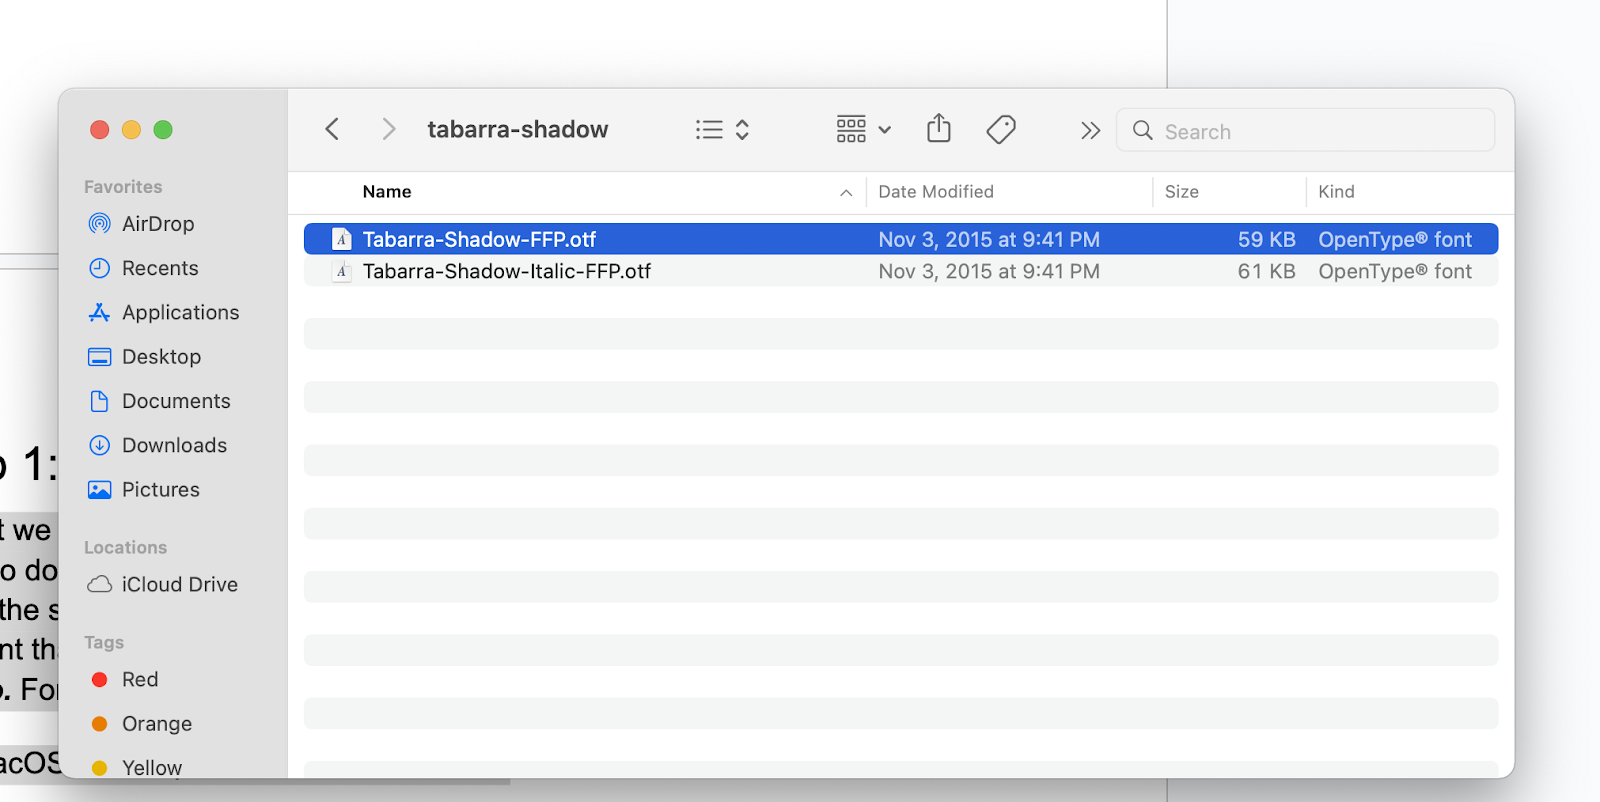
1: First we are going to install the font that we are going to use in our design. In order to do this, you need to download the font that we are providing. After that, follow the steps that are showing on your device in order to finish the installation.
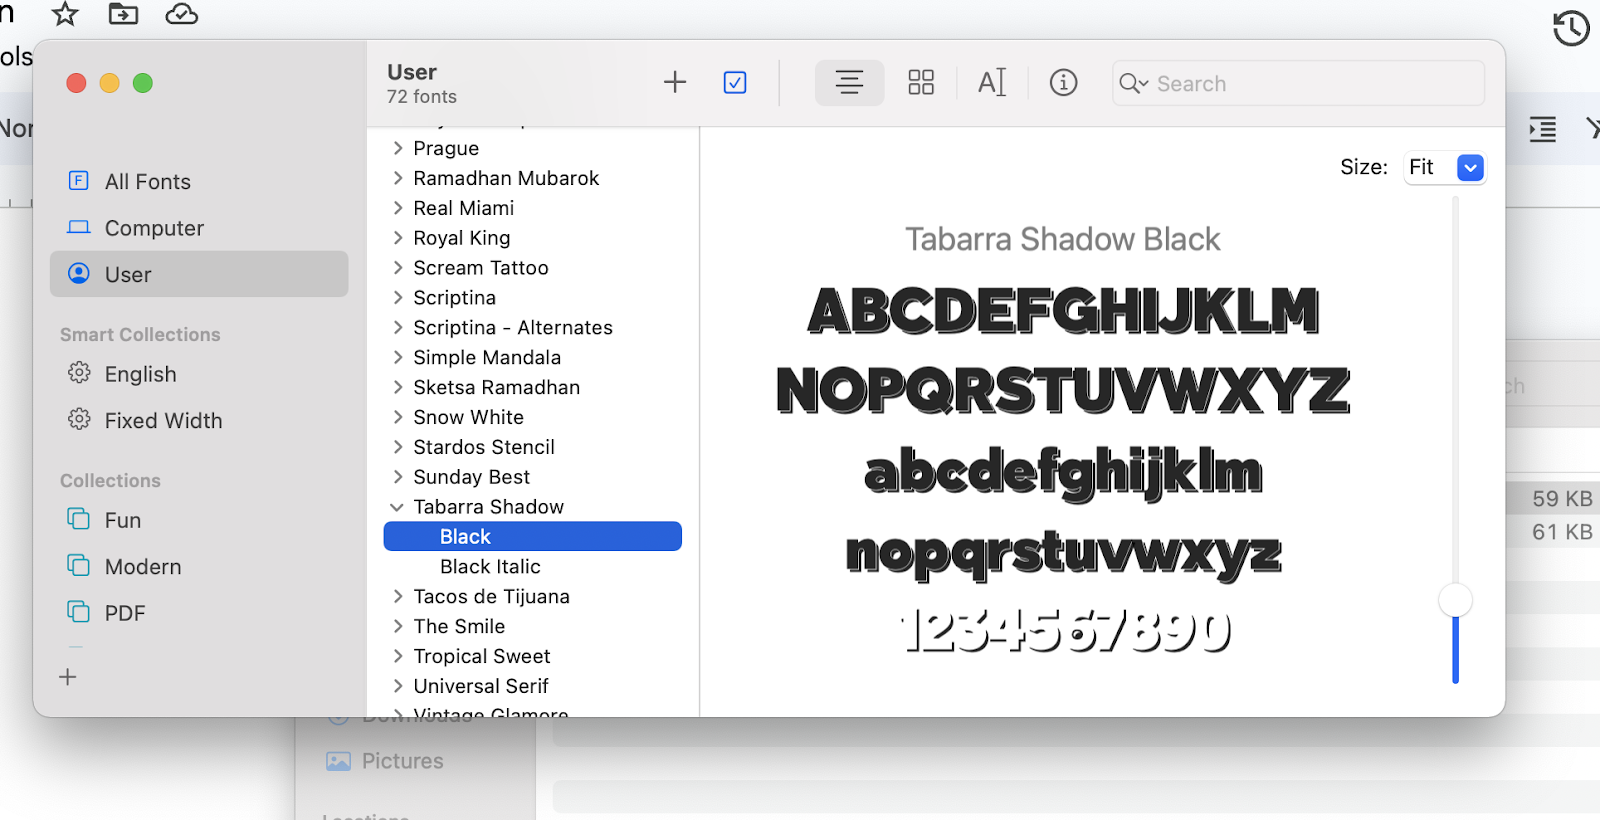
The font that we are going to use is called: Tabarra Shadow. For both of them we are going to follow the same steps.
For MacOS, the steps to install the font are:
💡Tip: You need to make sure that Design Space is closed before installing the new font, if not you have to close it and open it again in order to see the font listed on your Fonts types in Design Space.
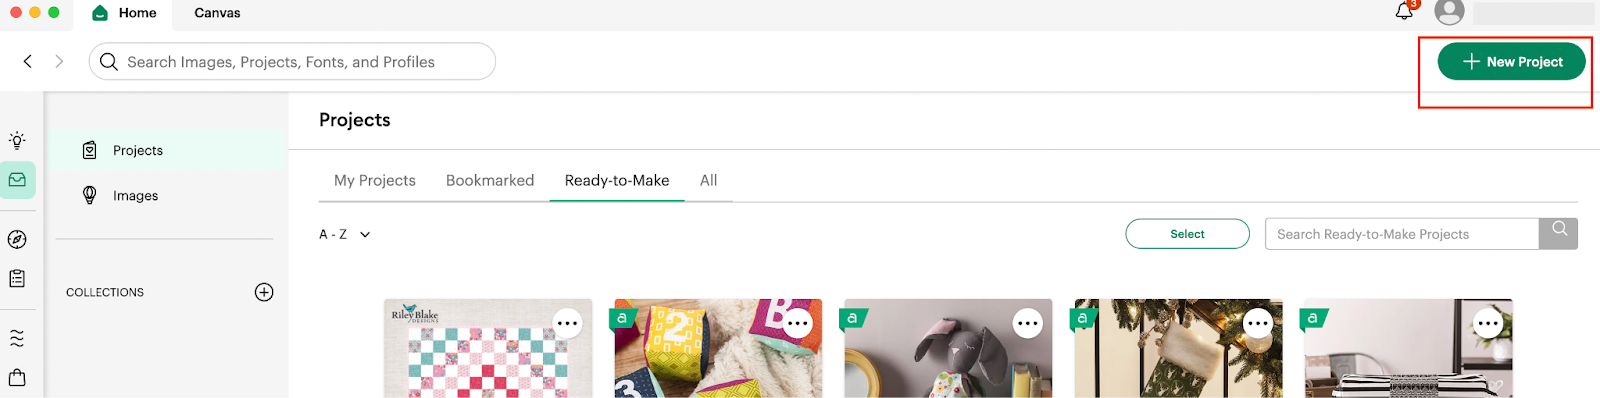
2: In order to be able to start our Design, we are going to access our Design Space application and in there we are going to click on the + New Project Green button located on the top Right corner of our screen.
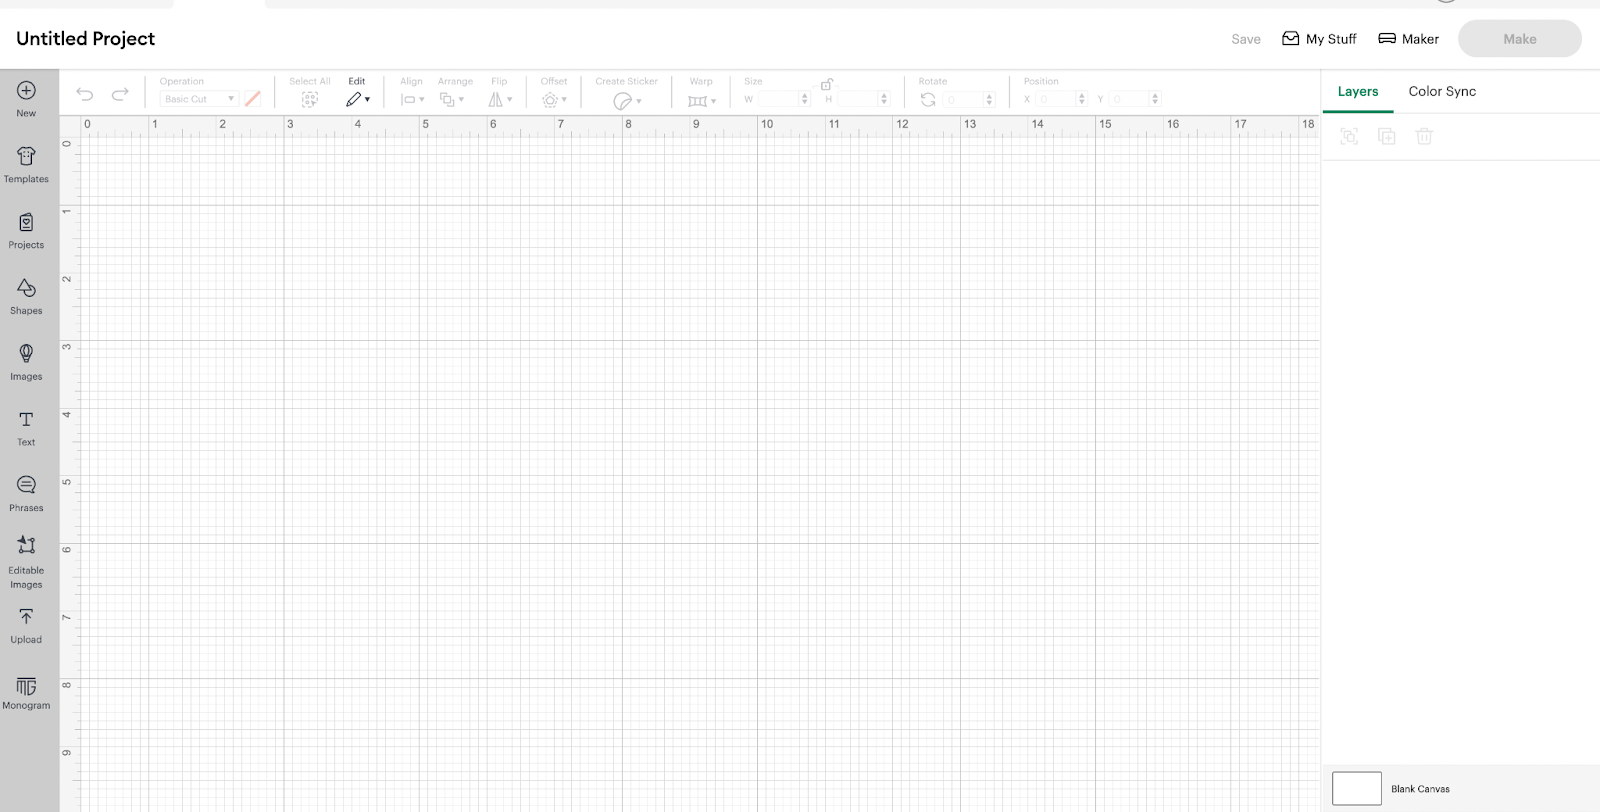
3: After we clicked in there, we are going to be able to access our Blank Canvas, in where we are going to start creating our Design:
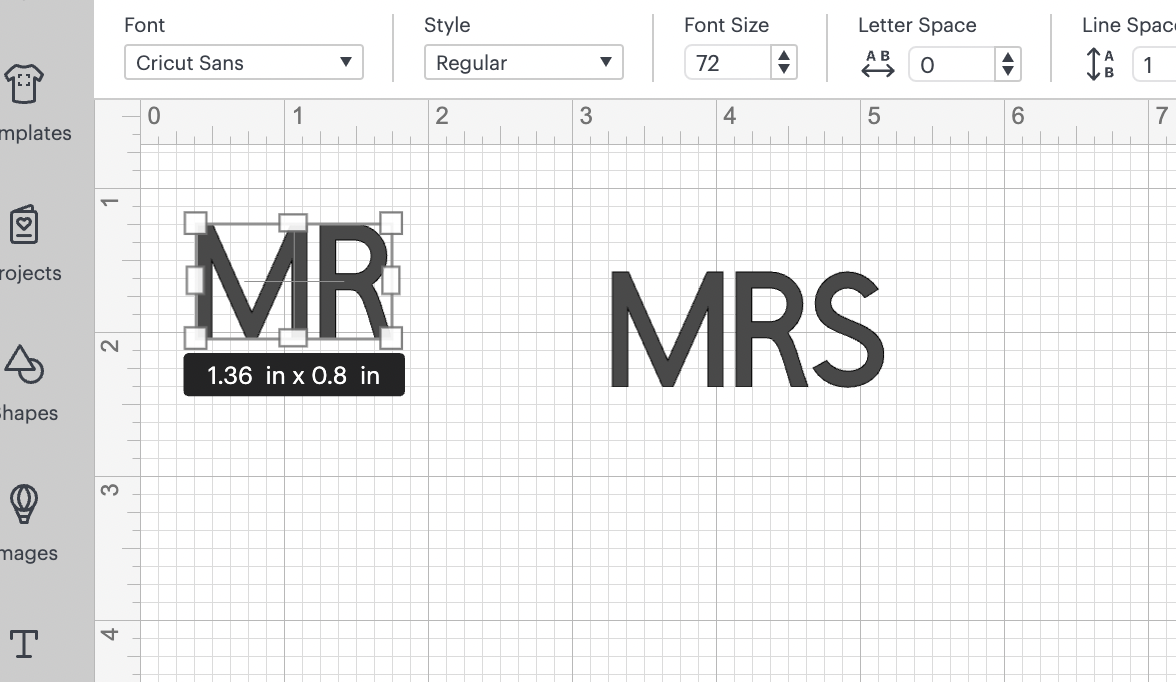
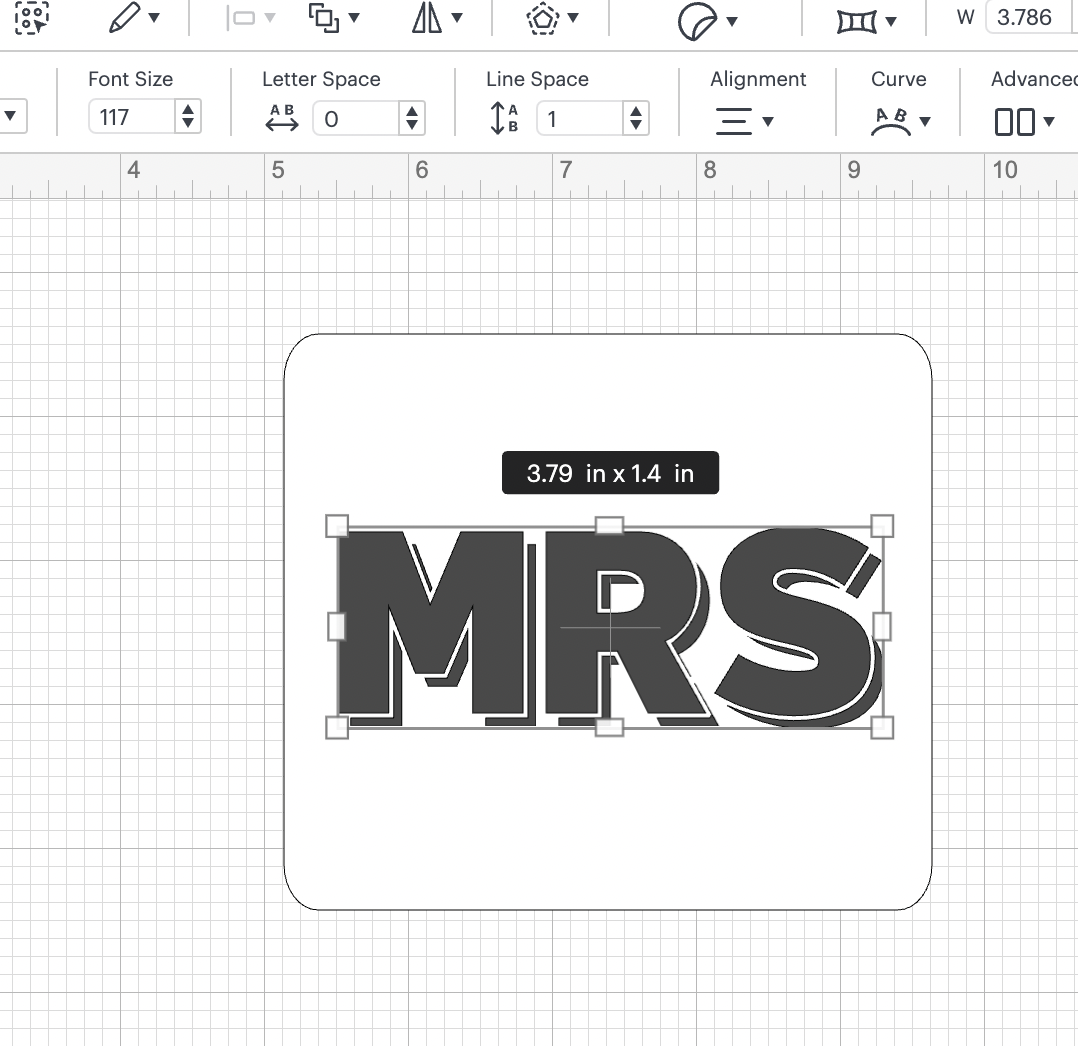
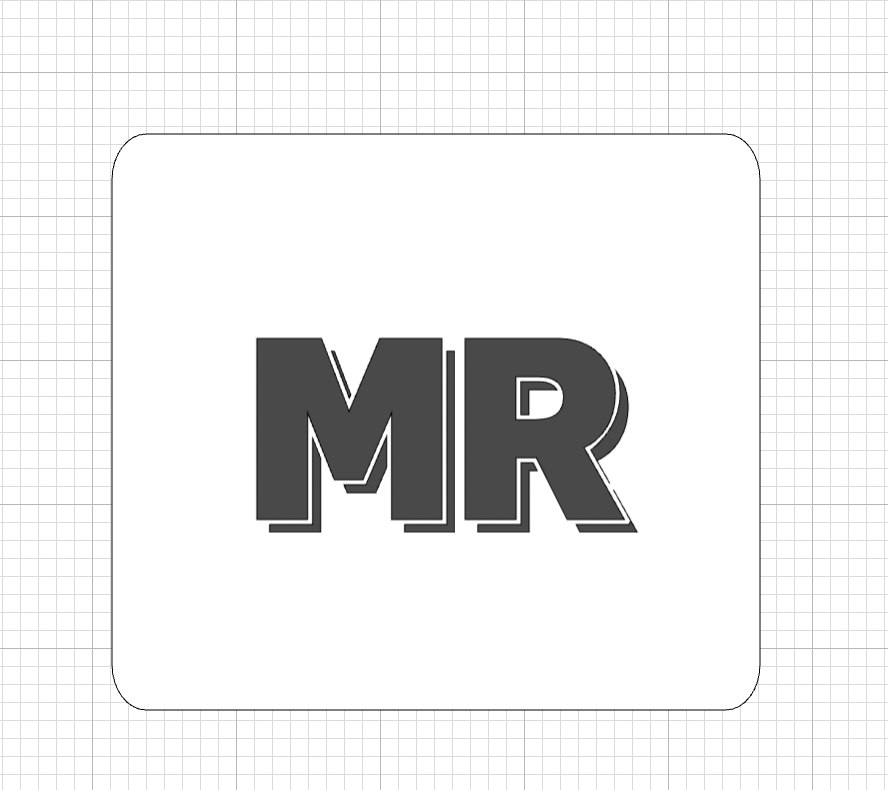
3: We are going to use the text functionality and we are going to write MR and MRS using the text functionality twice.
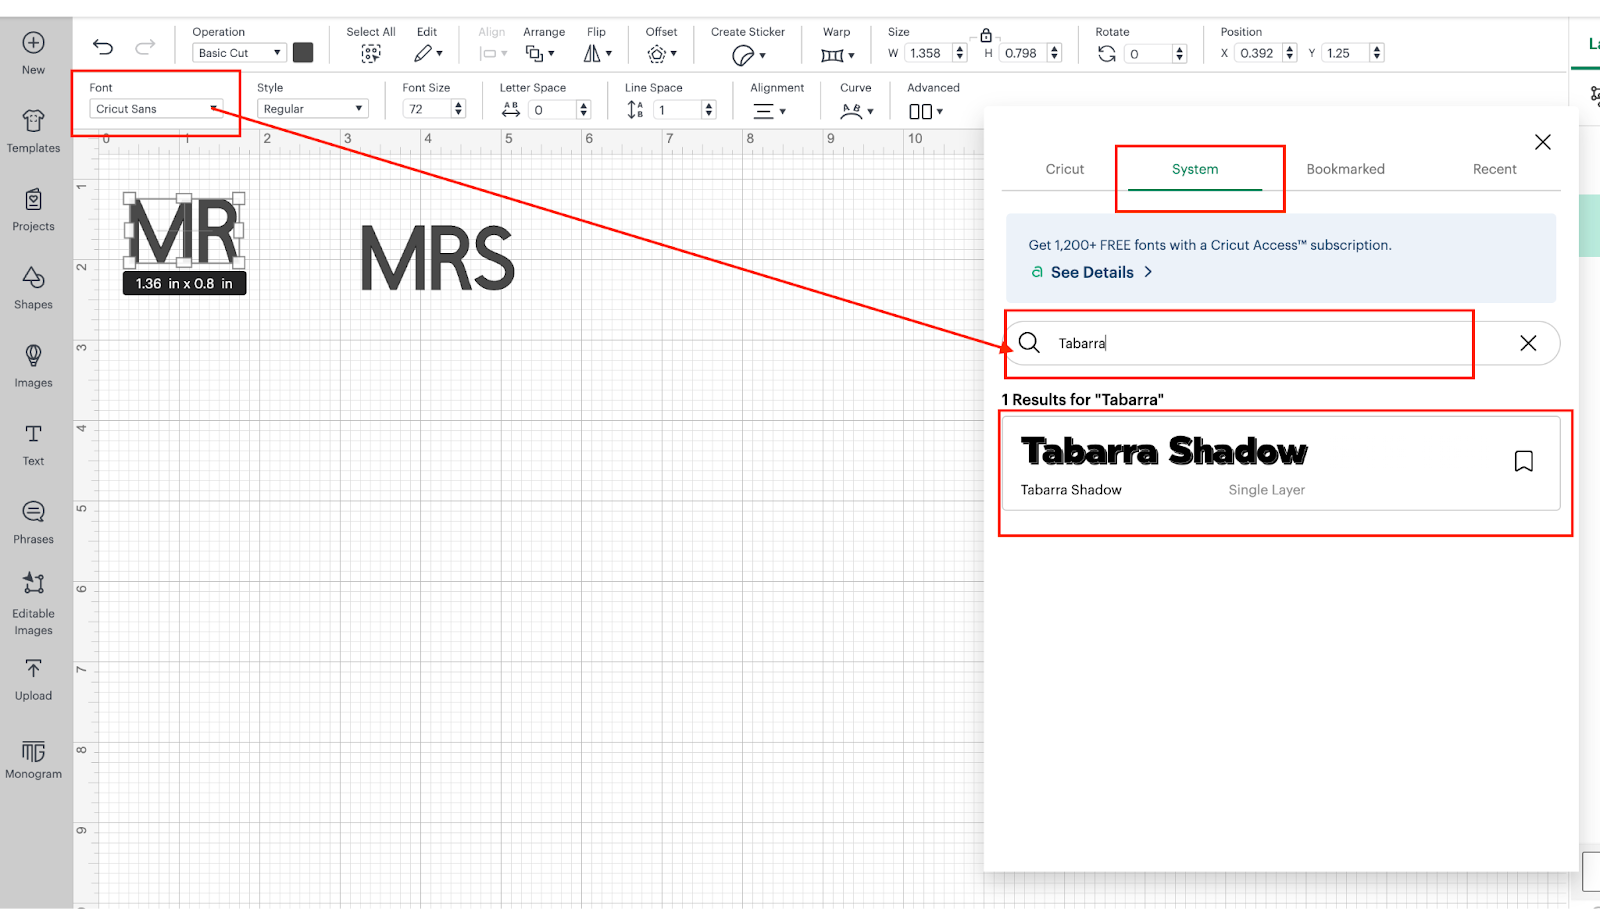
4: After adding the 2 words, we are going to change the font for the one that we installed on Step 1, in order to change it, we are going to locate the font functionality on the top menu bar.
Once in there, we are going to choose the System tab and we are going to search by Tabarra
Once you click on the font, your text should be now be shown with the new font:
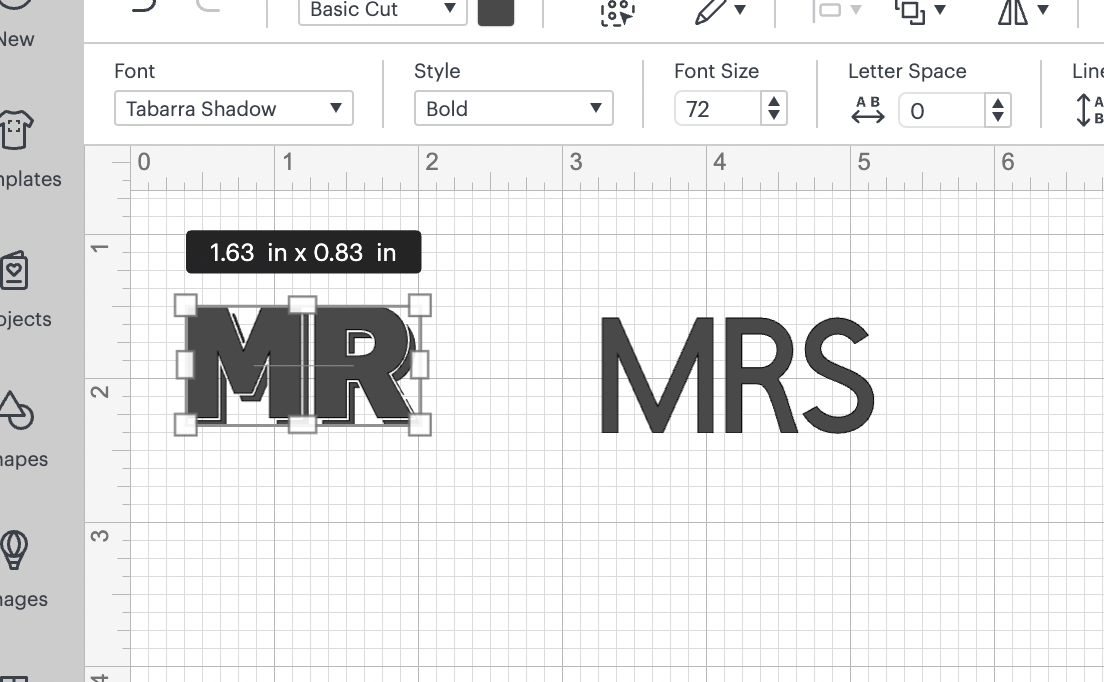
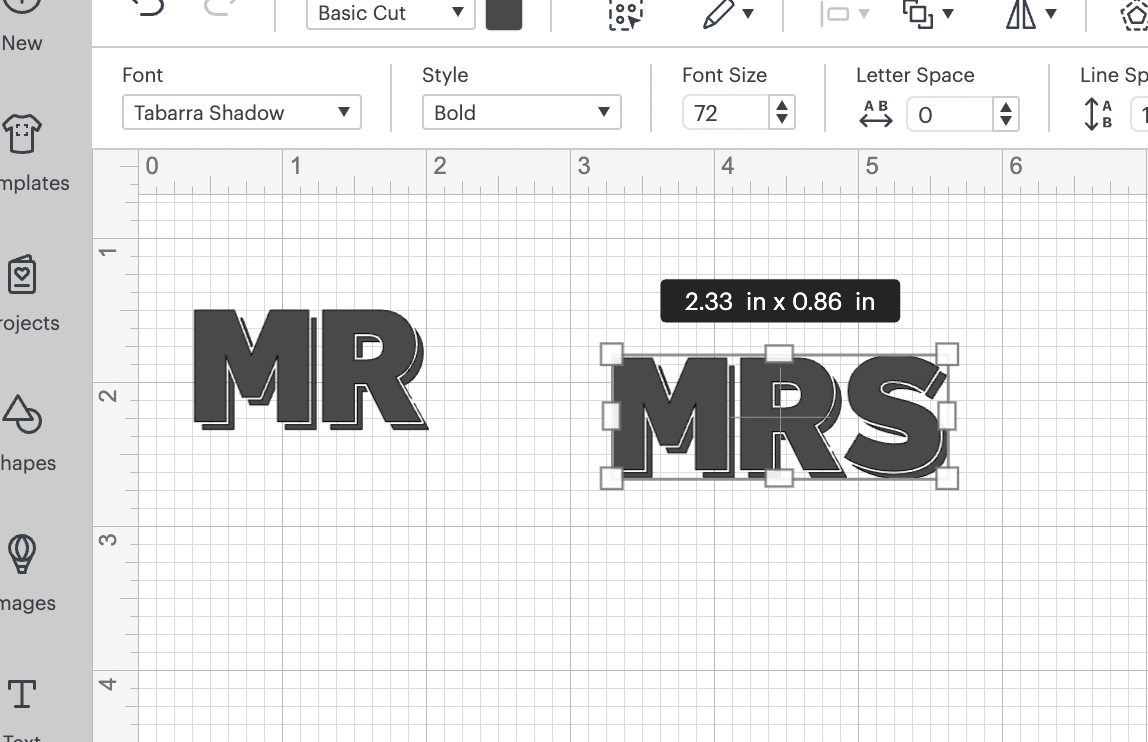
5: We are going to change the font to the second word, you should have something like:
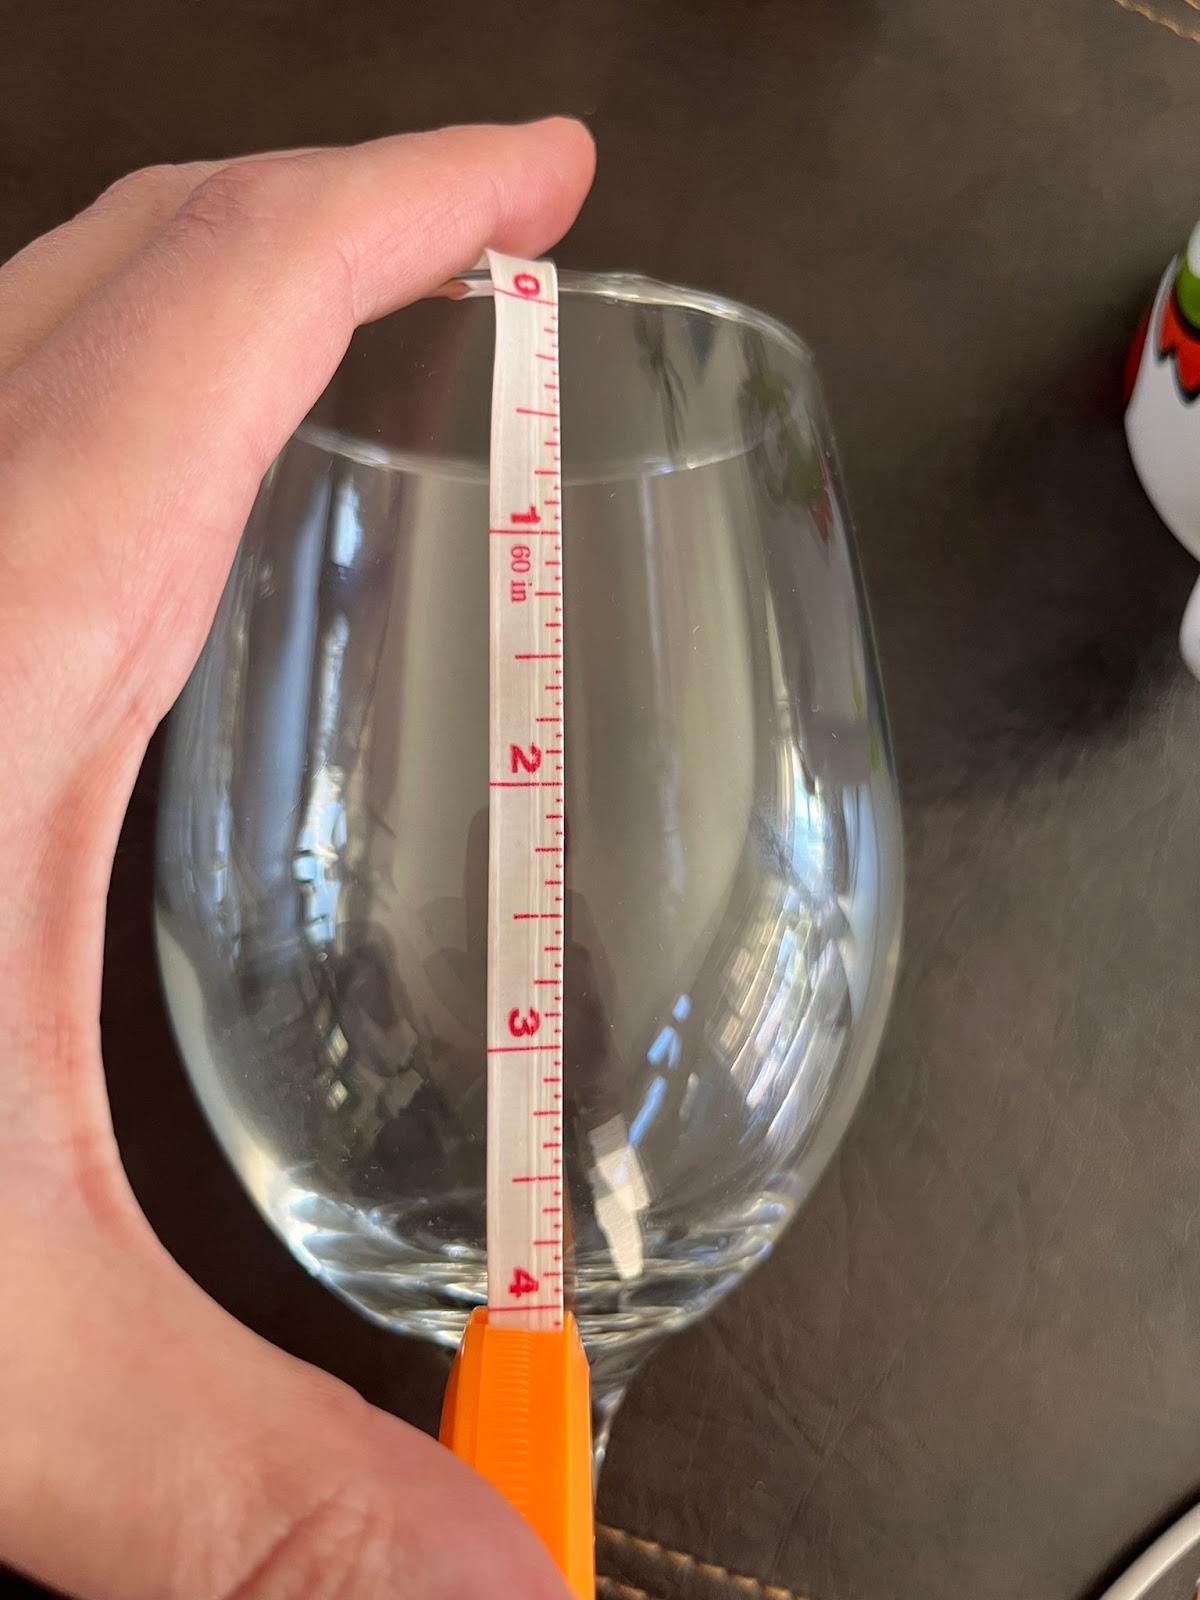
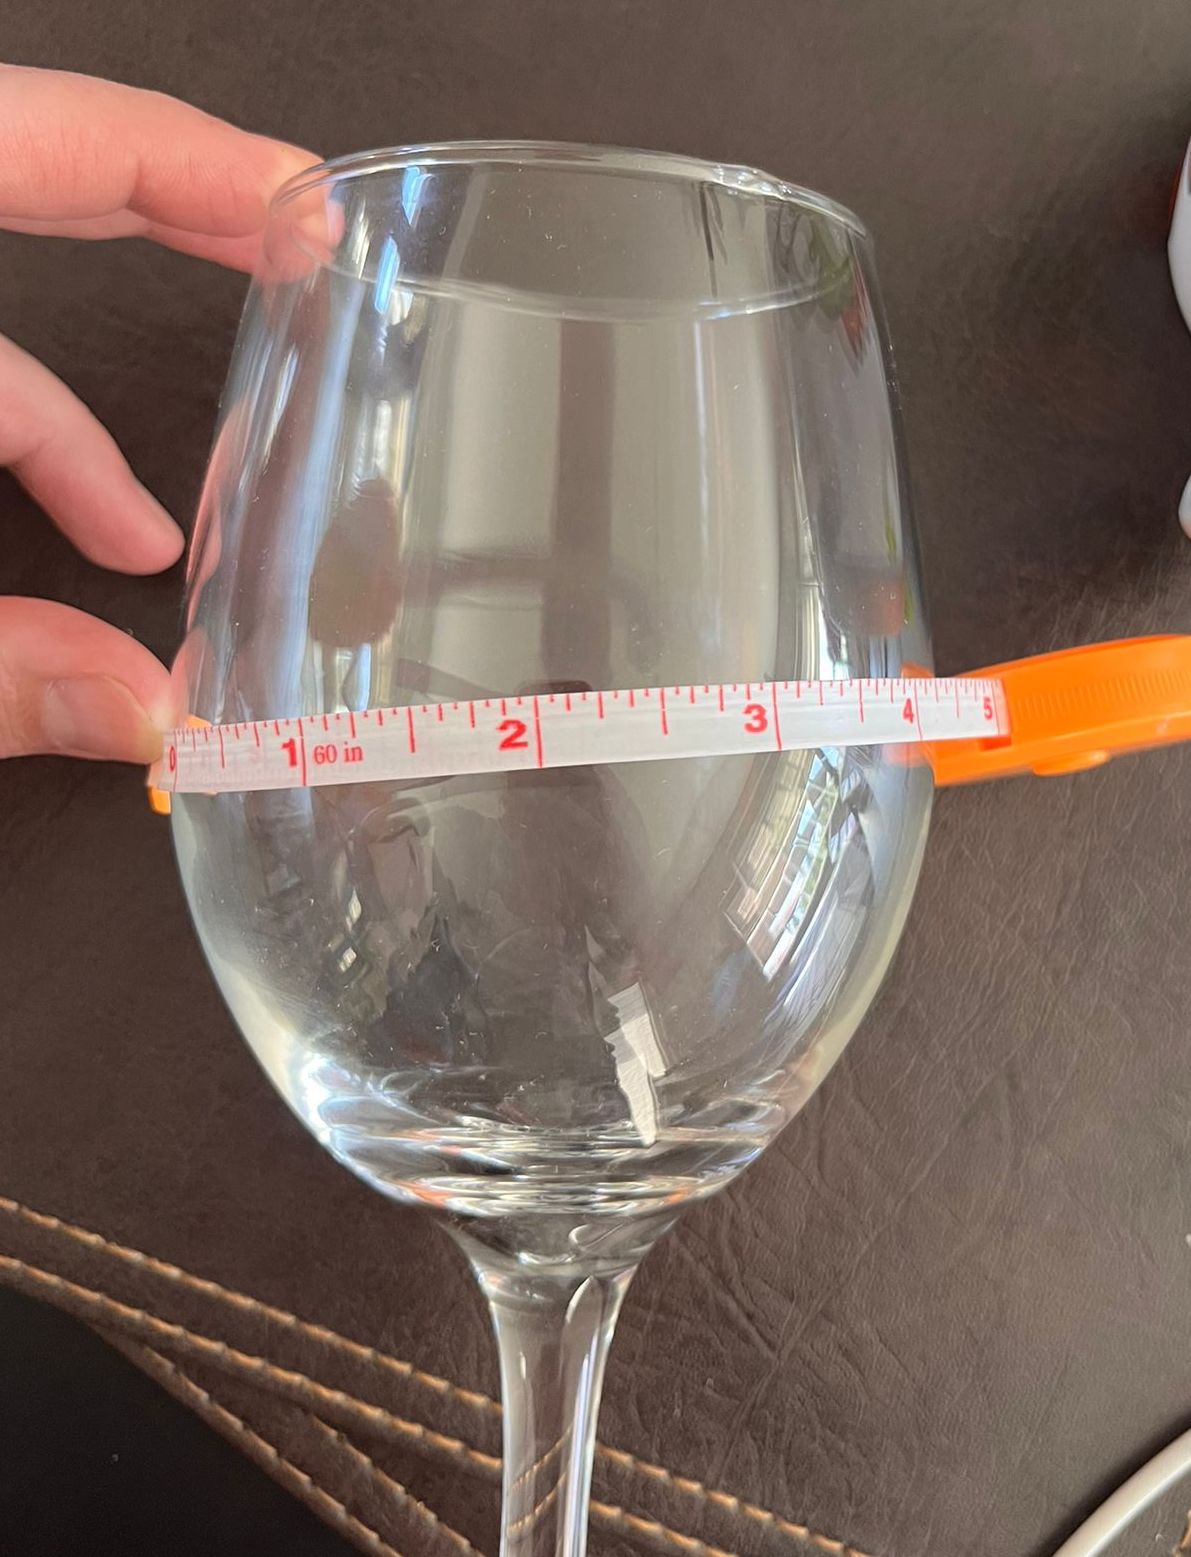
6: Now, you are going to measure your physical wine glass in order to be able to resize the design. In our case, the measurements are: H: 4” and W: 4.5”
7: Using the shapes functionality, we are going to add a square and we are going to resize it based on the measurements from our physical glass.

8: We are going to drag over the square of one of our words in order to resize it. In our case, the font size for our design is 117.
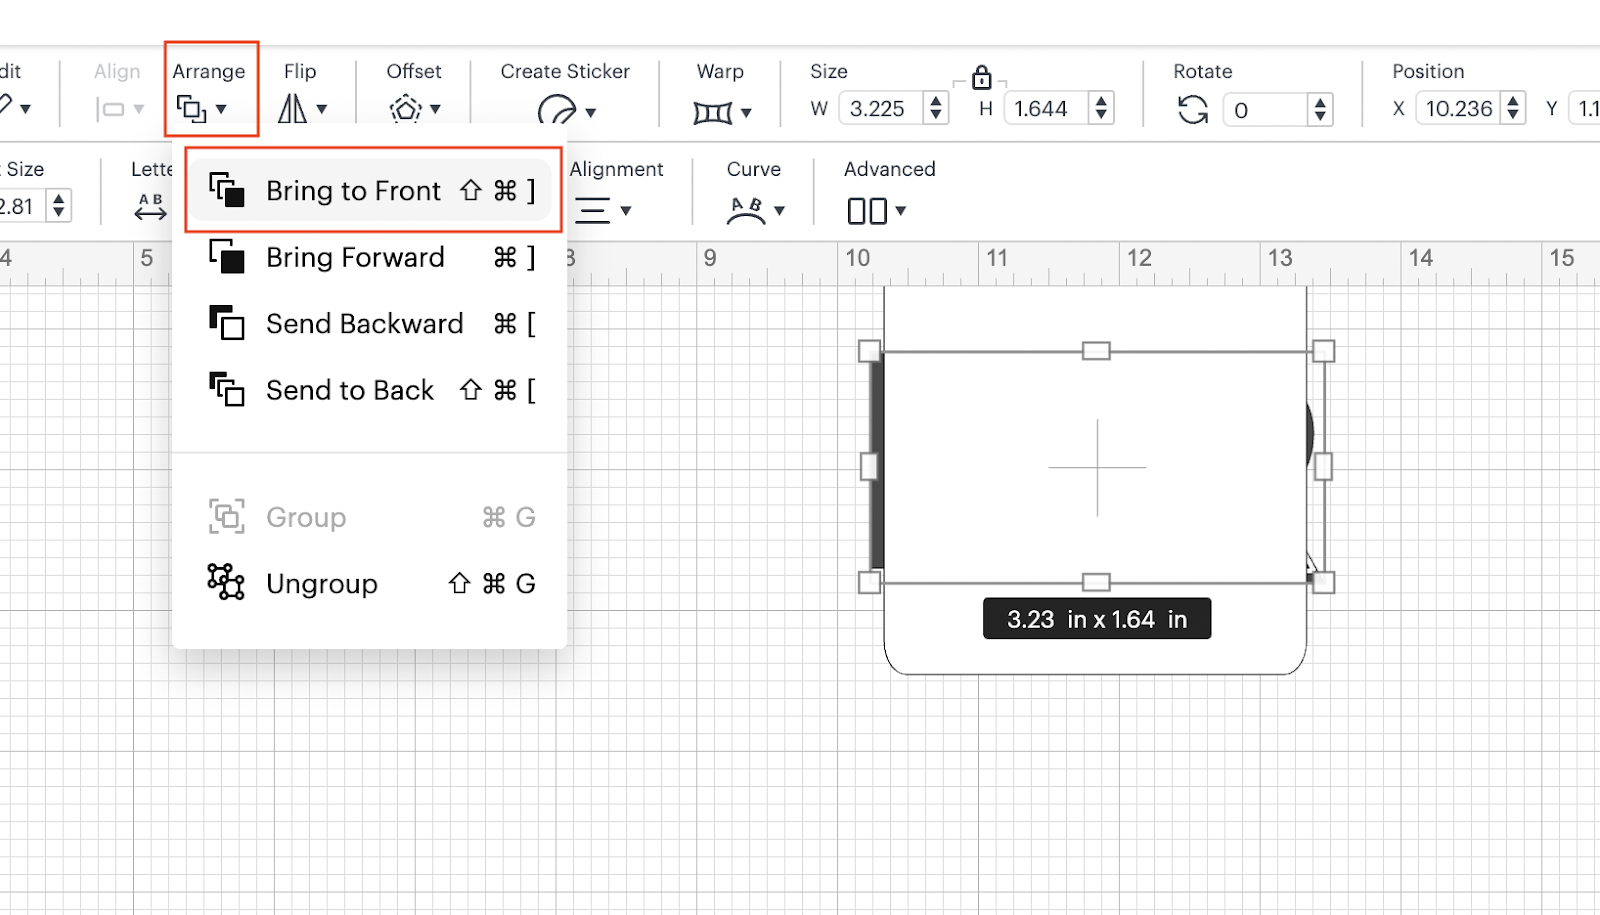
💡Tip: While you are dragging the word over the square, the word is showing behind the shape you need to localize the Arrange functionality on the top menu bar and in there choose Bring to Front.
💡Tip2: You need to make sure that both words have the same font size or measurement so they look nice on the final product.
9: After you are happy with the measurement, you are ready to cut the design!
In this tutorial, you are going to learn/practice the following skills:
- Upload Fonts
- Add Shapes
- Resize Elements
- Add Text and Change Fonts
- Hide Elements
- Change colors
- Etching