

Step 1: Creating The Scrapbook Page
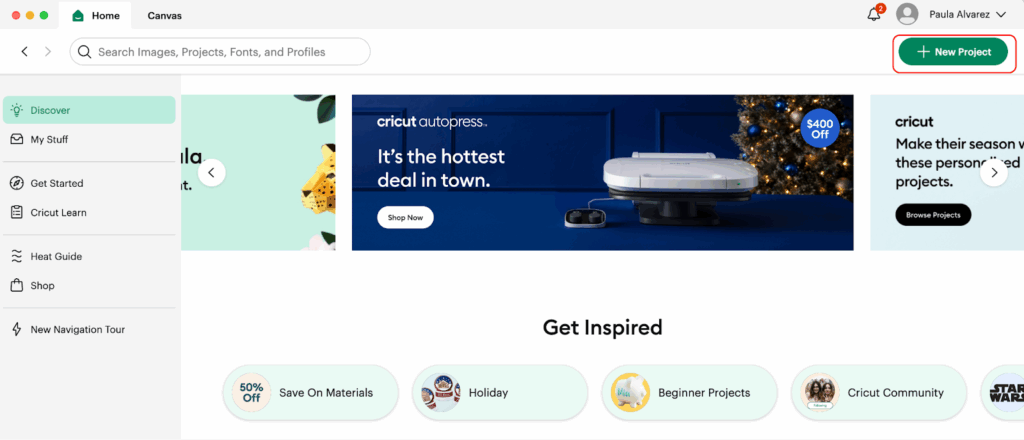
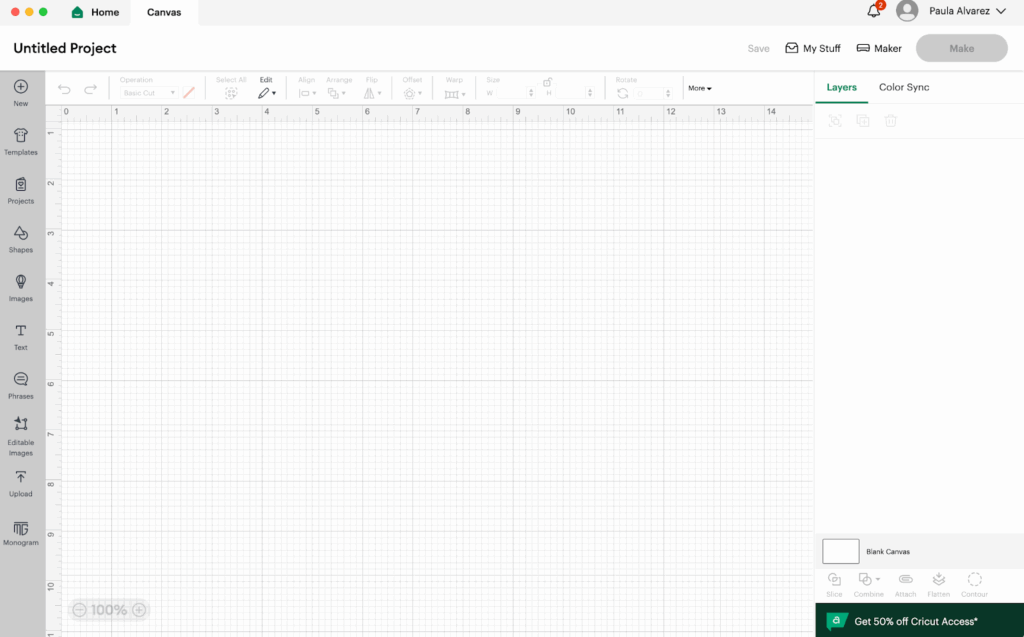
1- Open up Cricut Design Space
2- From the Home Screen, click on the “New Project” button in the top right. This is to be able to start creating the design for your project.
3- With the Blank Canvas ready to use, we can start our amazing Project!
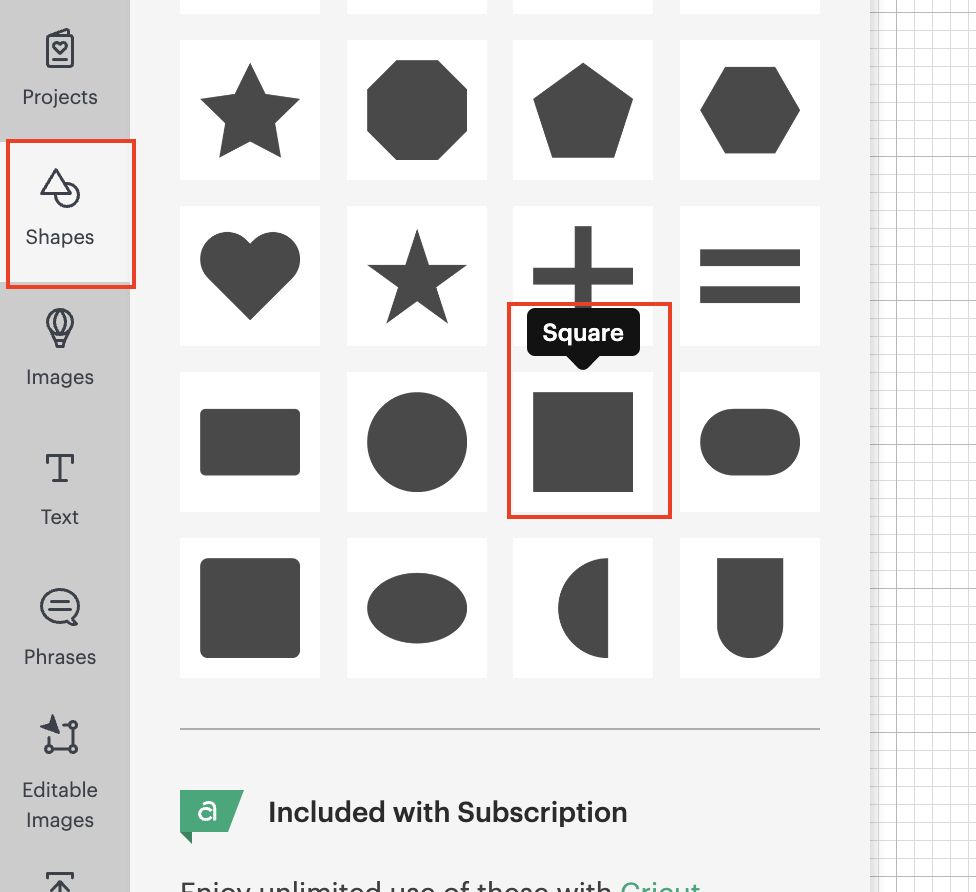
4- We are going to add to our canvas by using the shapes functionality, we are going to add a 12” x 12” square just as a base. Go to the menu that is showing on the left side and click on Shapes, and then click on the Square shape.
💡Tip: Since we are not going to cut it, because we are already using a 12” x 12” sheet is only a placeholder to see how our design is looking.
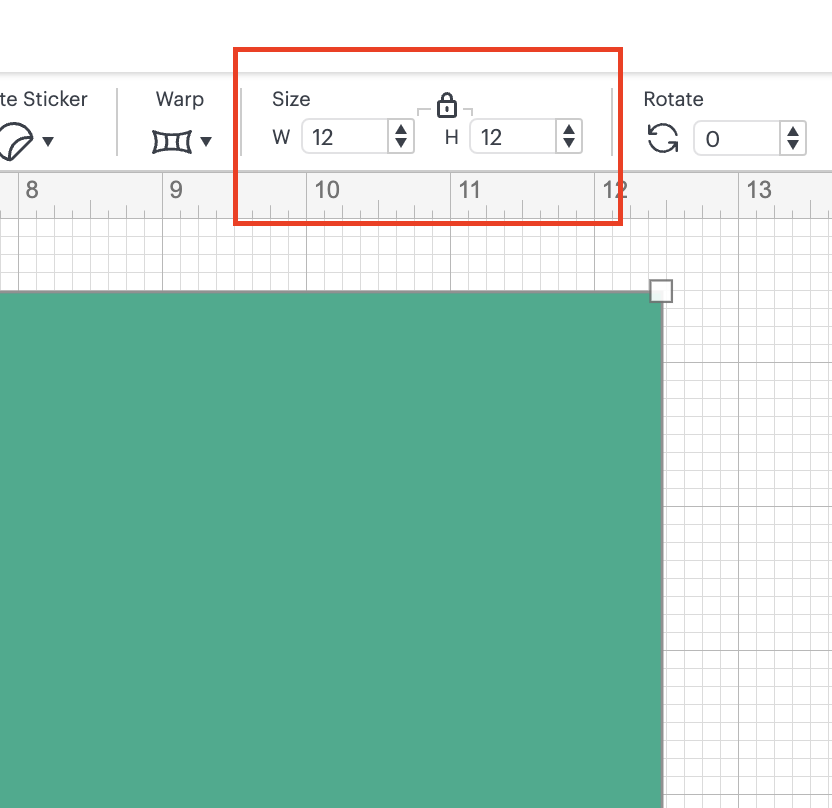
💡Tip 2 : to change the size of the square, go to the top menu bar size and change in there the W and H.
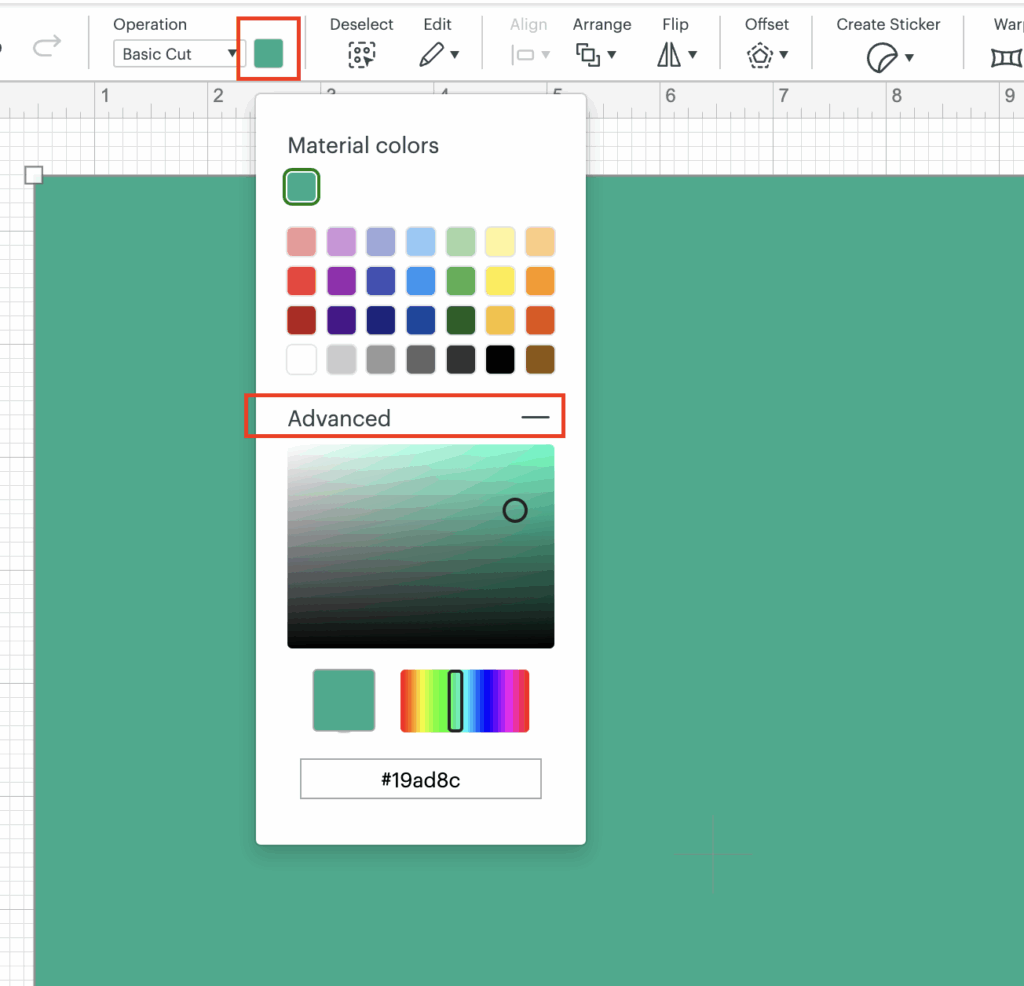
5- After adding the first square, We are going to proceed and change the color of it. We are going to click on the square shape and then on the top menu, we are going to click on the gray/black square that is showing next to the Operation that we are doing. And we are going to change it to a Teal color.
💡Tip: You can change the color to any color that you like. Also keep in mind that it does not matter which color you choose into the Design Space since the important color is the one sheet that you are going to cut.
💡Tip 2: To change the color to a different one that is listed just clicked on the Advanced label and choose the color of your preference.
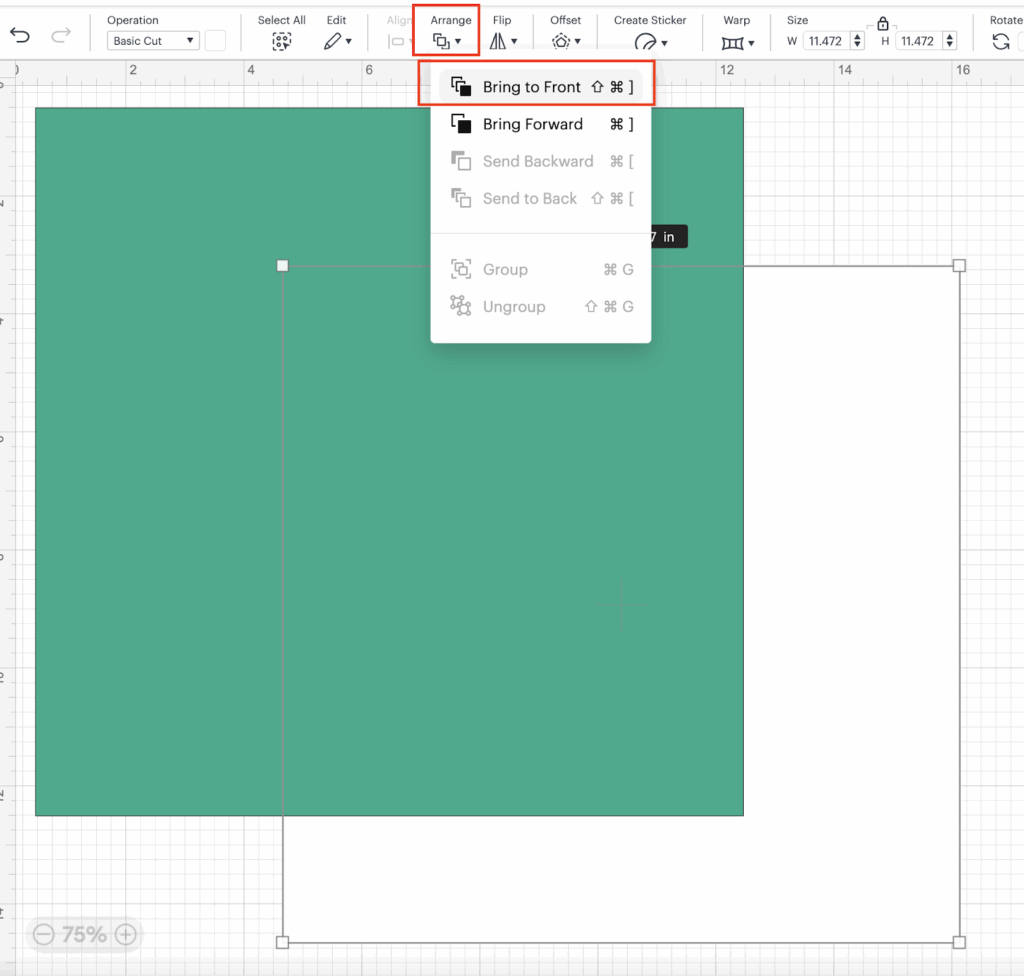
6- We are going to add a second square, using the same process as before, this time the color is going to be white and the dimensions: H and W 11.47”. We are going to overlap the second square over the Teal one.

💡Tip: If the white square is showing behind the teal, by using the Arrange functionality, choose bring to front and the square is going to be shown over the bigger square.
7- We are going to add 3 squares the same as previously using the Shapes functionality. We are going to use a Blue color for the 3 squares and we are going to rearrange them over the white square. The dimensions are going to be as follow:
- Square A: 3.9” x 3.9”
- Square B: 2.9” x 3.9”
- Square C: 3.9” x 3.9”
We are going to place them over the white square as follow:
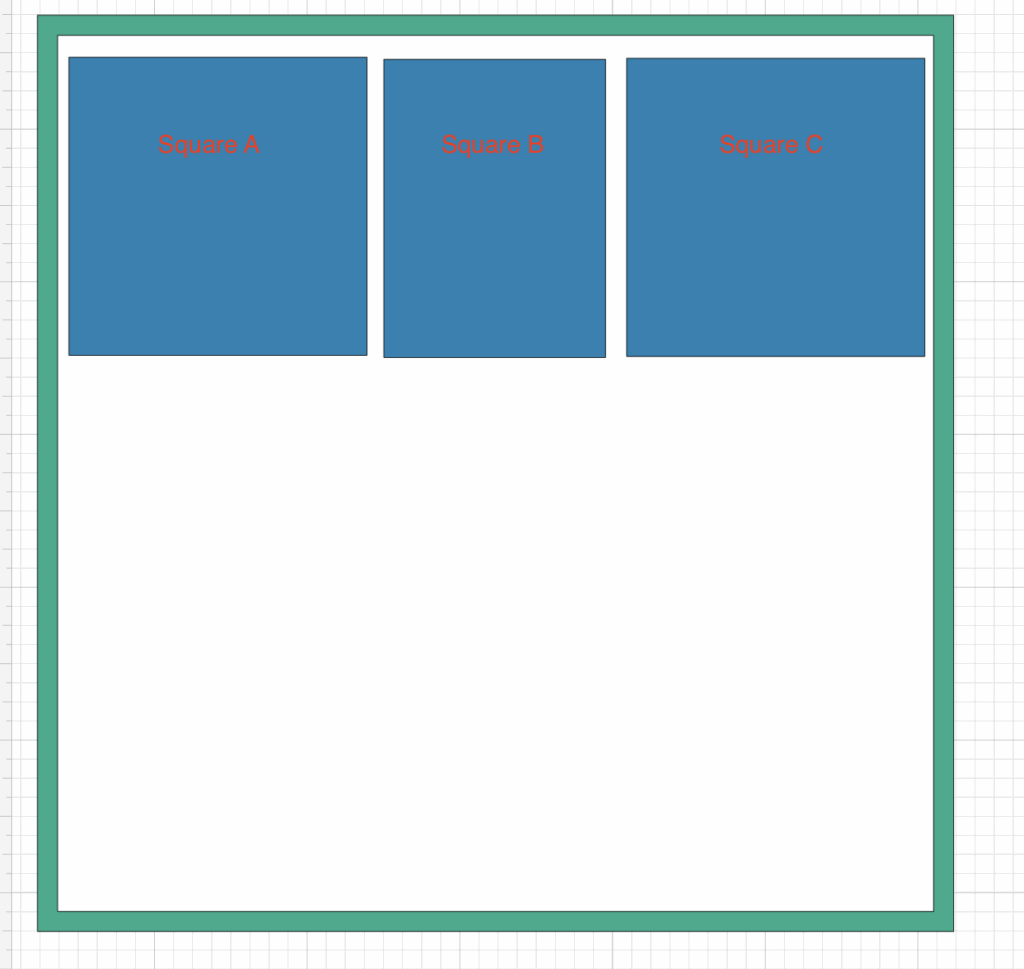
💡Tip: Remember that you can use any color that you want. This is only a prototype and the final color is going to be the one related to the cardstock that you are cutting.
8- Now, by using the shapes functionality one more time we are going to add a banner:
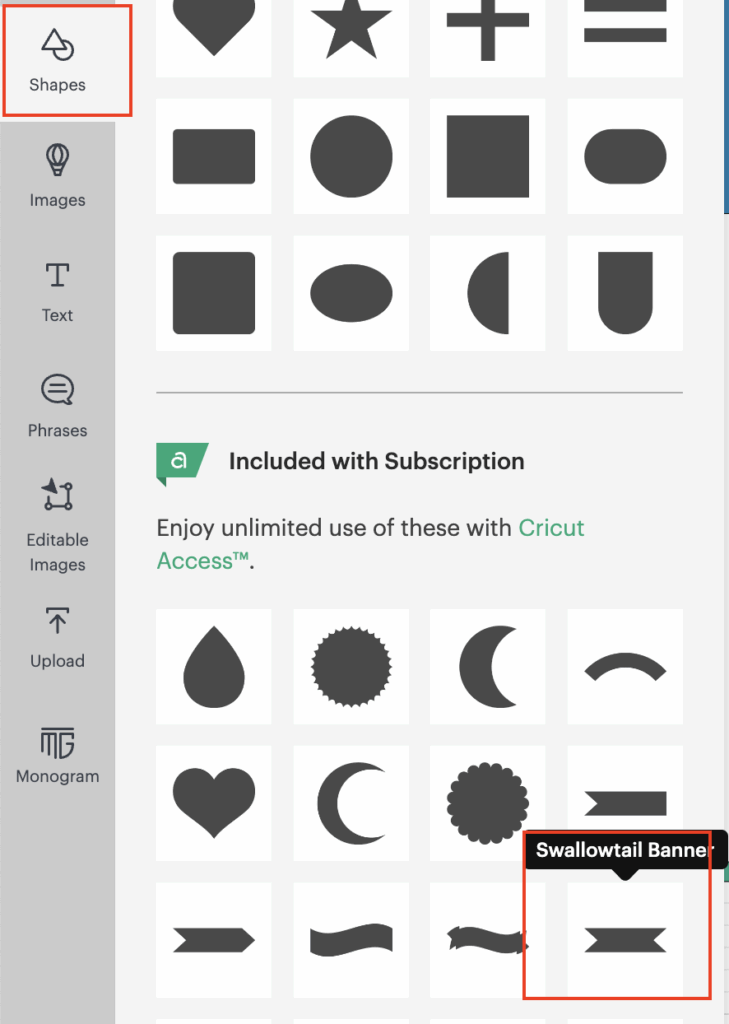
💡Tip: If you do not have Cricut access, you can search for free Banners by using the Images Functionality

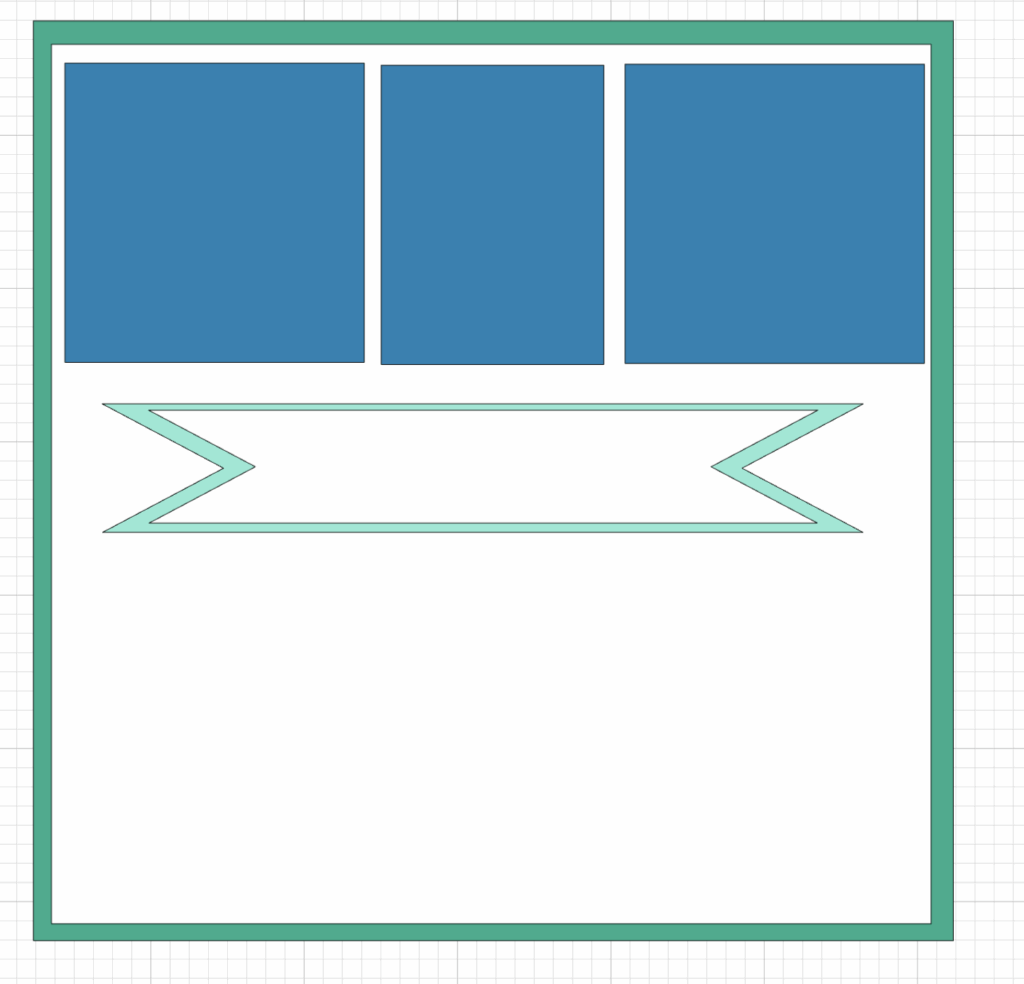
9- We are going to do the STEP 7 one more time, so we can have 2 banners on our canvas:

10- We are going to change the colors and and the dimensions (the same as we did with the squares) as follow:
- Banner 1: Light Teal and the dimensions: W: 11” and H: 1.5”
- Banner 2: White and the dimensions: W: 9.78” and H: 1.3”
And you should have something like this:
11- Inside the Banner we are going to write the phrase: “Grateful For You” By using the Text functionality.
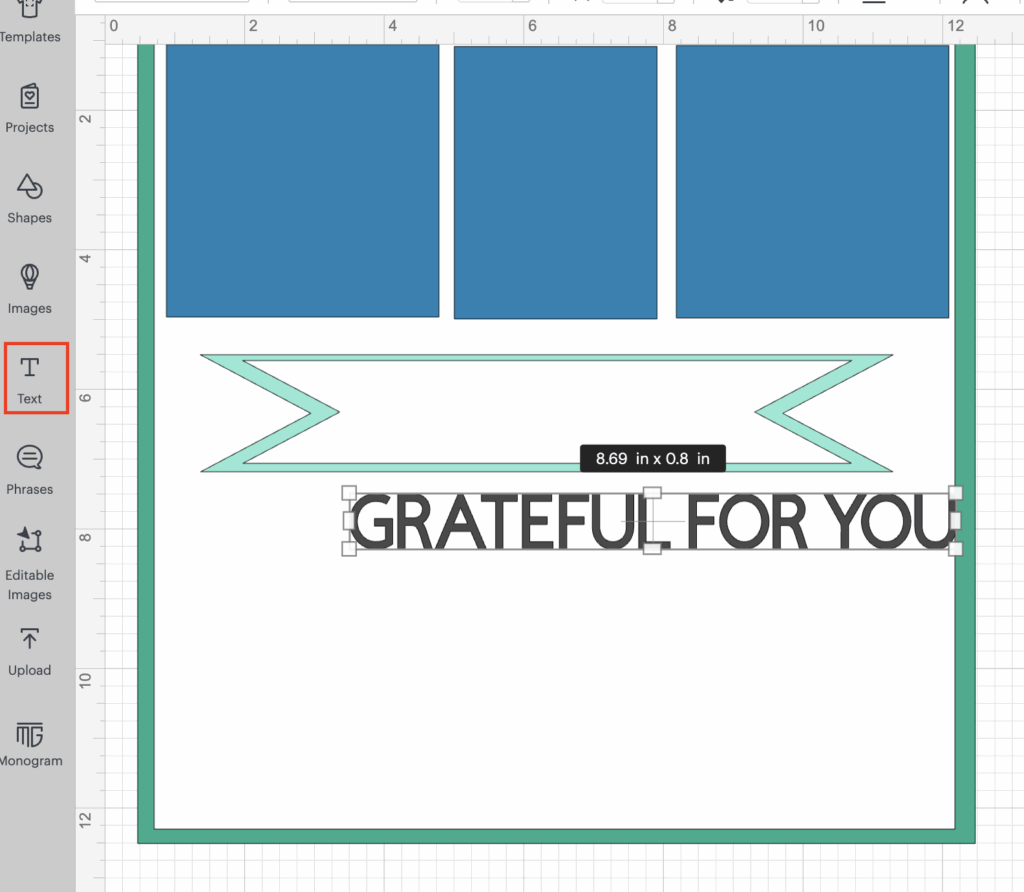
💡Tip: In this step, if you have any sentiments stickers that you want to use in the banner, or change the phrase for any other one that you like.
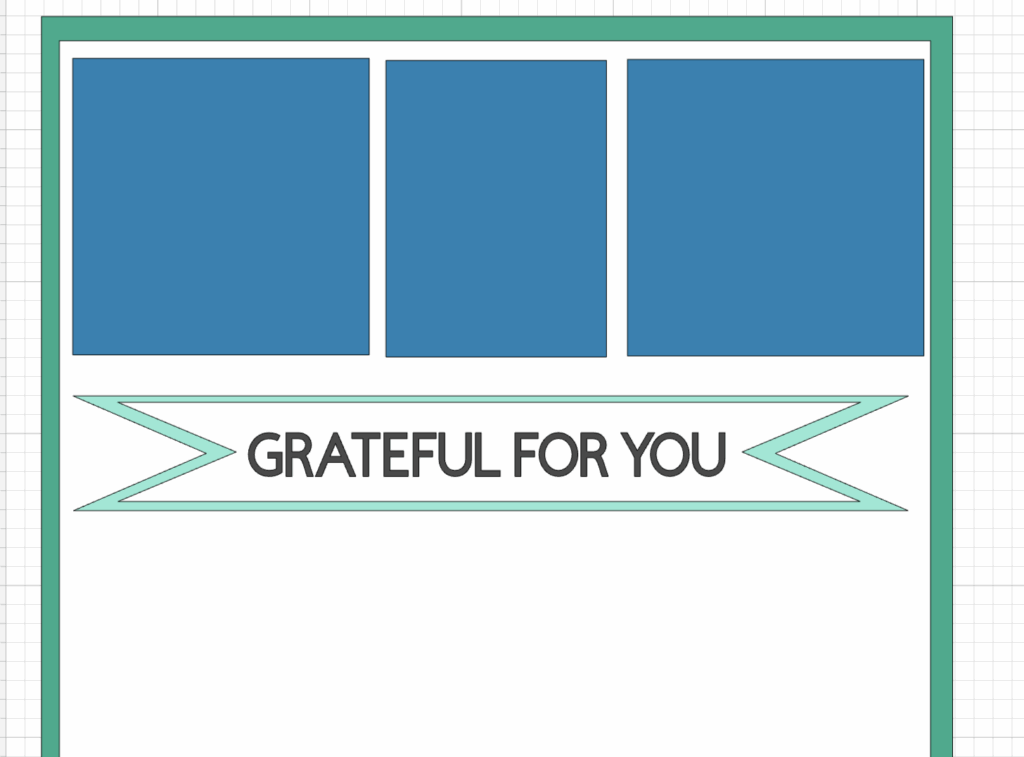
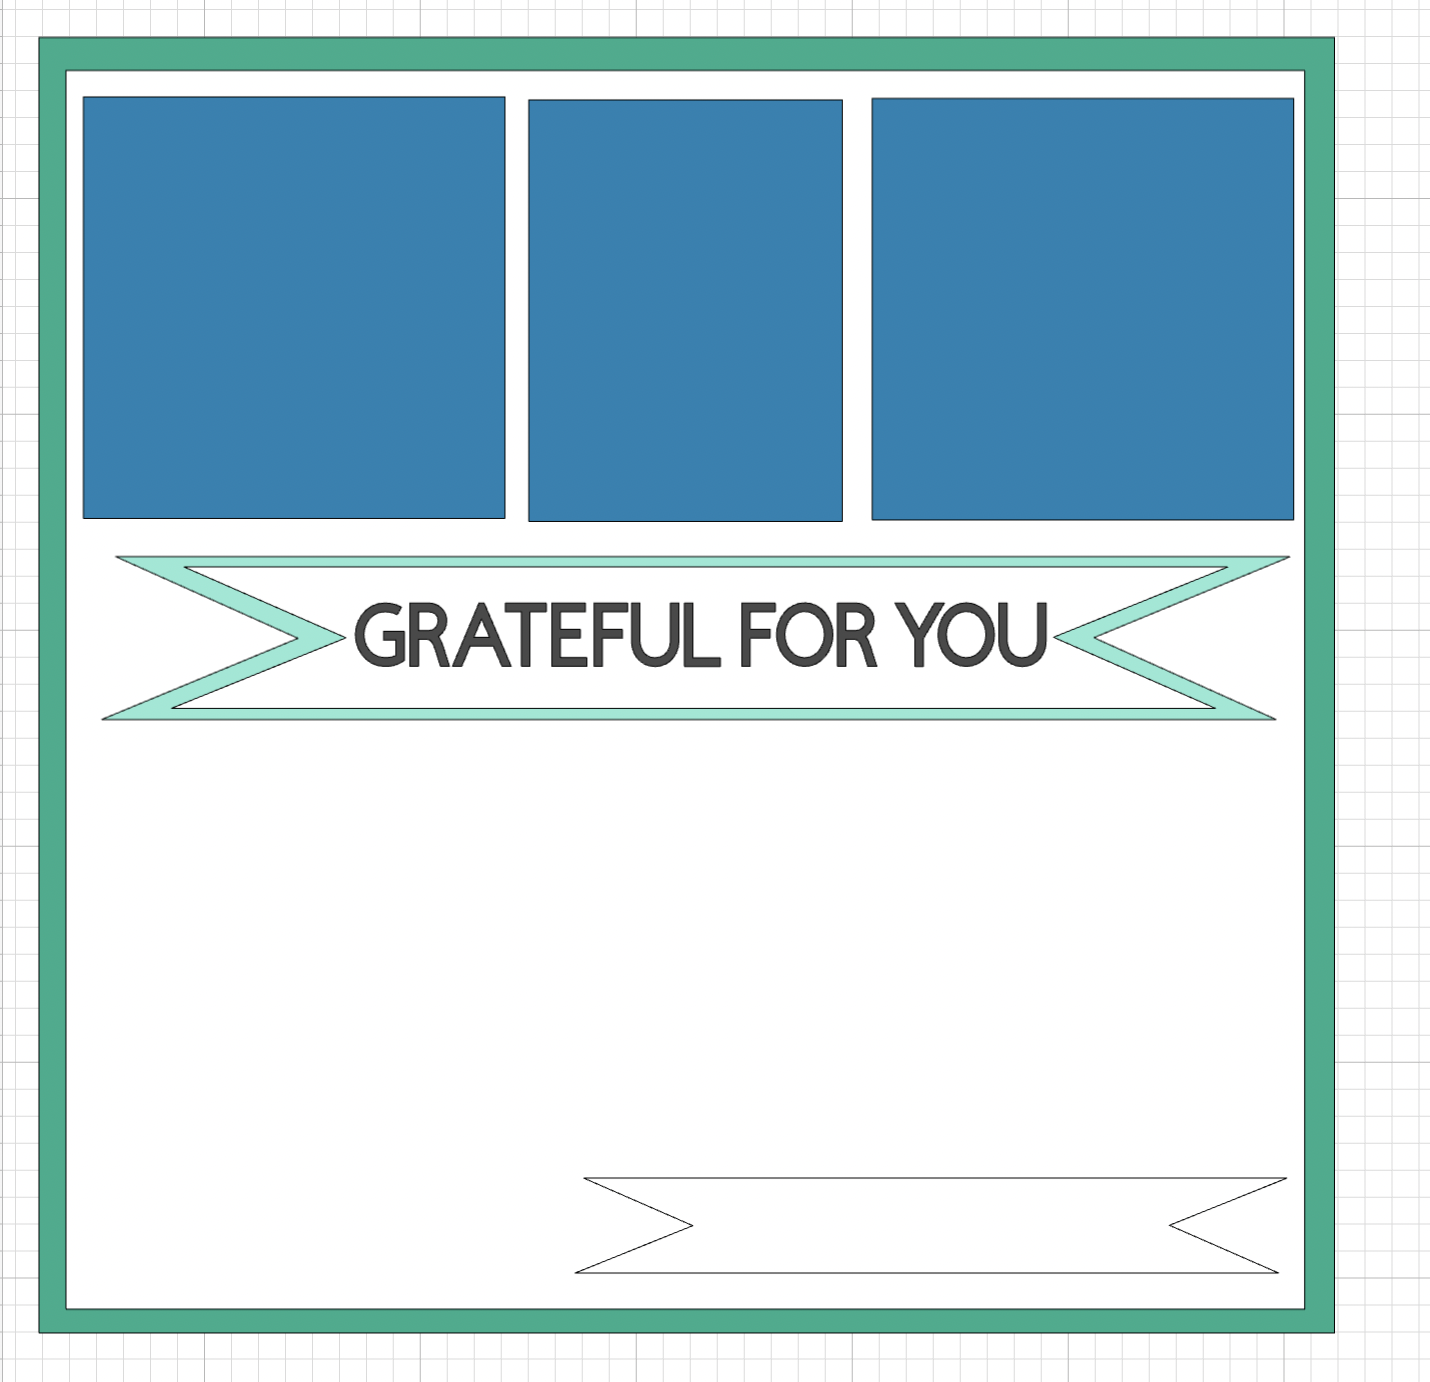
12- We are going to place the text inside the white banner and resize it so it fits nicely. In order to do this, we are going to decrease the Font Size.
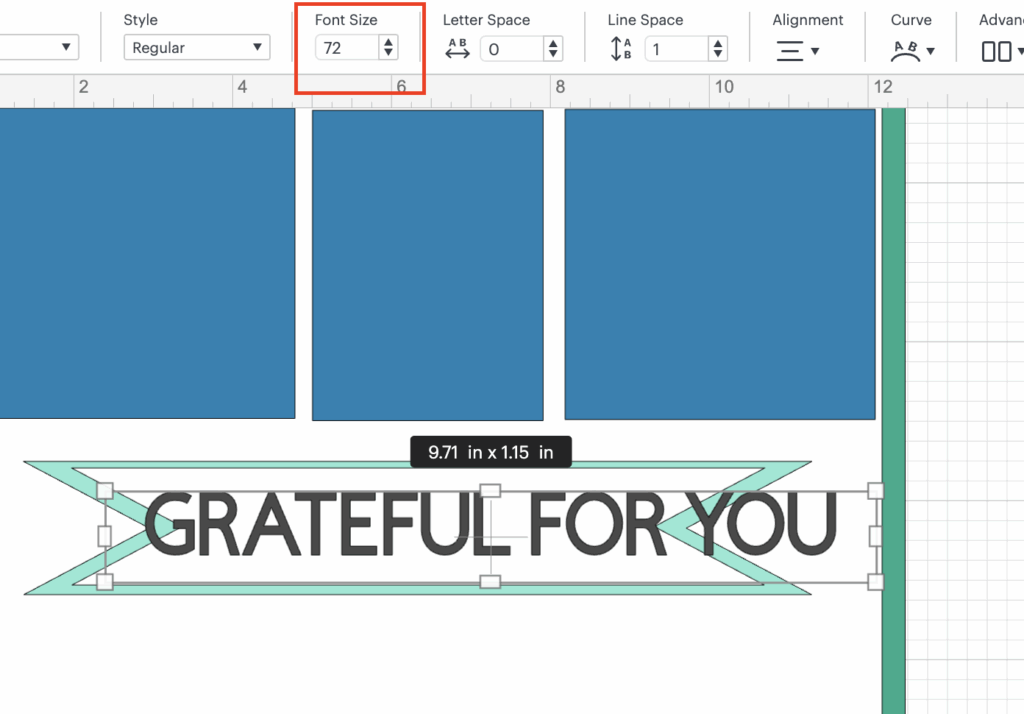
You should have something like this:
13- Once we add the text we have a couple of options: In our project we are going to use Option A, but feel free to use the other ones if you like them more!
A- Print and Cut, in order to do this, we are going to:
- Change the operations from CUT to Print then Cut
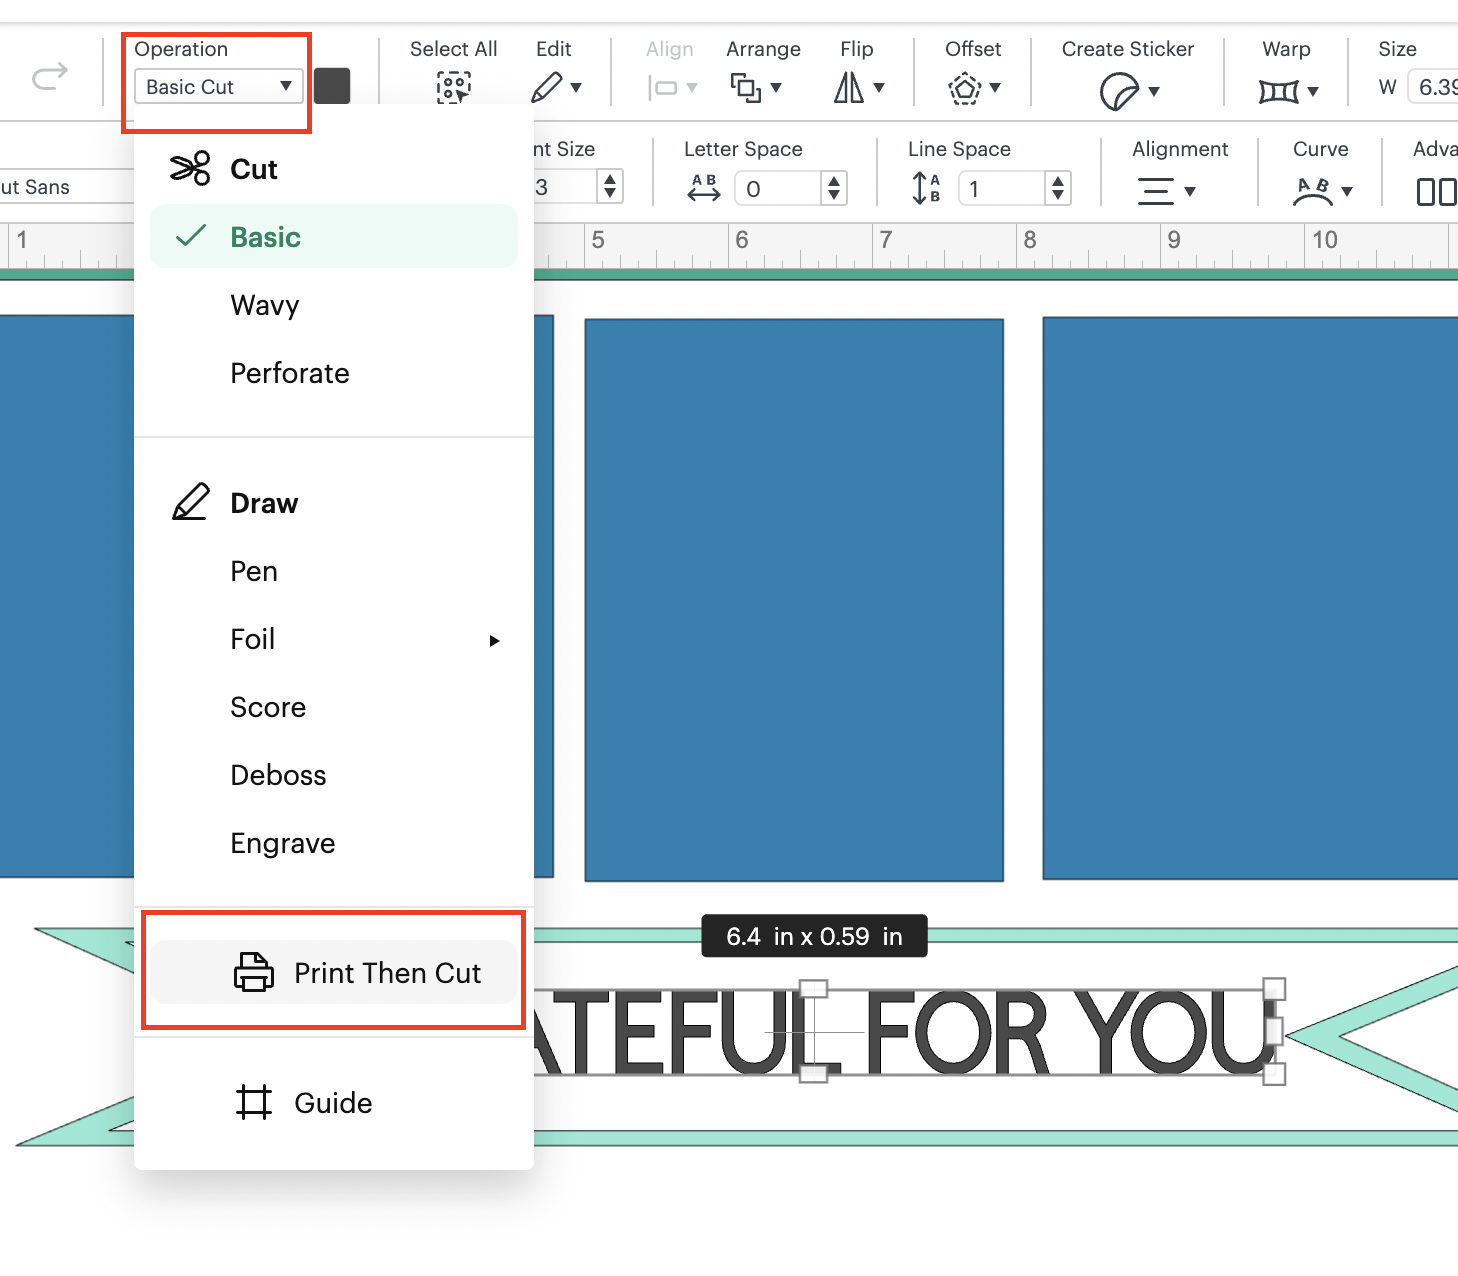
- After changing the operation, we are going to change the color: going to the operations functionality, but this time click on the color square that is showing, and in there change the color (the same as process as we did before)
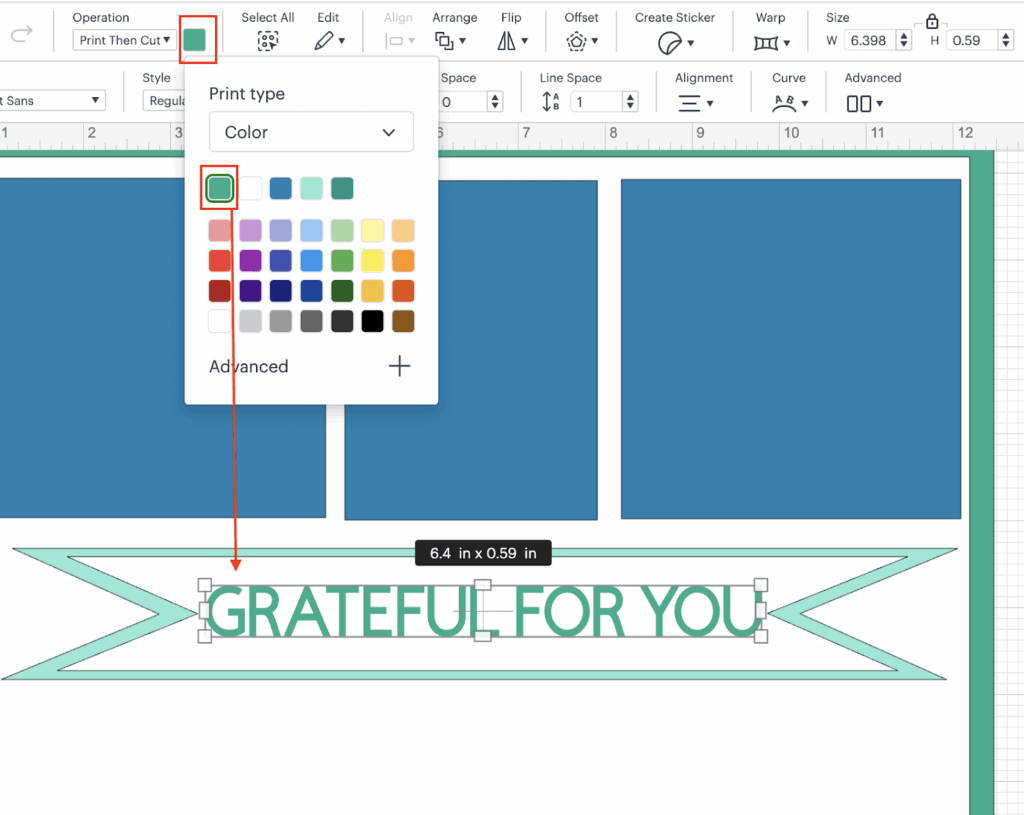
💡Tip: this color is going to be the one that is printed, so DO NOT FORGET to change it if you want a different one!
- Now, we are going to select the phrase and the white banner, and we are going to flatten them together.
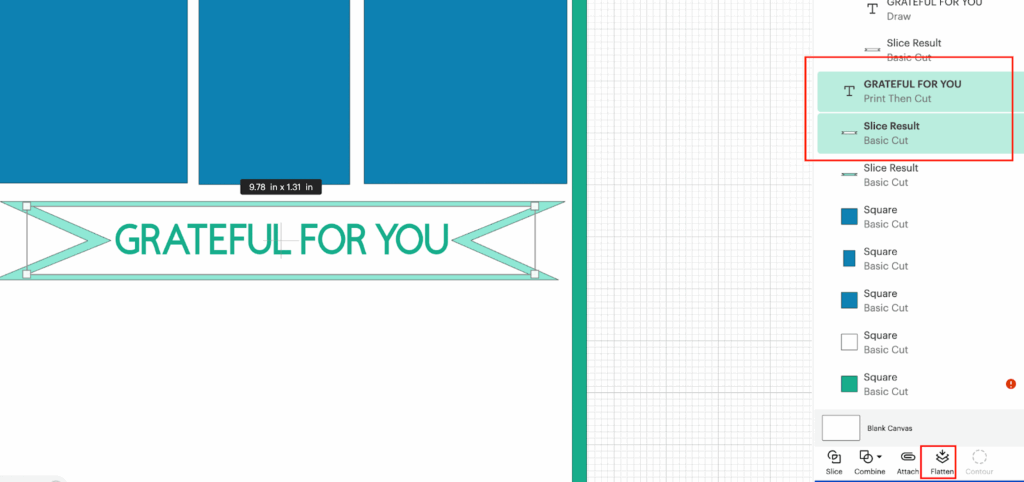
💡Tip: this is to print the phrase and then to be able to cut the banner with the phrase inside.
- Once the steps listed above are done, this section is ready to be printed and then cut!
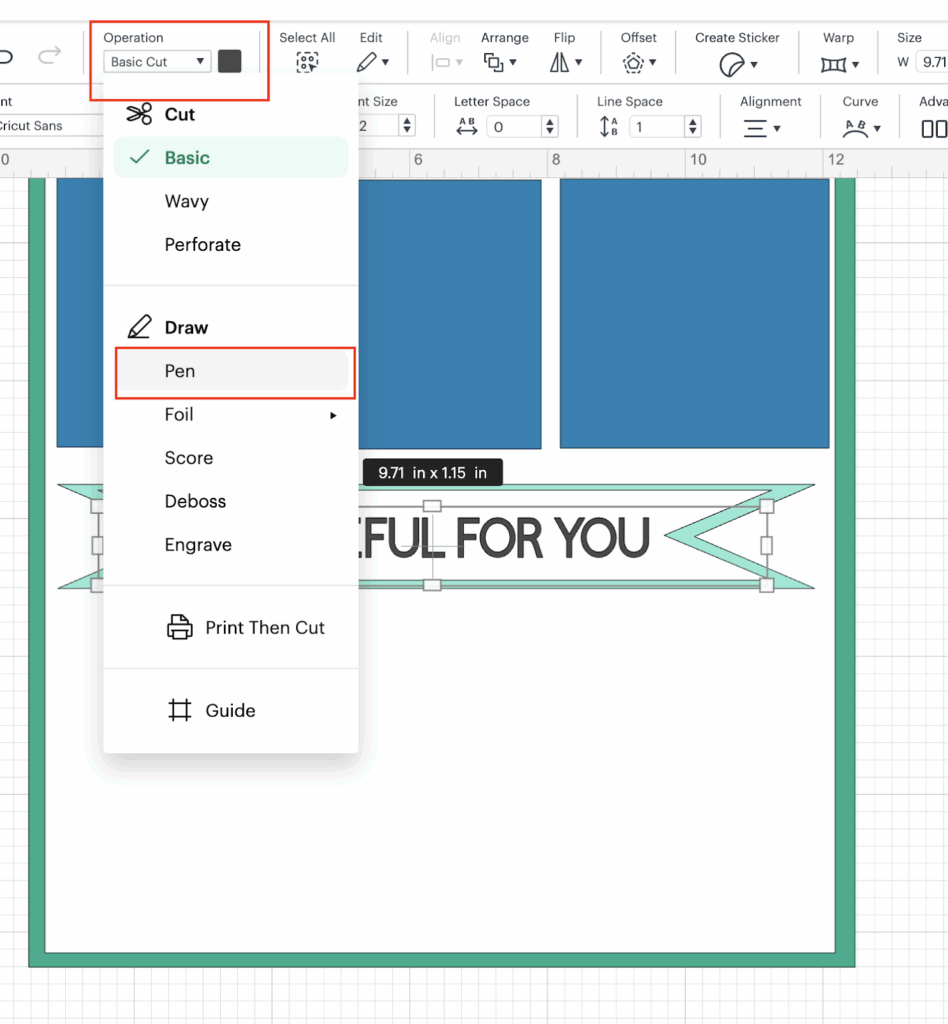
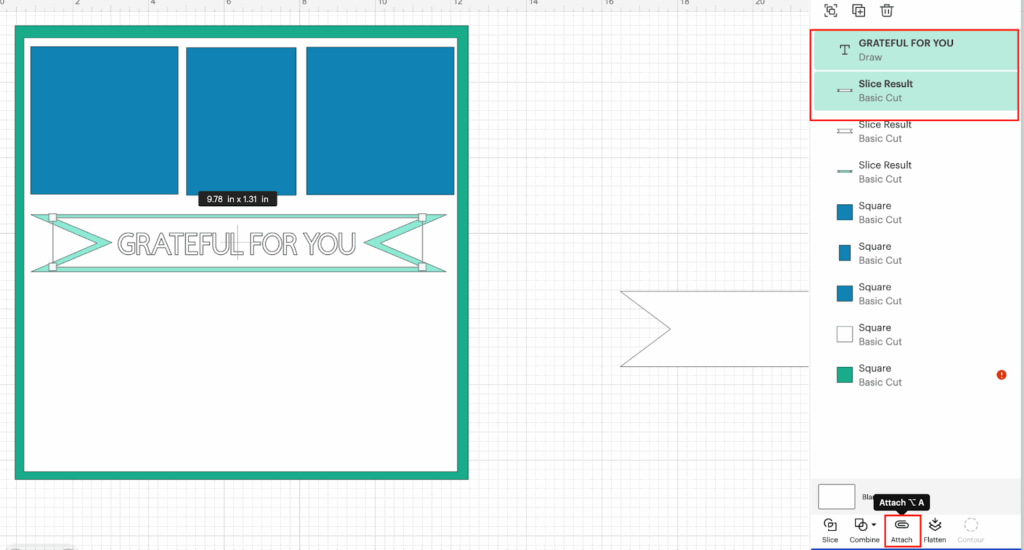
B- Write the phrase using the cricut pen, in order to do this, we are going to:
- Change the operations from CUT to PEN
- After we did that, we are going to align the text with the banner, select both items and click on Align in the top bar menu, and in there choose: Center Horizontally and then Center Vertically:
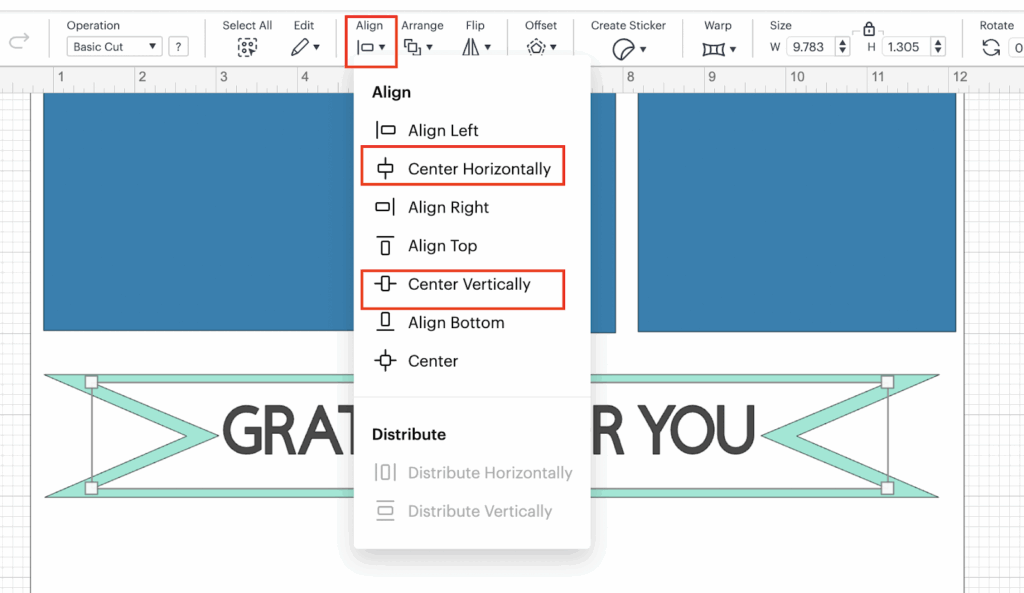
- Now, we are going to select the text and the white banner and we are going to Attach them, this is to make sure that we are writing in the place that we want to.
C- We can cut the letters and glue them into the banner after we cut them one by one. For this we do not need to do anything. Just make sure that the size is the one that we want.
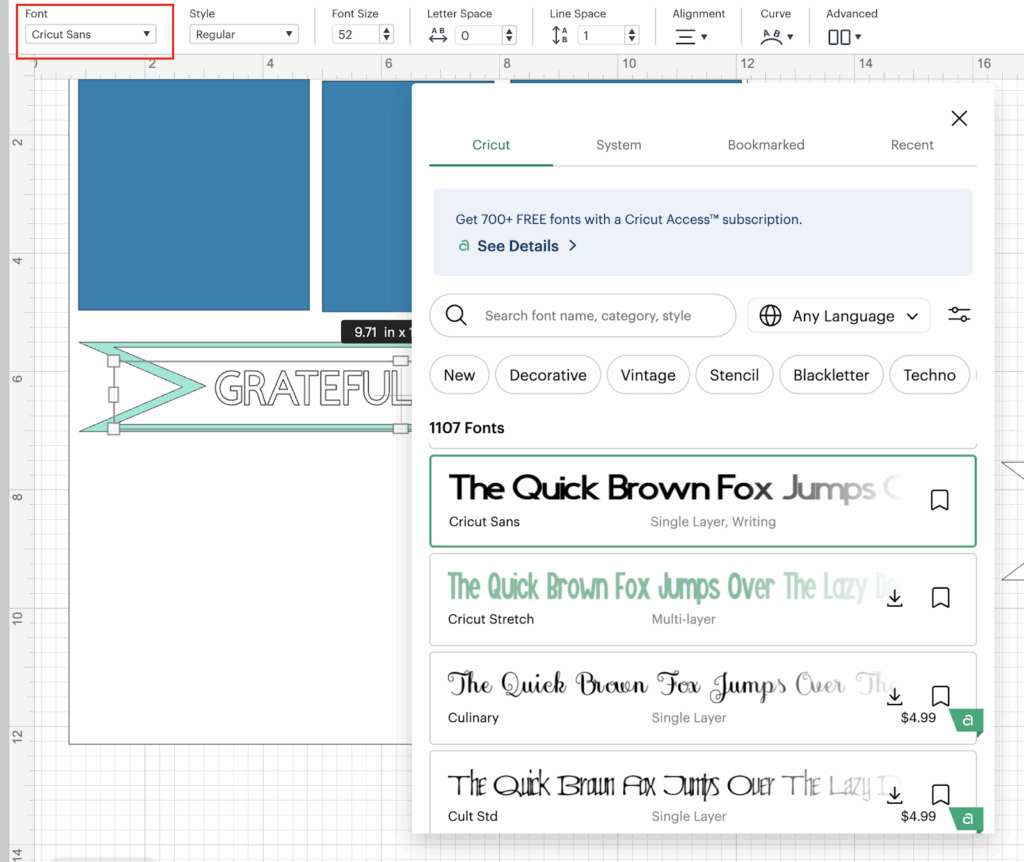
💡Tip: You can change the font type as you wish, by using the Font Functionality on top bar menu, and choosing a font that you like. Make sure that you selected the Text in order to be able to change the font.
14- We are going to add one more banner, using the same process as before. This one is going to be placed at the bottom of our design.
Dimensions: W: 6.59” and H:0.88”
15- In the banner we are going to add another phrase, in this case: “this is our family”, we are going to use the same process as before with the first phrase that we used.
We are going to resize it the same way as before, and here we can also choose the same options as on STEP 13: print and cut, draw or cut. In our case we are going to use cut, so you can notice the difference between the different options.
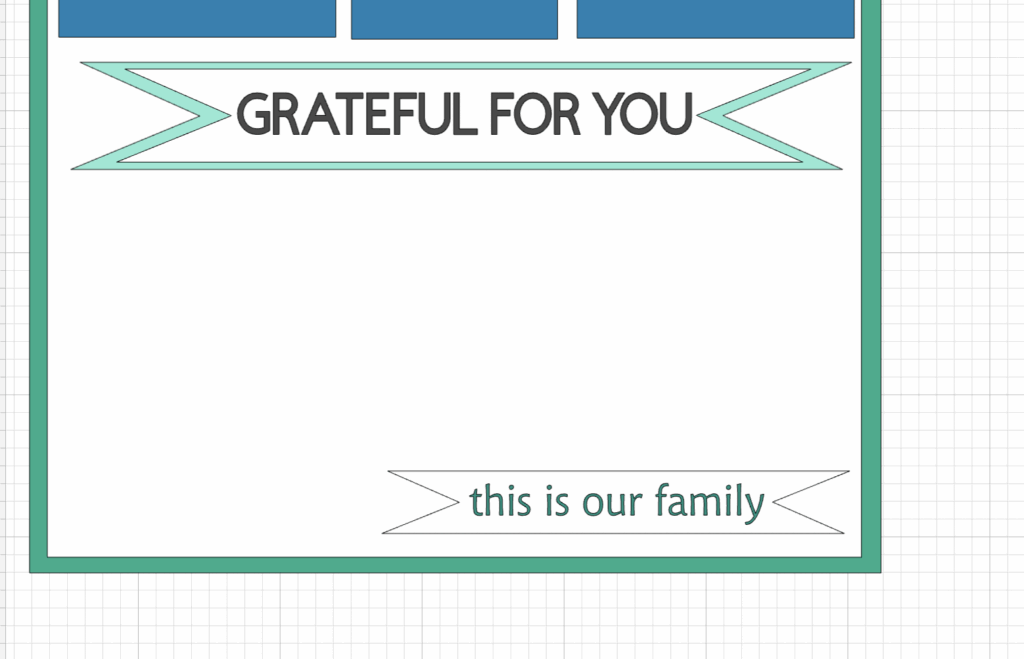
💡Tip: You can change the color of the text the same way as you change the color of the shapes.
💡Tip 2: Remember that you can have sentiments stickers that you can add in there too!
16- We are going to add more details but we are not going to use the cricut to do that, so at this point our design is PARTIALLY DONE!!!! And we can start cutting!
Step 2: Cutting The Design
Before moving any further, we are going to save our design. To do that:
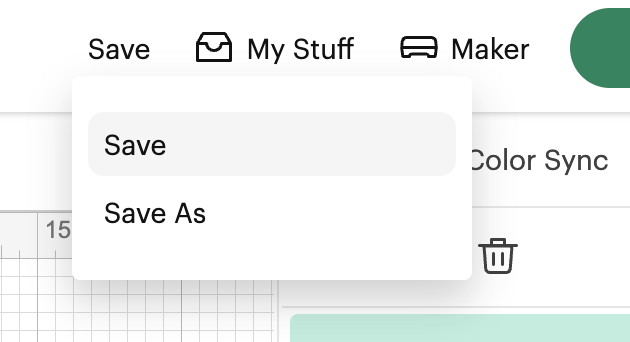
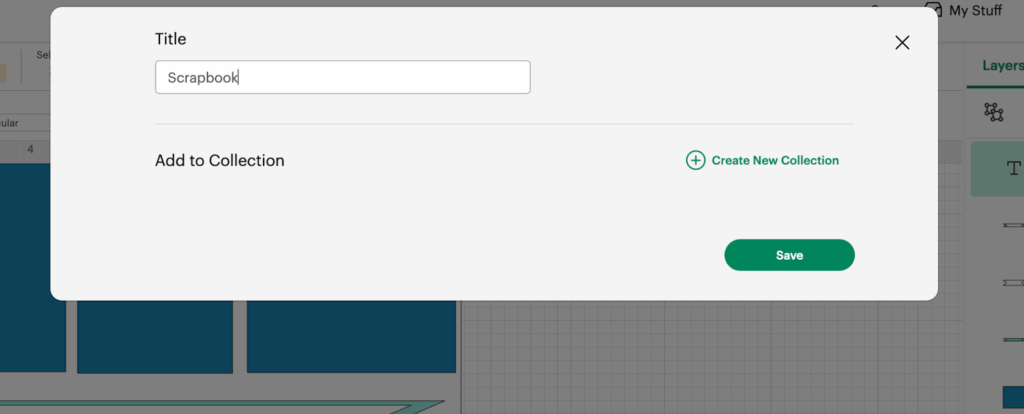
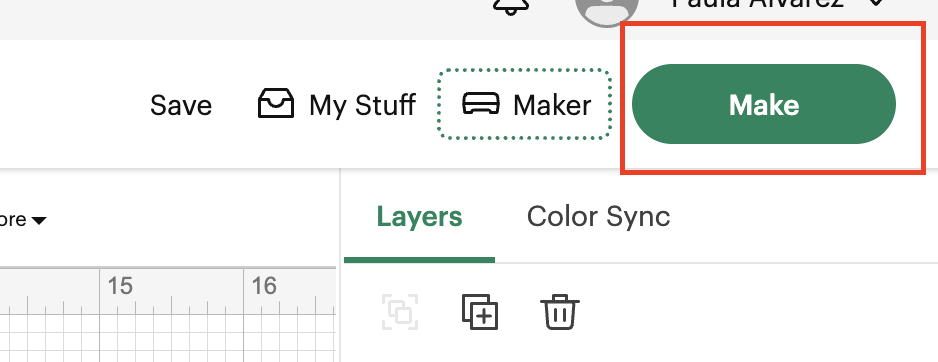
1- Click on Save link on the top right corner of the Design Space and Add a descriptive name and click on Save Green Button.
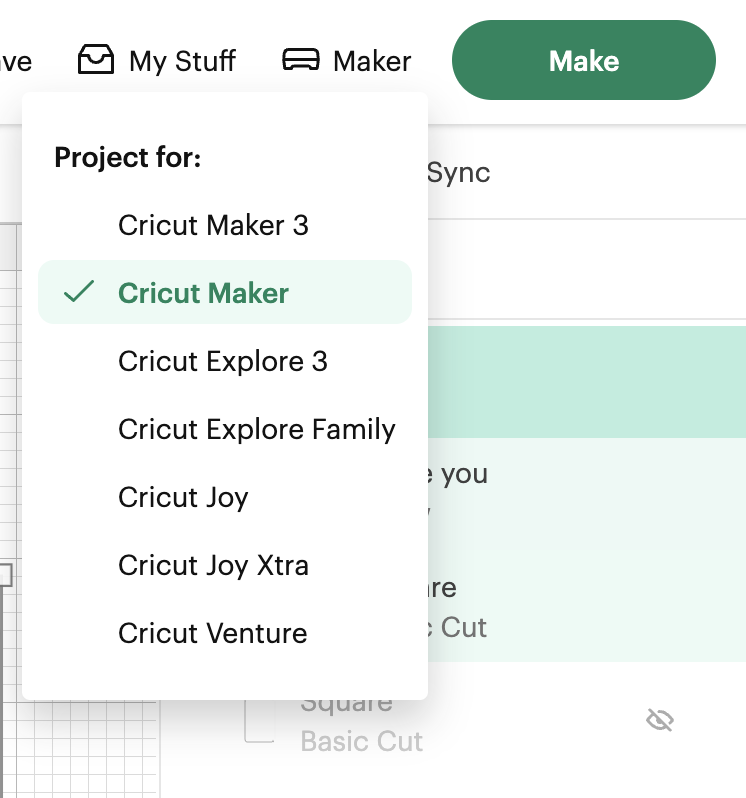
2- Now that our project is saved, we need to make sure that our right machine is selected, to that, we click on the link next to the Make Green Button and from the options listed, we choose the one that we are going to use. In our case it is the Maker.
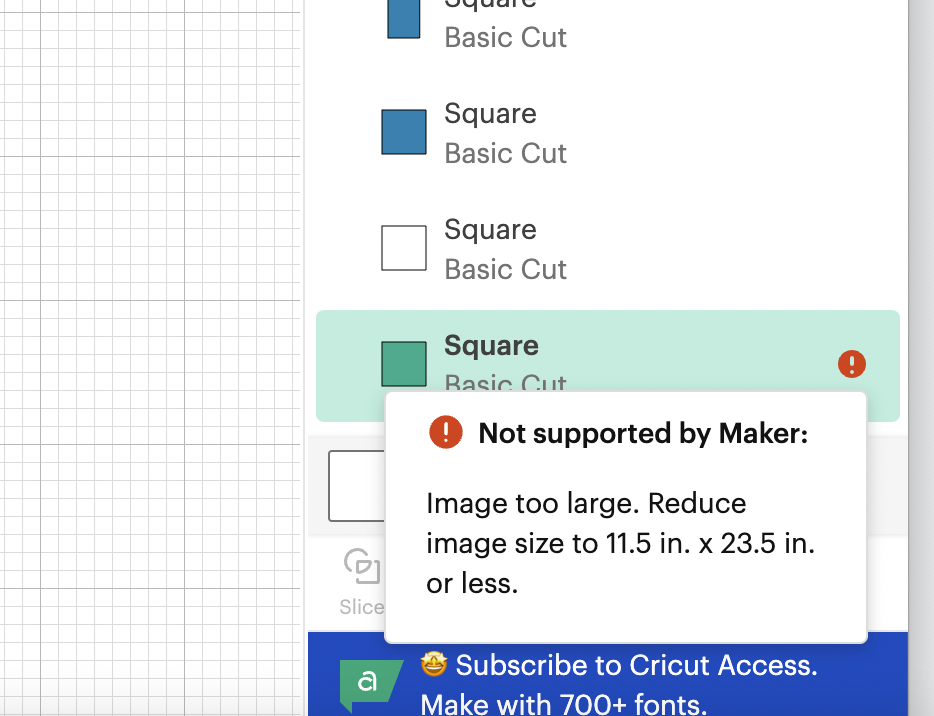
3- Let’s start Cutting our Project!!!!! At this point, we need to HIDE our scrapbook base that is the Green/Aqua sheet since the dimensions are the ones related with the paper: 12” x 12”. In order to do this, we are going to select the Green/Aqua square and you are going to click on the eye icon that is showing and by doing that we are hiding the shape, that means that is not going to be cut as part of the process.
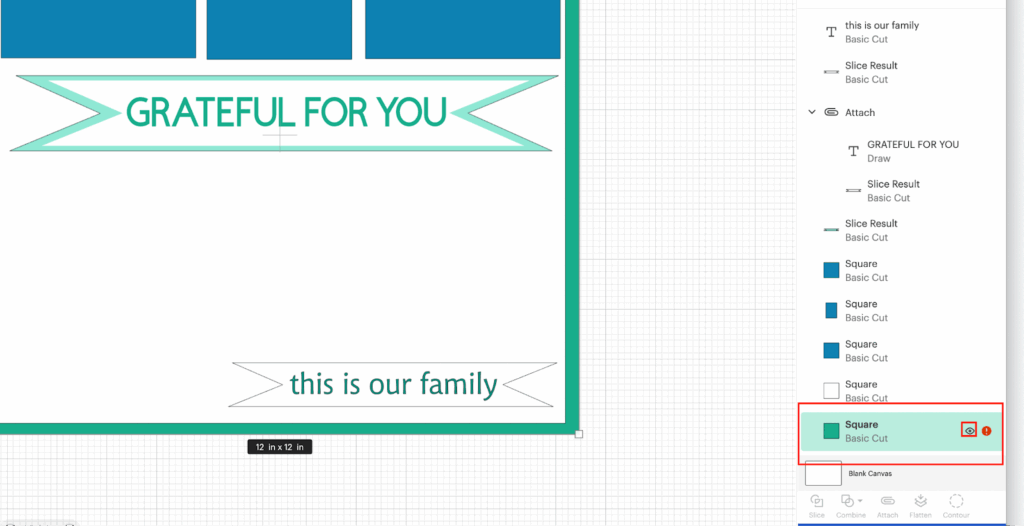
💡Tip: When you select the green/Aqua shape square you are going to noticed that on the Layers panel, there is a RED icon showing, if you click on it, it says that the dimensions are too big, and you need to adjust them in order to be able to cut it, in our case is not needed to adjust the dimensions since we are going to use the full sheet as our base.
Now that we hide our base sheet, we can start cutting by clicking on Make Green Button.
4- We are going to see on the next page, that we have 1 cut page per cardstock color, in our case 6 colors/sheets. (You can have more or less, based on your choice!)
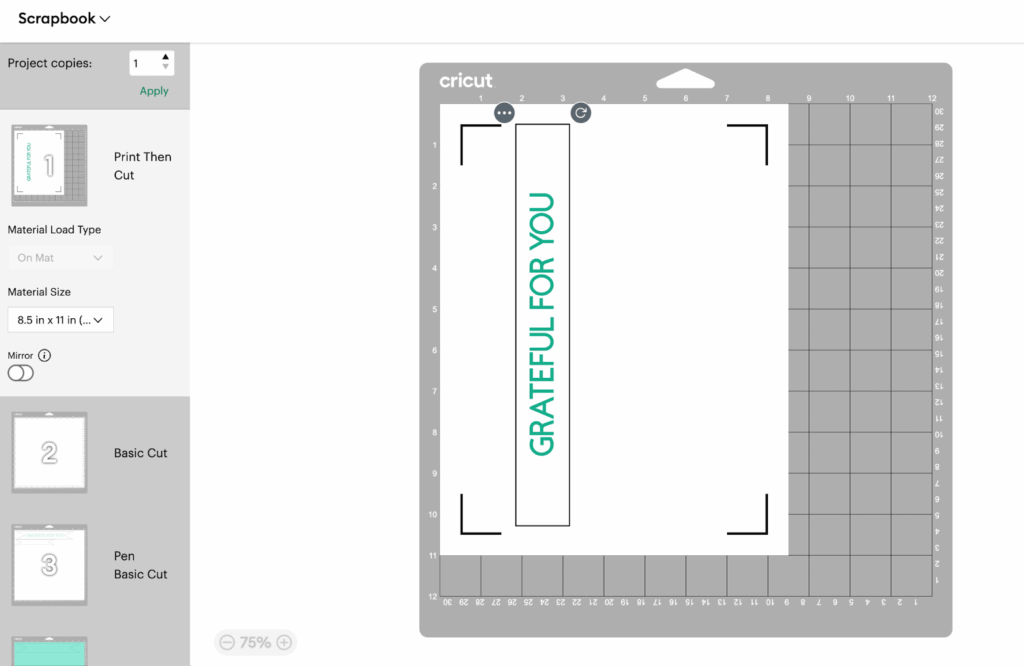
5- You need to check the Material Load type and the Material Size. In our scenario, we are using a Light Blue cutting mat 12 x 12. So there is no need to change the configuration.
6- We are going to click on Continue and in here, we are going to click on “Browse” to be able to choose the material type that we are going to use and start cutting our design, we are going to search the material using the word “cardstock”
7 – We can start cutting.
8 – After all the cuts are done, we are going to obtain different parts related to our cricut cuts/draw/print and cut.
Step 3: Assemble our Scrapbook Sheet:
After all the parts are cut, we are going to start assembling our Scrapbook Sheet.
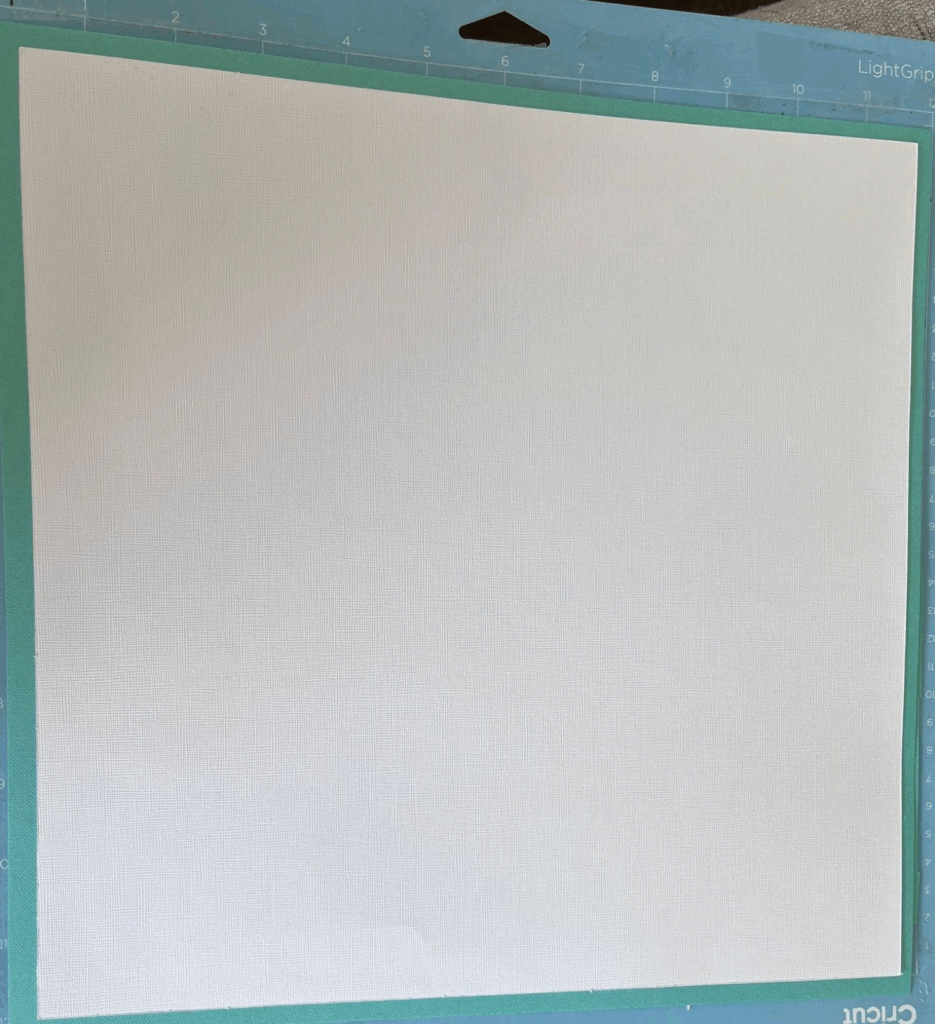
1- We are going to glue our white sheet to out green/aqua base (the one that we did not cut)
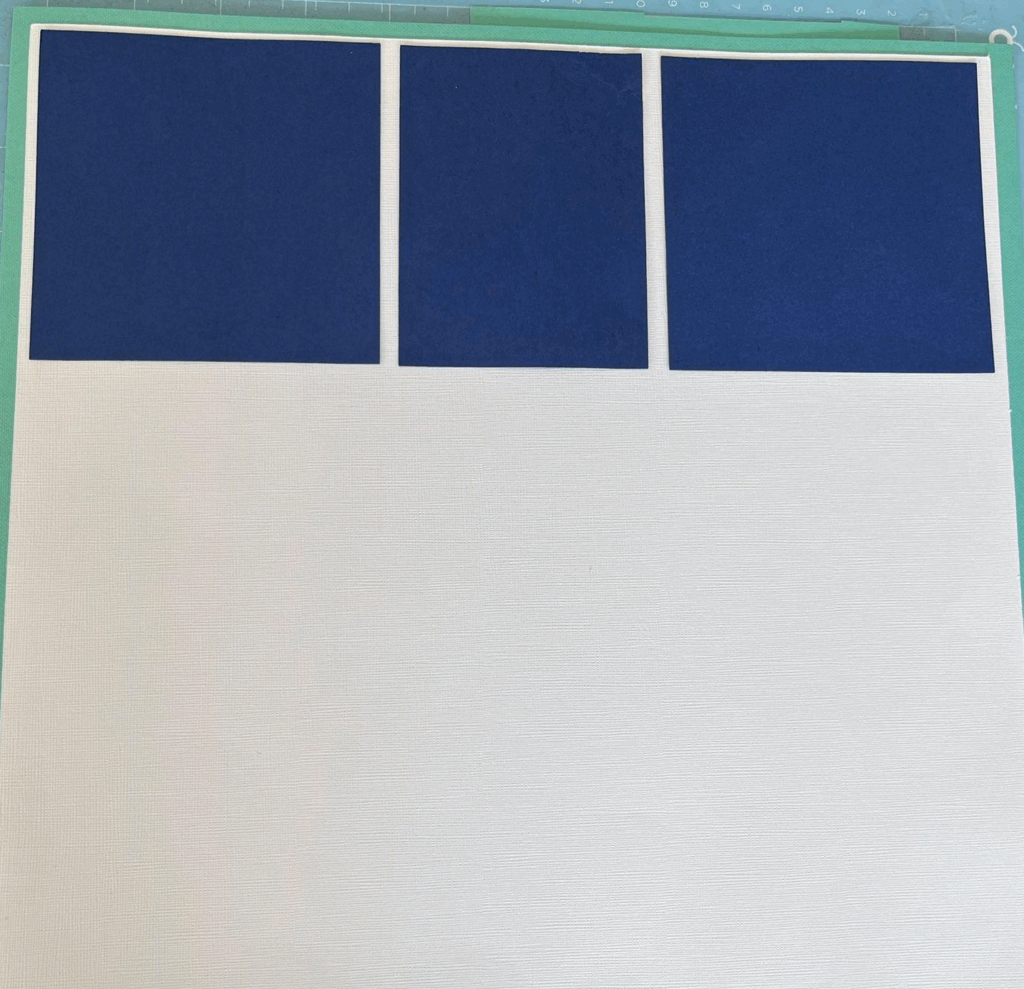
2- Now, on the top part of our white shee we are going to glue the 3 different blue (in our case) squares:
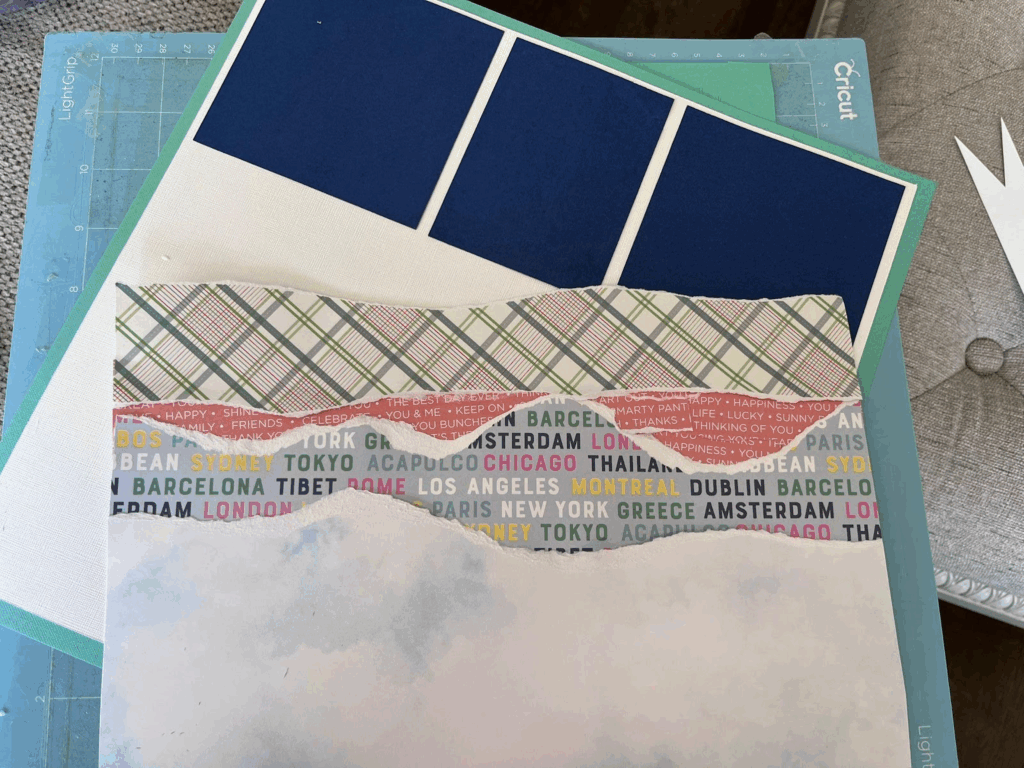
3- We are going to start cutting one of our design papers by hand.. Yes by hand!!! If you prefer you can use scissors with patterns .
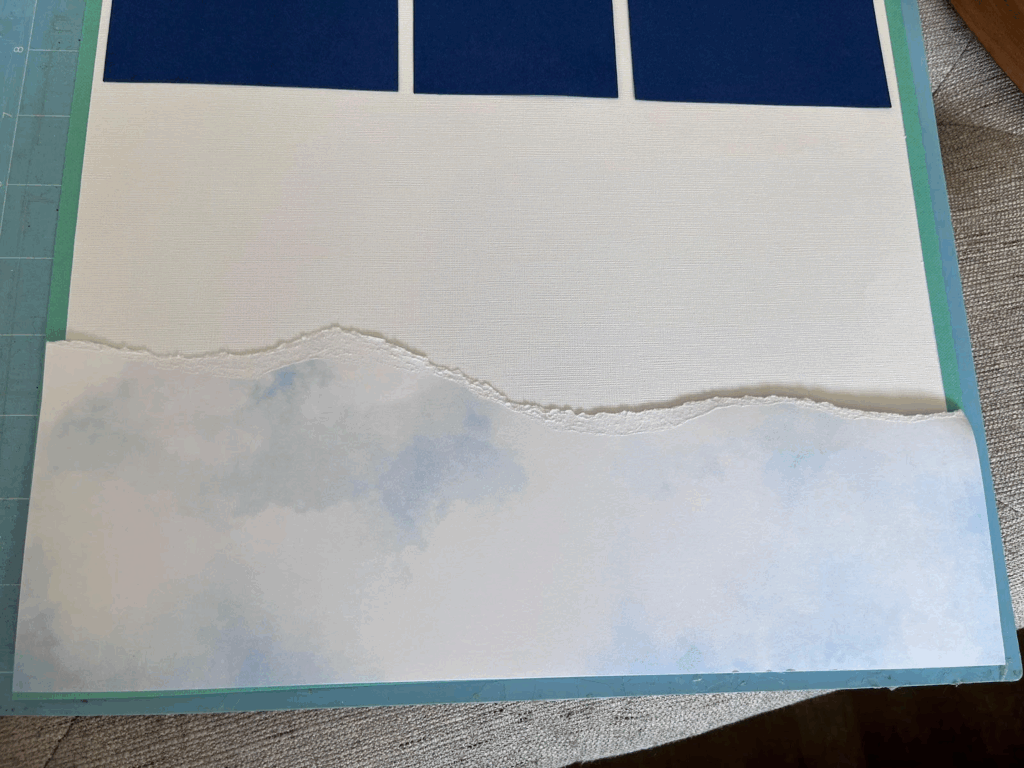
💡Tip: you can use the whole dimension of the Green Sheet, our base or the one related to the white sheet, in our case we are going to use as a base the white shee to cut our paper
4- You are going to repeat STEP 3, with the other 3 papers, or the amount of papers of your choice, the idea is that the four of them have different sizes, so we can overlap them!
5- After you have them all “cut” you are going to glue them in the way that you like! Here, just let your imagination flow!
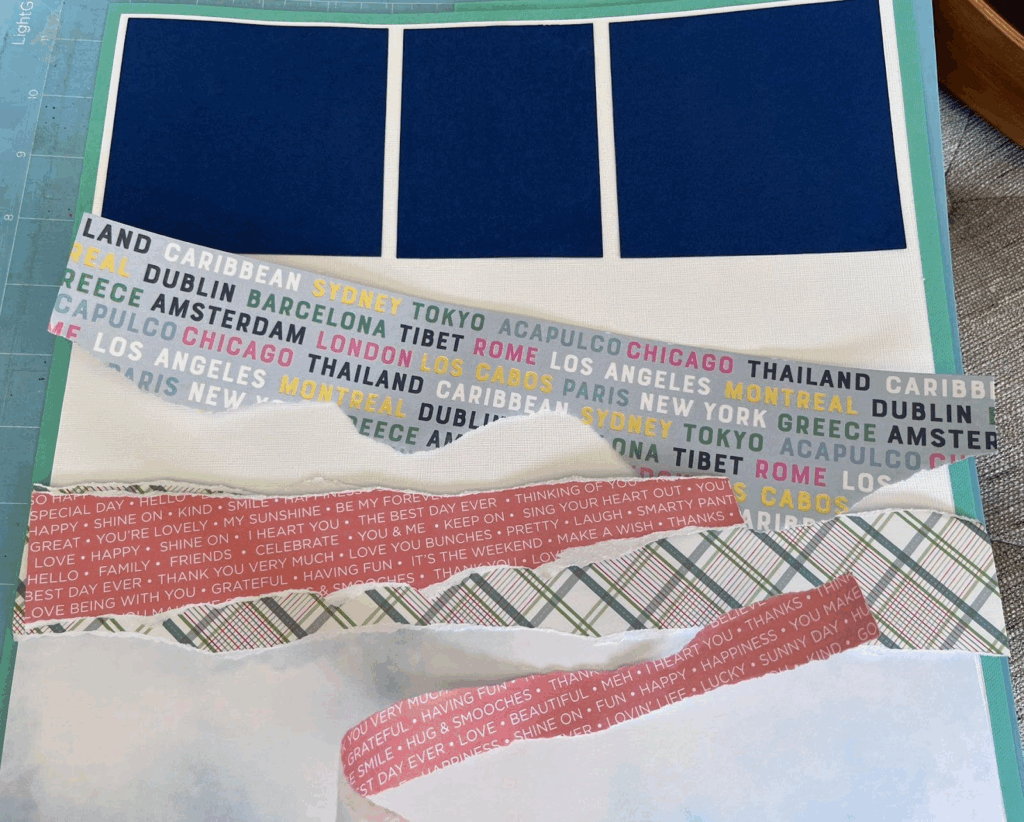
6- Now we are glue them to our base sheet:

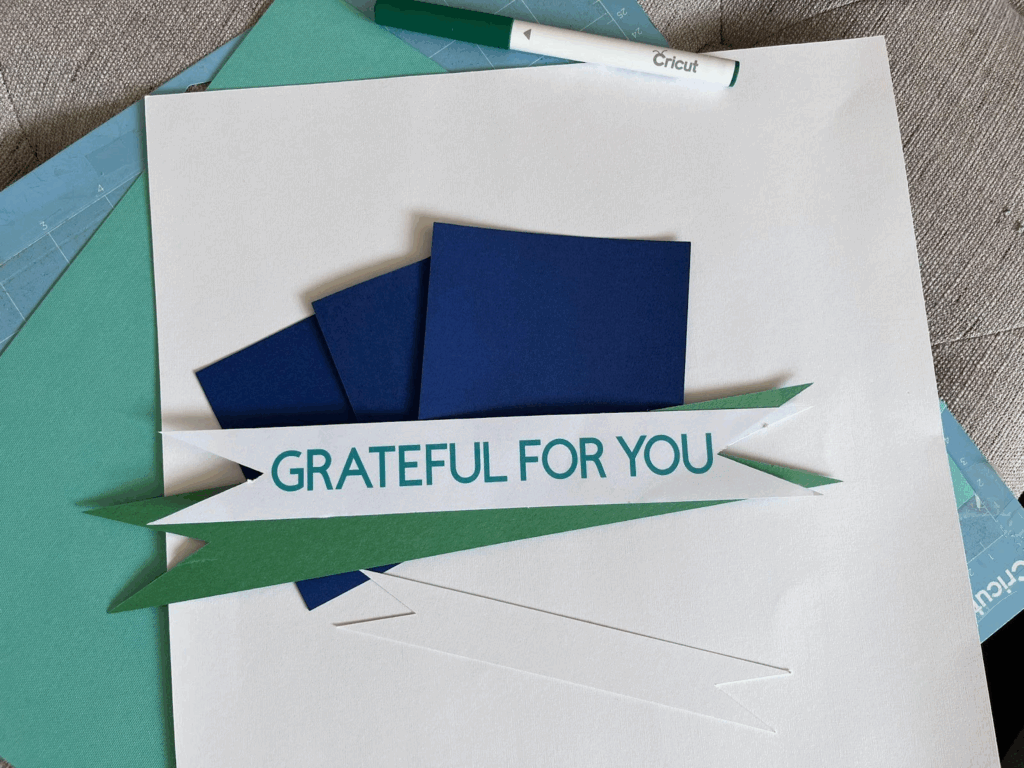
7- We are going to proceed to add the banners, remember that we provide only a guide, and that you can change the design as you are assembling your sheet!
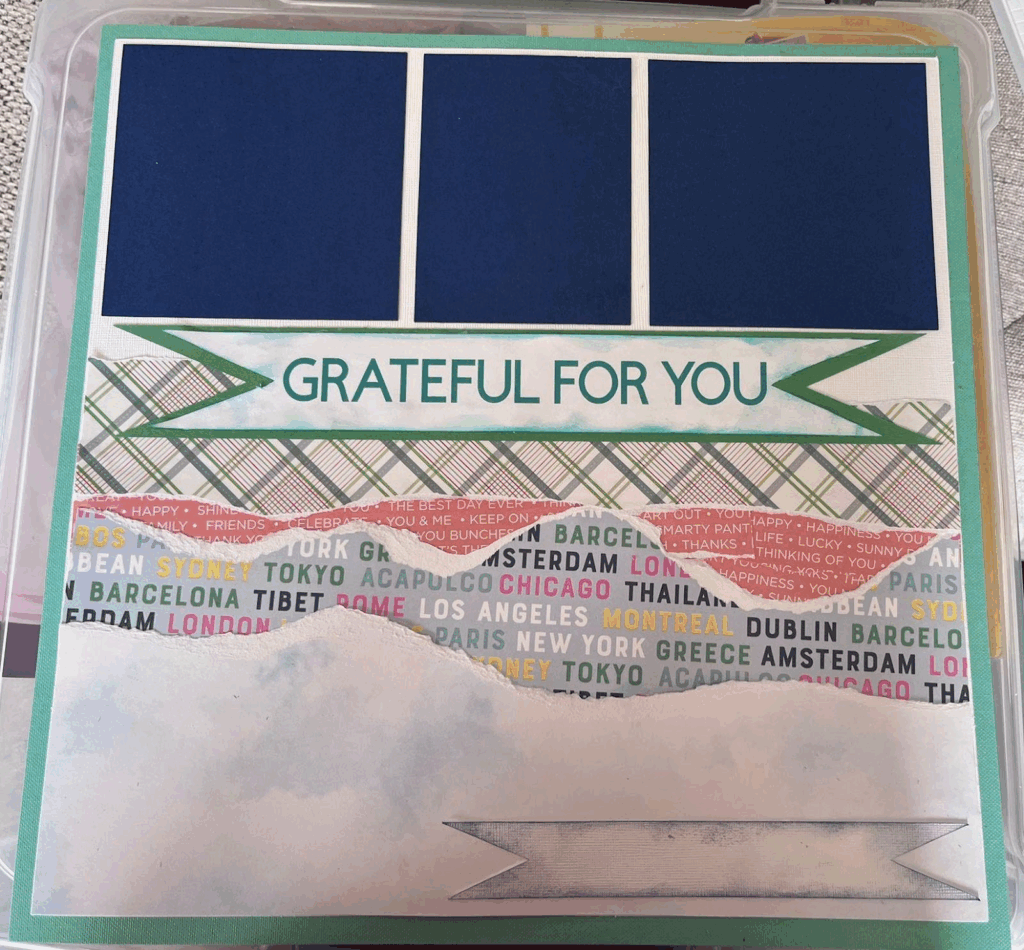
💡Tip: As a personal taste the 2 white banners were to plain, so we decided to apply some ink on the borders before gluing them into the base sheet. If you do not have ink, you can color them if you wanted to add a little bit more character to the design.
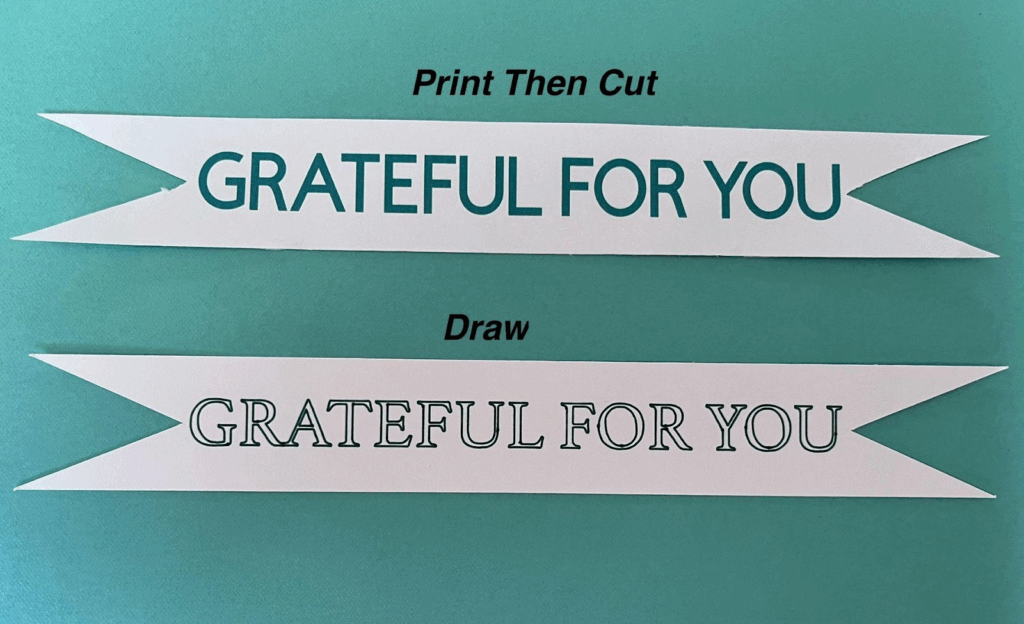
💡Tip2: Difference between Print and Cut and Draw:
8- On the bottom banner, I do not like how the print and cut look on the design, so I have some Letter stickers so I decided to change the phrase.
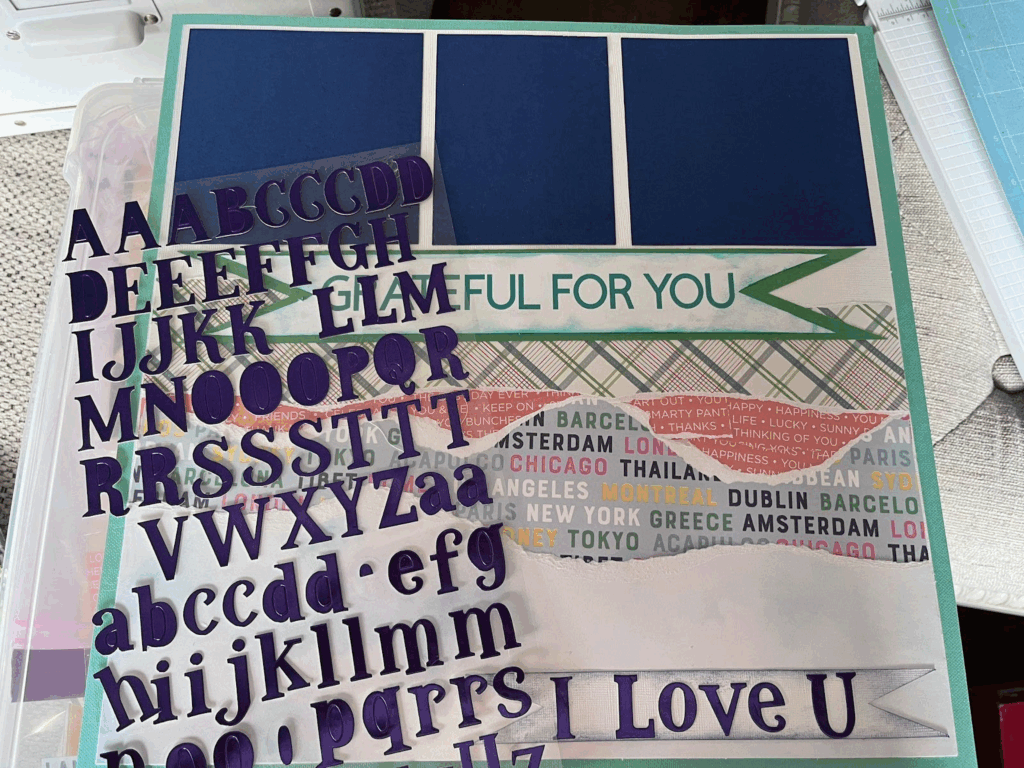
💡Tip: And here is why we are mentioning that you can let your imagination flow! Sometimes on Design Space the design looks amazing, but when you start assembling them you want to change things, and that IS OK!!!!
9-Is time to add some embellishments, could be stickers, foam stickers, hearts cut by hand, you name it! Everything that you want!
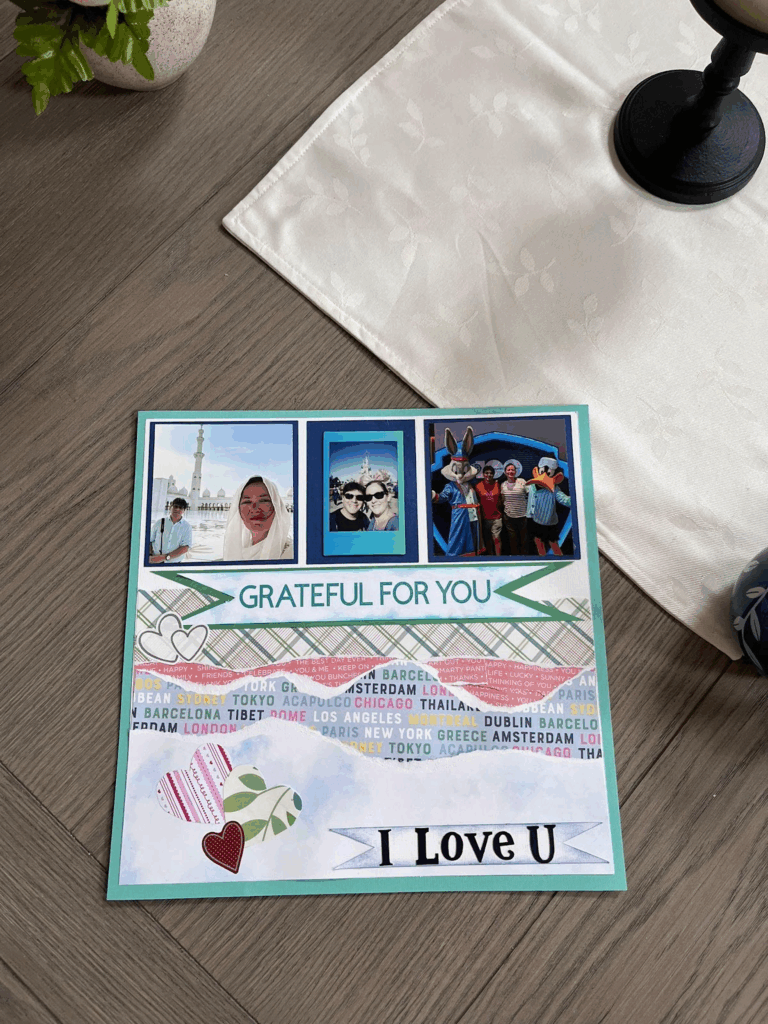
10- Add the pictures! And your Scrapbook sheet is done!!! AMAZING JOB! This idea is perfect for B-days, Anniversaries, Just Because, Valentine’s…