


Step 1: Create The Design
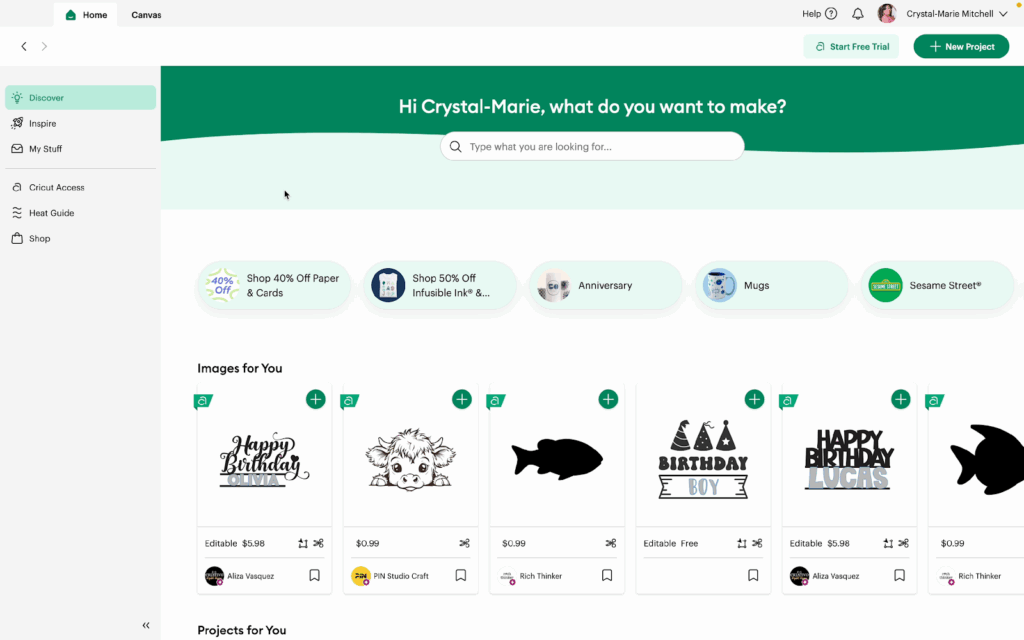
1- Open Cricut Design Space on your computer. Sign in with your Cricut ID and password (if you are not already signed in).
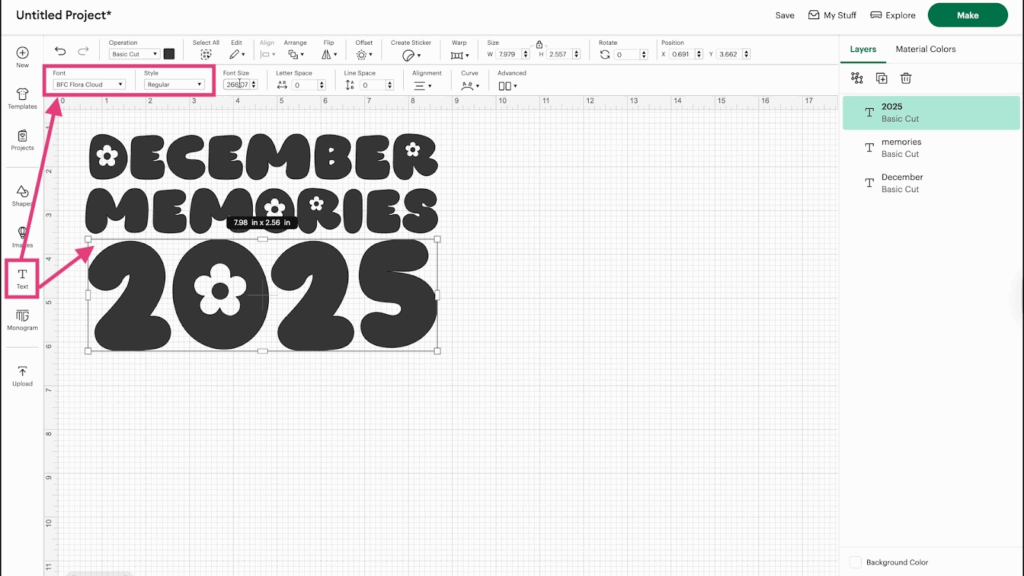
2- Click the Canvas tab to open a blank canvas. Insert text and change the words to your title (December Memories 2025). Choose your font and size the text to fit your album.
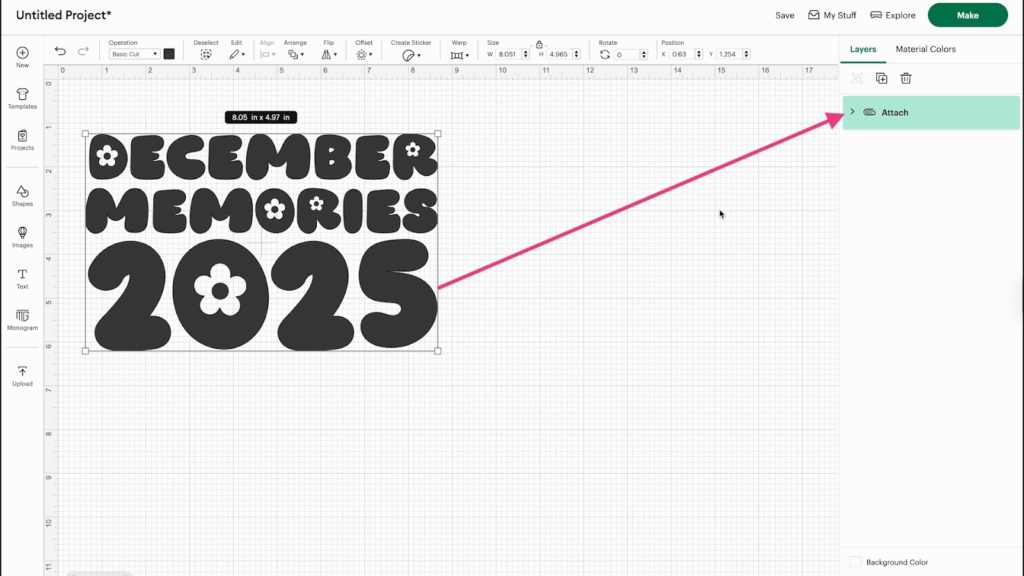
3- Once you have your text styled the way you want it, highlight the text and click Attach.
Step 2: Cut The Design
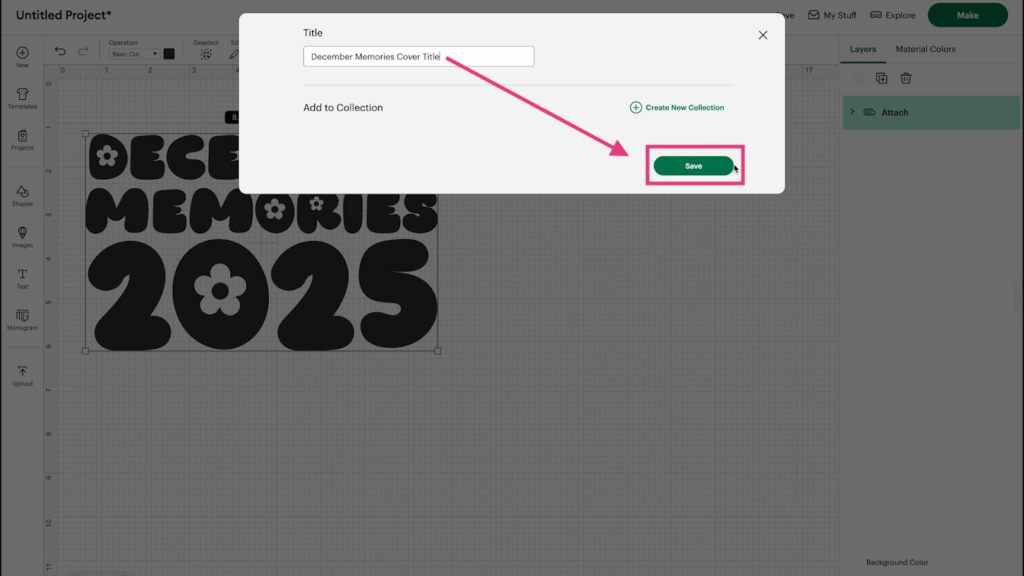
1- Click Make, Title, and Save your project.
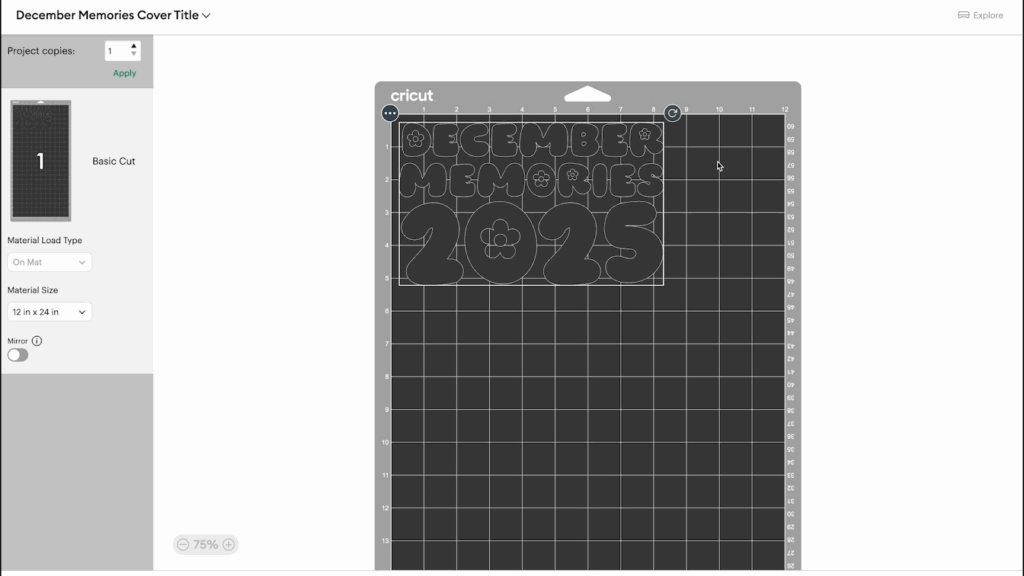
2- Because you attached the text, it will look like this on the mat.
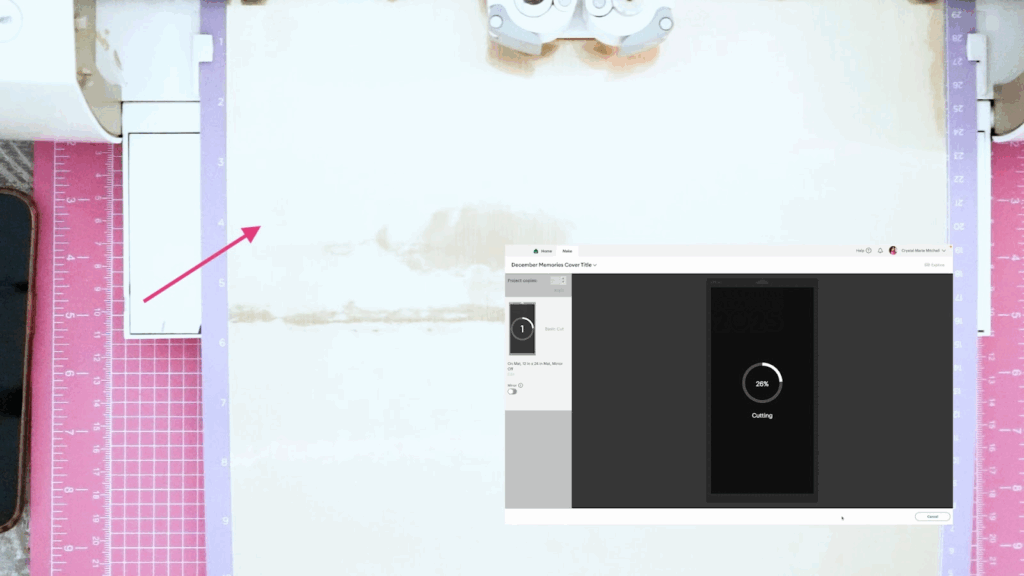
3- Place the Cricut Adhesive Foil shiny side up on the Strong Grip Mat.
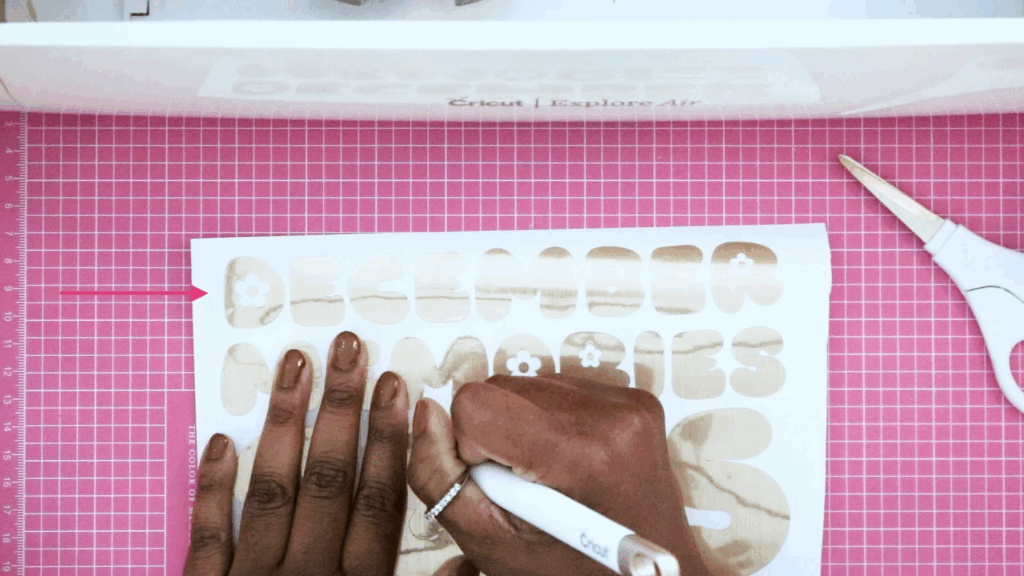
4- After the cutting is complete, gently remove the adhesive foil from the mat. Cut the foil to your text size (the additional foil can be used again for another cut). Begin weeding your text.
Step 3: Assembling the Cover
1- Cut the Cricut Transfer Tape to the same size as your text. If you are using glitter foil, you may need the Strong Transfer Tape.
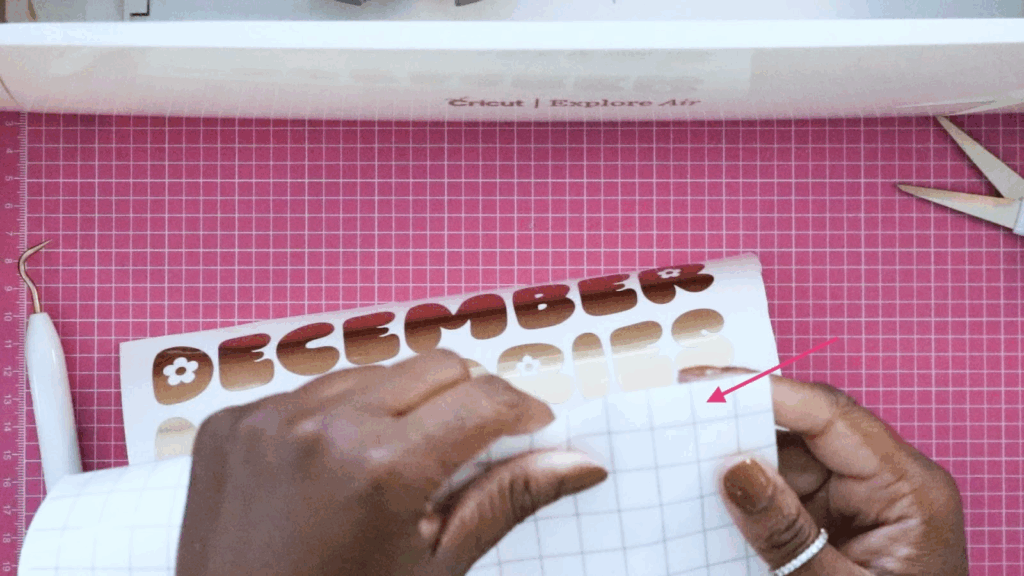
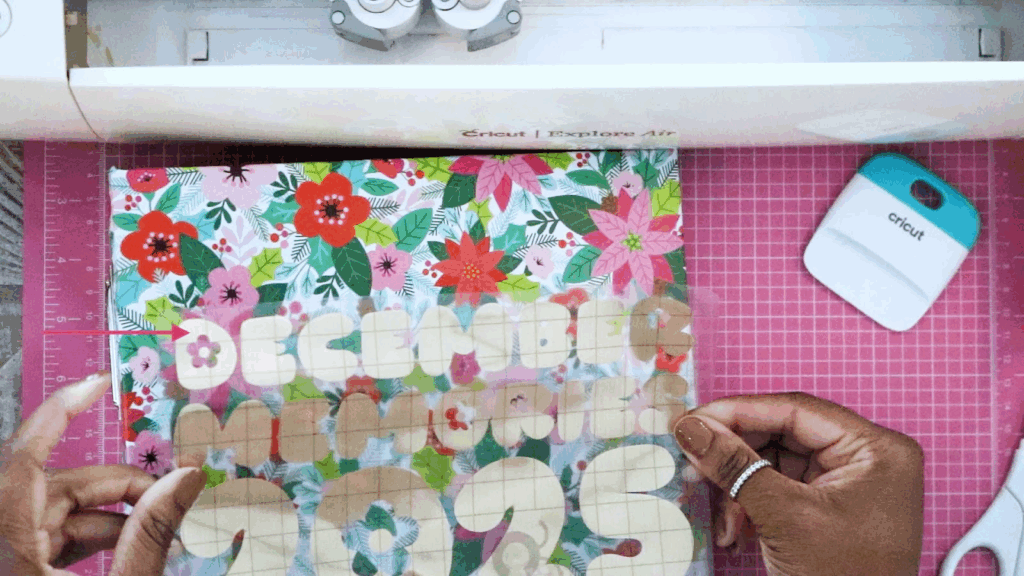
2- Place the transfer tape sticky side down on the weeded text.
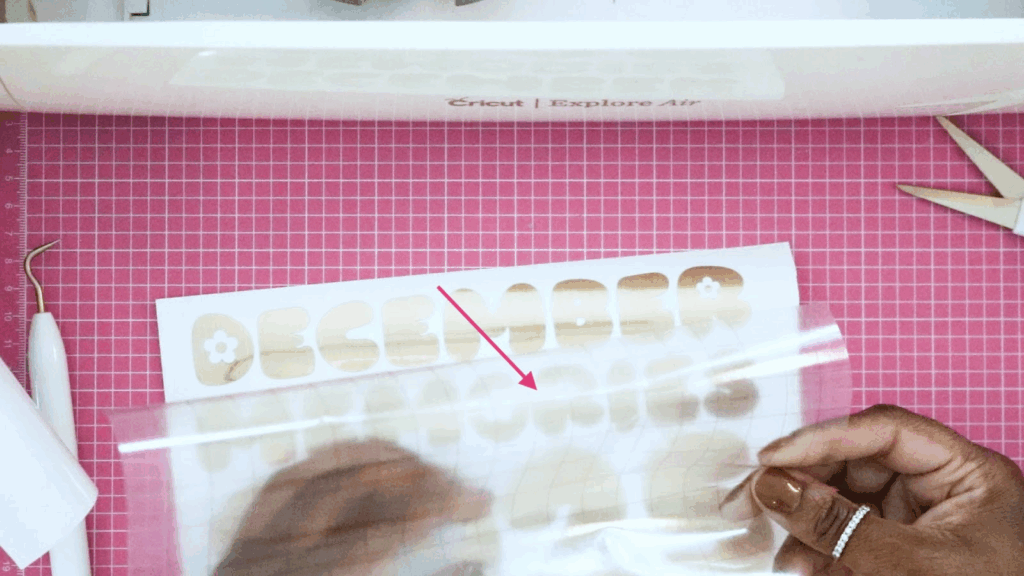
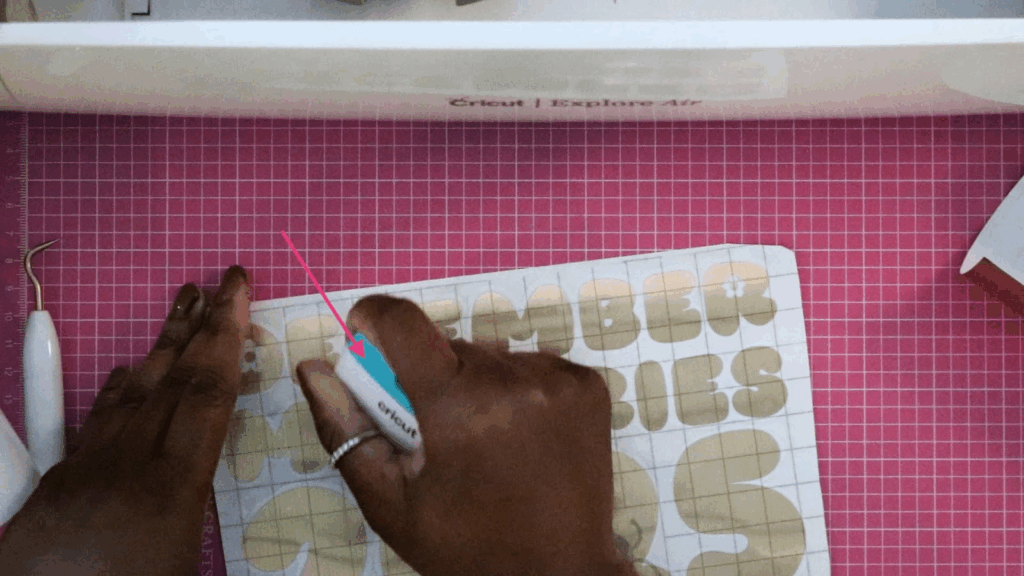
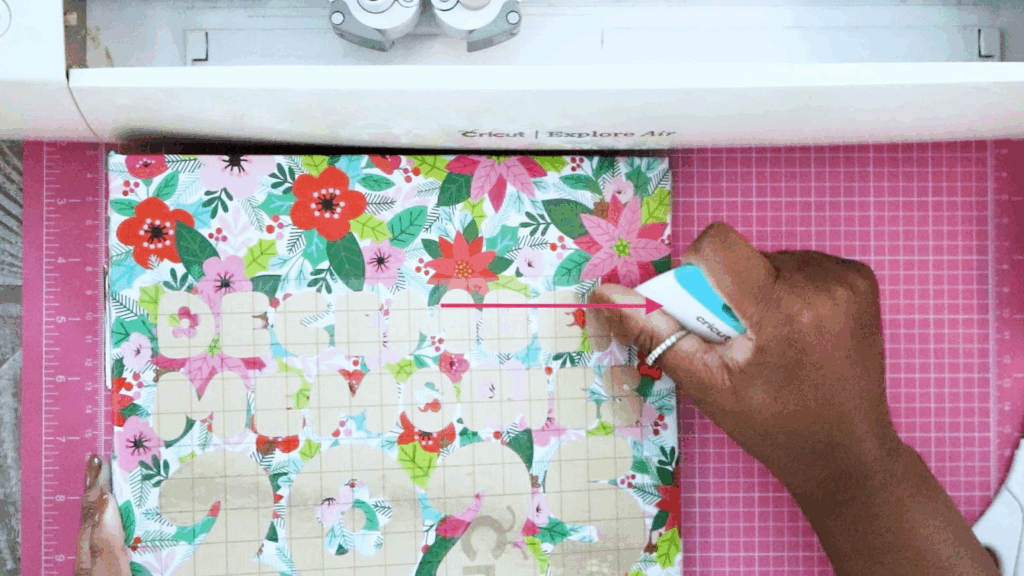
3- Use a tool or your hands to make sure that there are no bubbles and the transfer tape is adhering to the letters.
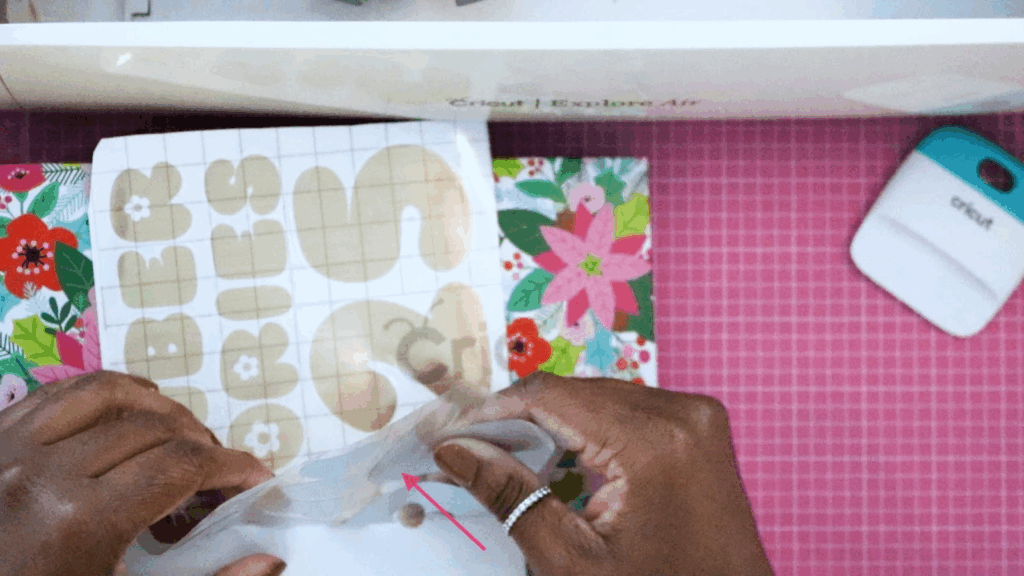
4- Take your time and gently pull the tape away from the foil backing. Make sure the letters are sticking to the tape.
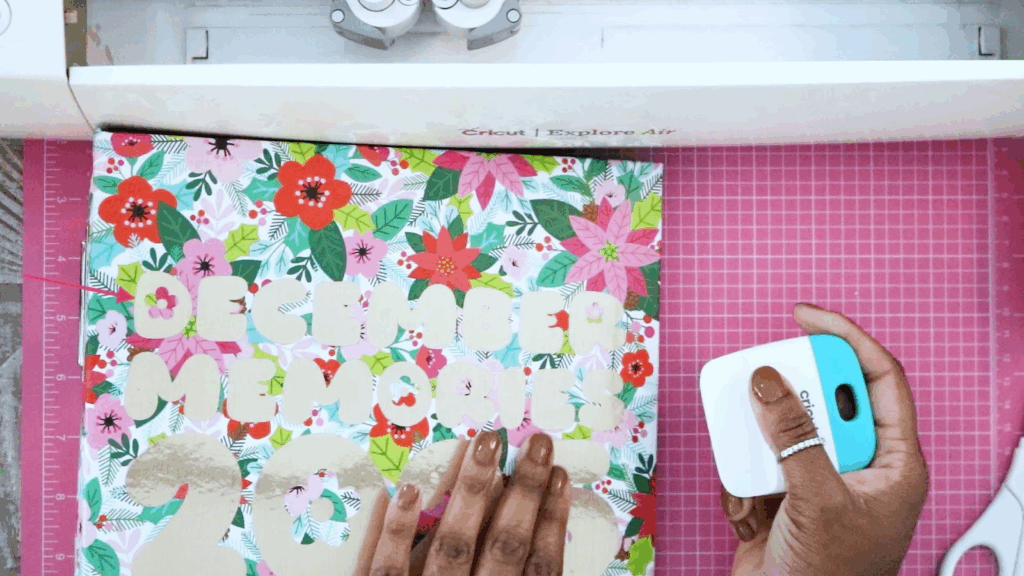
5- Place the letters sticky side down onto the front of your album.
6- Use a tool or your hands to make sure there are no bubbles and the text is adhering to the album cover.
Watch the video tutorial to see this project in action.