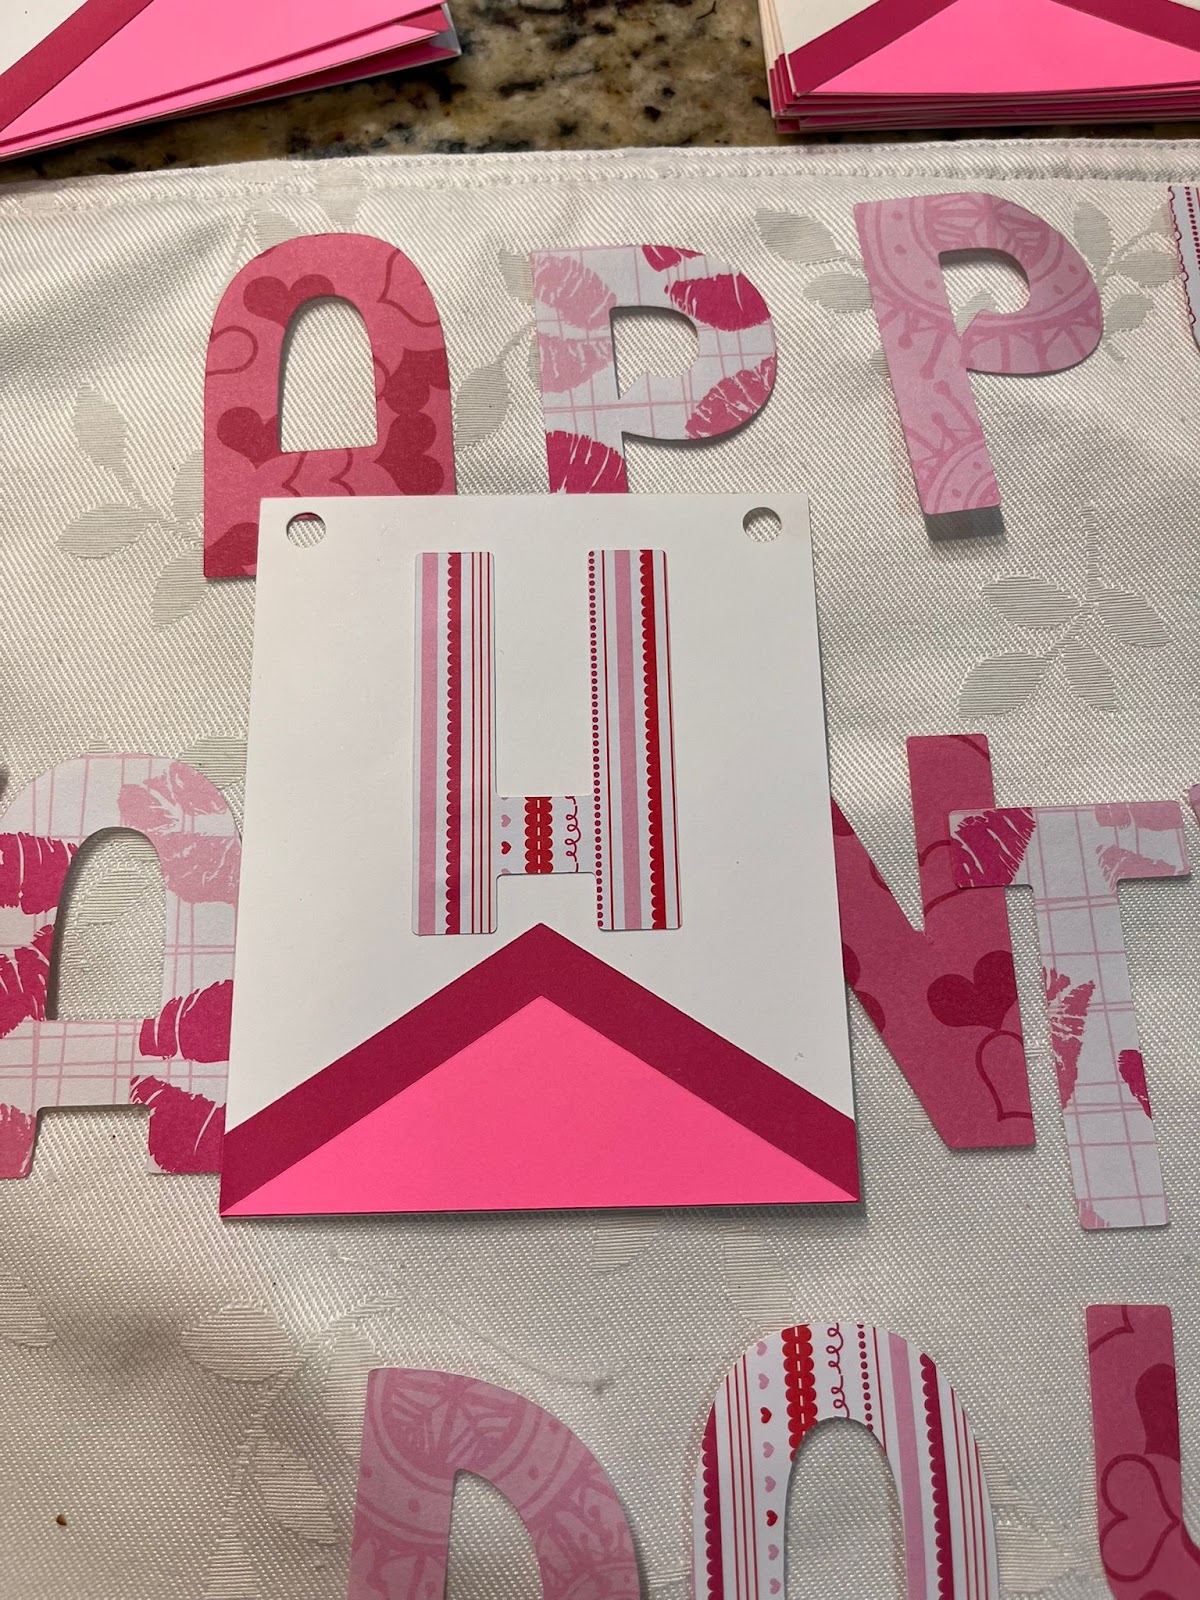
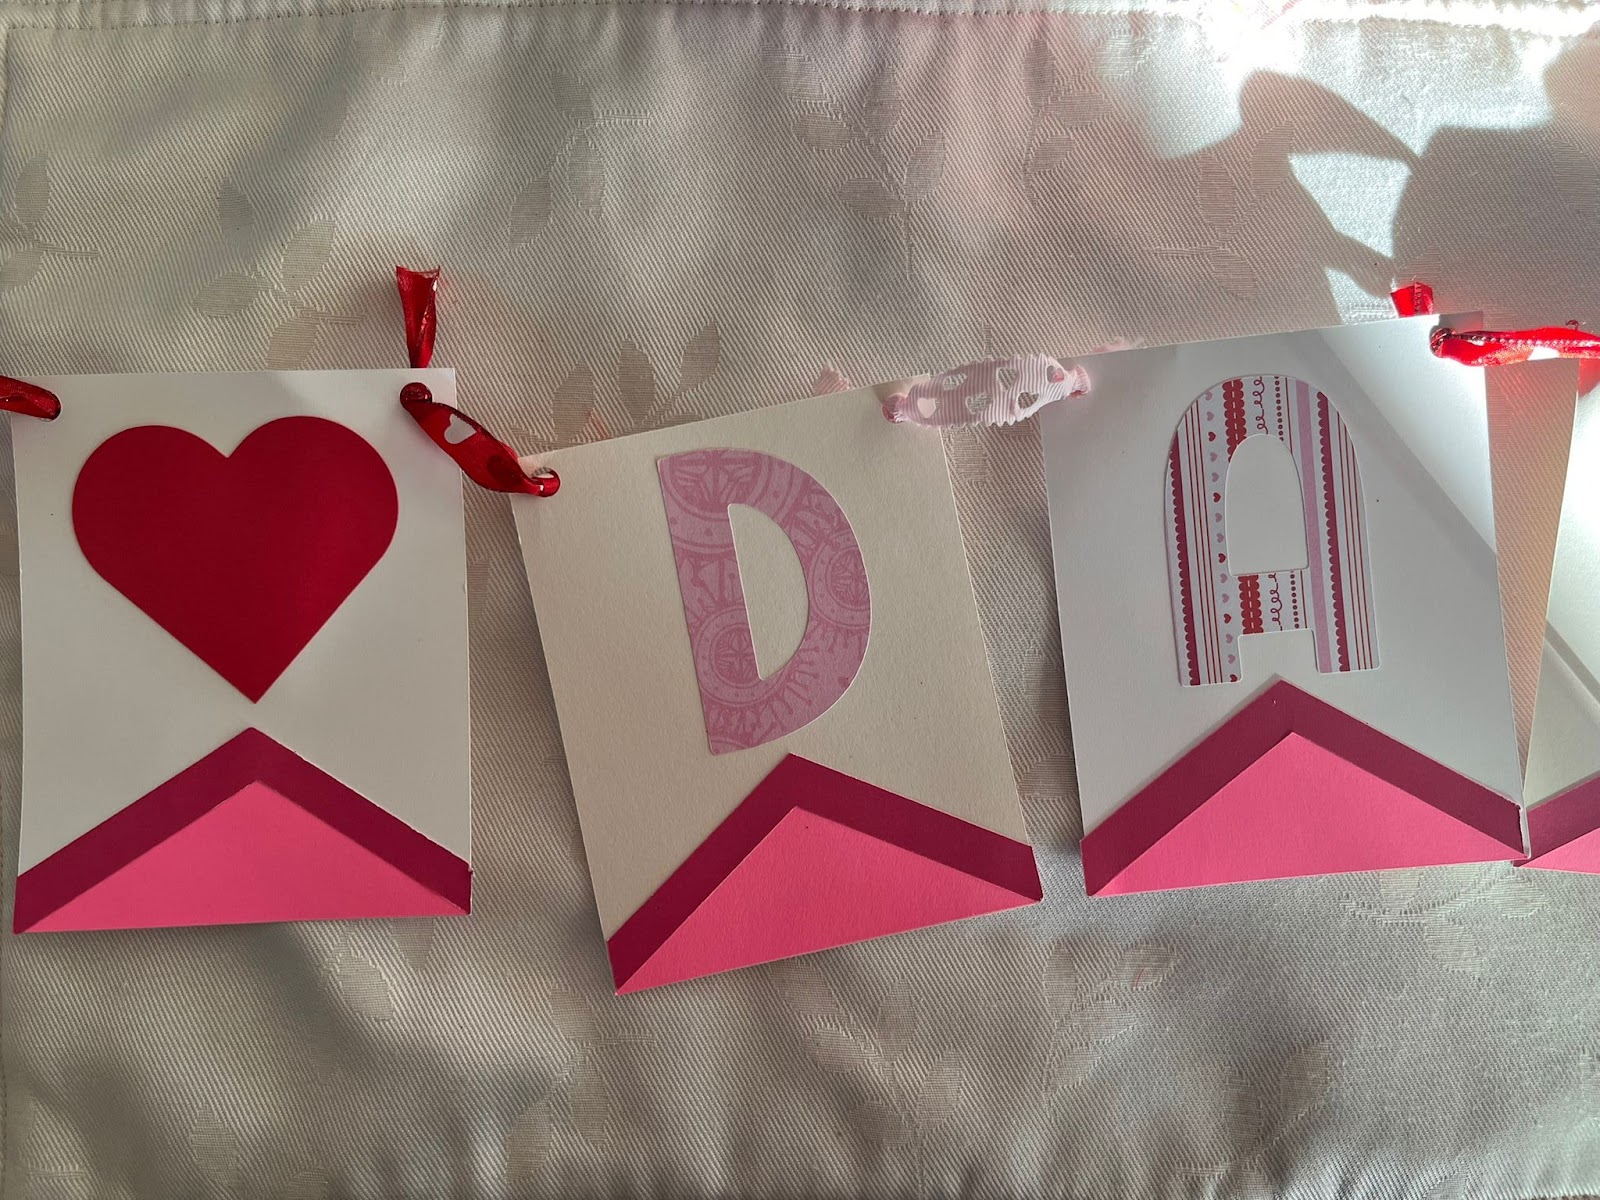
1: We are going to start with our base banners, using glue we are going to add the 2 pink elements to our base banners:

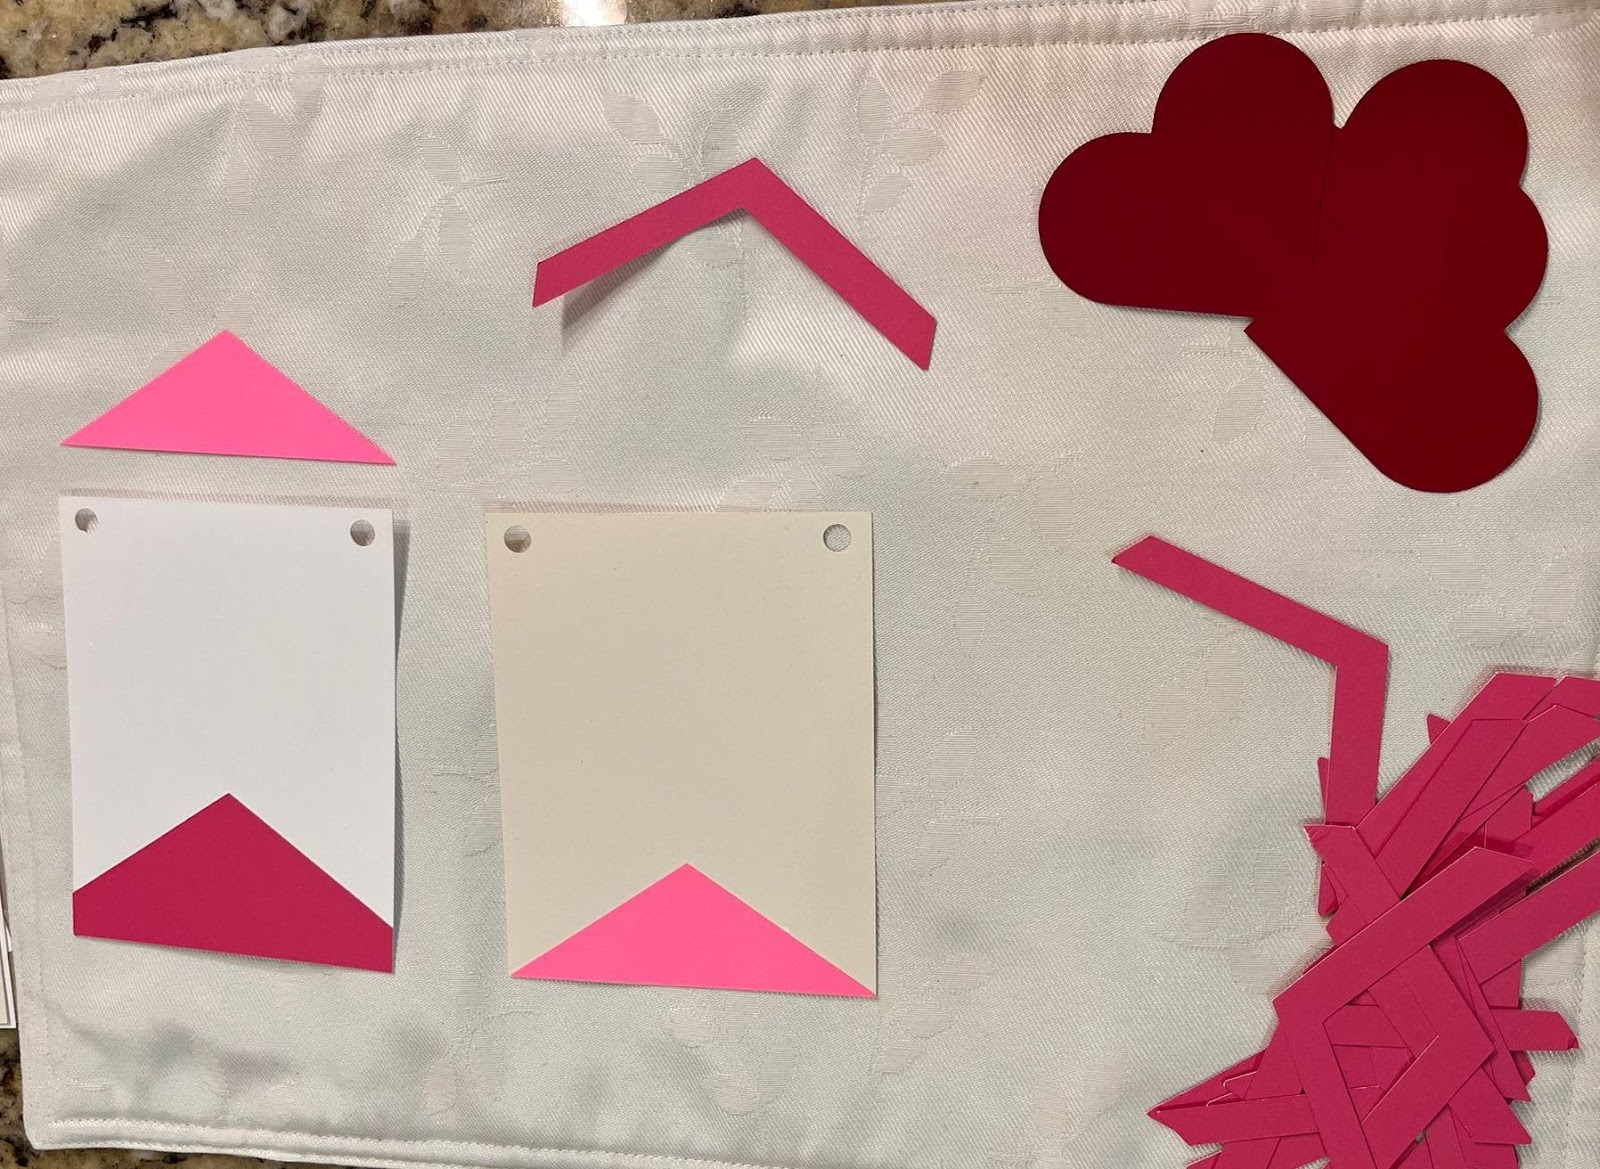
We are going to glue each part into the base:
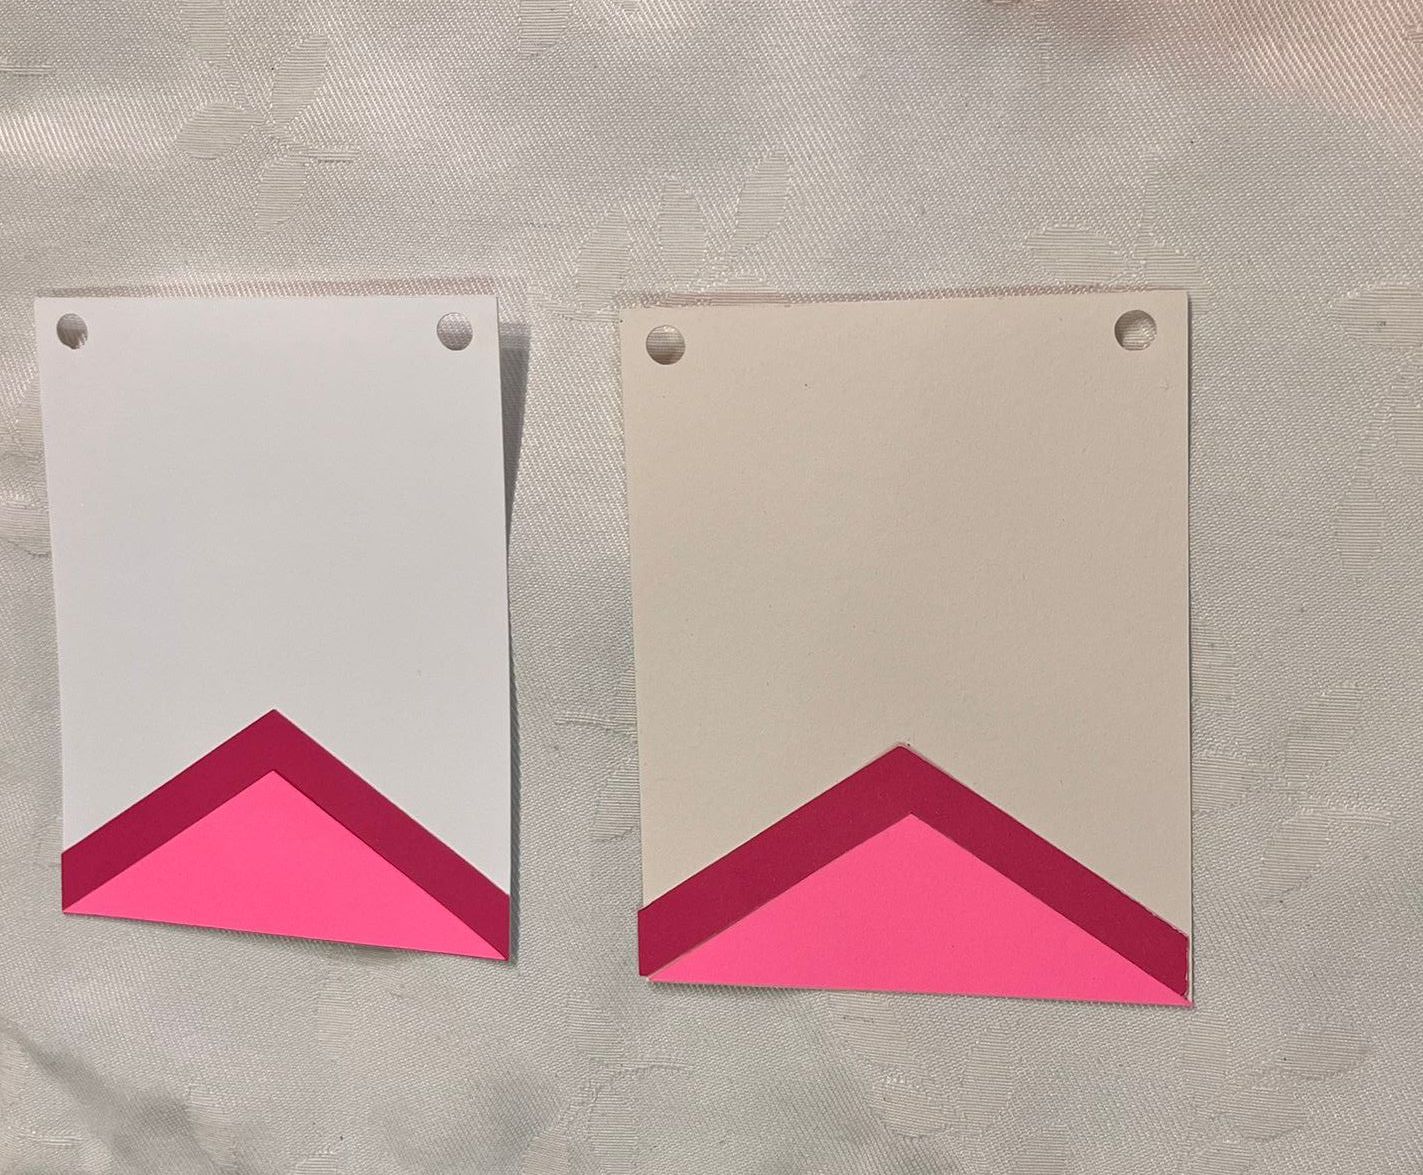

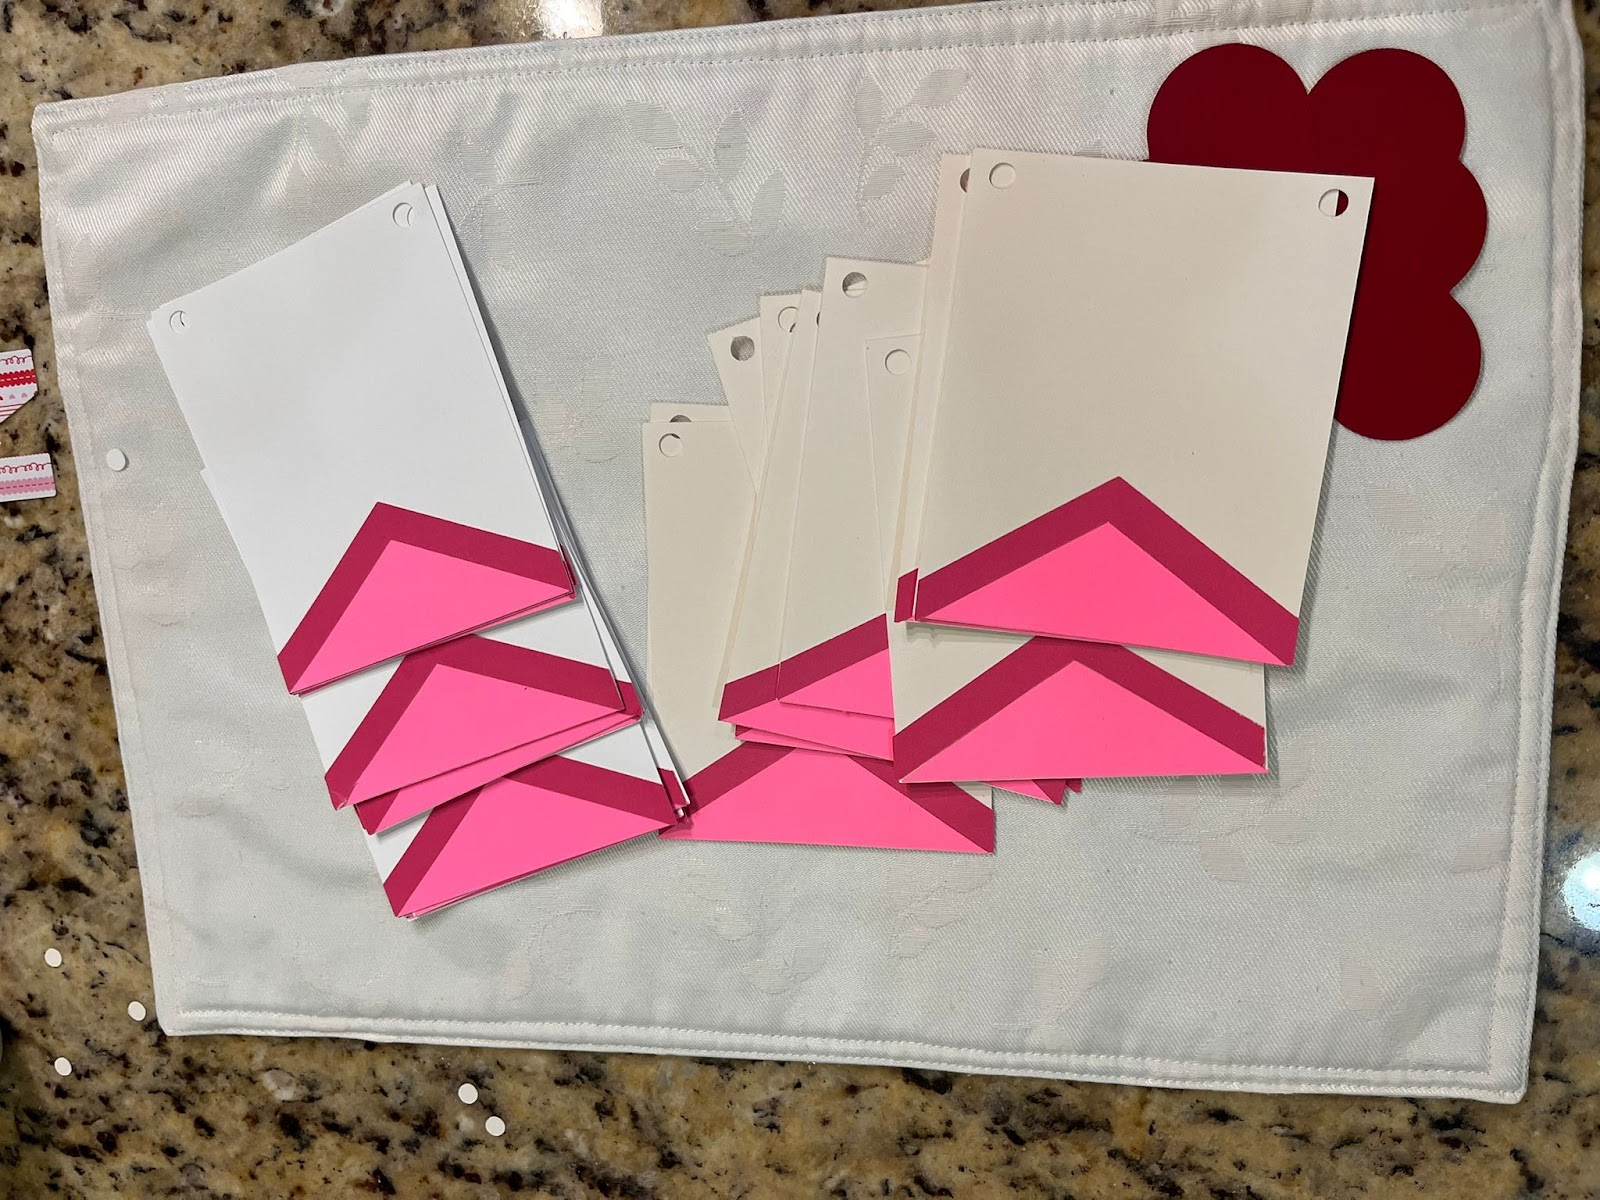
We are going to repeat the process to all the base cards in order to have something similar to:
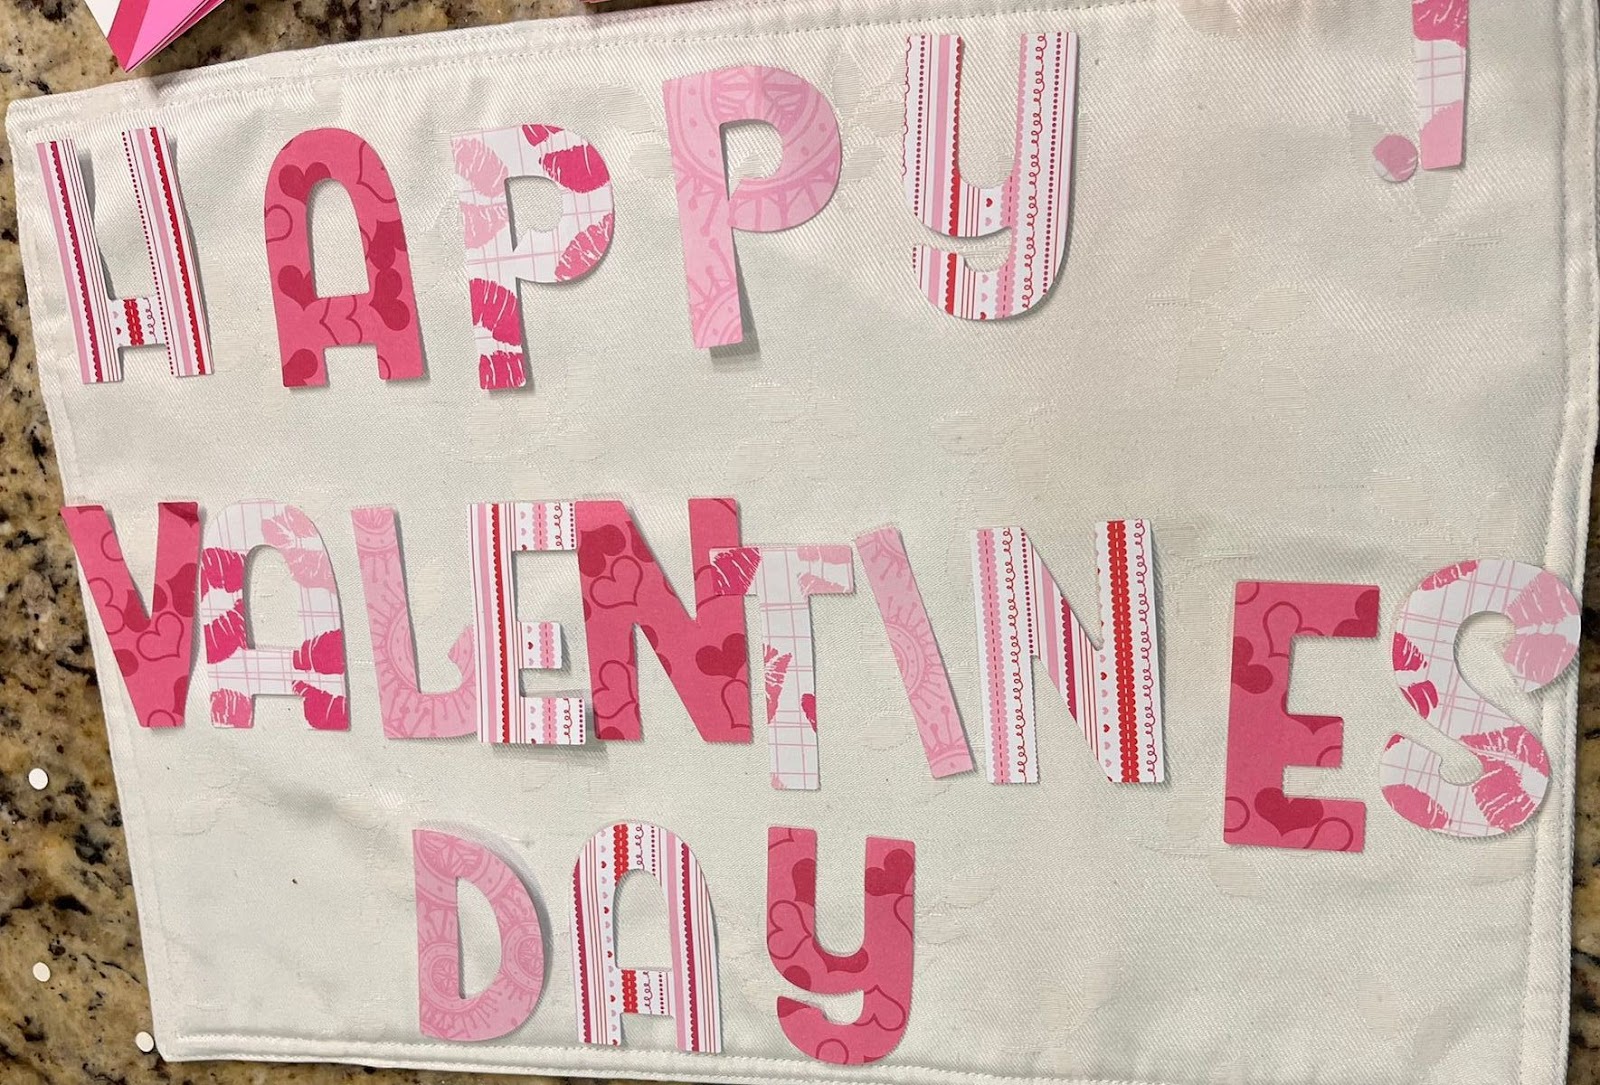
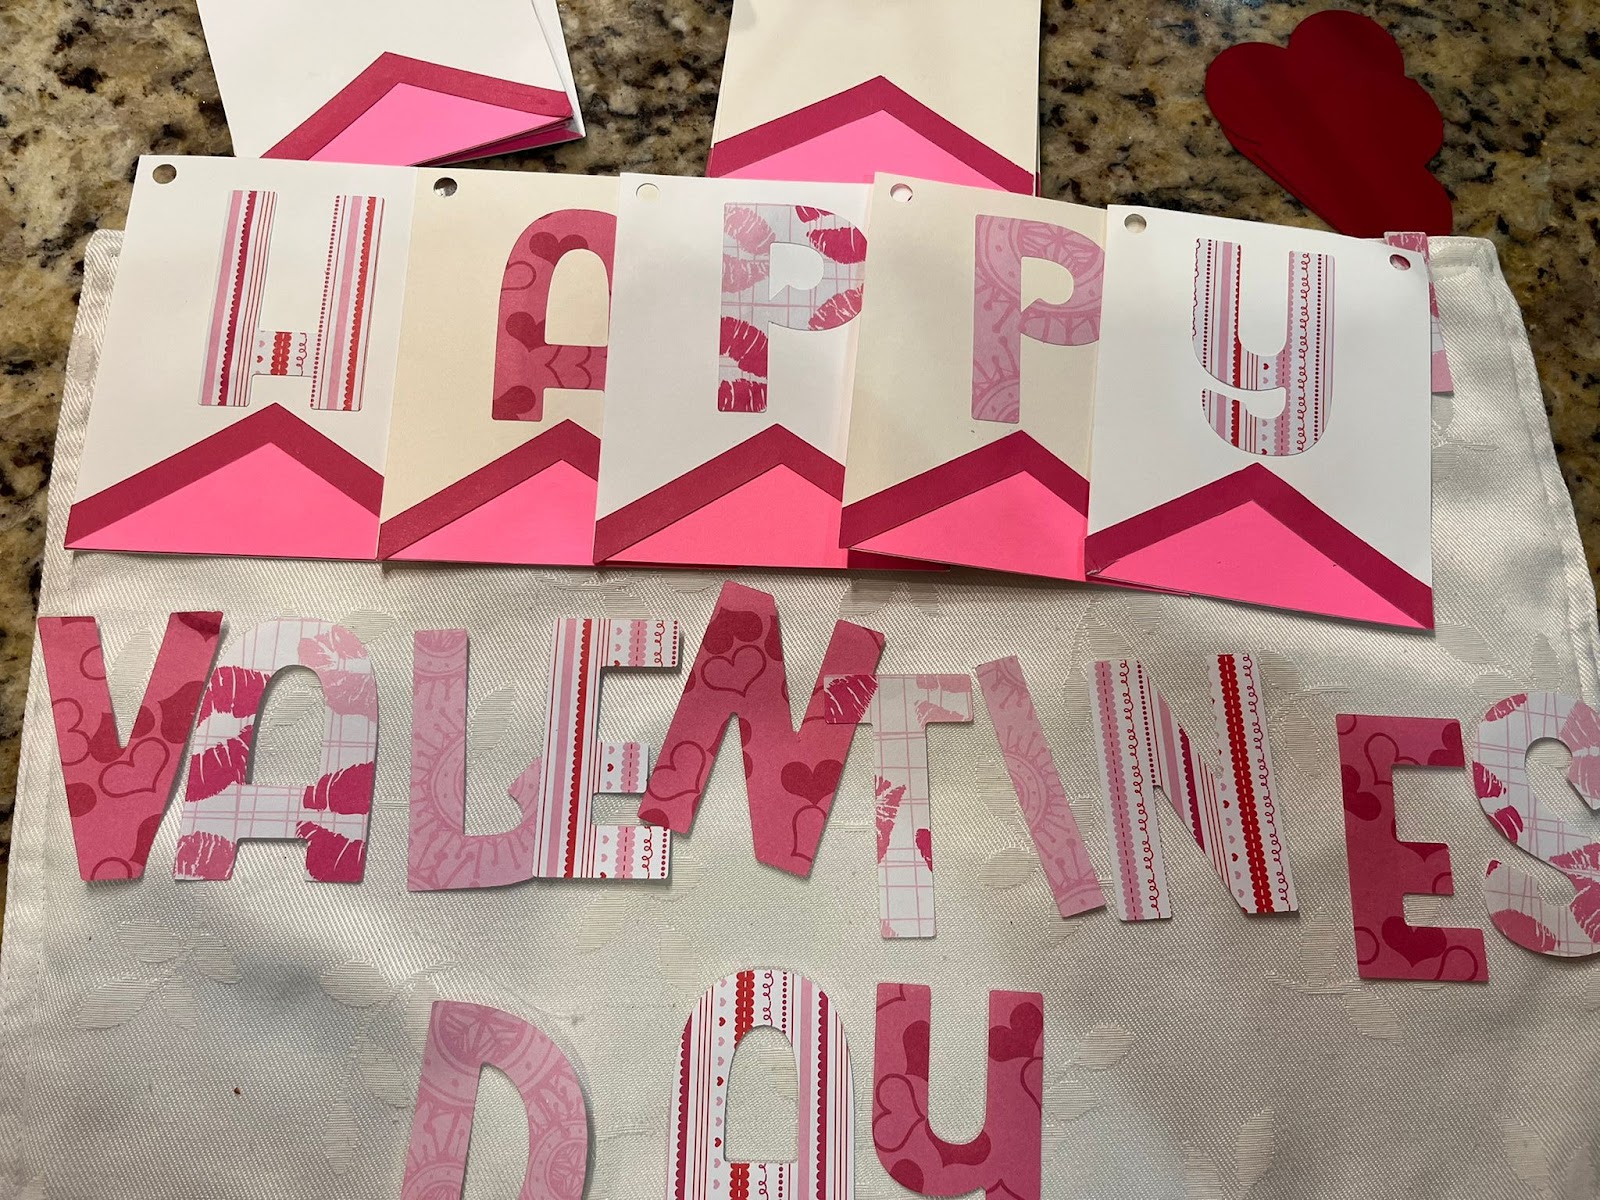
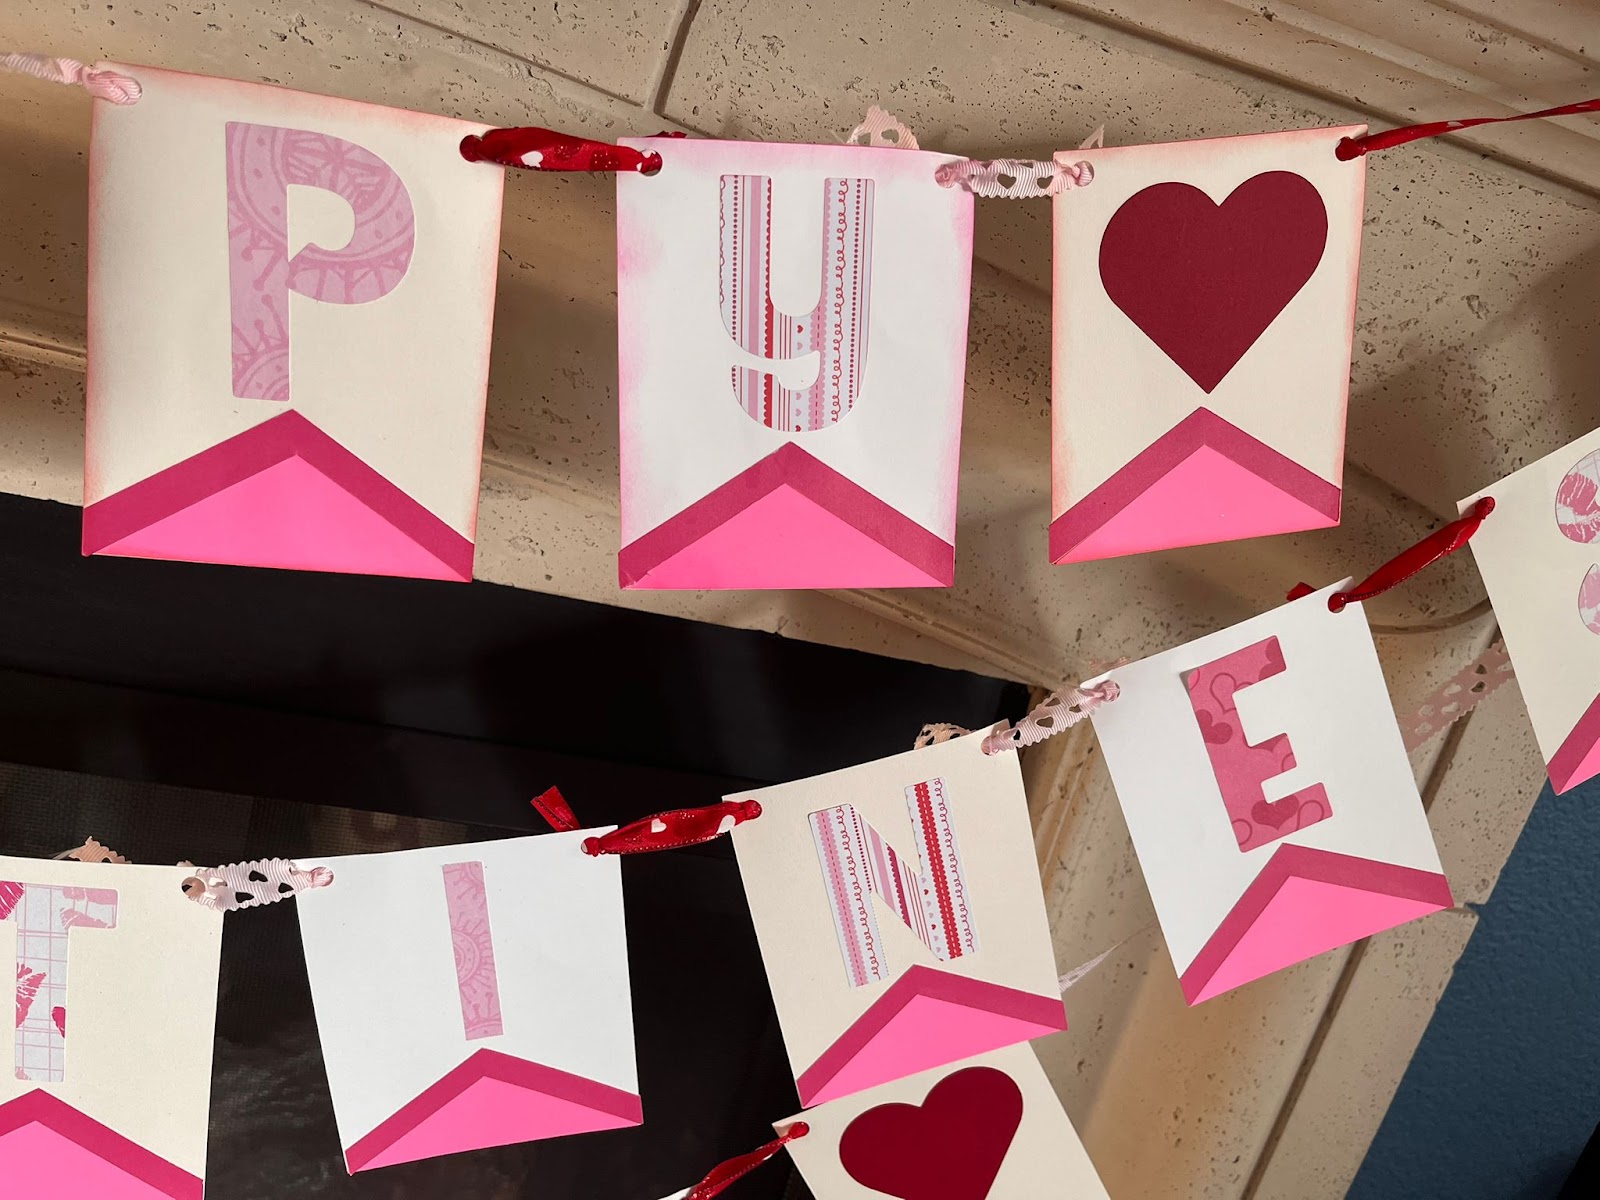
2: We are going to continue with the letters:
3: After all the letters are done, we are going to cut pieces of ribbon that are the ones that going to attach the banner between them, in our case we are using 6” ribbon pieces:
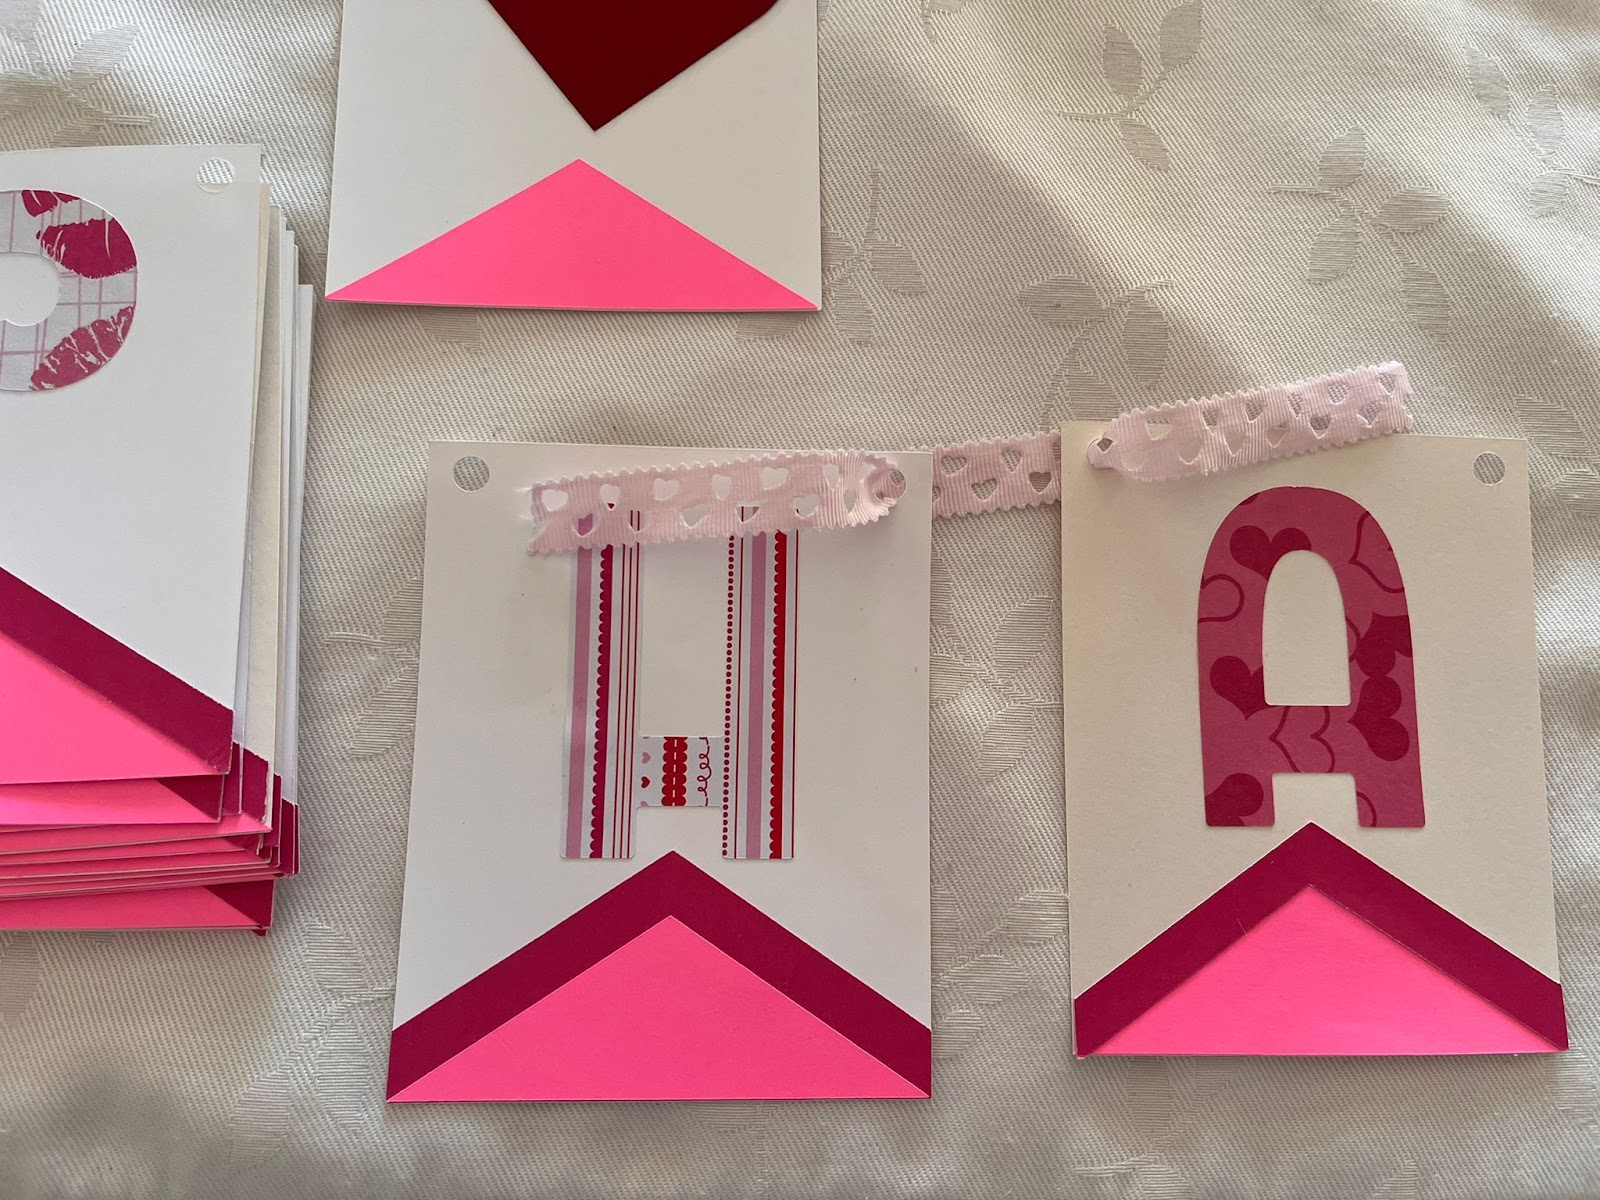
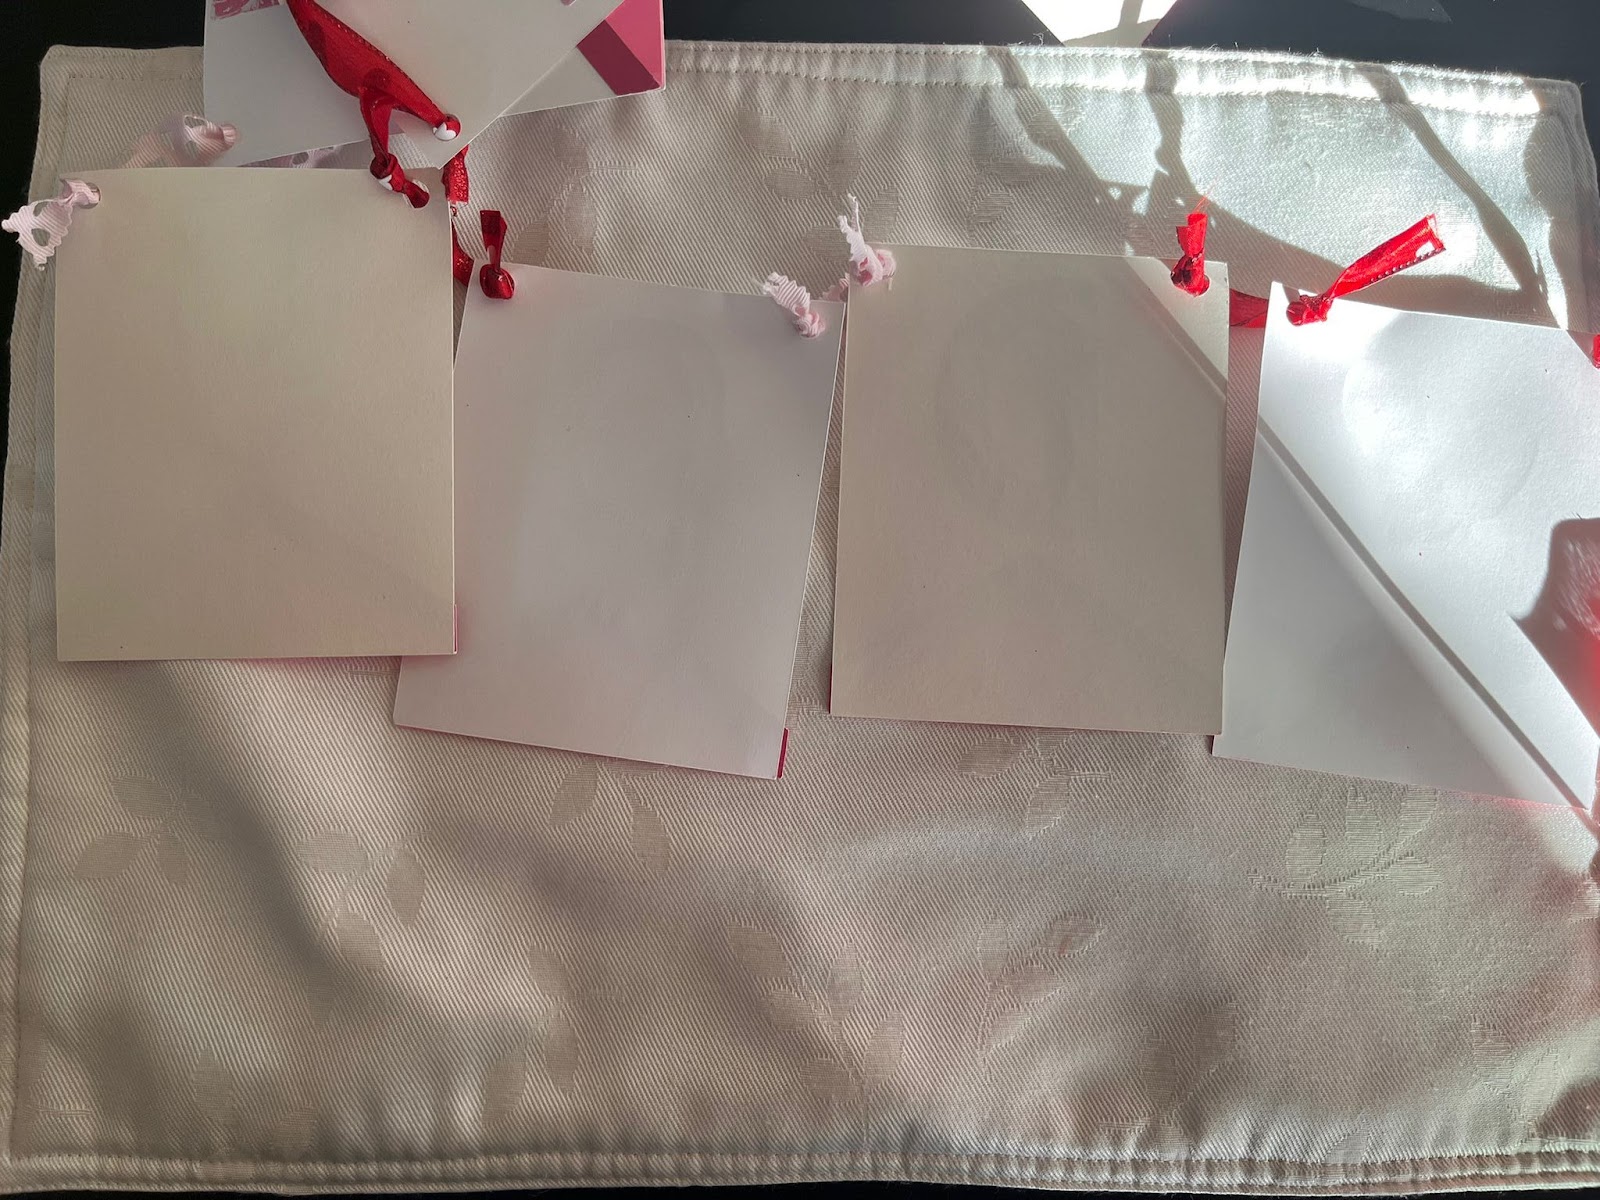
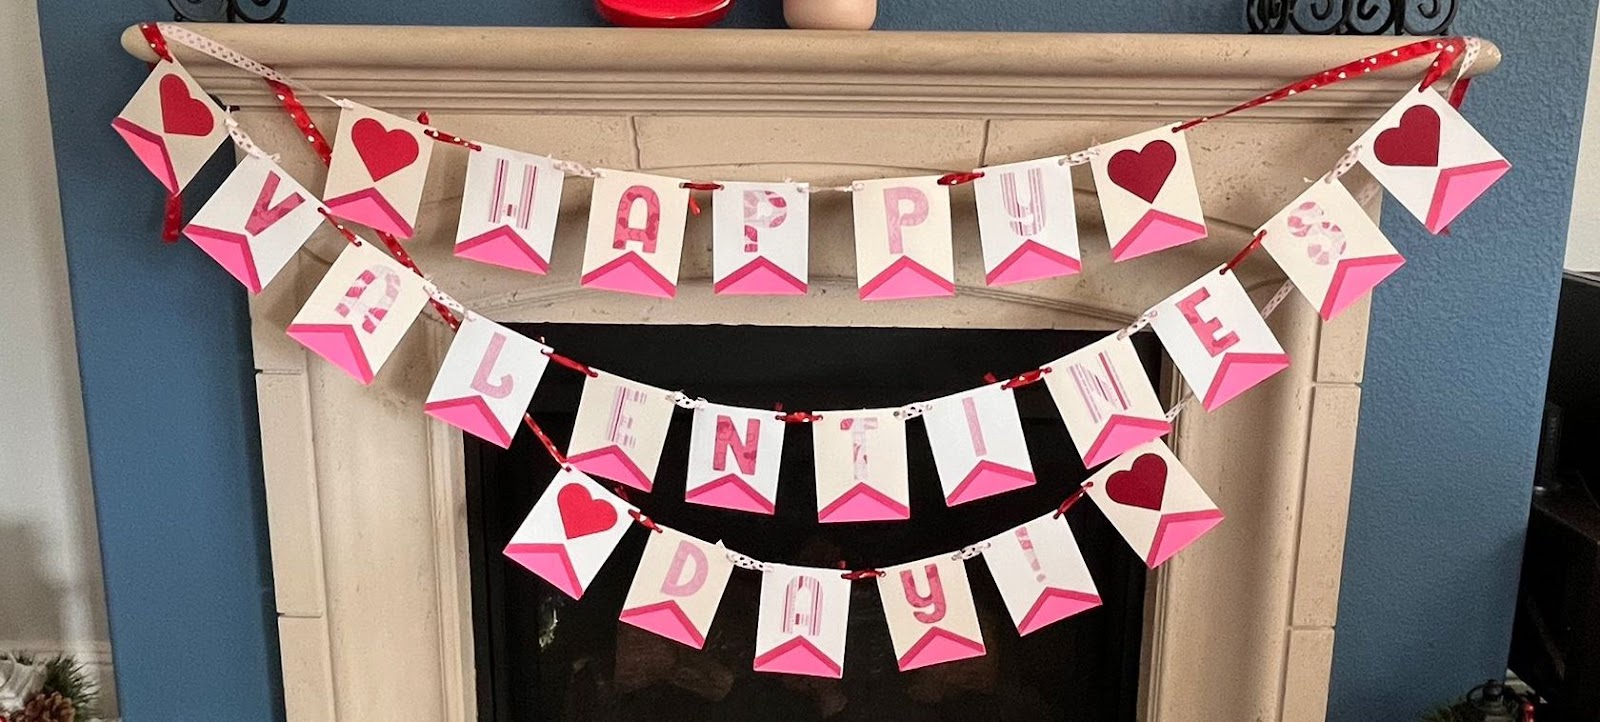
4: You are also going to add ribbon on each side of the banner in order to be able to hang them with the length based on your needs
5: Optional: If you want, you can add some ink in the borders to brighten up each banner

6: You are done!!! You have an amazing banner that you can use with your love!
In this tutorial, you are going to learn/practice the following functionalities:
- Slice Images/shapes
- Add Shapes and Images
- Resize Elements
- Delete Elements
- Attach Elements
- Change colors
- Weld Elements