Step 1: Create the Box
Before starting, please download and install the Baskerville font.
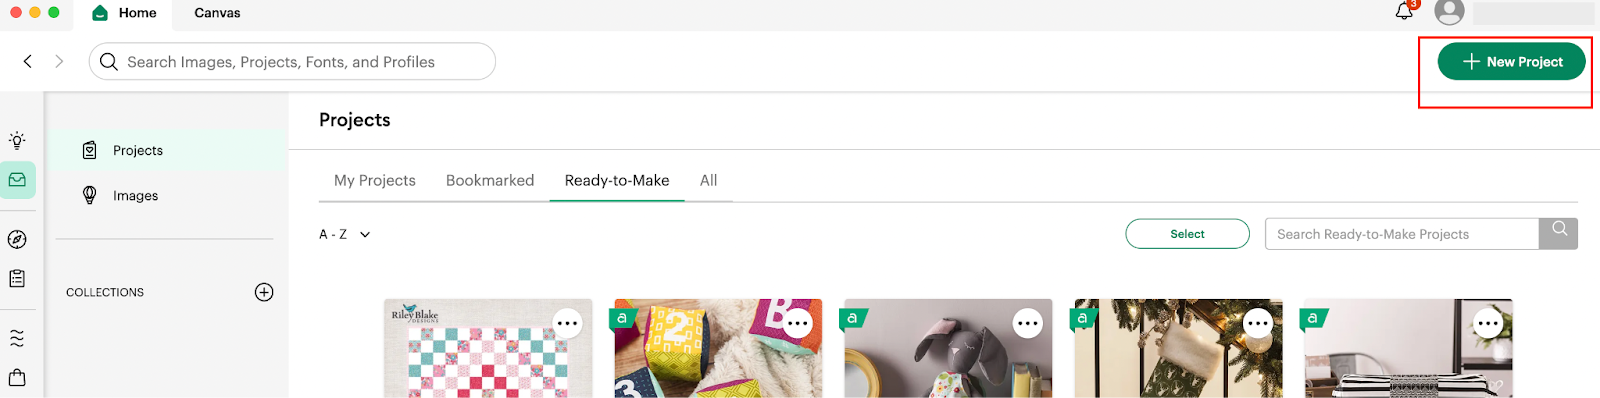
1: In order to be able to start our Design, we are going to first install the font that we are going to use later in our design and after that we can access our Design Space application and in there we are going to click on the + New Project Green button located on the top Right corner of our screen.
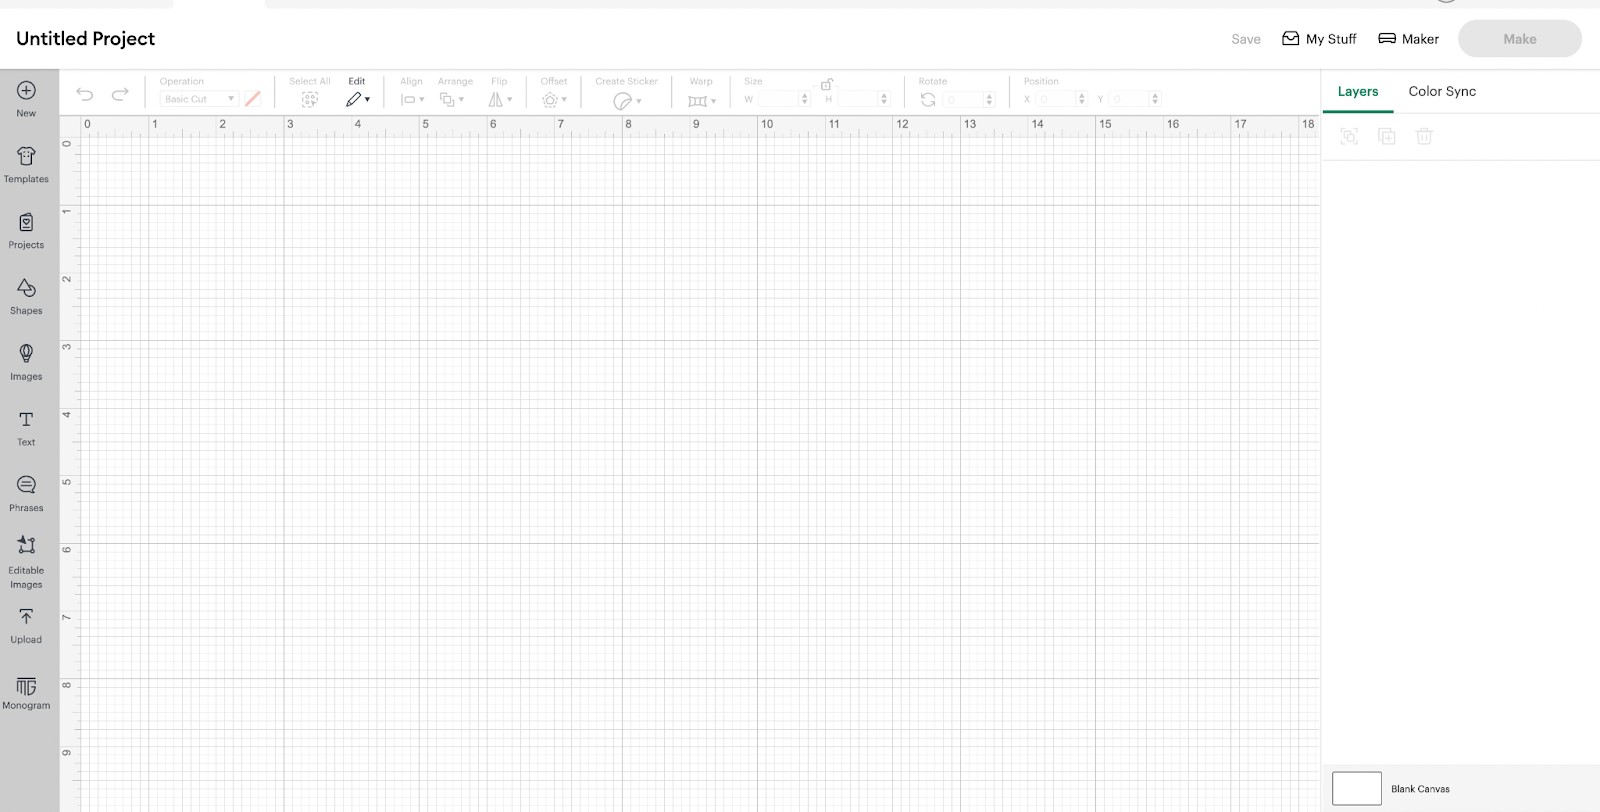
2: After we clicked in there, we are going to be able to access our Blank Canvas, in where we are going to start creating our Design:
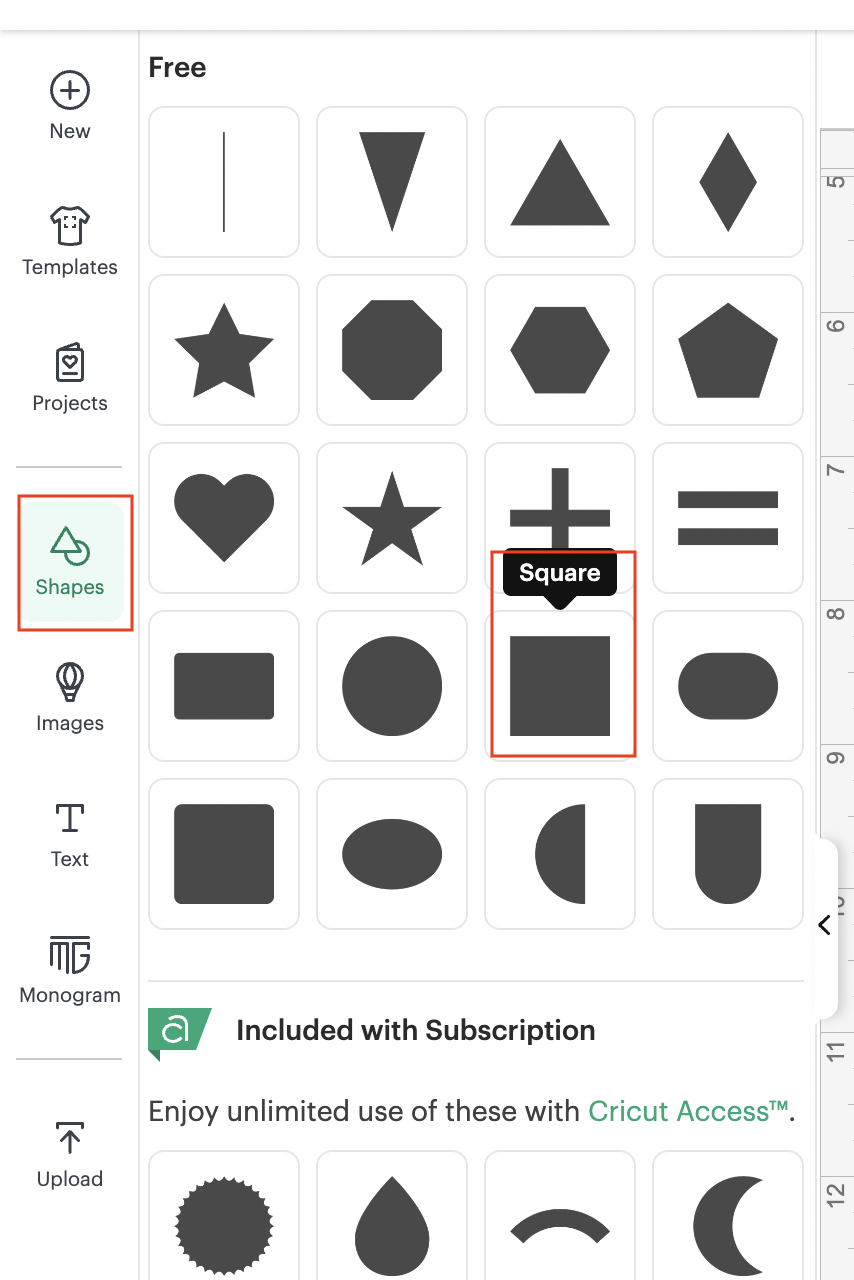
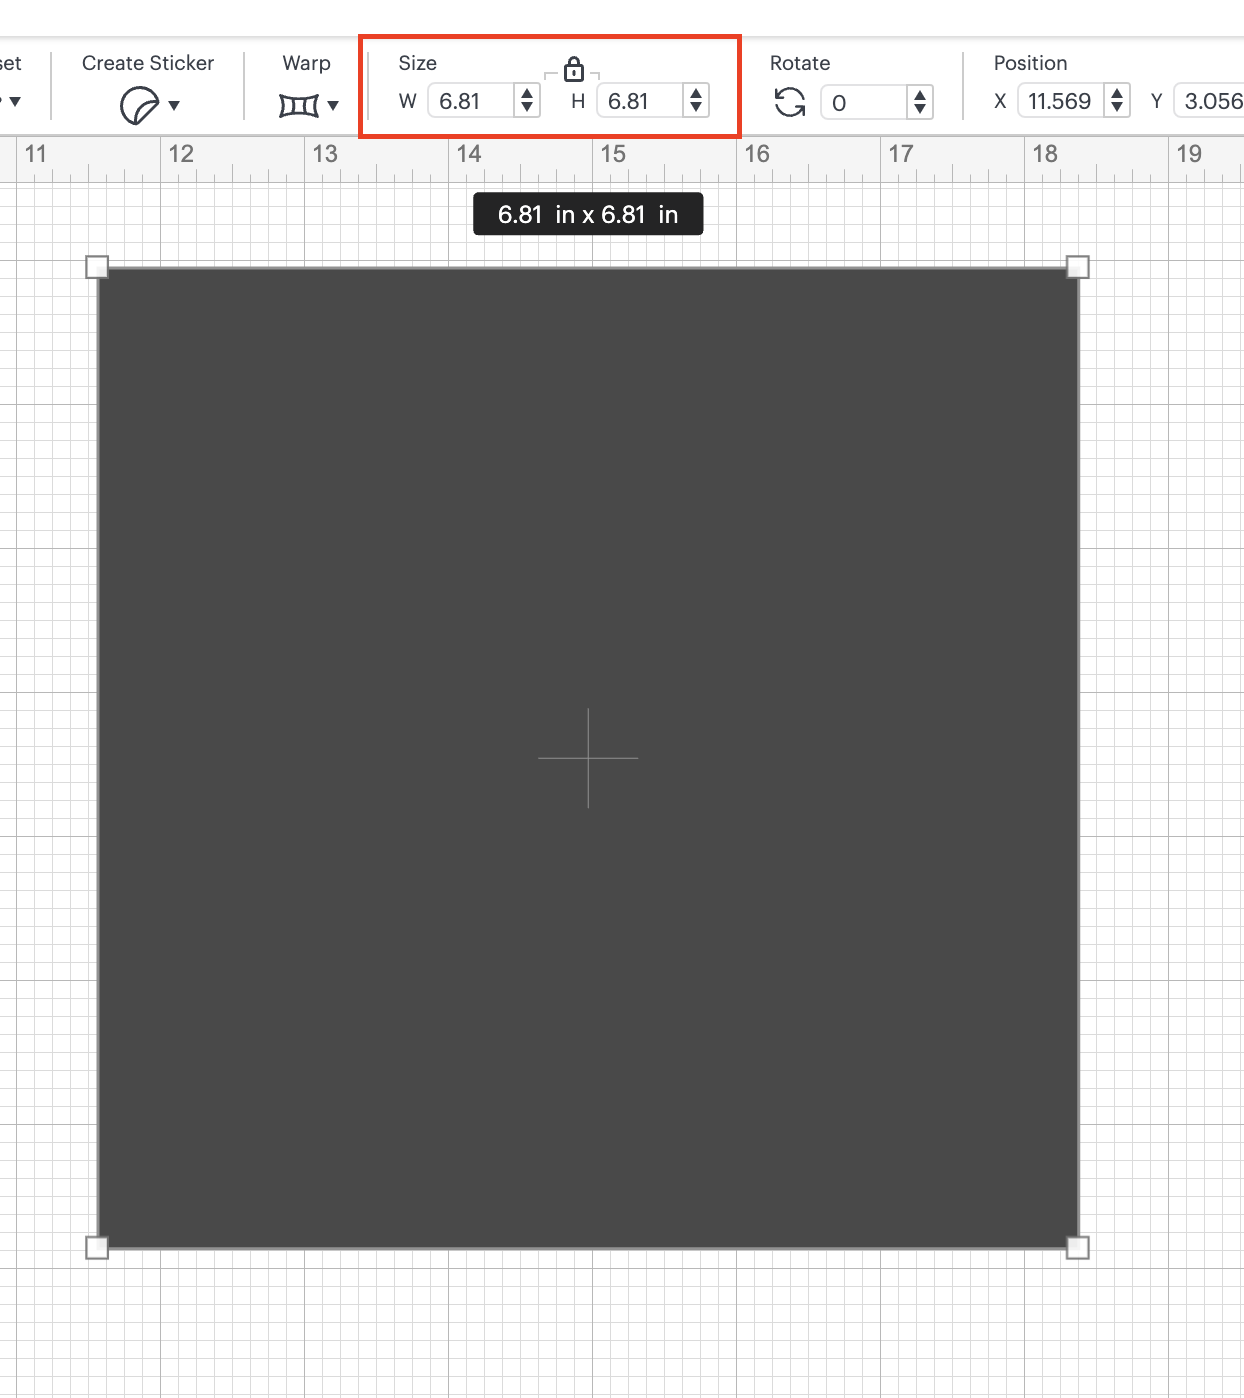
3: We are going to use the shapes functionality to add 1 square and we are going to resize it to W: 6.81“ and H: 6.81“
4: We are going to add 2 more squares and resize them to the following measurements: W: 2.41” and H: 6.81”
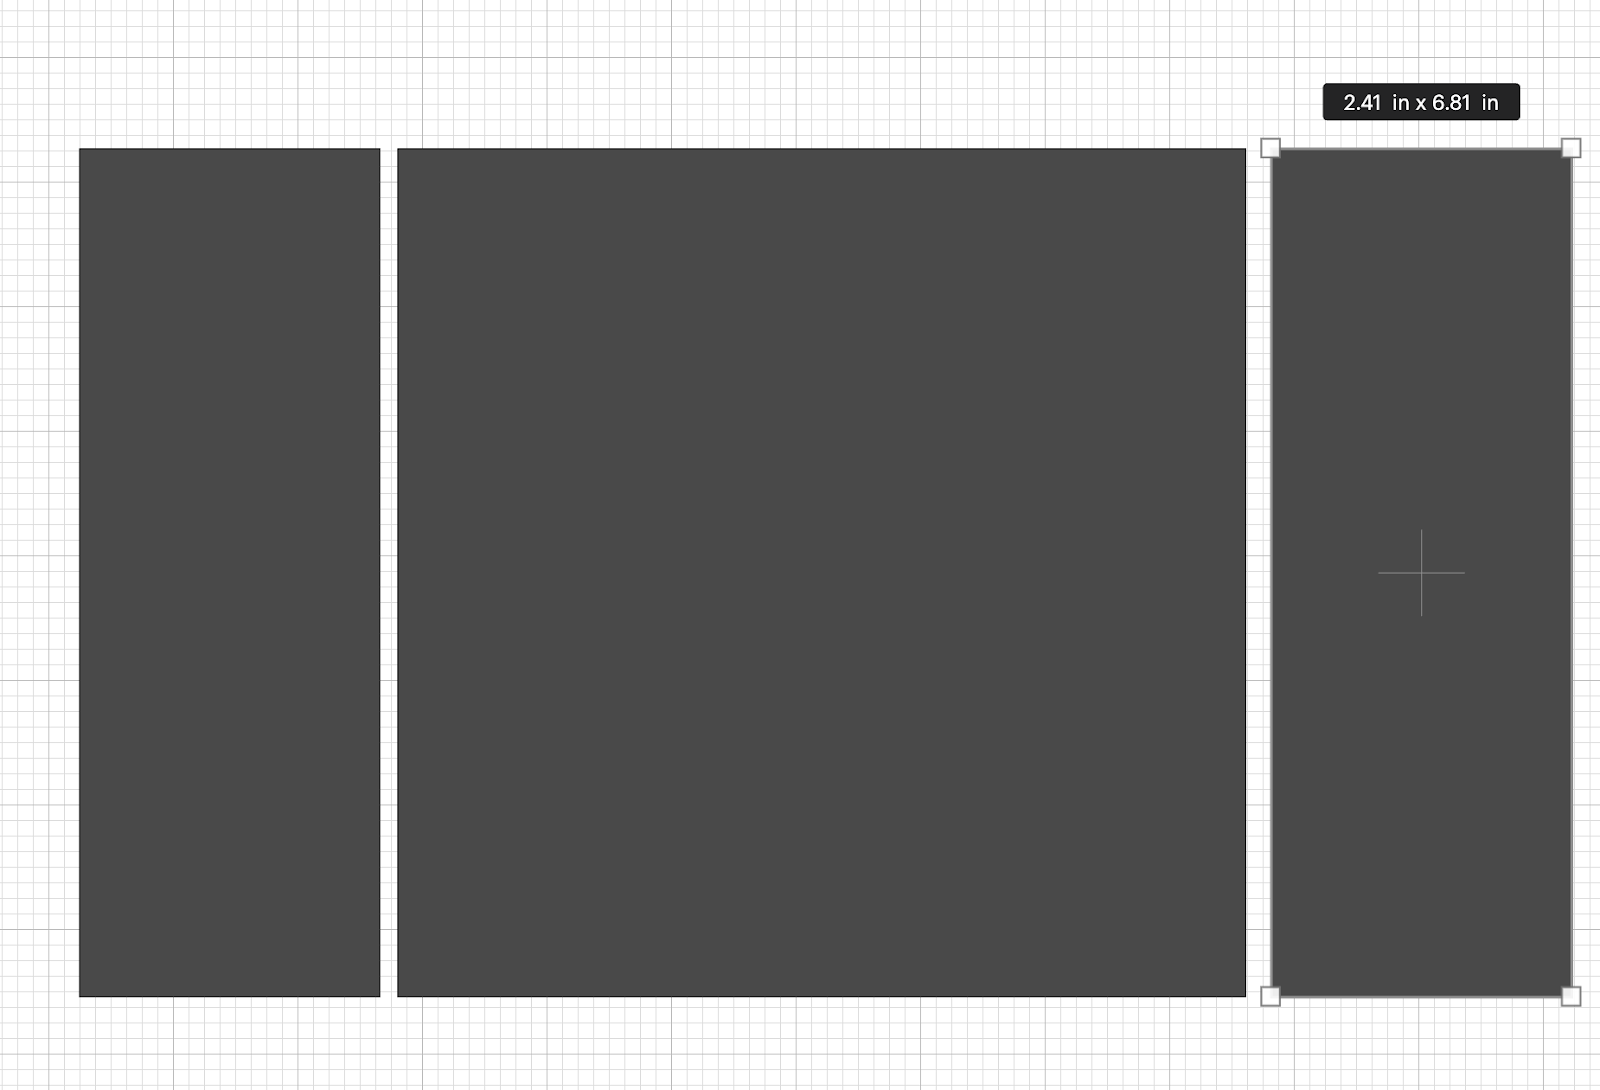
💡Tip: The H needs to be the same as your base square.
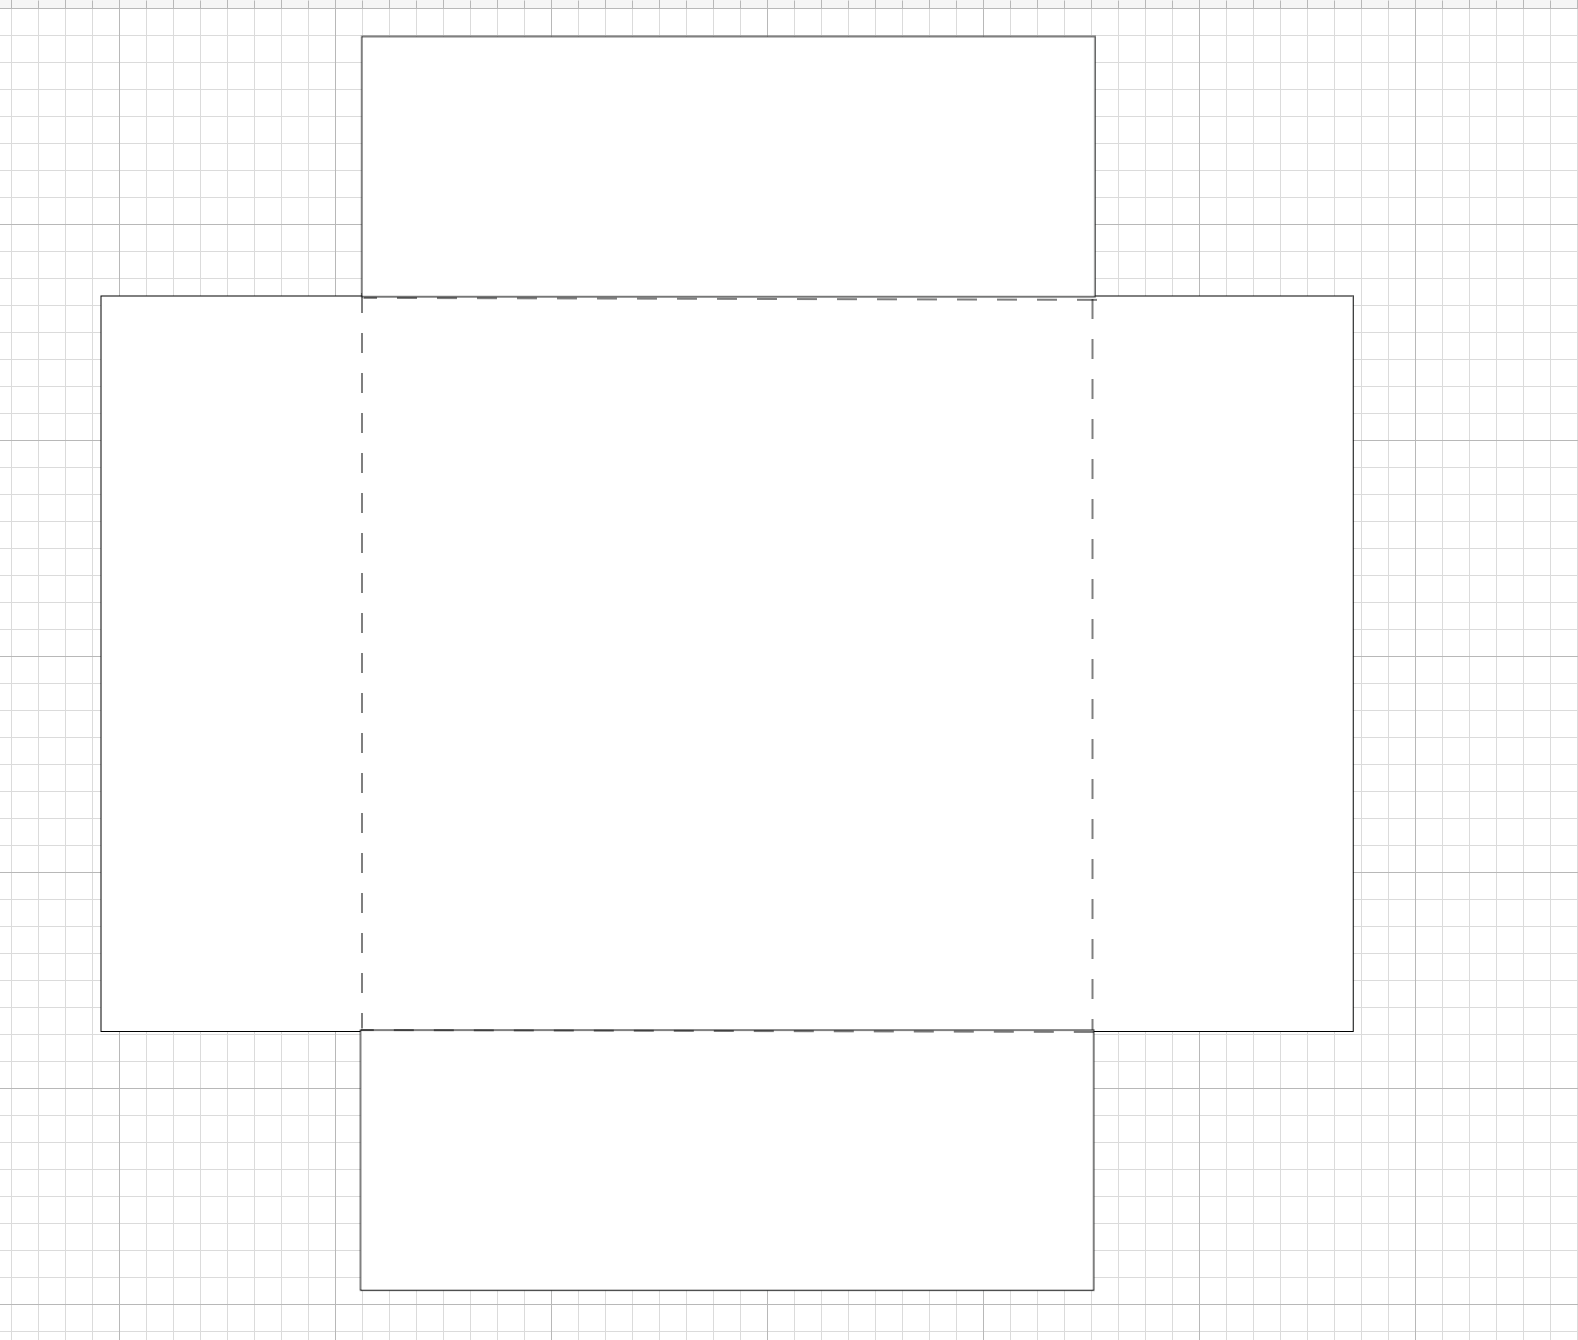
5: Change the color of the 3 elements to white or a light color and place the elements from the previous step touching the sides of the main square, something like:
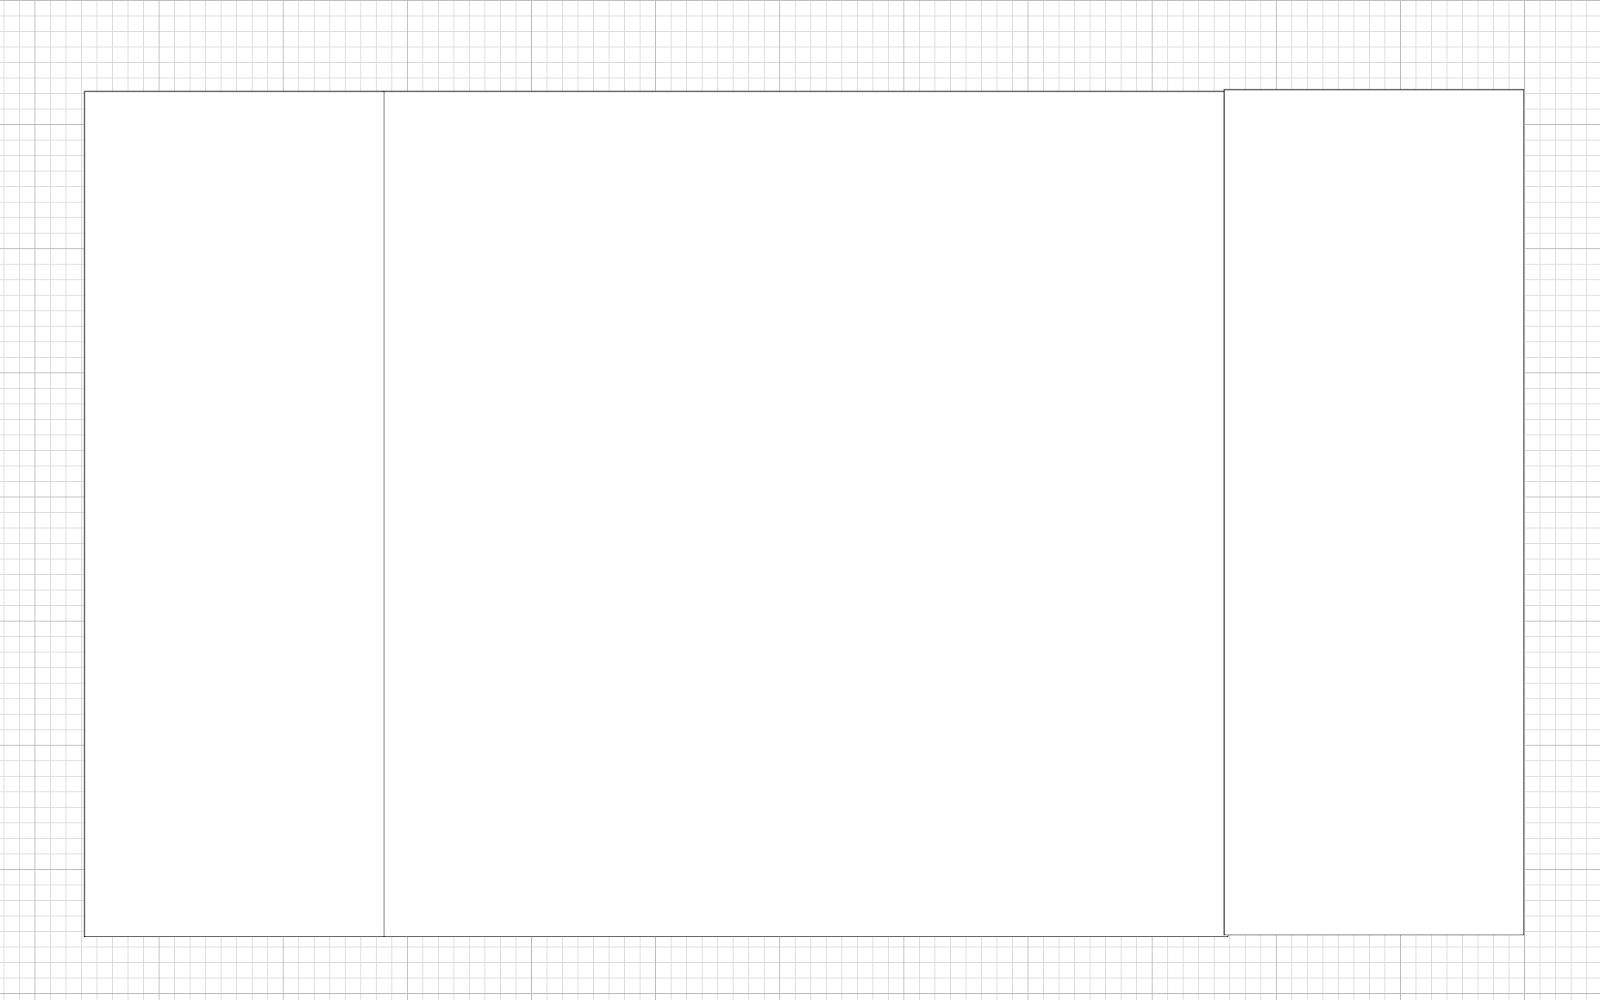
💡Tip: The color is not going to be the end color, is just for design purposes.
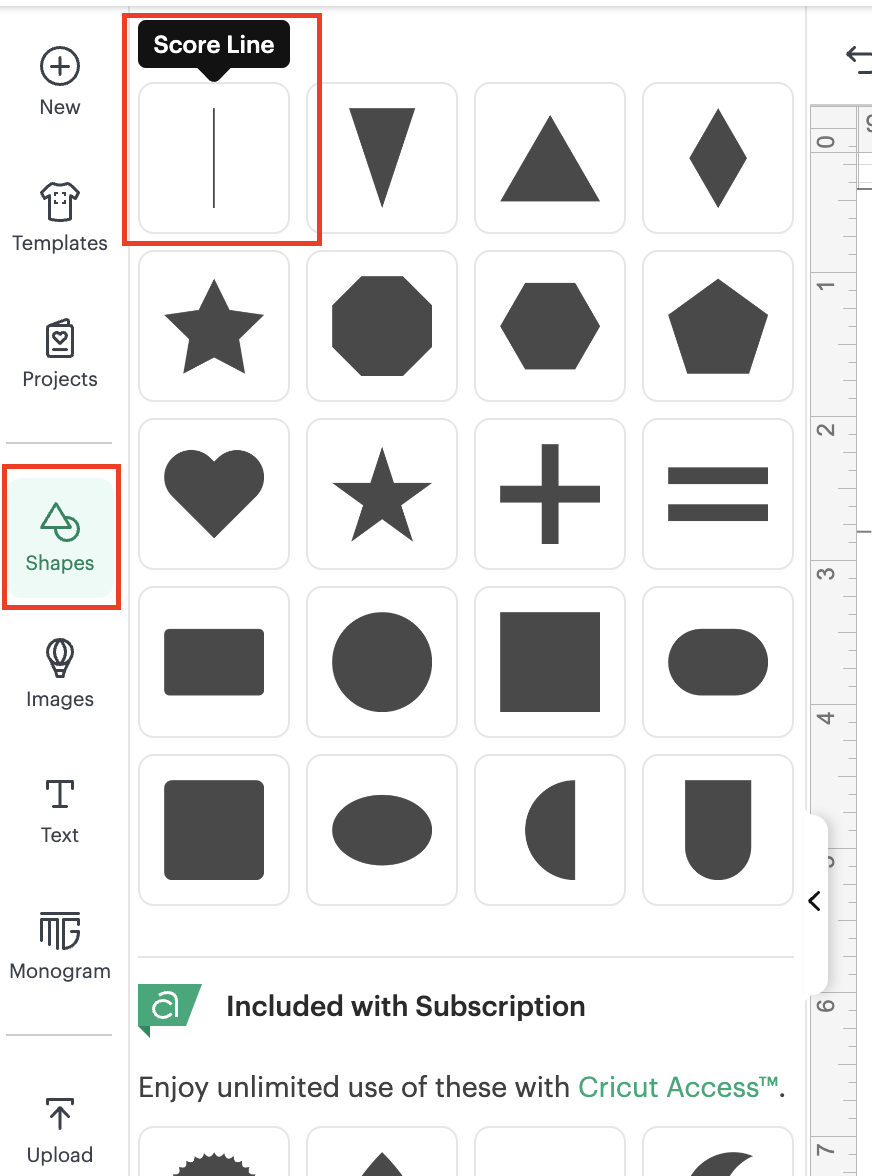
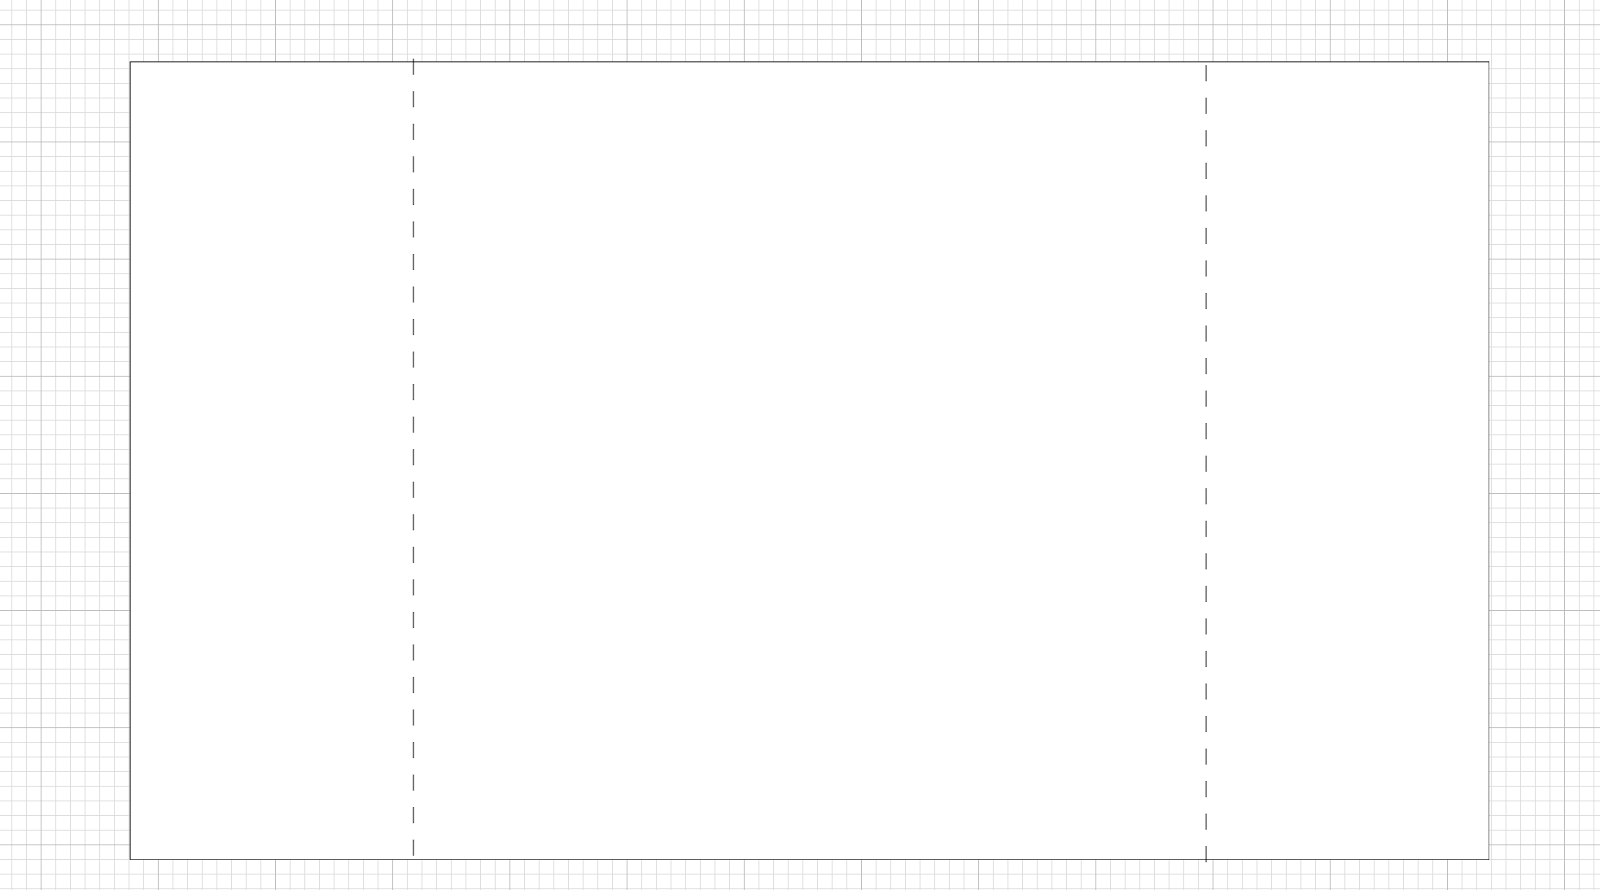
6: In where the lines are touching between the elements, we are going to place in there 2 score lines with the same H as our base square, in our case: 6.81” :
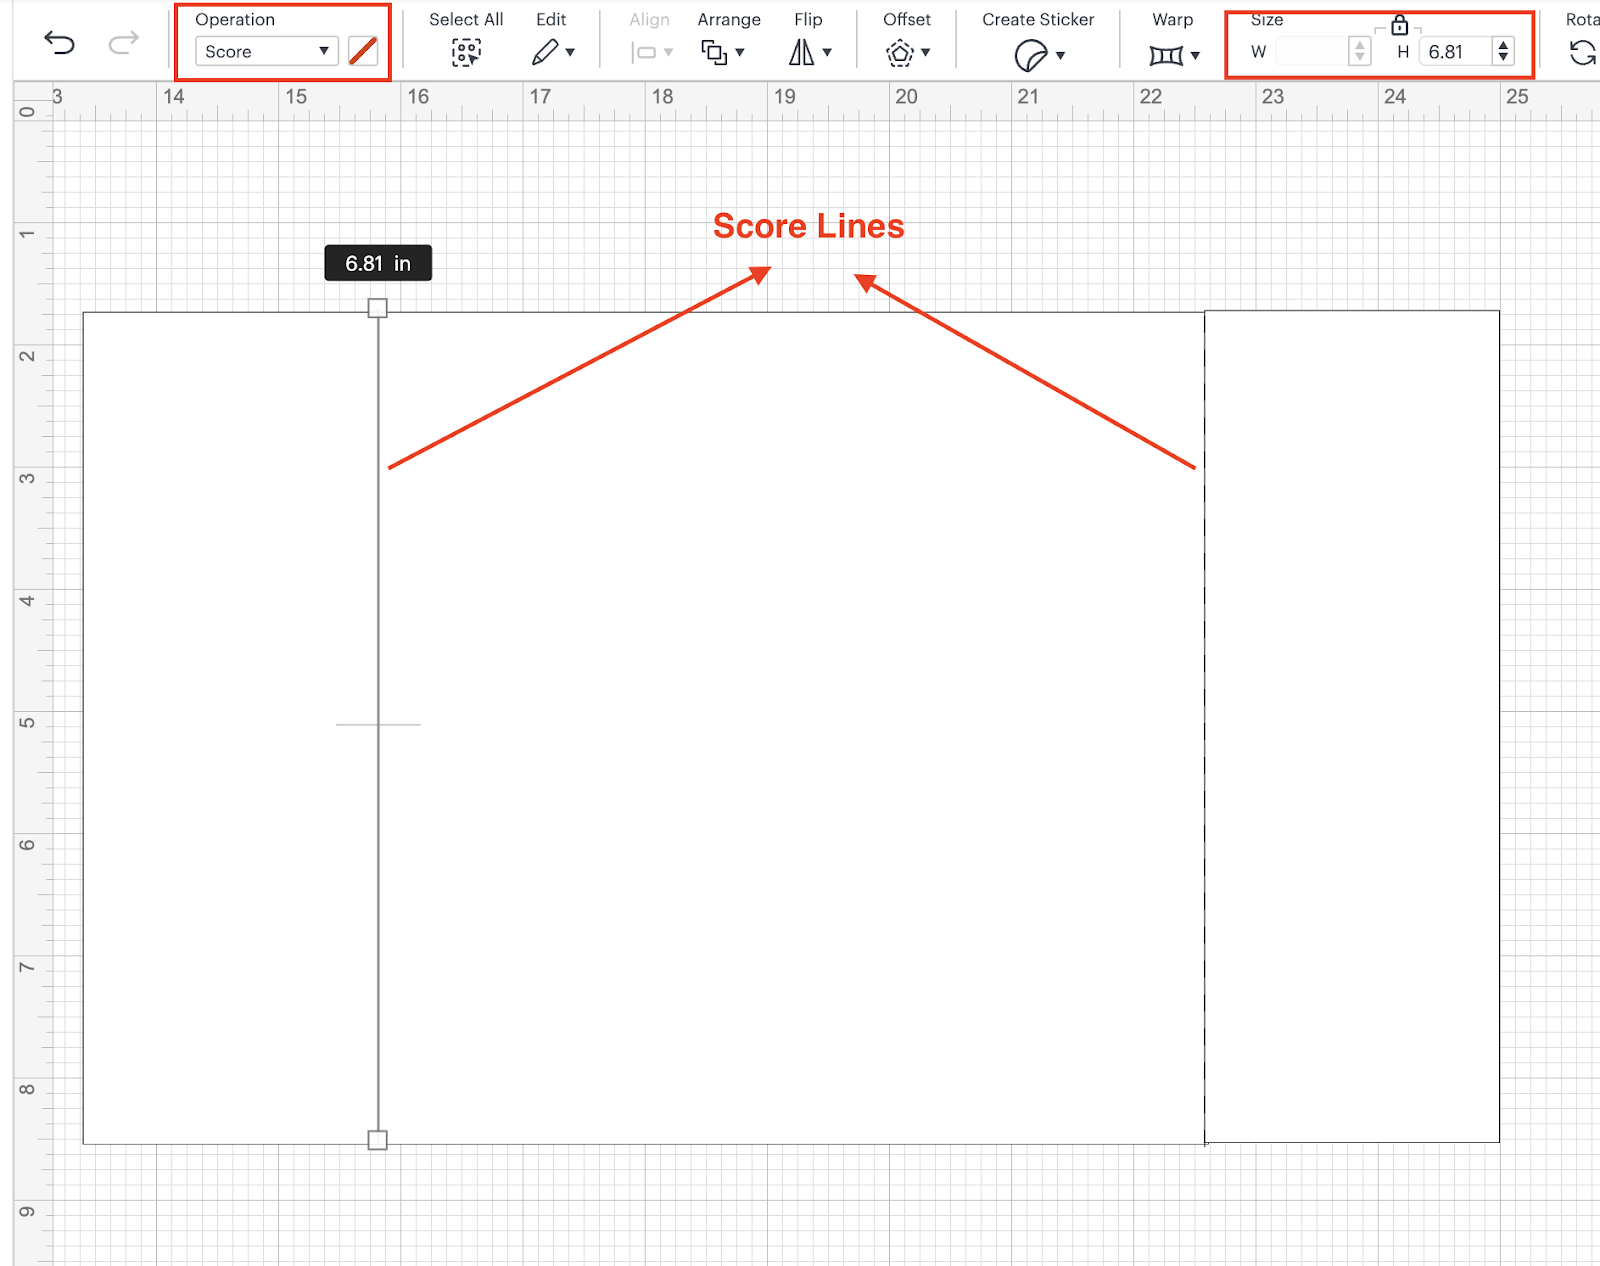
💡Tip: Score lines are located in the shapes functionality:
7: Now, we can select our 3 elements (main square and the 2 rectangles one on each side and weld them together)
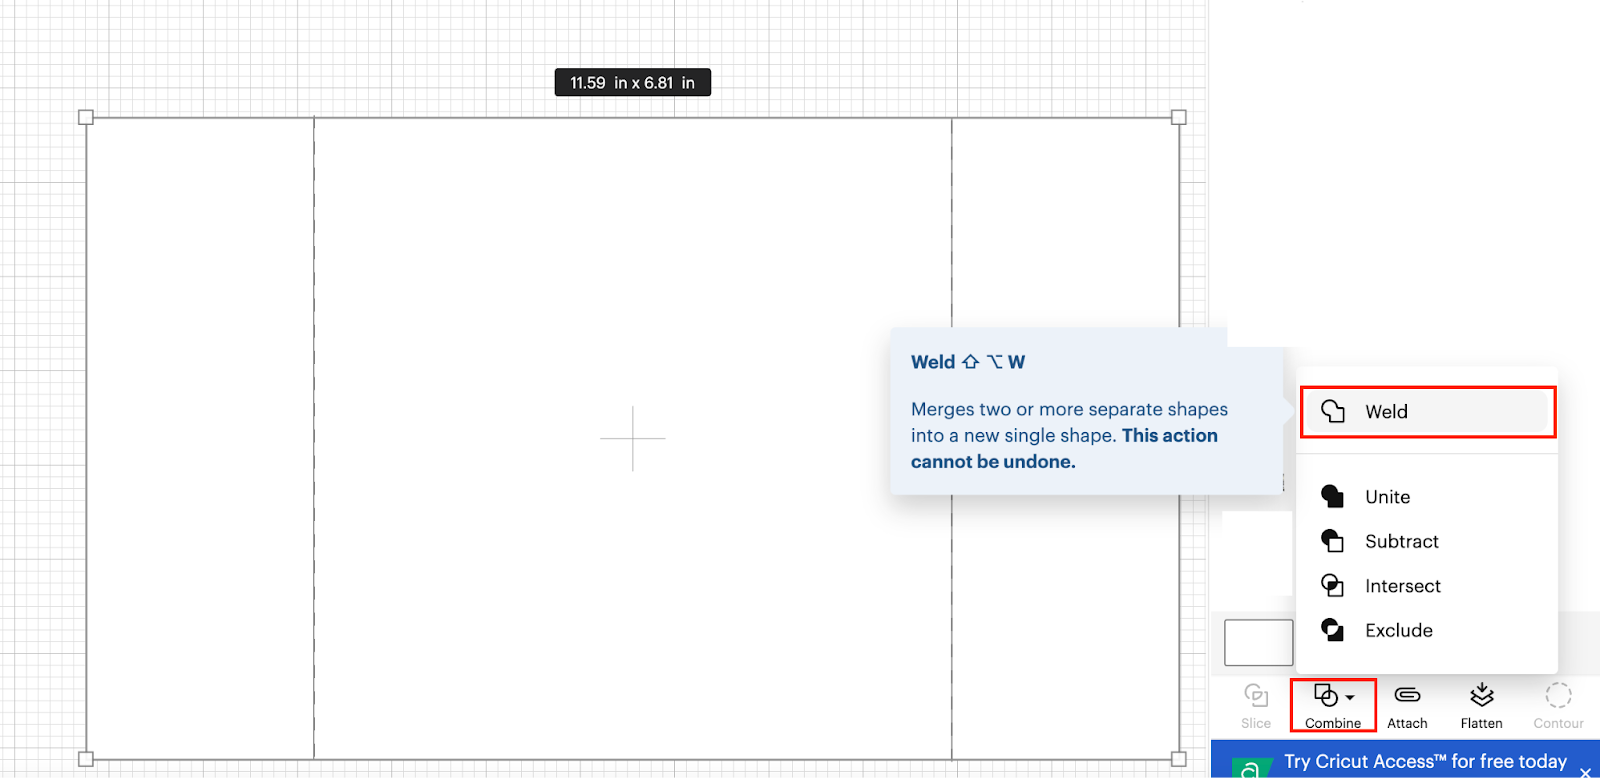
After welding the elements, you should be able to see something like:
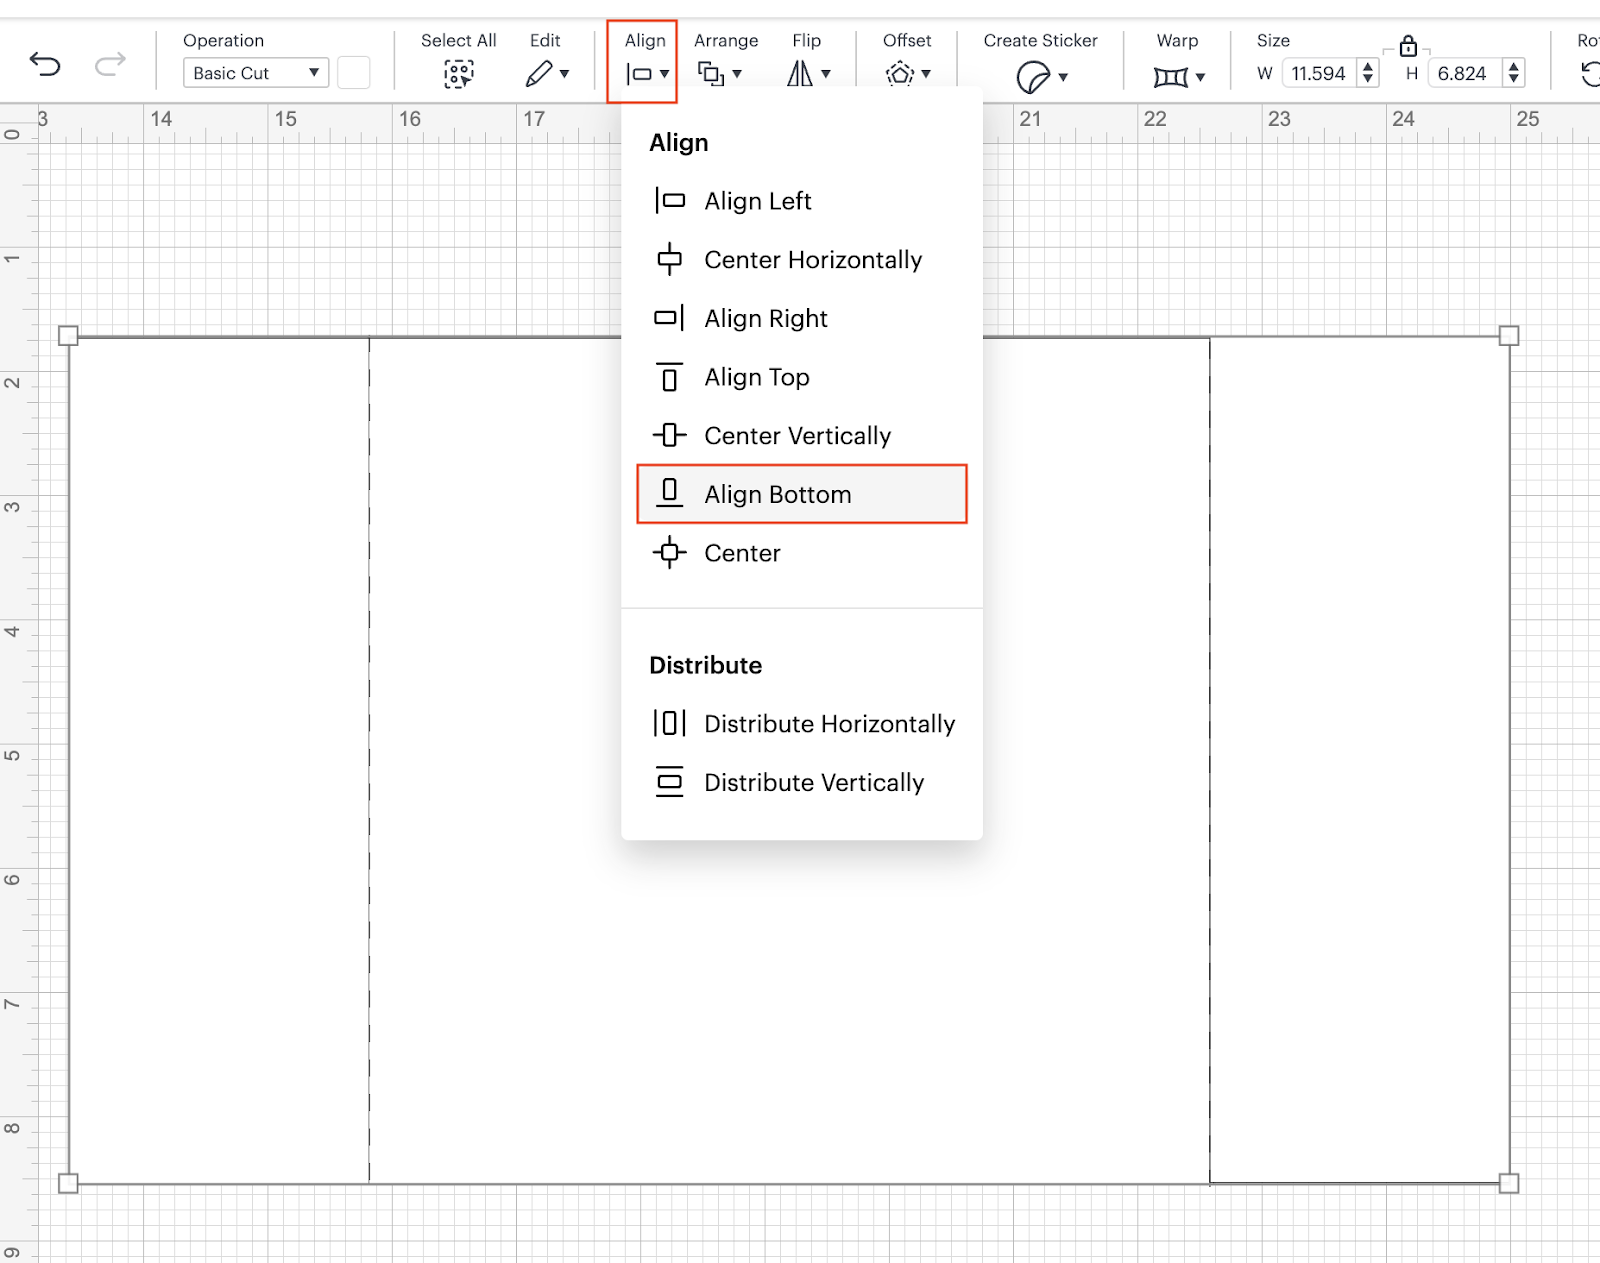
💡Tip: Do not select the score lines, and do not move the 3 elements around because if you do that, you are going to lose where the score lines needs to be placed. Also, before welding the elements make sure that the 3 are aligned to the bottom:
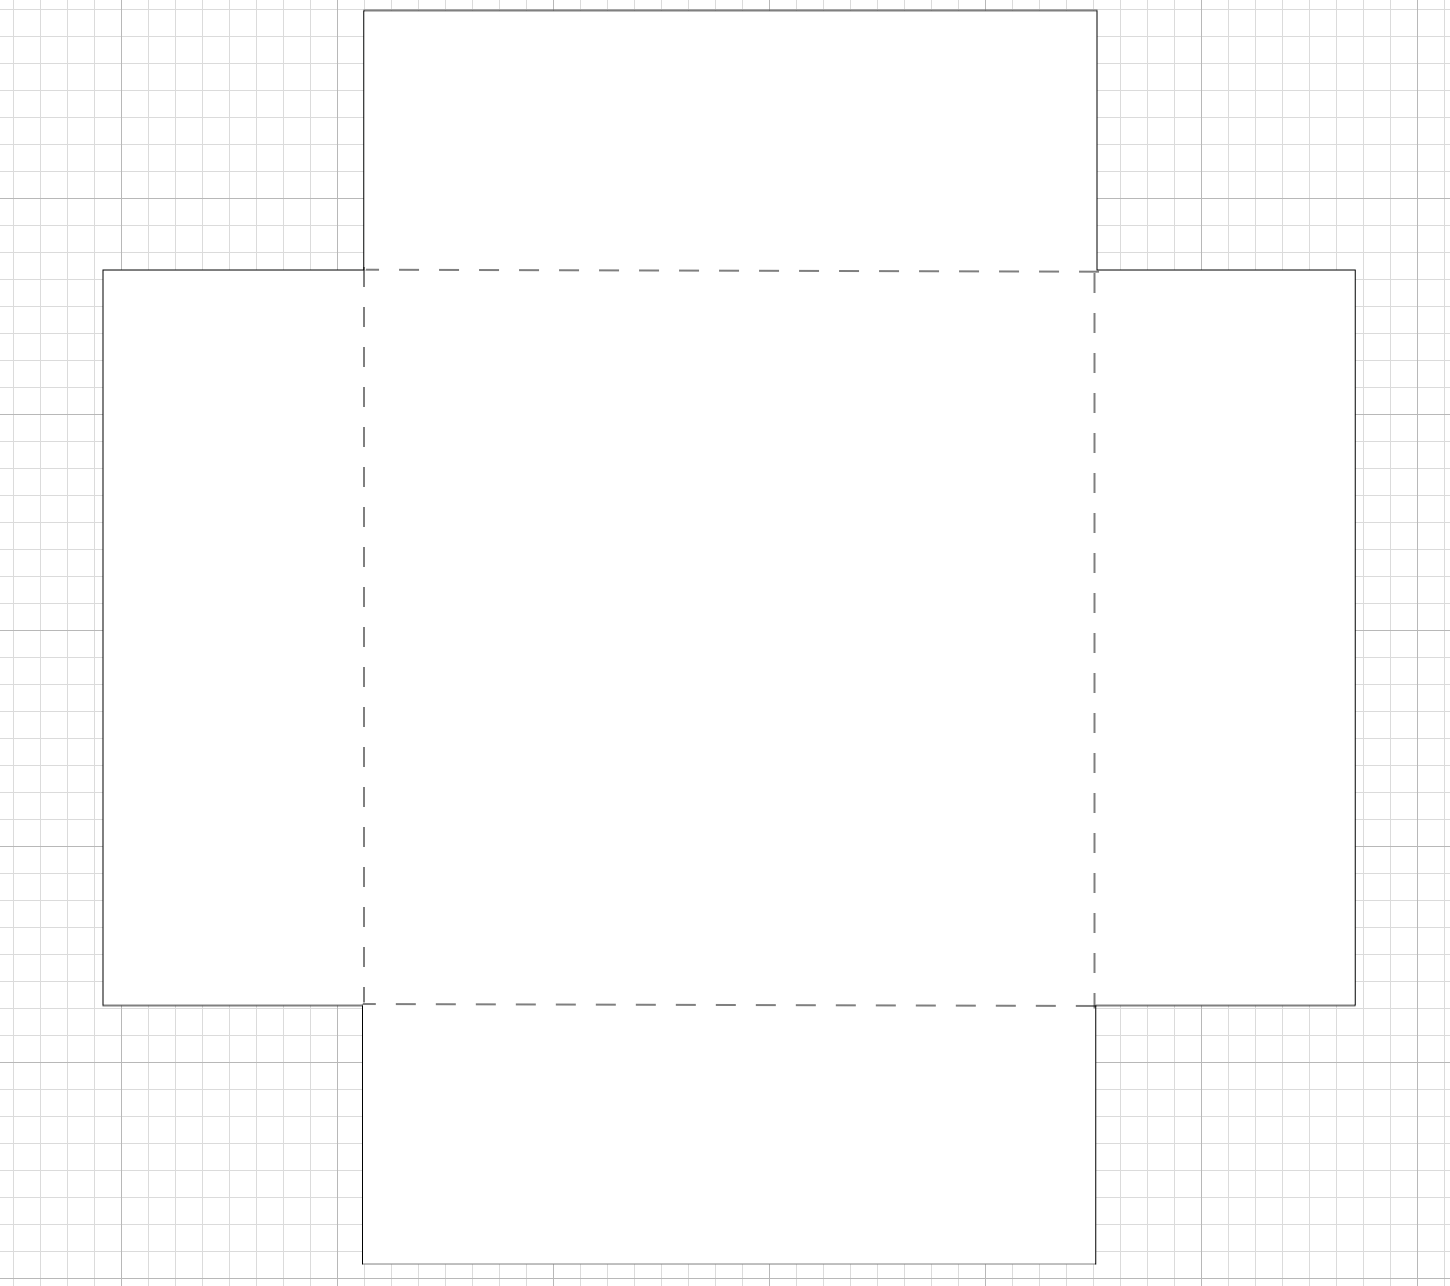
8: We are going to add 2 more rectangles, we are going to resize it to: W: 6.79” and H: 2.41”
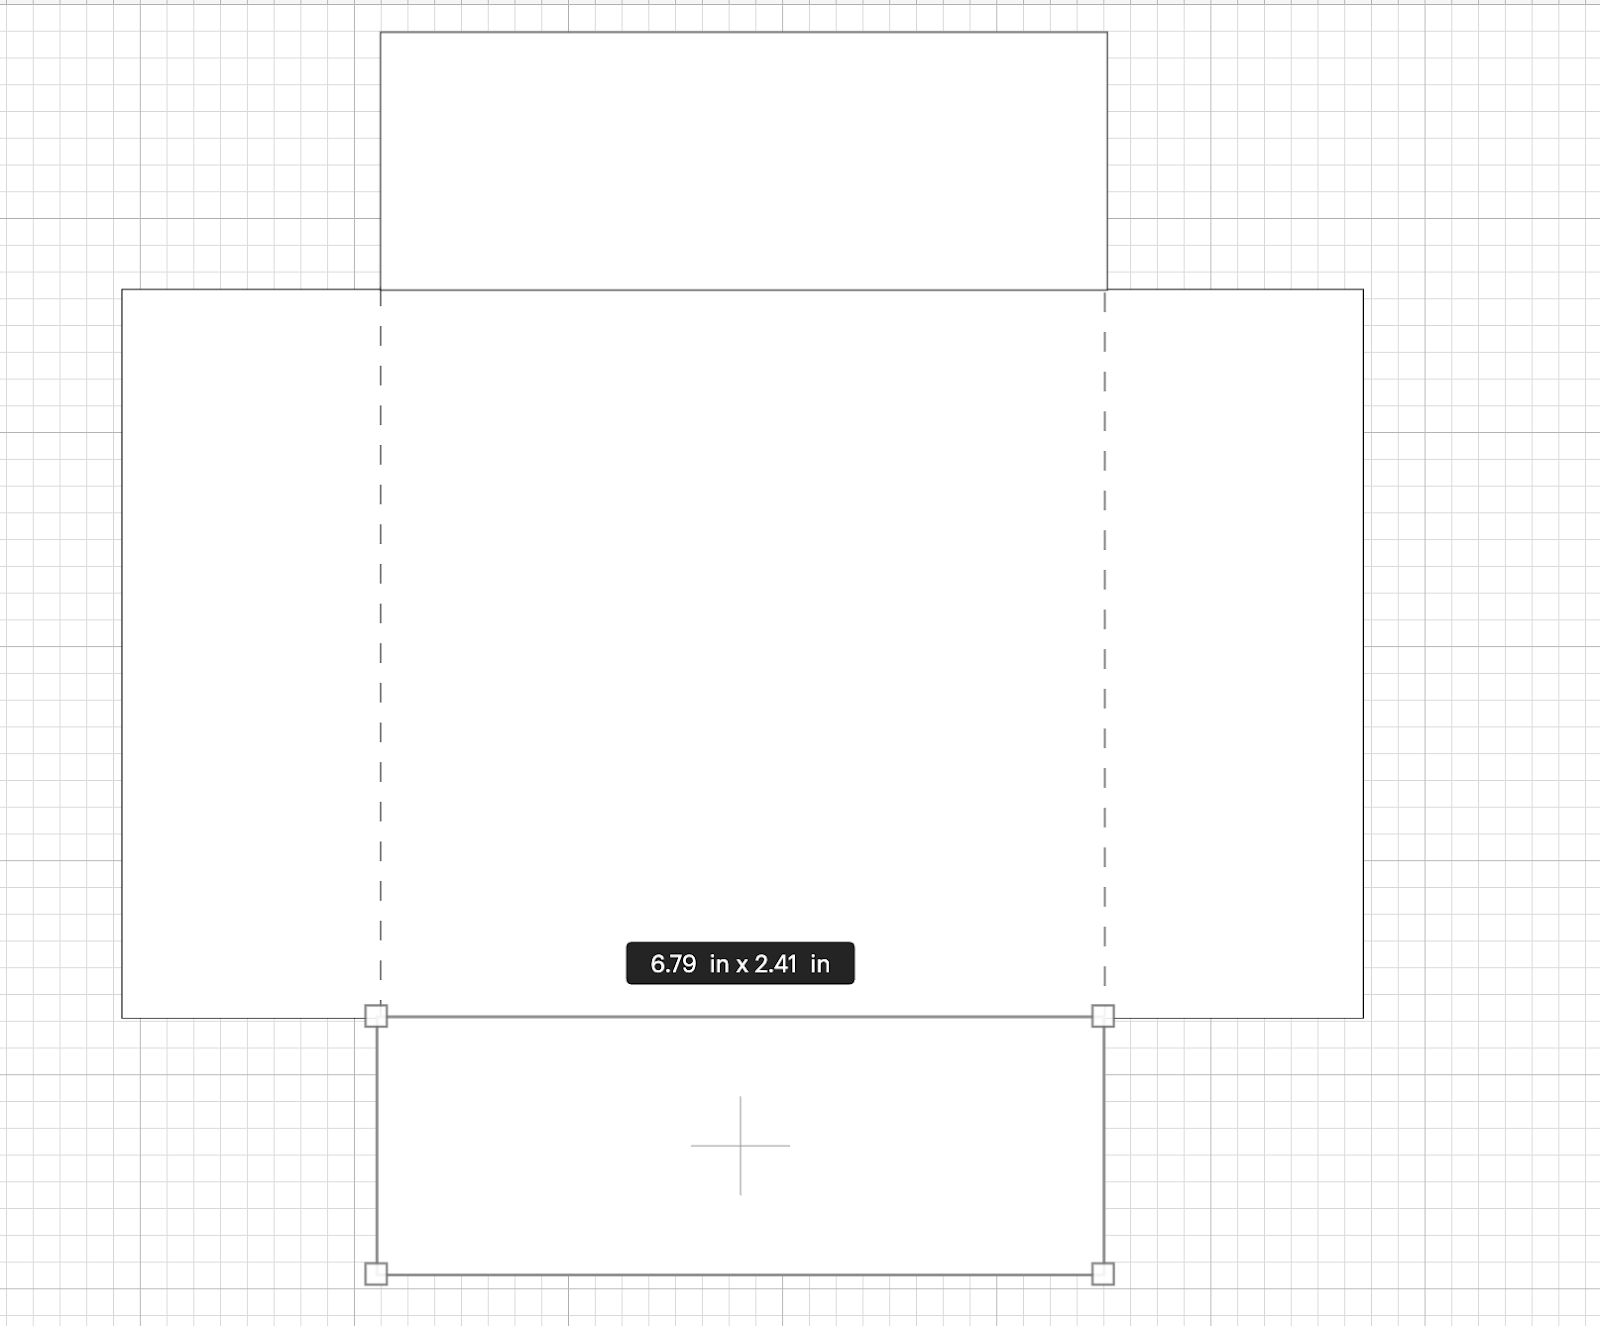
9: Doing the same process as before, we are going to change the color to a light one, make sure that the 2 new rectangles are very close to our box base, add the score lines and weld them:
After welding the elements:
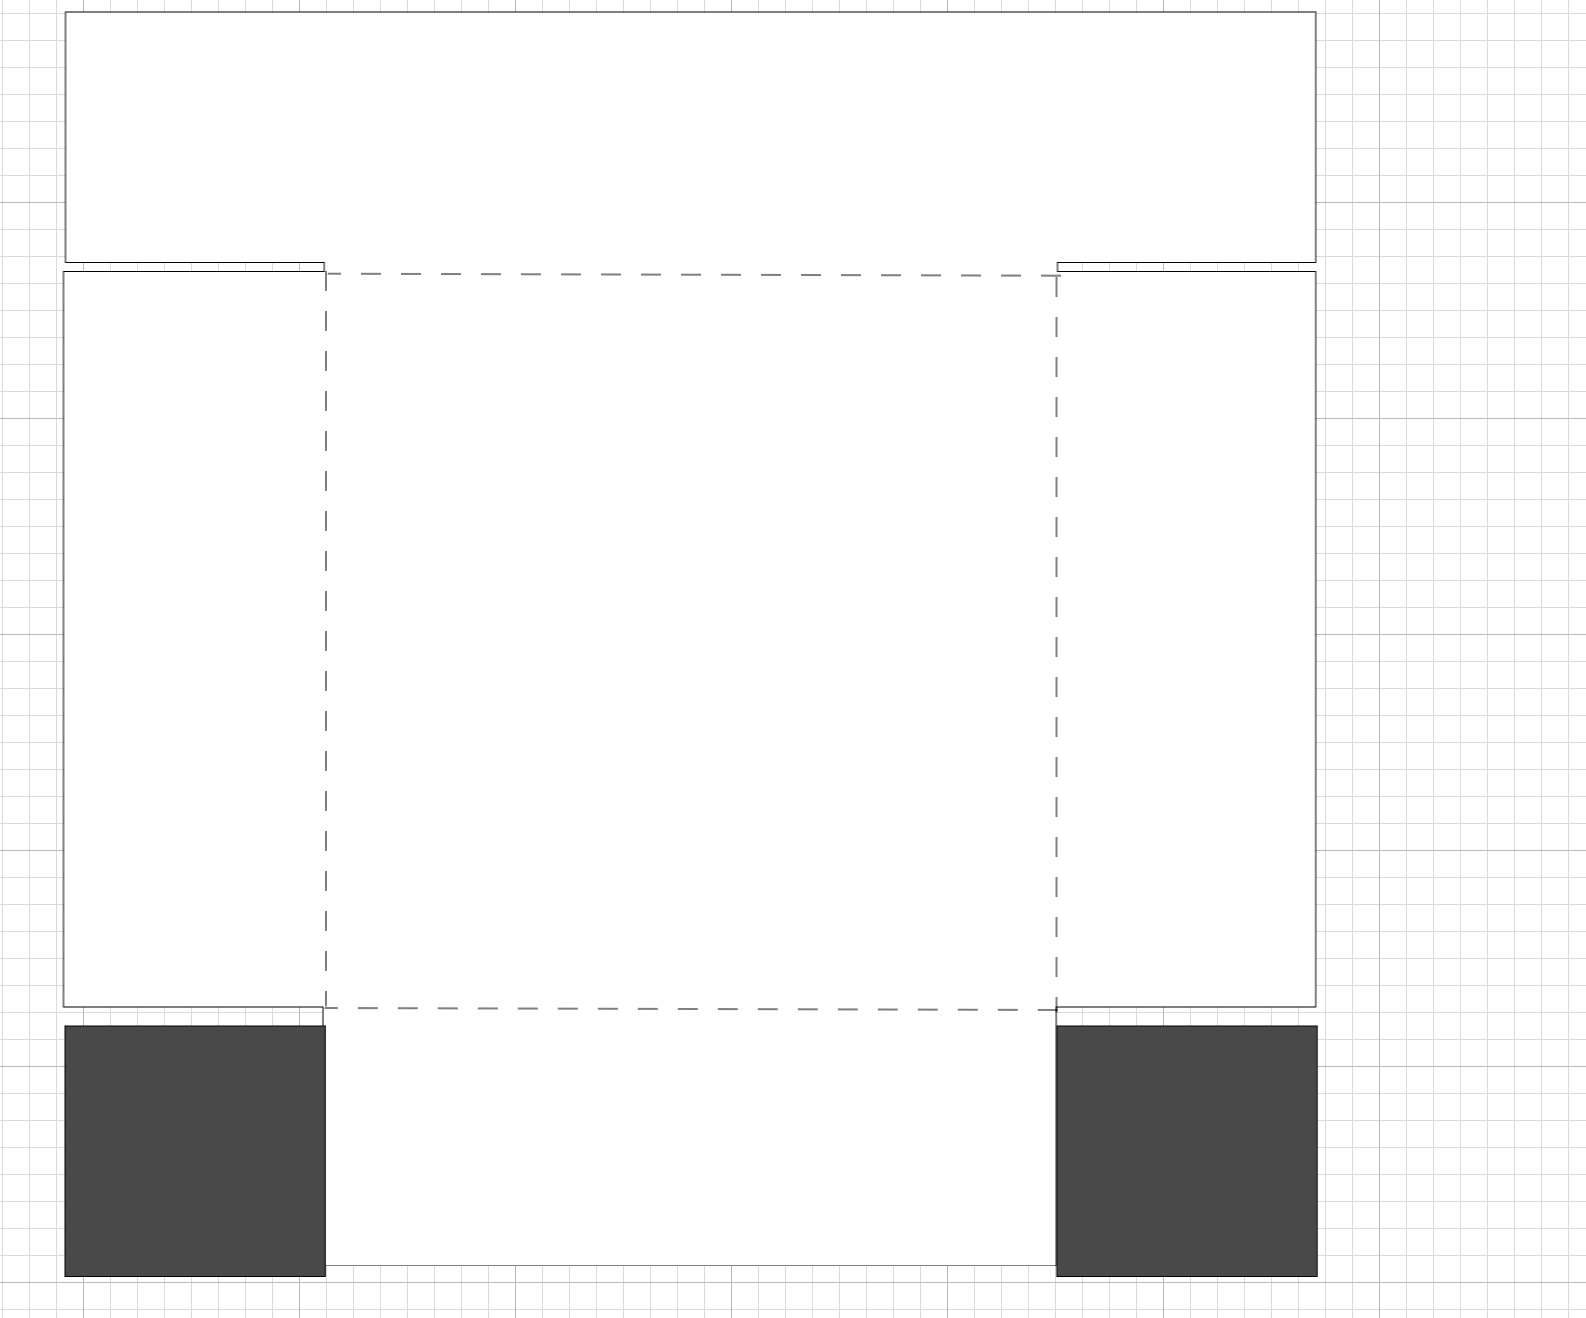
10: Using the shapes functionality one more time, we are going to add 4 squares with the following dimensions: W: 2.41” and H:2.32” and we are going to place them on each corner as follow:

11: You are going to align to the bottom the ones on the bottom of the element and to the top the ones on the top and weld them into our base box:
Welding the elements on the top:
Welding the elements on the bottom:
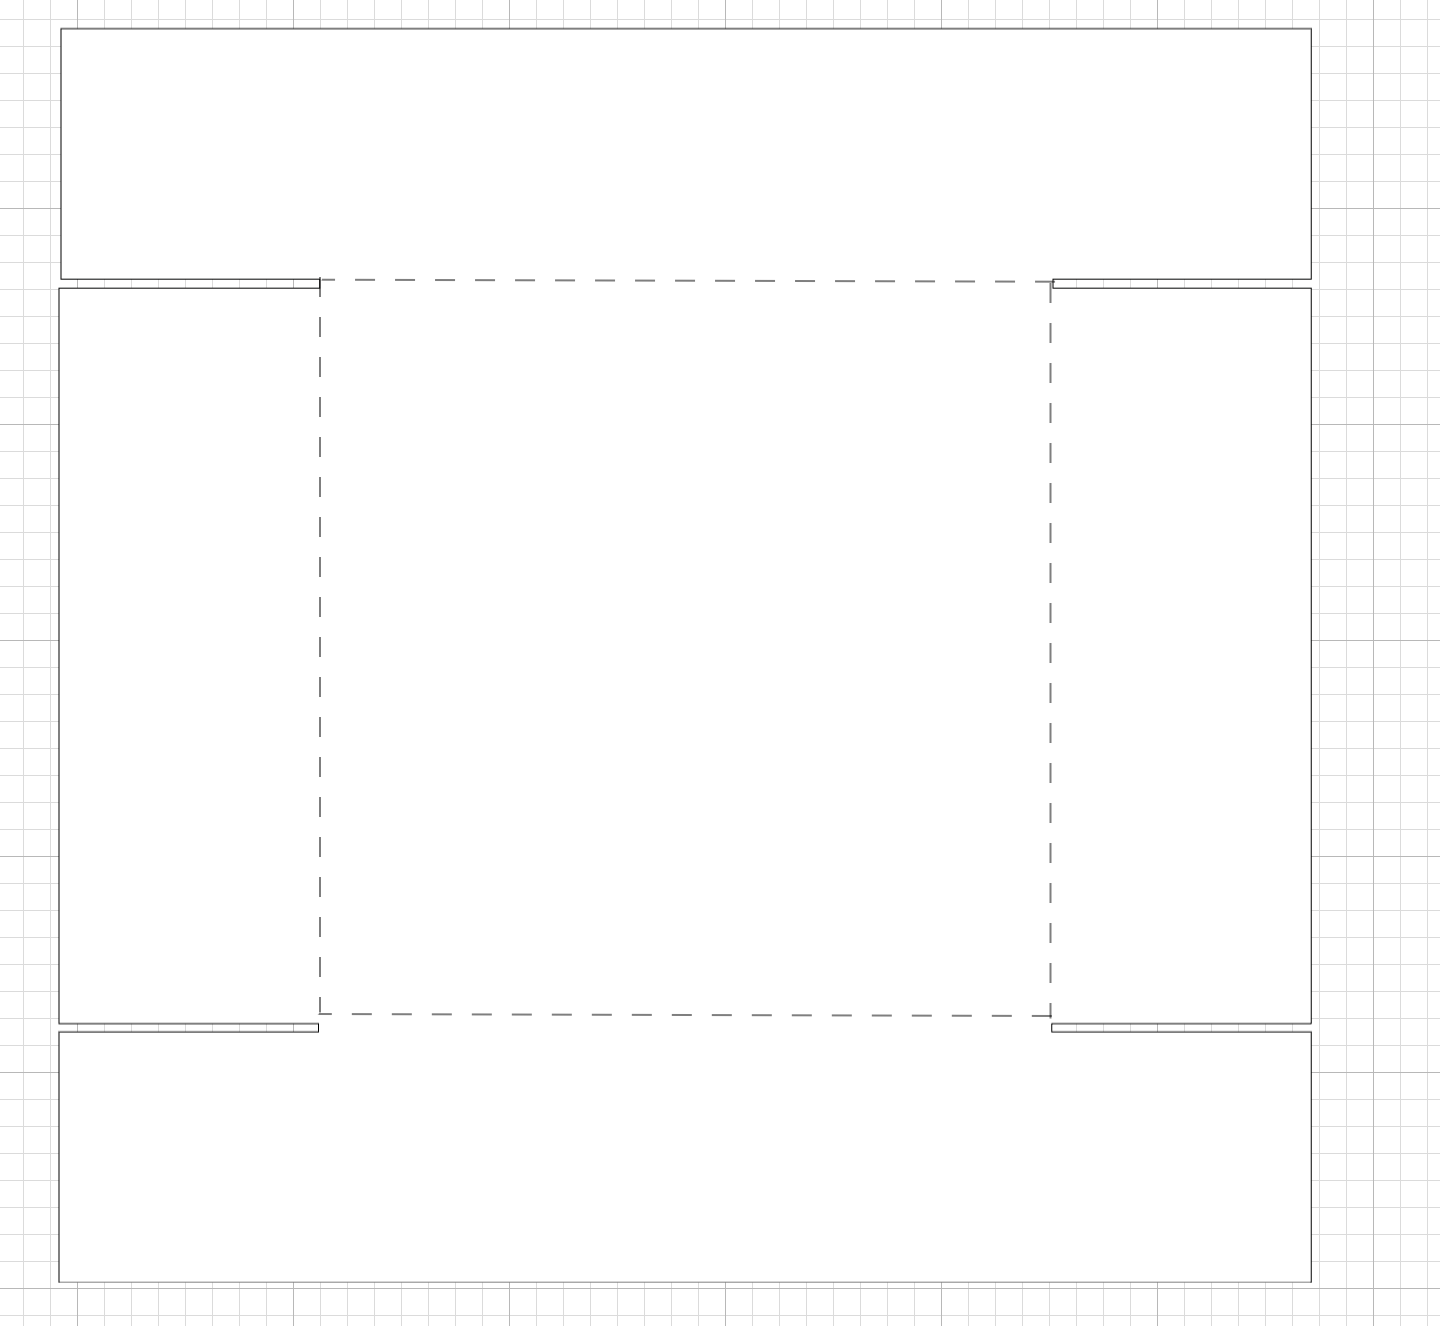
12: We are going to extend the 2 vertical score lines from top to bottom:

14: We are going to attach the score lines to our element in order to make sure that the machine knows when needs to score the lines:
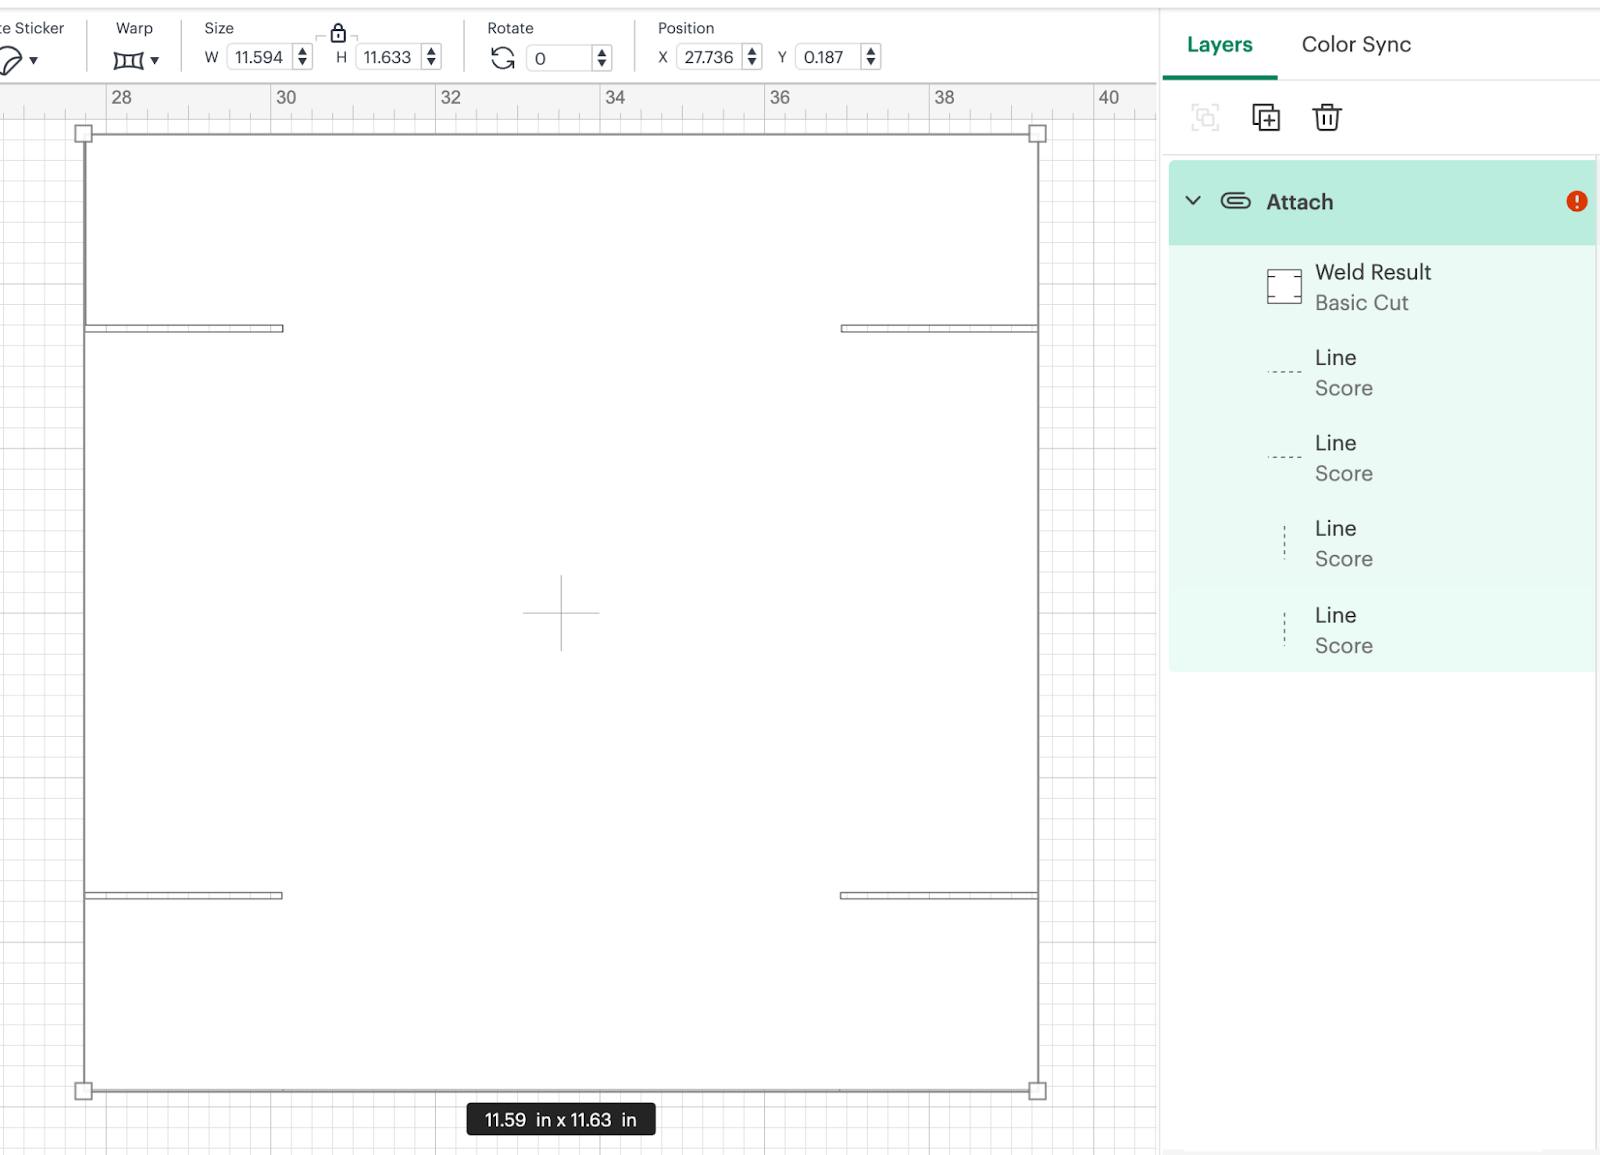
With this step, we are done with our base for the box!
15: In order to start with our box cover we are going to duplicate our base box:

16: We are going to add an square over one of the elements:
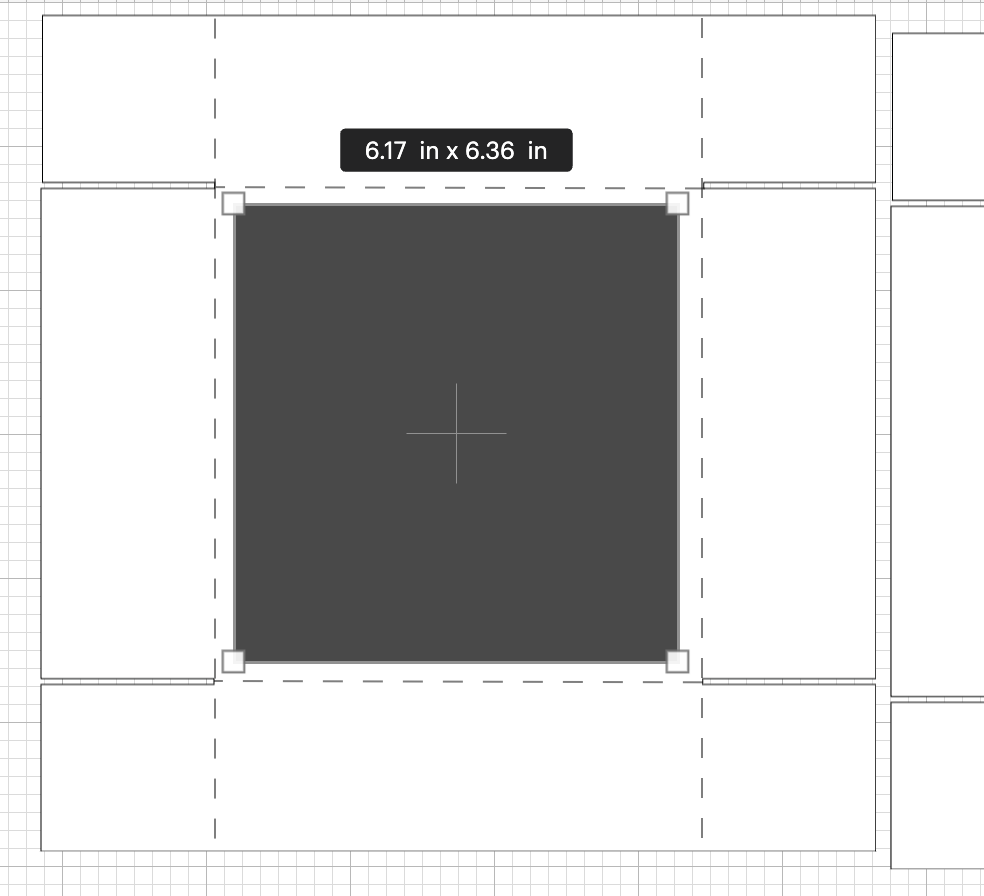
17: We are going to slice the square into our cover box:

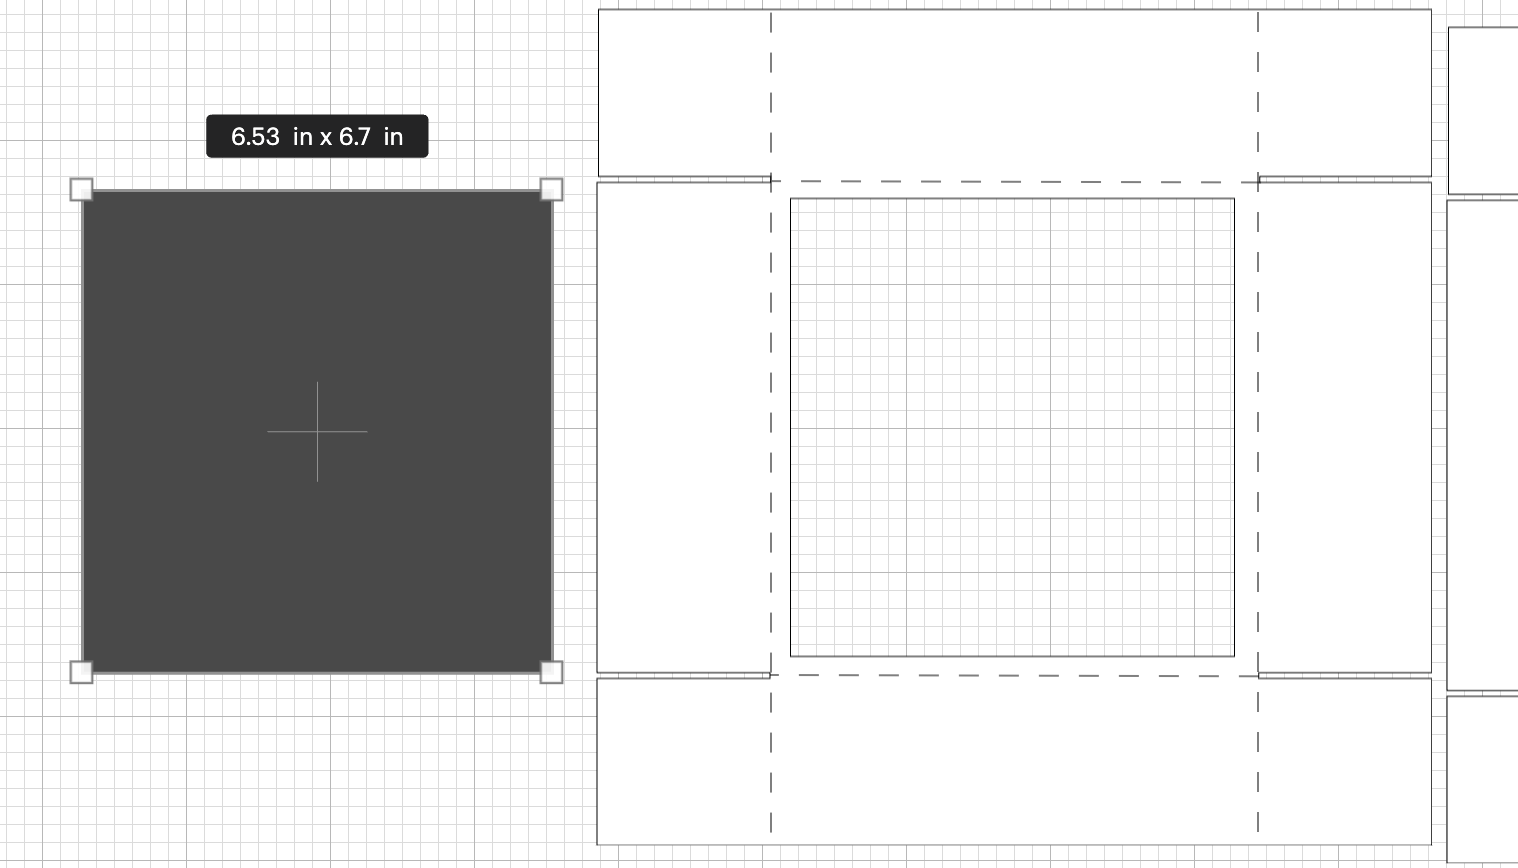
18: One of the slice extra pieces we are going to resize it a little bit bigger as the piece that we just slice that is going to be our transparent part of the cover box:
As the last part of our box, we are going to add some design to our cover, in our case we are going to do 2 different designs:
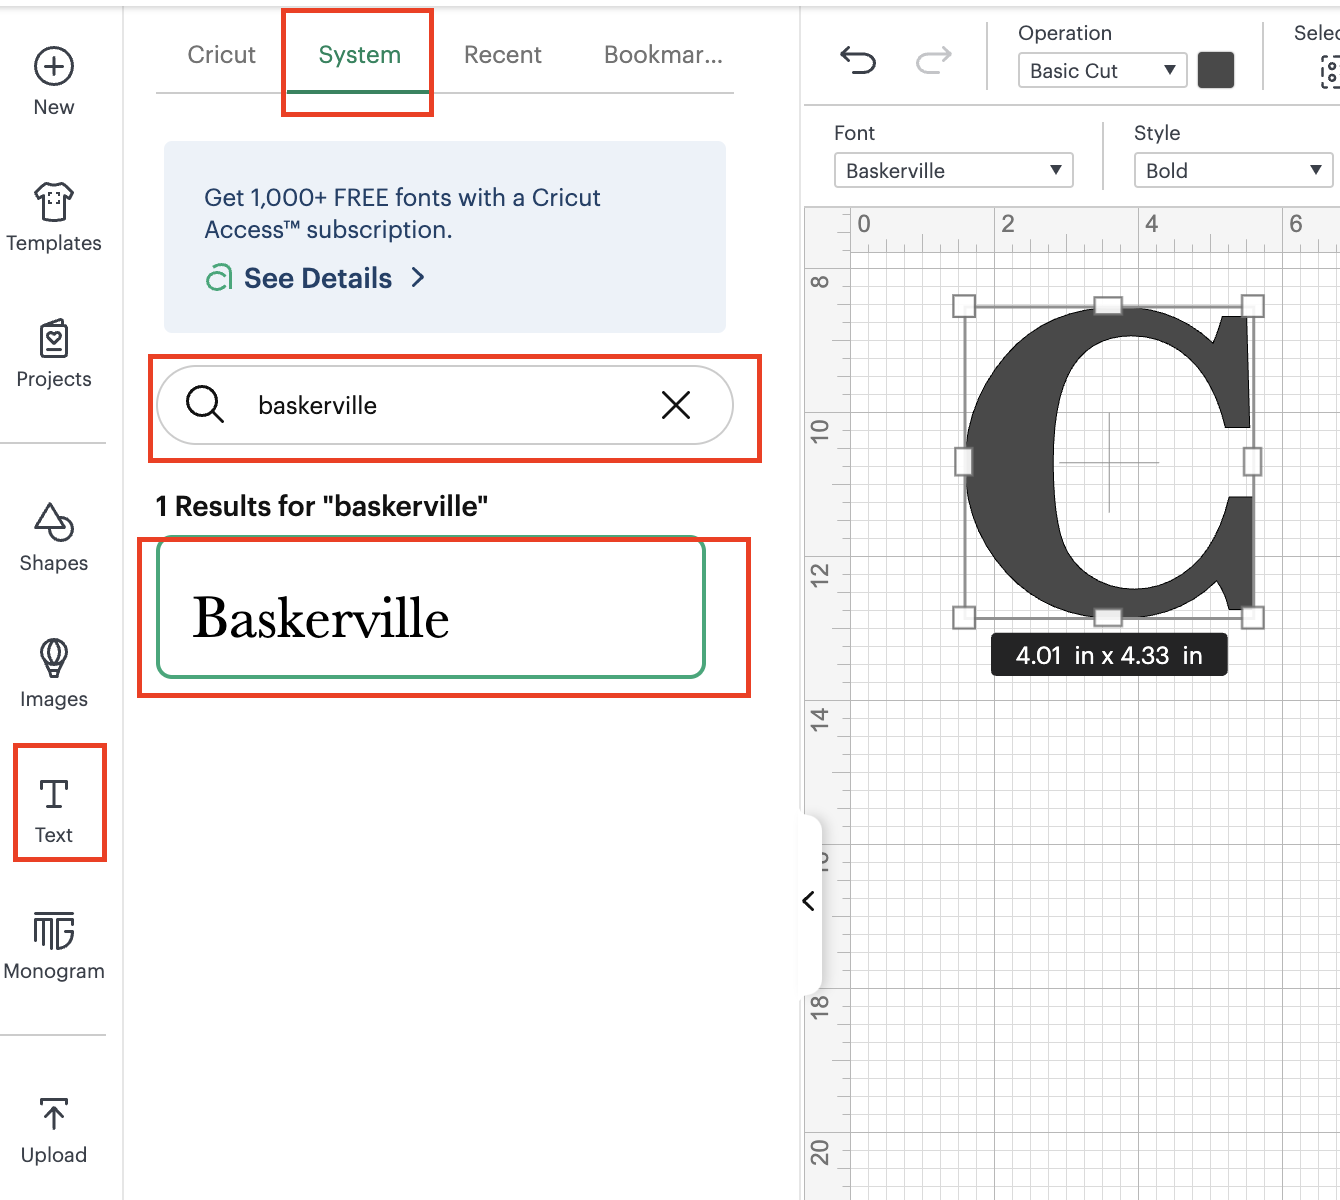
19: We are going to use the Text functionality and add the first letter of our love’s name, in our case it is going to be the C for Crafty Club and we are going to change the font to the one that we are providing that you previously installed:
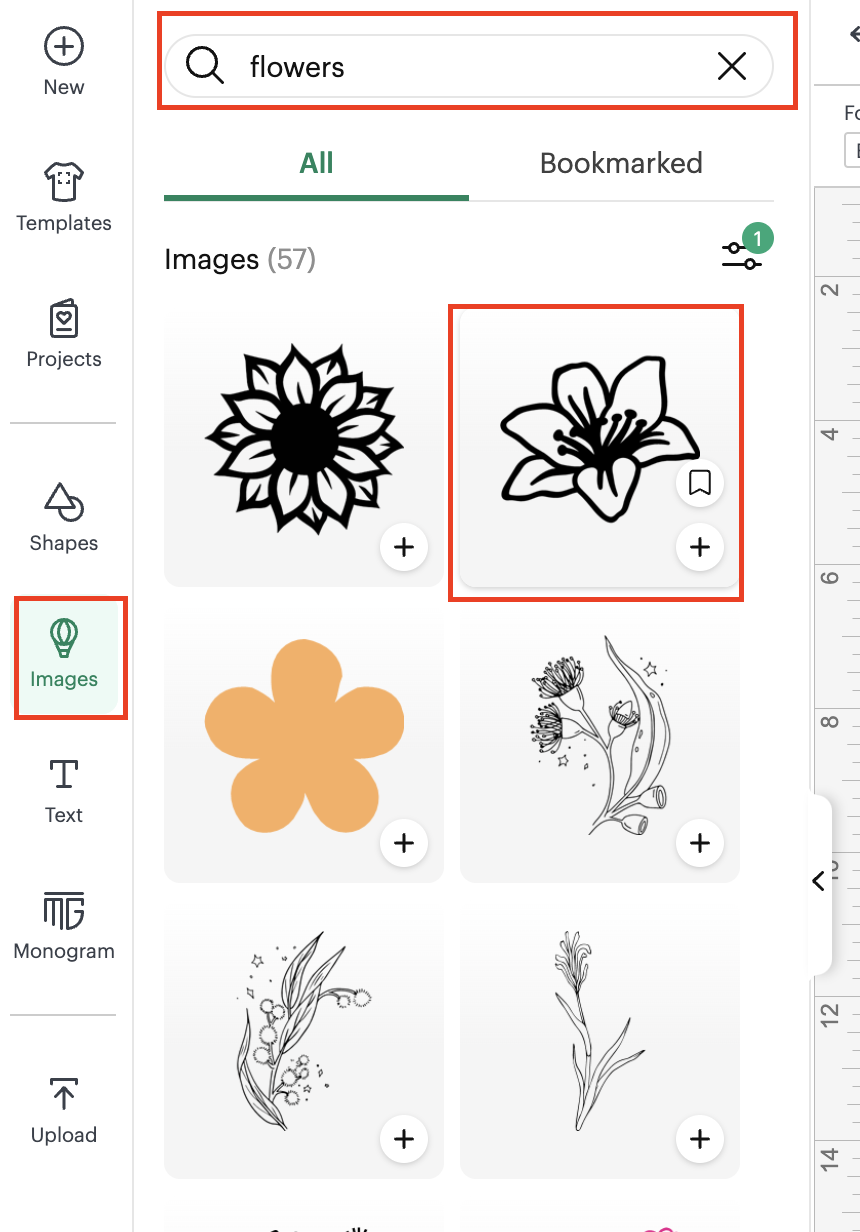
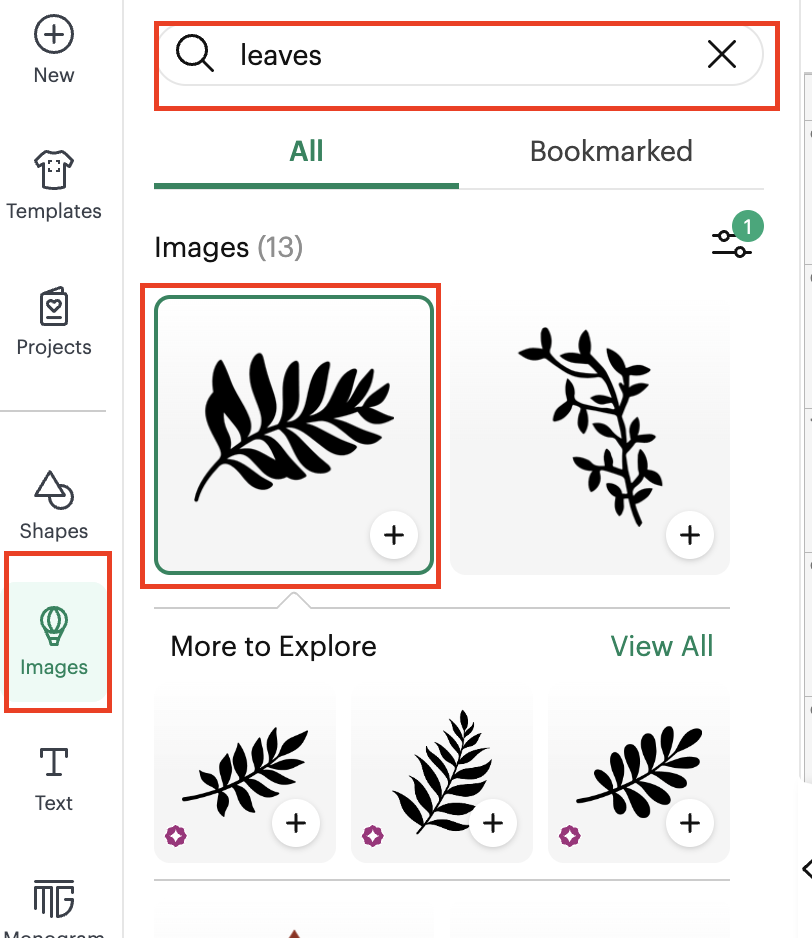
20: Using the images functionality we are going to search for flowers and leaves:
21: We are going to duplicate the flower and the leaves as many times as we want and we are going to place them next to our letter ( like the flower and the leaves are growing from the letter)
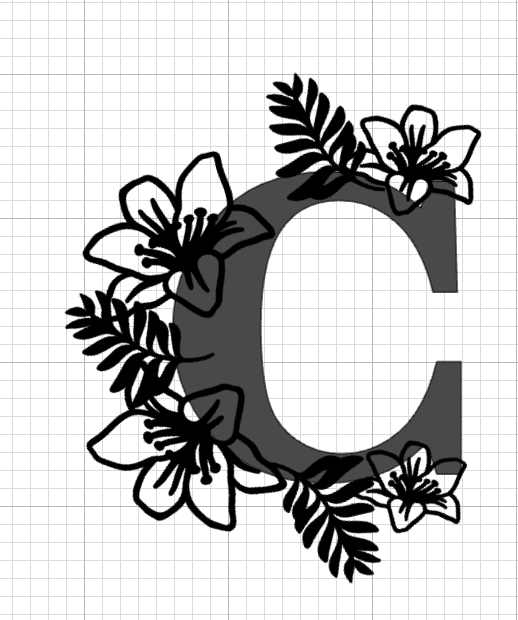
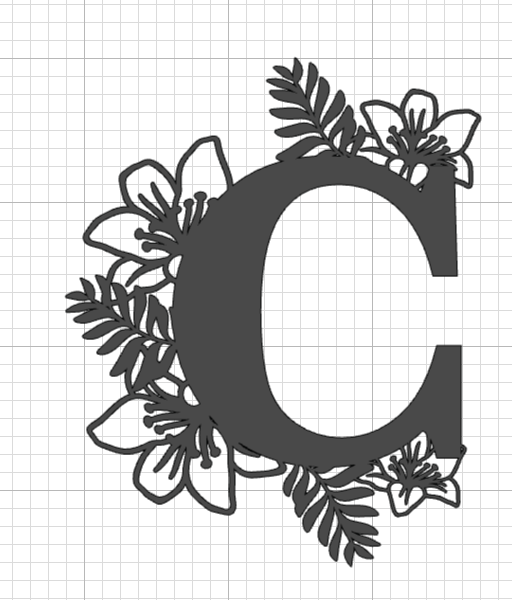
22: When we are happy with the design, we are going to select all the elements and weld them all together:
23: OPTIONAL: After this, we are going to create an offset of the letter and change the color to white:
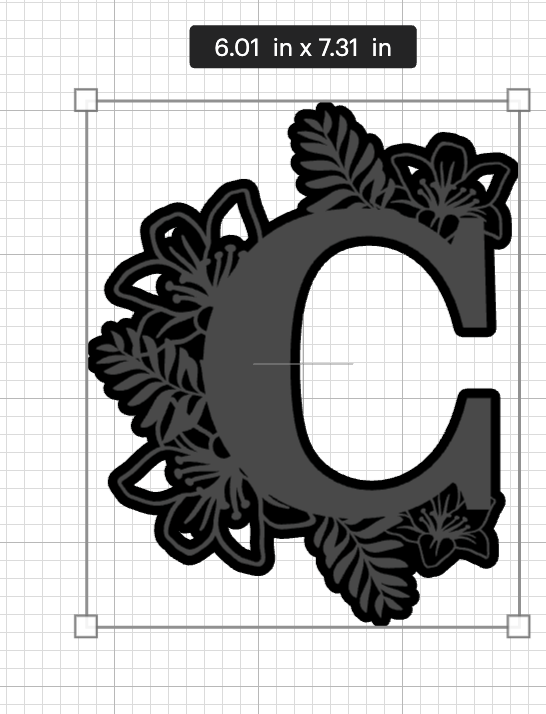

24: You are going to resize the letter to the size that you like making sure that is not bigger of the center of our cover box:
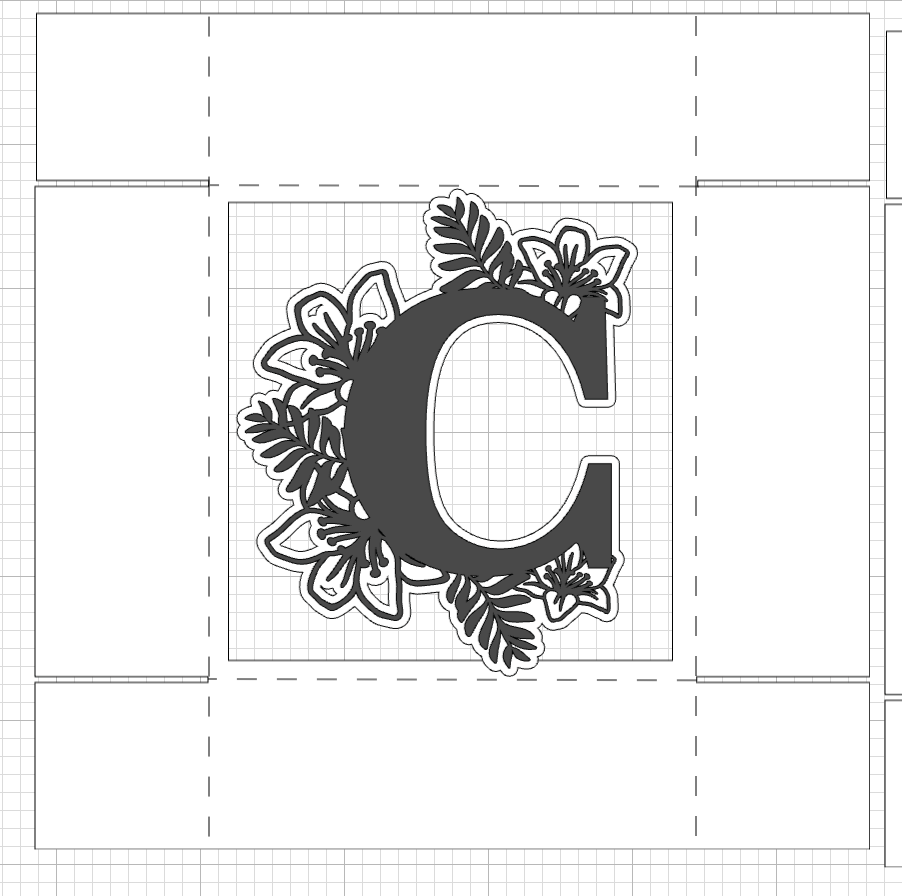
💡Tip: You can do it a little bit bigger if you like the idea that the letter is bigger than the cover box.
25: As the last step, we are going to notice that our box is bigger than the size available for cricut to cut, so we are going to select all the elements (box base, box cover and Design and transparent part) and we are going to resize them a little bit:
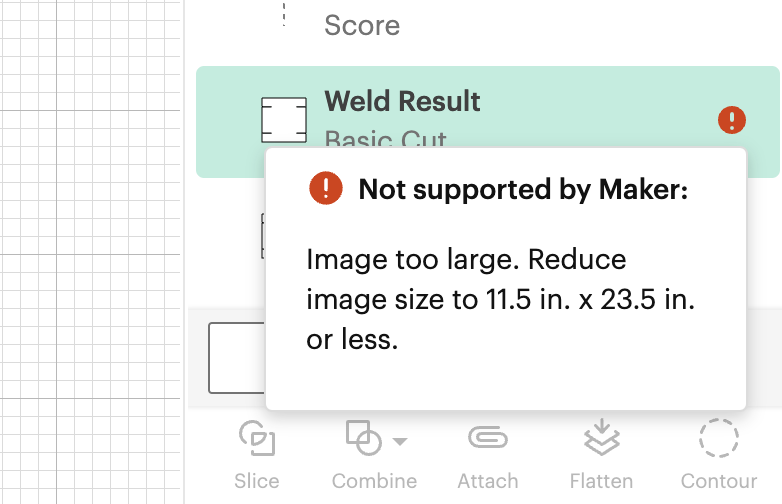
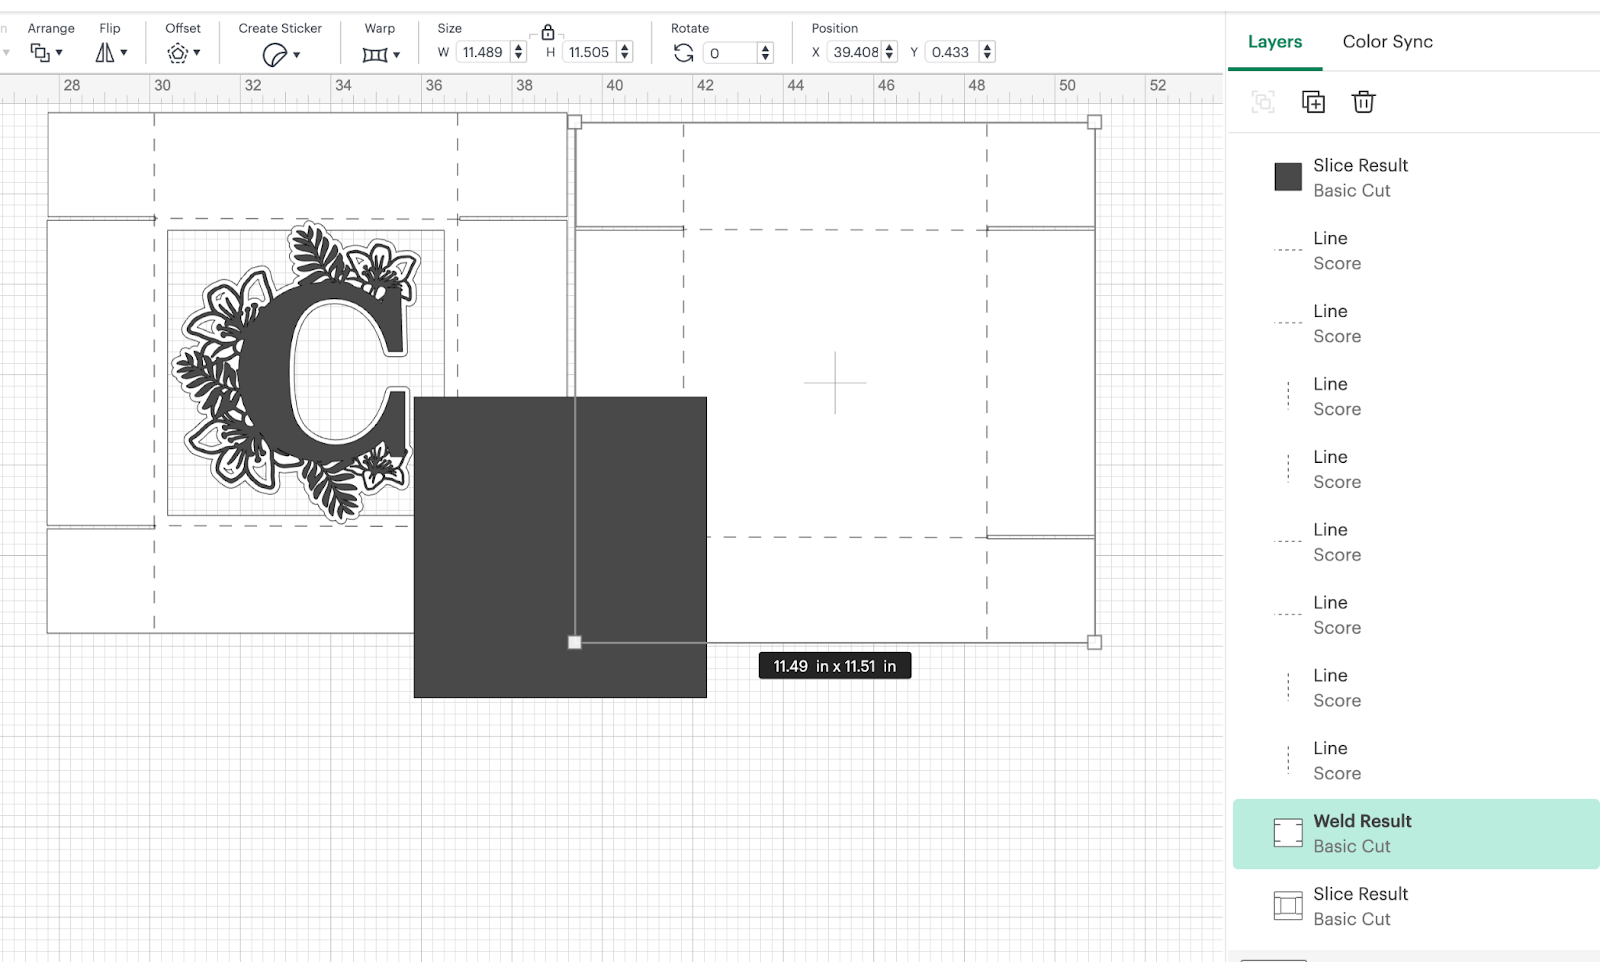
Before cutting, you need to make sure that the base of your box needs to be a little smaller than your cover so they fit nicely.
26: We are ready to start cutting the design!!!!
In this tutorial, you are going to learn/practice the following functionalities:
- Slice Images/shapes
- Search Images
- Add Shapes and Images
- Upload Images
- Resize Elements
- Delete Elements
- Attach Elements
- Change colors
- Weld Elements
- Add Text and change font