Written Instructions:
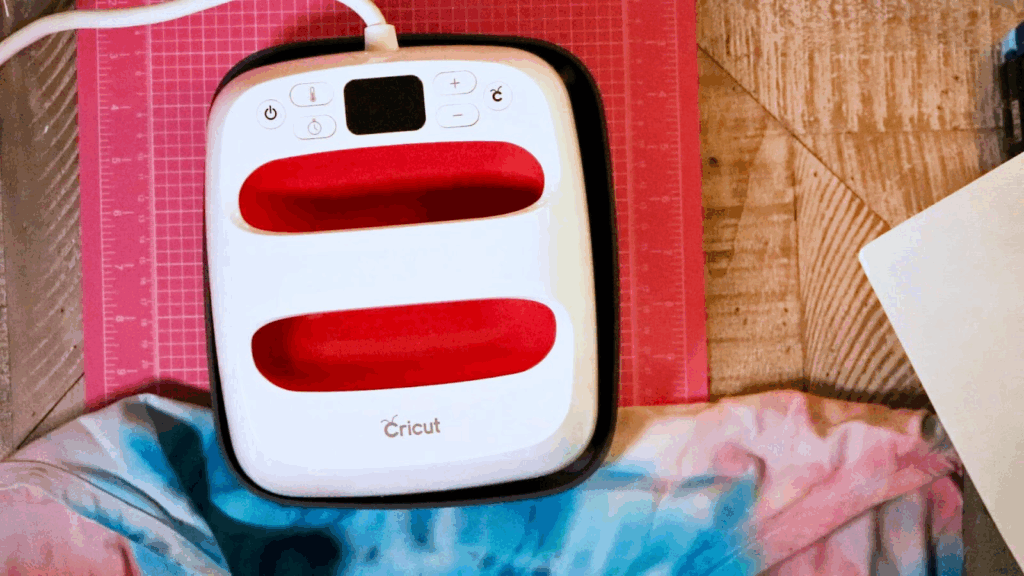
1- With your project already cut and weeded, plug in your Cricut EasyPress 2.
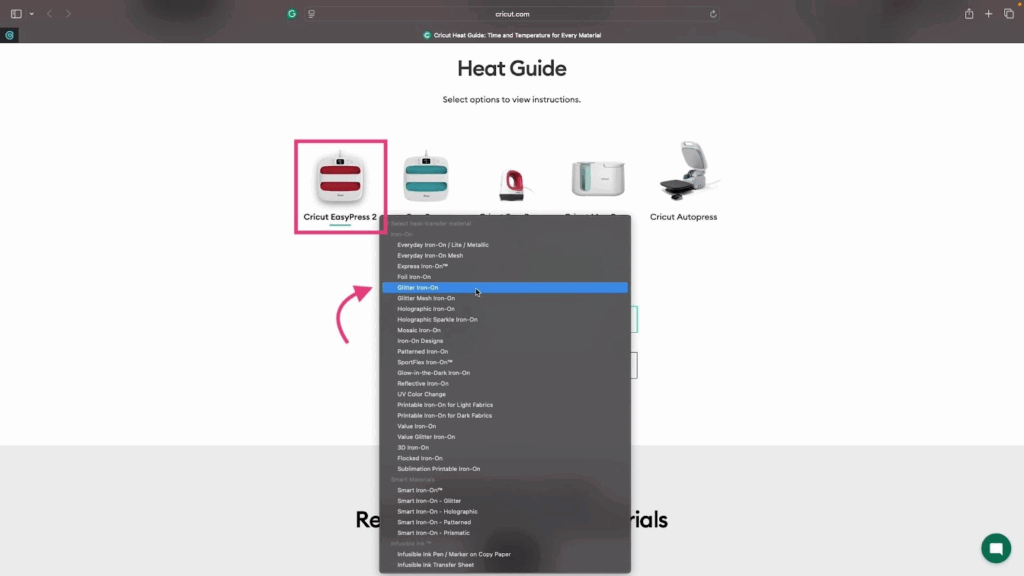
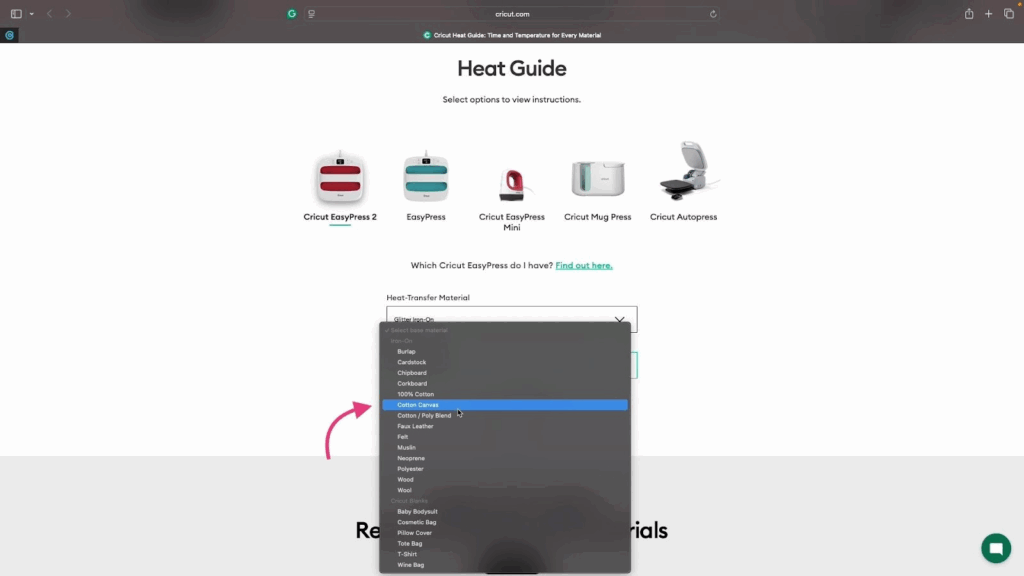
2- Visit the Heat Guide online. Cricut Heat Guide: Time and Temperature for Every Material Choose your machine type, Heat Transfer Material, and Base Material.
3- Set your EasyPress 2 temperature and time using the results from the Heat Guide. Follow the directions under Prep and Application.

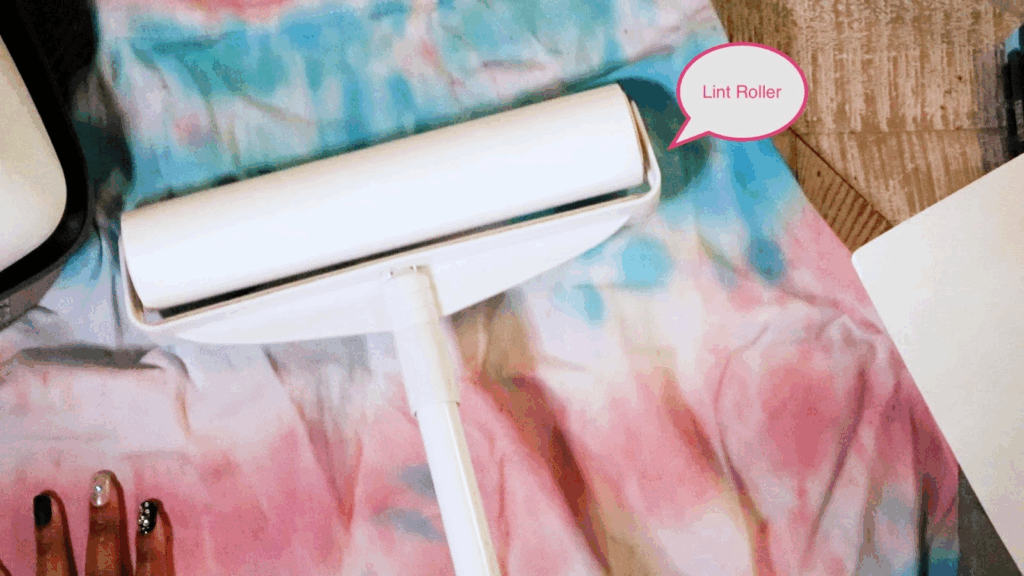
4- Use a Lint Roller to prepare your Base Material.
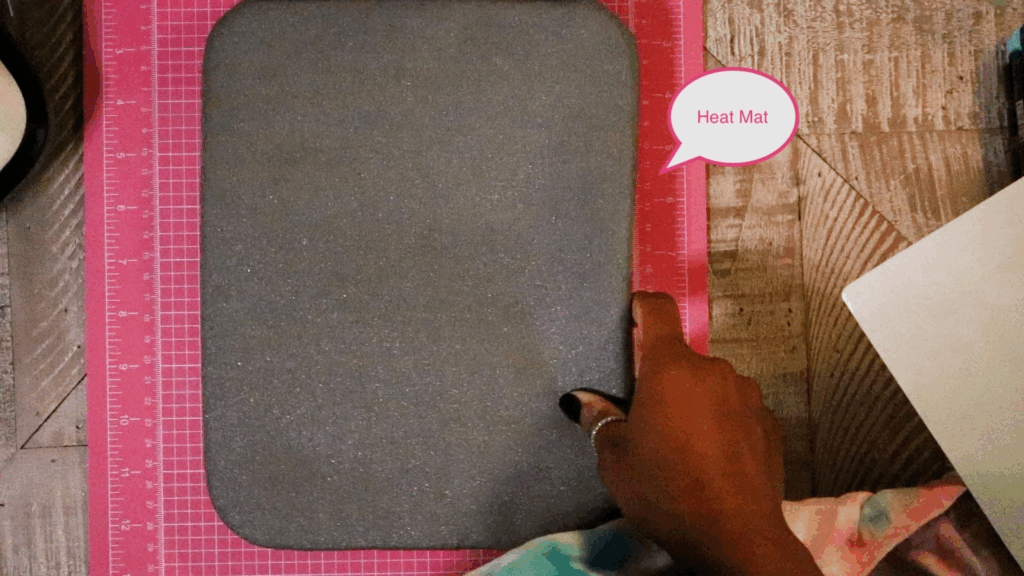
5- Place the Heat Mat behind the Base Material.
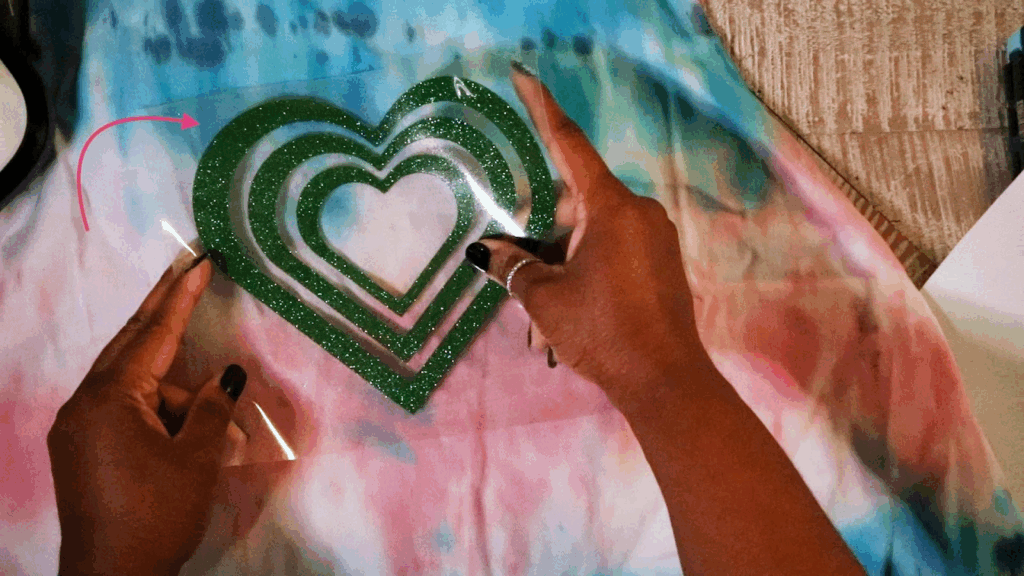
6- Preheat the Base Material for 5 seconds or the amount of time stated in the Heat Guide. Place your Glitter Iron-On on your Base Material.
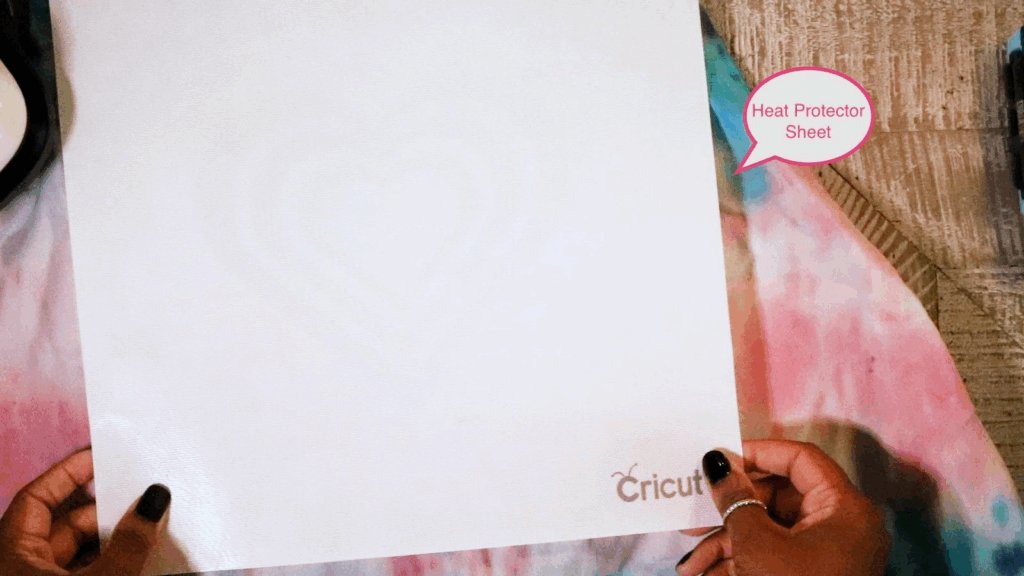
7- Place the Heat Protector Sheet on top of your image.
8- Start your Cricut EasyPress 2 and firmly press down over the image. You can move the Cricut EasyPress 2 all over the image while pressing firmly.

9- Once the Glitter Iron-On is cool to the touch, gently peel back the iron-on layer.


Take a look at the Cricut Skills – Glitter Iron-On video tutorial to see more.