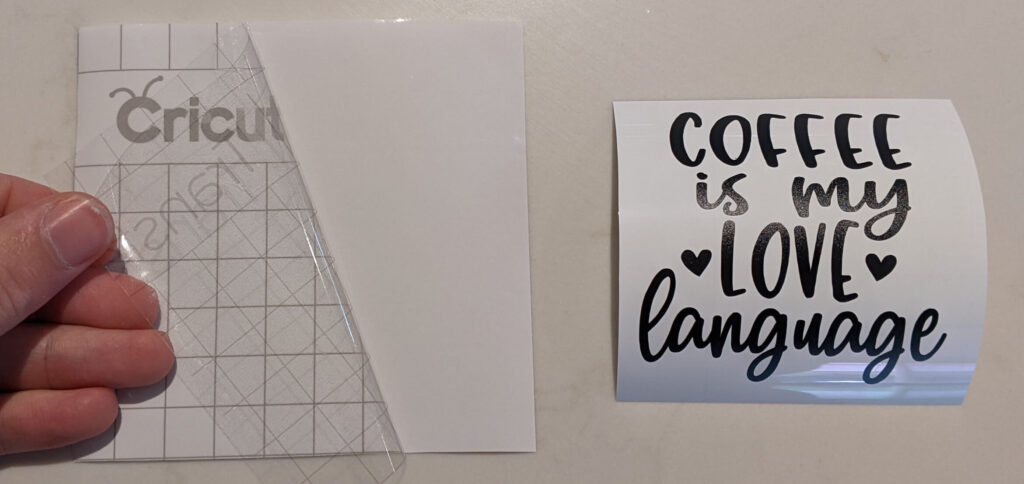
- Trim the excess vinyl from around your design and then cut a piece of transfer tape that is slightly larger than your design.

- Peel the backing from the transfer tape.
- Now apply the transfer tape to the vinyl. Start from the corner and move diagonally so you don’t get bubbles or creases.
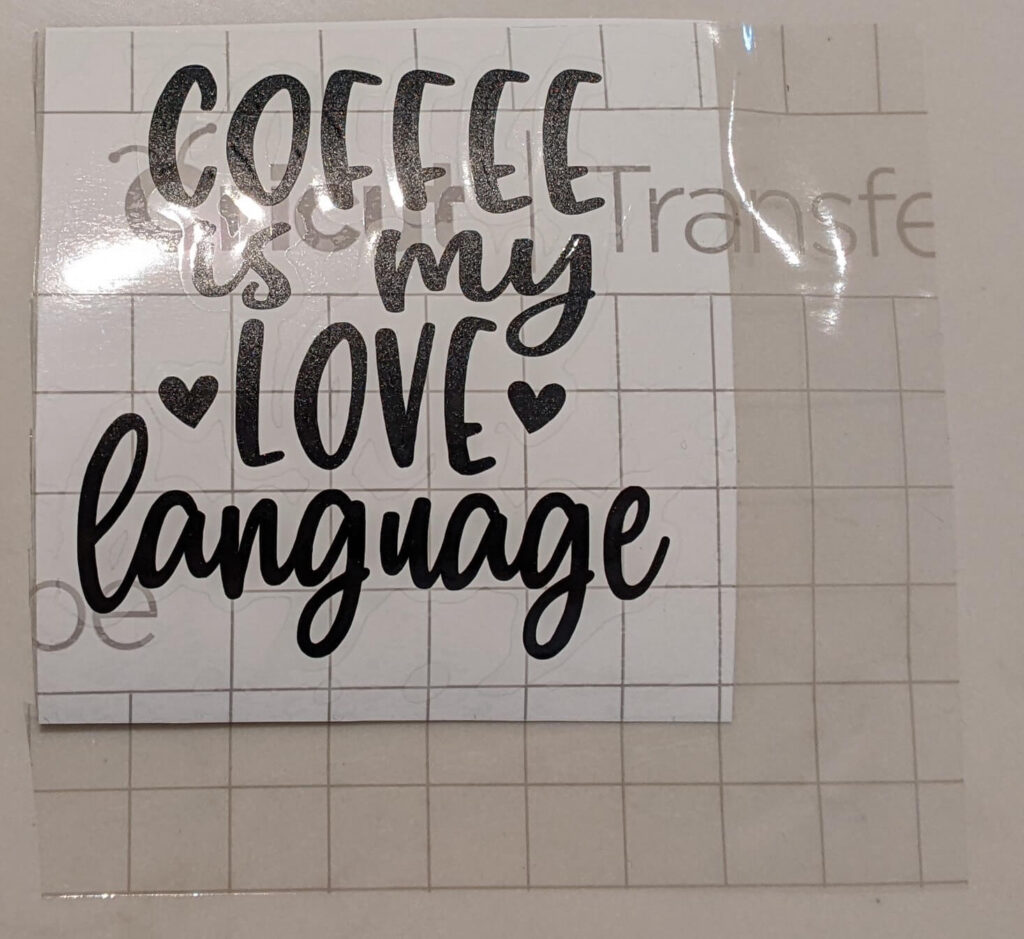
- Use a scraping tool to make sure it’s stuck down properly. Use it on the front face and the back face.
- Clean the surface of your mug first with 91% isopropyl alcohol.
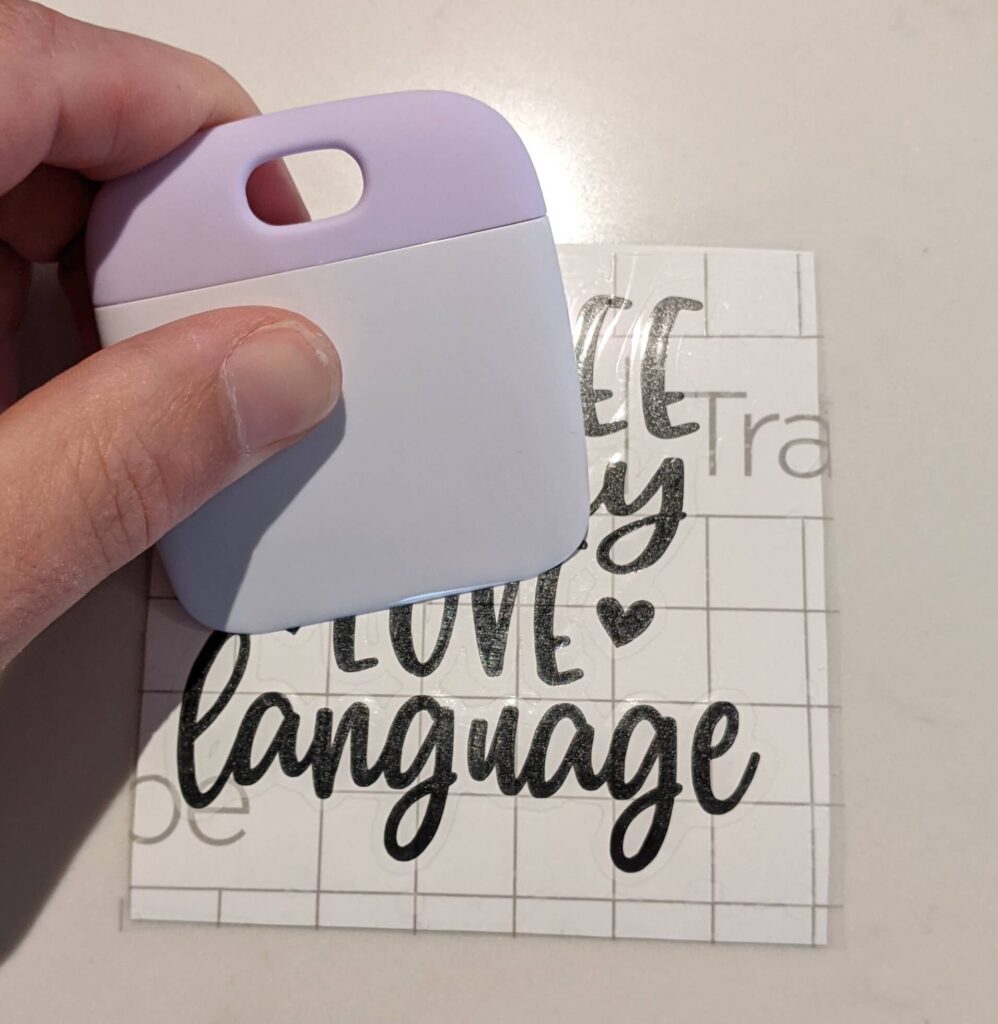
- Now place the transfer tape face down and peel the vinyl backing upwards and away. This can be tricky. Try to keep the transfer tape flat and have the vinyl backing peel off at an angle. The vinyl lettering should stay stuck onto the transfer tape.

Now you have the vinyl lettering on the transfer tape, it’s time to apply it to your mug.
- Hold the transfer tape above your mug, trying to keep it level. Lower one edge to the mug and slowly lower the rest of the tape whilst making sure to keep it taught so there are no creases or bubbles.


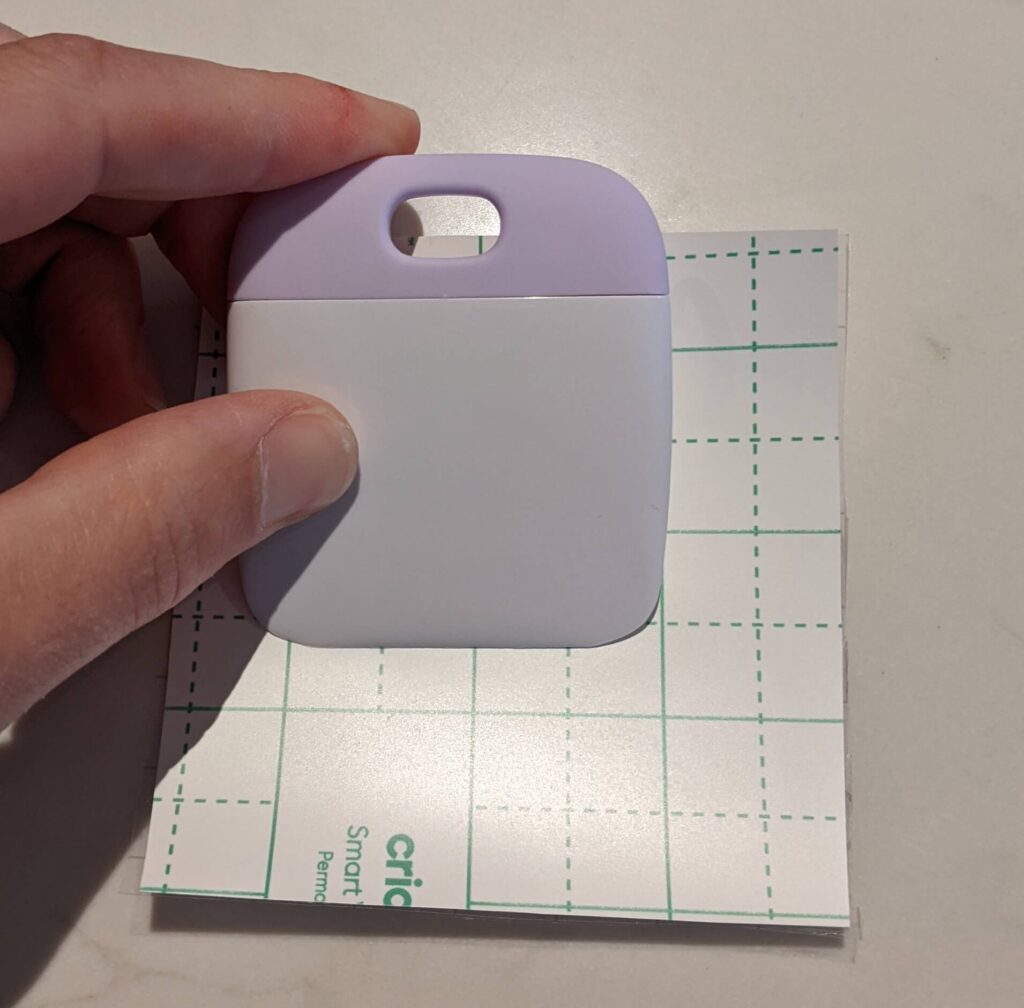
- Use the scraper to apply the vinyl properly.
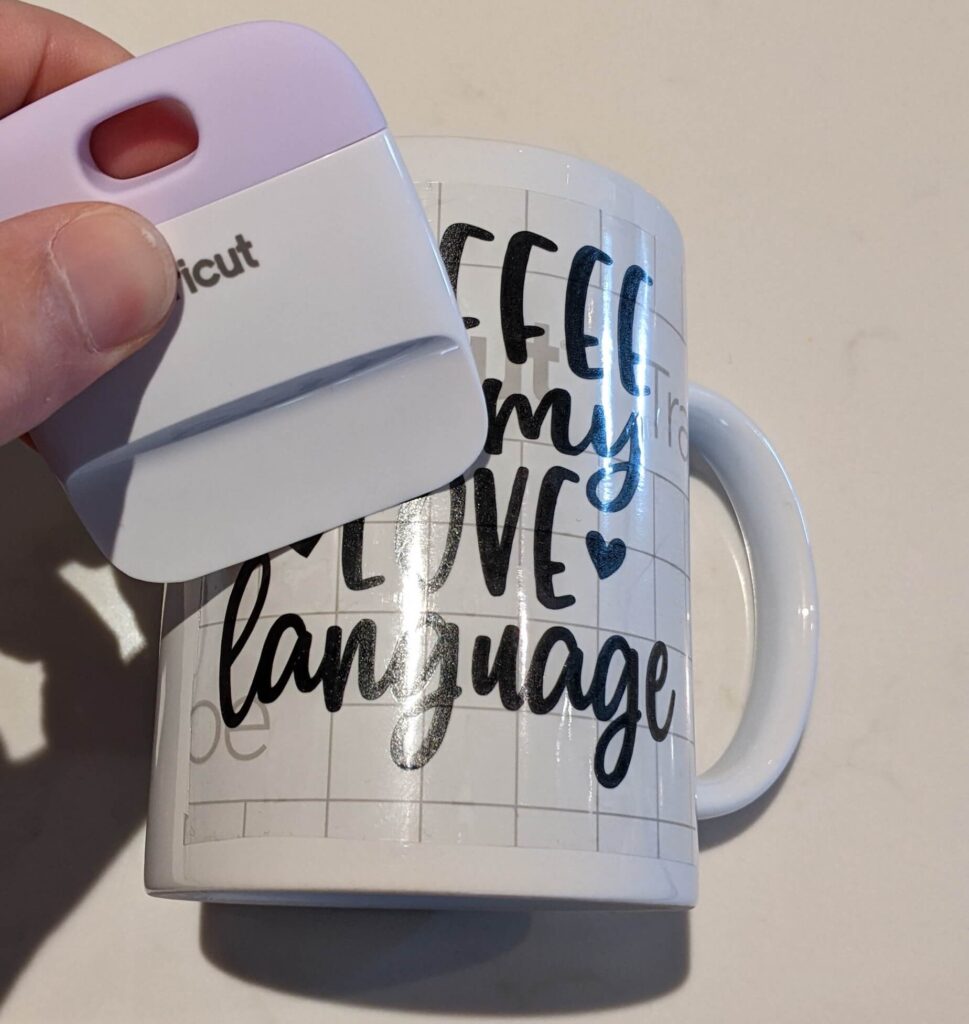
- Peel the transfer tape away slowly.

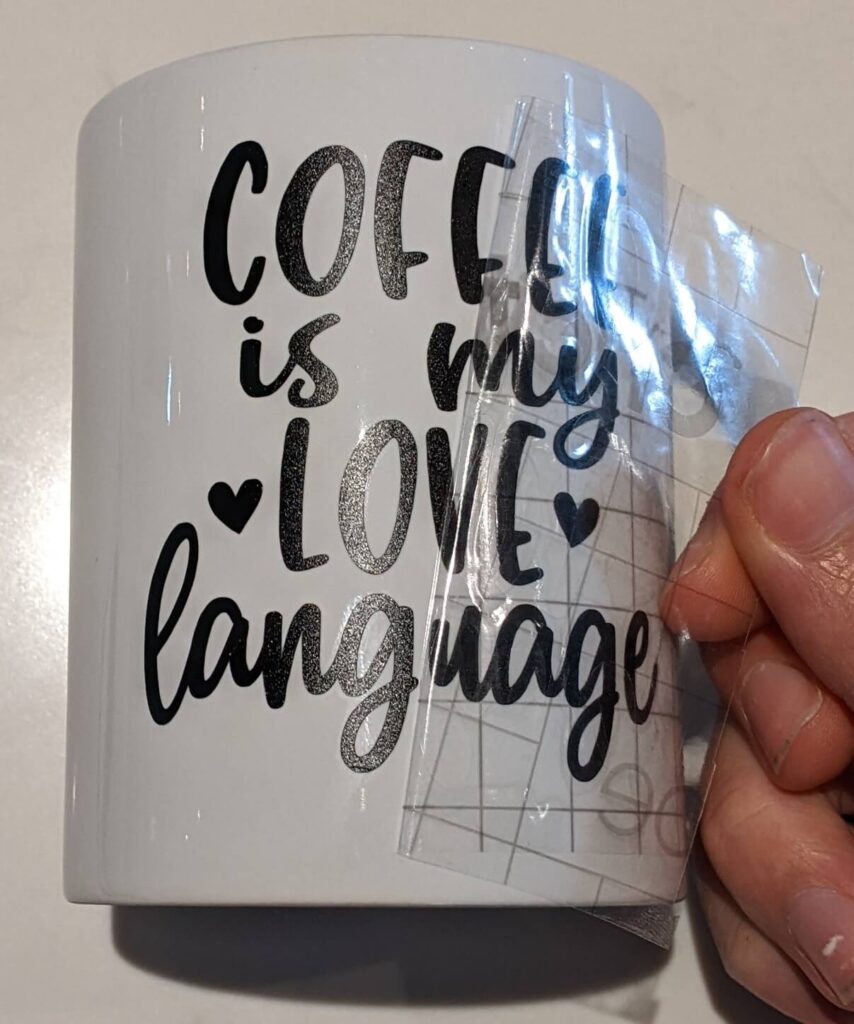

- All done!

Congratulations! Now mark this lesson complete and go share your creation in the Forum!
