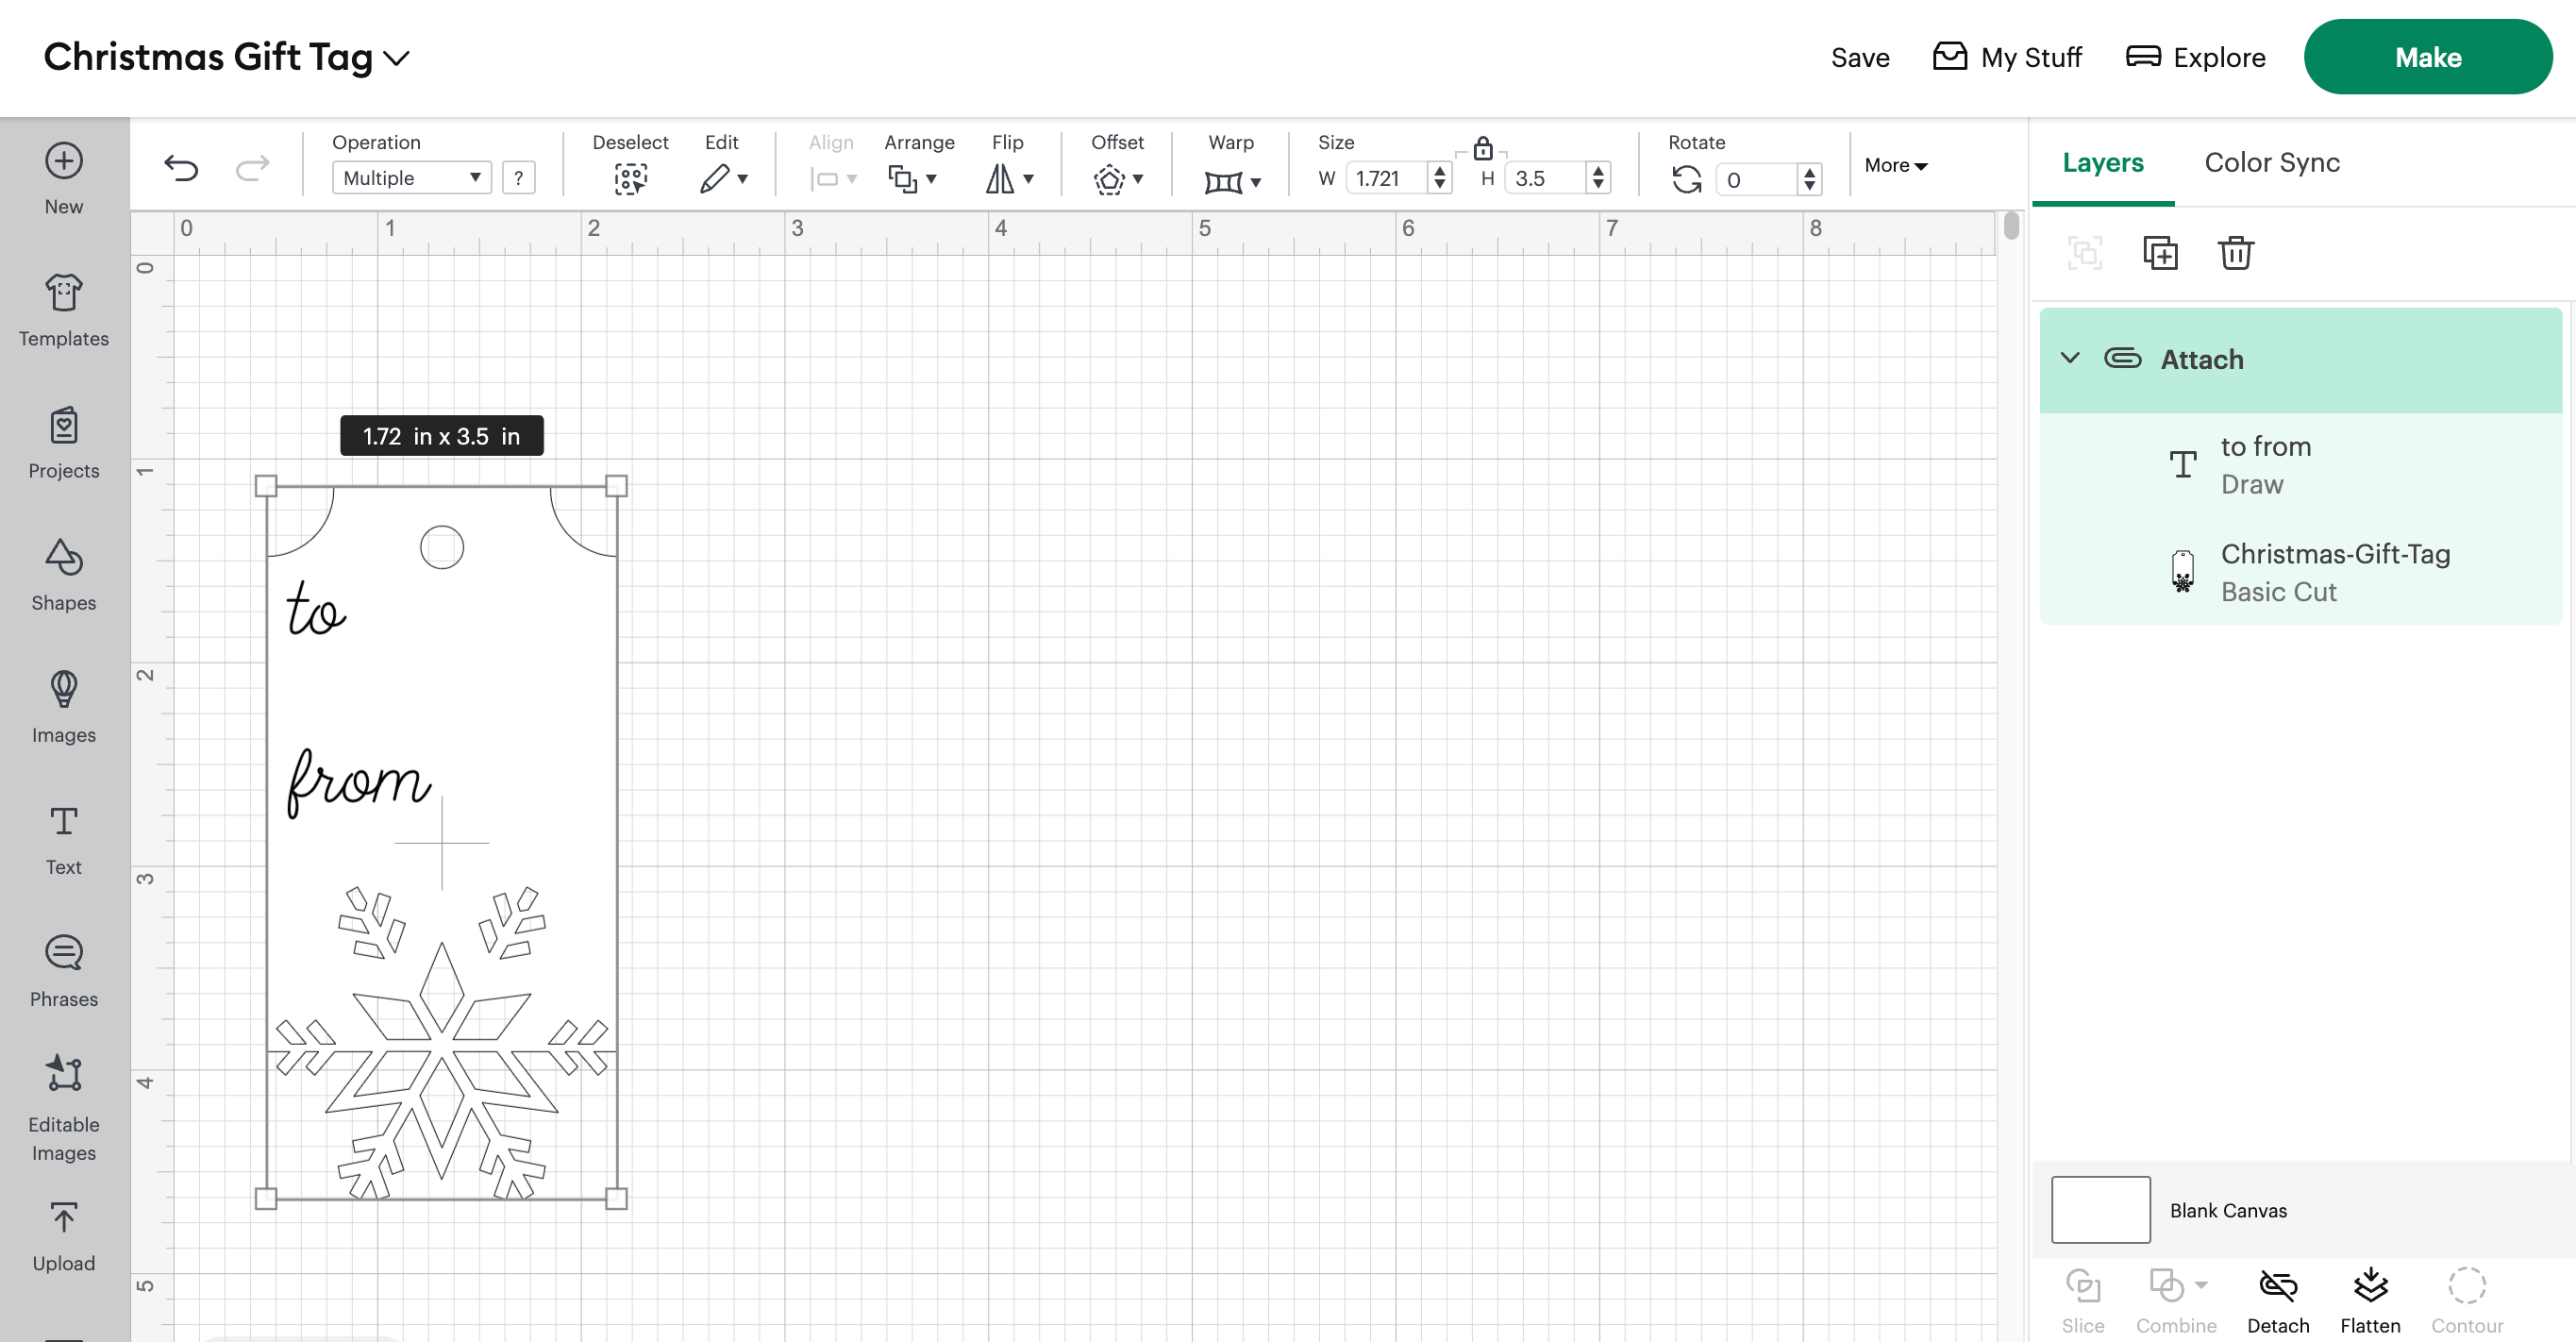
In this Step we’re going to add ‘to’ and ‘from’ in a handwritten font and then resize and reposition the text on the tag correctly.
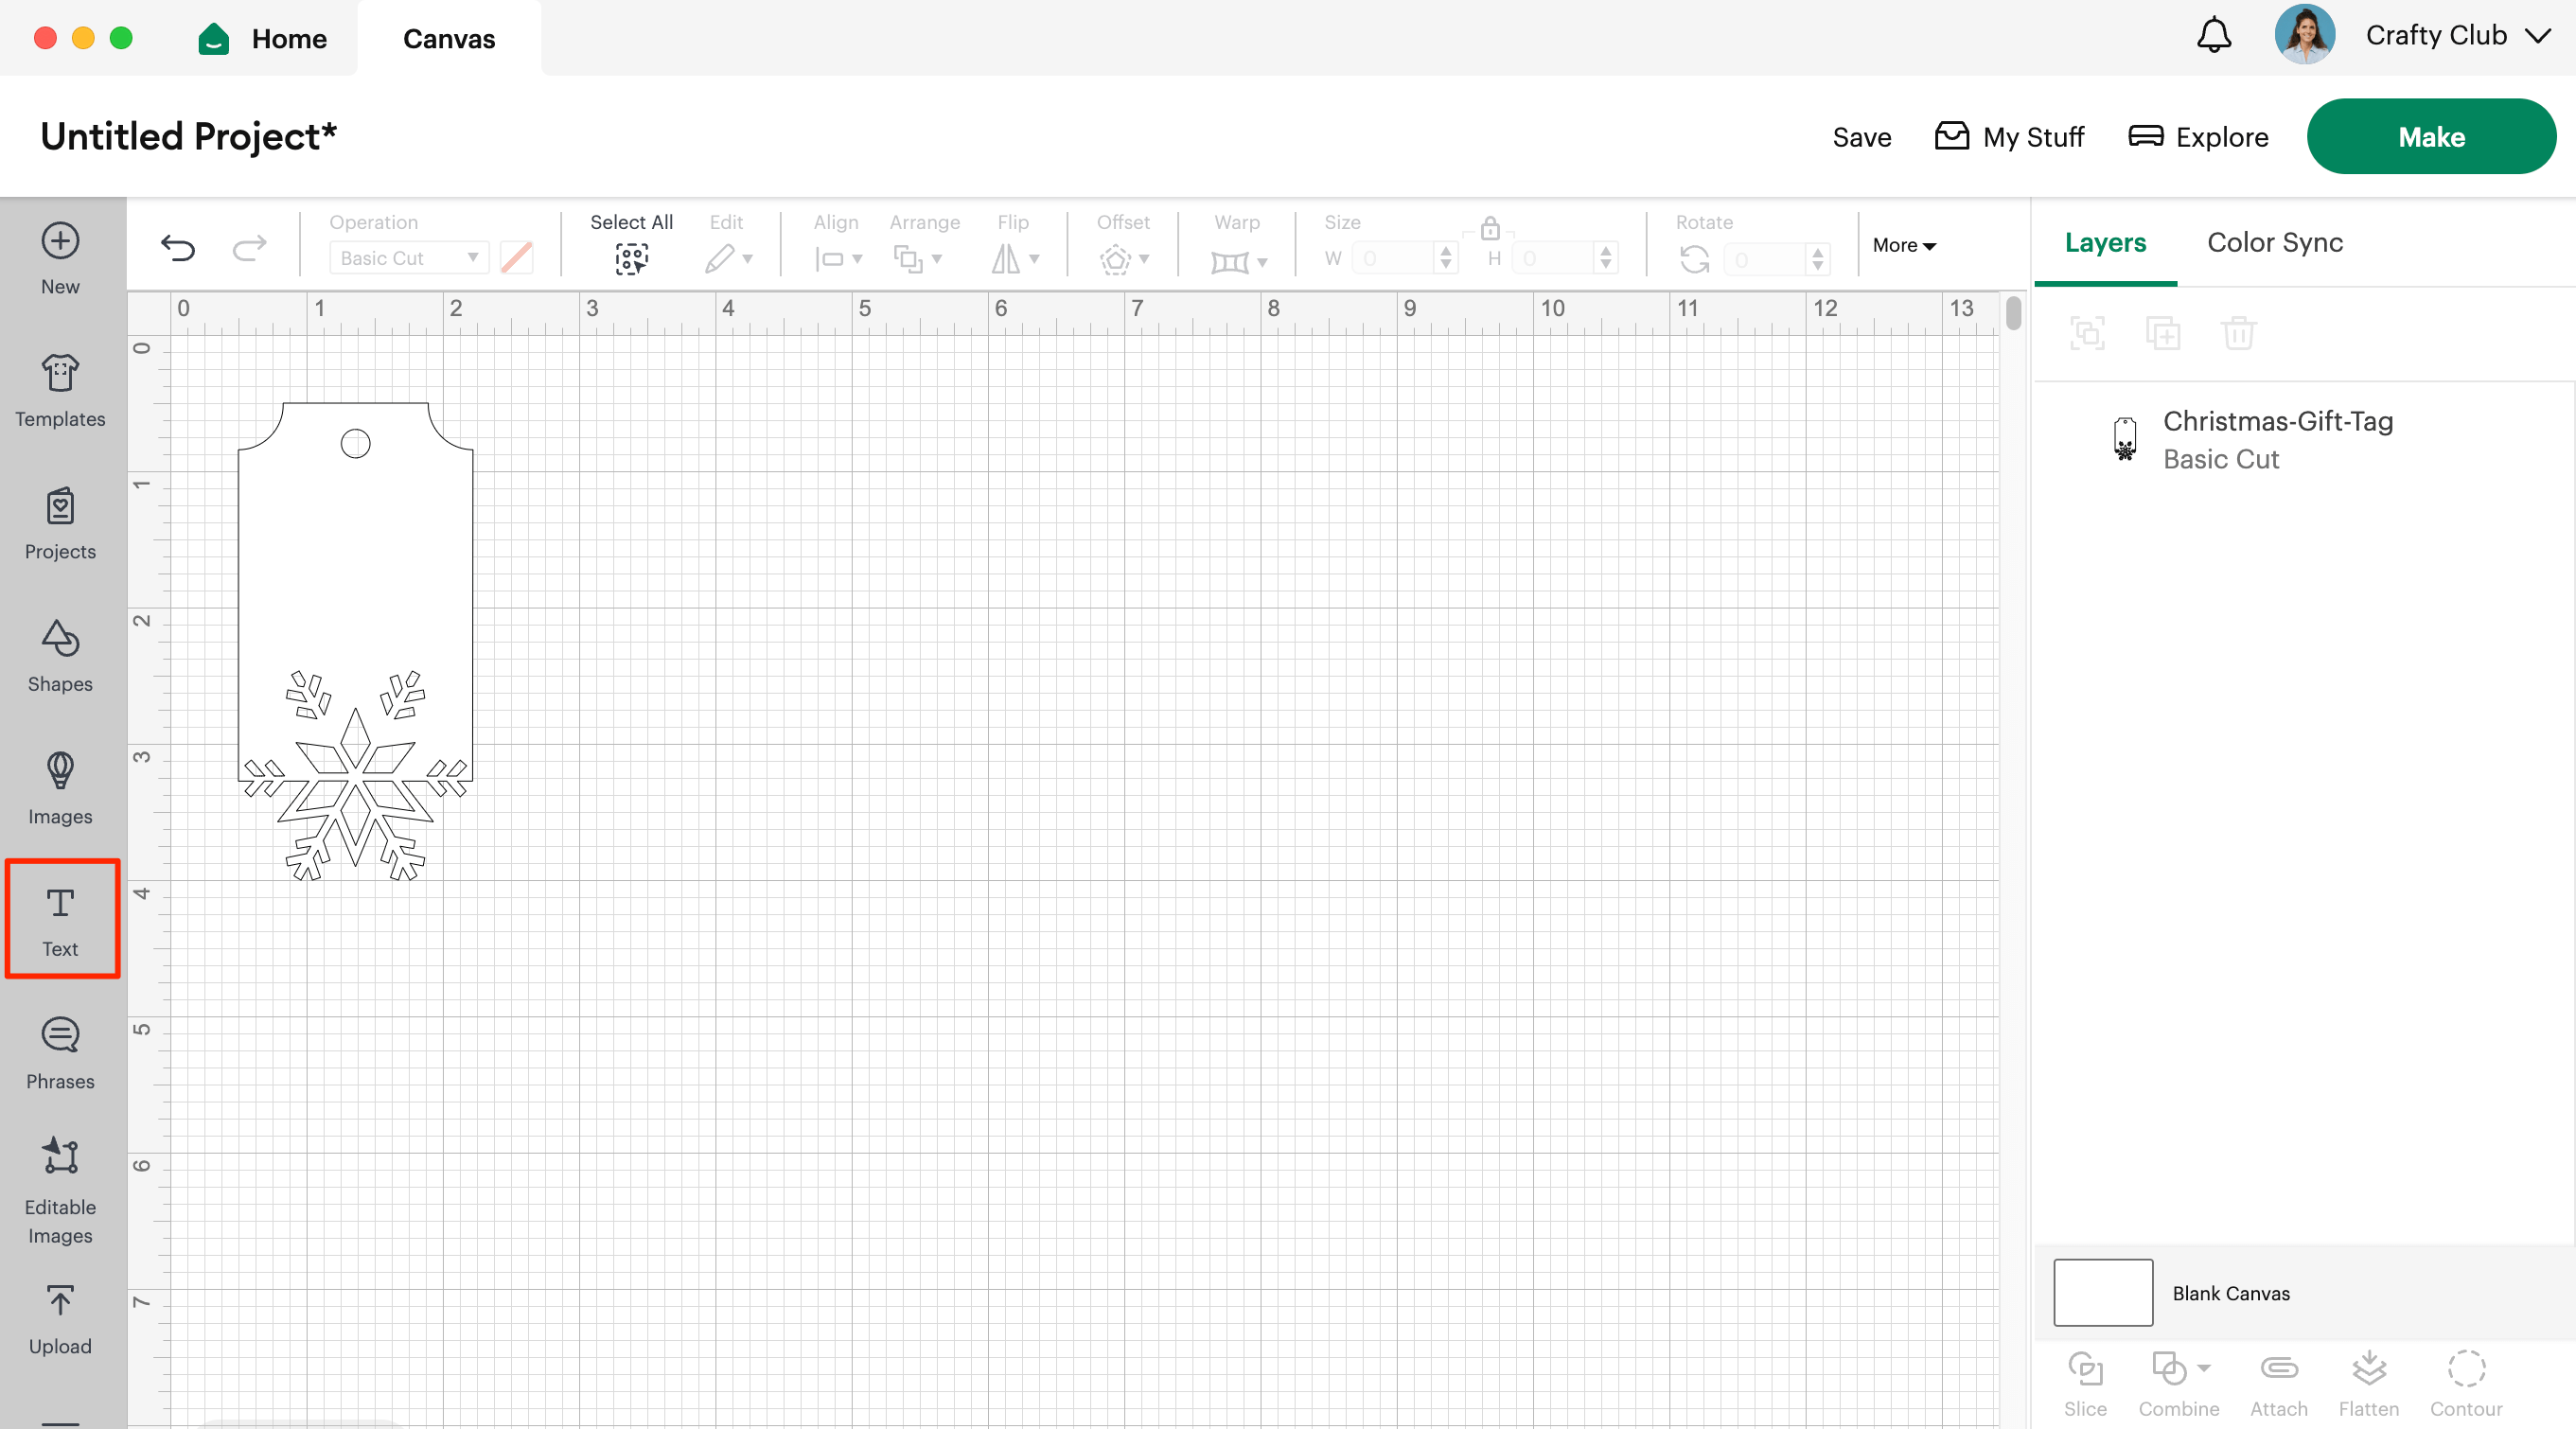
- Click on Text in the left hand panel.
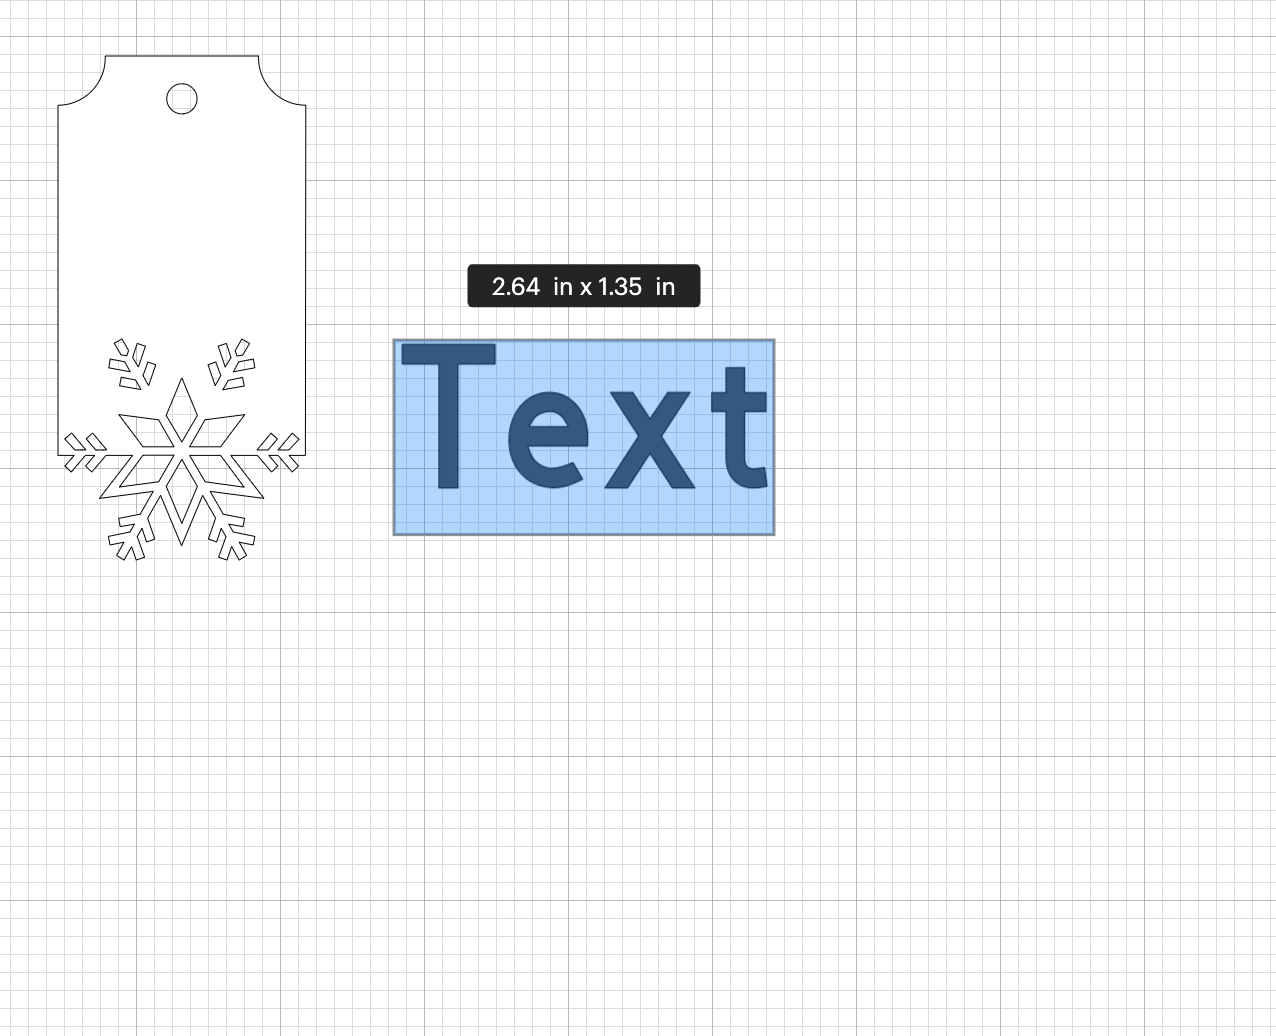
- Click on the new Text object to select it. Now type in ‘to’, press enter twice and then type ‘from’.
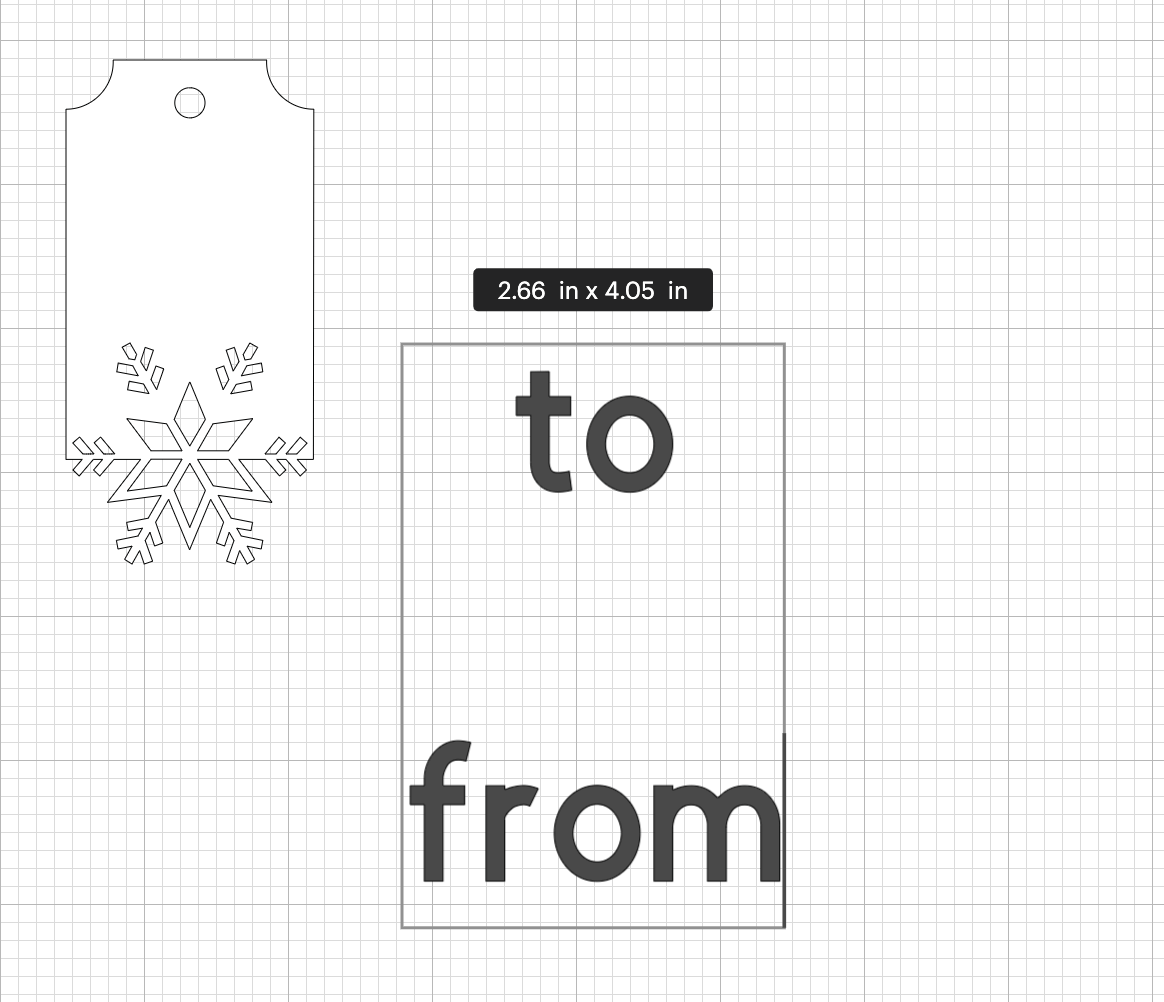
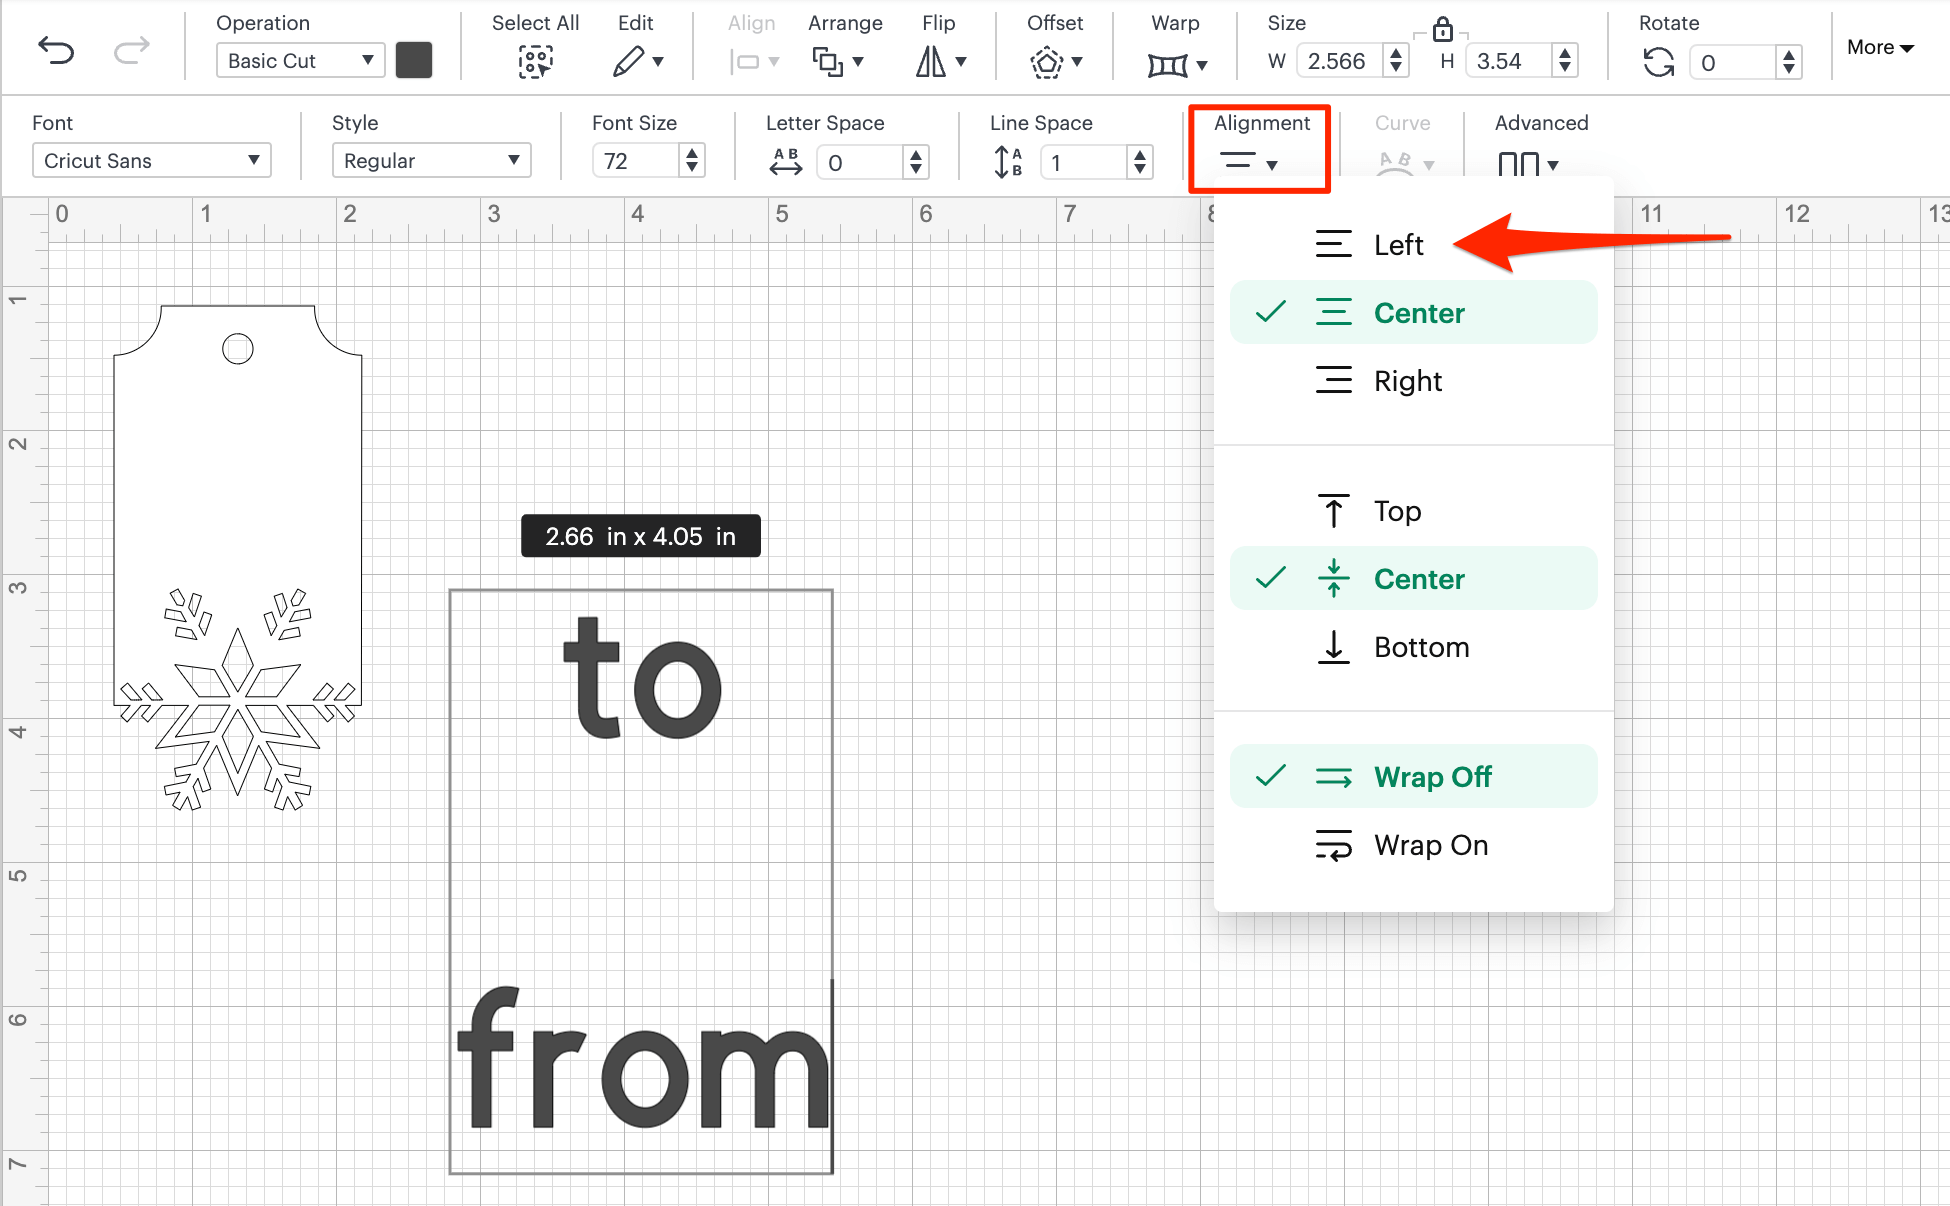
- Now click on the Alignment icon. In the drop down select Left align.
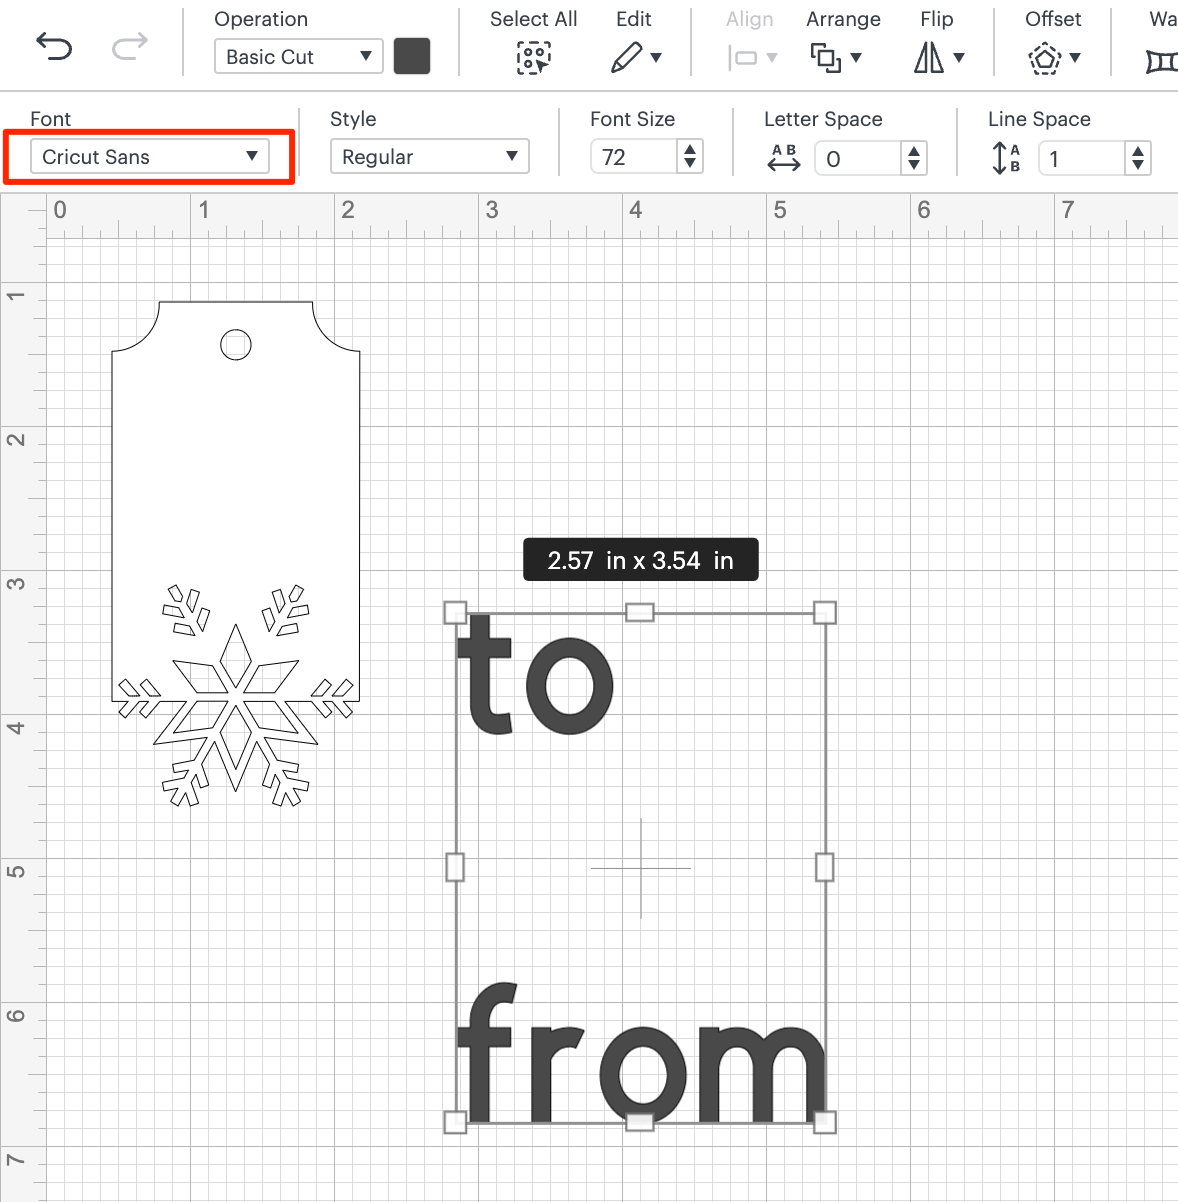
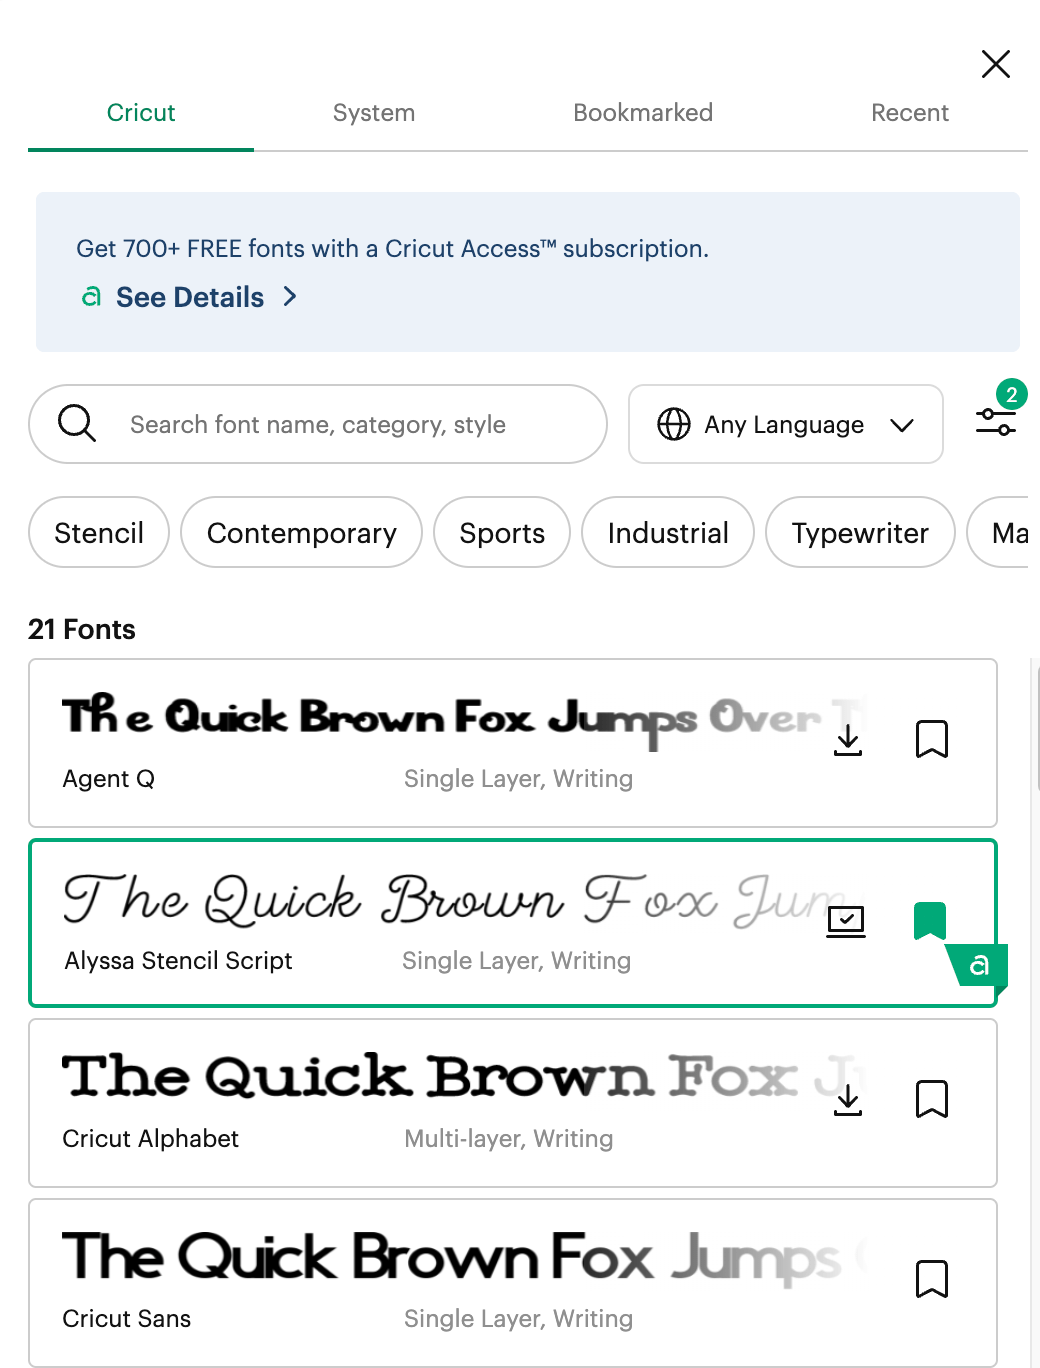
- Now click the Font dropdown menu and a new window will open with all the different font options.
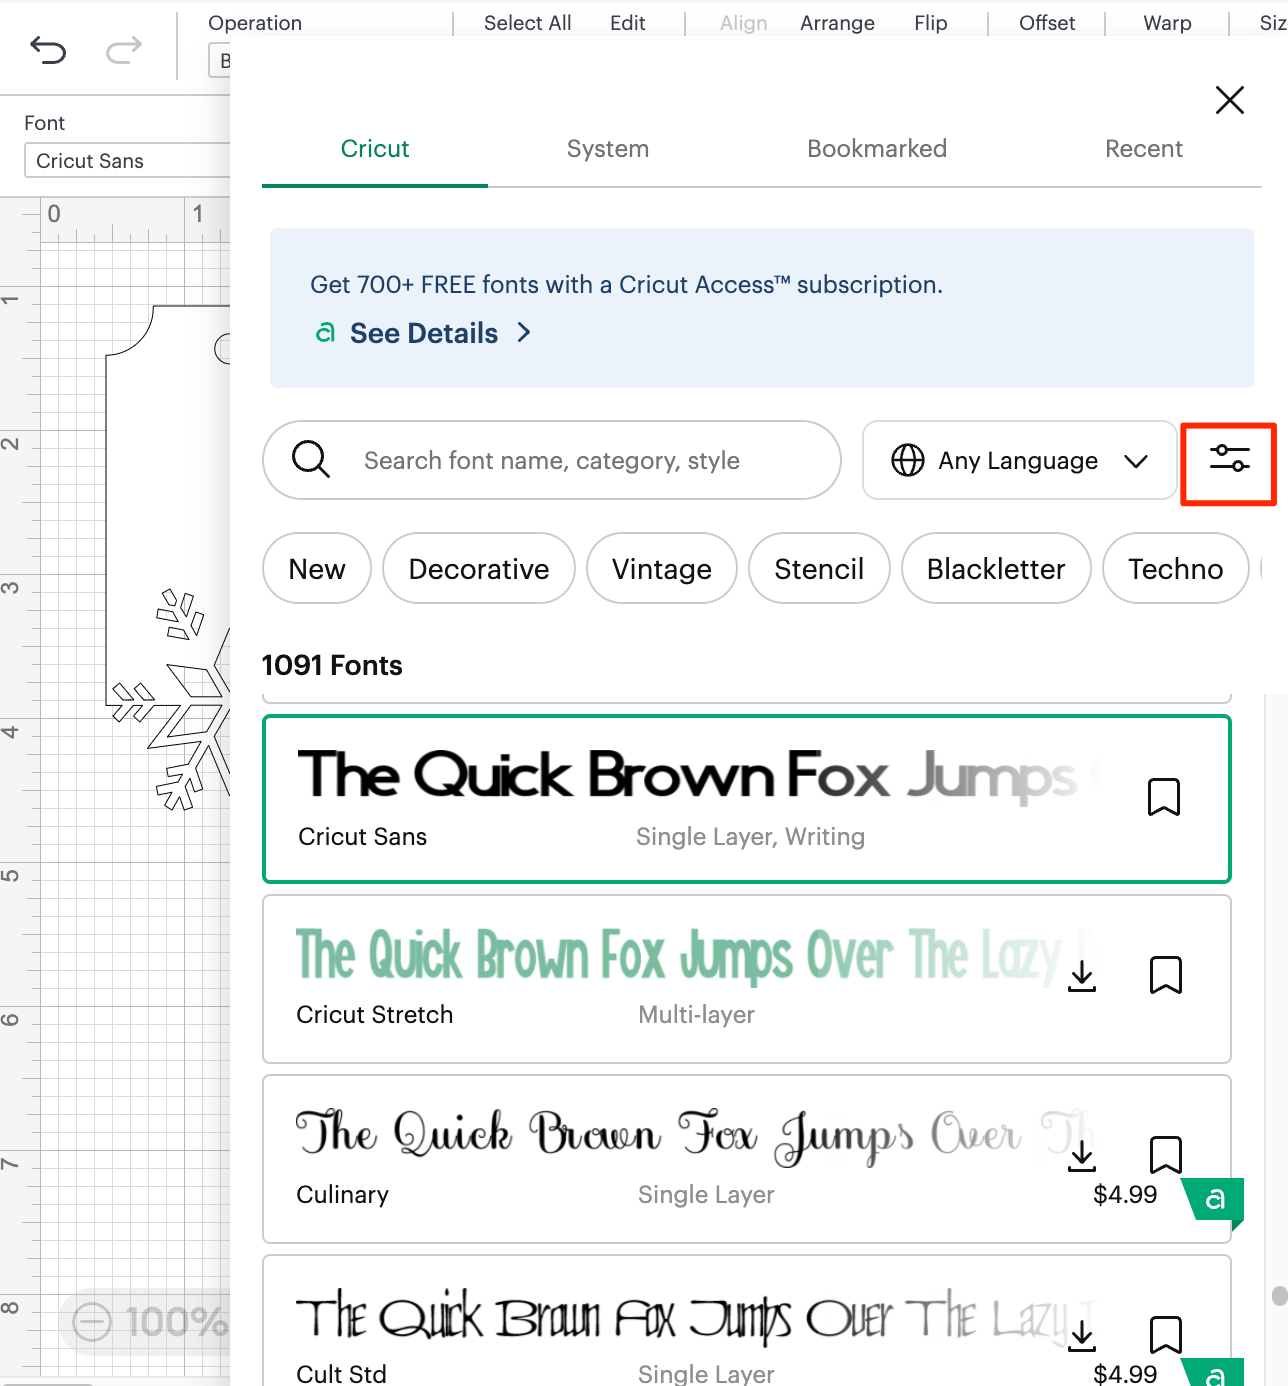
- In the new window, click on the Filters icon, then tick the Written and Free boxes.
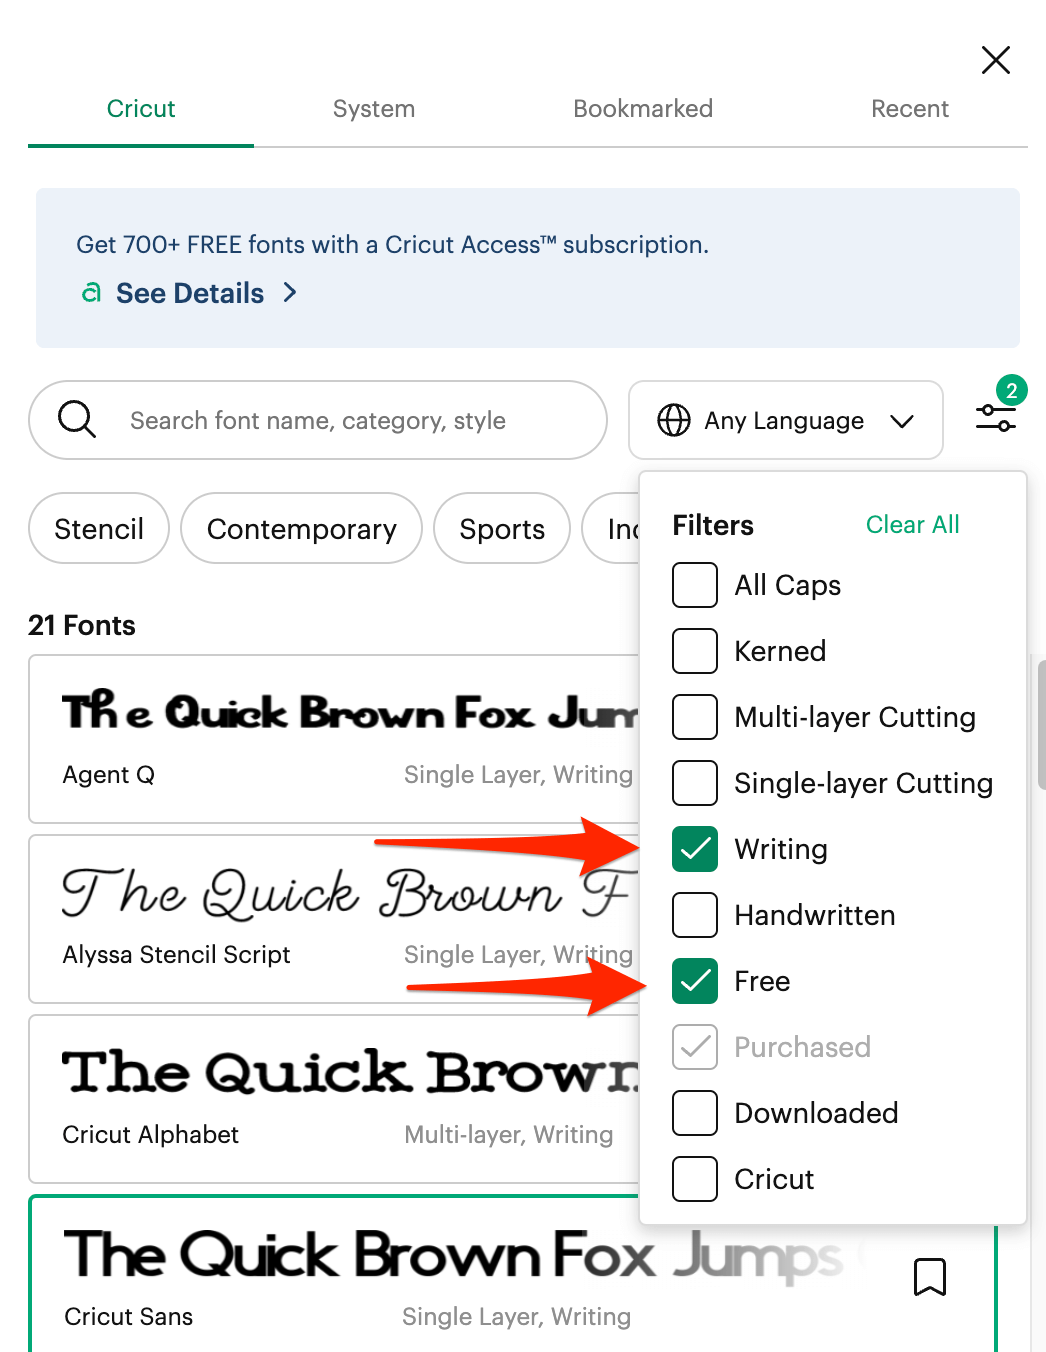
- Now you can choose a nice handwritten font that you like. In this case we’re going to opt for Alyssa Stencil Script. Click on the font name and then click back on the canvas to close the window.
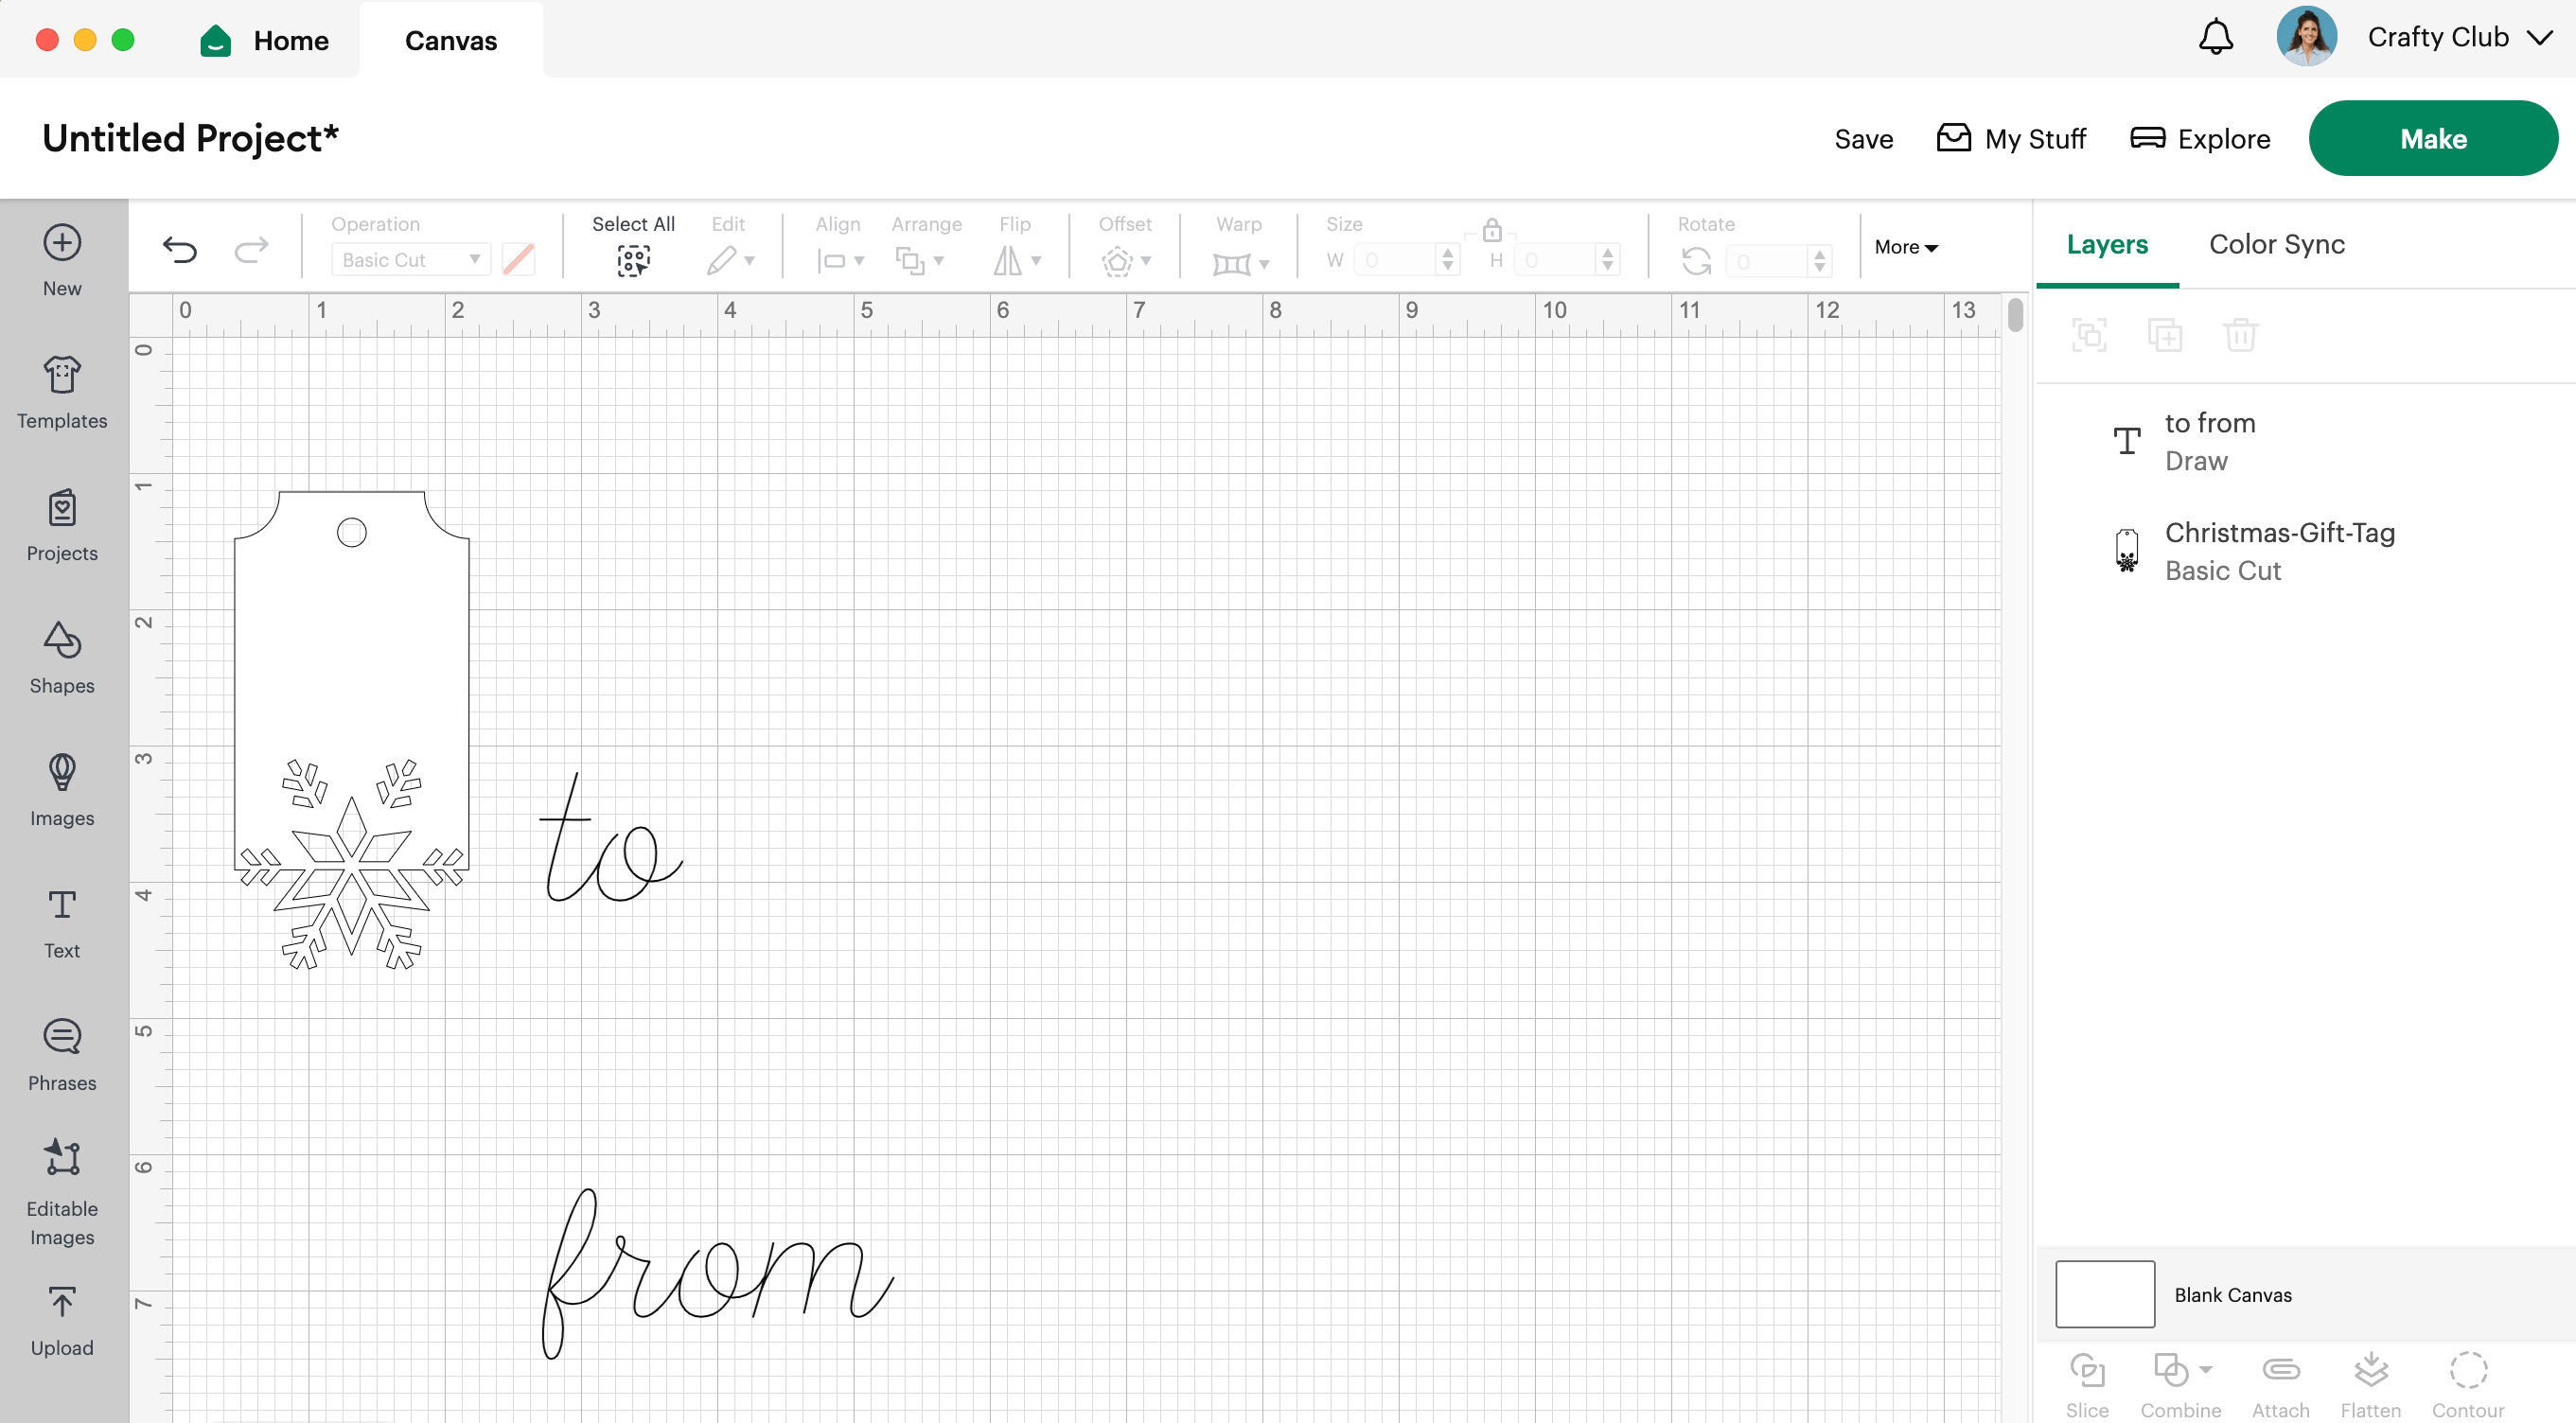
Great work! Now we need to resize and reposition the text.
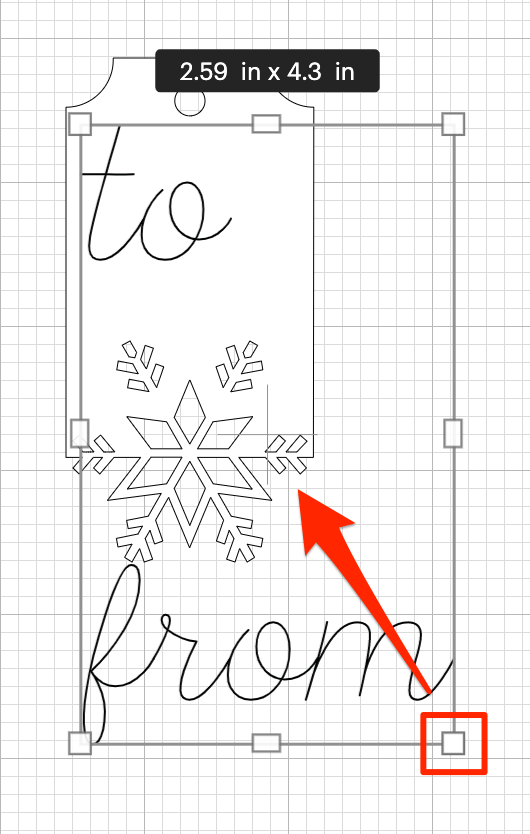
- Click on the text to select it. Then click and hold down with your mouse and drag it so the top left hand corner is in the top left of the card.
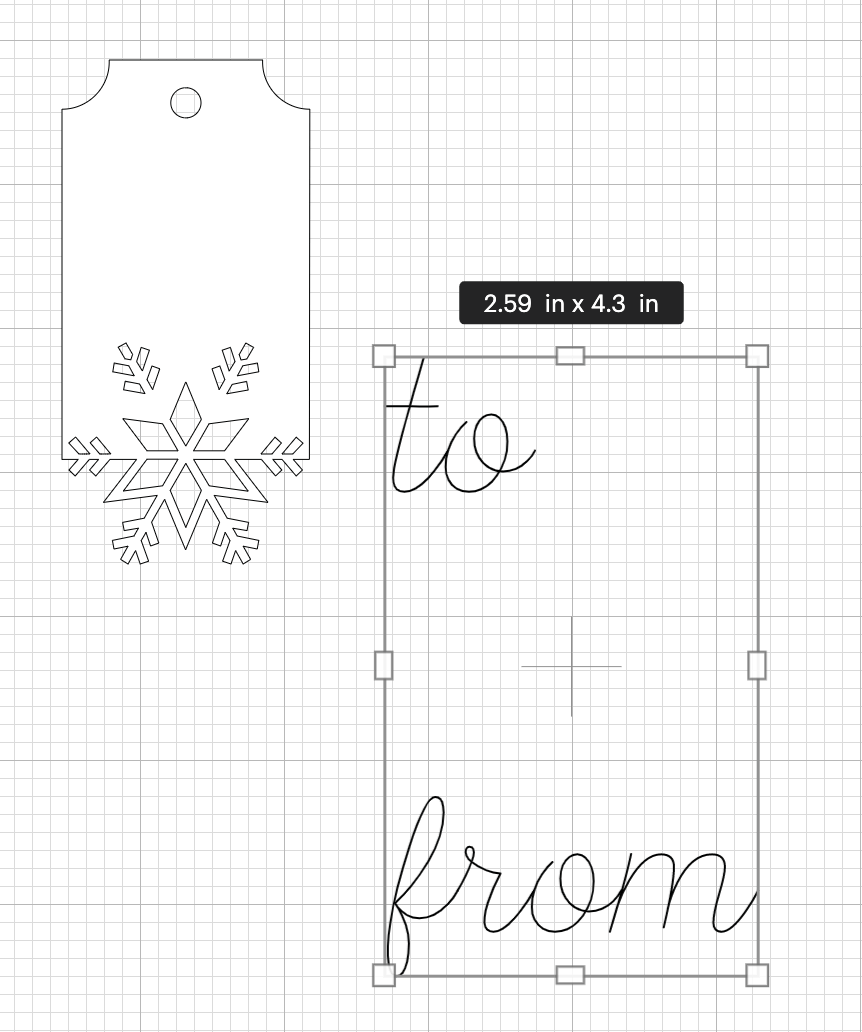
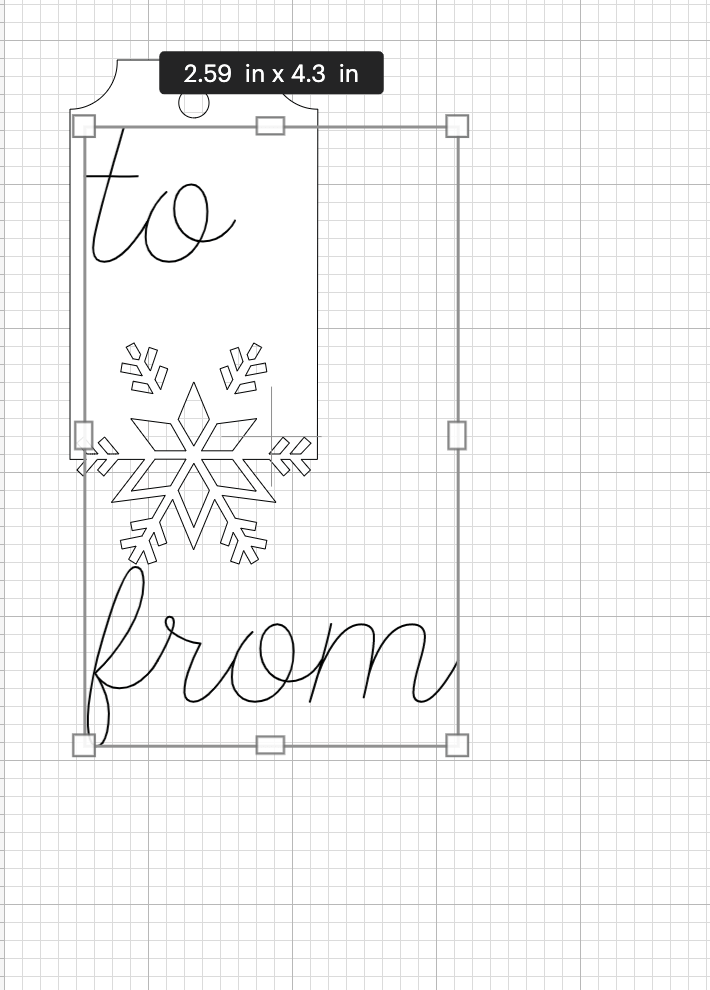
- Now click the square in the bottom right corner of the box around the text. Click, hold and move your mouse up and to the left. It will shrink the size of the text as you move. Adjust the box size until the text looks the correct size. Remember, we will also need to fit the names of the people on the tag too!
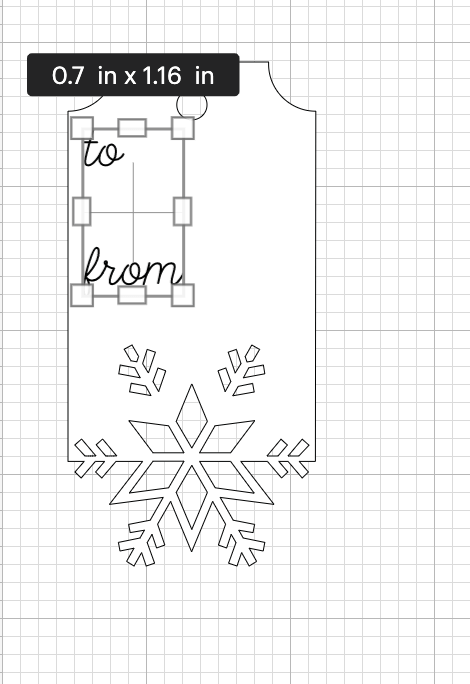
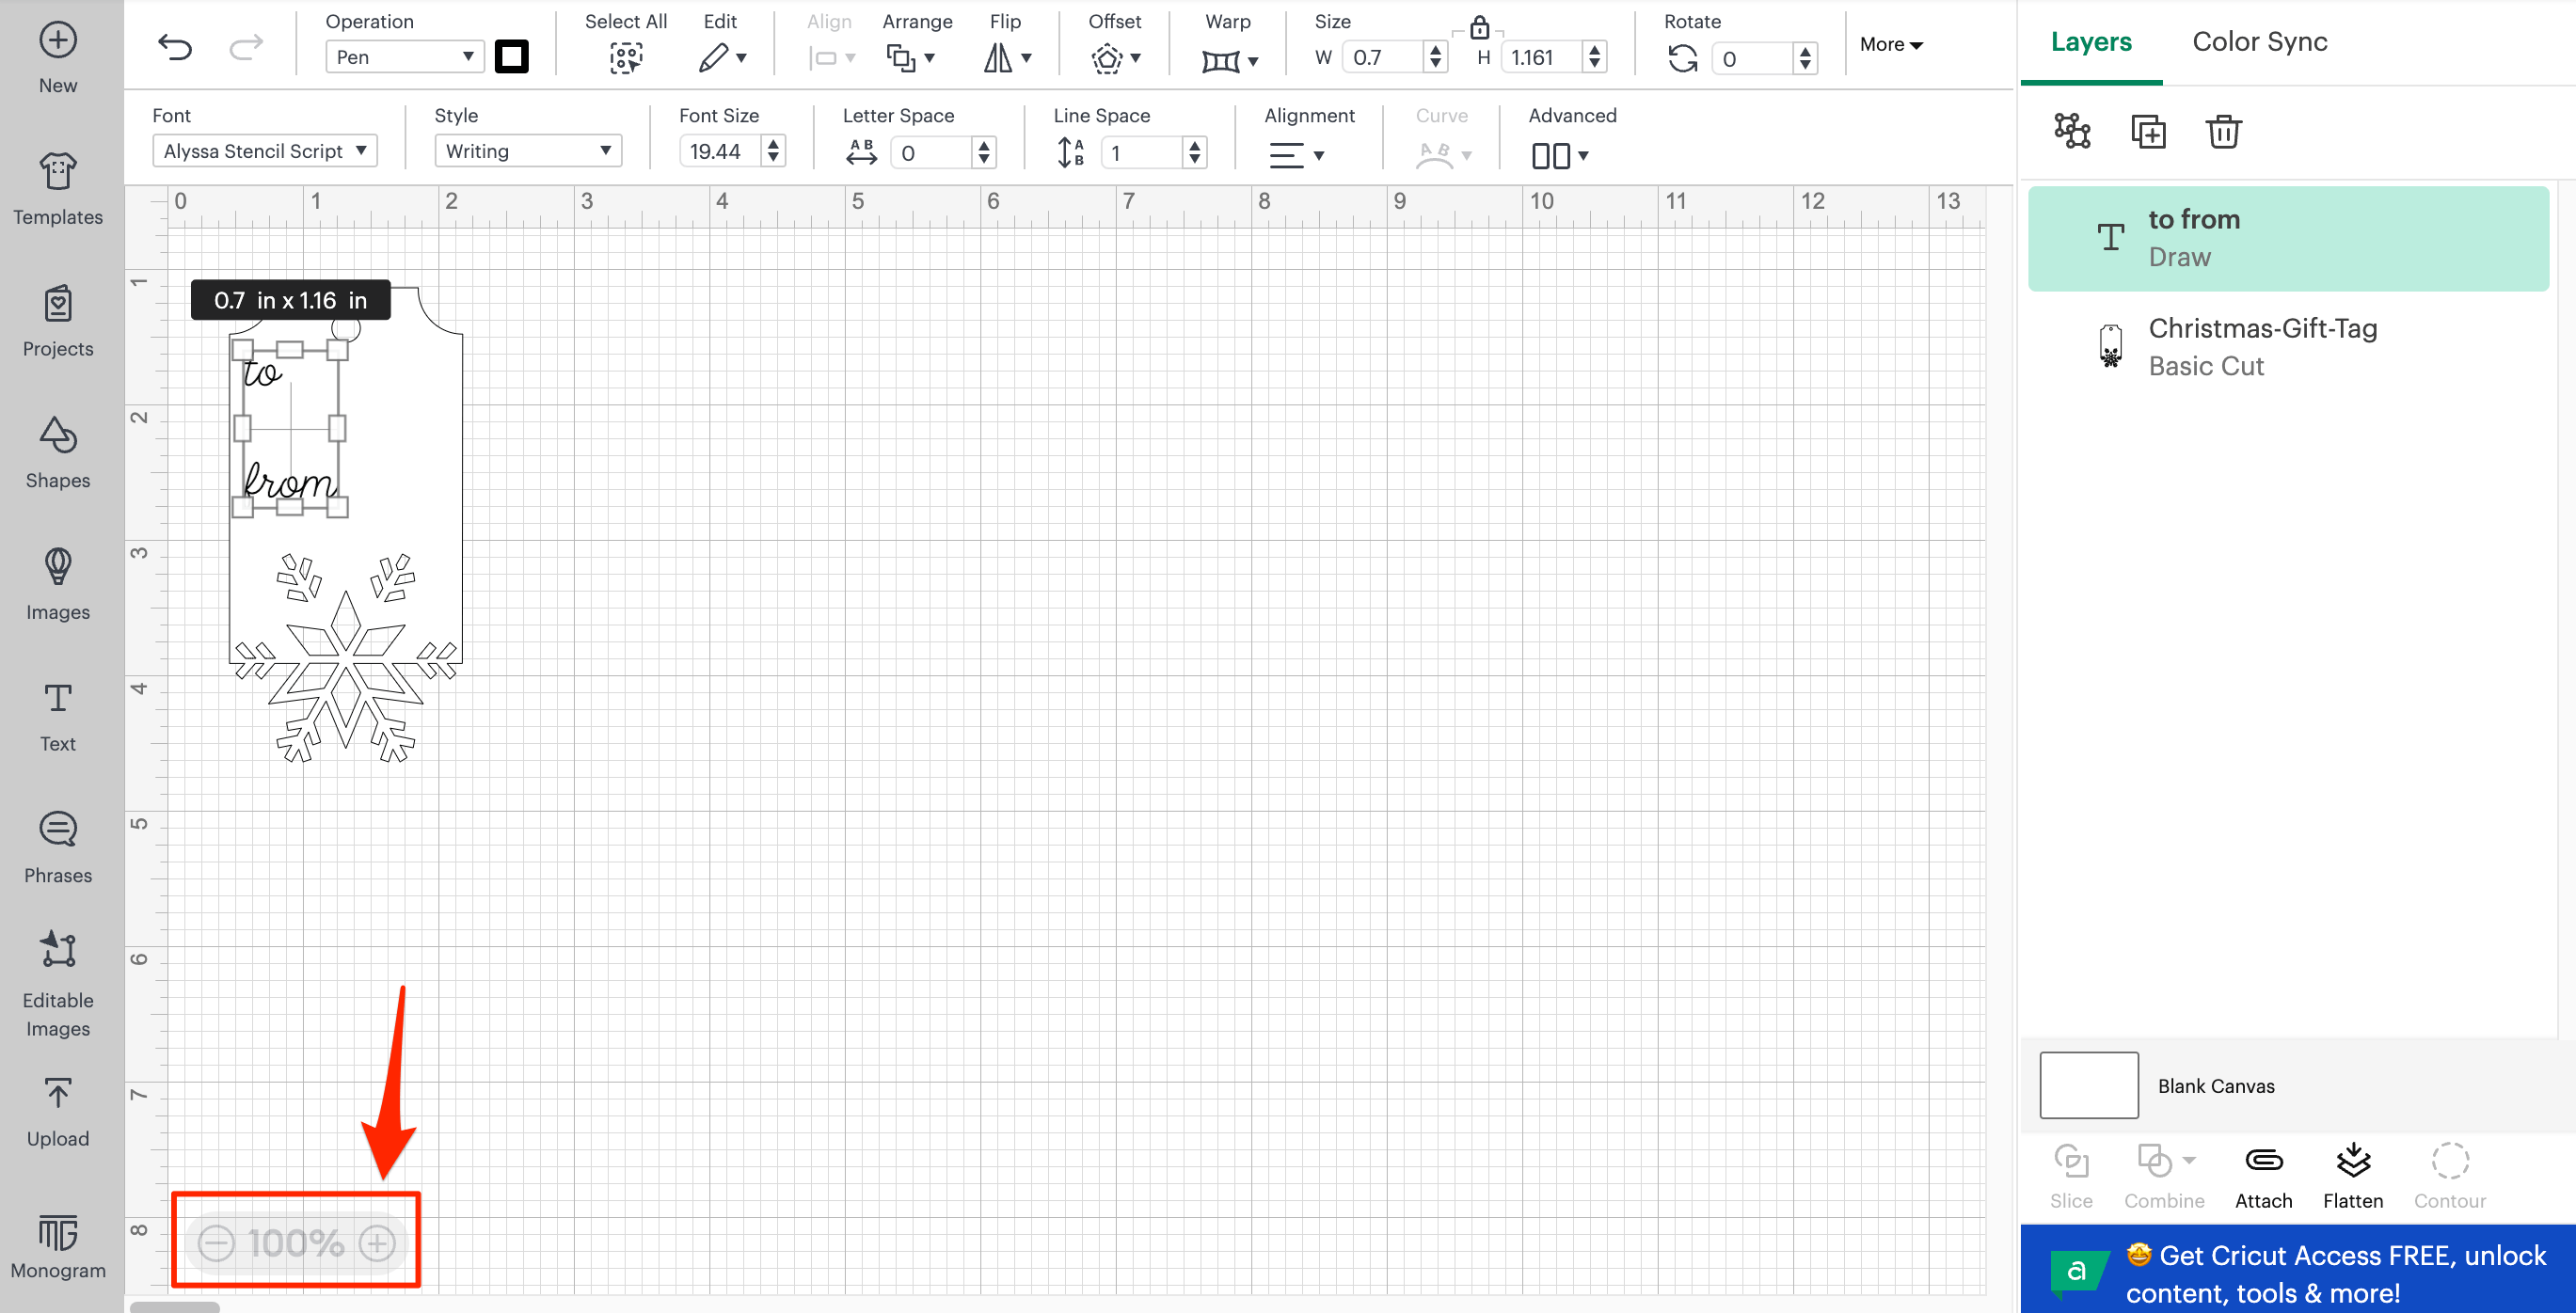
Tip: If the design is too small to see clearly, use the Zoom buttons in the bottom left to Zoom in!
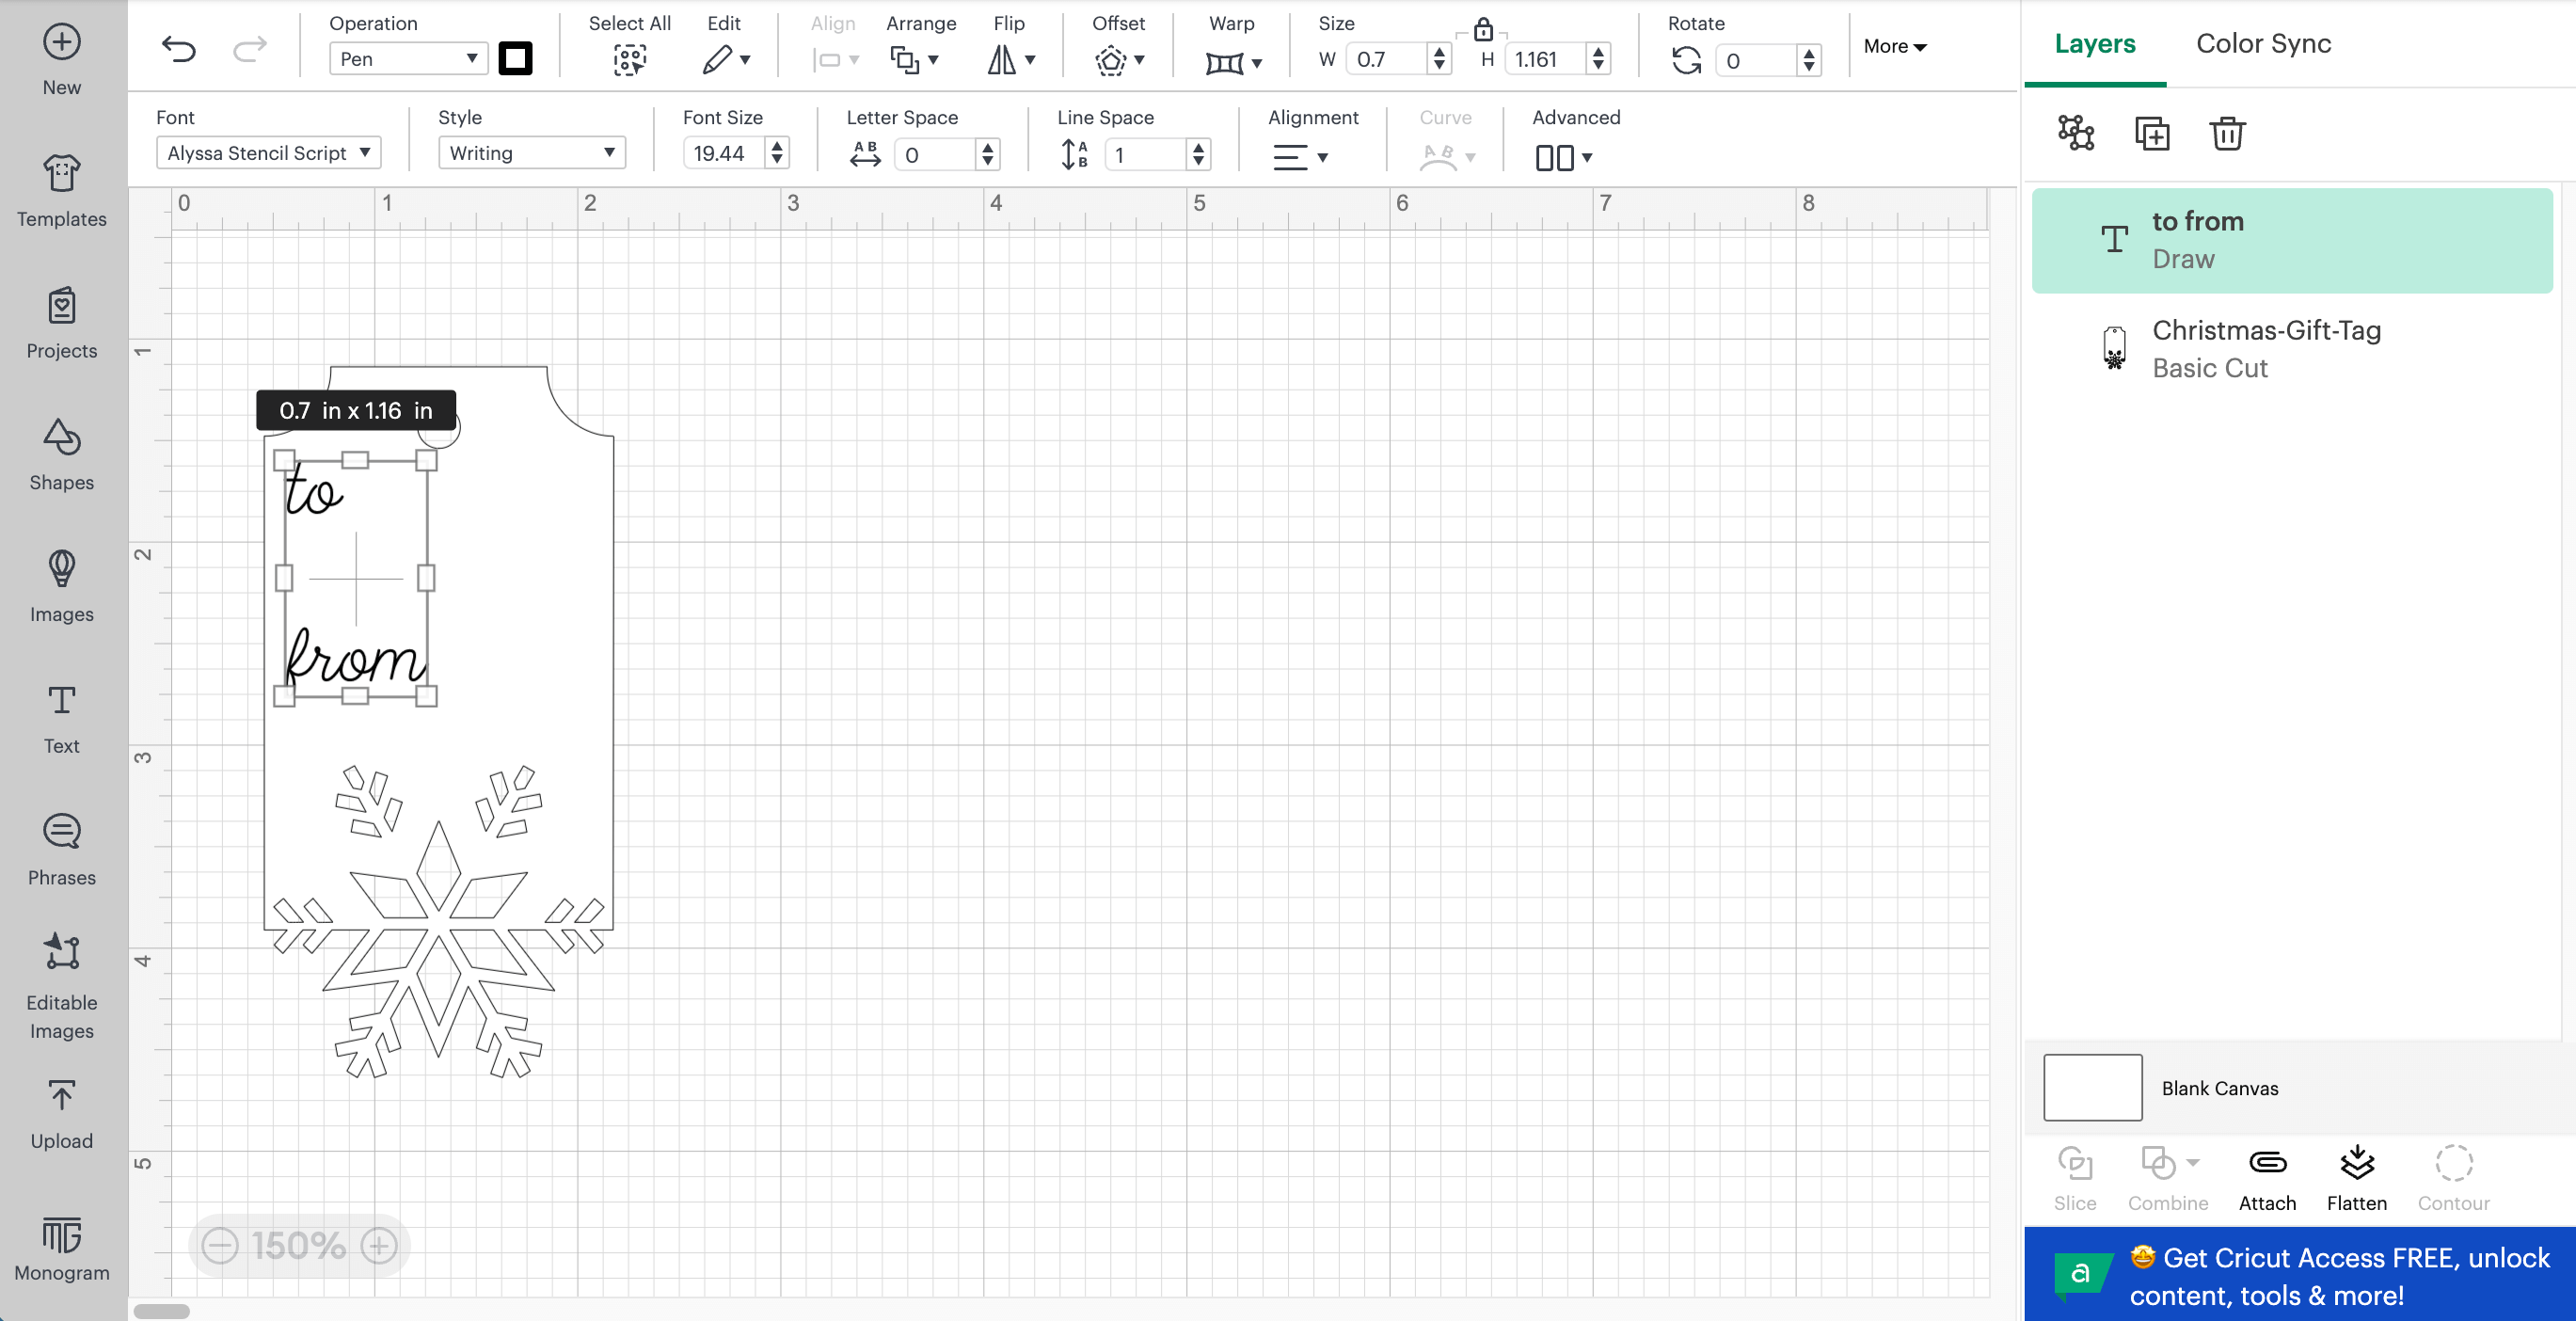
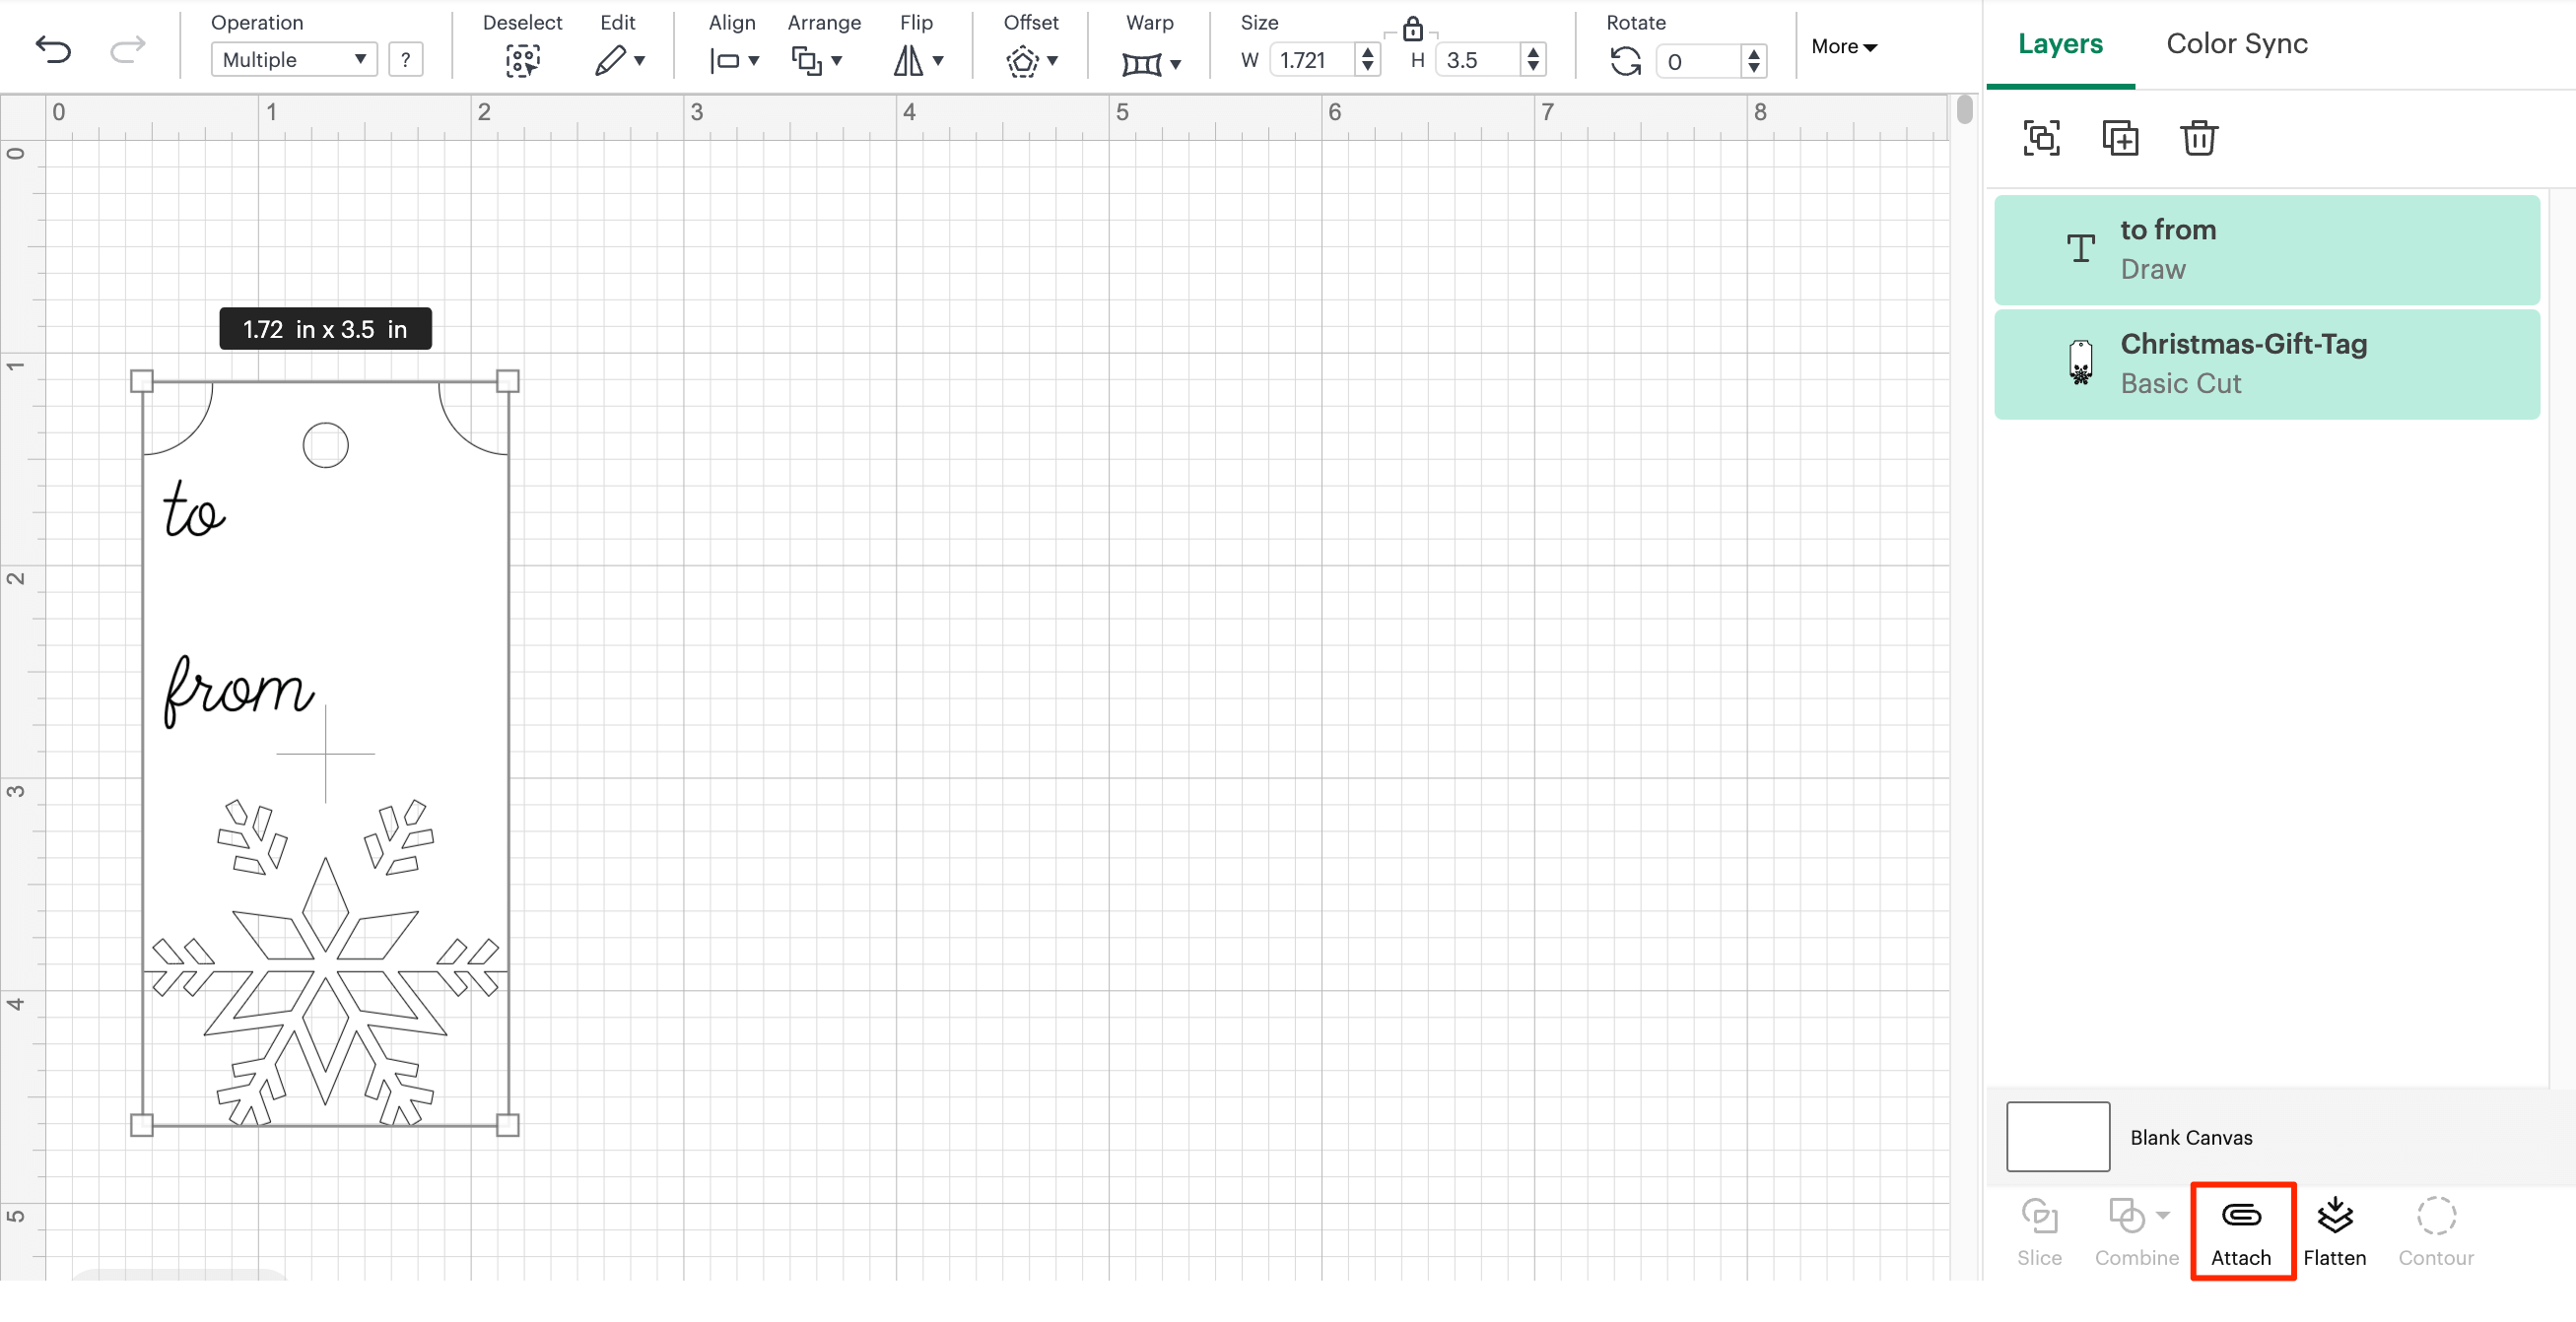
The next step is to Attach the writing and tag together so that your Cricut knows they go together when it’s cutting and writing.
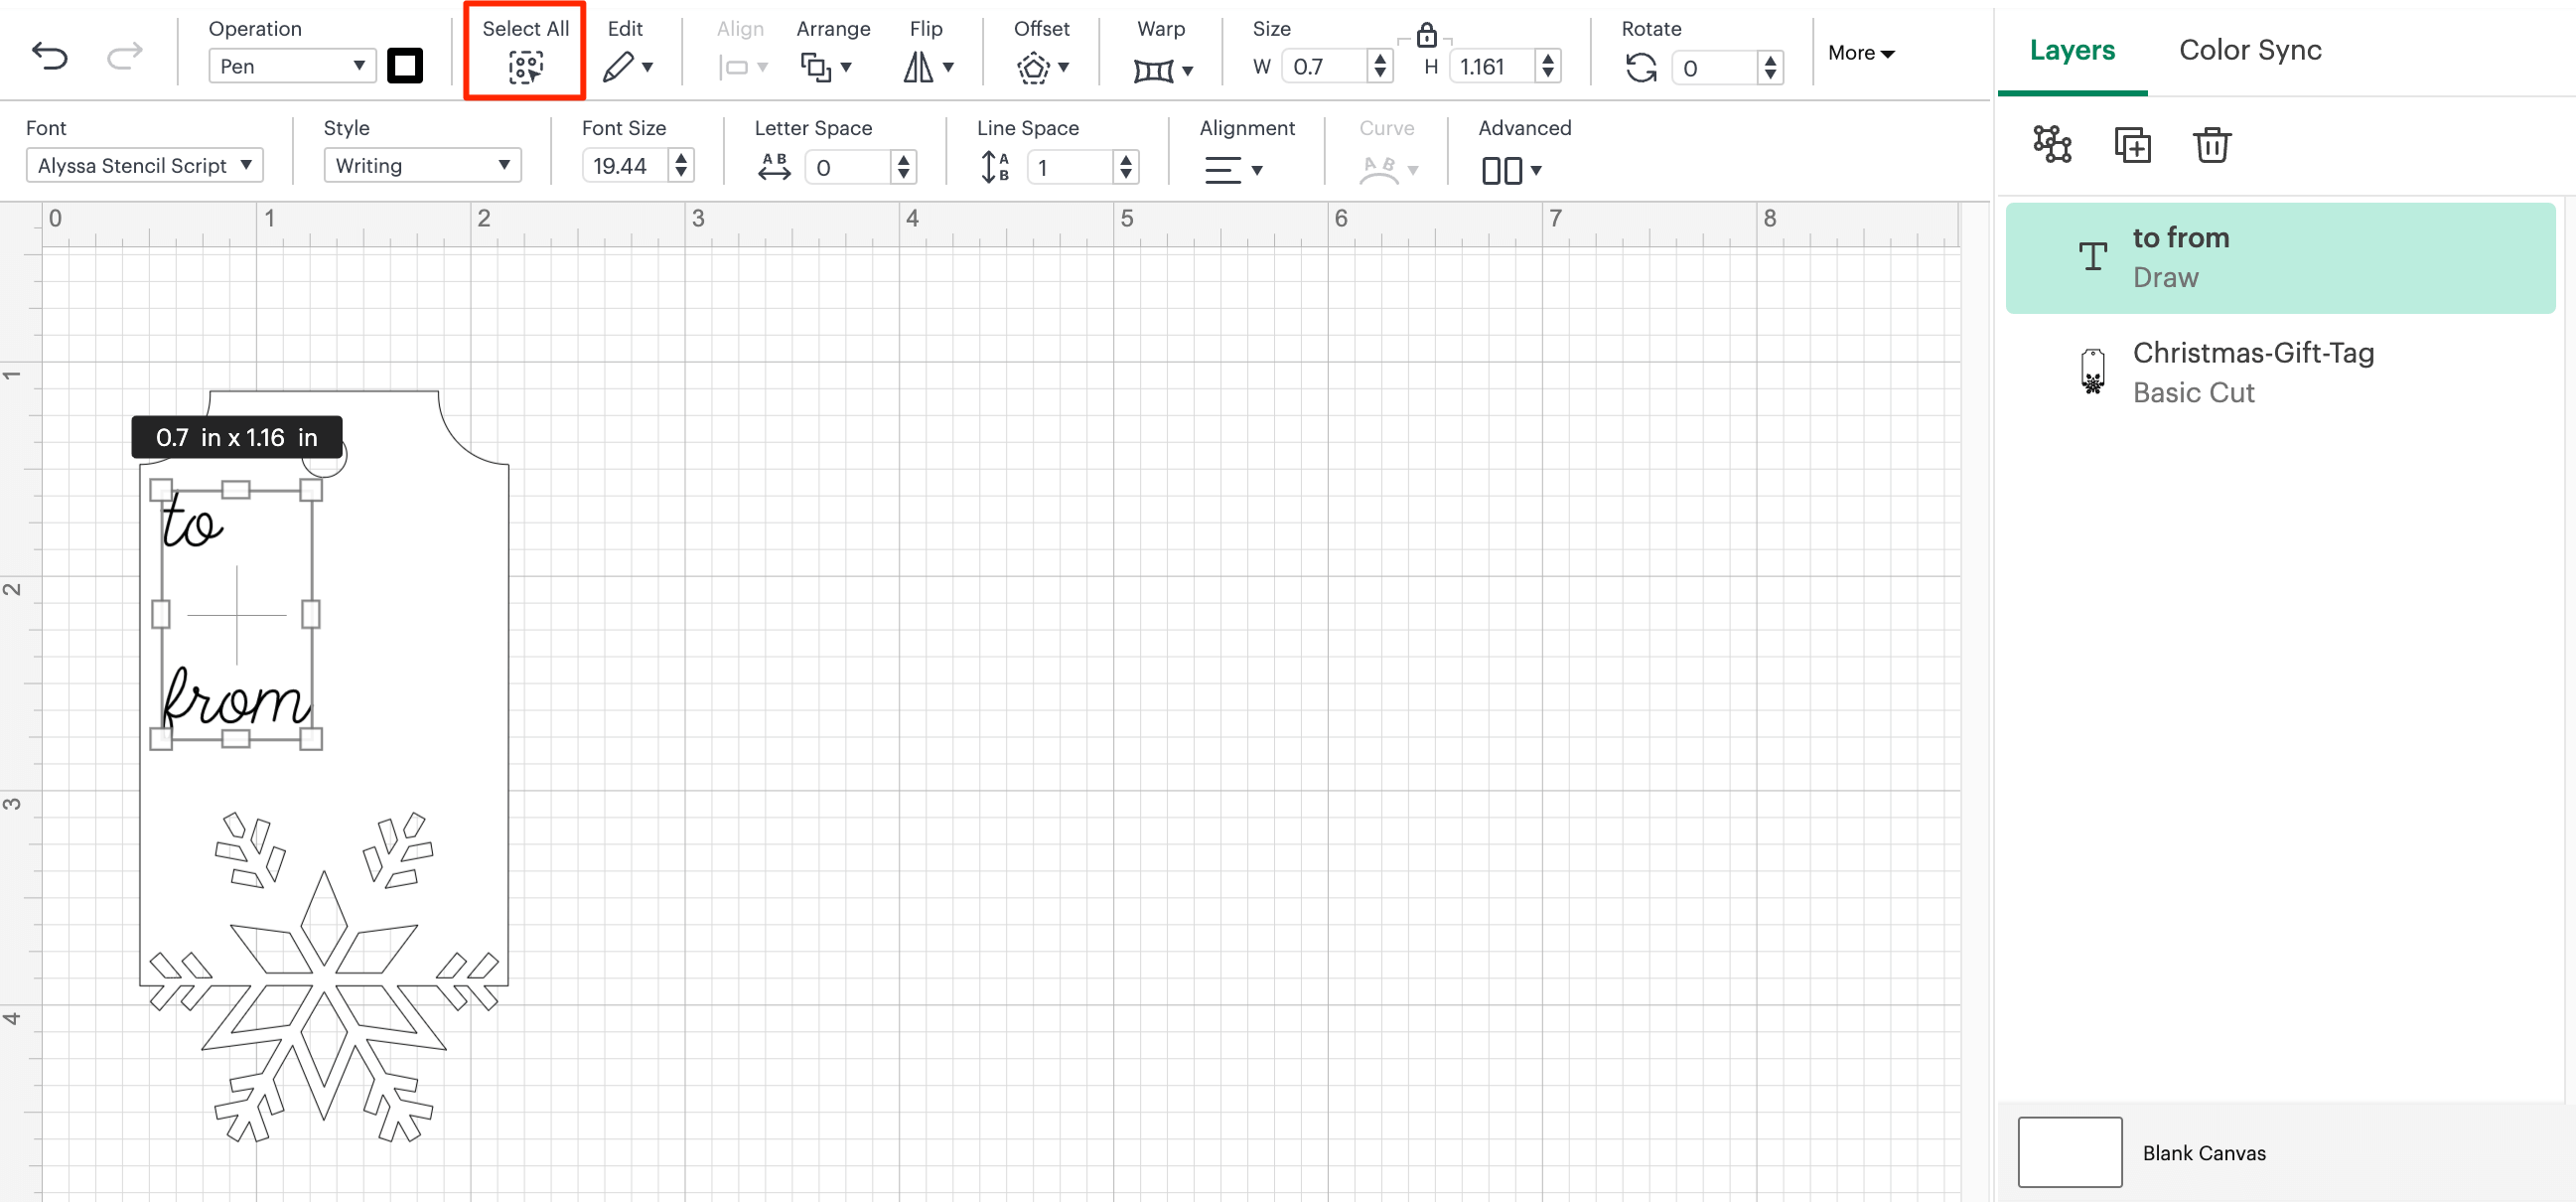
- Click Select All in the top bar to select both the tag and text.
- Now click Attach in the bottom right hand corner
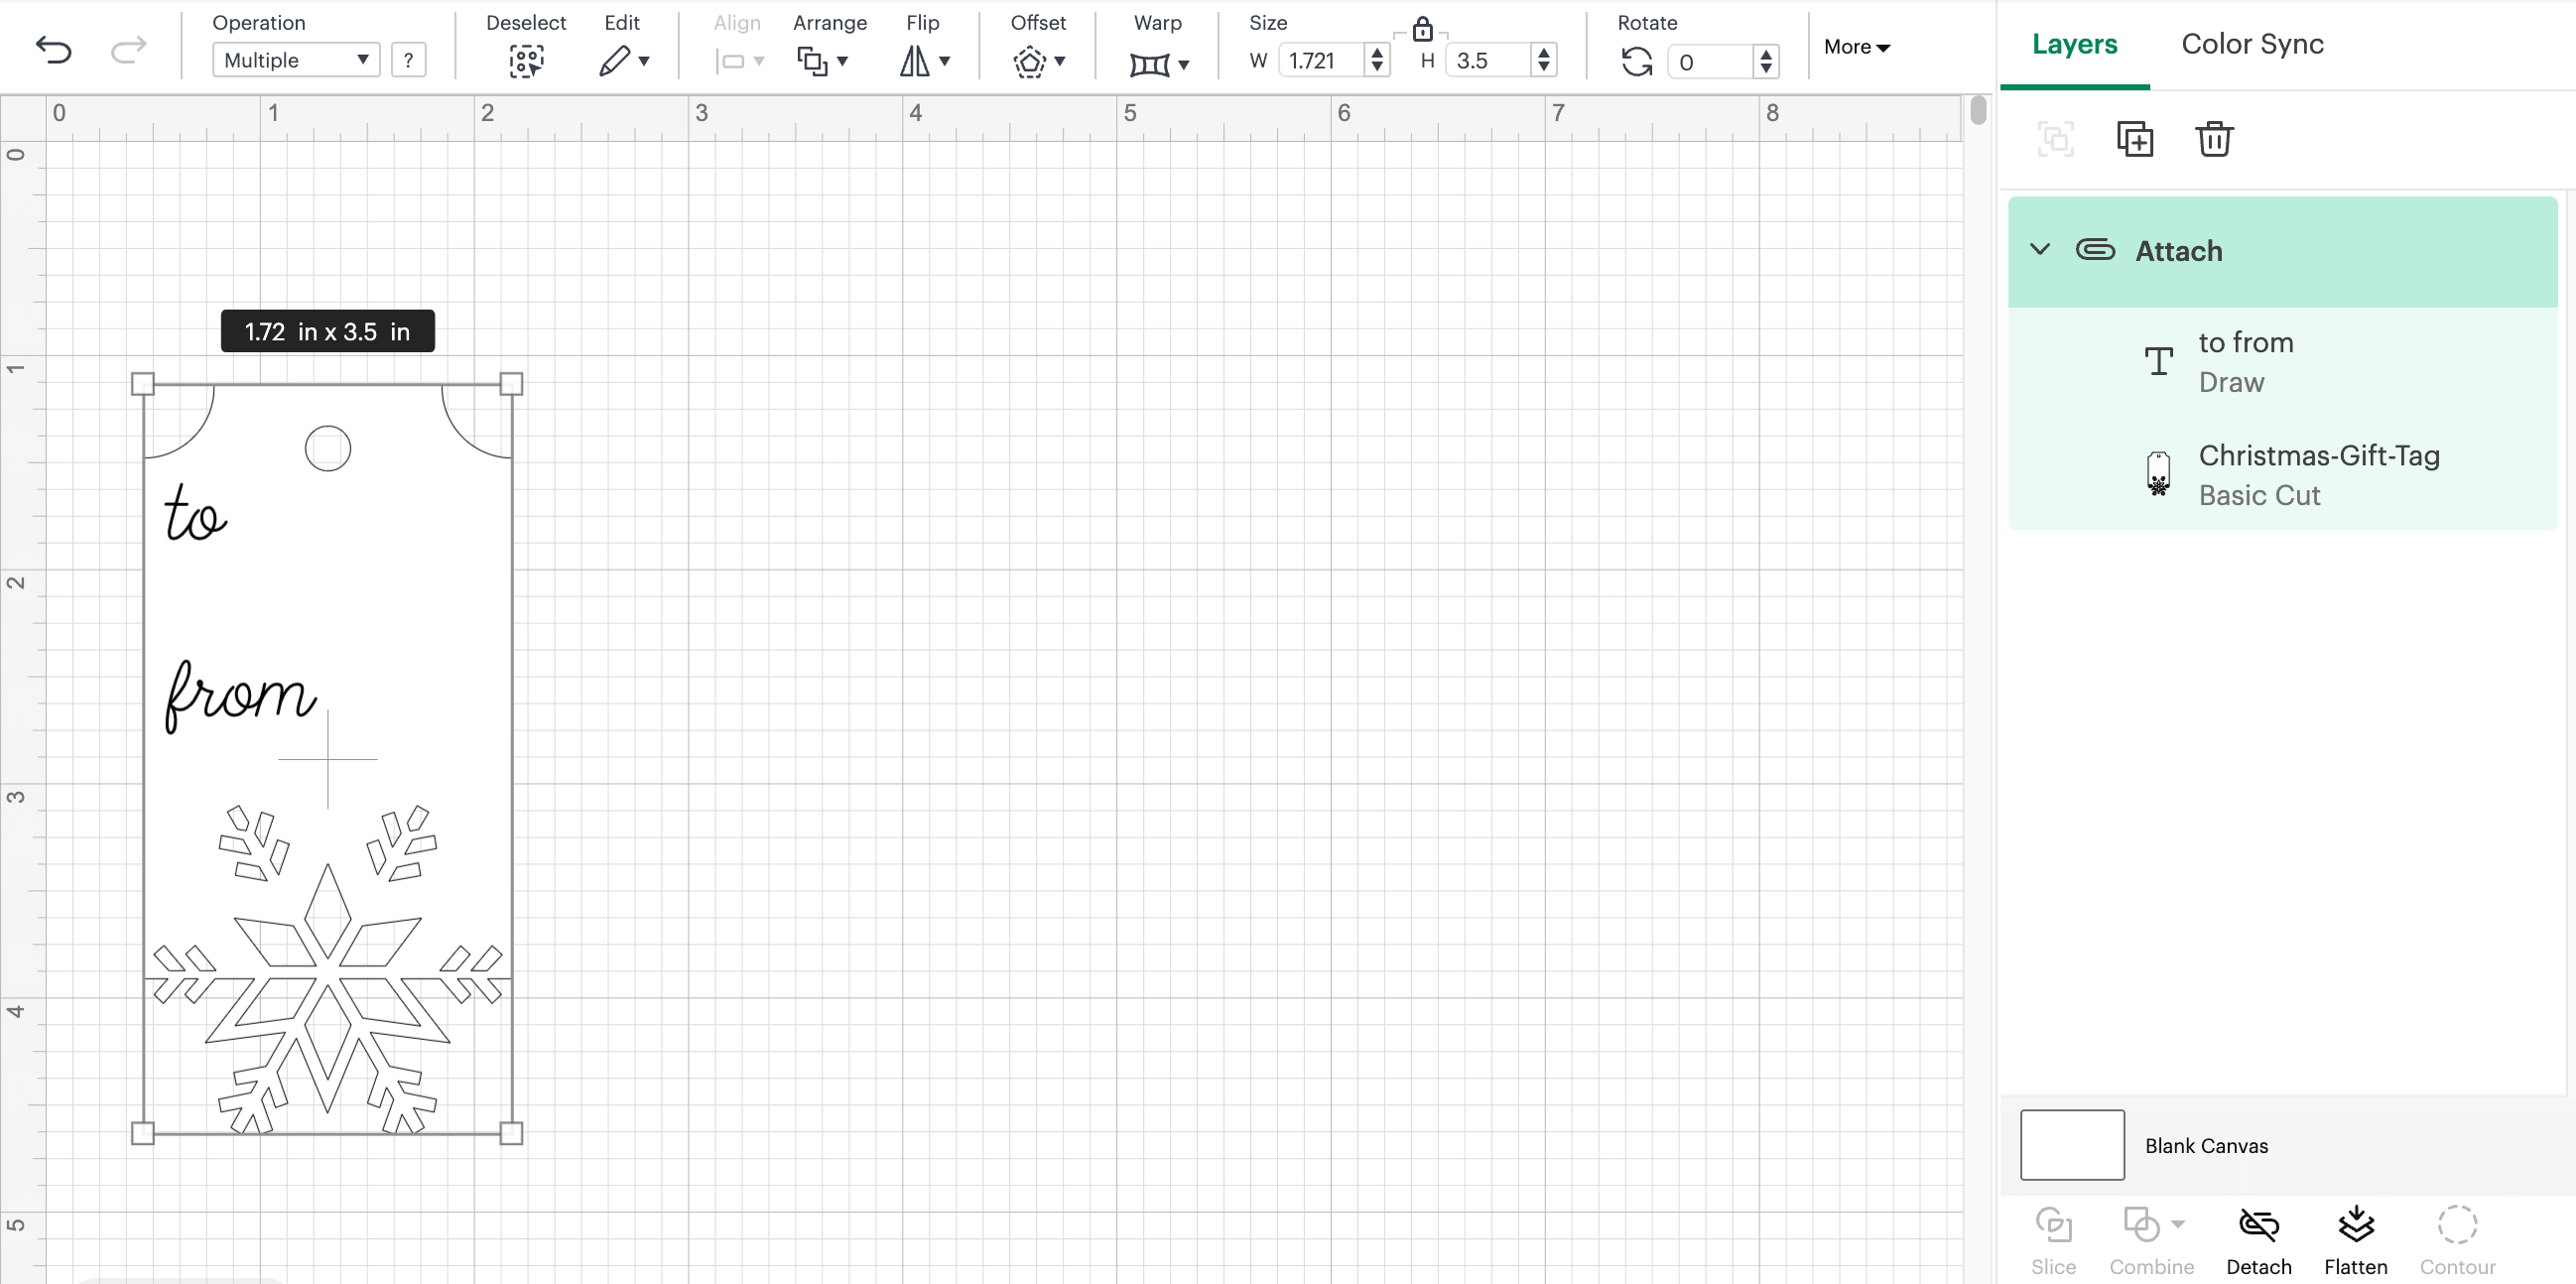
You can see that Design Space has attached the two layers together now.
Great work! The design is now finished. For the last step, I recommend you save your project.
- Click the Save button in the top header menu.
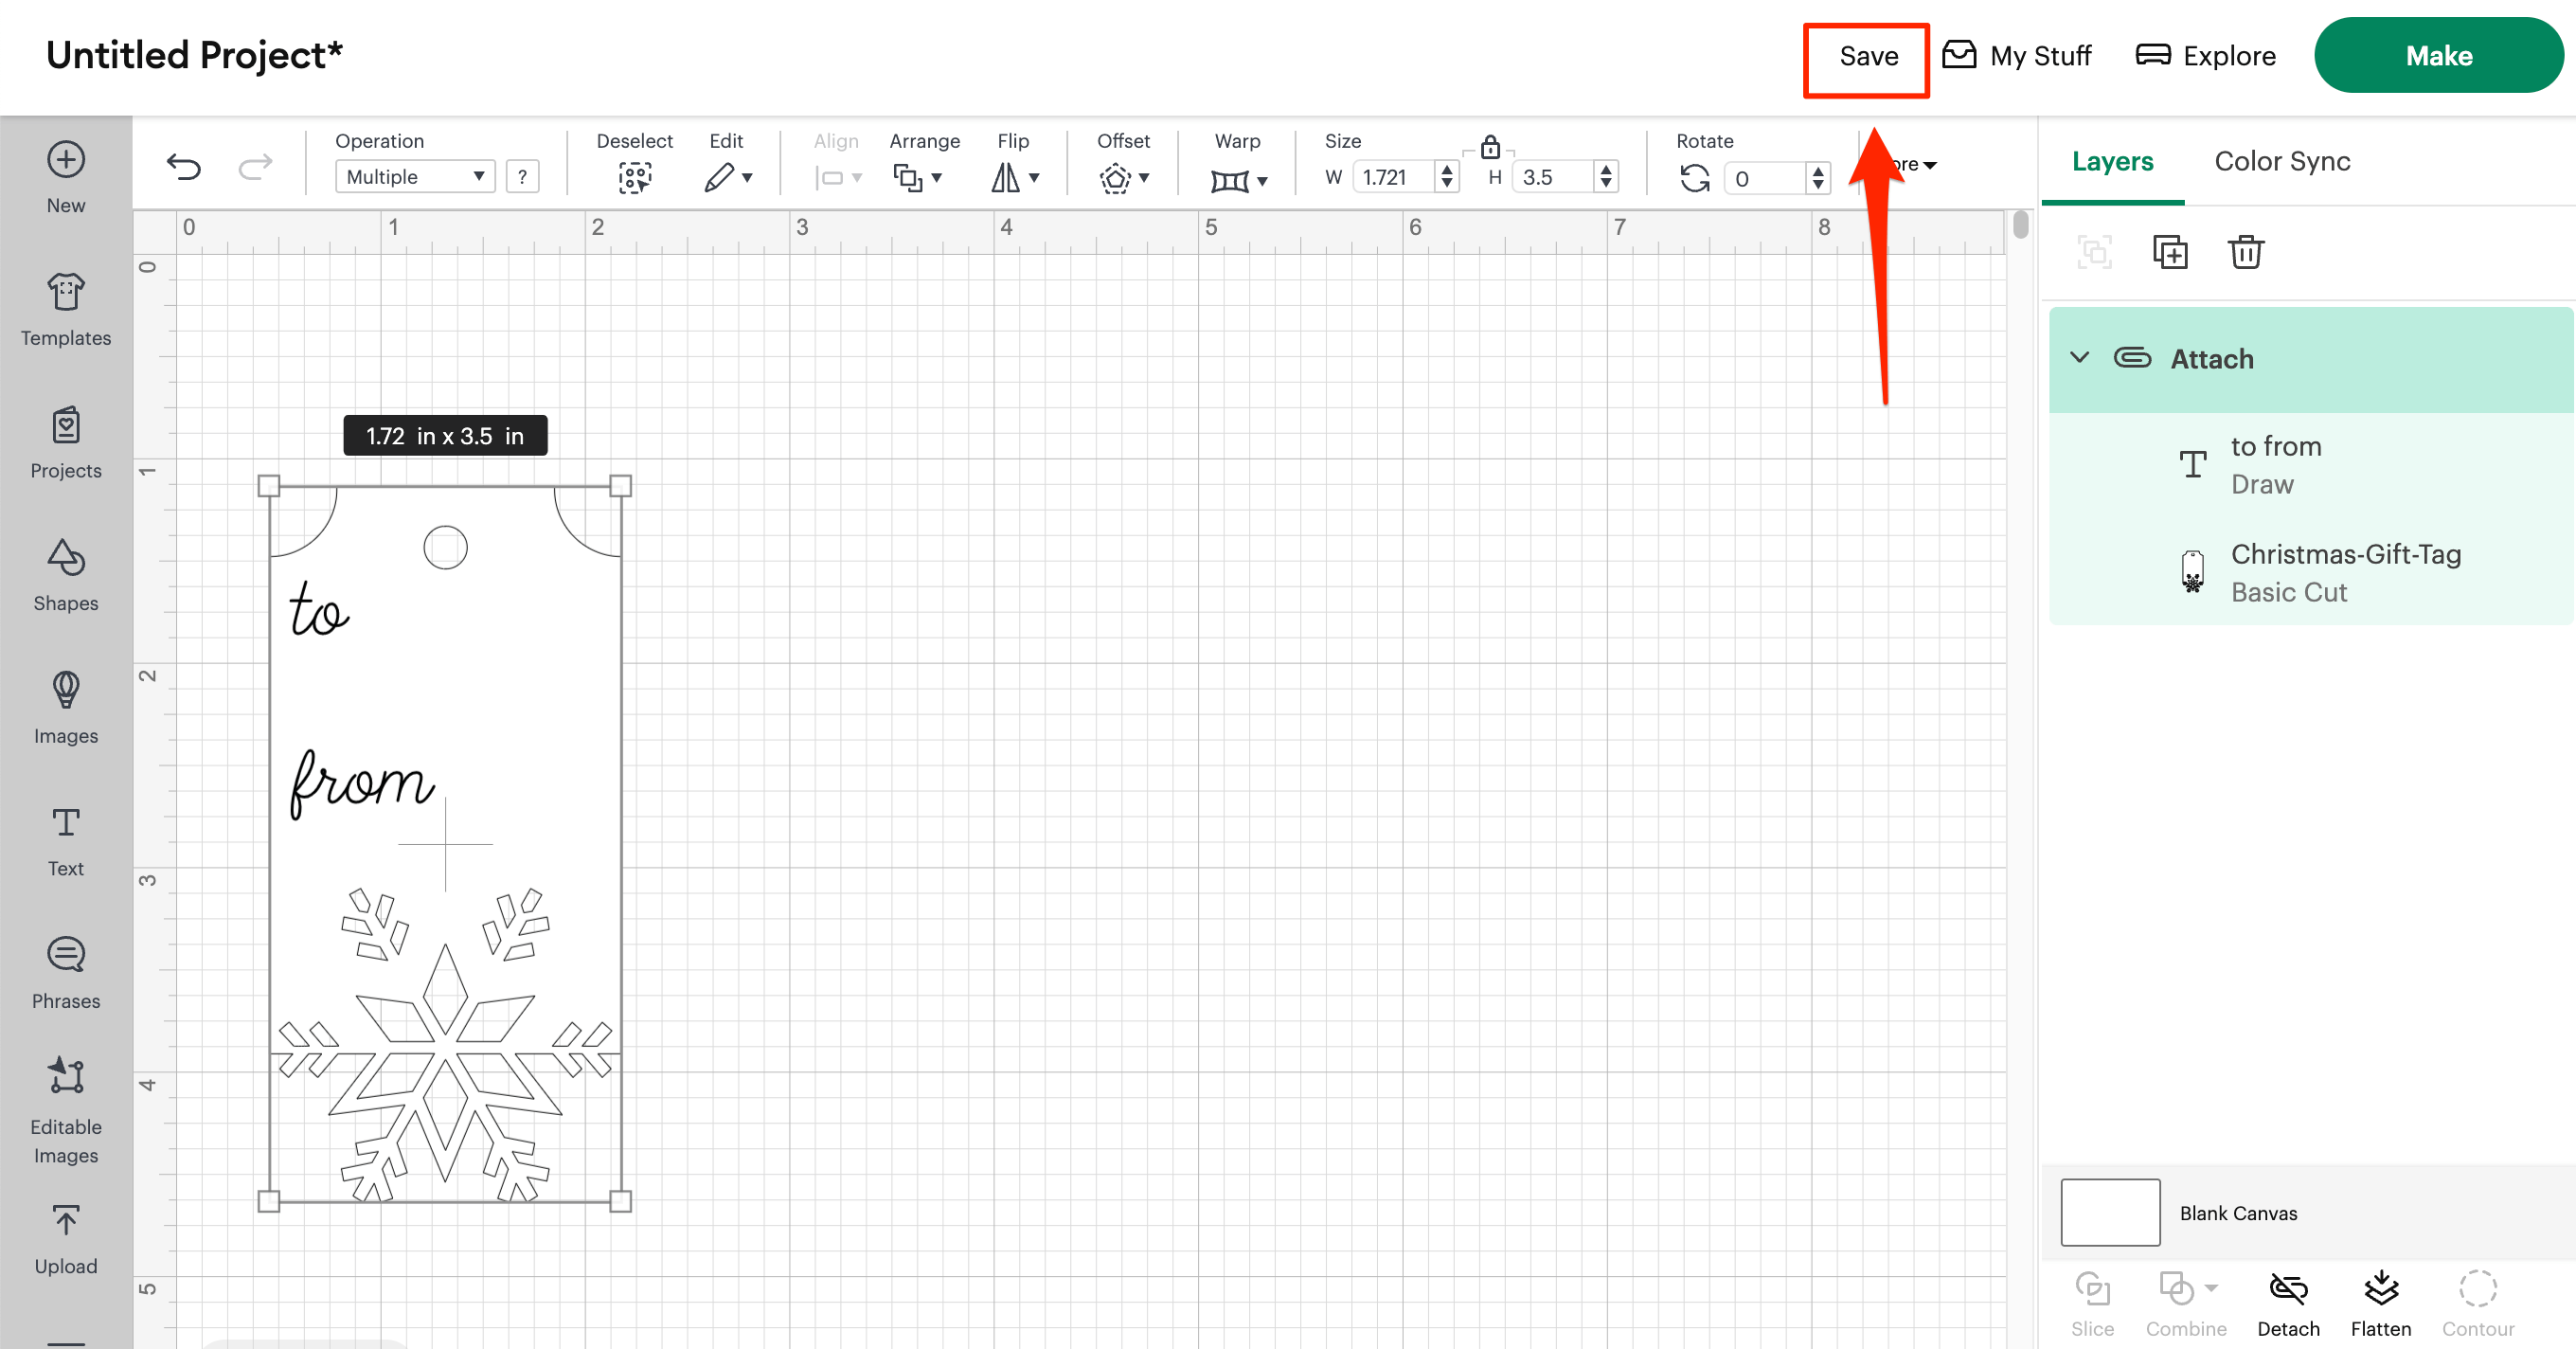
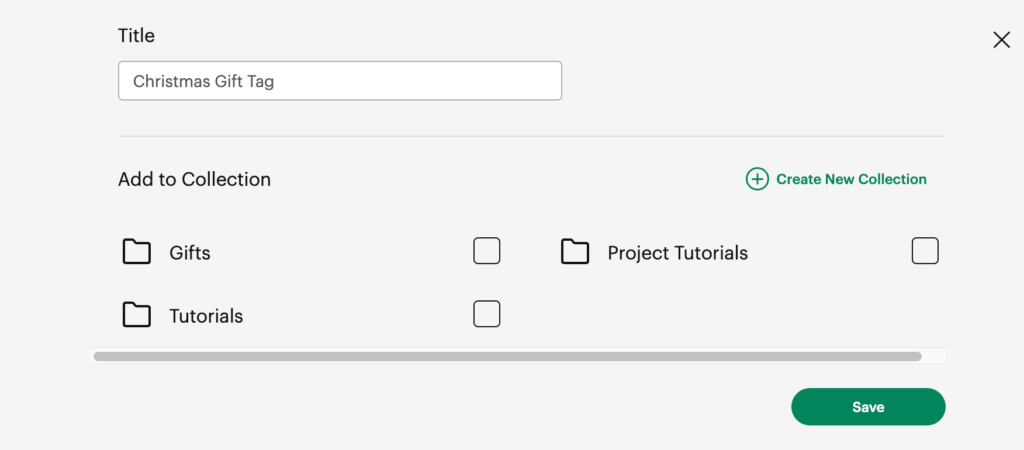
- Give it a memorable name and then click Save.
Now your project is saved and you can see it has the new name (in the top left).
