In this Step we’re going to get your Cricut to write the to and from, and then cut out the tag.
- Turn your Cricut on and plug the connecting cable into your computer.
- Click the green Make button in the top right hand corner.

- Confirm how you will load your materials. If you’re unsure, select On Mat, and 12 x 12”. Then click Confirm.

- On the next screen you’ll see where the tag will be cut out on your mat. By default it’s positioned in the top left. Click Continue.
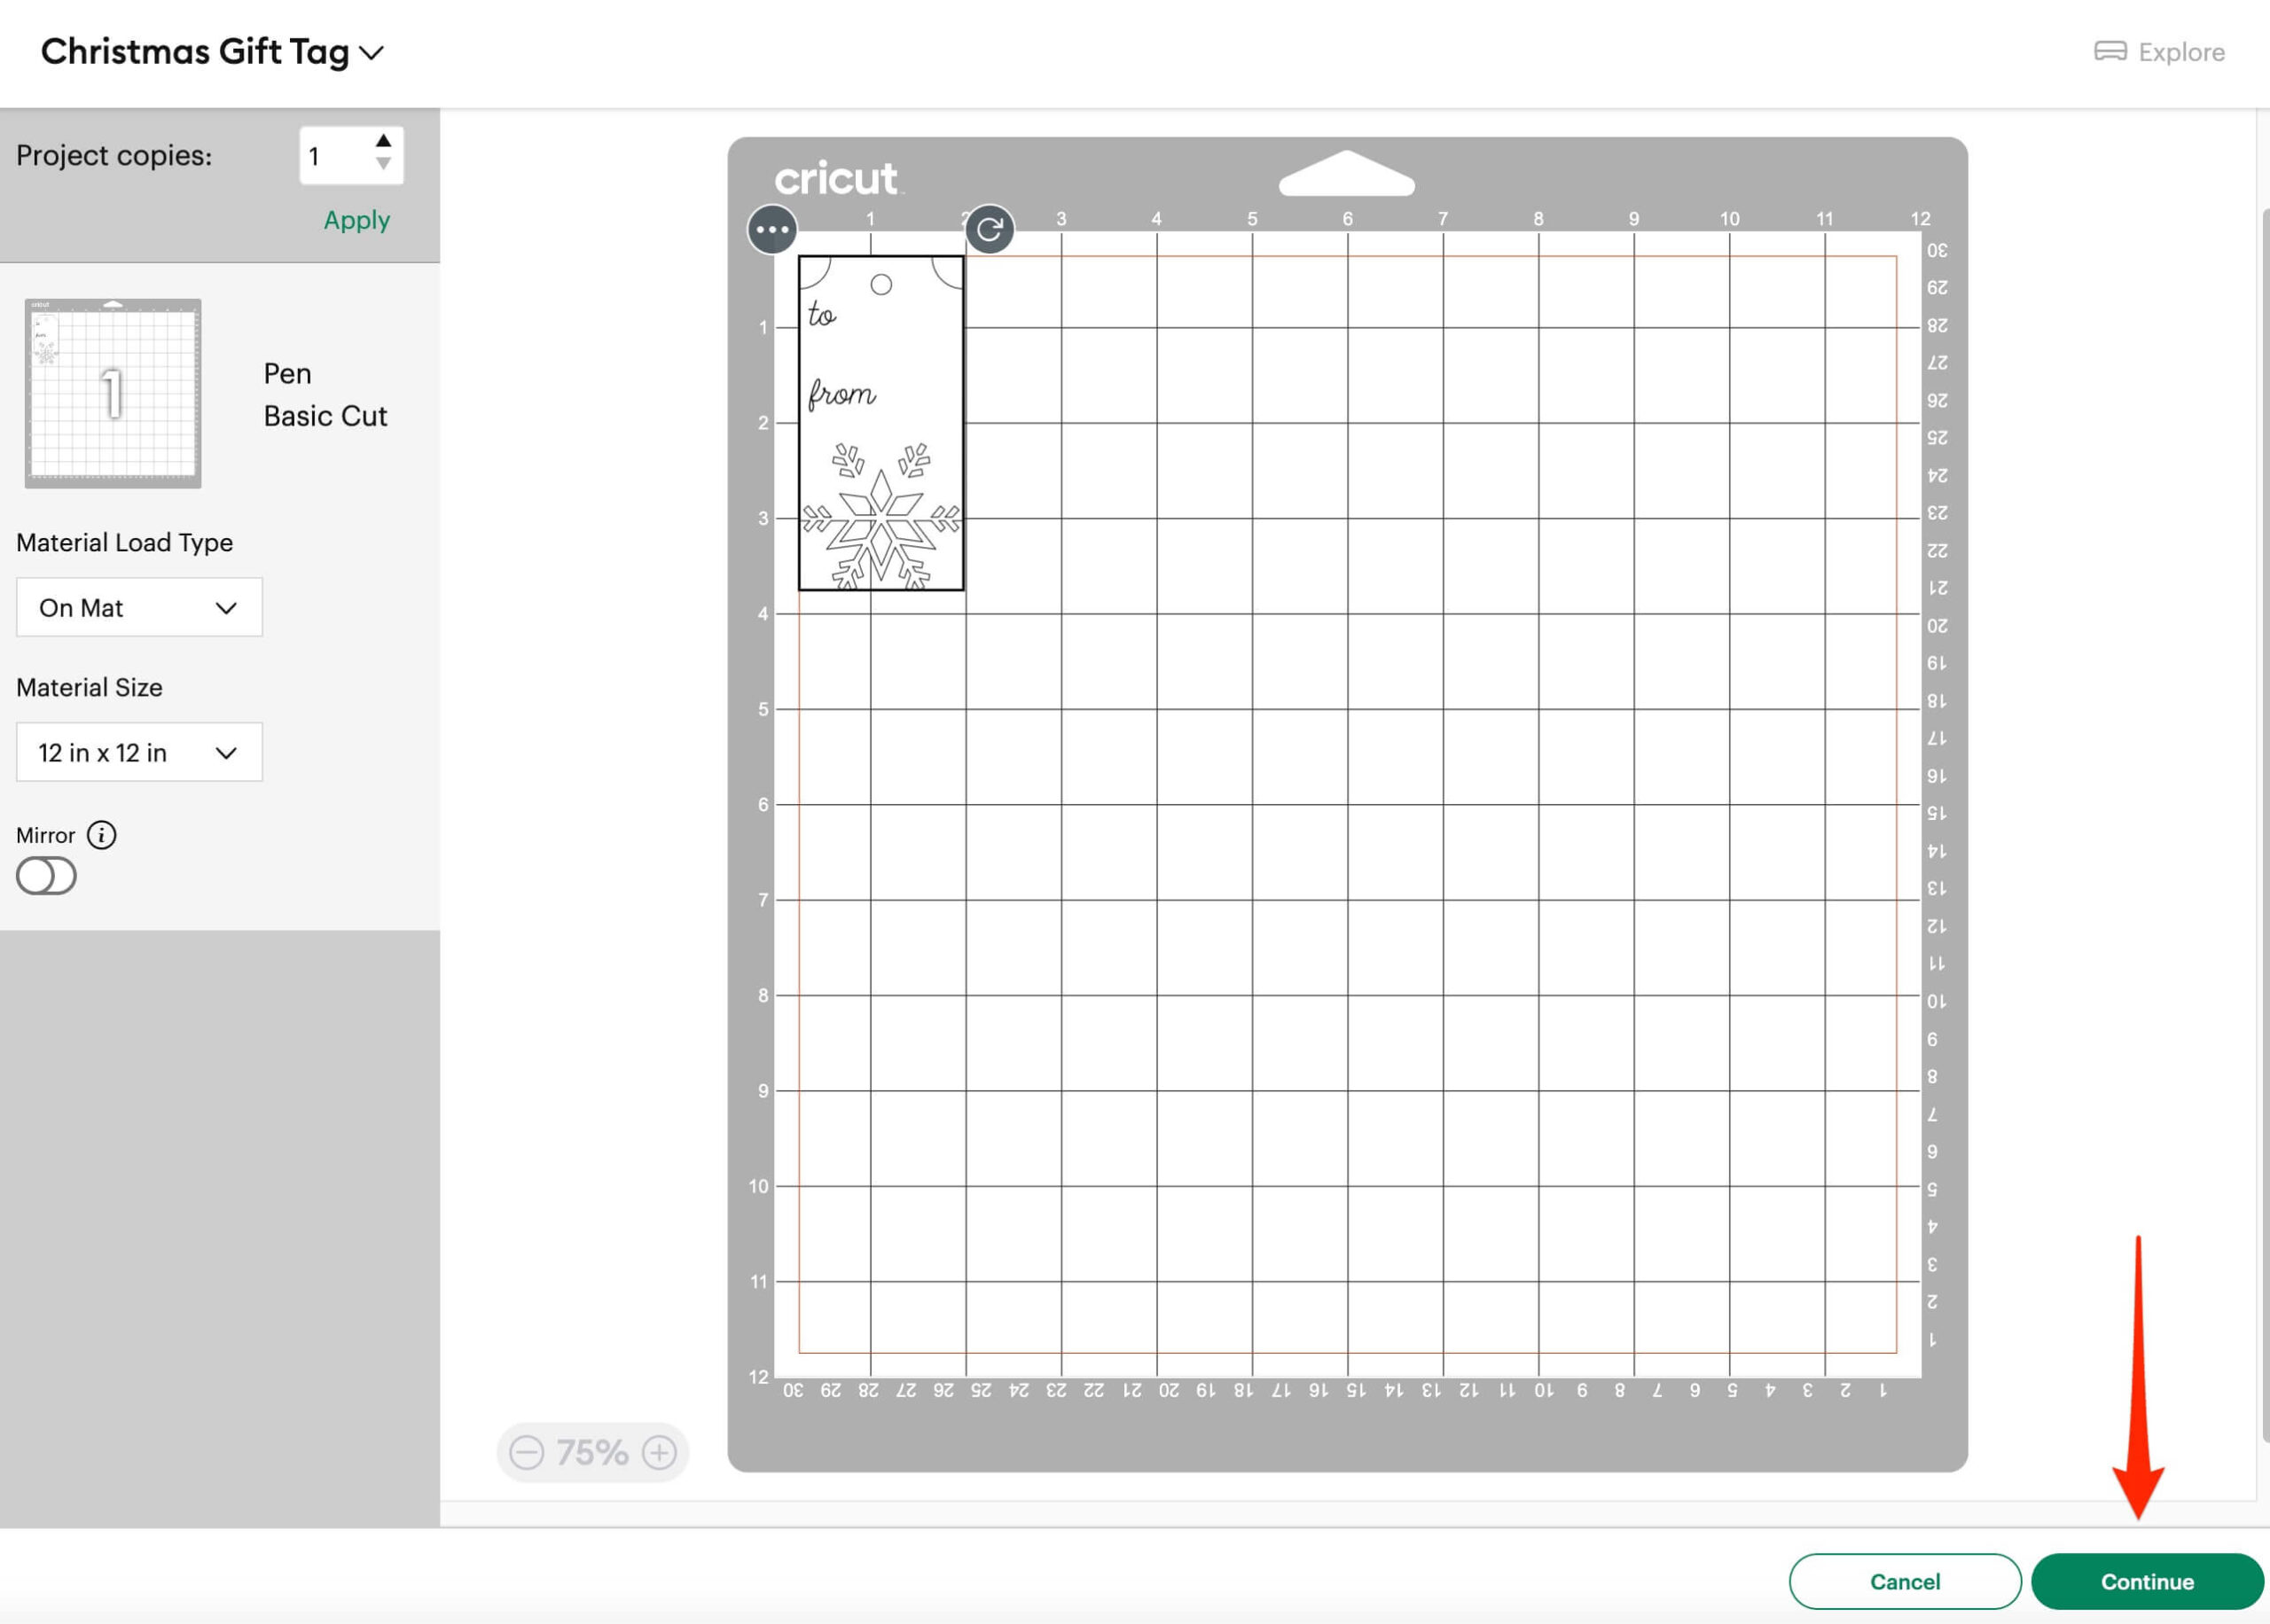
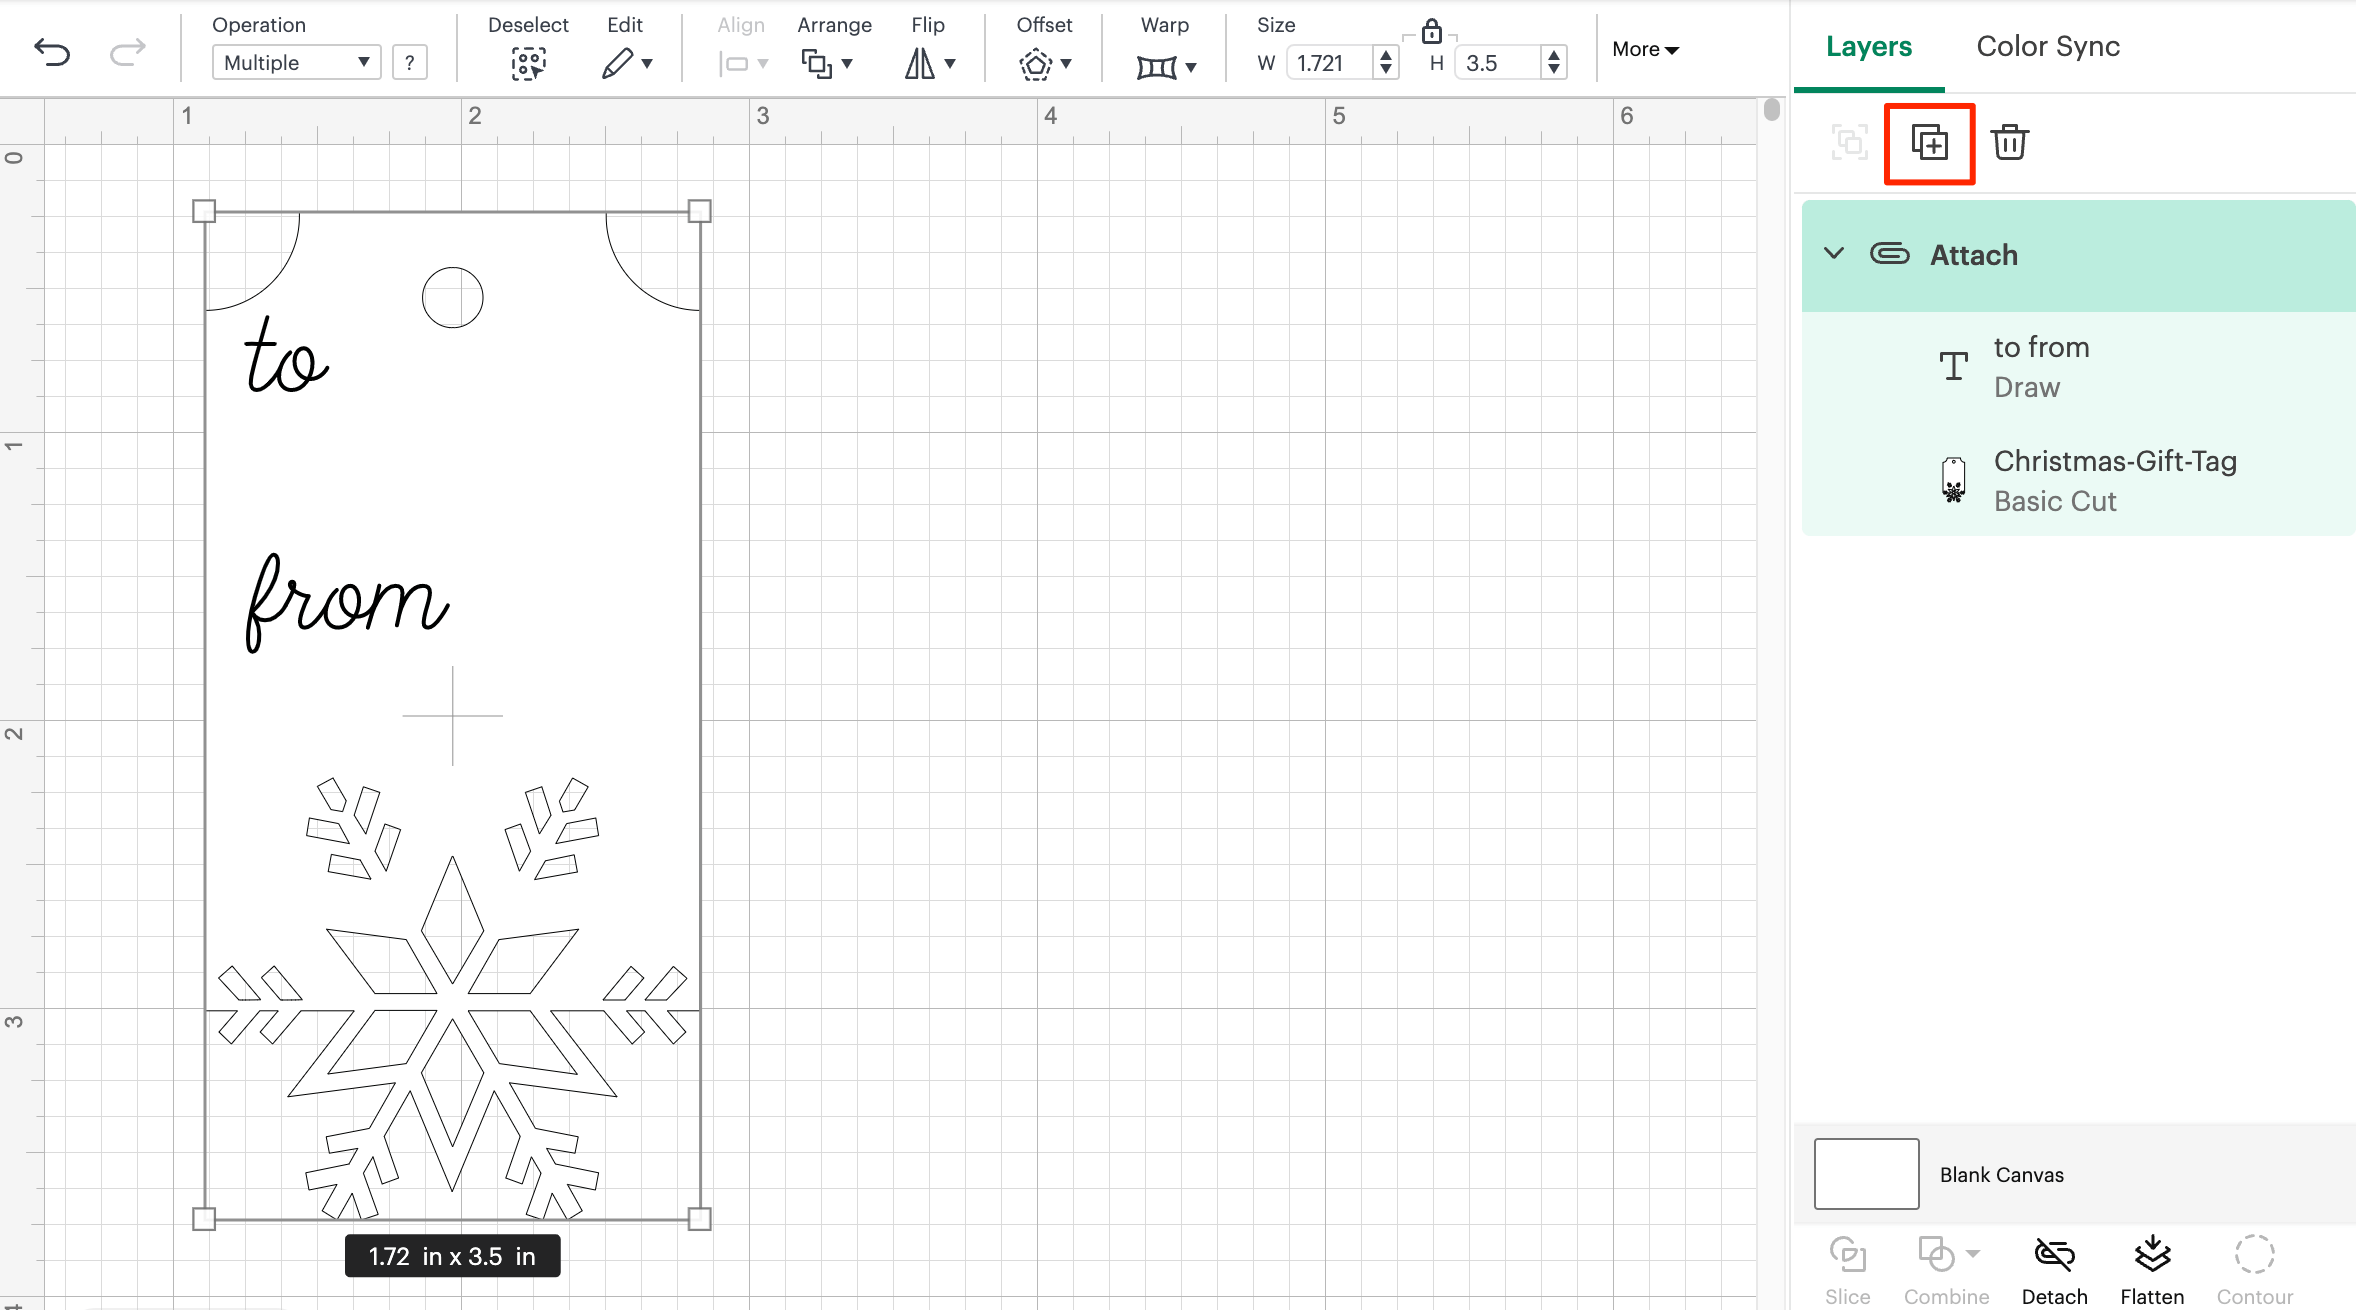
Note: If the text and tag aren’t positioned correctly then it’s because you did not Attach them together on the canvas. Go back to Step 9 & 10 in the previous section.
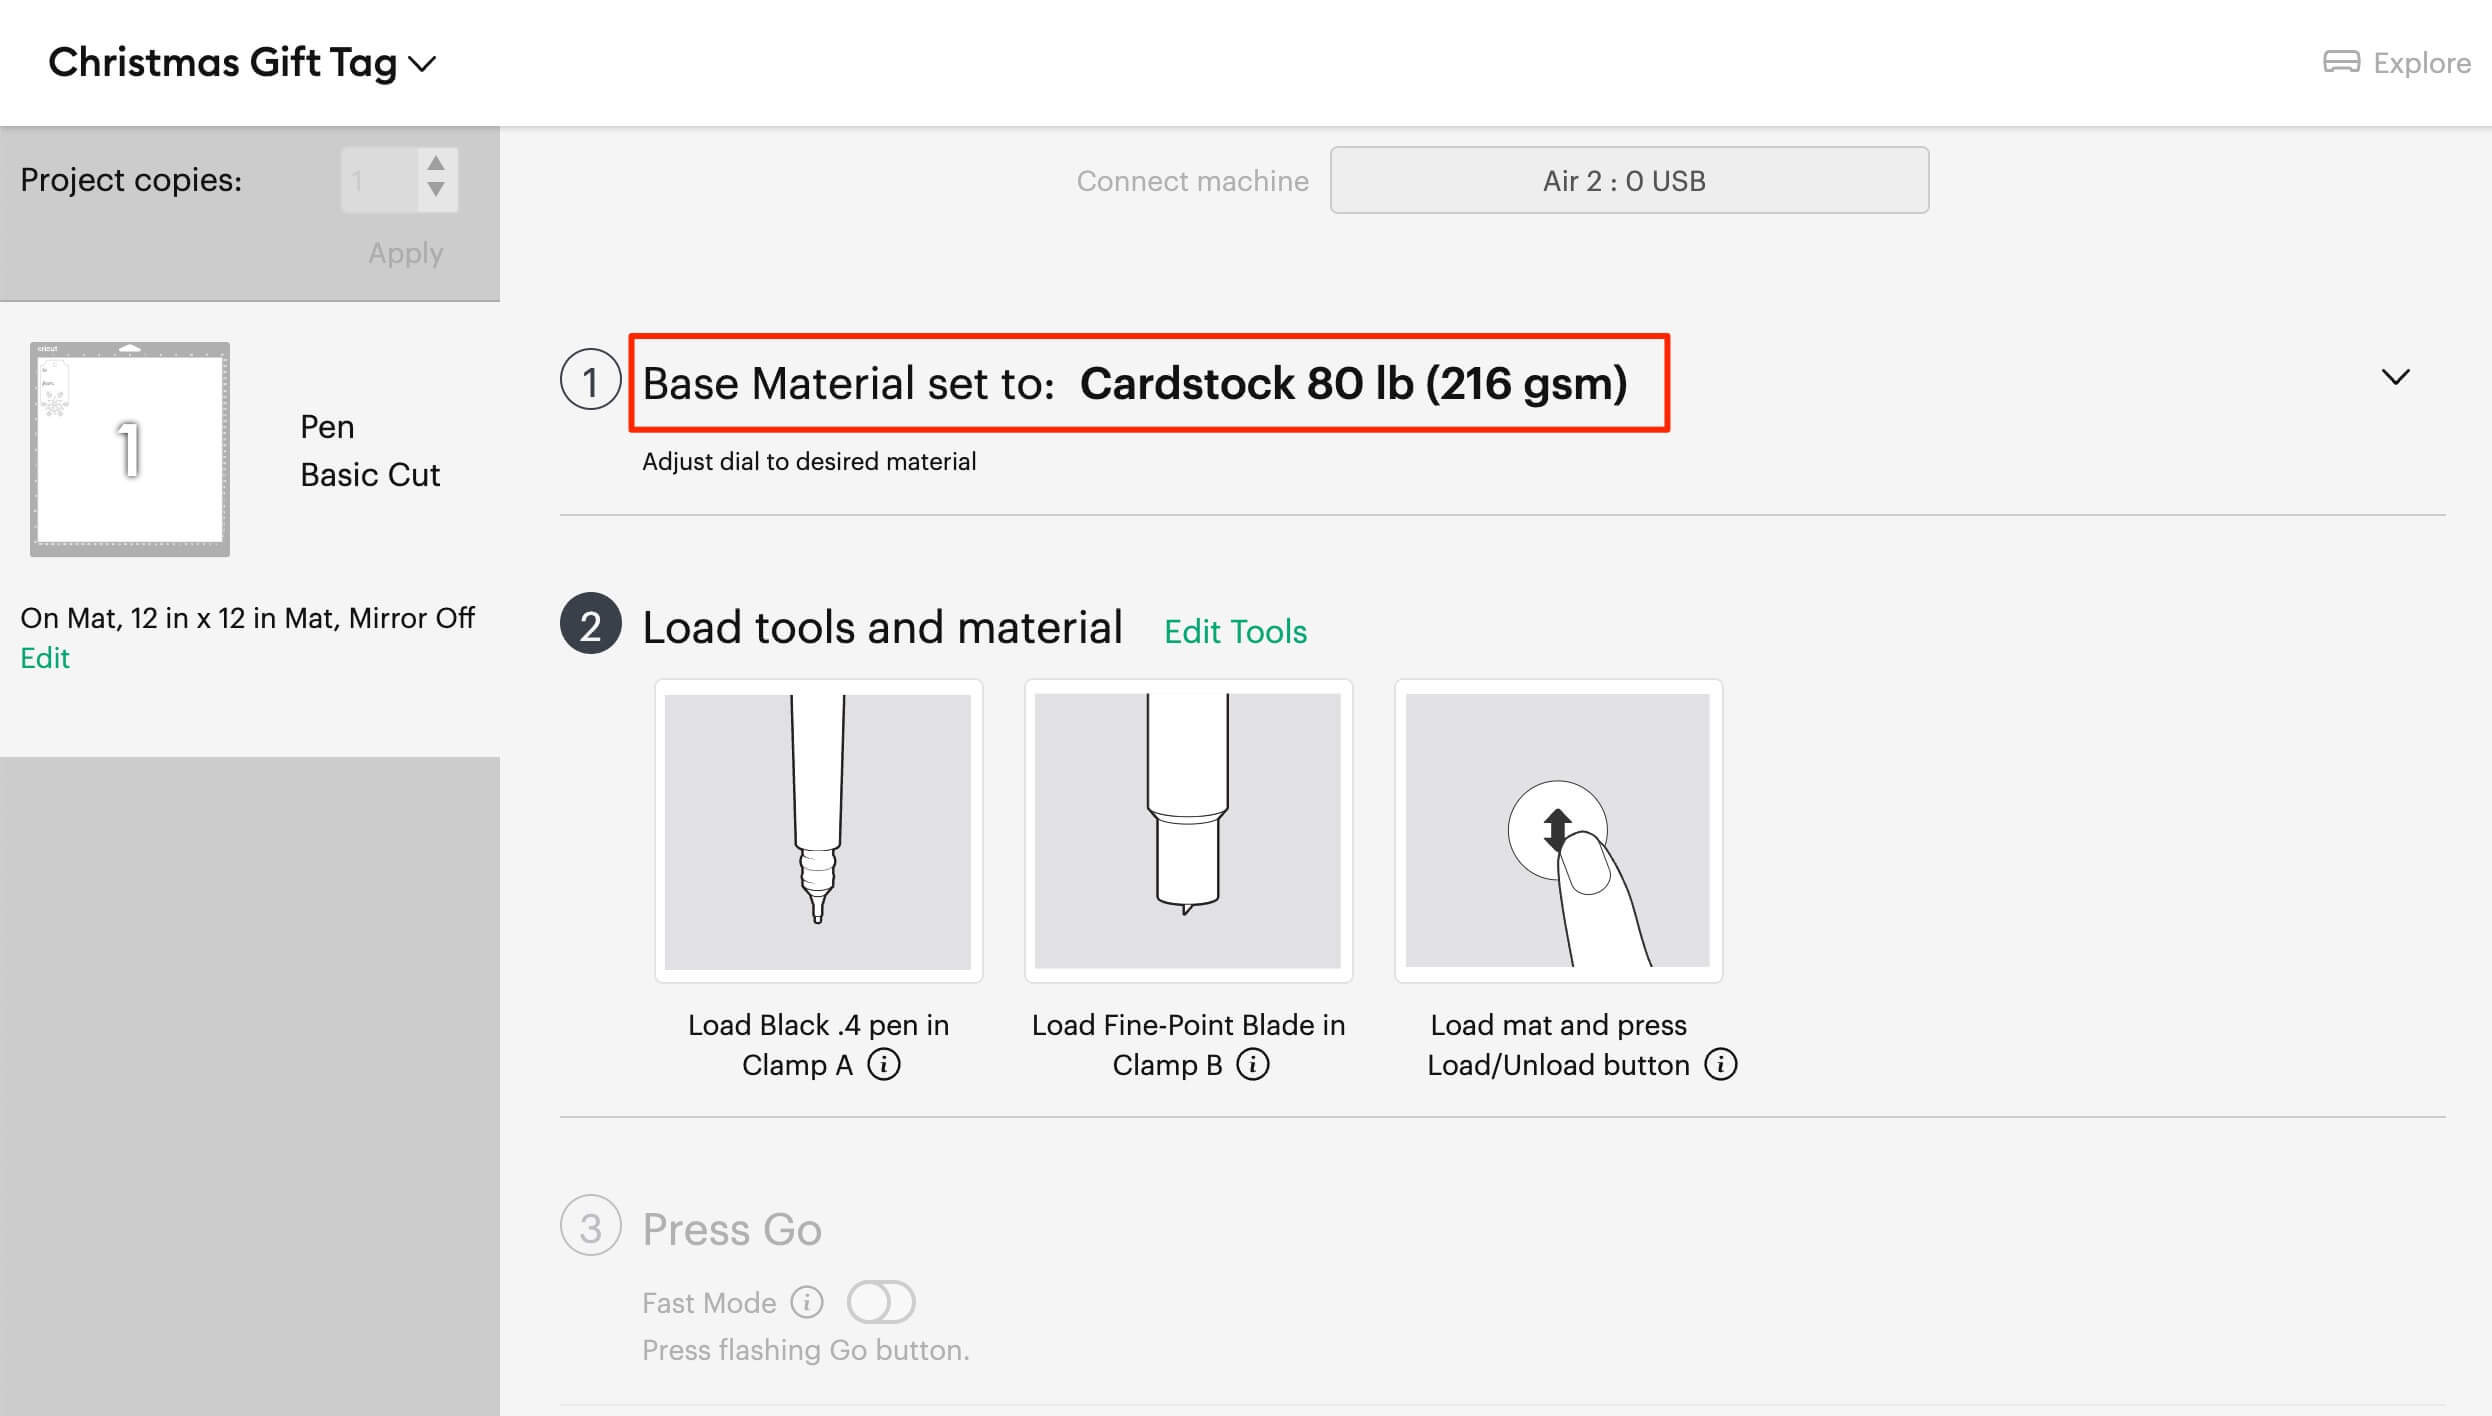
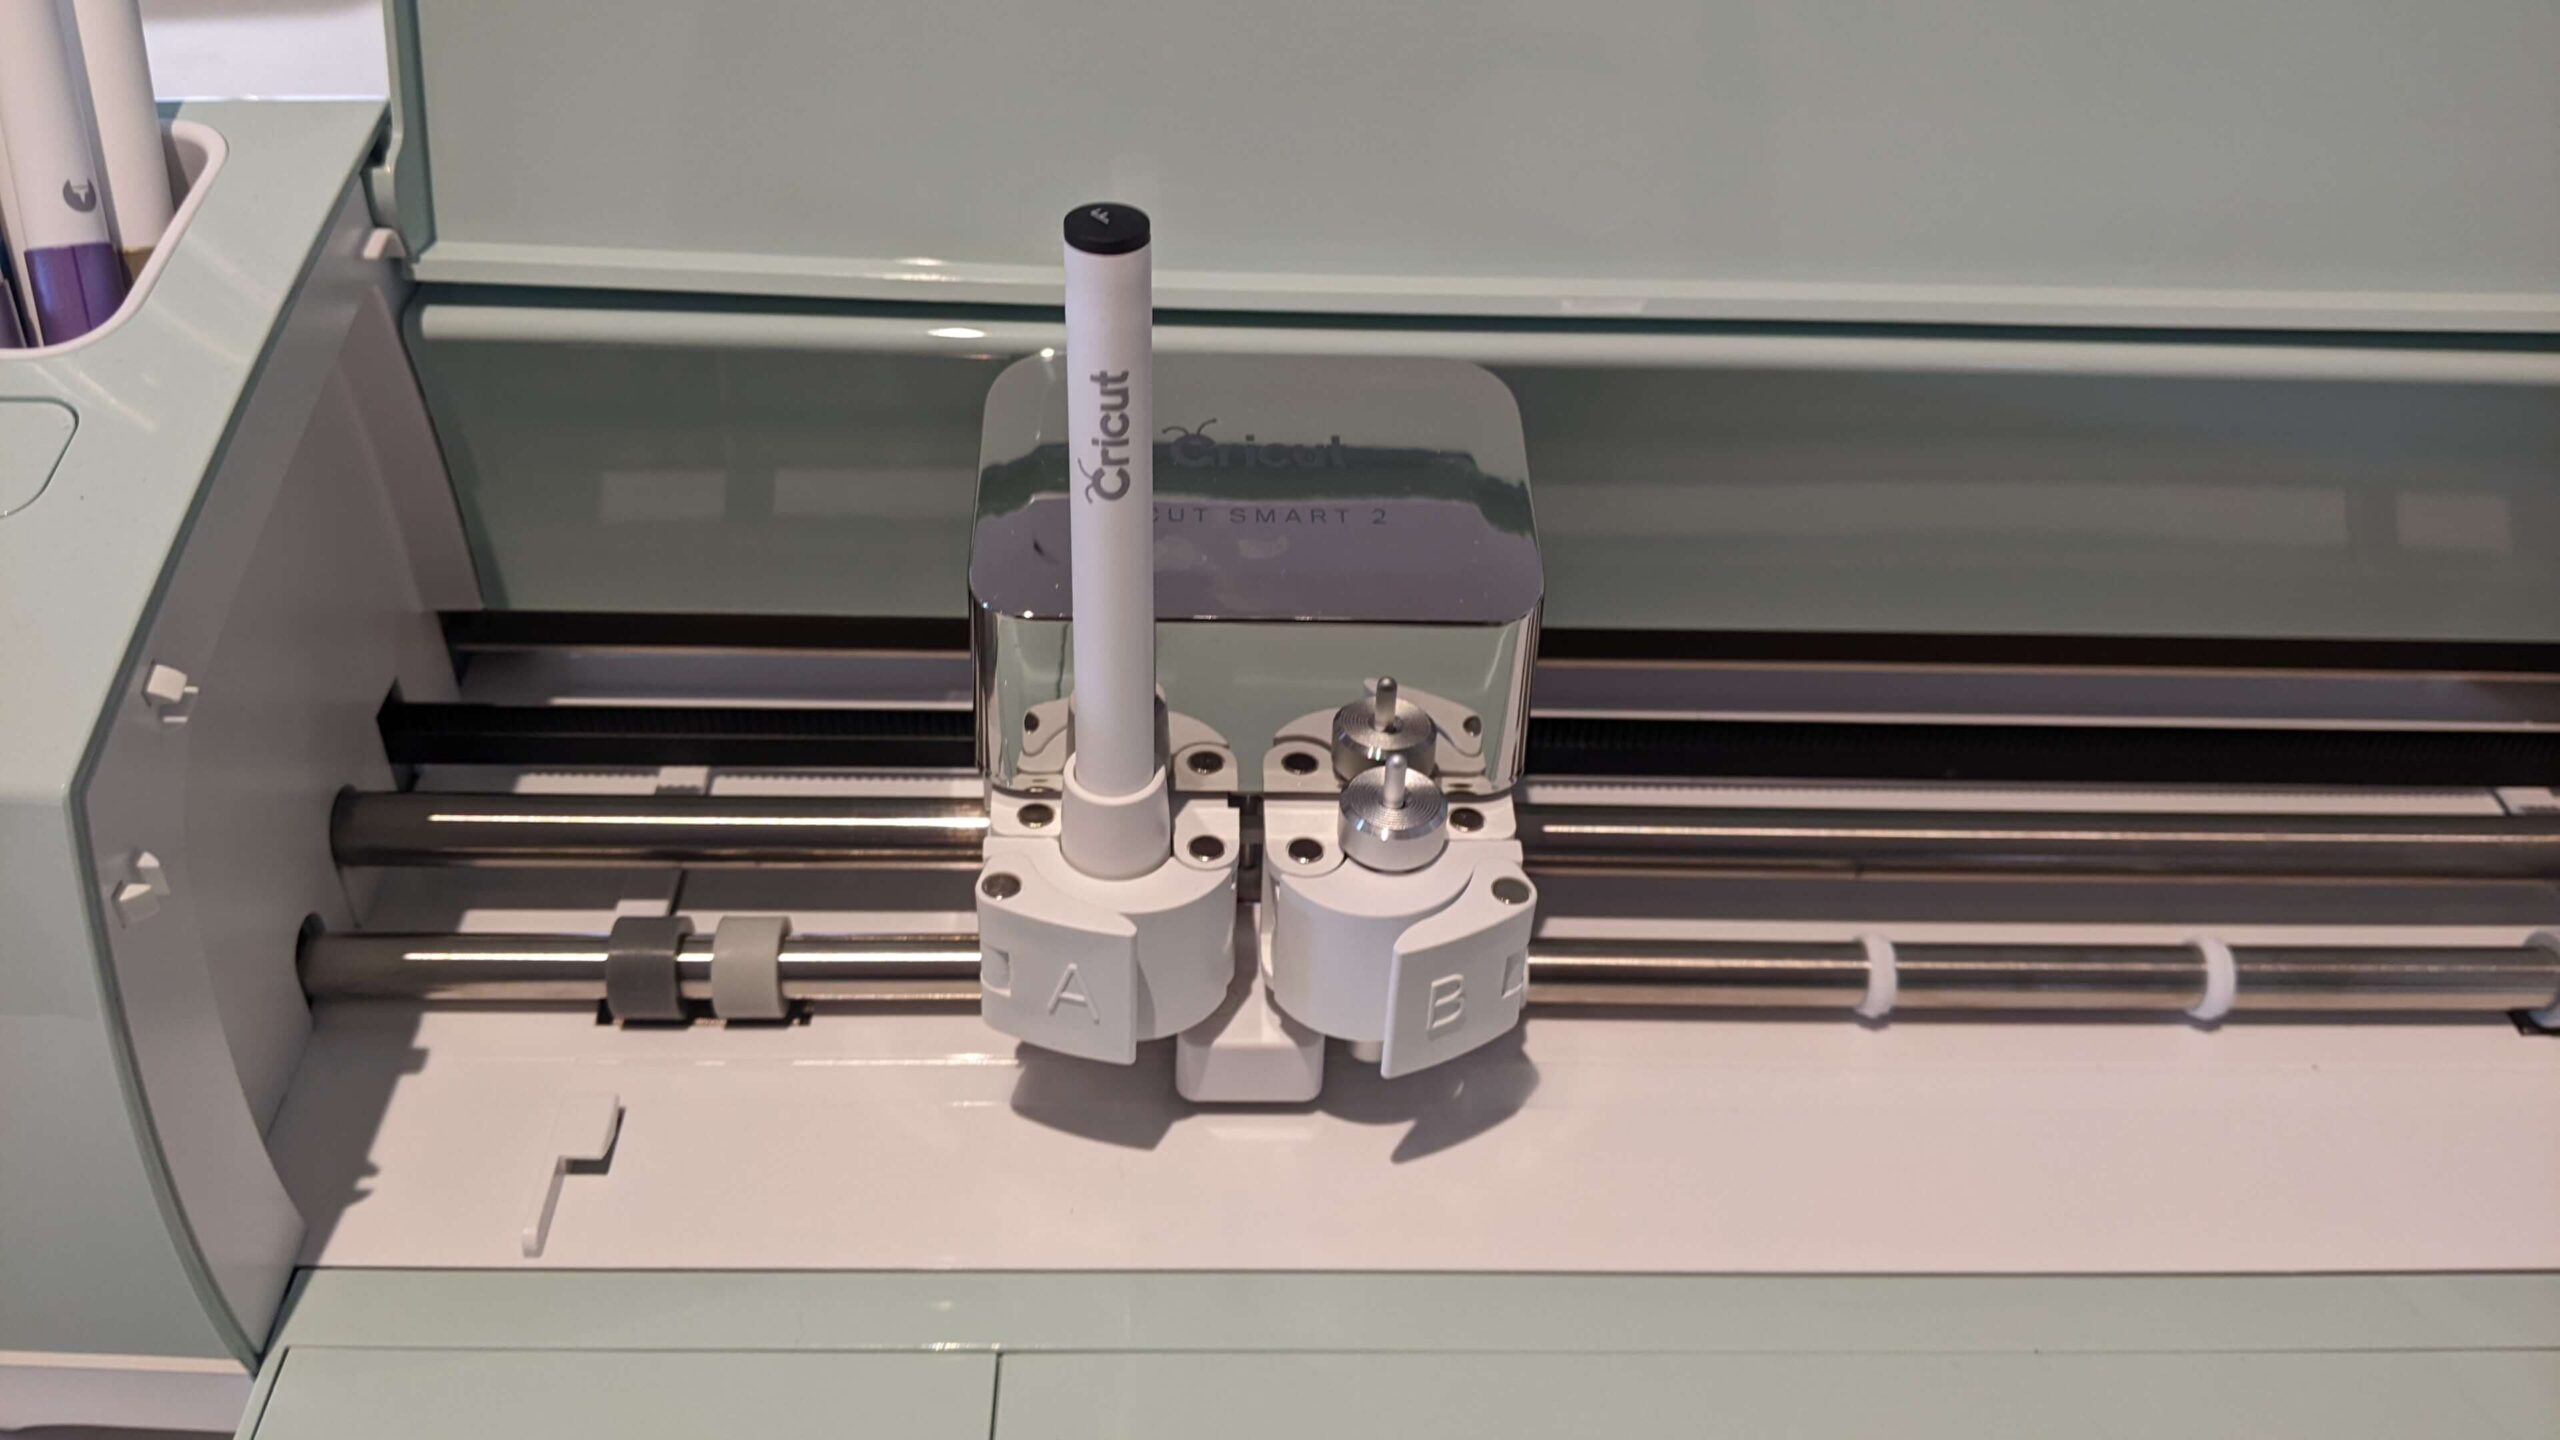
- On the next screen make sure you have the correct material chosen. In this case we’re using 216gsm white cardstock. Then load a Black 0.4mm fine tip black Cricut pen into Clamp A and make sure the Fine-Point Blade is loaded in Clamp B.
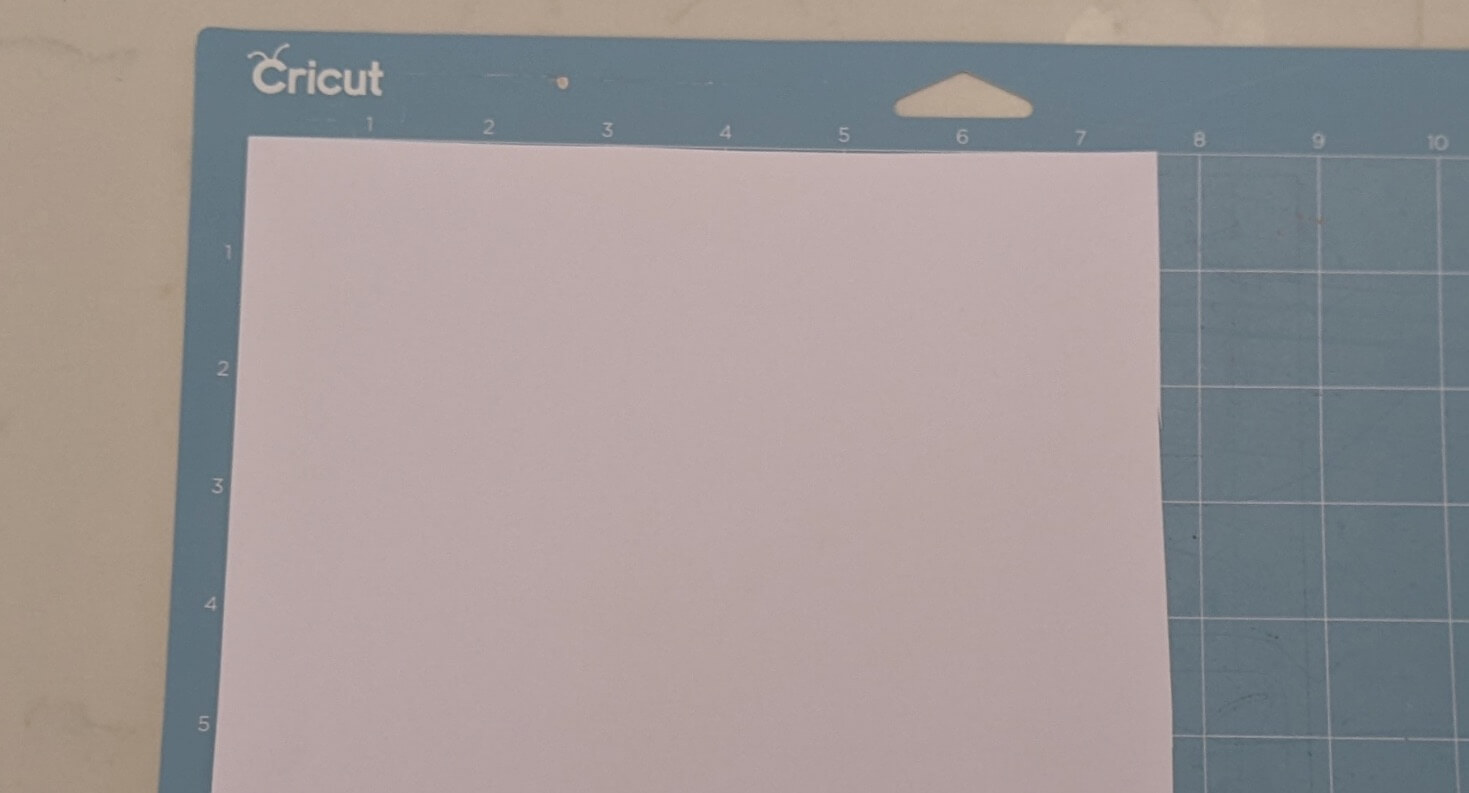
- Now remove the protecting plastic sheet from your Light Grip mat, and place your white cardstock in the top left hand corner. Press and smooth it down so it’s secured to the mat.
- Now load the mat into your Cricut and press the flashing load button.
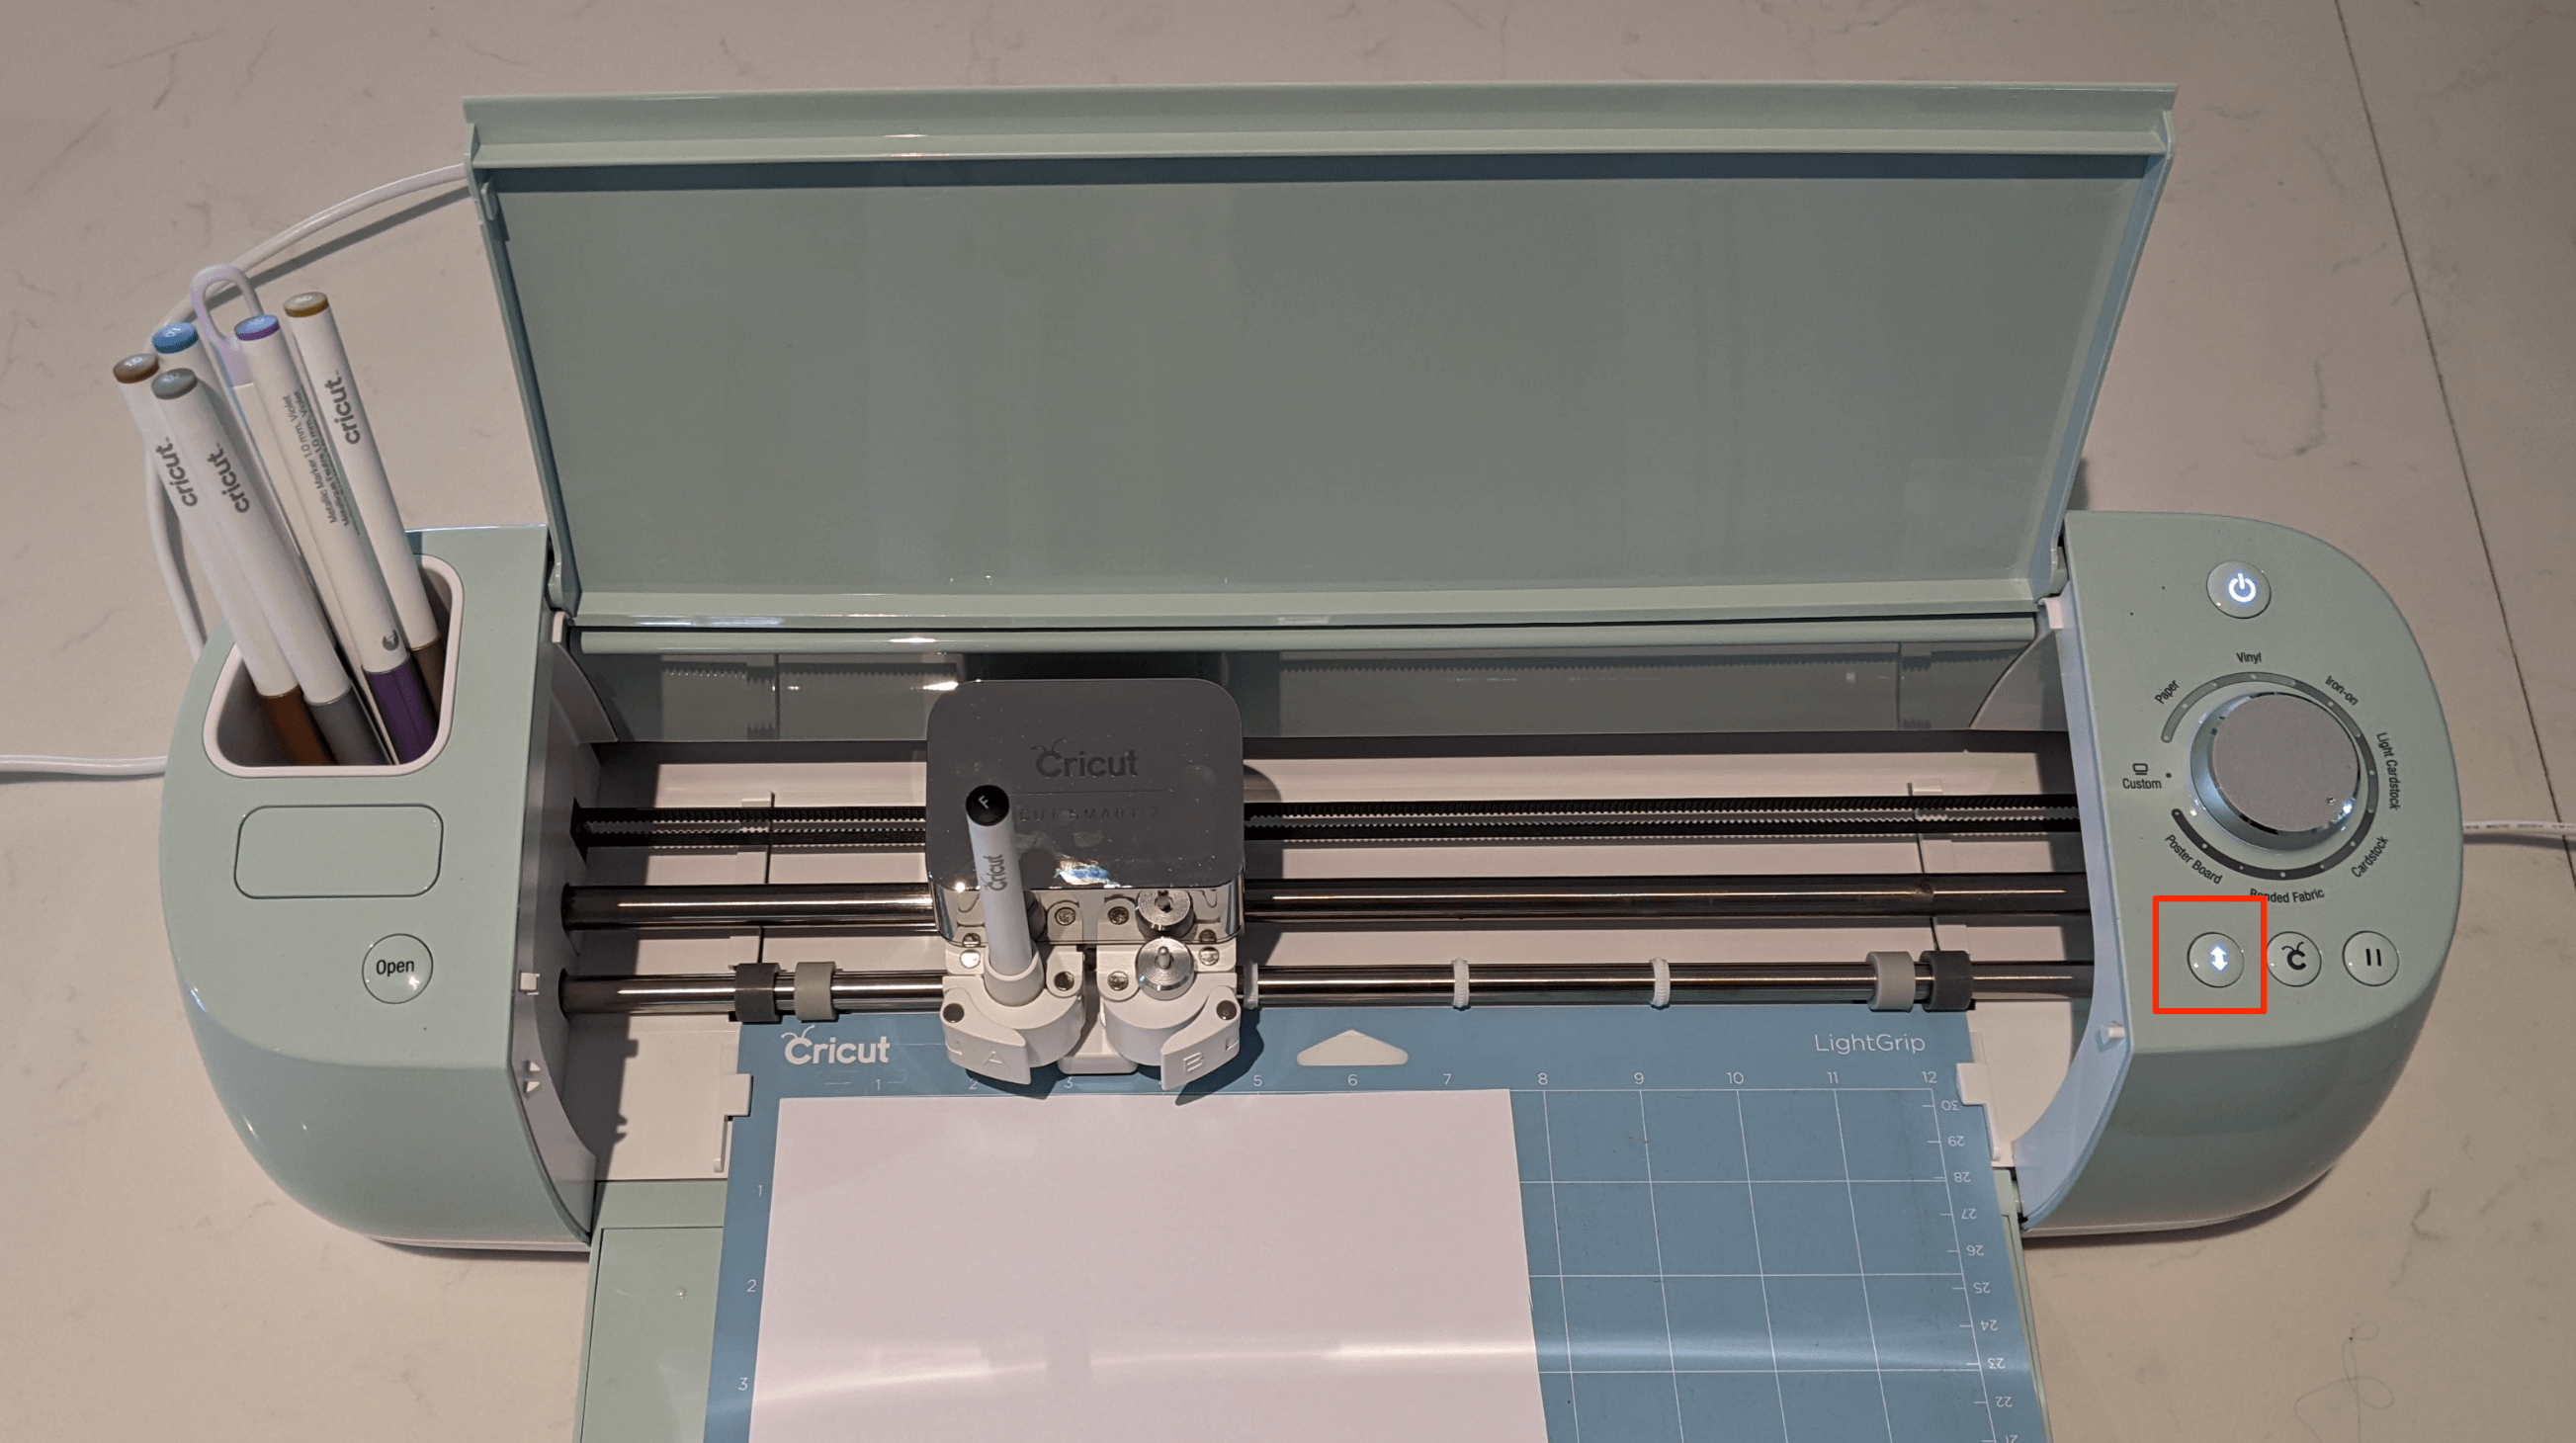
Tip: When loading the mat, make sure you apply some pressure to push the mat into the Cricut so that the rollers can grip it. When you press the load button it should draw the mat into the Cricut. If it doesn’t then the rollers haven’t gripped and it won’t cut properly. You’ll need to press
the load button again.
- Once loaded, press the flashing Go button.
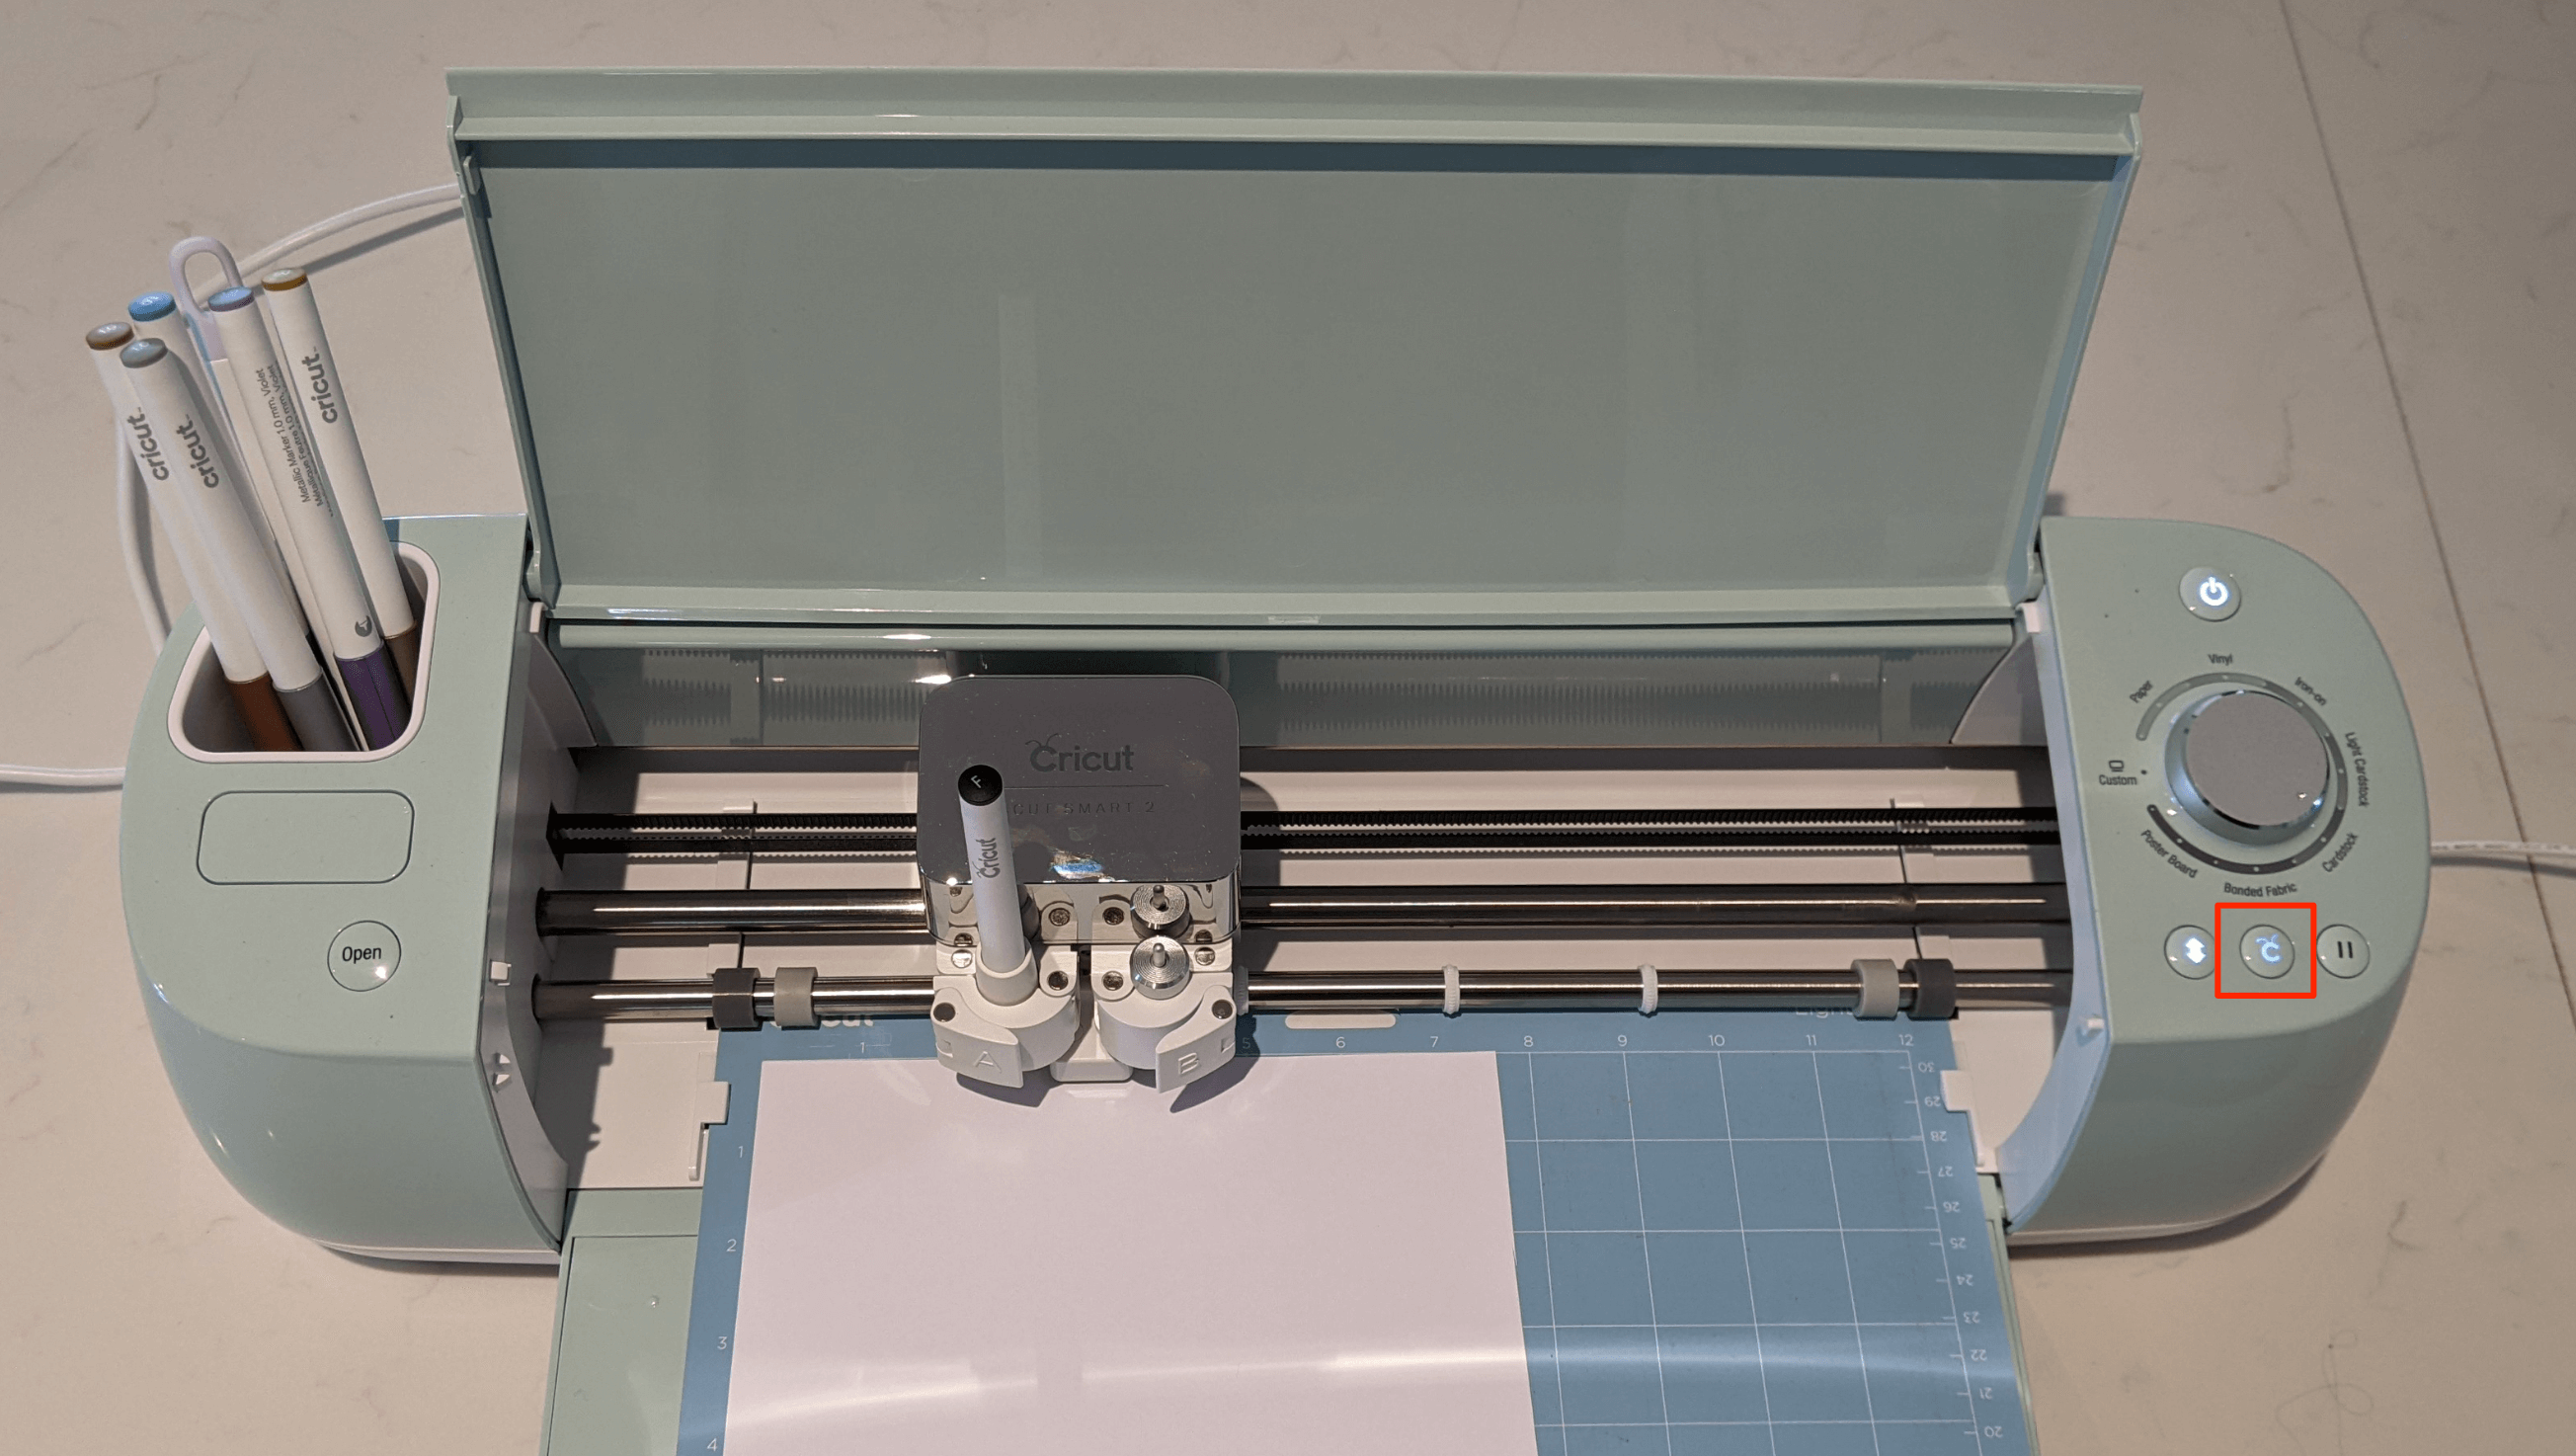
Your Cricut will spring into action, first drawing the text, and then cutting the tag. Once it’s finished cutting, press the flashing Unload button to release the mat.
- Remove the mat, flip it upside down and then peel the mat away from the cardstock so avoid bending the cardstock.
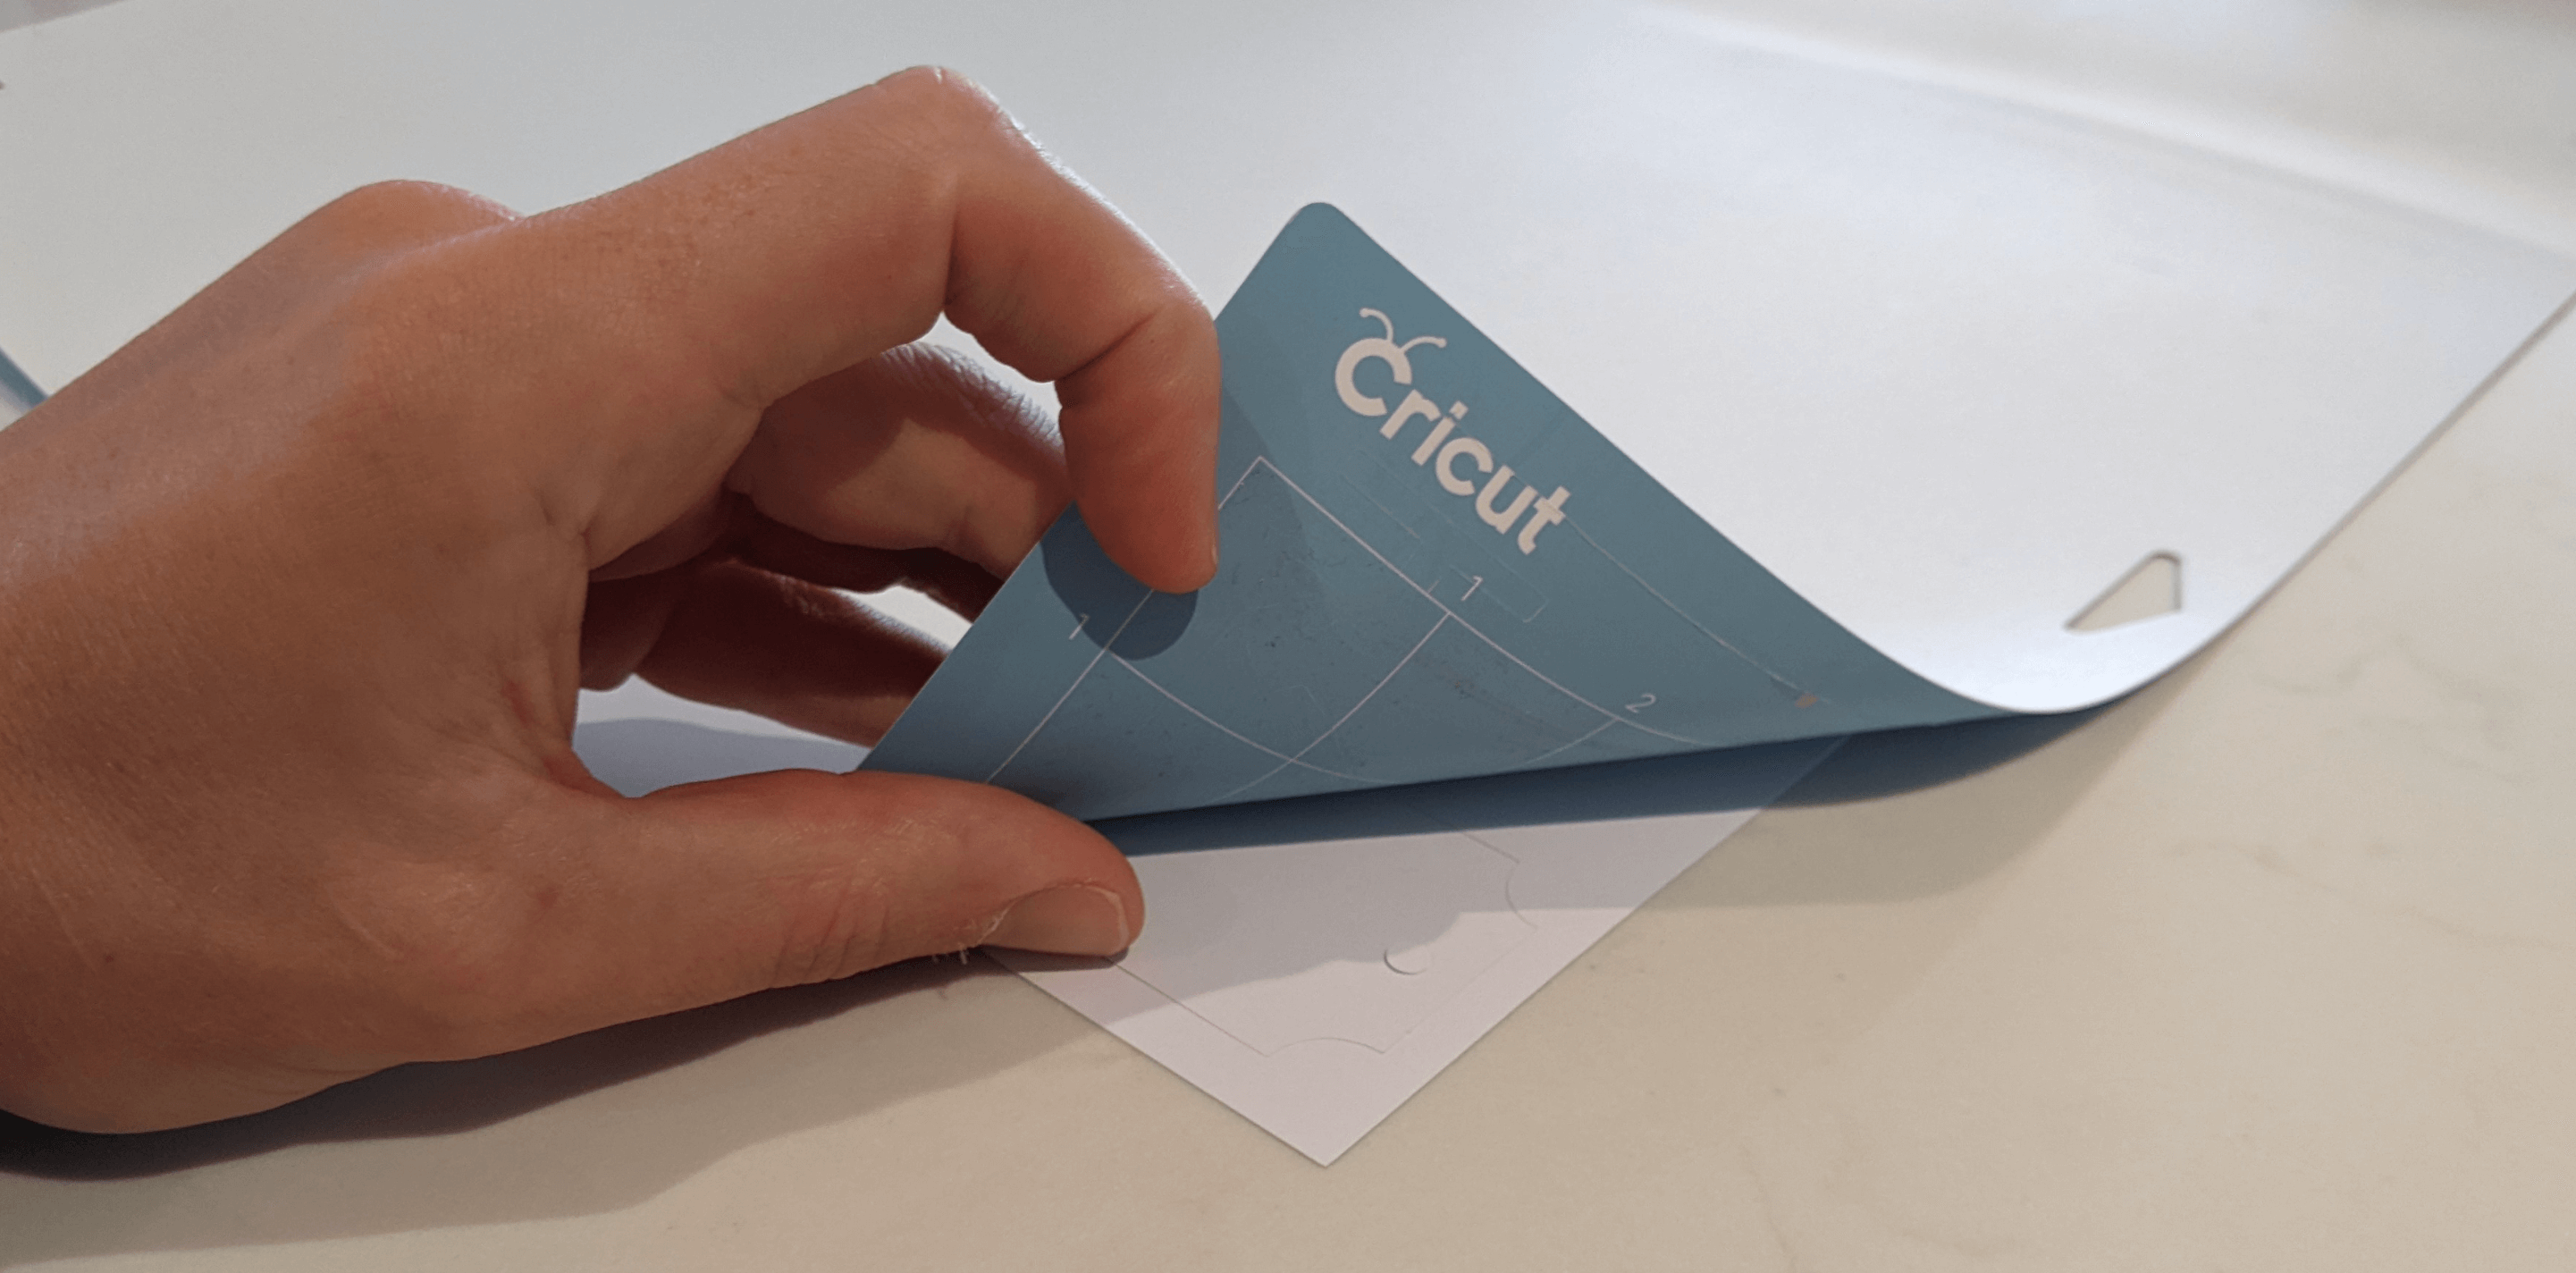
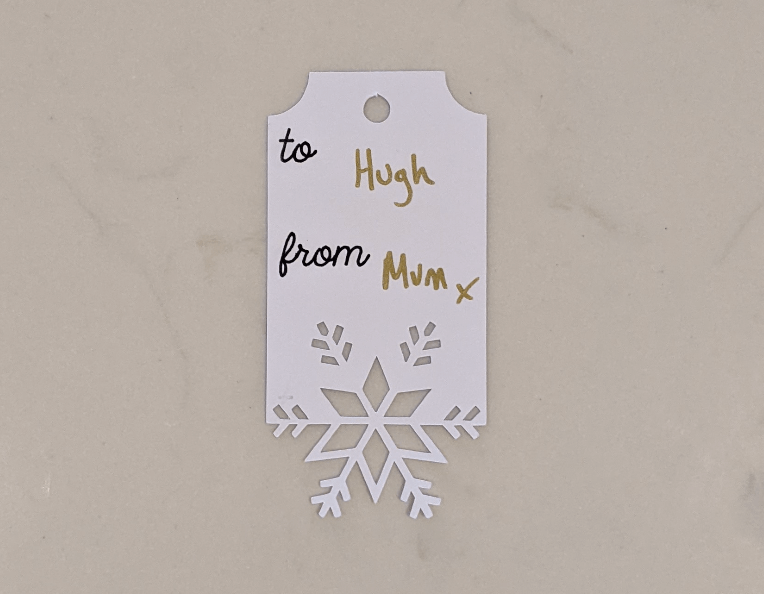
- Detach the tag from the rest of the cardstock, and this is what you should have:
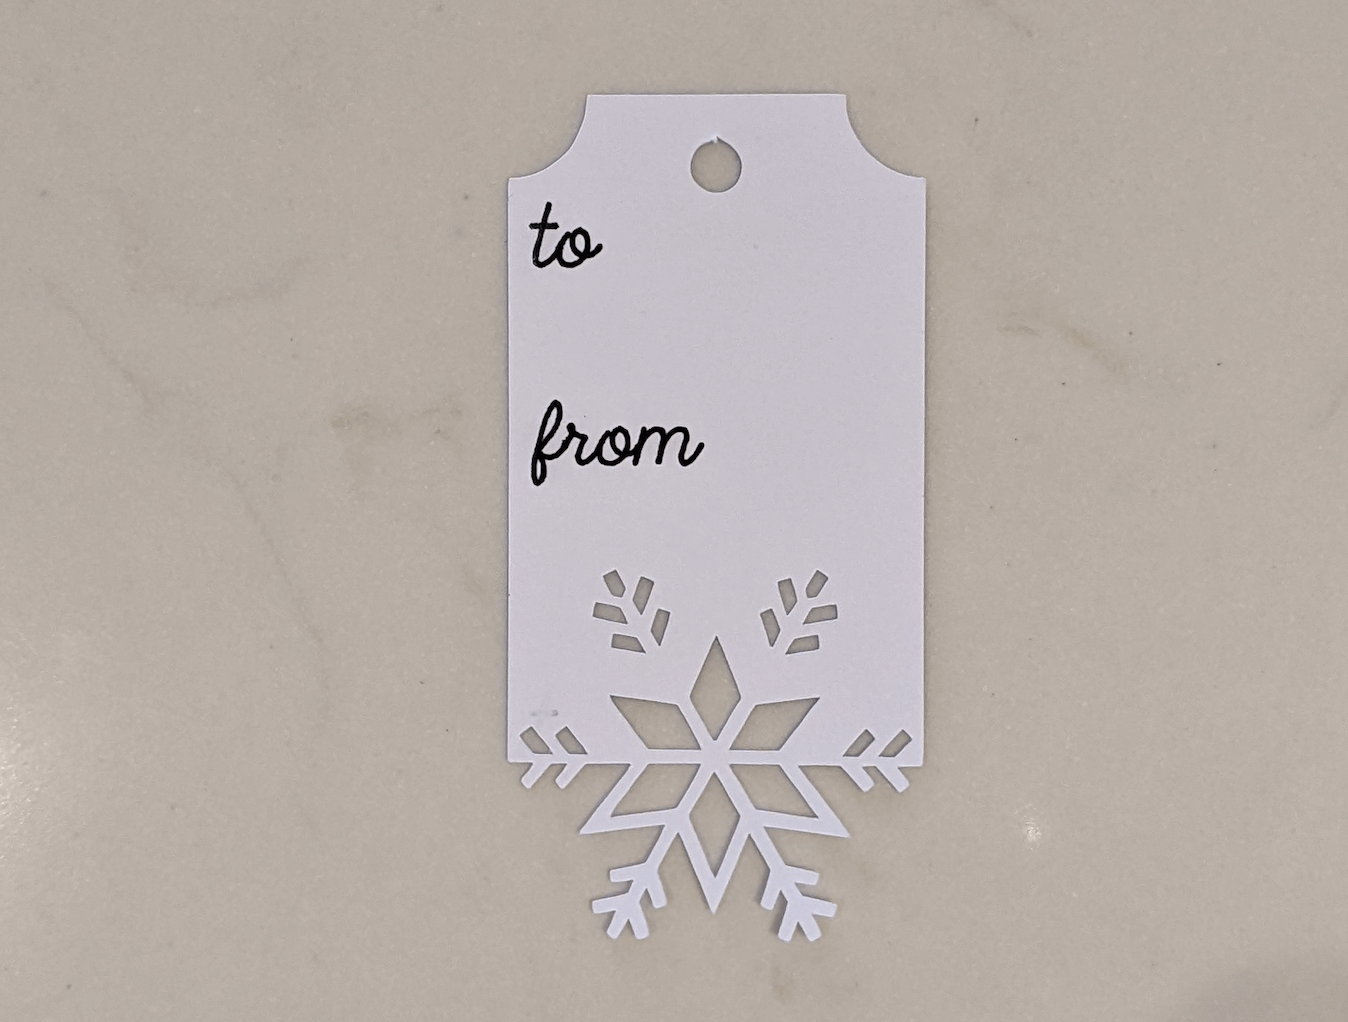
- Now use a pen to add the names!
- Lastly, add some red or gold twine so that you can attach your tag to its gift.
Congratulations, you’re all done!
Final Tip: If you want to make multiple tags, then in your canvas you can simply duplicate the tag and text once they’ve been Attached together.
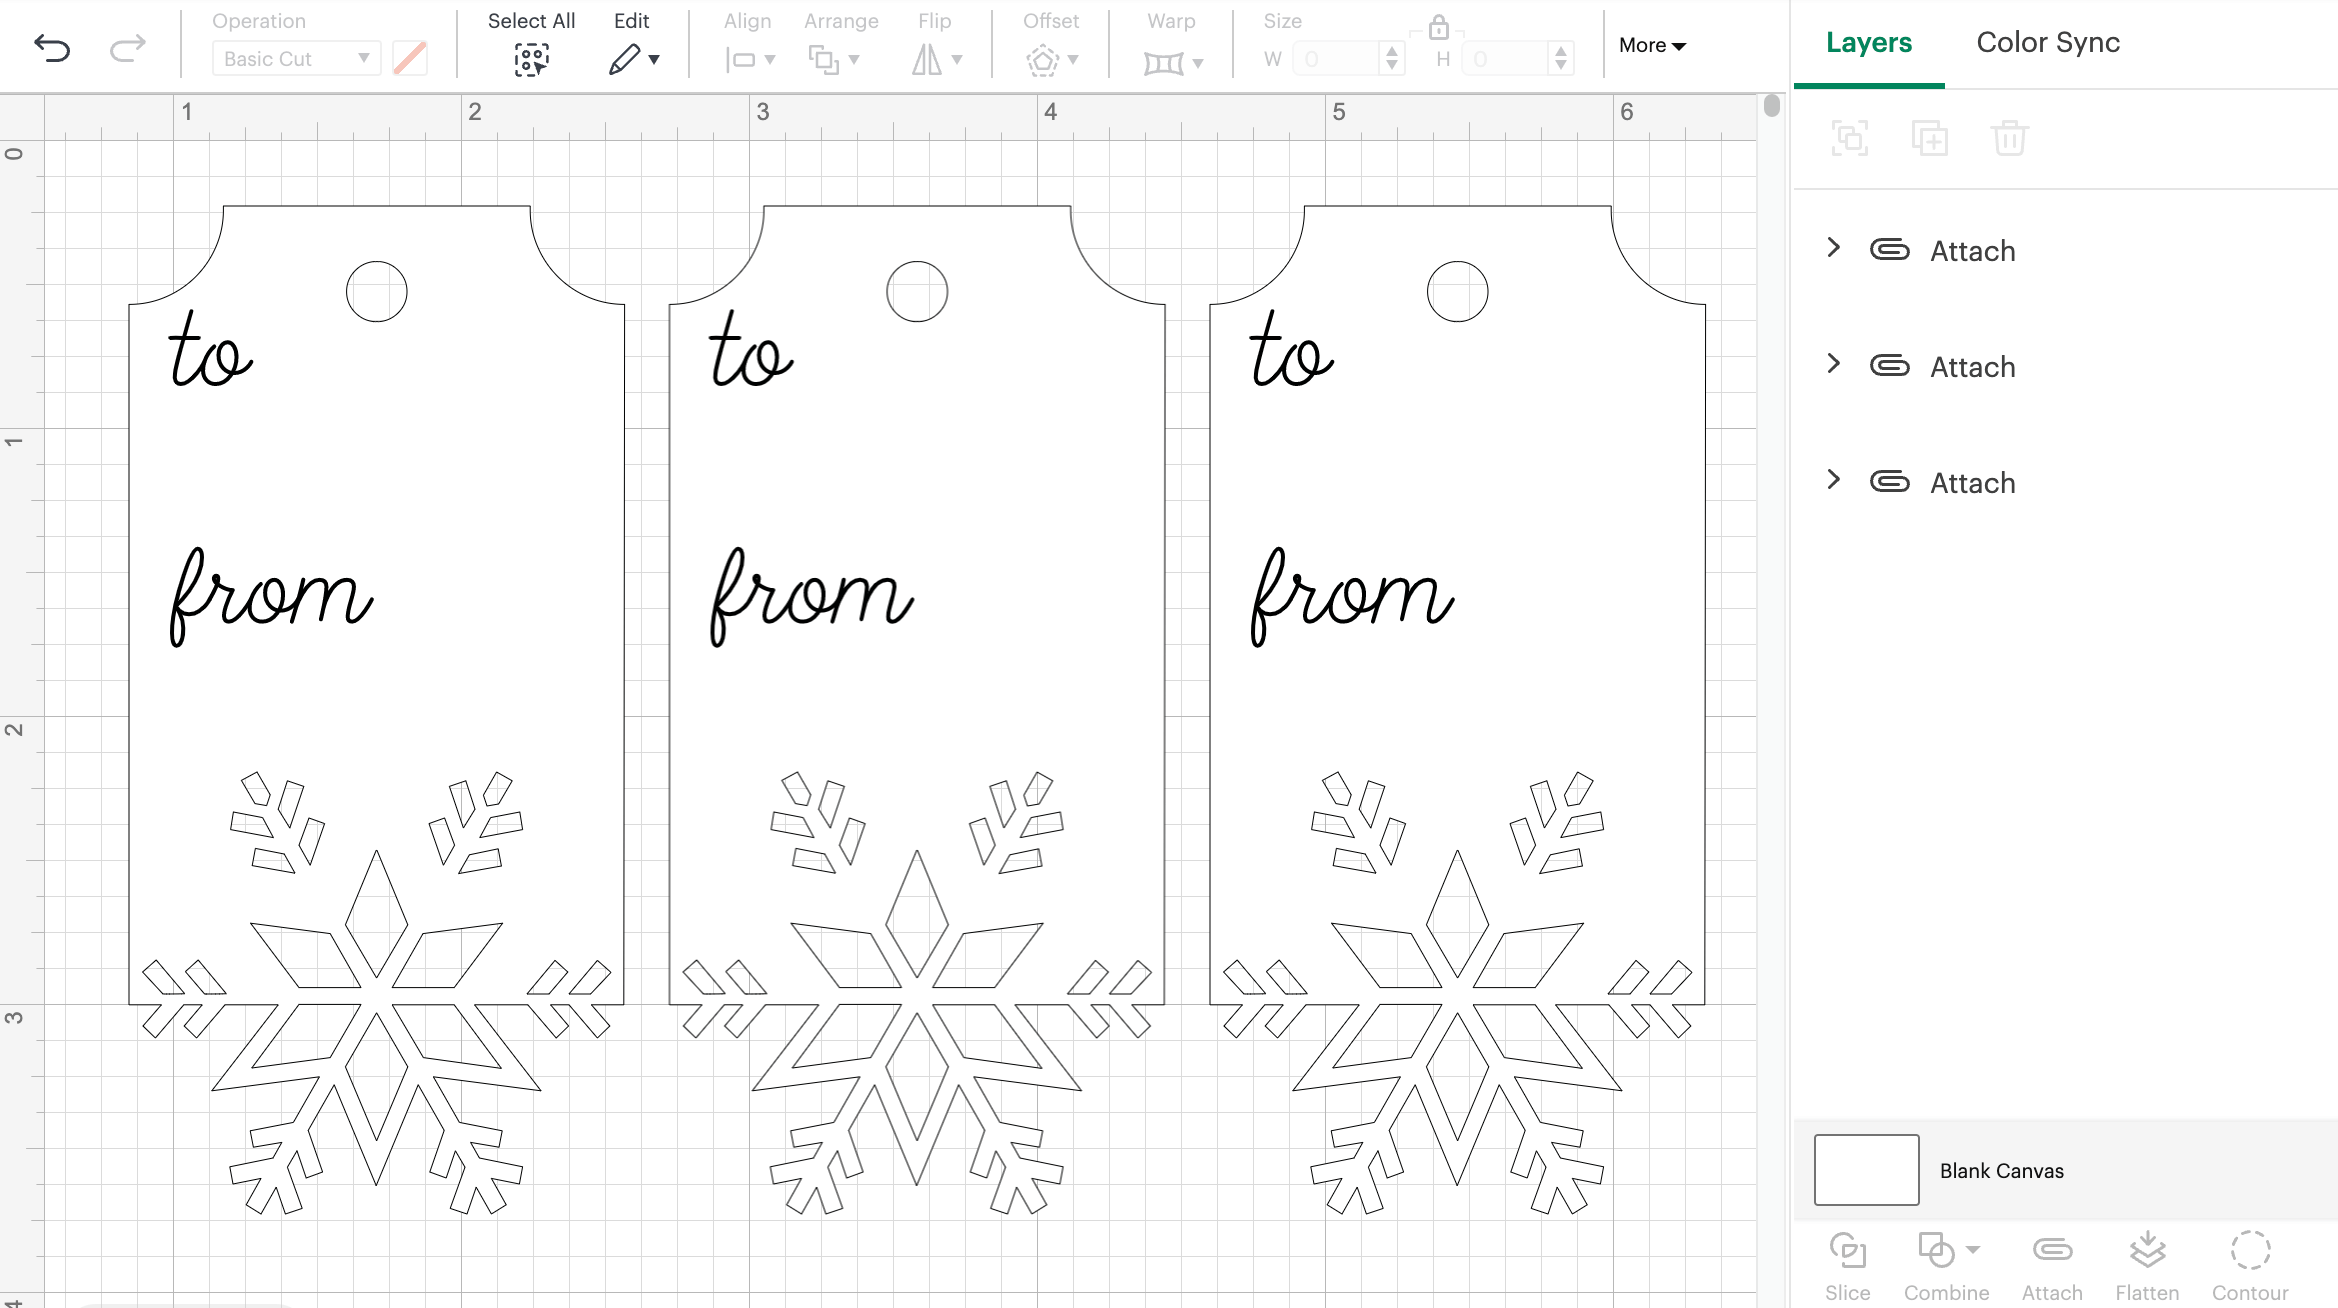
That way your Cricut will cut out multiple tags in one go, rather than you having to do the whole process multiple times.
