Skip to content
Join The Club
Learn
Contact Us
Log In
Join The Club
Learn
Contact Us
Log In
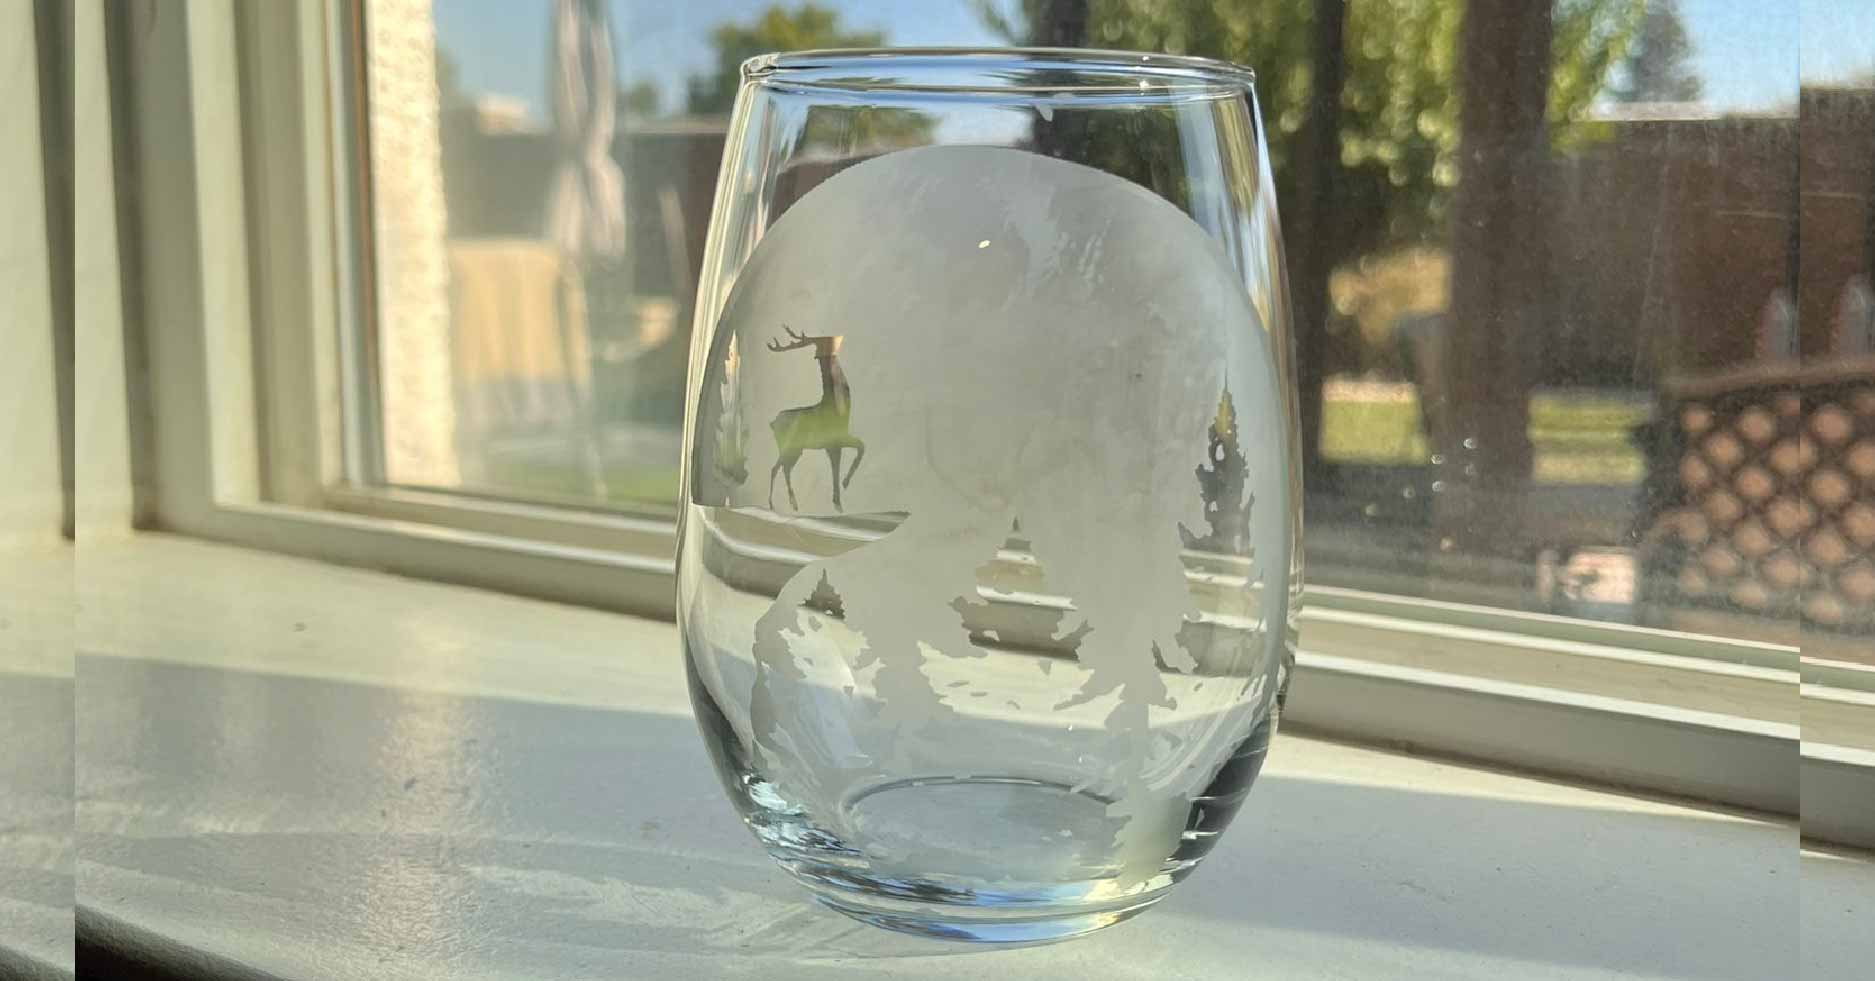
Moon and Reindeer Etched Glass
Leave a Reply
Cancel reply
You must be
logged in
to post a comment.