Step 1: Creating The Scrapbook Page
1- Open up Cricut Design Space
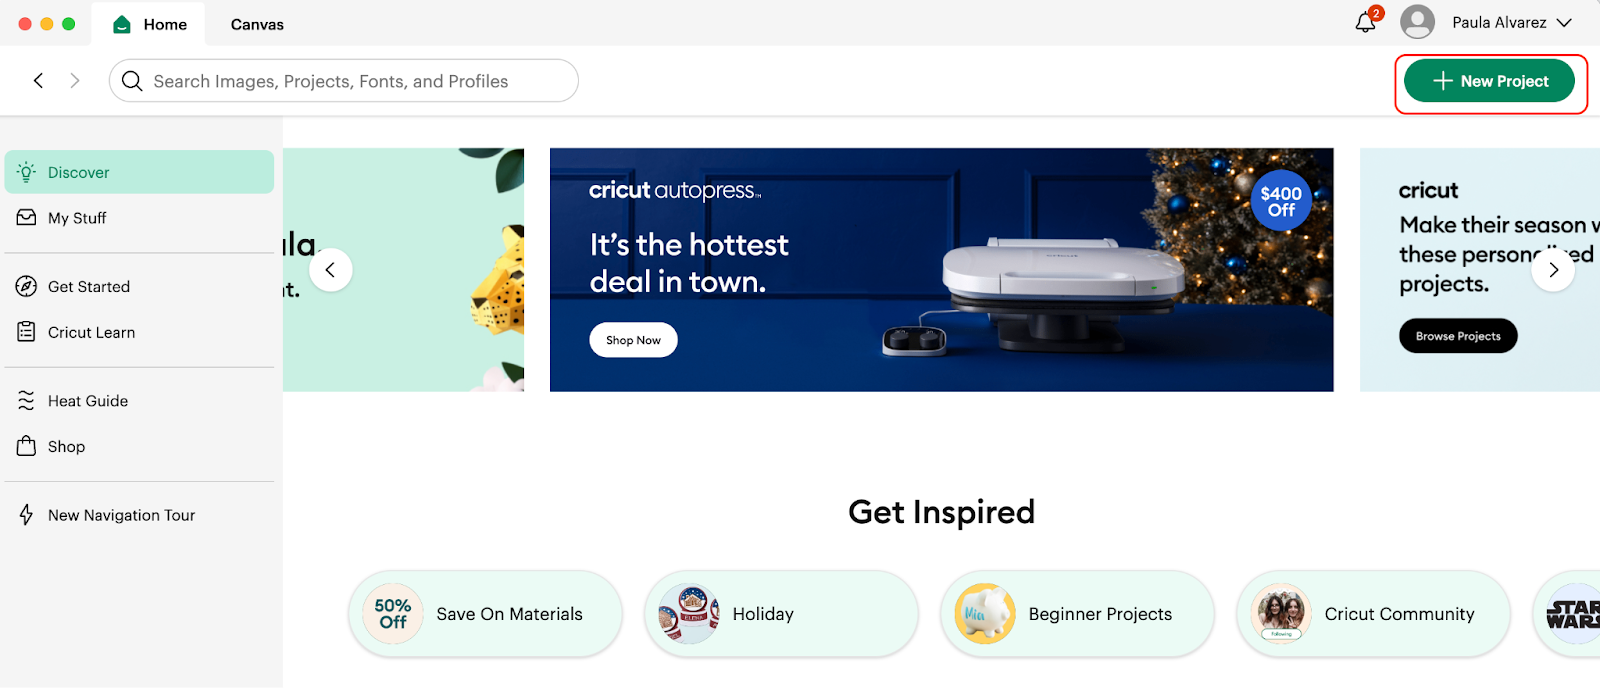
2- From the Home Screen, click on the “New Project” button in the top right. This is to be able to start creating the design for your project.
3- With the Blank Canvas ready to use, we can start our amazing Project!

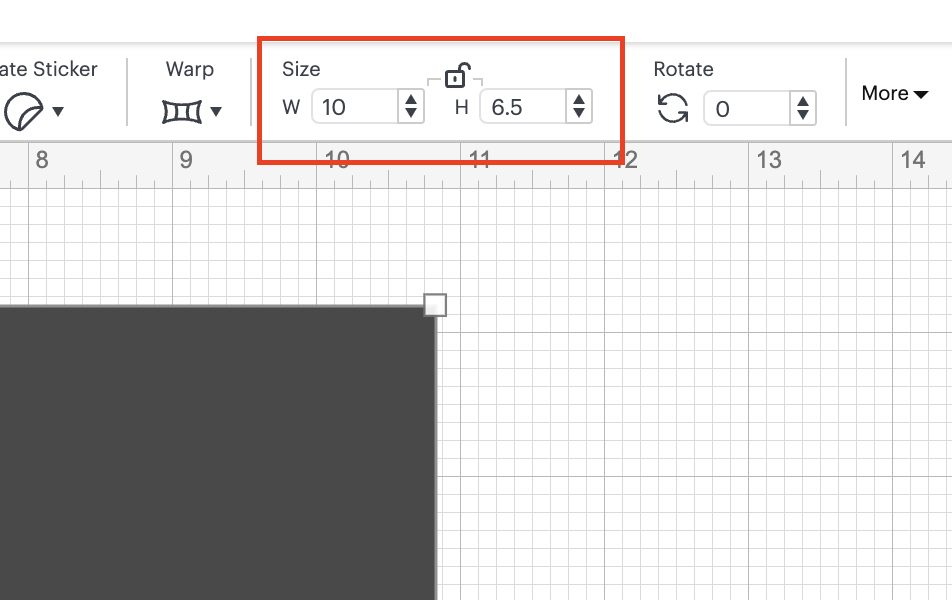
4- We are going to add to our canvas by using the shapes functionality, we are going to add a W:10” x H:6.5” square just as a base. Go to the menu that is showing on the left side and click on Shapes, and then click on the Square shape.

💡Tip: to change the size of the square, go to the top menu bar size and change in there the W and H.
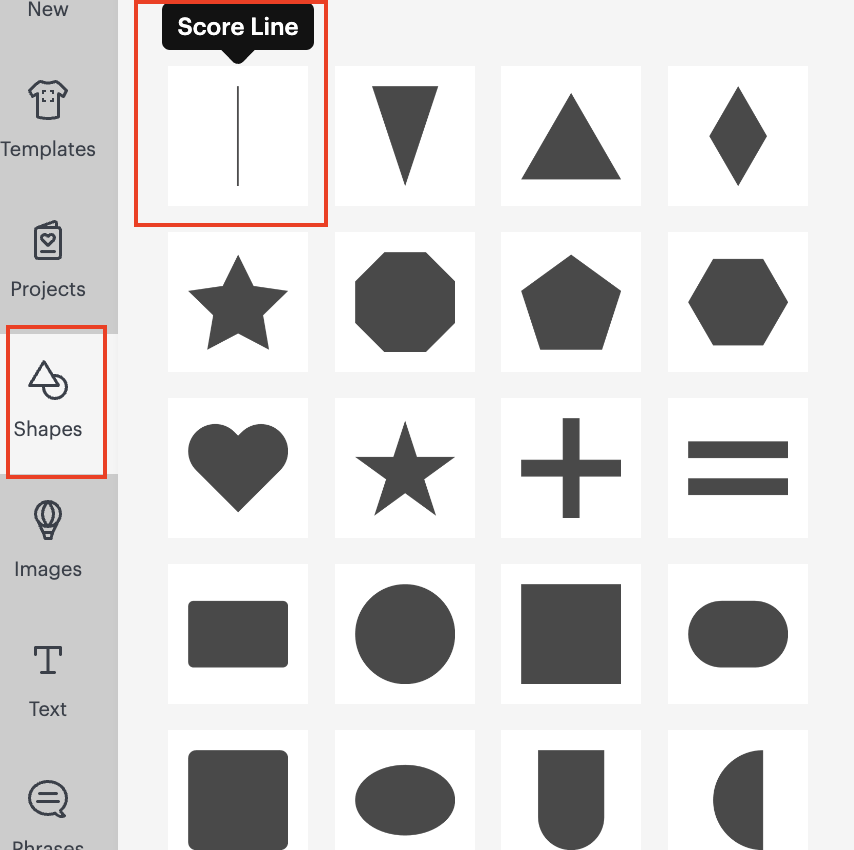
5- After adding the first square, we are going to add our first scoring line:
- First Score Line: In the middle of the square: 5”
We are going to add the score line, by going to shapes:
The same way that we changed the Square dimensions, we are going to change the Score Line H: 6.5”. After that, we are going to select the square and the Score Line and by using the Align Functionality located on the top bar, and selecting: Center Horizontally and Center Vertically:
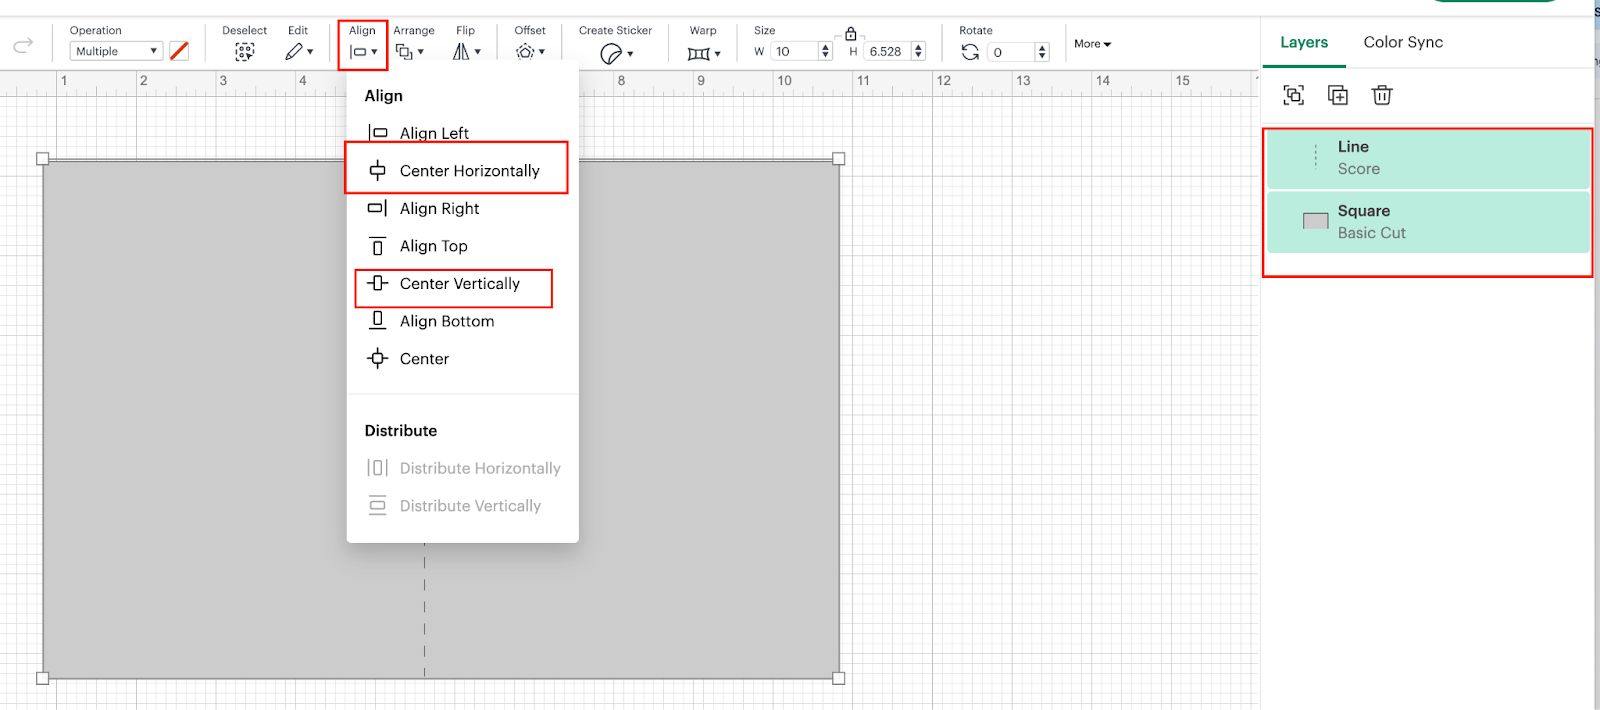
6- After they are centered, we are going to attach them together

7- After this, we are going to add two more score lines by using the same process as STEP 5 and STEP 6:
- Second Score Line: At 4”
- Third Score Line: At 6”

8- We are going to add two more squares with the following dimensions: W:3.68” and H:6.19”
And those are going to be placed on each side of the score lines that we added on STEP 7:

9- We are going to proceed and change the color of them. We are going to click on the square shape and then on the top menu, we are going to click on the gray/black square that is showing next to the Operation that we are doing. And we are going to change it to a Orange color.

💡Tip: You can change the color to any color that you like. Also keep in mind that it does not matter which color you choose in the Design Space since the important color is the one sheet that you are going to cut.
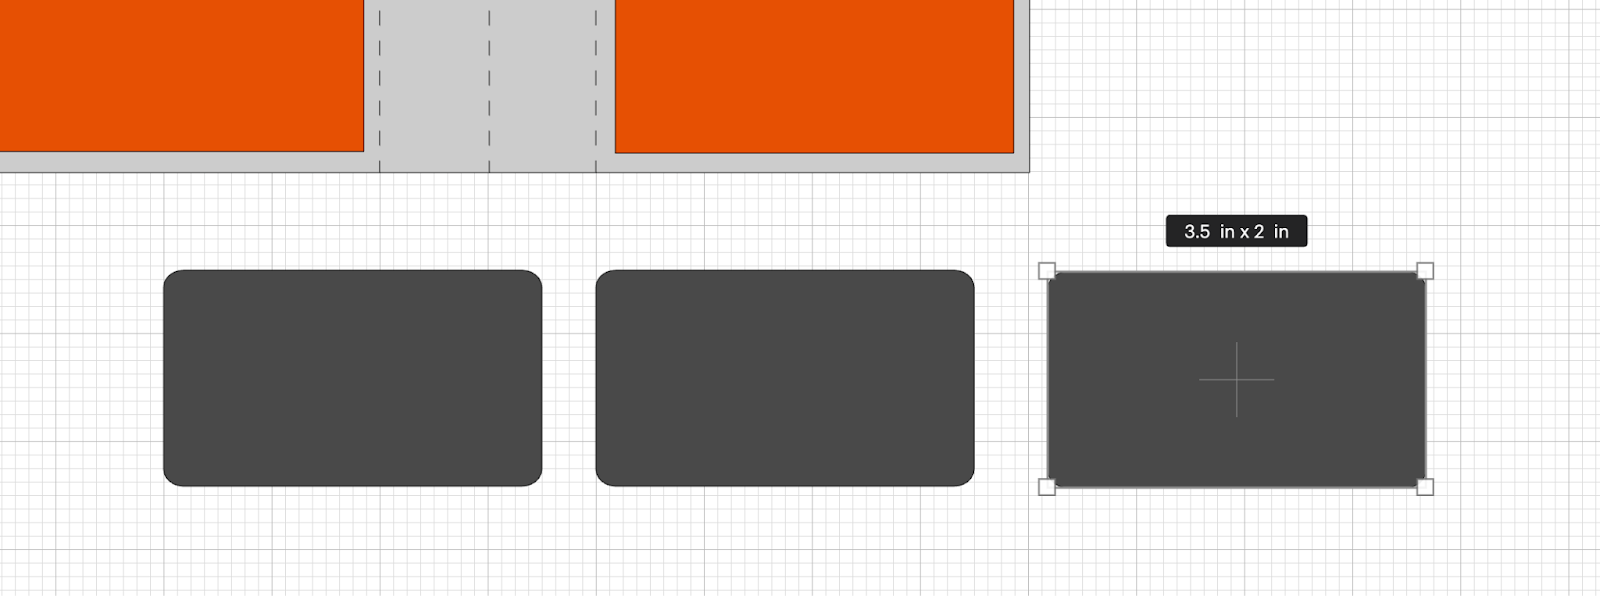
10- We are going to add 3 rectangles, all of the 3 with the same dimensions: W: 3.5” and H: 2”

You should have something like this:
11- We are going to add 3 more rectangles, all of the 3 with the same dimensions: W: 3.1” and H: 1.6”. And we are going to change the color, for the same one as we used on STEP 9.

12- We are going to proceed to do an strip, in order to do this, we are going to add another rectangle with the following dimensions: W: 11” and H: 1”

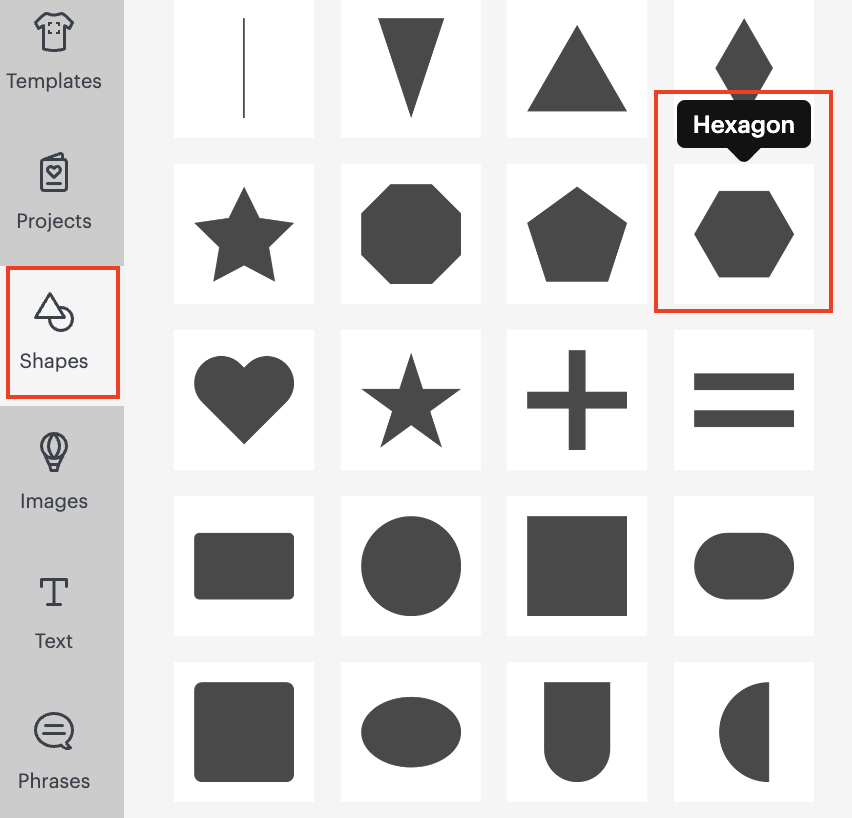
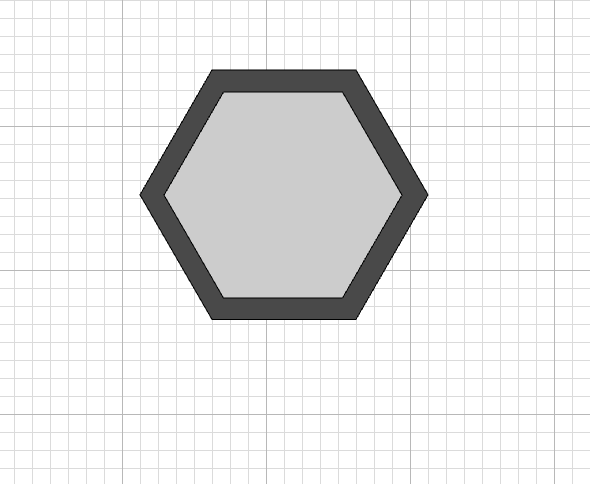
13- We are going to add 2 hexagons, with the following dimensions:
- First Hexagon: W: 2” and H: 1.73”
- Second Hexagon: W: 1.65” and H: 1.43”
14- We are ready to start cutting our design!
💡Tip: At this point, remember that the color of paper that you are going to use is the one that is going to stick with your design! The colors that we use on Design Space, are just for prototyping and to see how the design is looking.

