1- Open up Cricut Design Space
2- From the Home Screen, click on the “New Project” button in the top right. This is to be able to start creating the design for your project.

3- With the Blank Canvas ready to use, we can start our amazing Project!

4- We are going to upload the Pumpkin Spice cat image that we saved on STEP 3 for the First Part. In order to upload it, on the Right Side Bar, click on Upload Functionality:

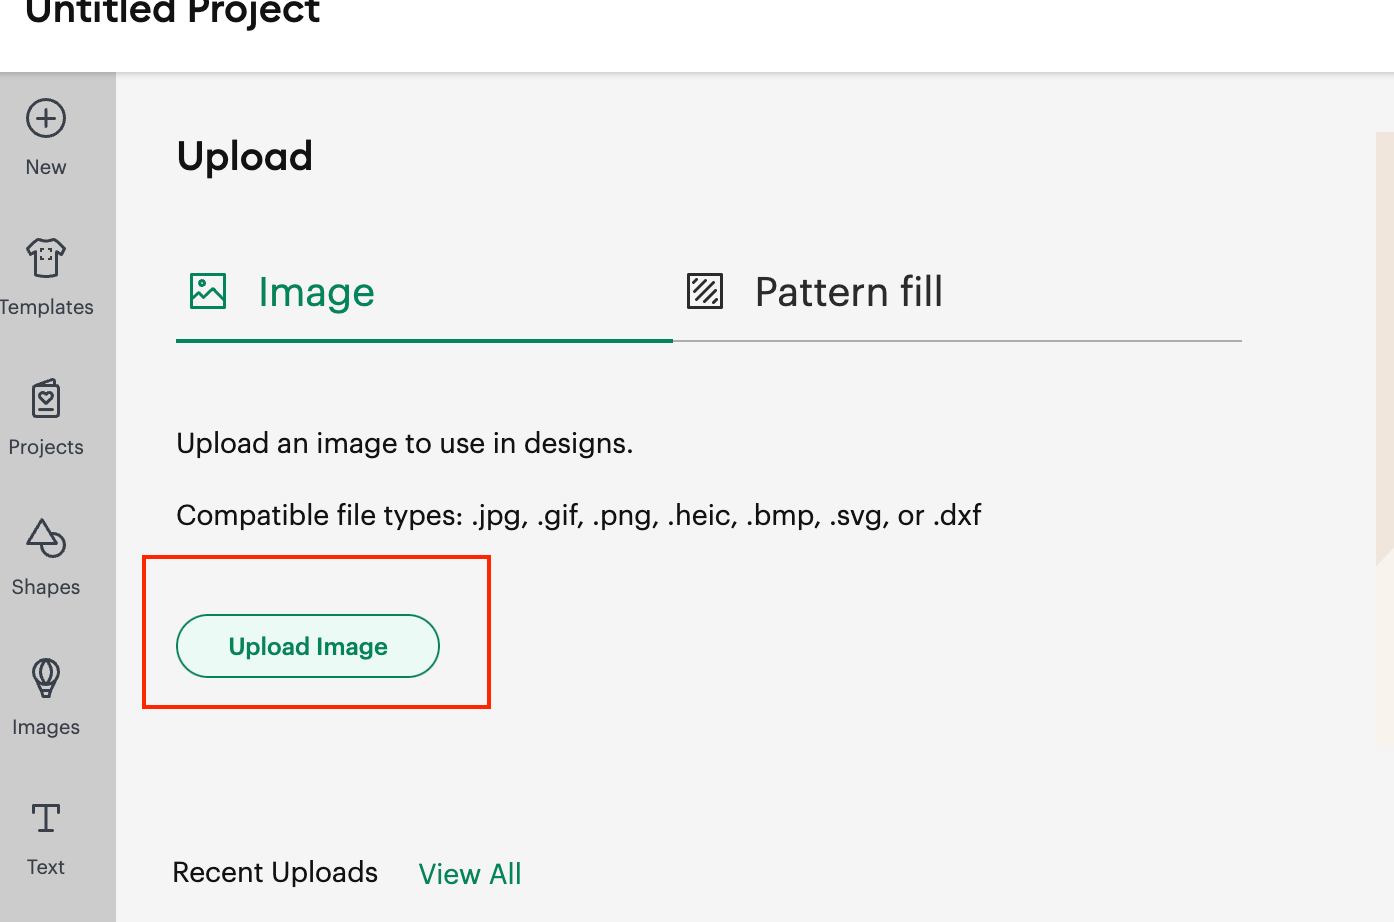
5- Once we are in there, by default we are going to see that the Image option is selected (the other option is Pattern Fill, that we are not going to use for this project). Click on Upload Image Green button:
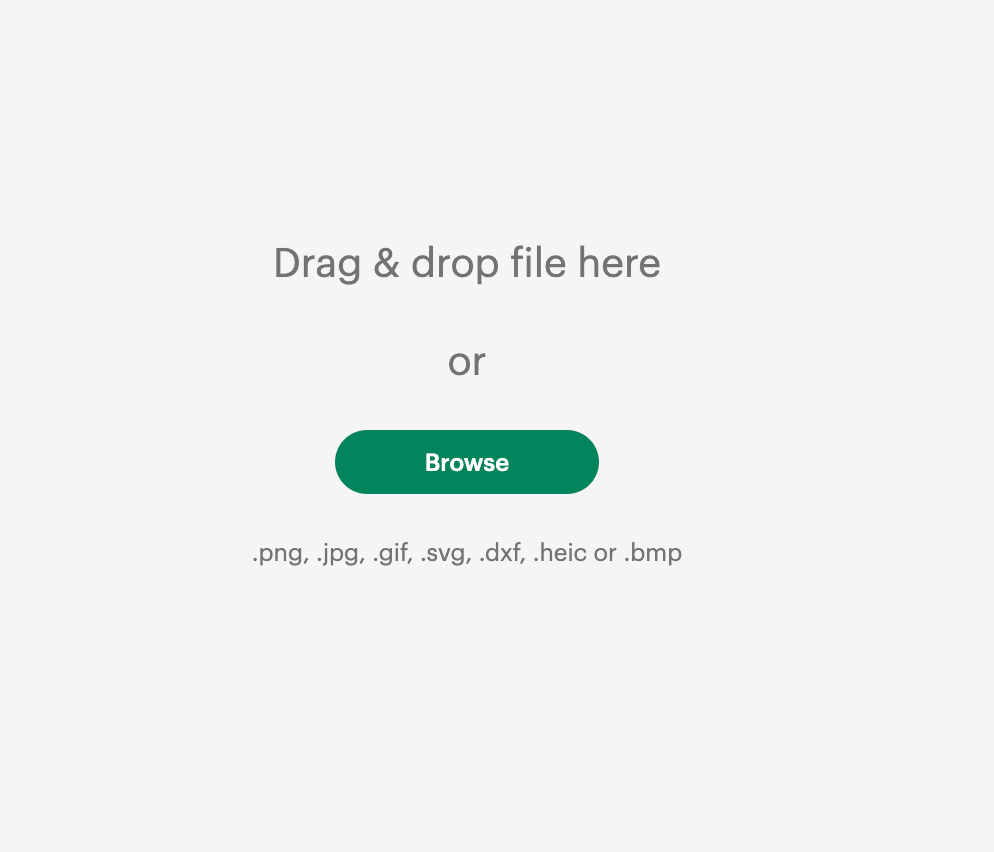
6- Click on Browse Button:
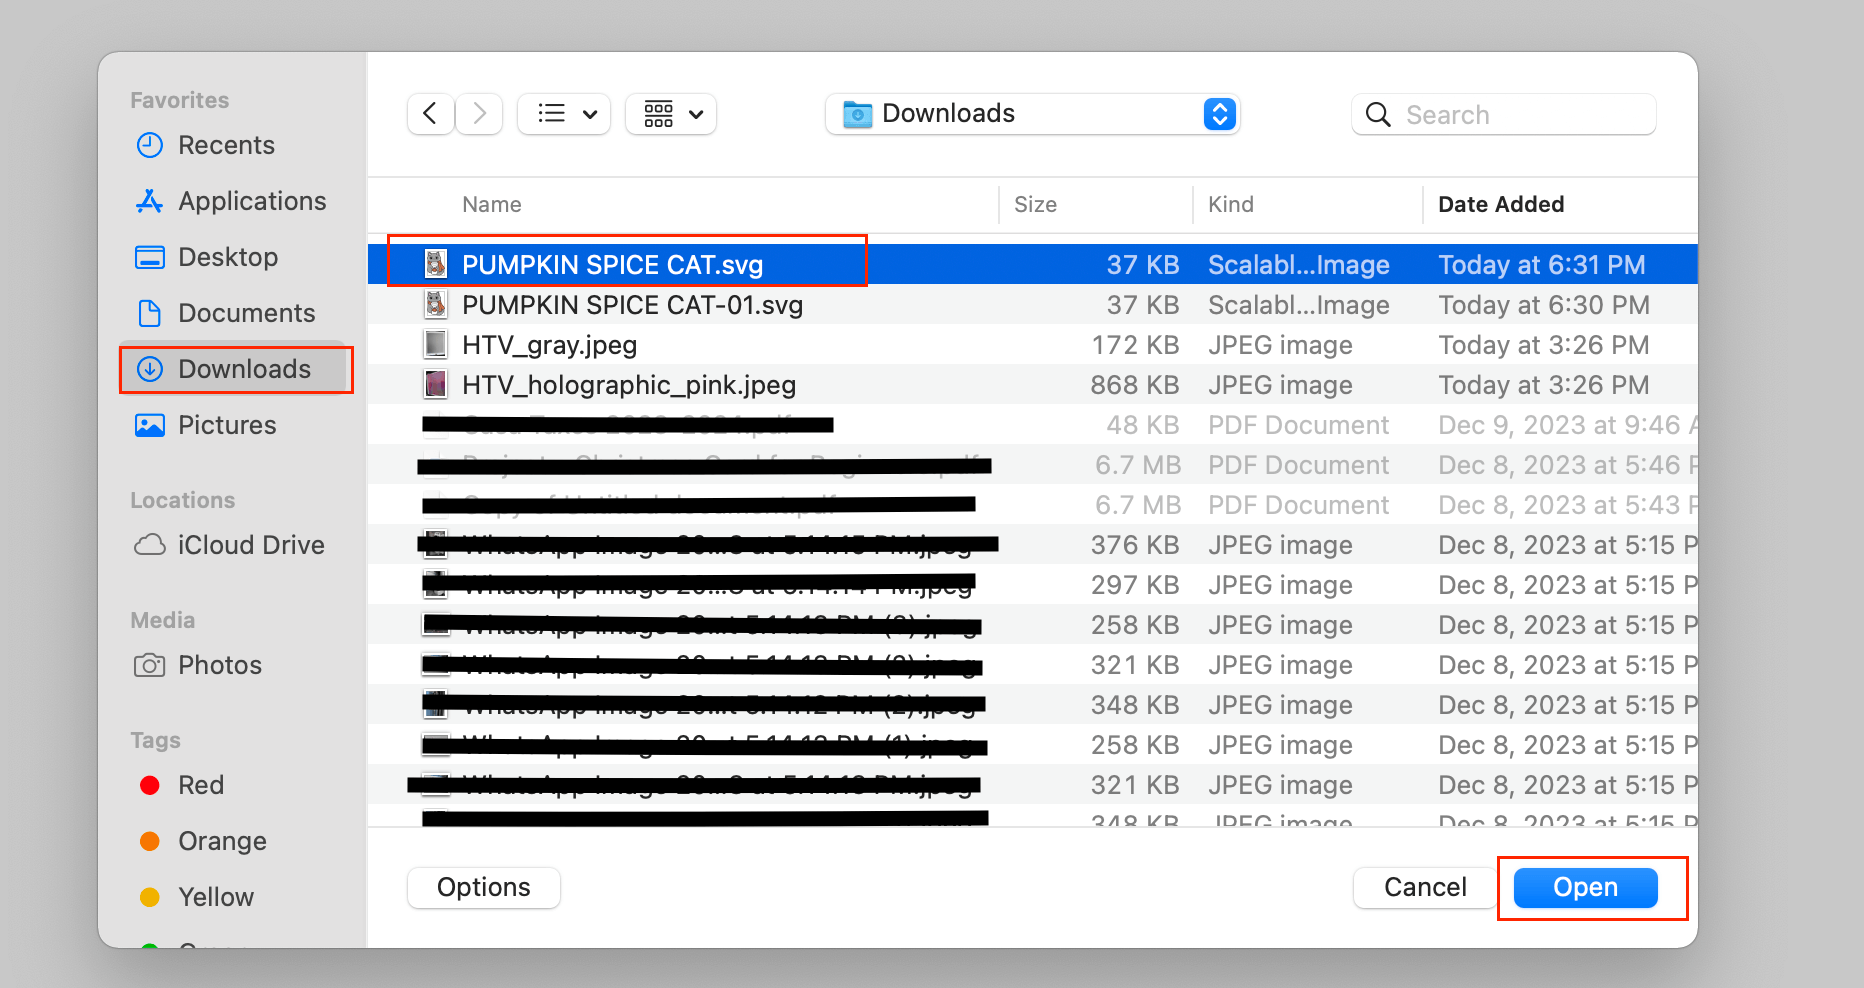
7- Go to your Downloads folder, find the file you saved earlier in STEP 3 of the First Part and click on the Open button.
8- Give the file a name, then click on the Green Upload button in the bottom right.
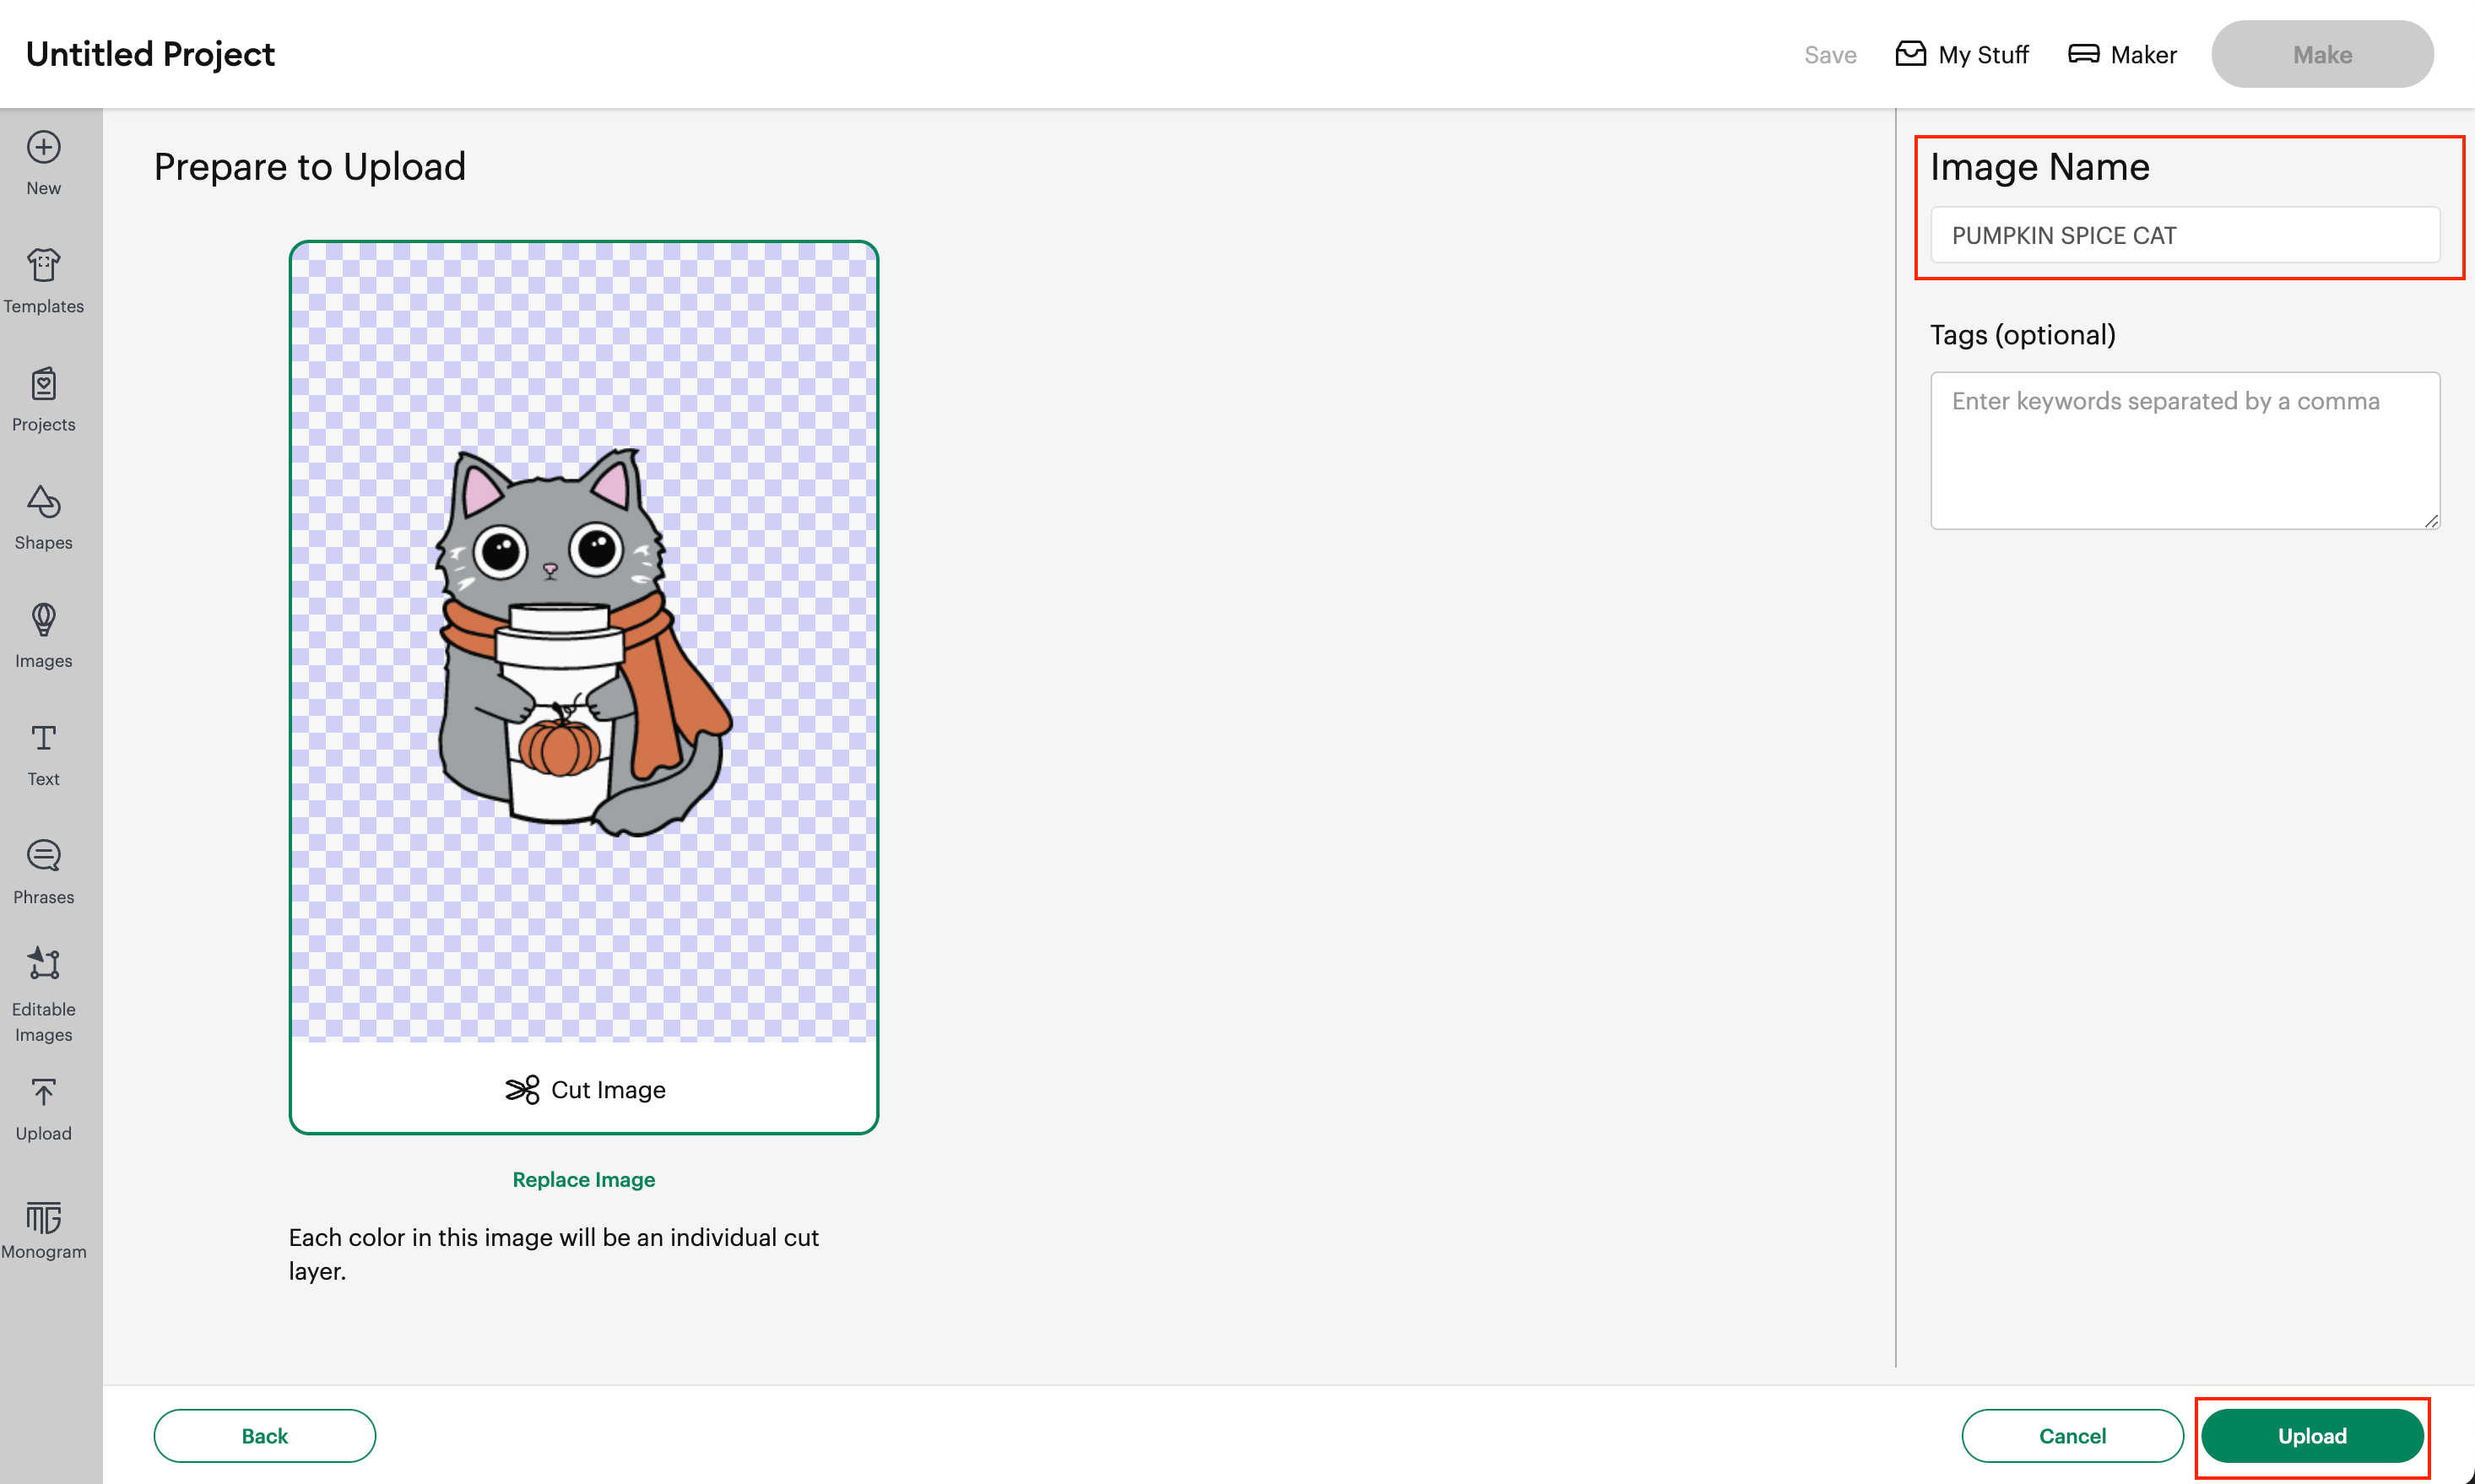
💡Tip: By default the Image name is going to be the same name as the one that you choose when you saved the image. You can Add tags as needed/wanted in order to identify or categorize your images.
9- Select the image and then click on Add To Canvas Green Button in the bottom right.
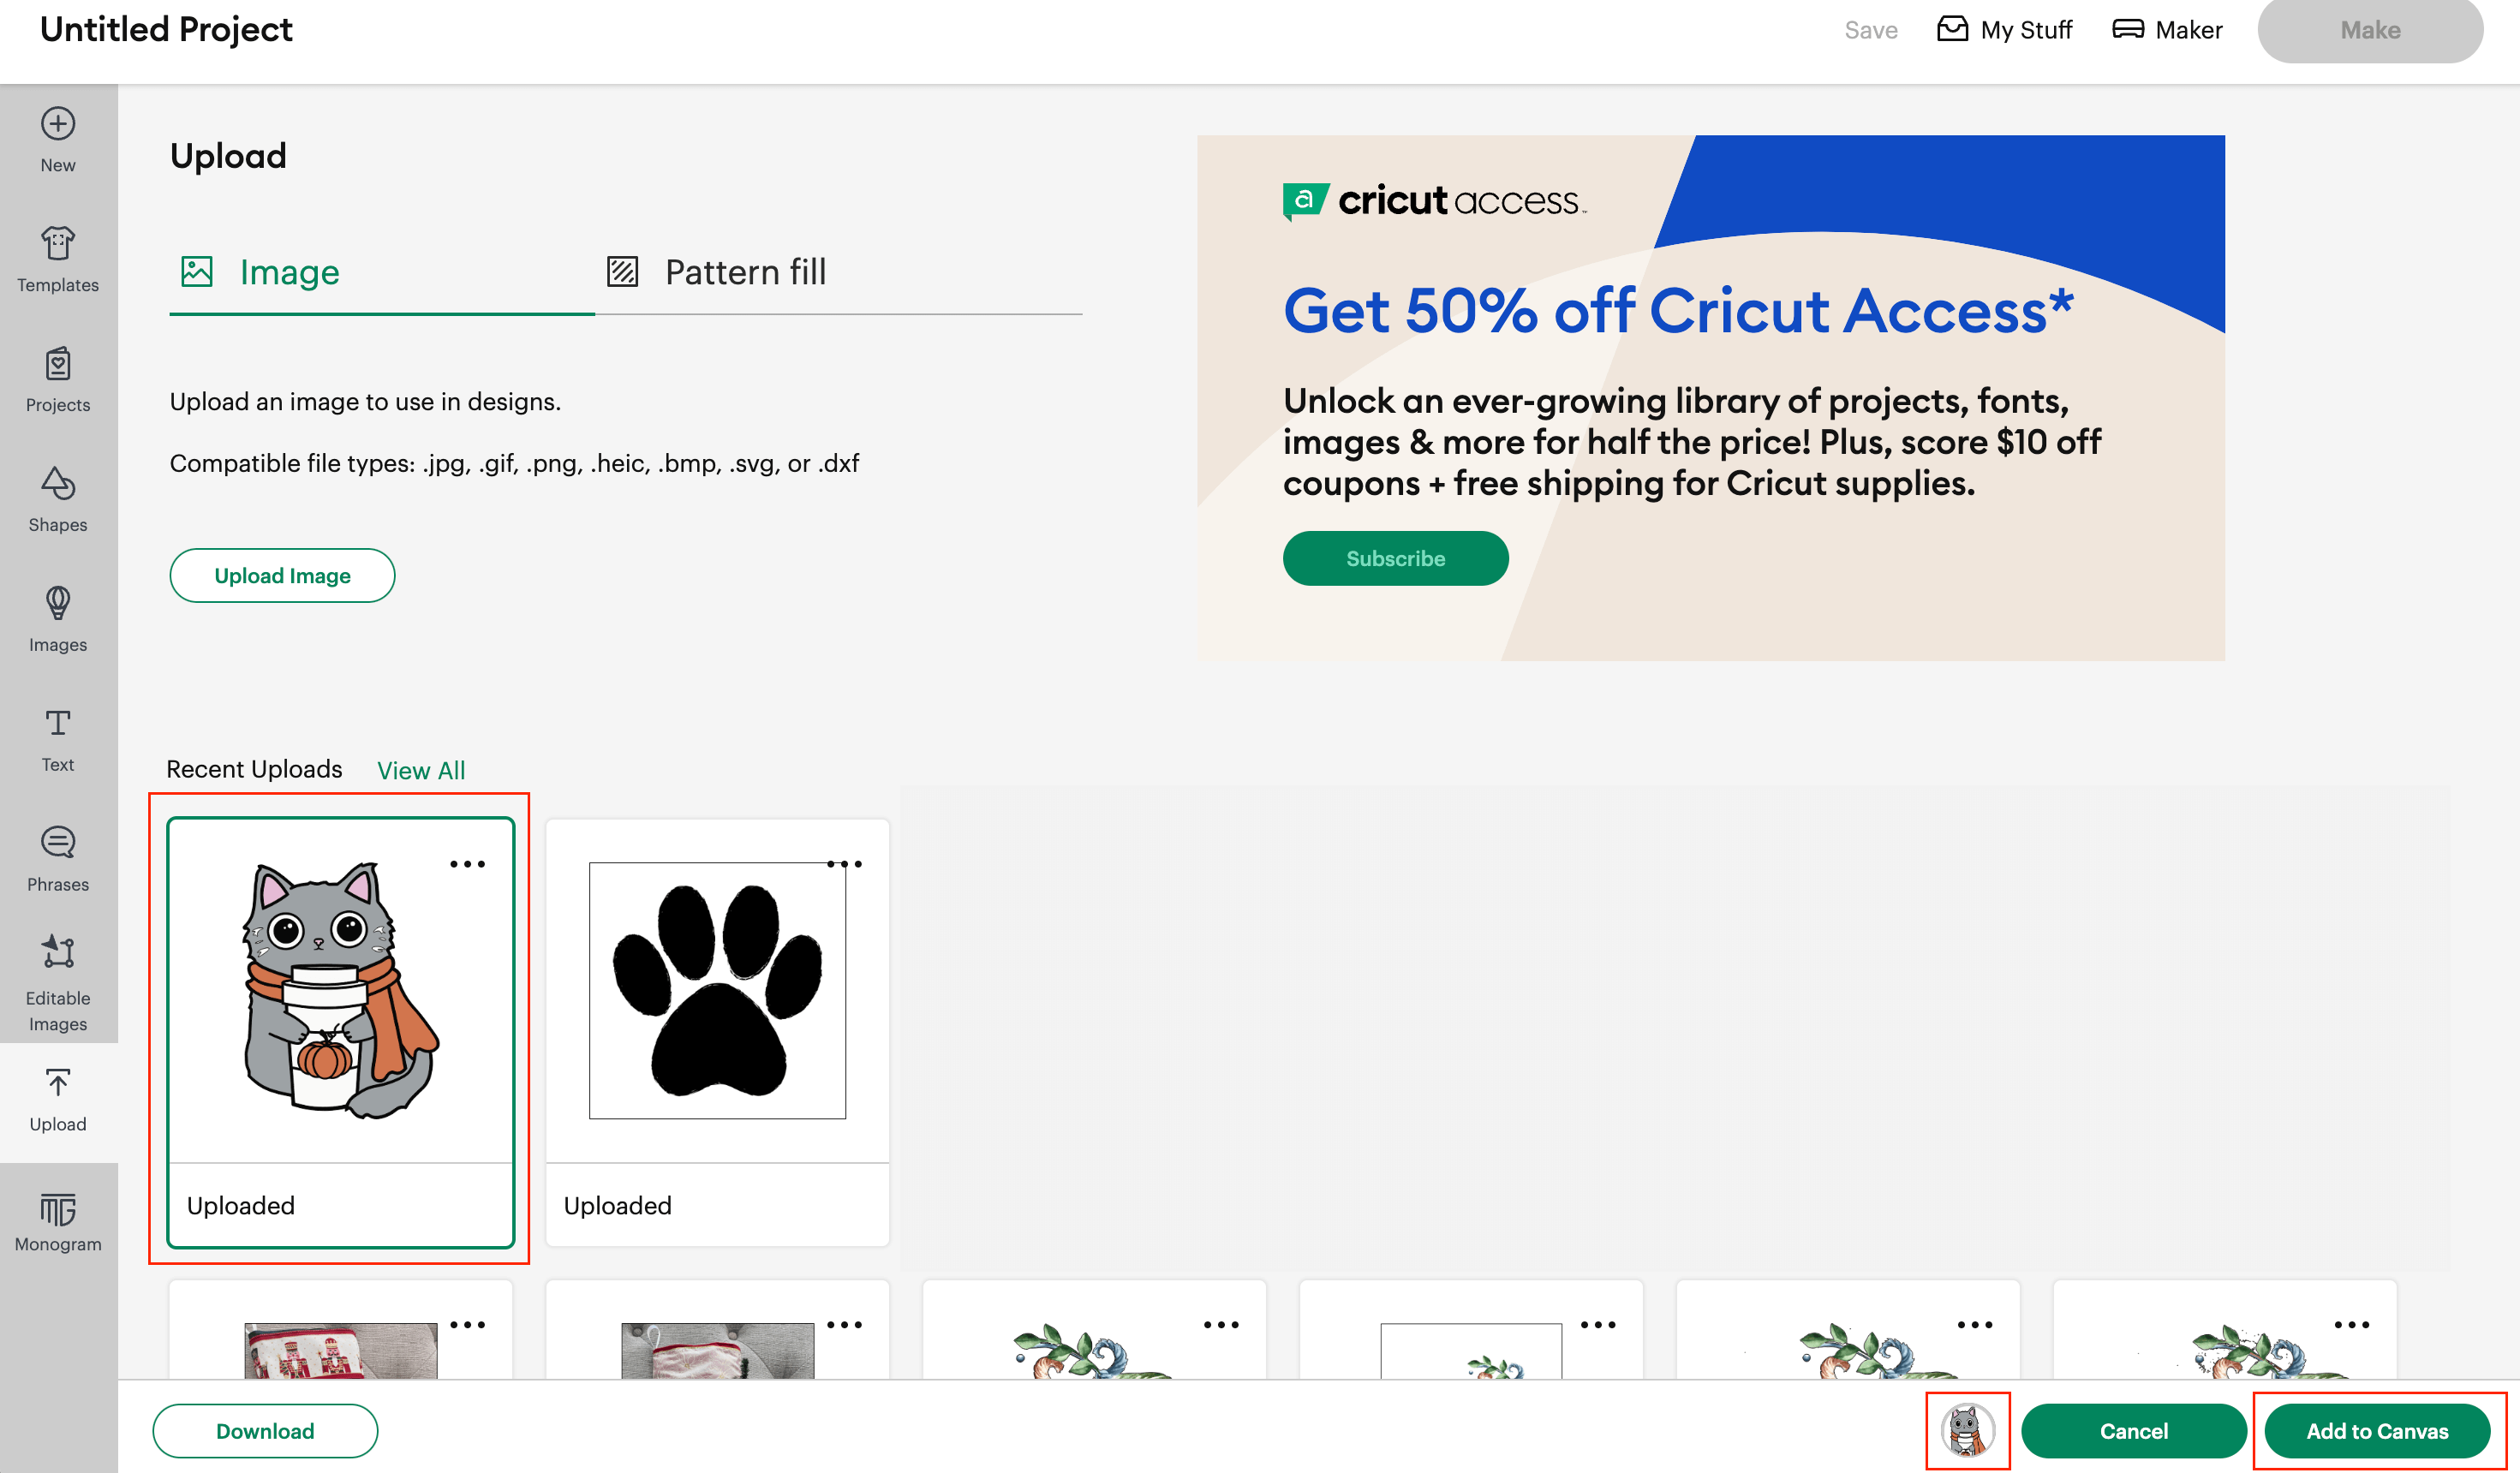
💡Tip: At the bottom of the page, the same image should be showing as an small icon next to the Cancel Button
10 – Your image was added to the Canvas correctly! You did a great job!
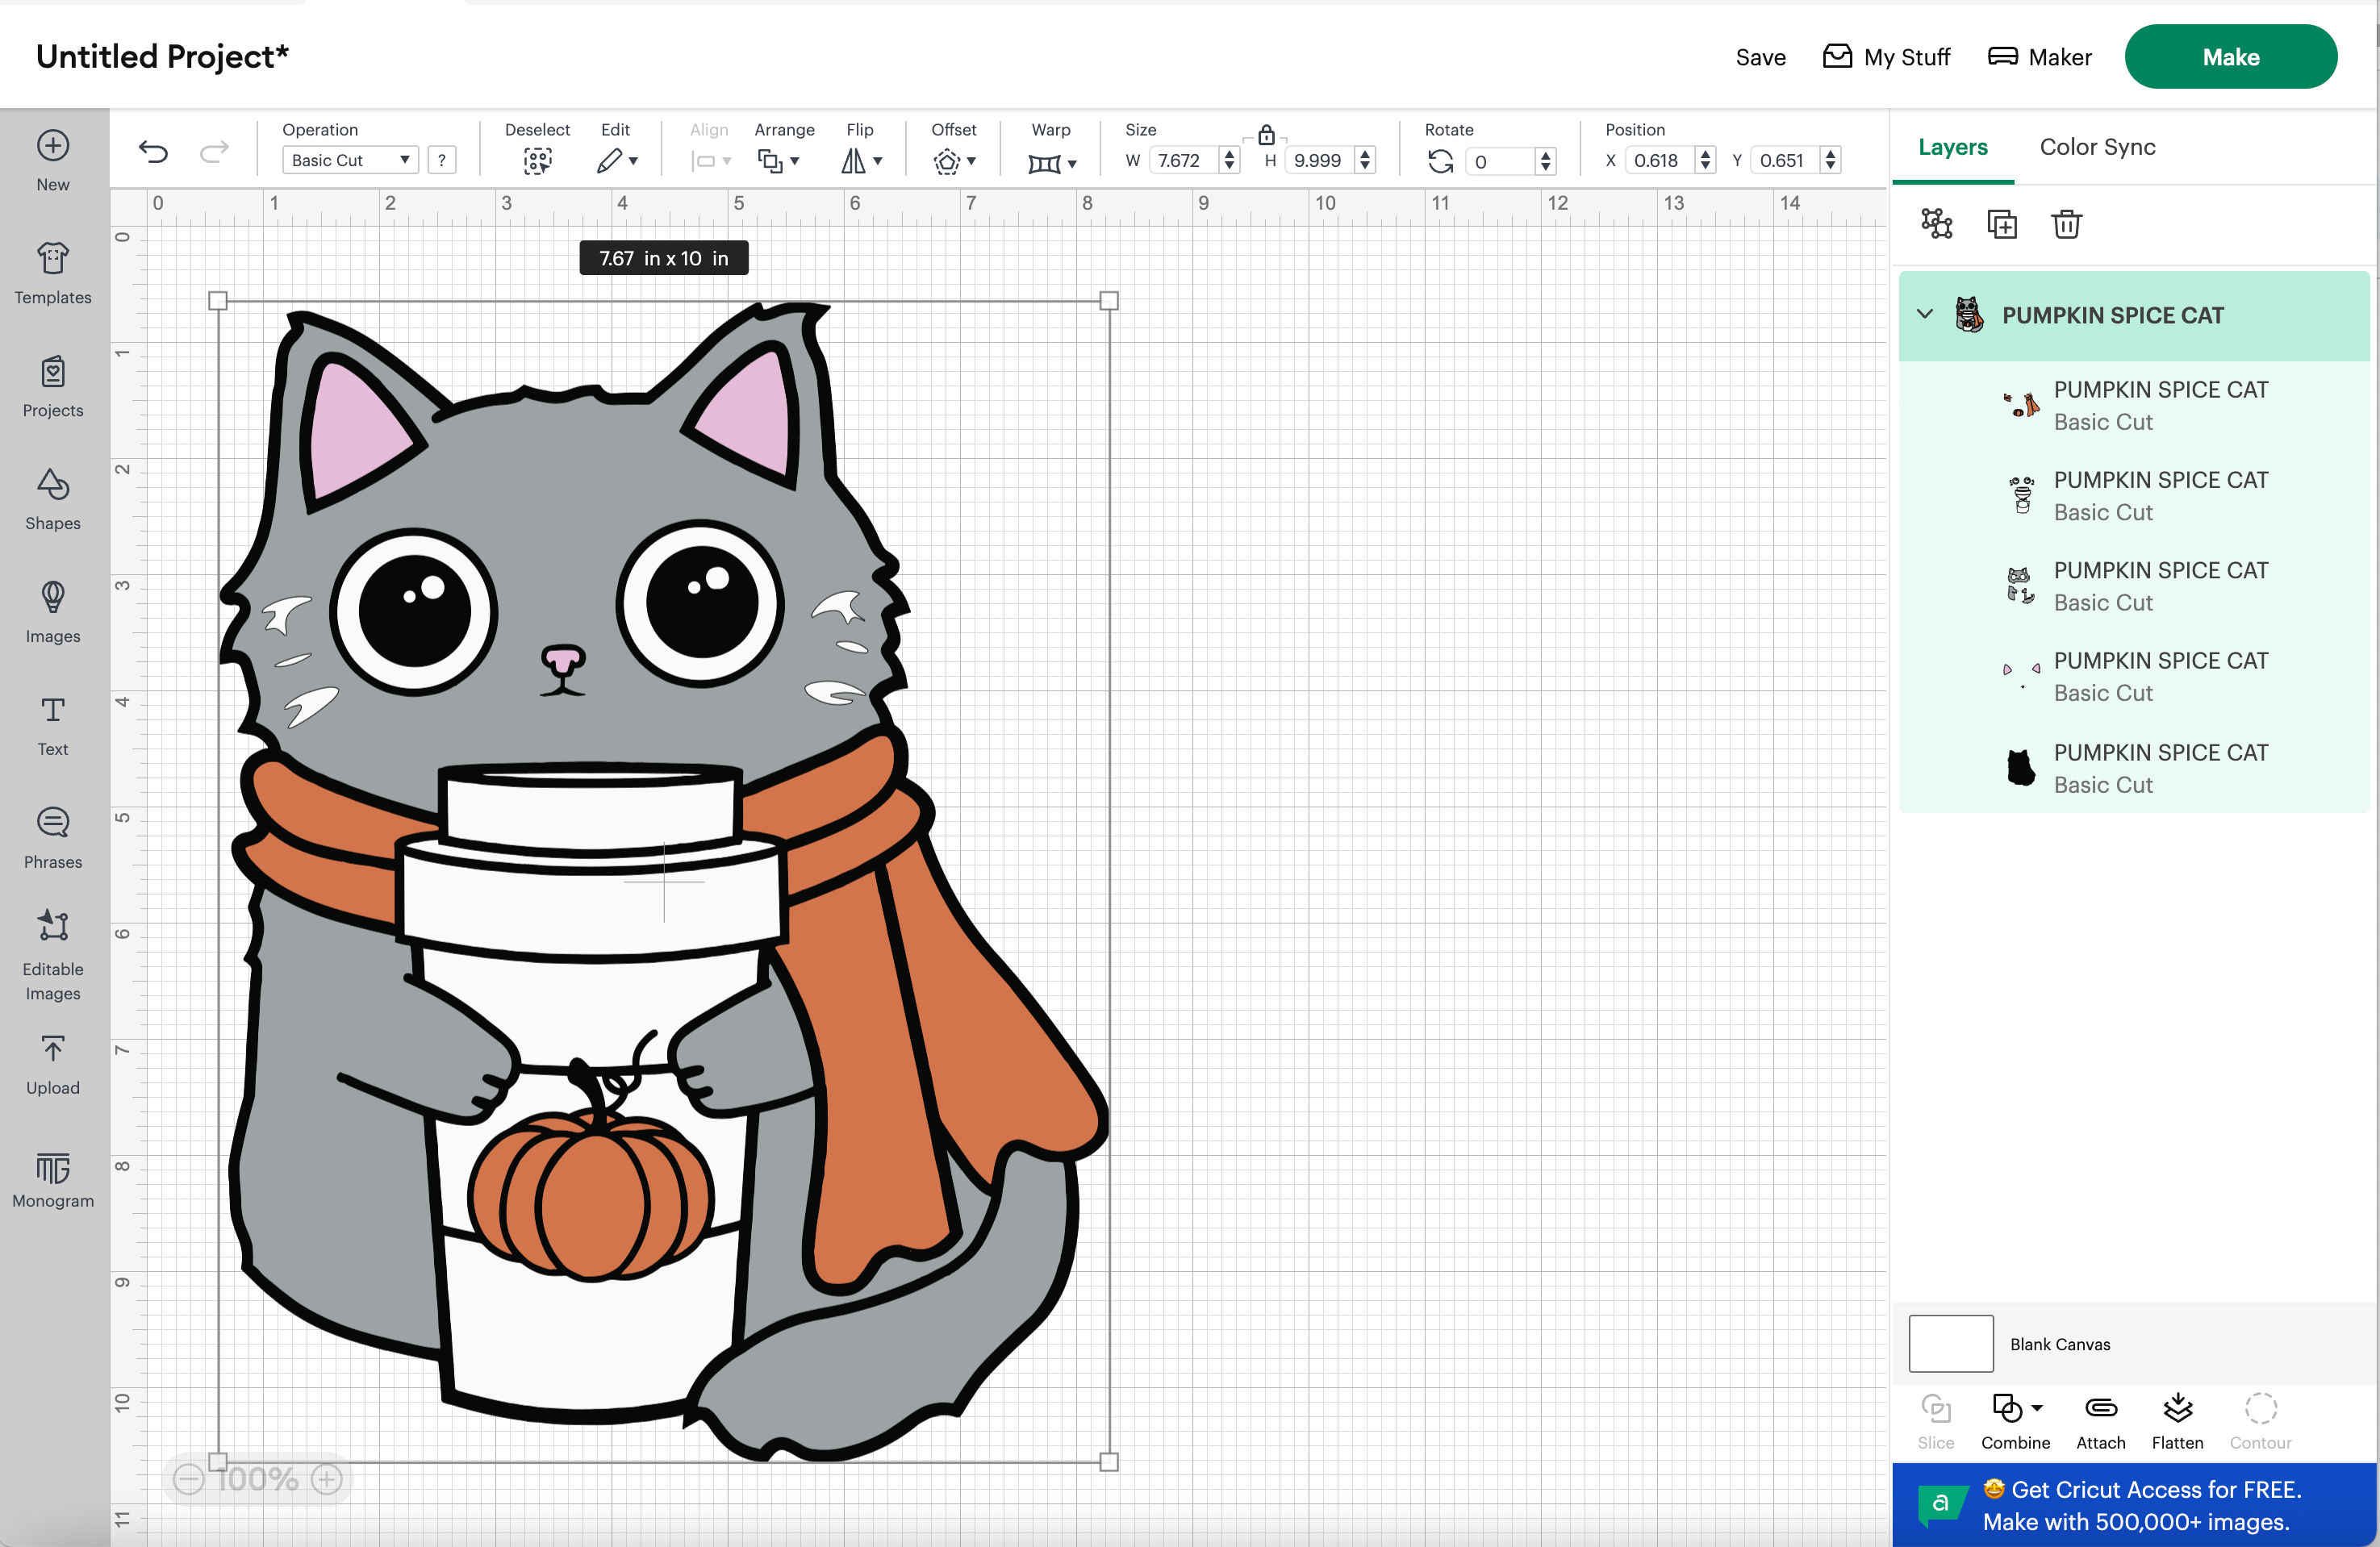
11- Now, we need to make sure that our Pumpkin Spice Cat is going to fit into the Tote Bag. In order to do that, First, we measure our tote bag’s available space. We are using a bag with the following measurements:
Tote Bag Measurements: 13.3” x 13.58” (34 x 34.5 cm)
Pumpkin Spice Cat Measurements: 7.48” x 9.74” (19 x 24.7 cm)
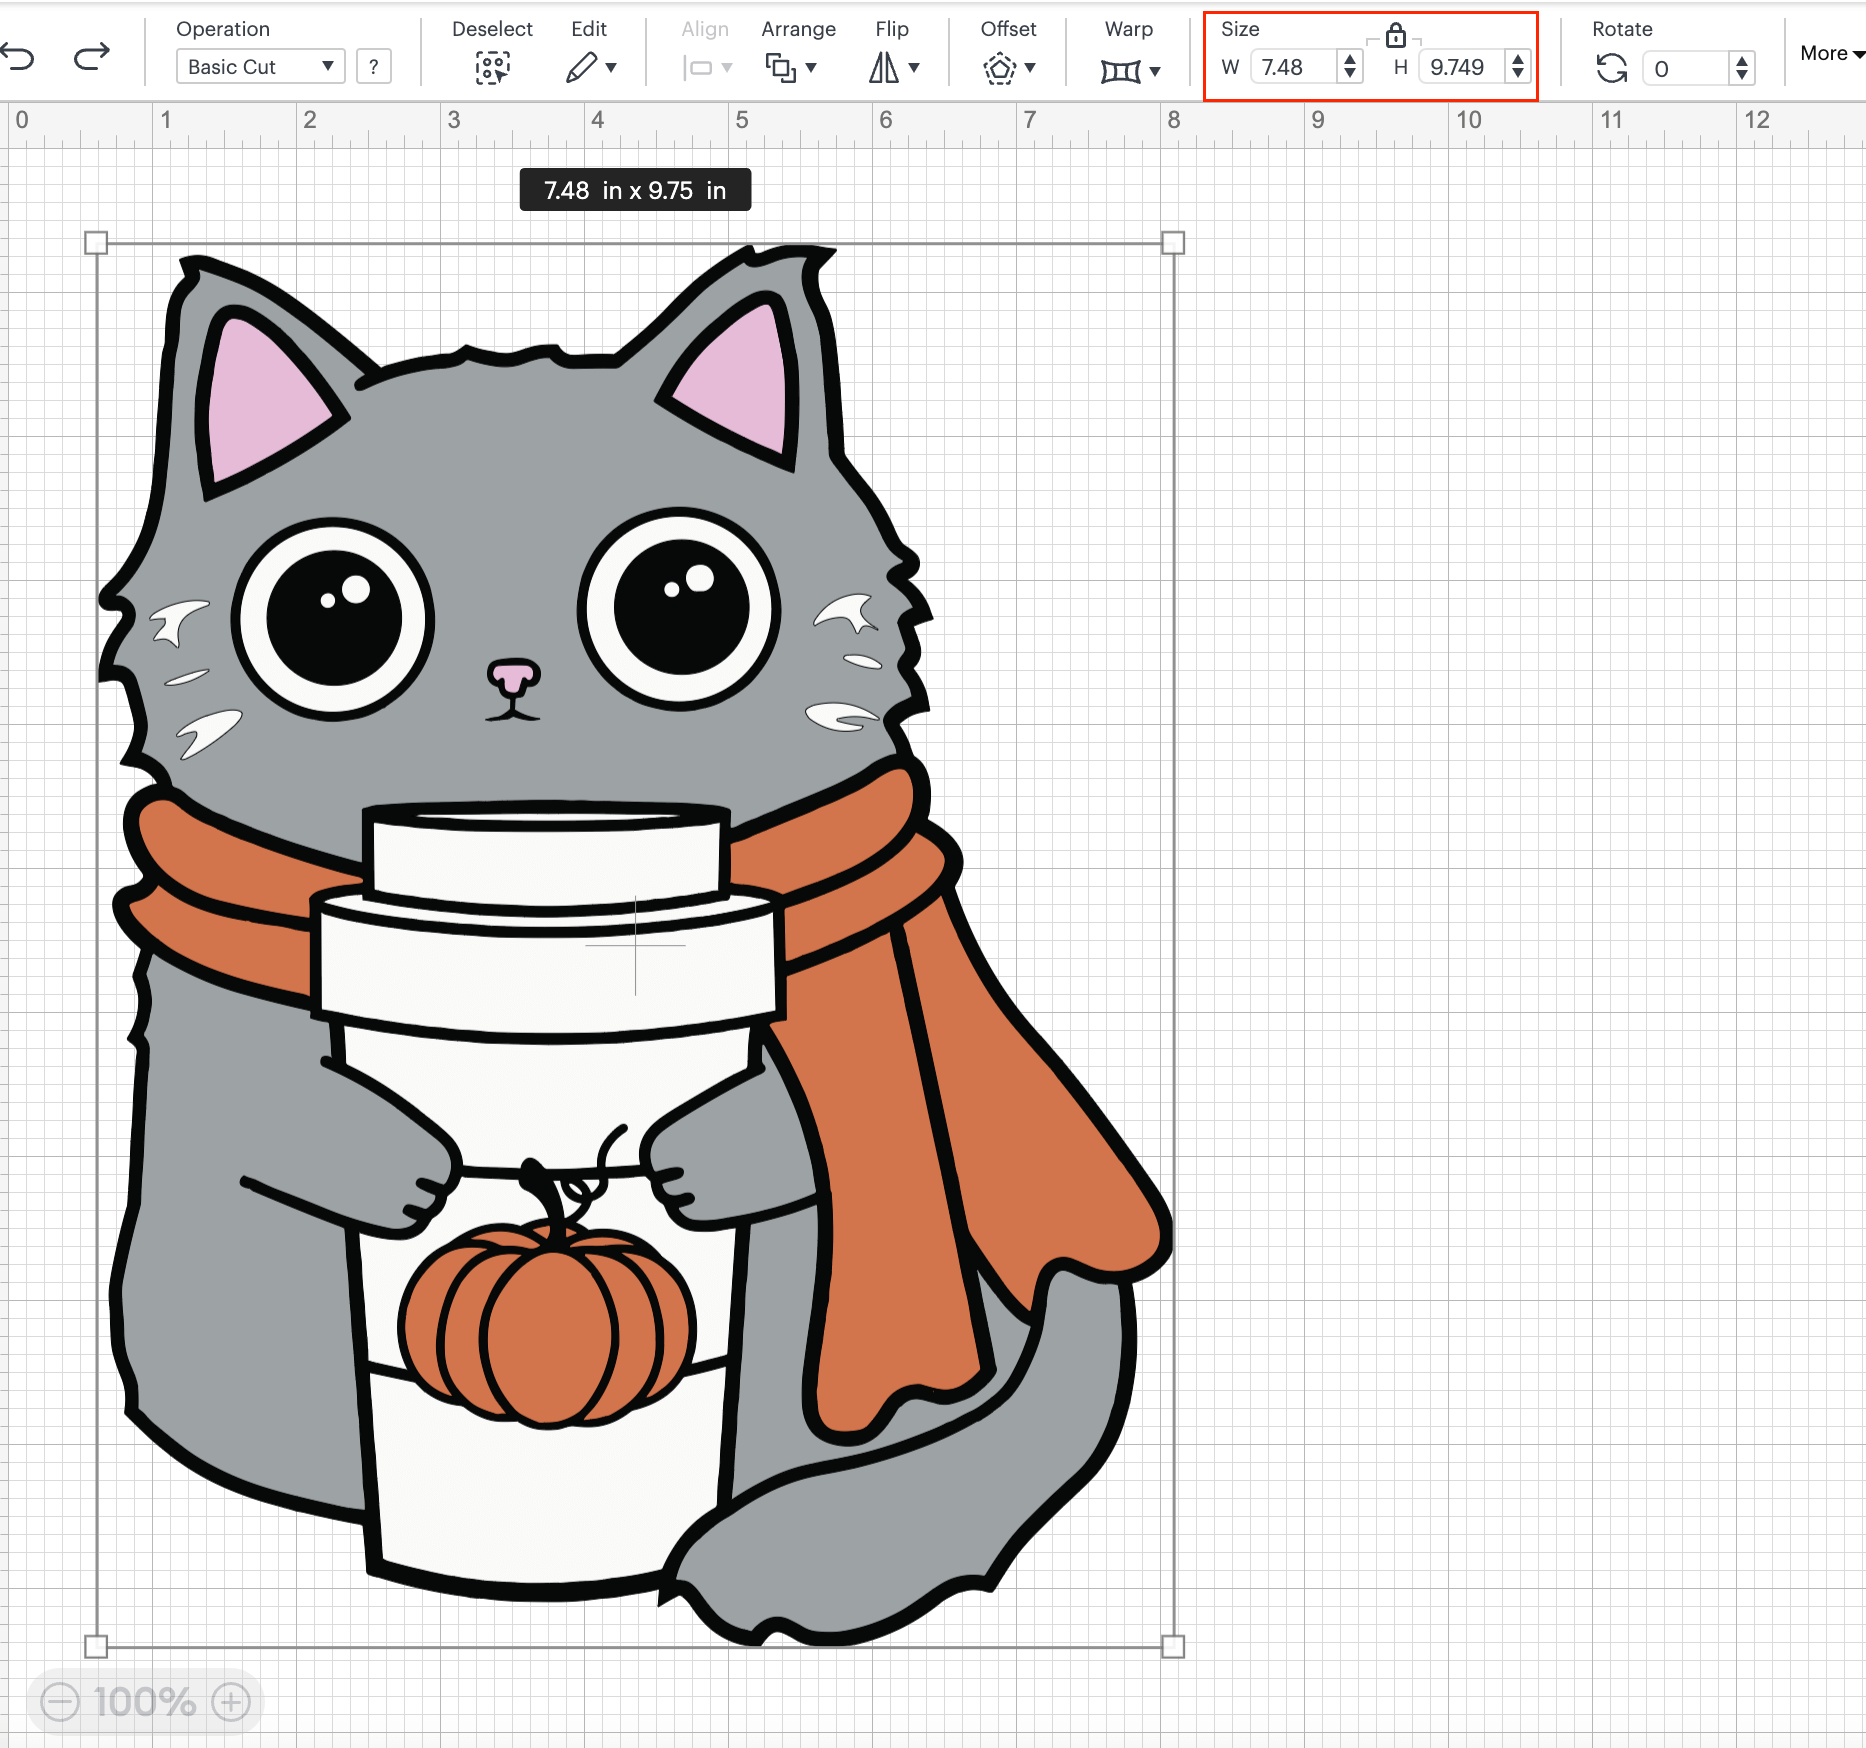
12- We are going to resize the image, in order to do this, click on the pumpkin spice cat image, go to the top bar menu and locate the Size functionality. In there click on the W (Width) and add 7.48“ and click on the return key in your keyboard. You are going to see that the H (Height) is automatically populated (in this case is going to be 9.74”).
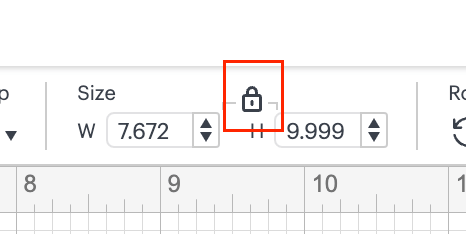
💡Tip: If the Height measurement is not the desire one, you can adjust it by clicking on the little lock that is showing, after this, the lock is going to be shown unlocked, meaning that you are going to manage the size/dimensions for the W and H independently.
Easy press
