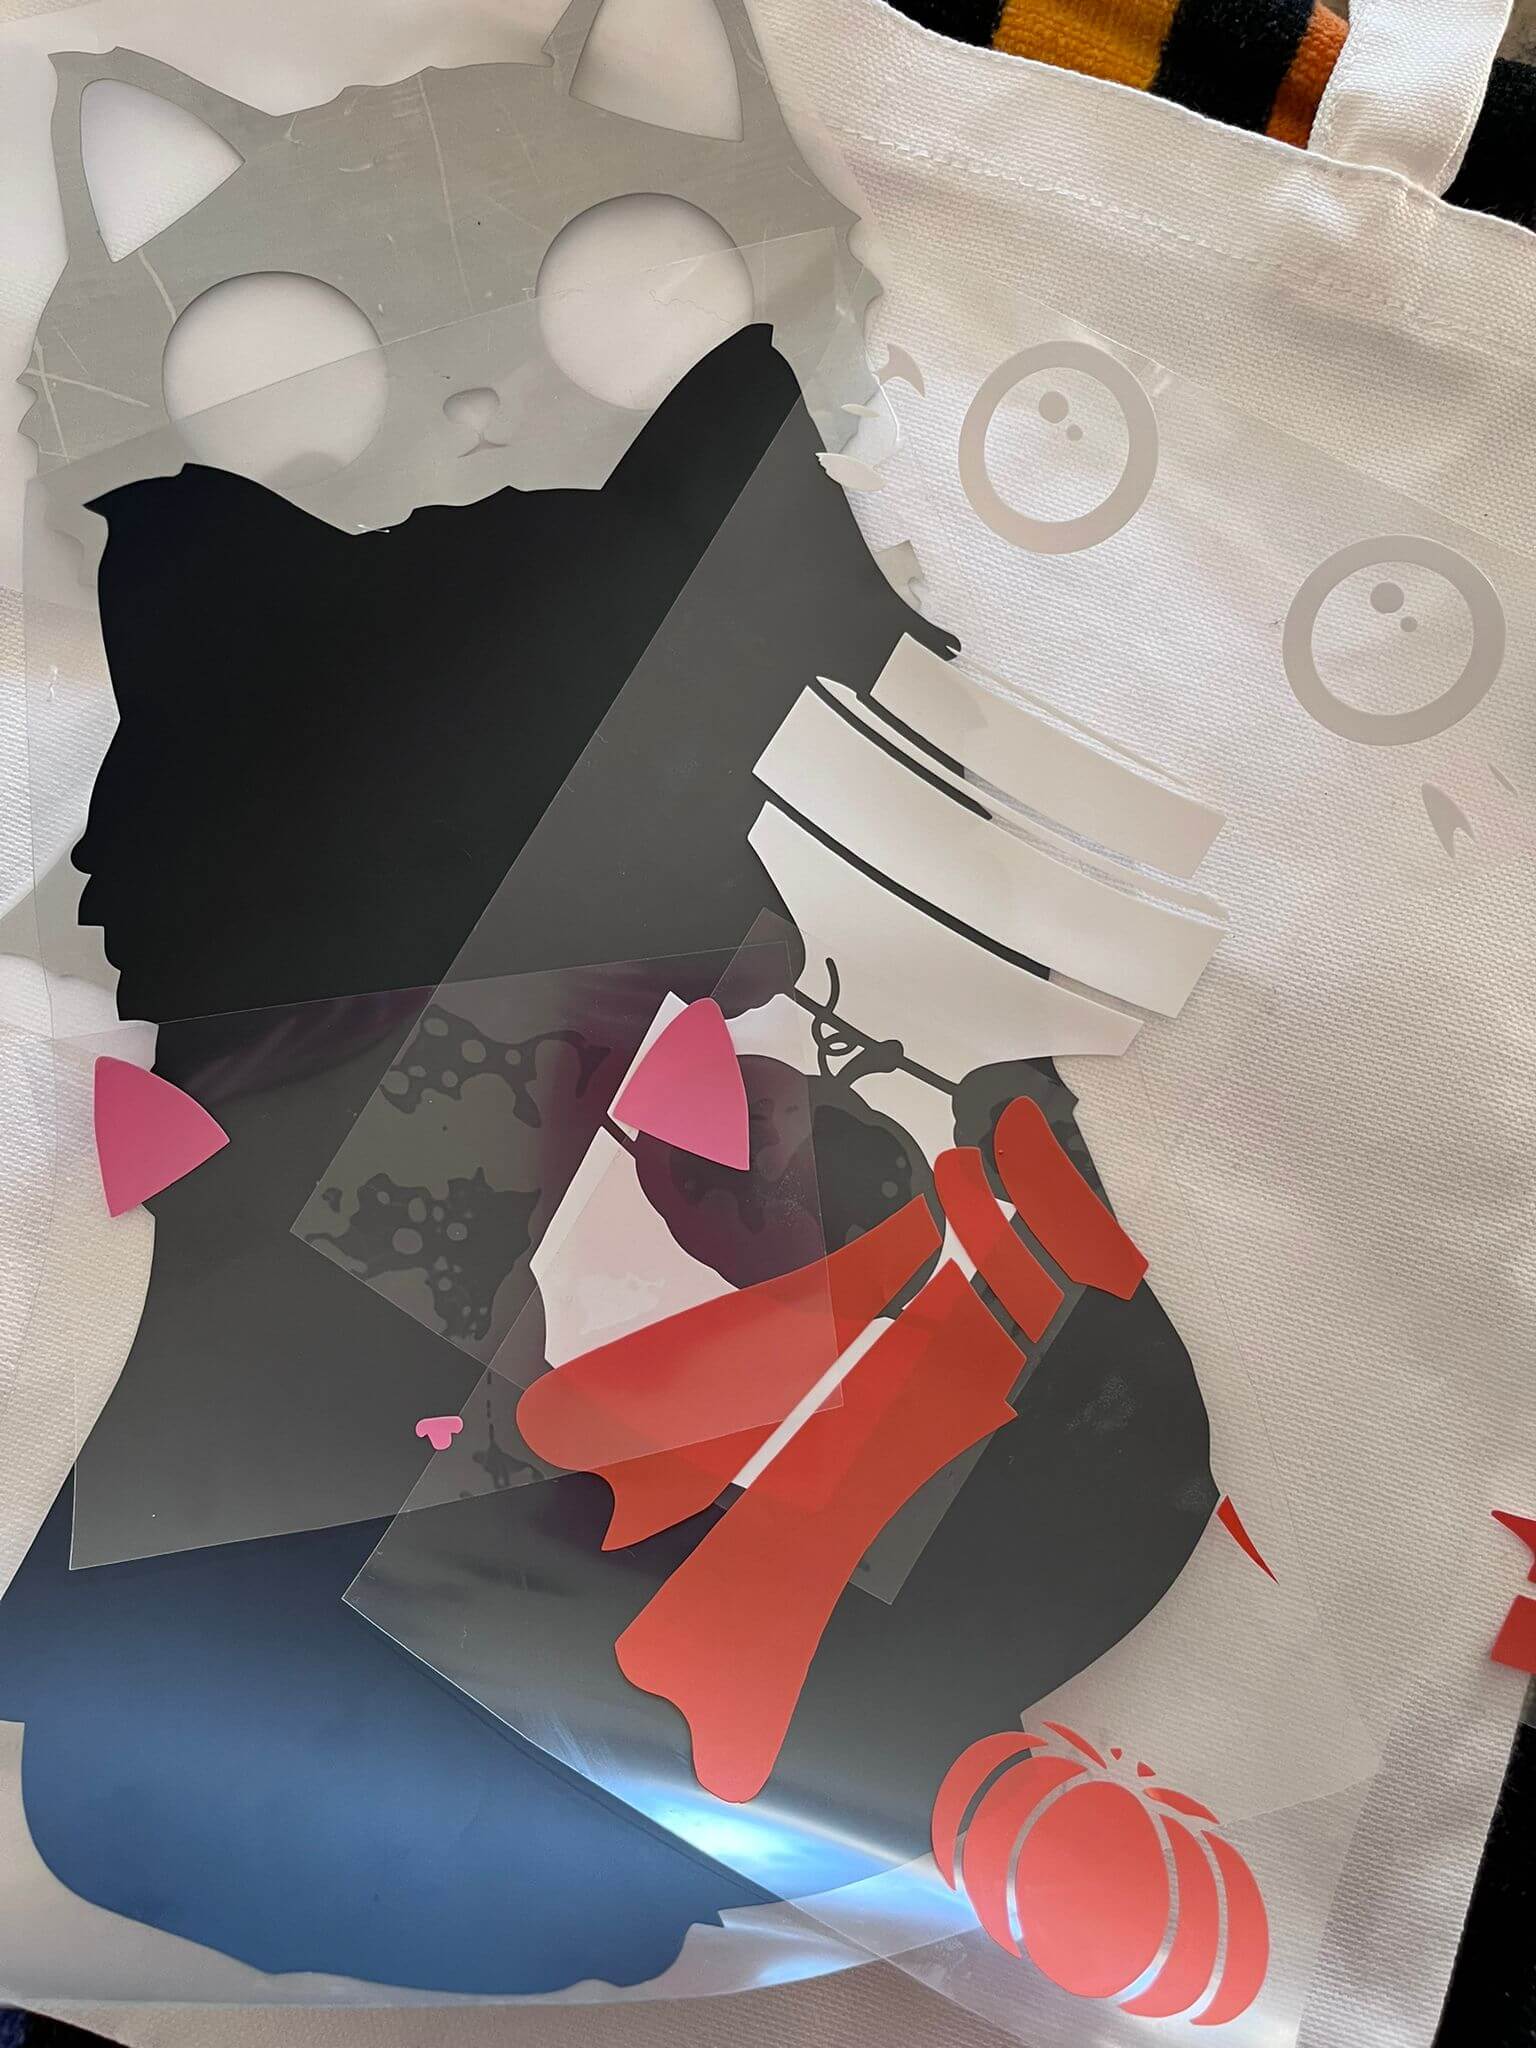
1- After all the parts are cut, using our weeding tool, we are going to proceed to weed each part.
2- We are READY to start ironing/pressing our design into the Tote Bag.
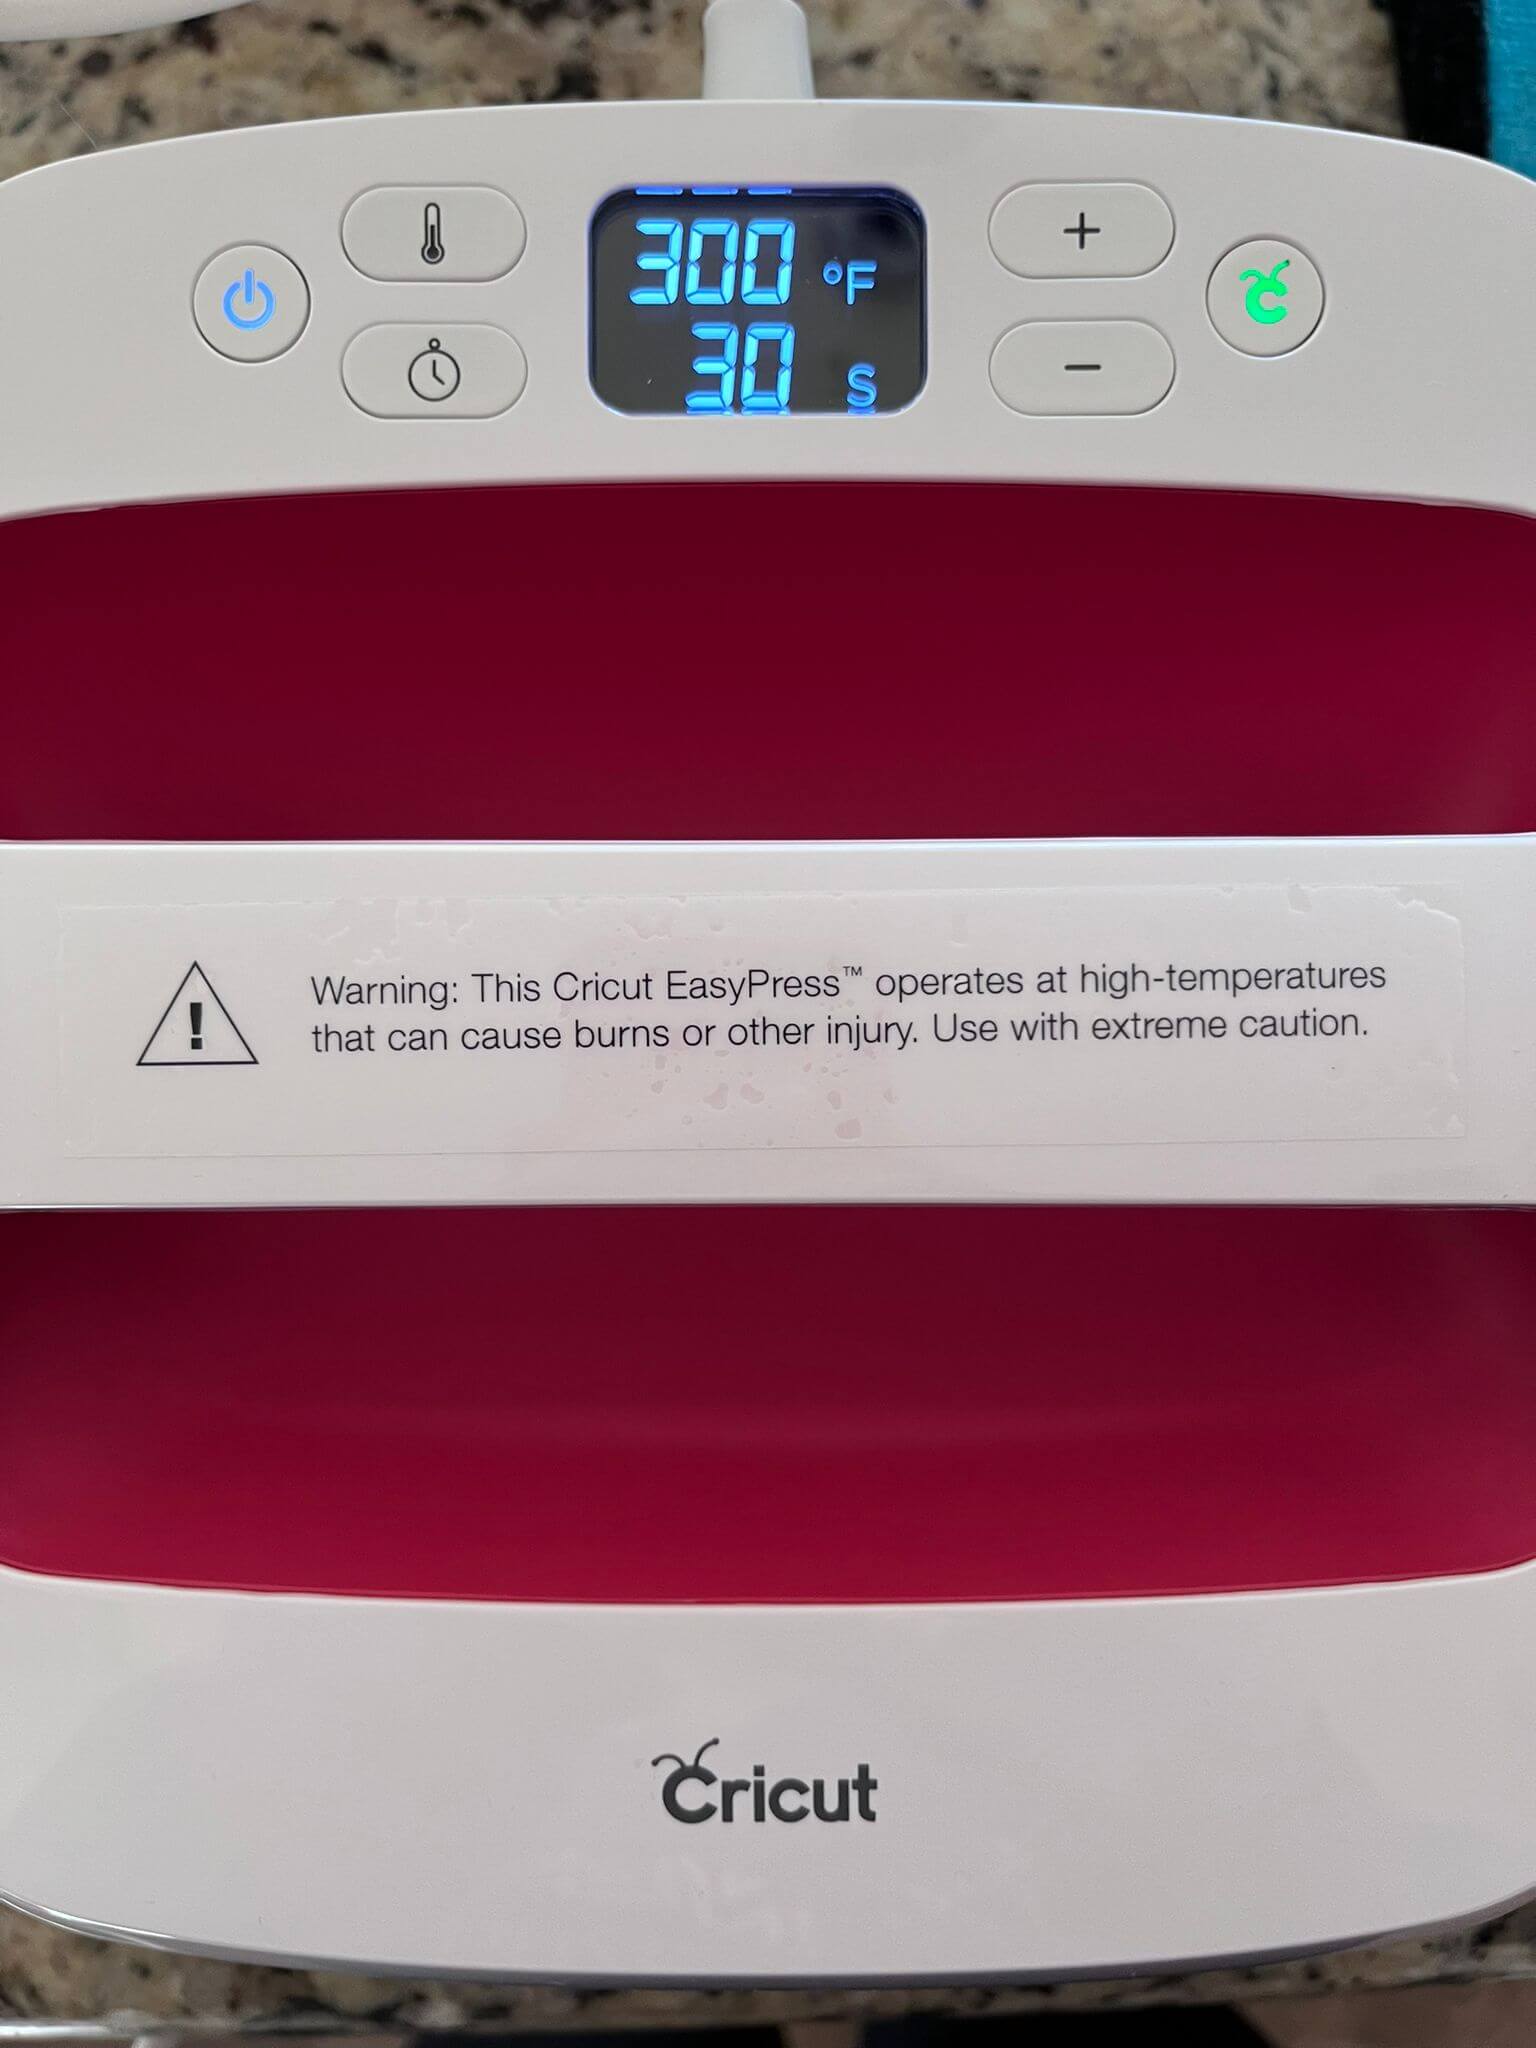
3- We are going to use the Easy Press with the following settings:
- Temperature: 300 F
- Time: 30 Seconds
💡Tip: If you do not know how to set up the Easy Press, please refer to this document.
4- We are going to press the parts in the following order:
- Black
- Gray
- Orange
- Pink
- White
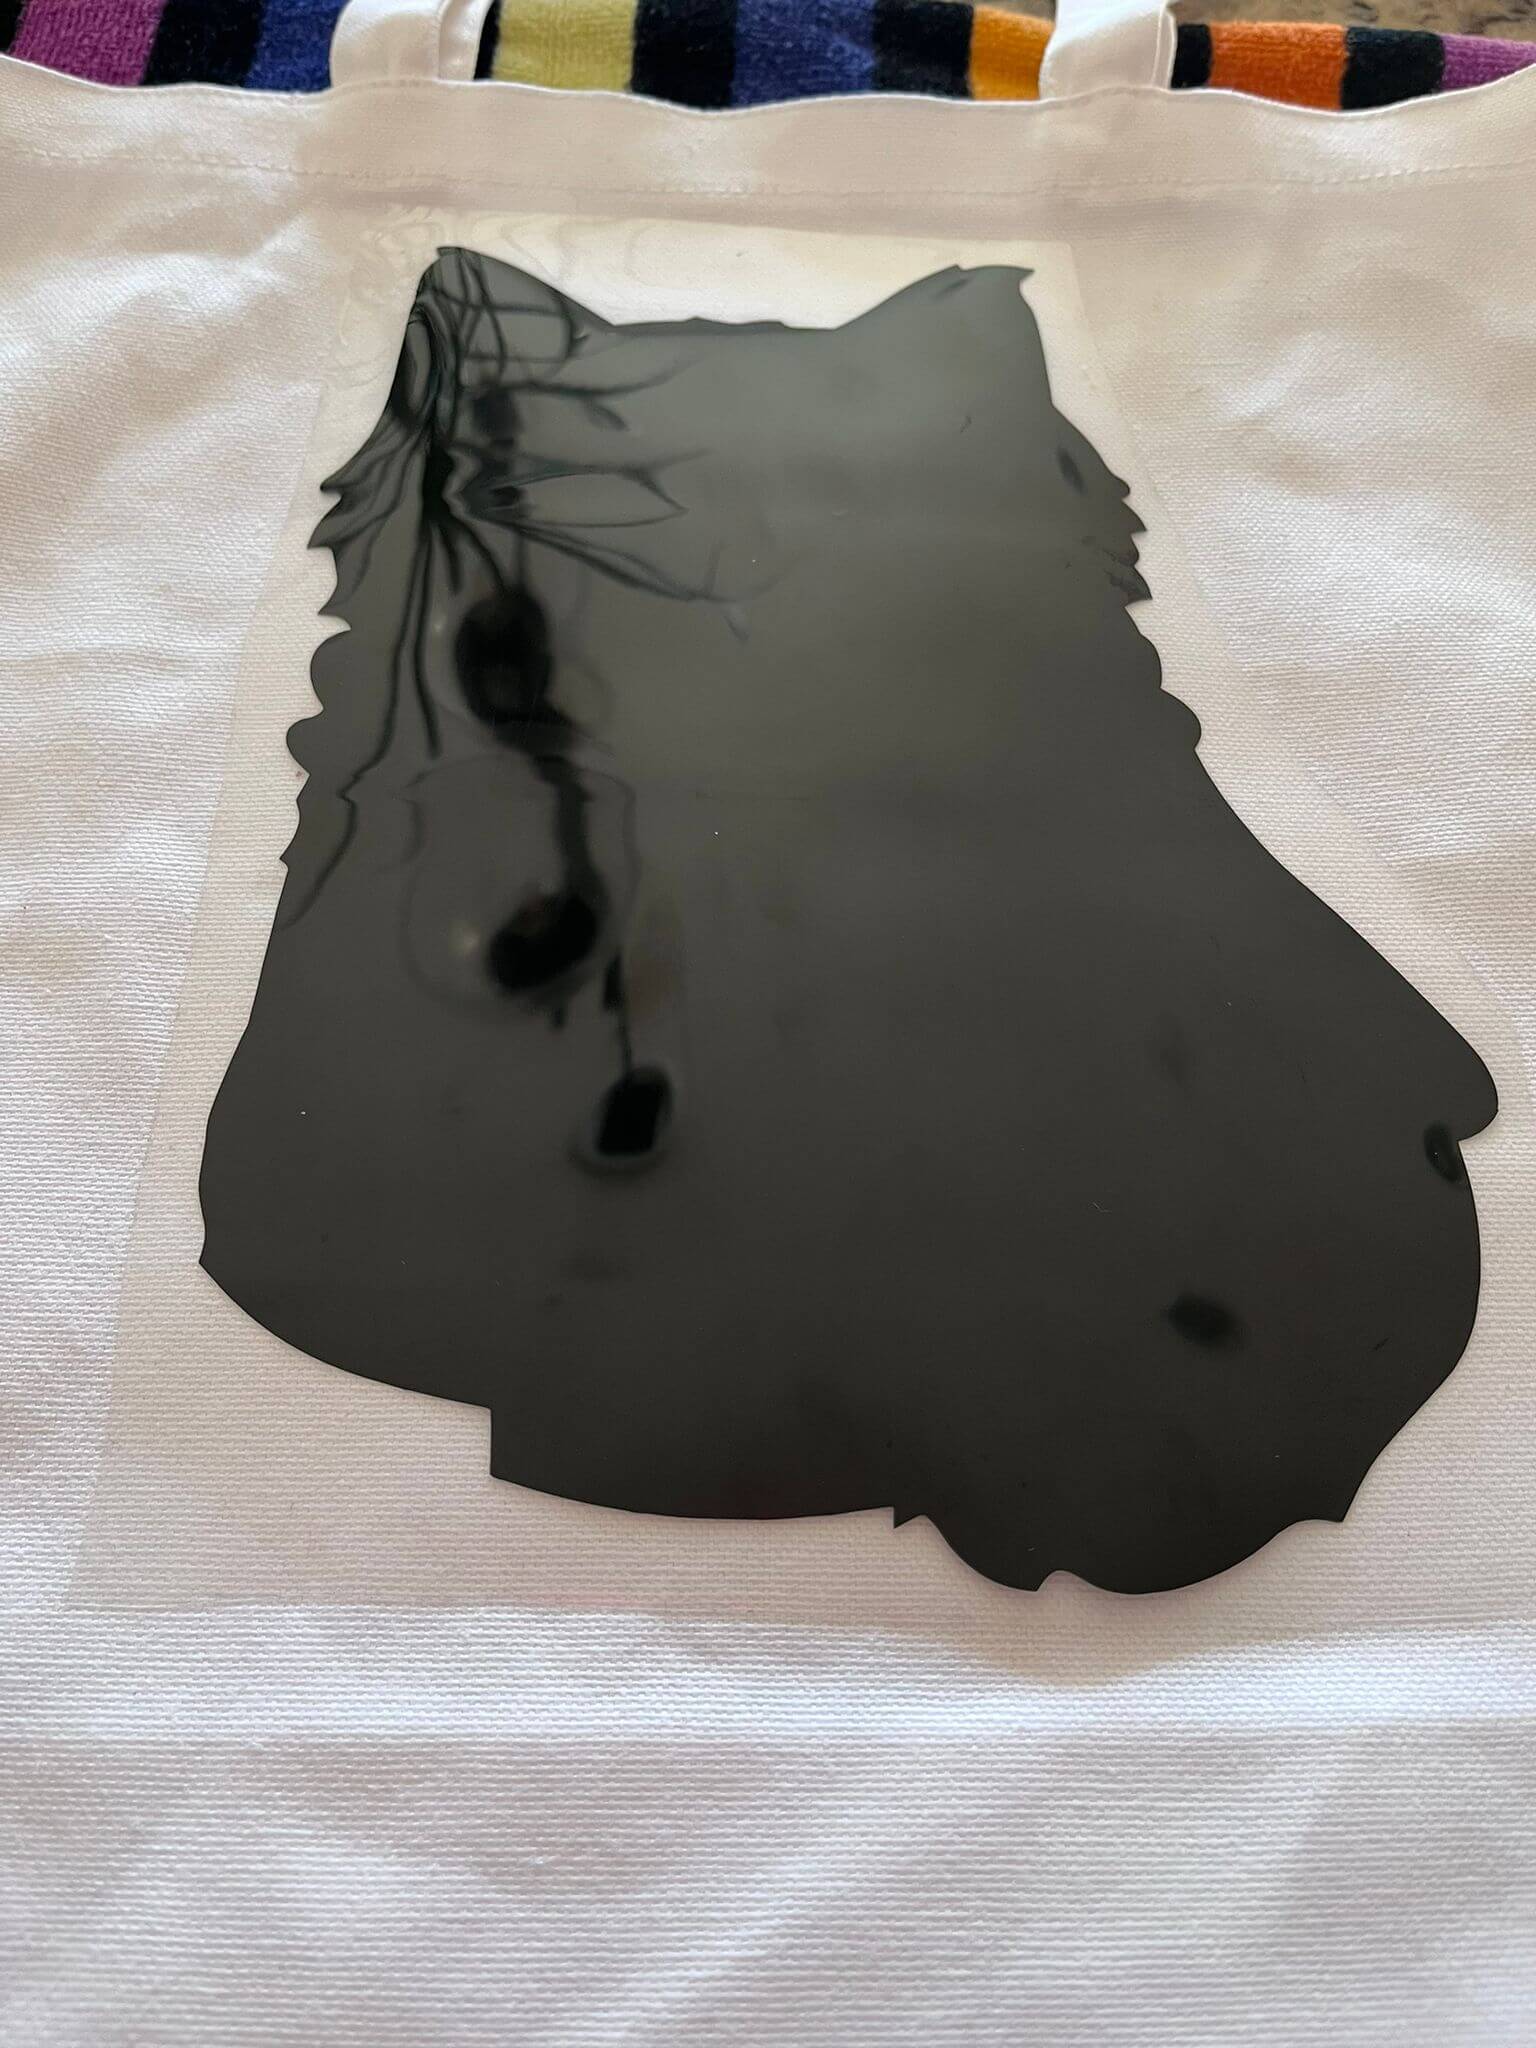
We are going to start with the Black HTV part, making sure that we place it in the zone of the tote bag that we want to:
5- We proceed with the easy press over the black part until the timer is done:
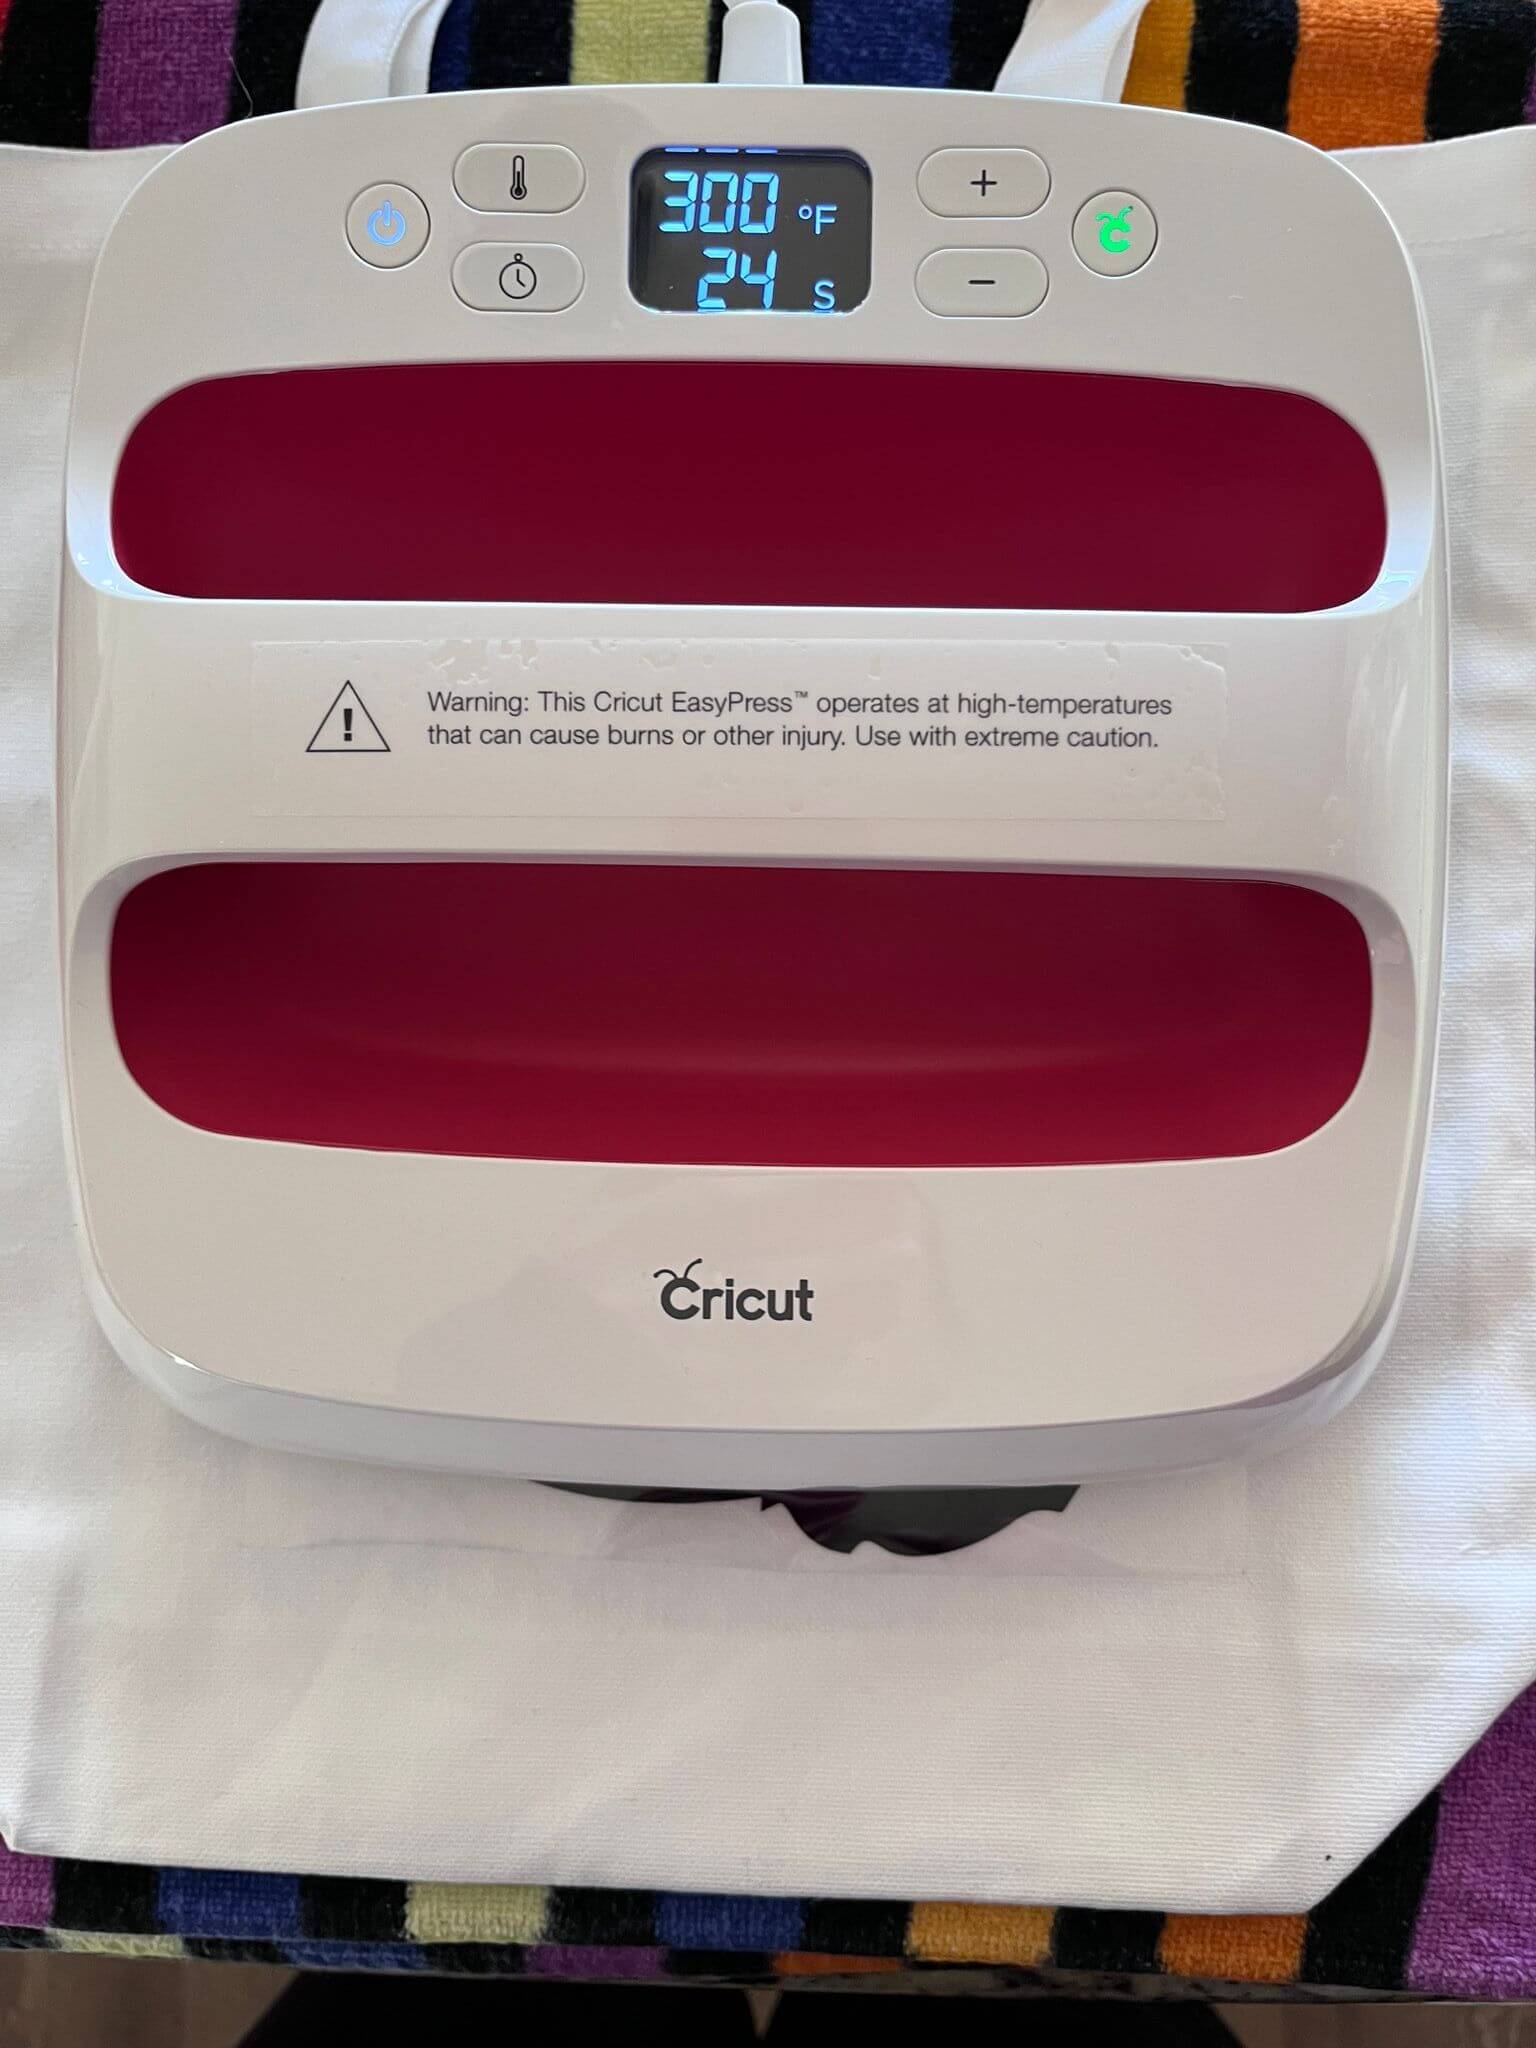
💡Tip: In my case, since my design is bigger than my easy press, I have to apply the heat again on the bottom part of my design with the same configurations.
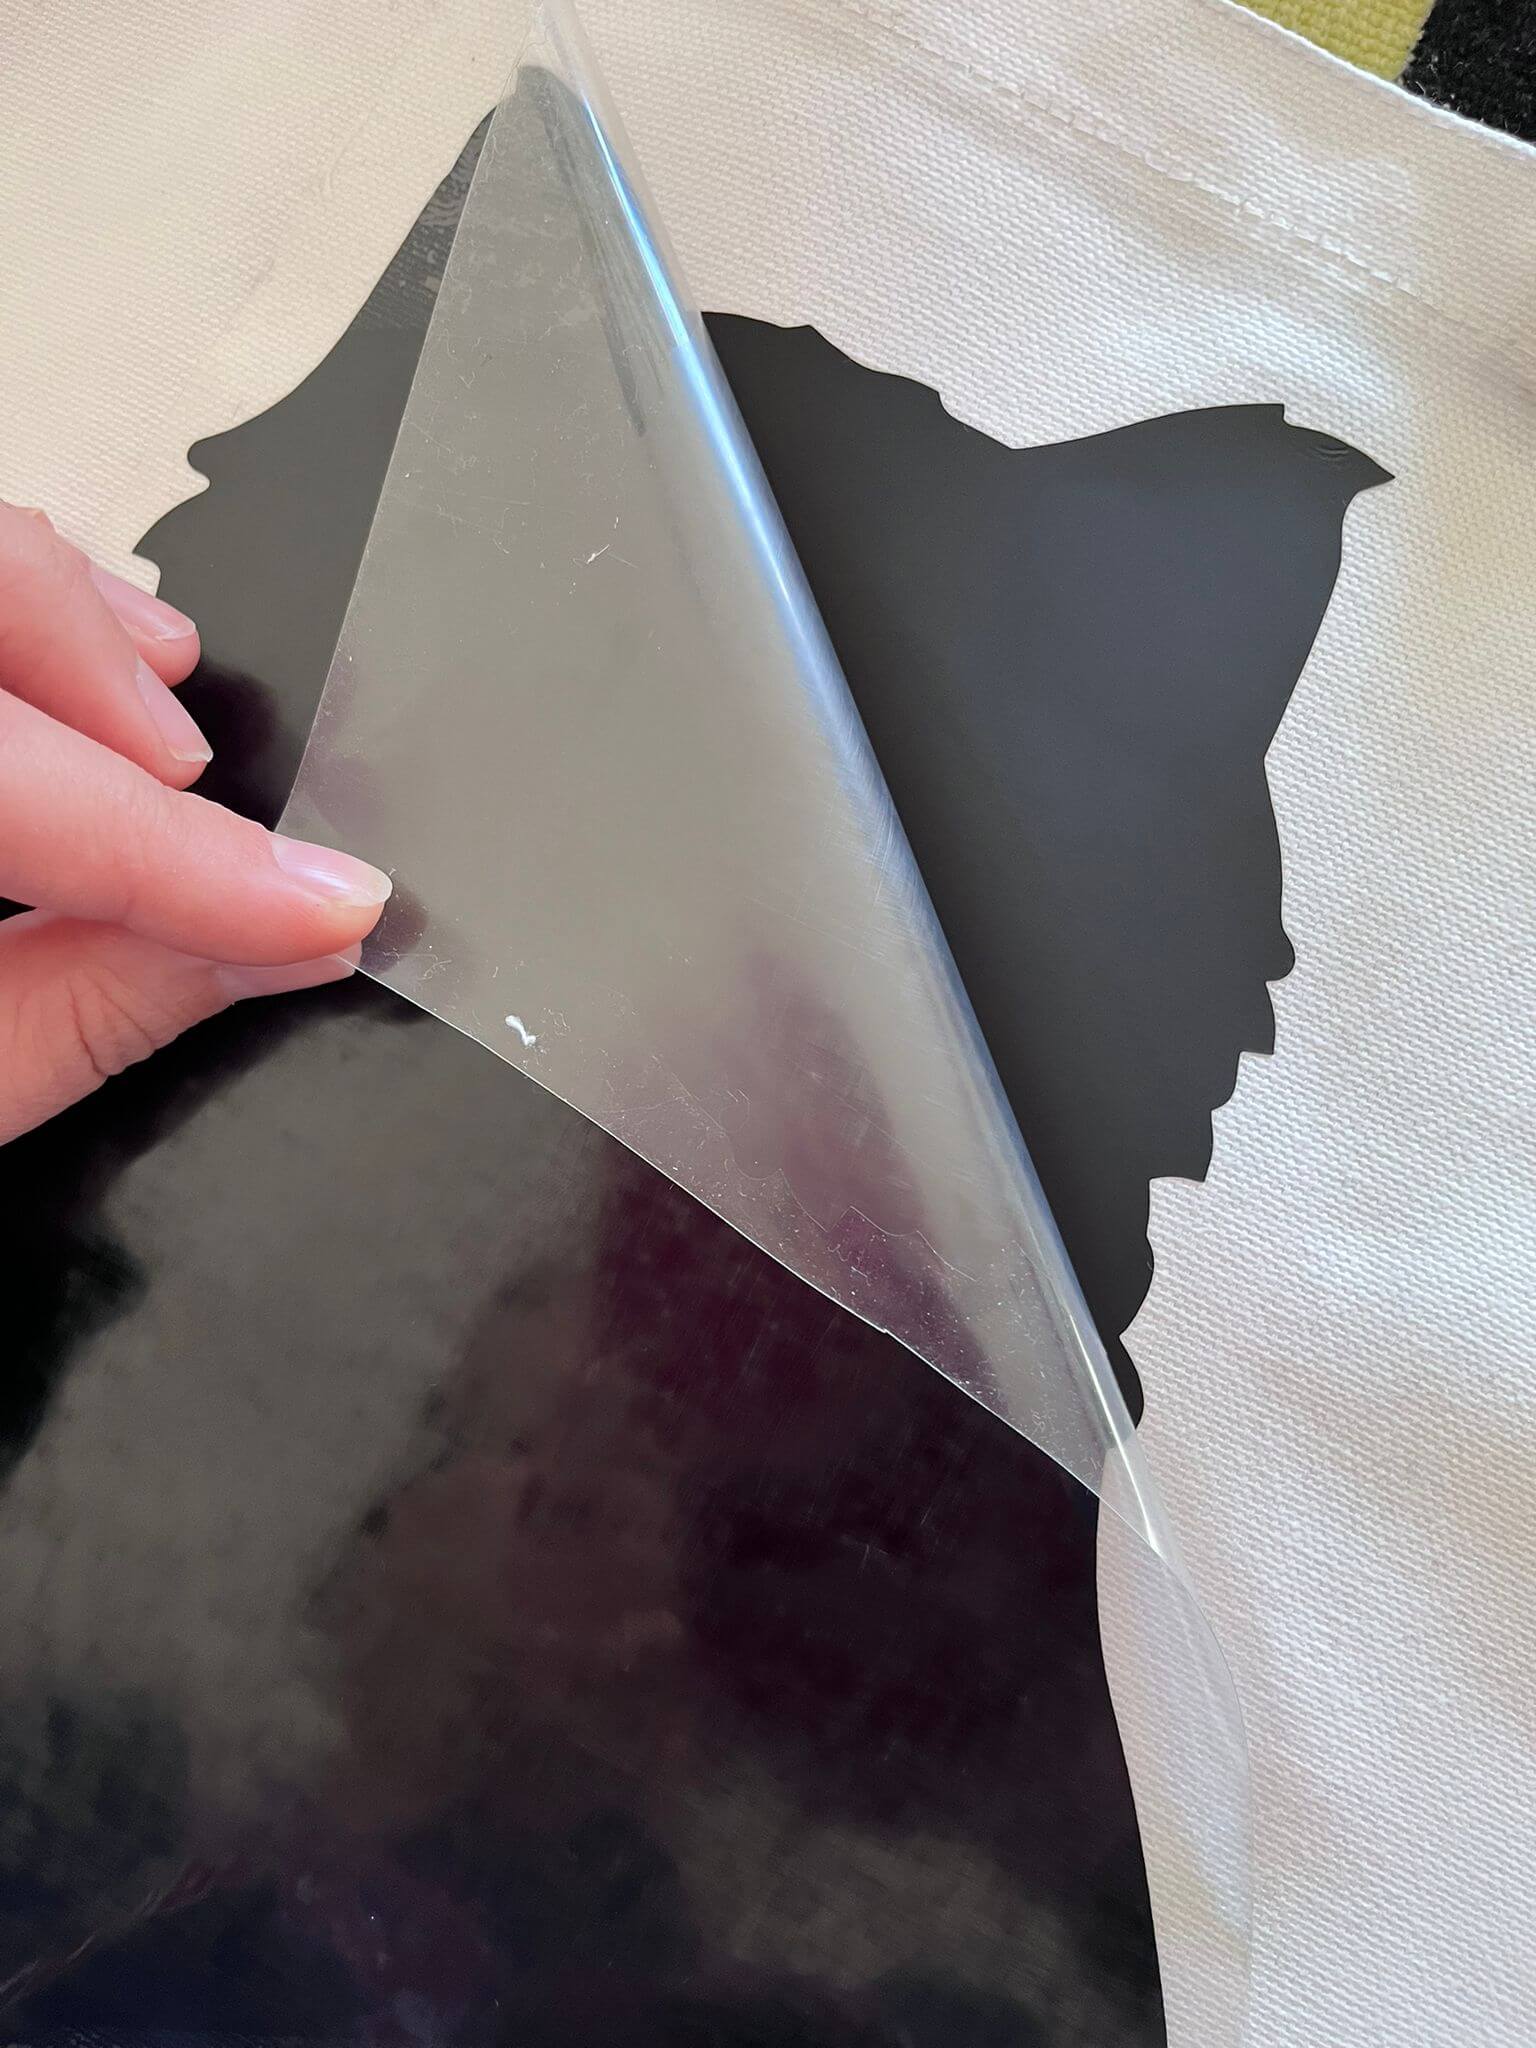
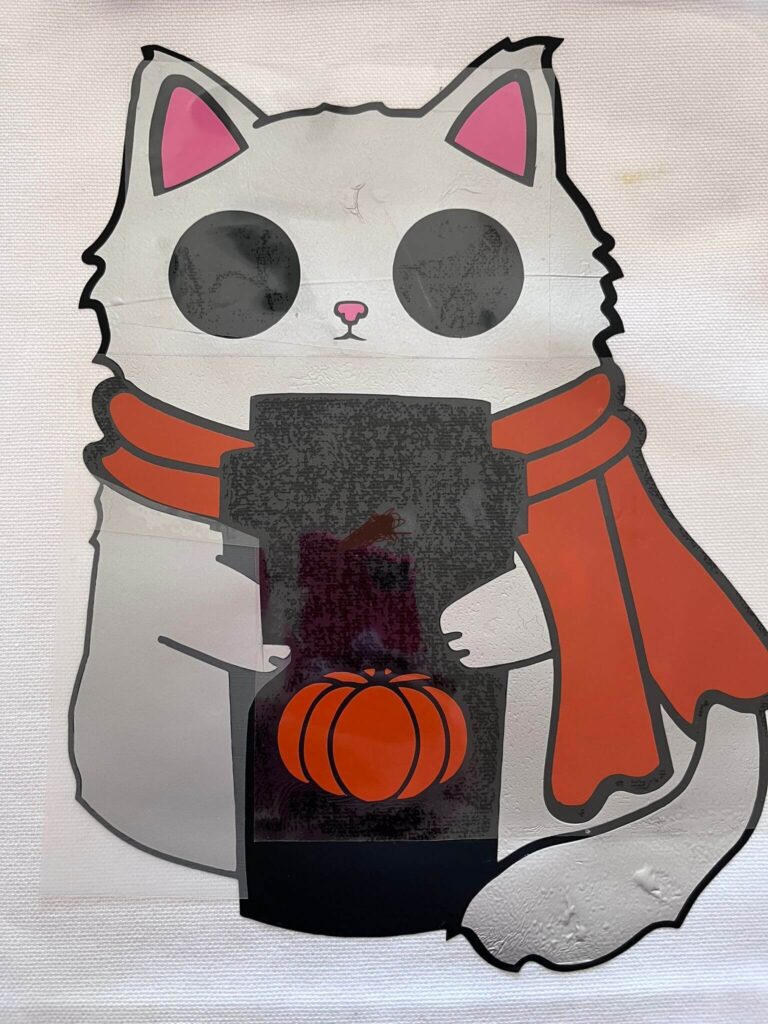
6- After the press is done, we are going to wait until the design is cool to peel the contact translucid paper:
7- Now, we are going to proceed with the second color (Gray) and do the same steps as with the black color:
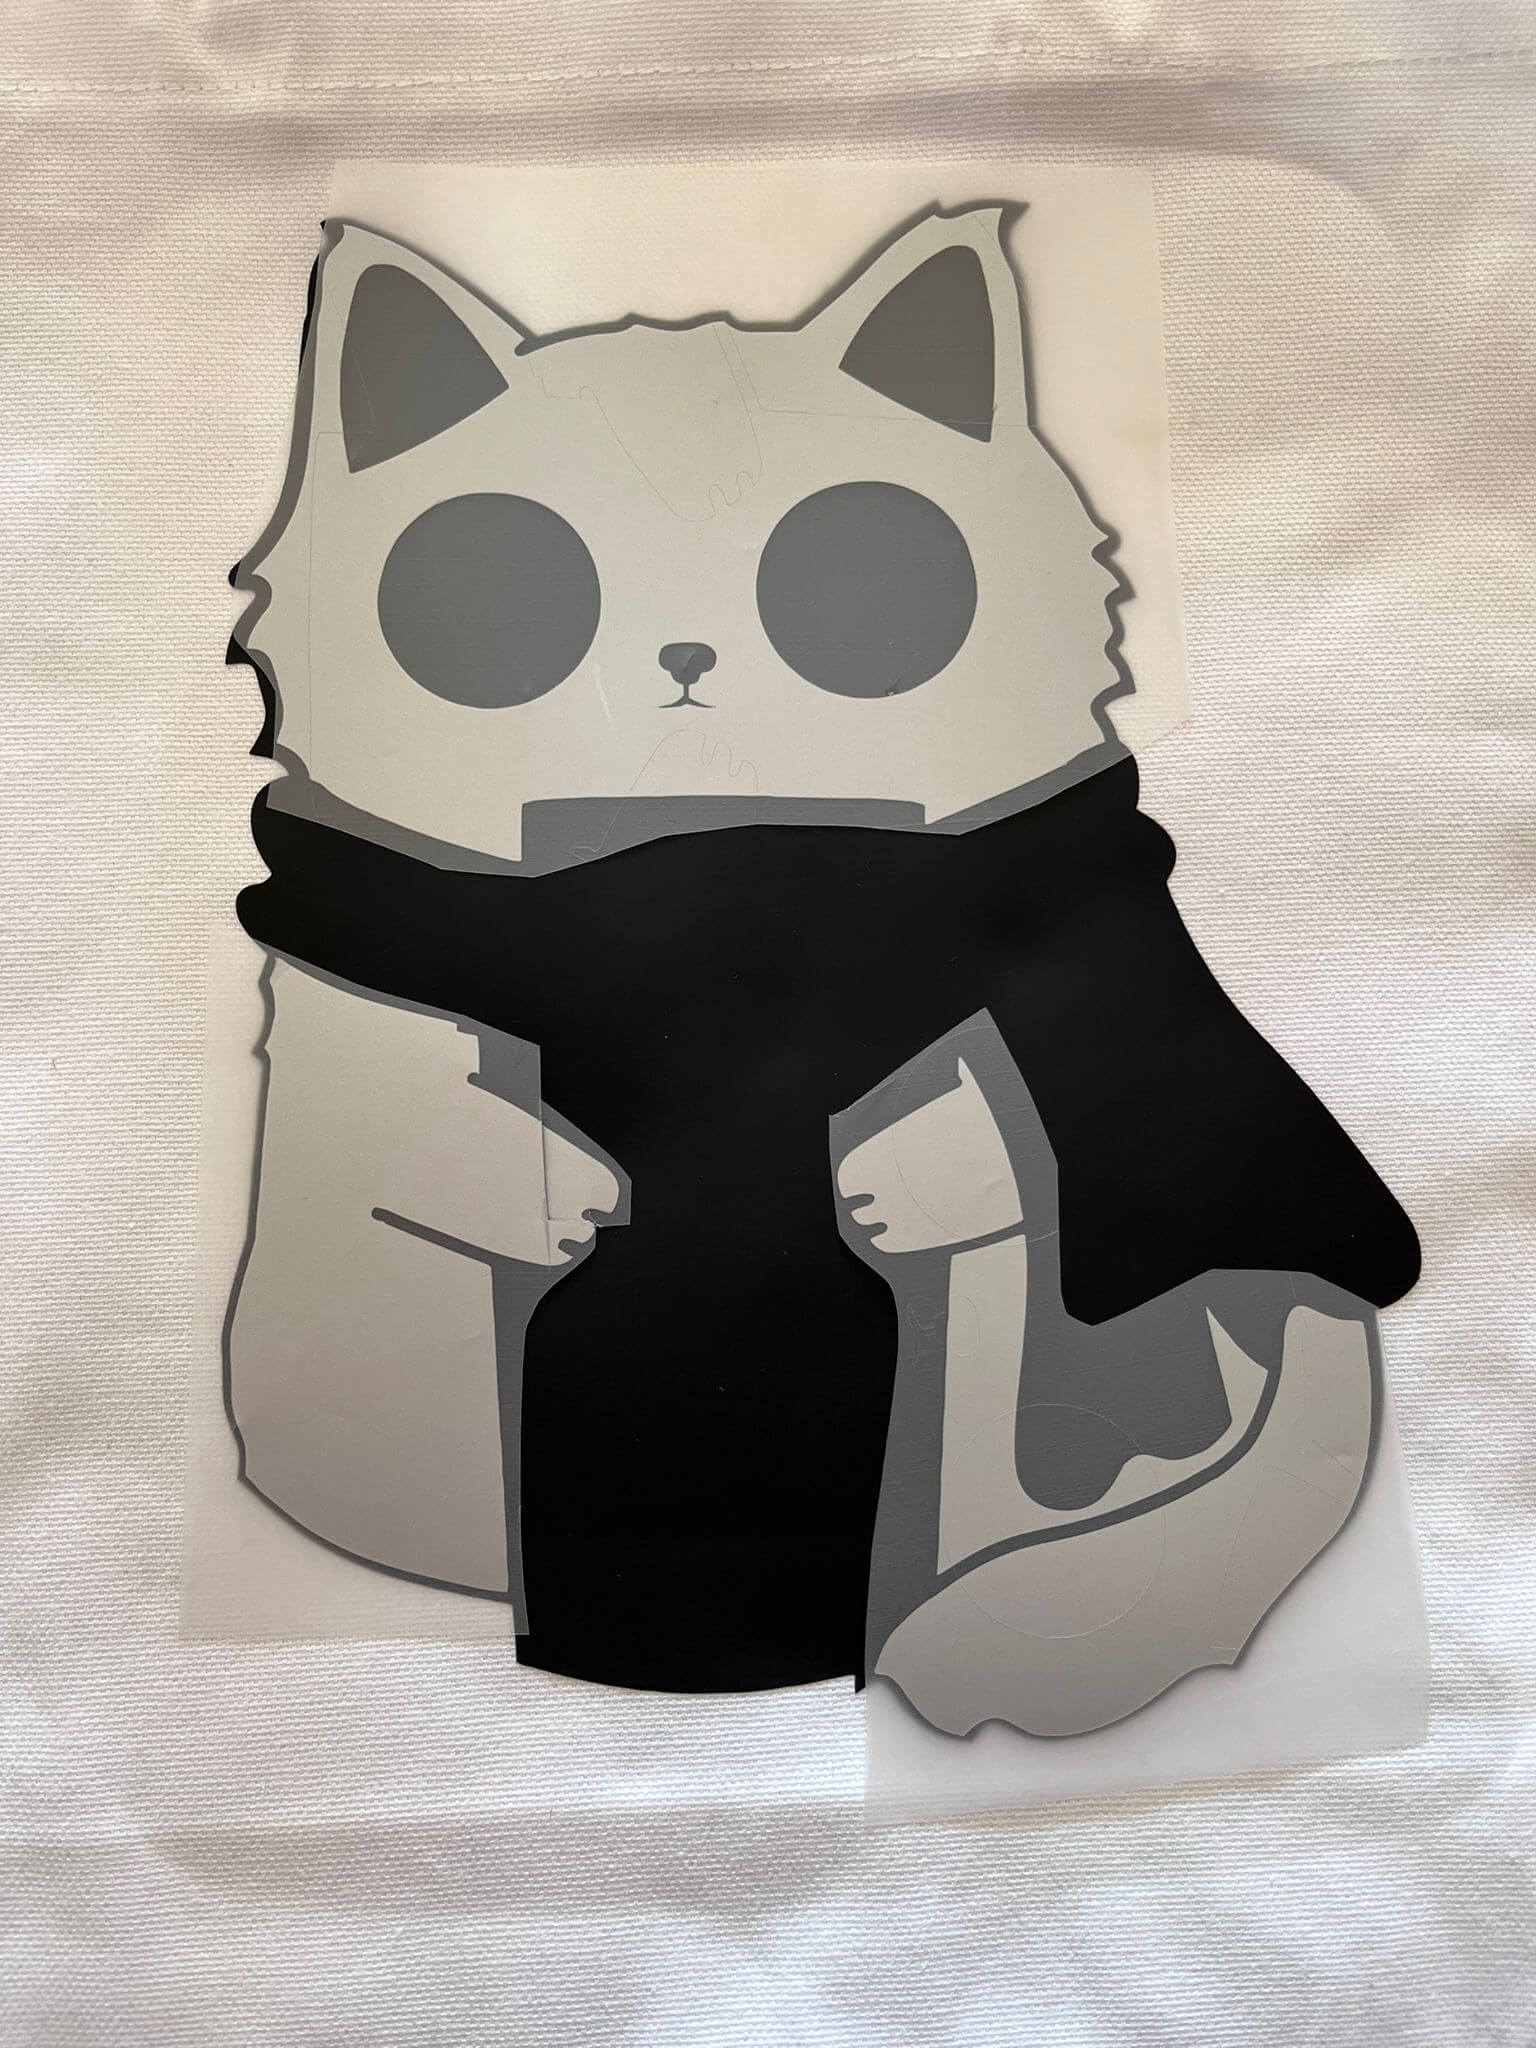
💡Tip: Before applying the heat, every time that we are applying one color over the other, we need to make sure that the position of the new color is on the right place, you can do this based on how the design is (monitoring the original design) OR you can see on the Design Space before cutting them that there is a border next to each part, (this border is not going to be cut) but you can try to cut it by following the model to make sure that you can place the image over the previous one as expected based on the design.
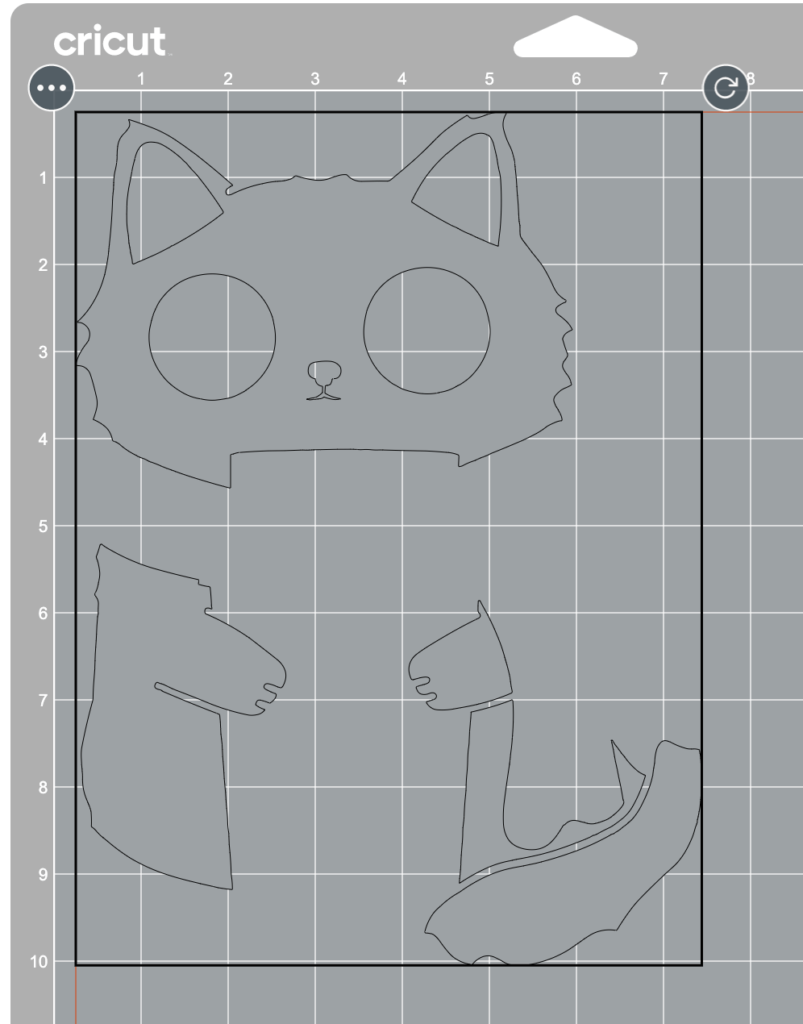
8 – We are going to continue repeating STEP 6 and STEP 7 until we have all the colors:
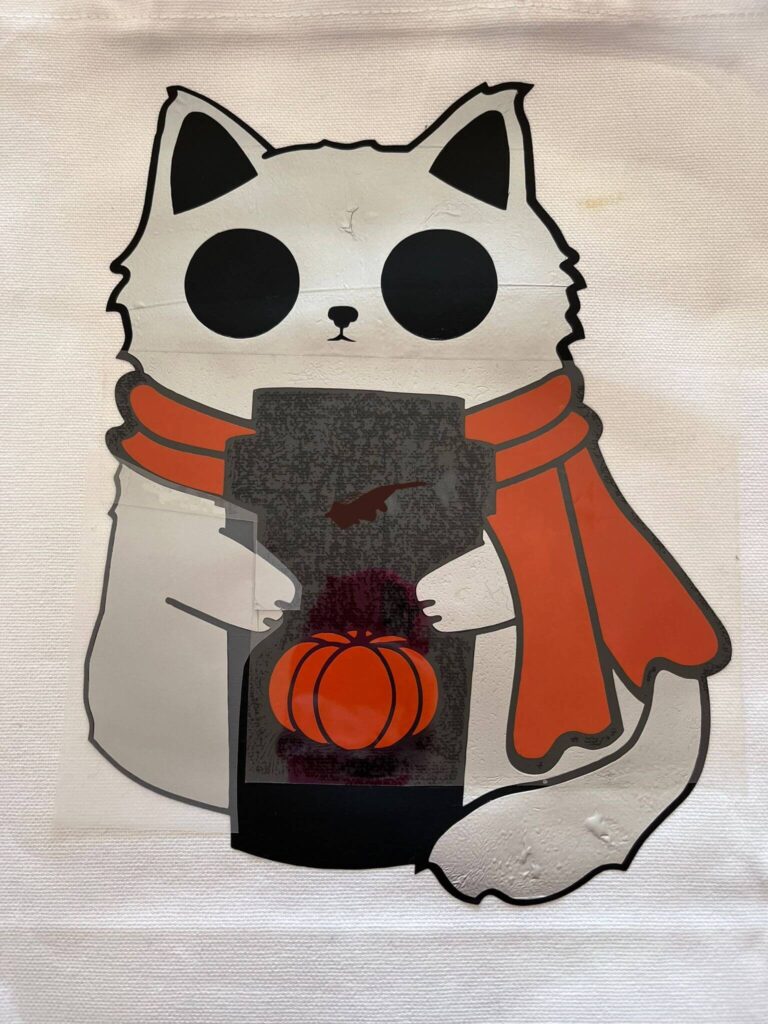
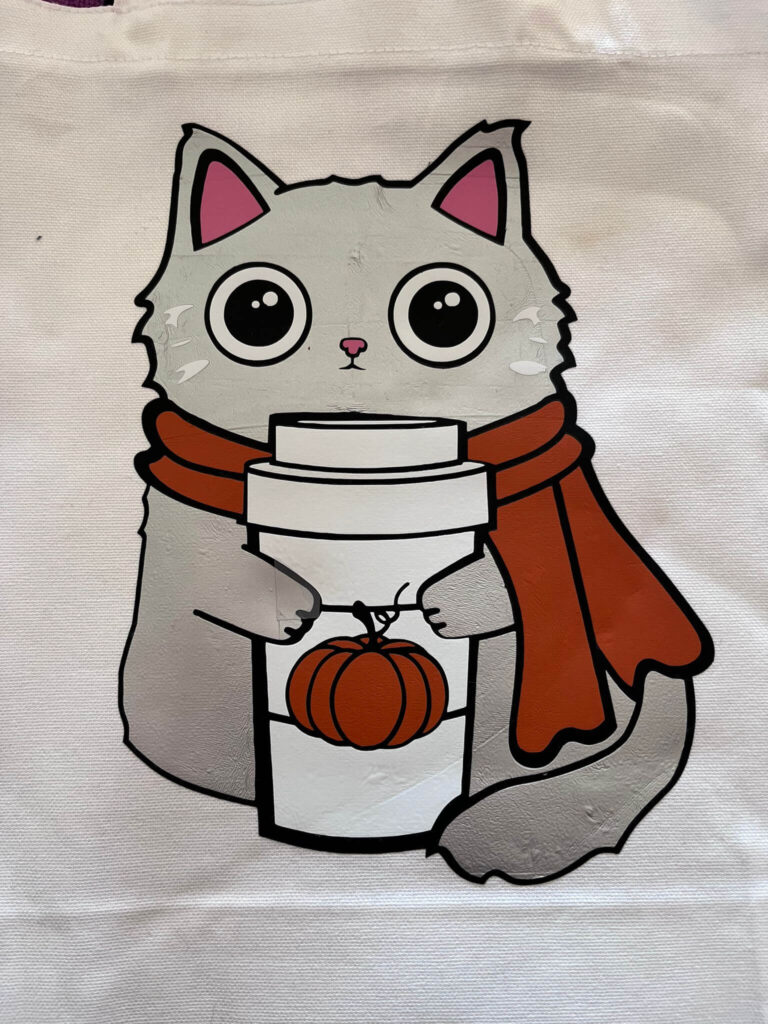
9- After all the layers are done, YOU DID IT! You have a beautiful Tote Bag!
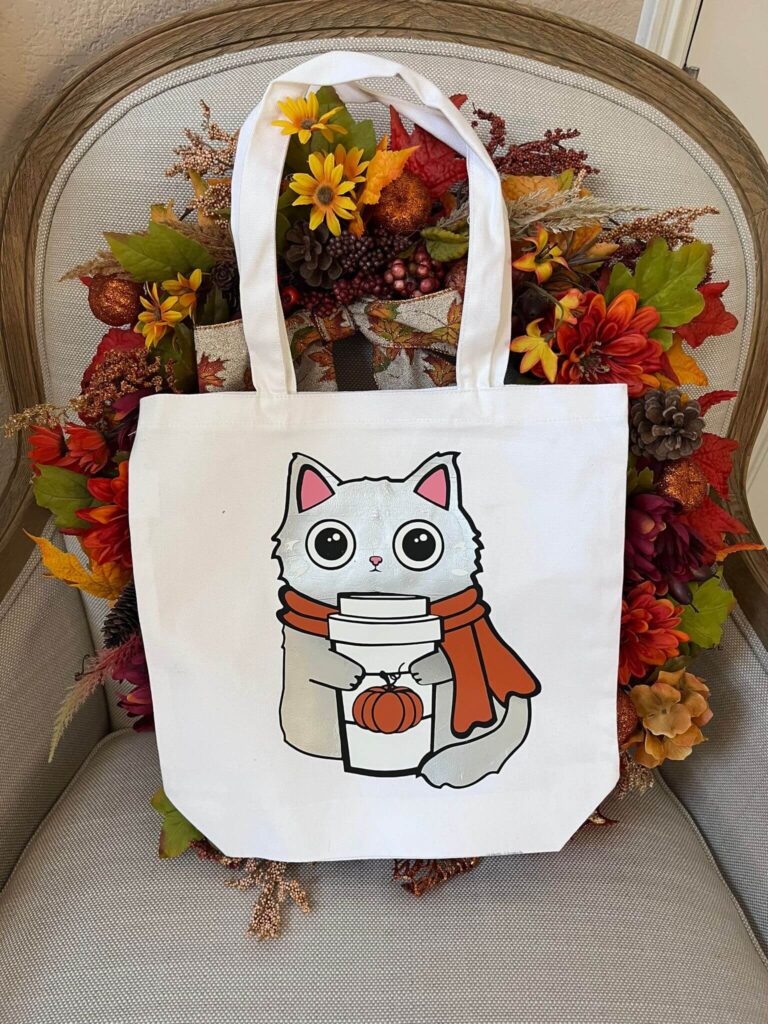
Congratulations!
Easy press
