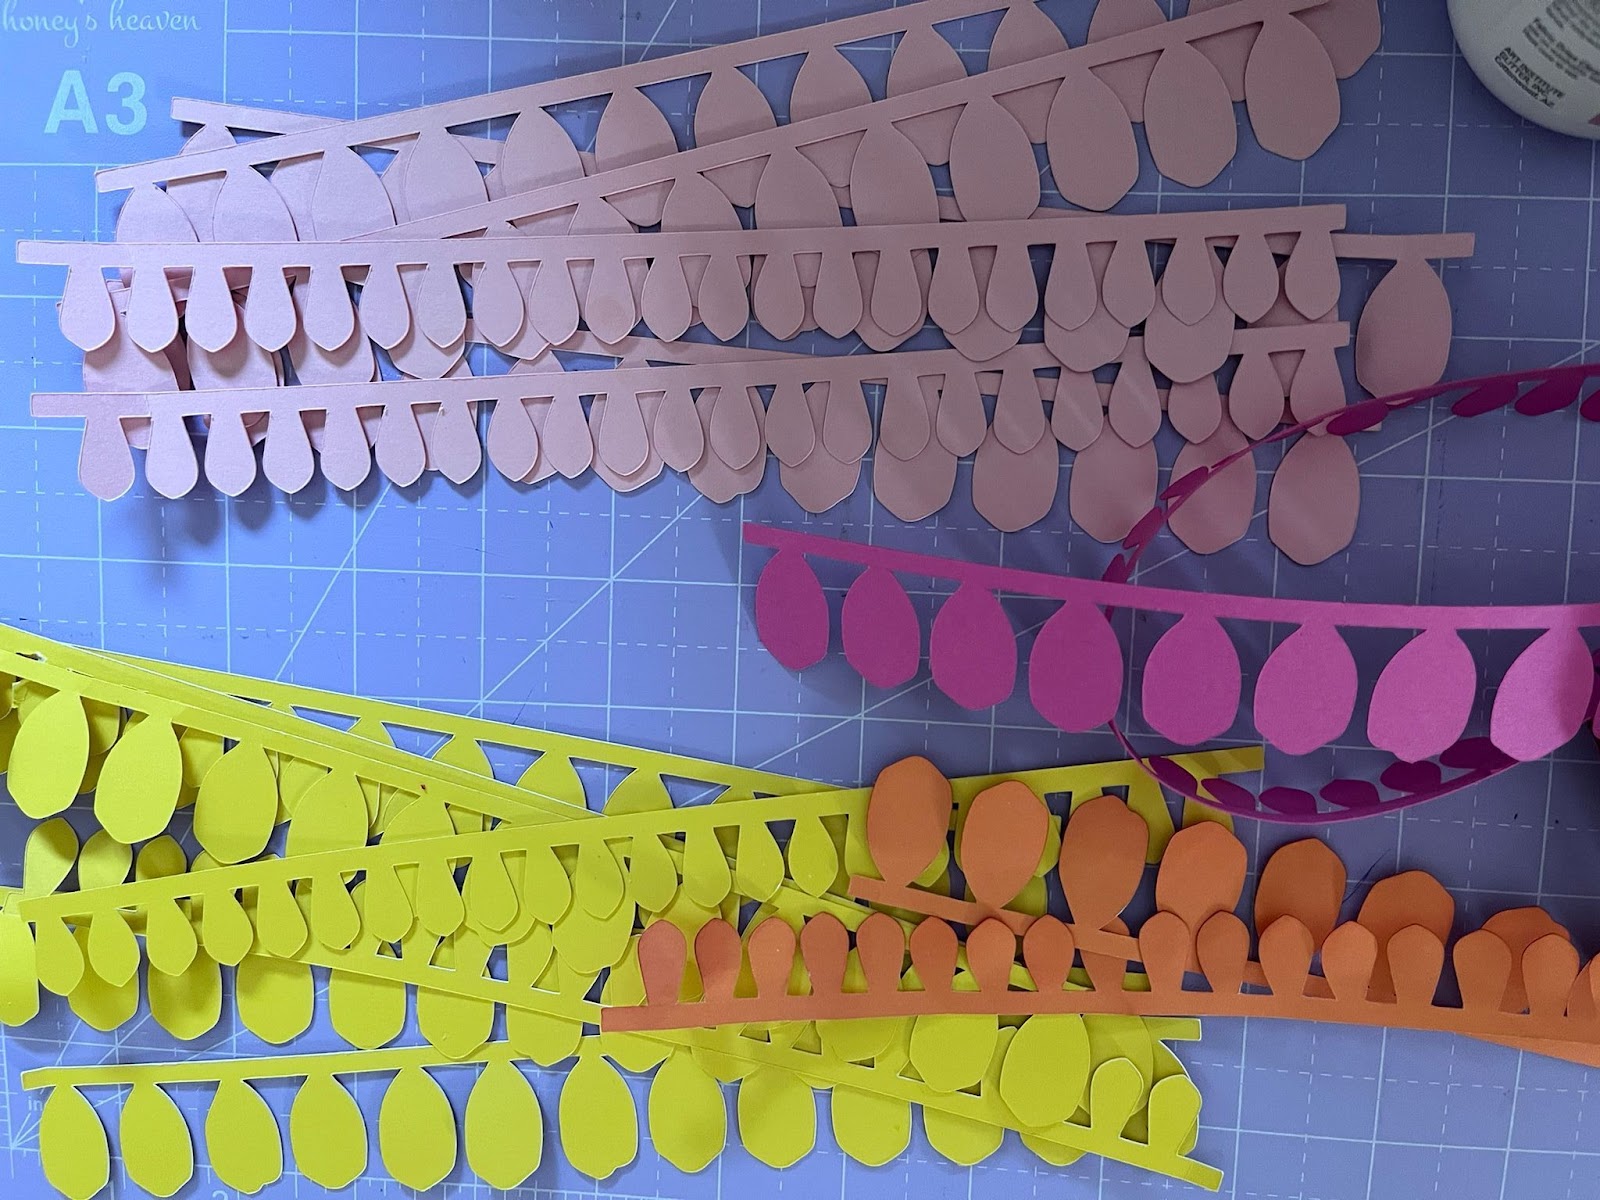
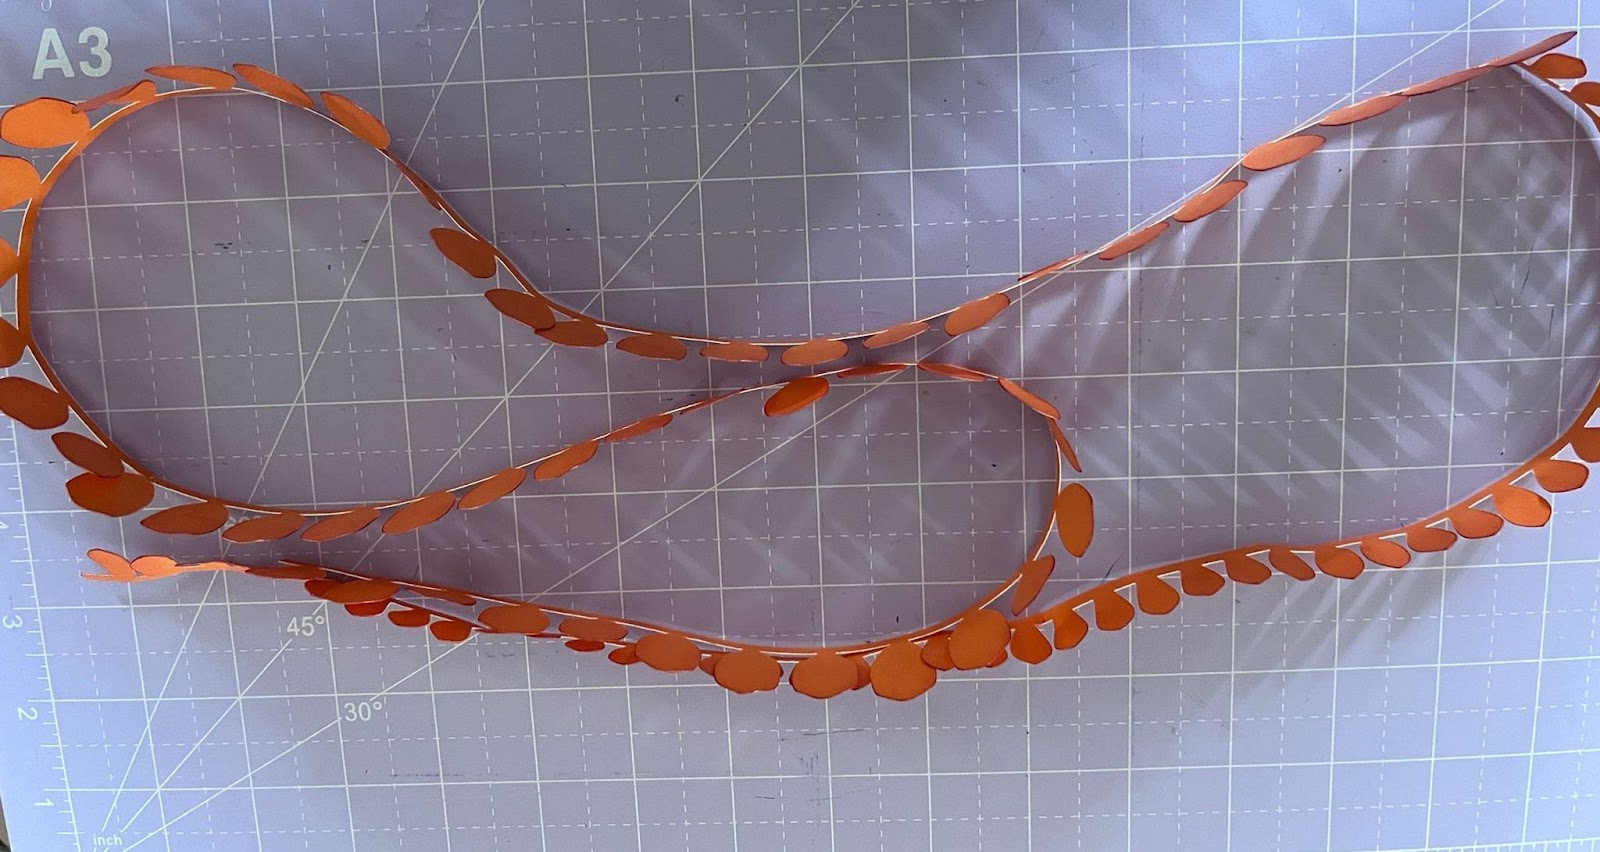
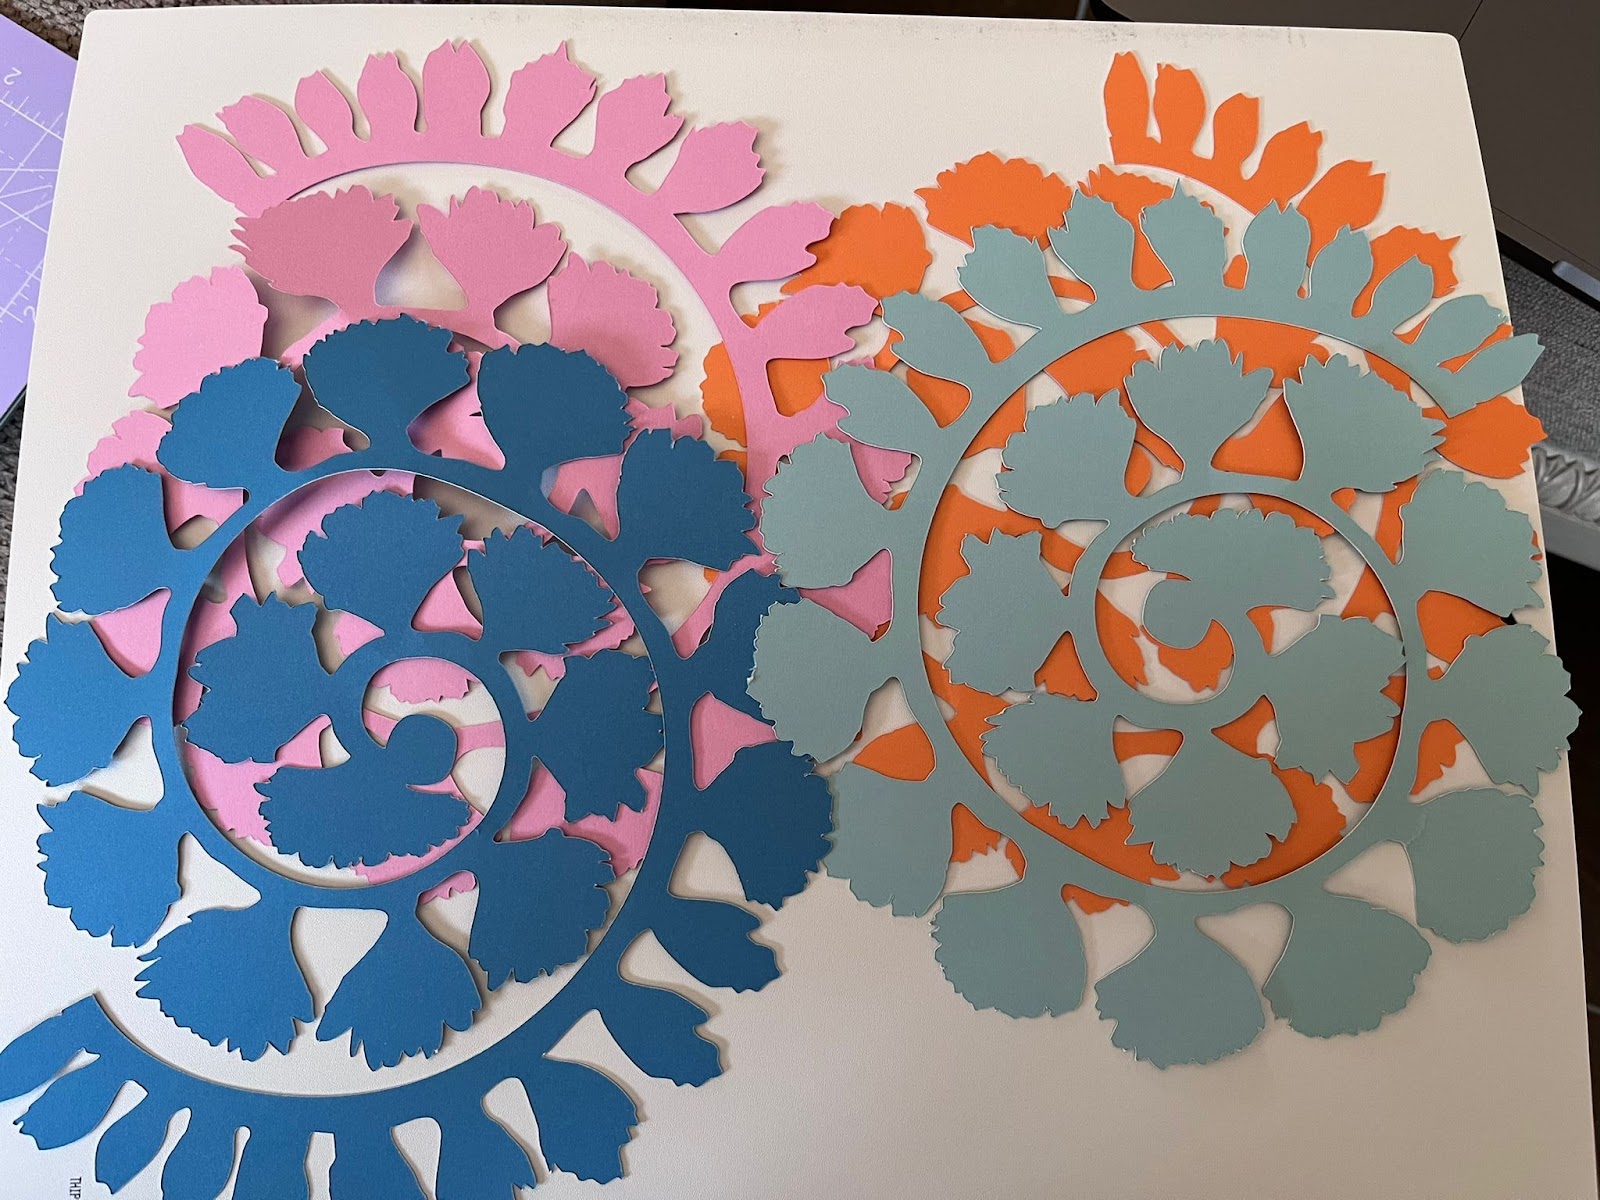
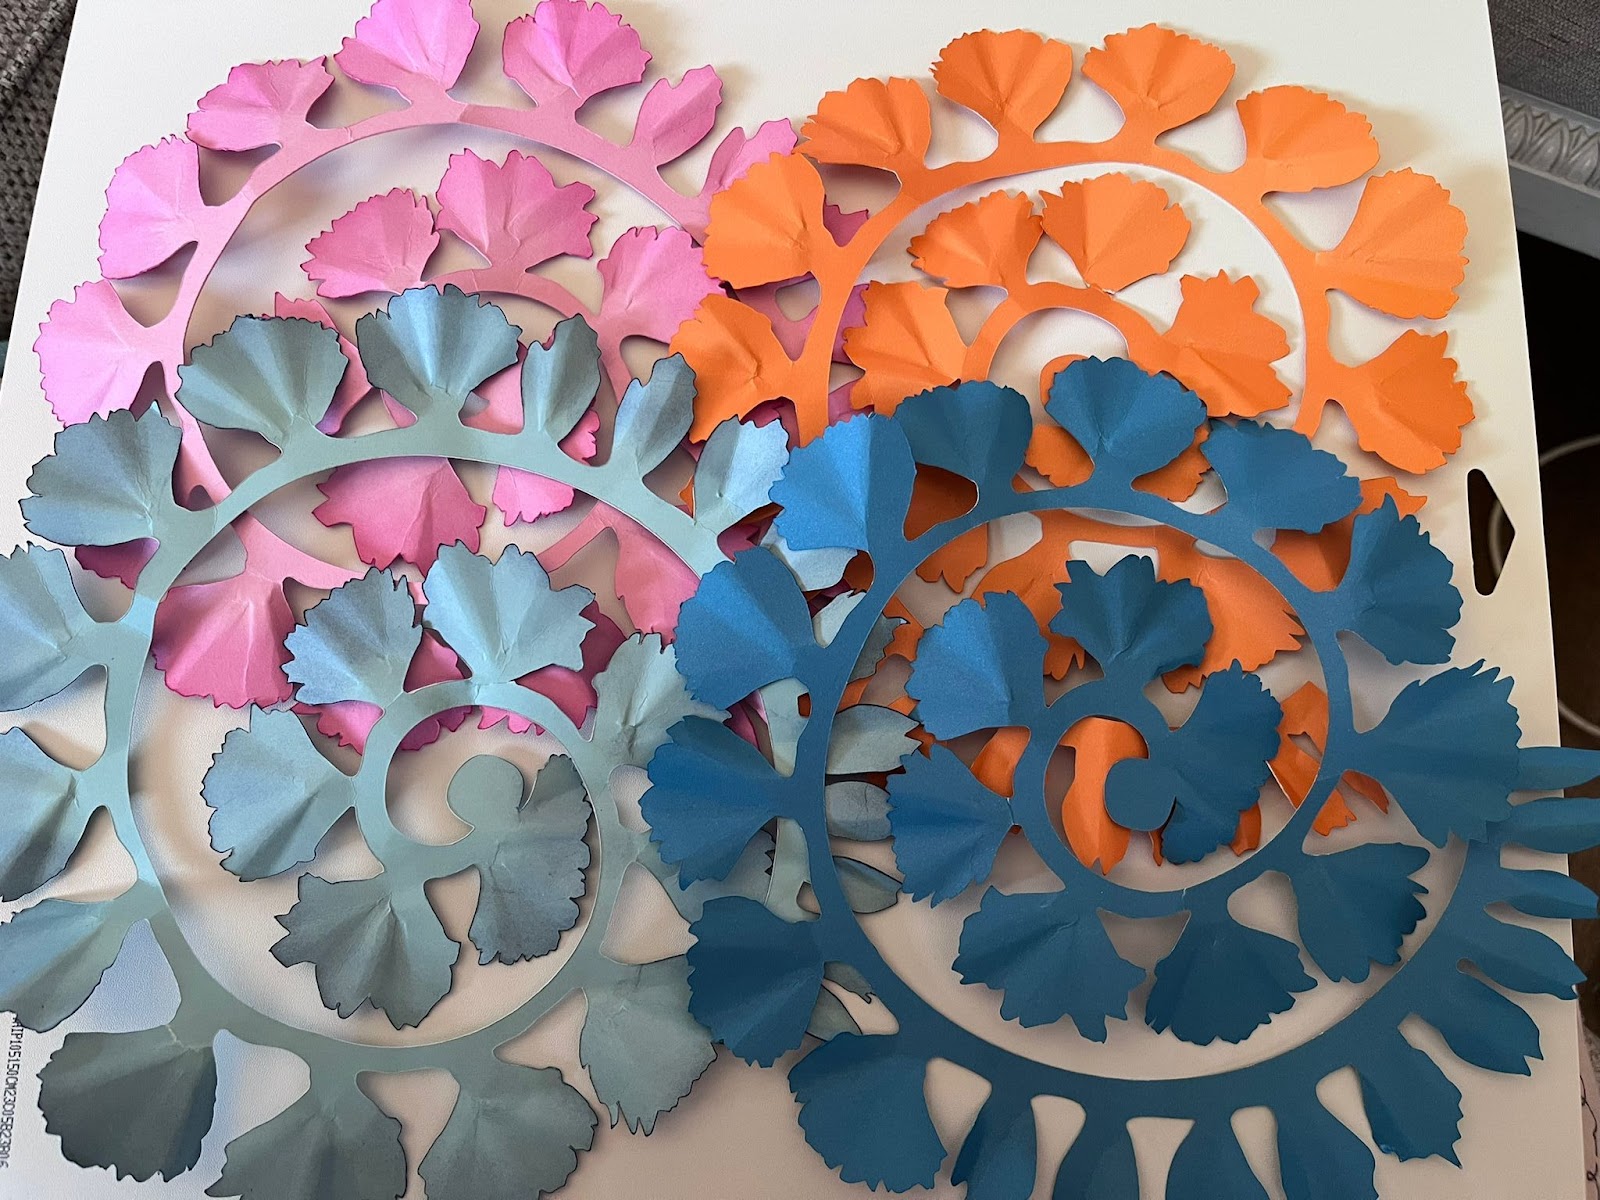
At this point you should have already all your elements cut and ready or at least one of each flower.
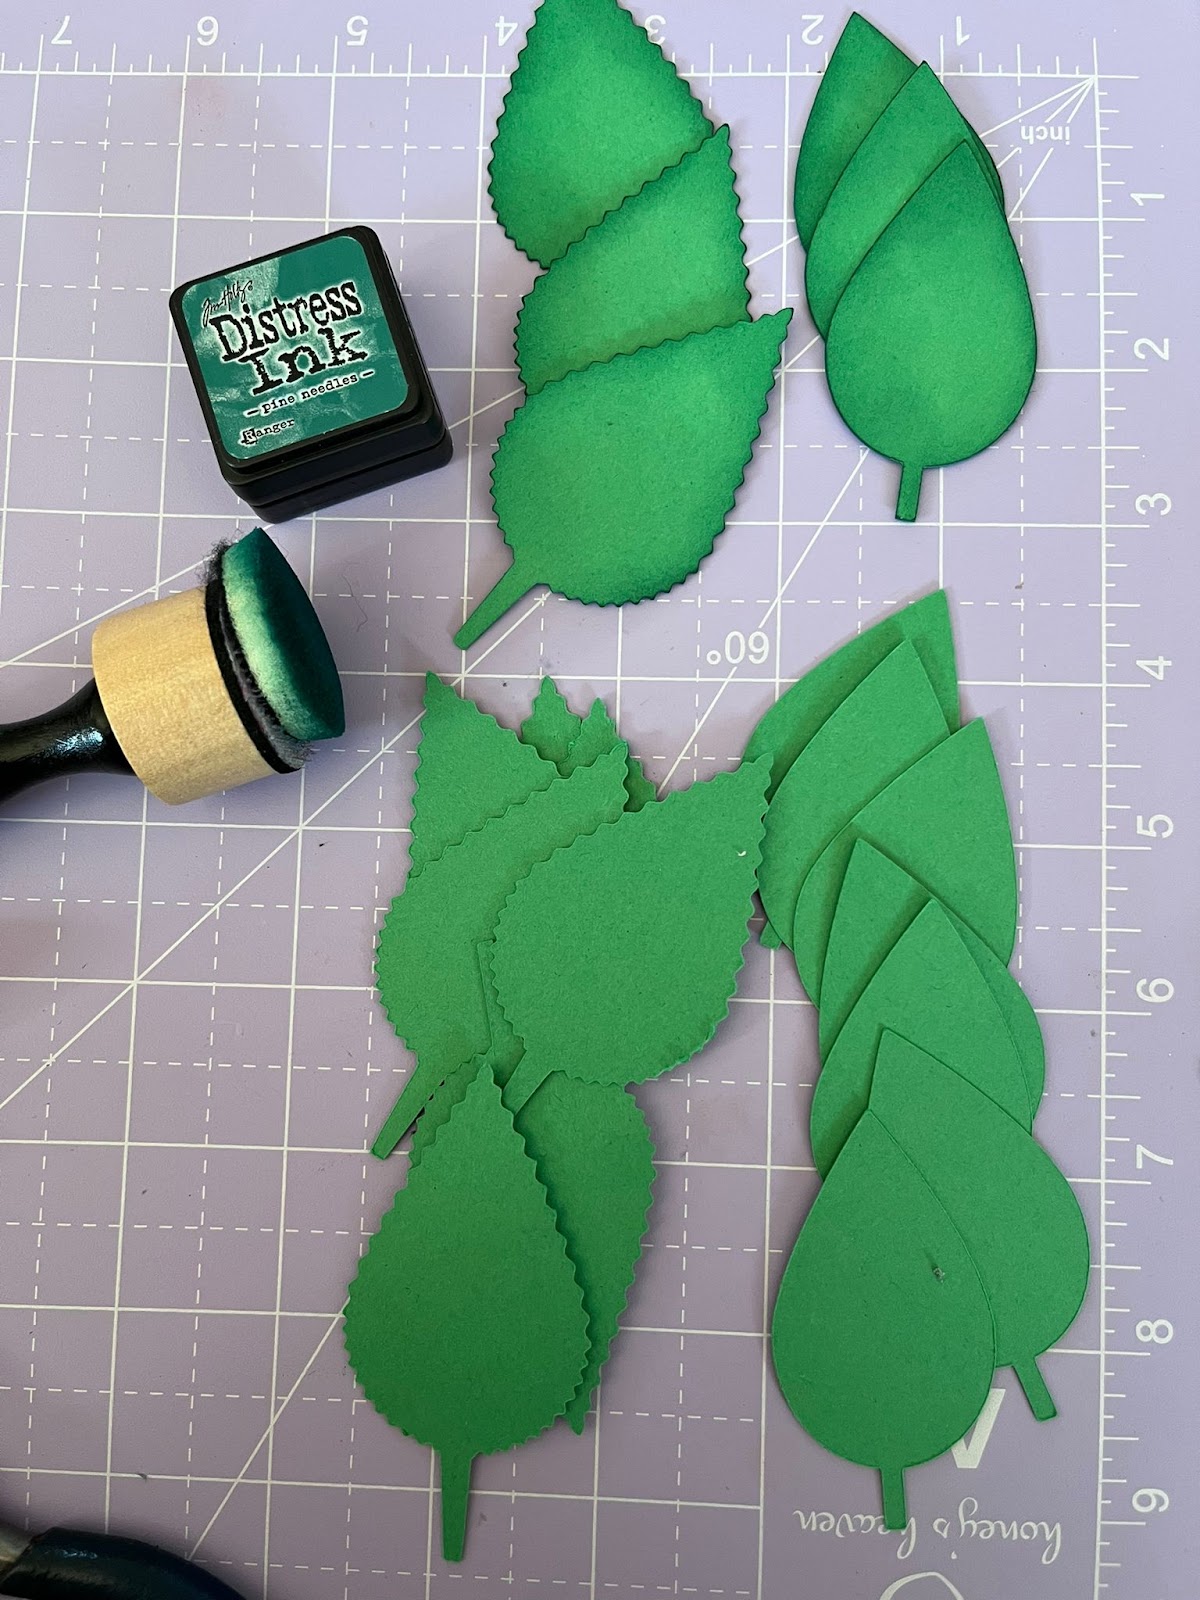
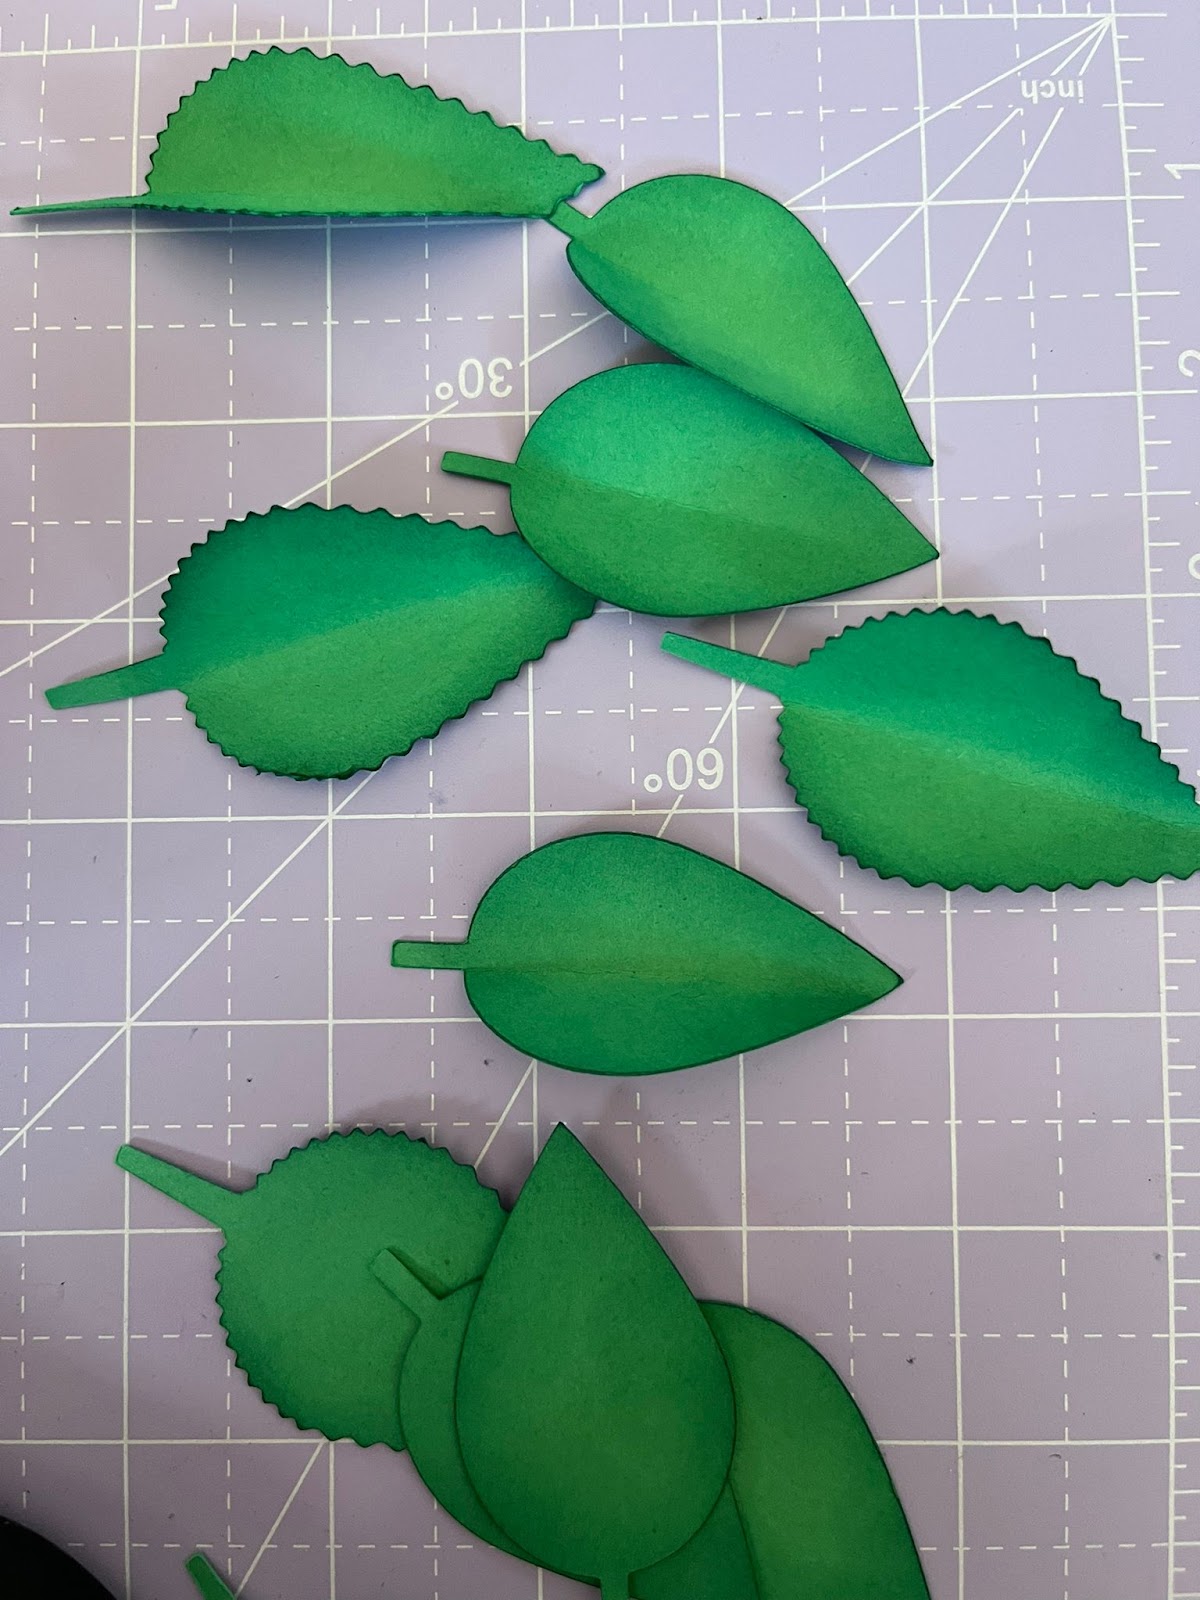
Before assembling any of the flowers, we like to add something extra to the flowers and leaves so they look more realistic, in this case we are going to use some Ink on the borders of the petals.
After the embellishment is done, you can proceed with the flower assembly:
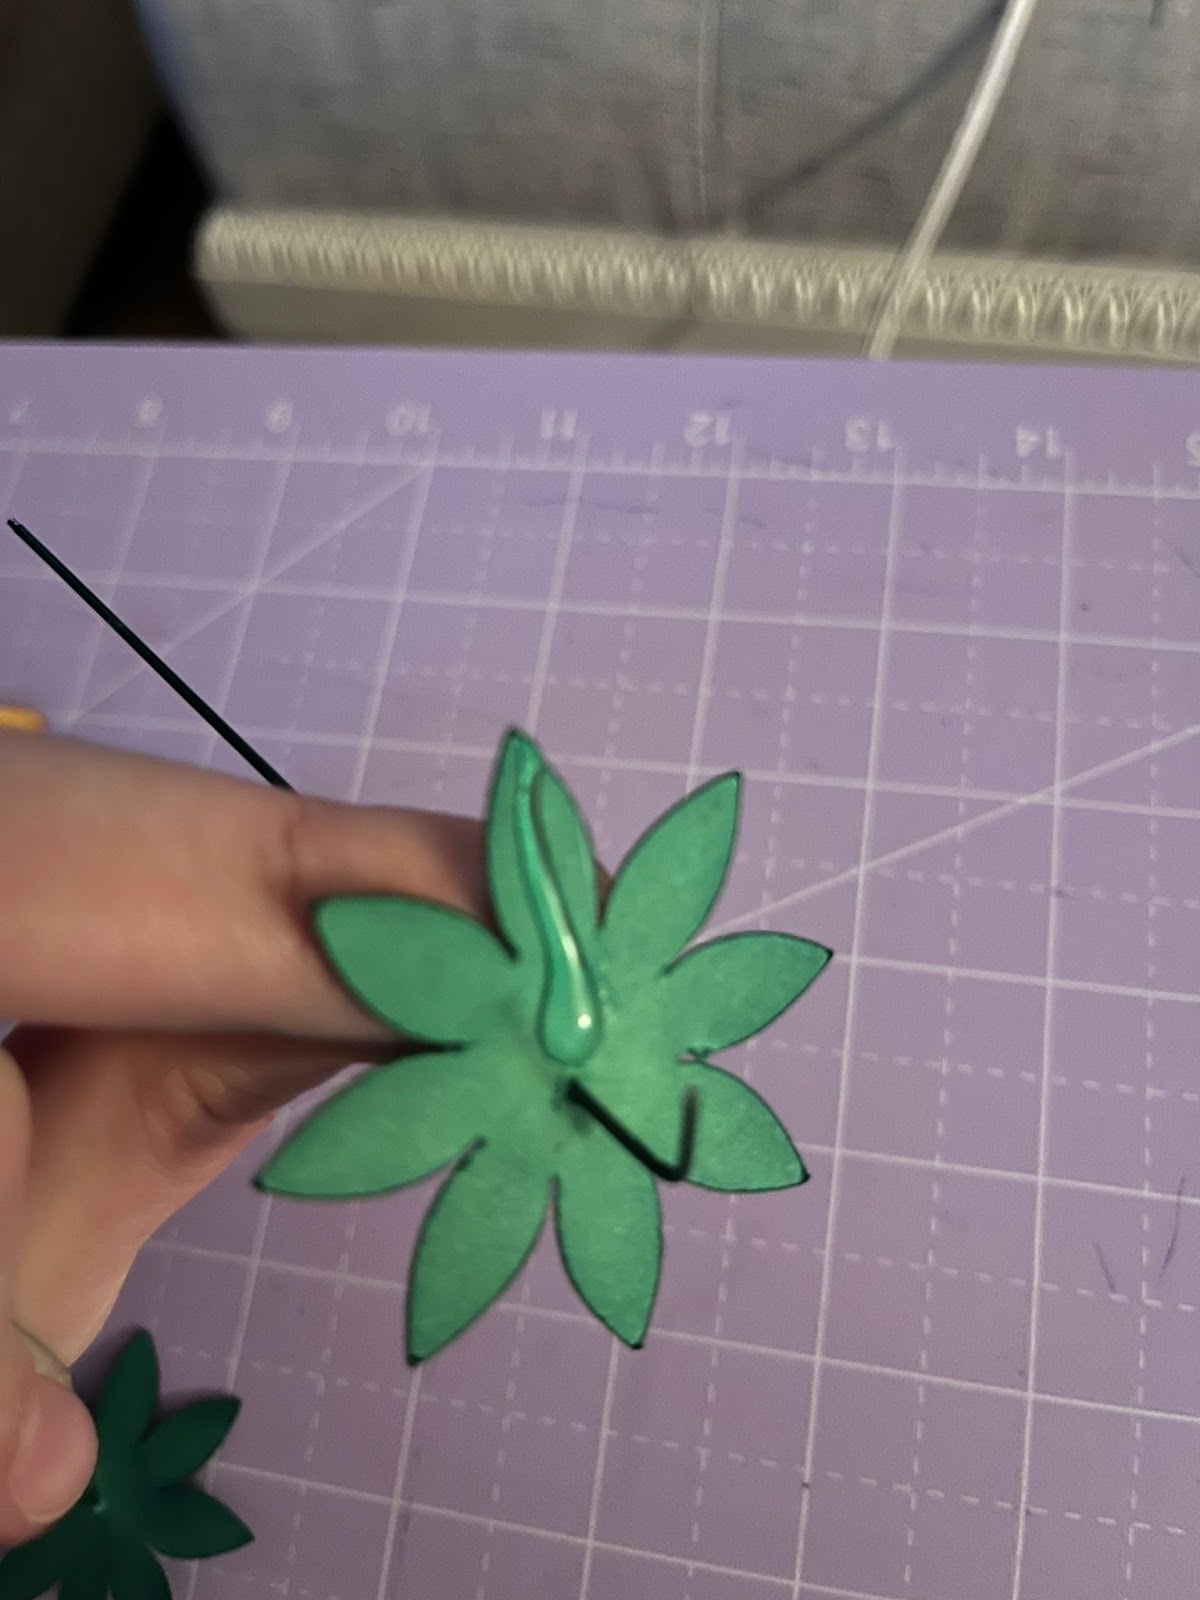
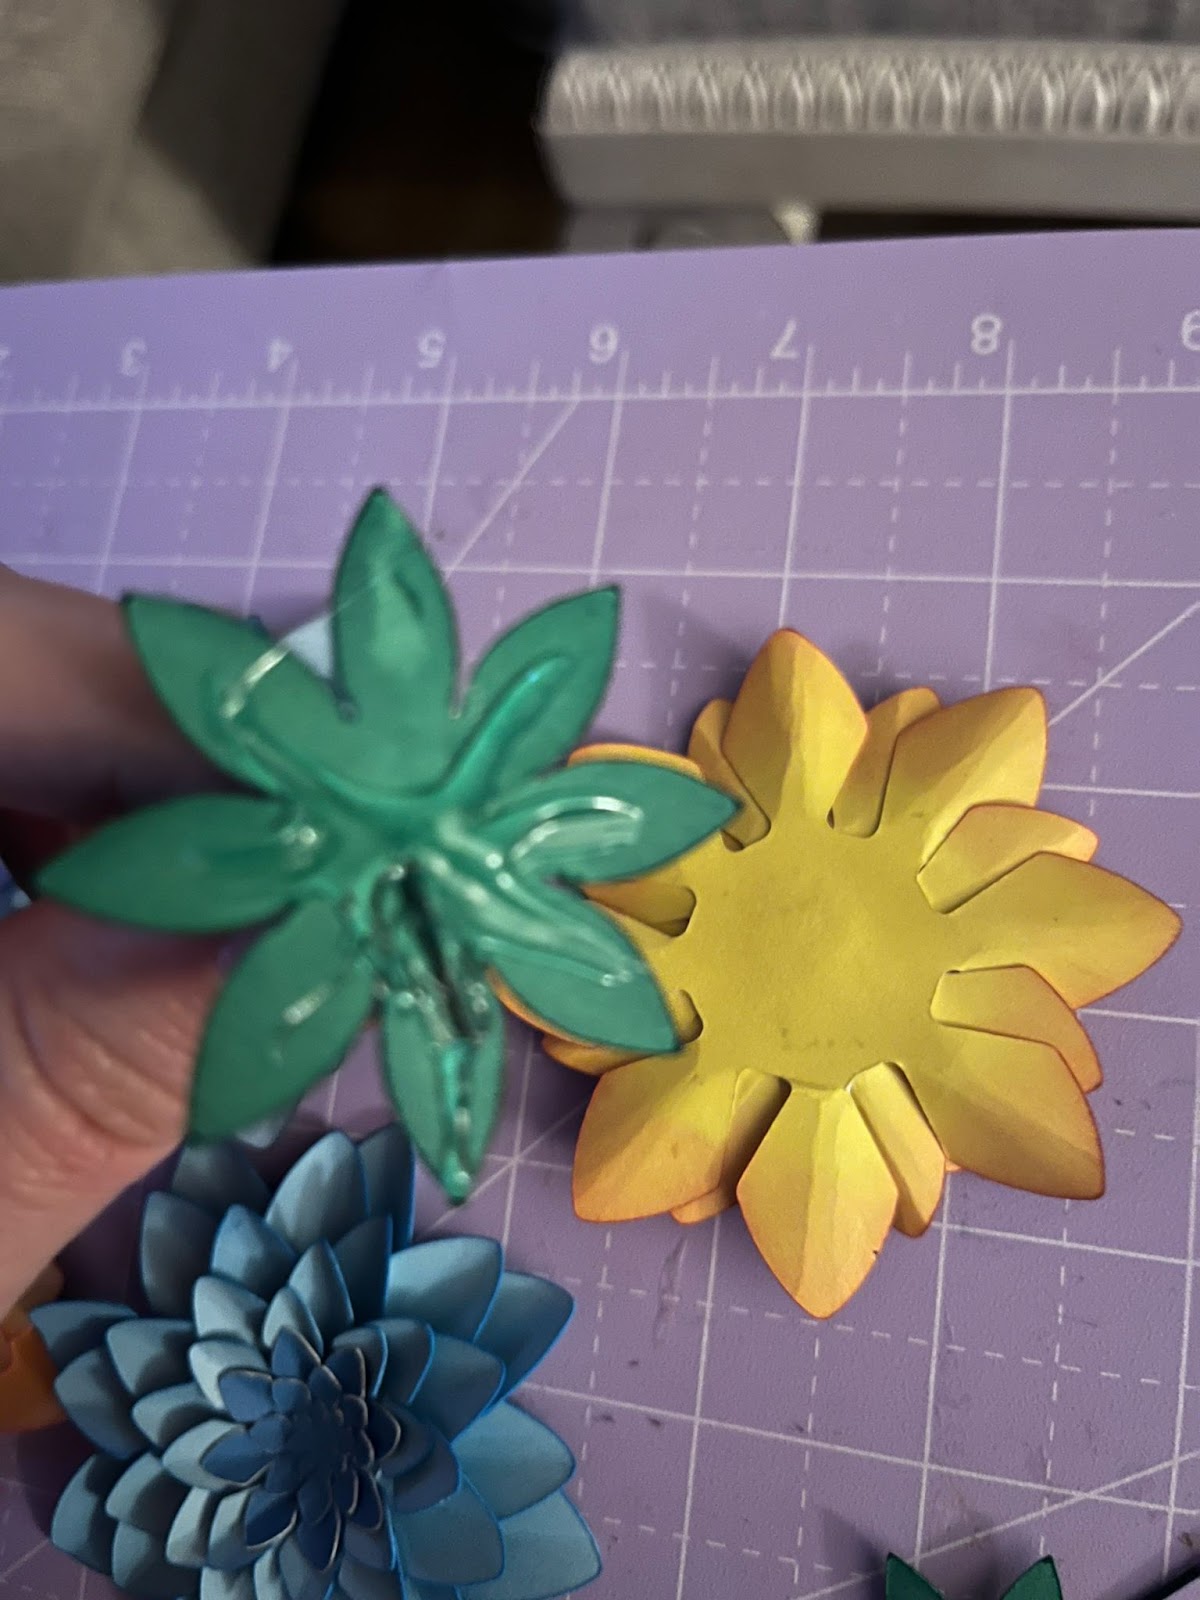
1: We are going to start with the leaves, after we applied some ink in the borders, we are going to use our scrapper or just our finger and bend them in the middle:
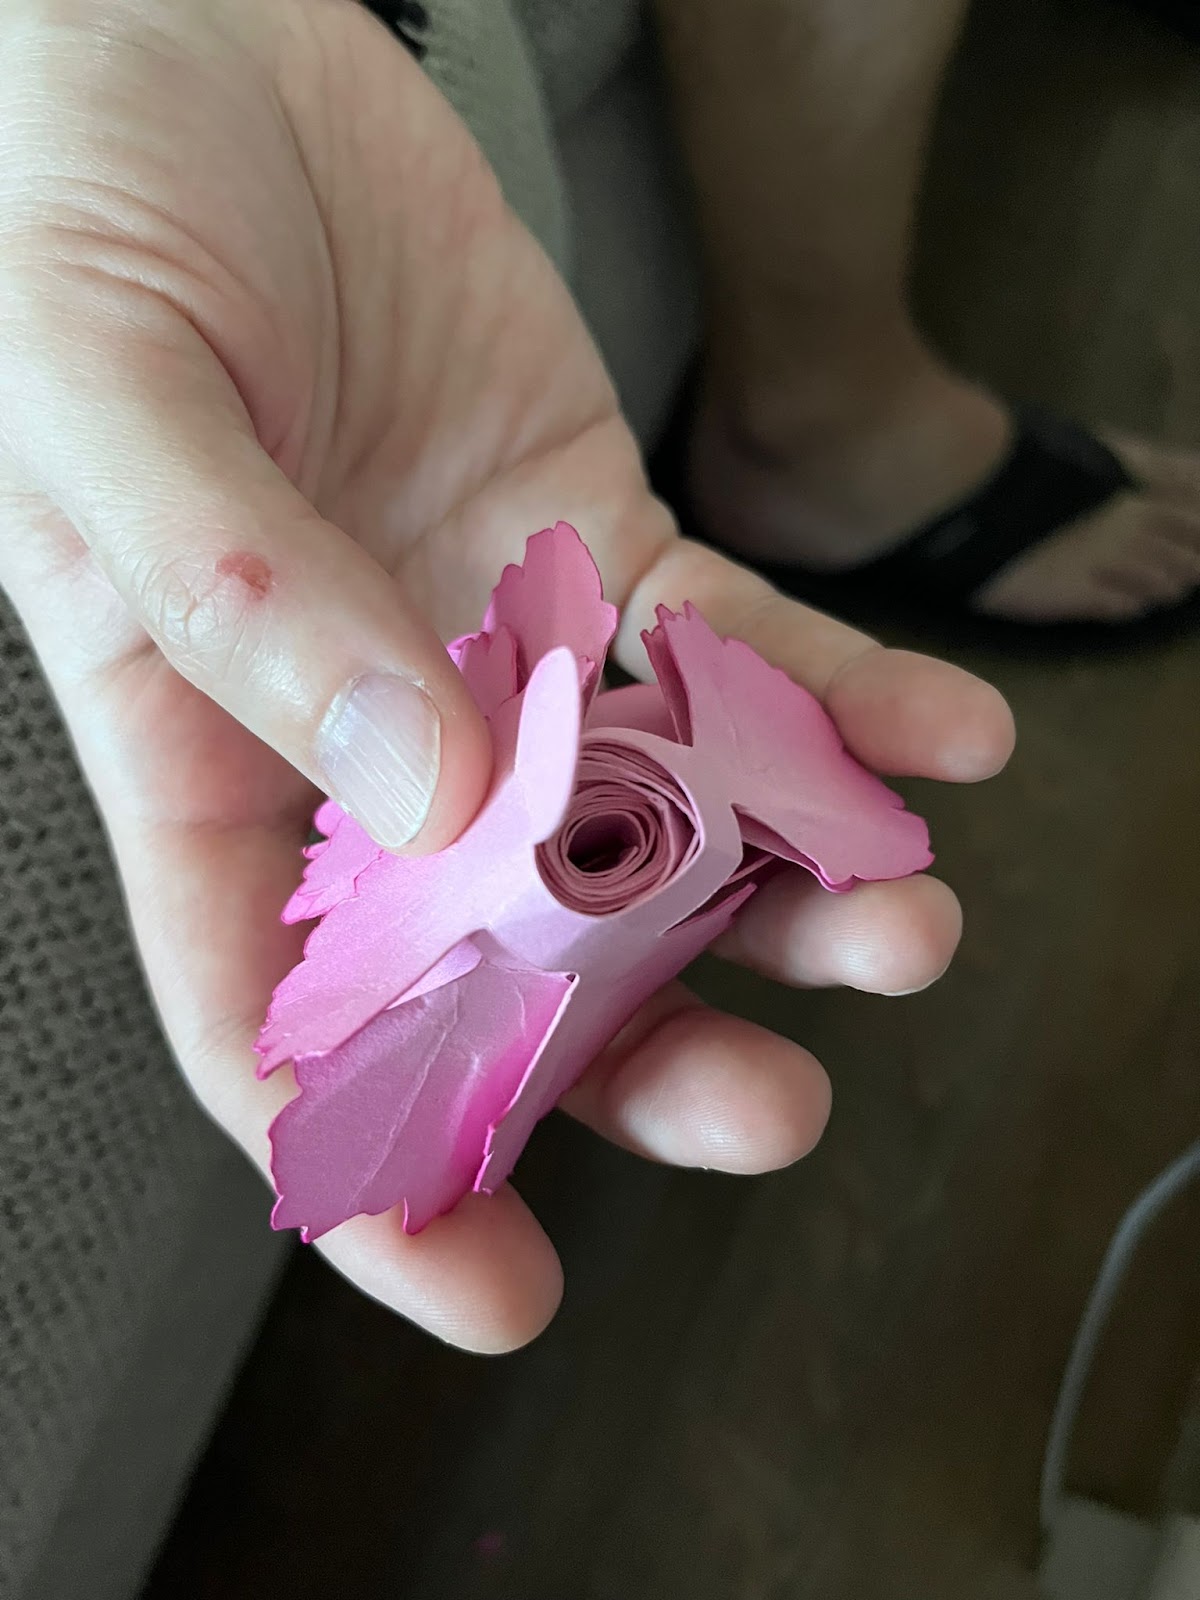
2: We are going to proceed with the daisies, we apply the ink first and then using a pen, a brochette stick, a scoring pen or your fingers, we are going to start rolling them from the outside to the inside, once that you are at the end, you are going to glue the little circle at the end with the roll of the flowers and hold it for a couple of minutes, then you can use your fingers to separate the petals as you like
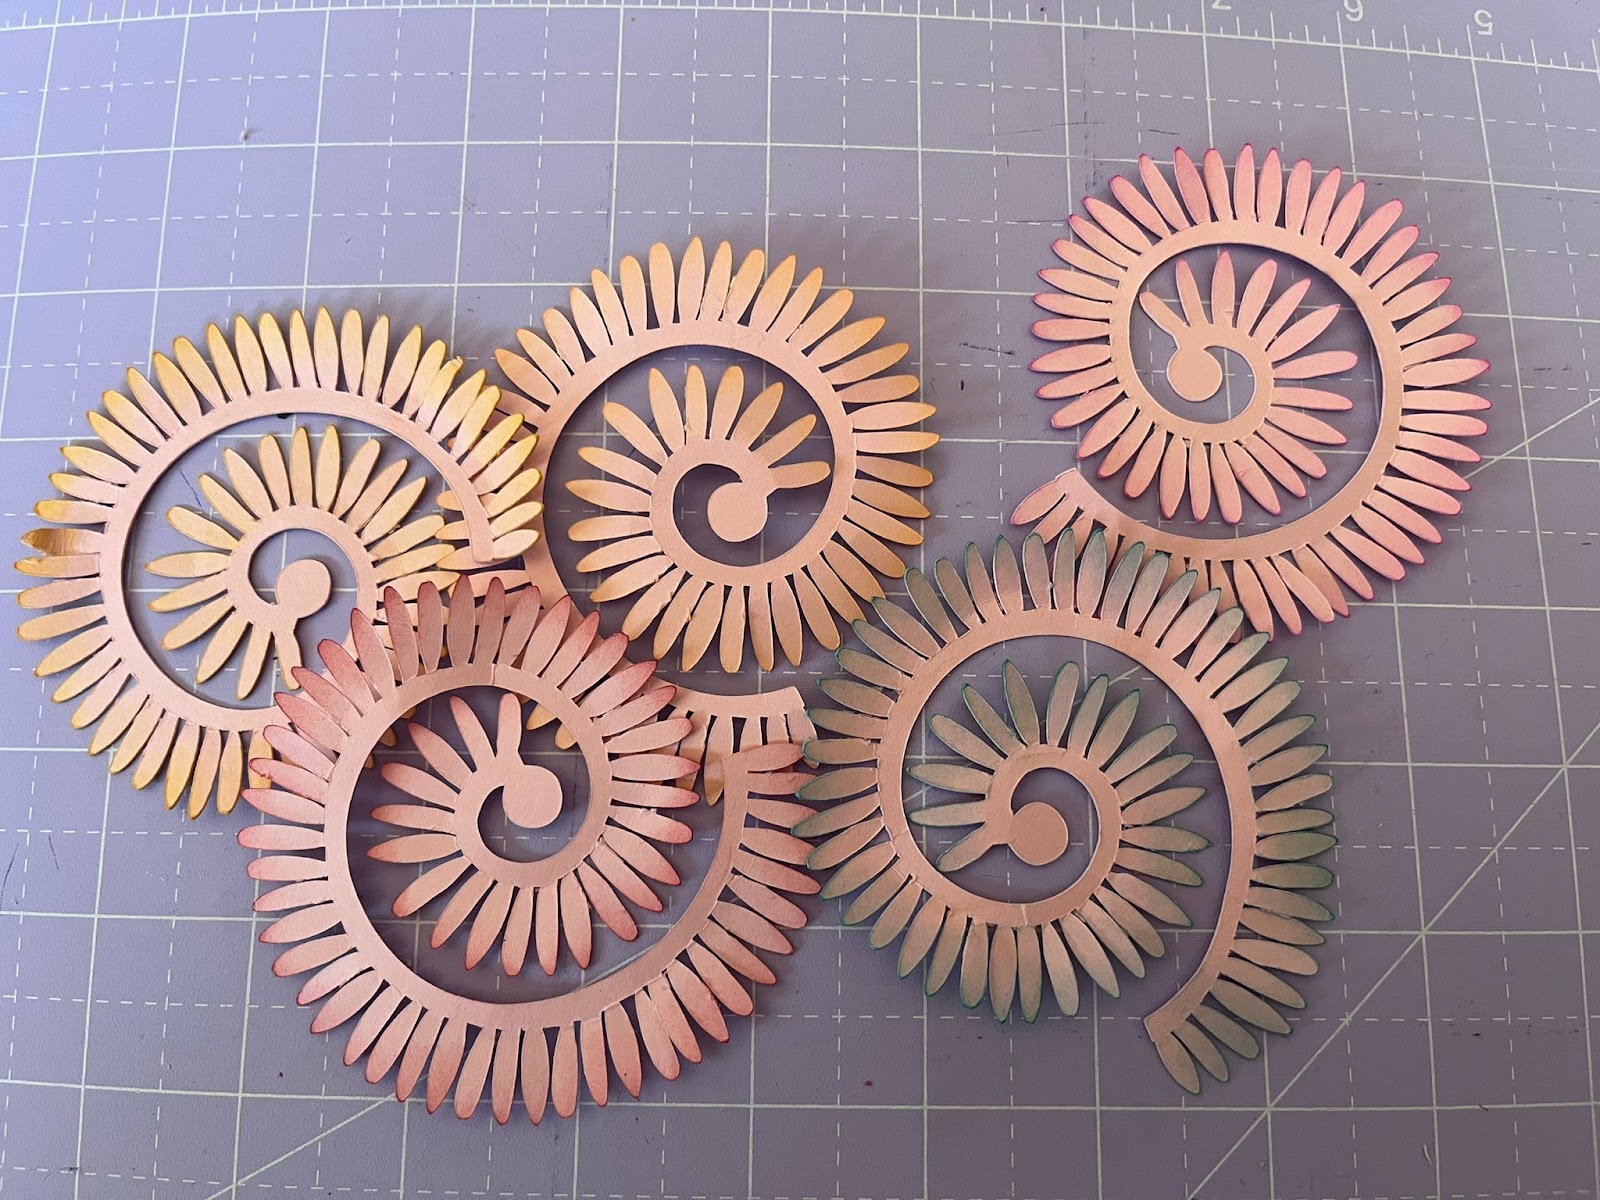
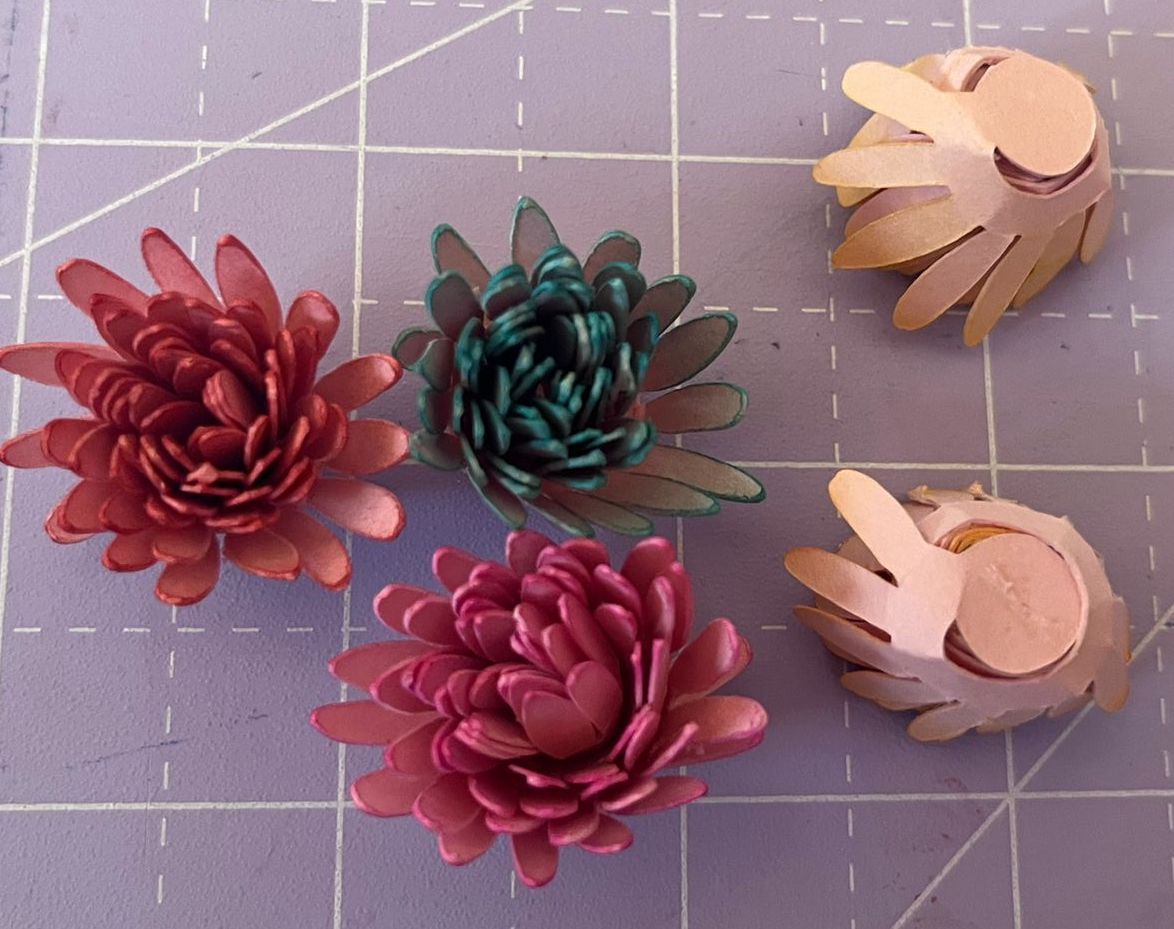
The final Daisy flower is 1” diameter more or less.
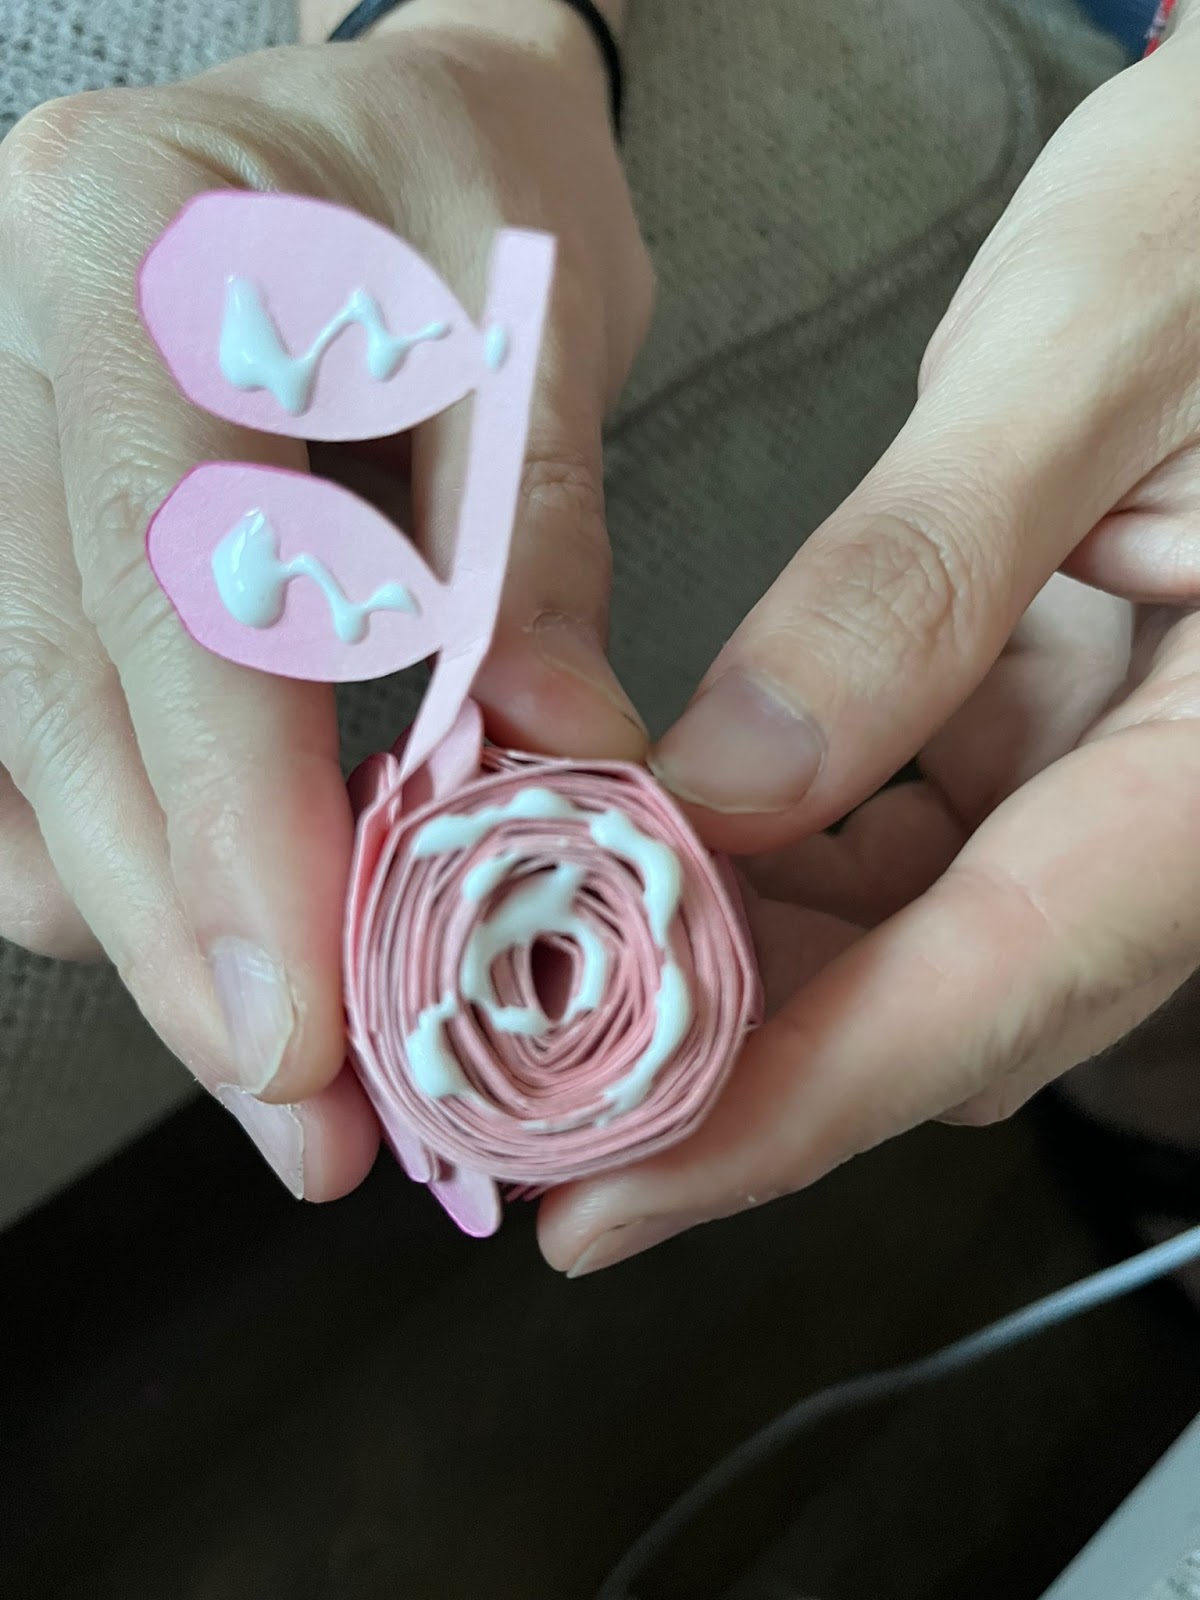
2: Now is the turn of the Gardenia, first you are going to glue each string together, making sure that all the small ones are together, so you are going to attach the end of one string, with the beginning of the next one and you are going to let it dry for several minutes.
After a couple of minutes, you are going to roll them starting with the small petals to the end of the string:
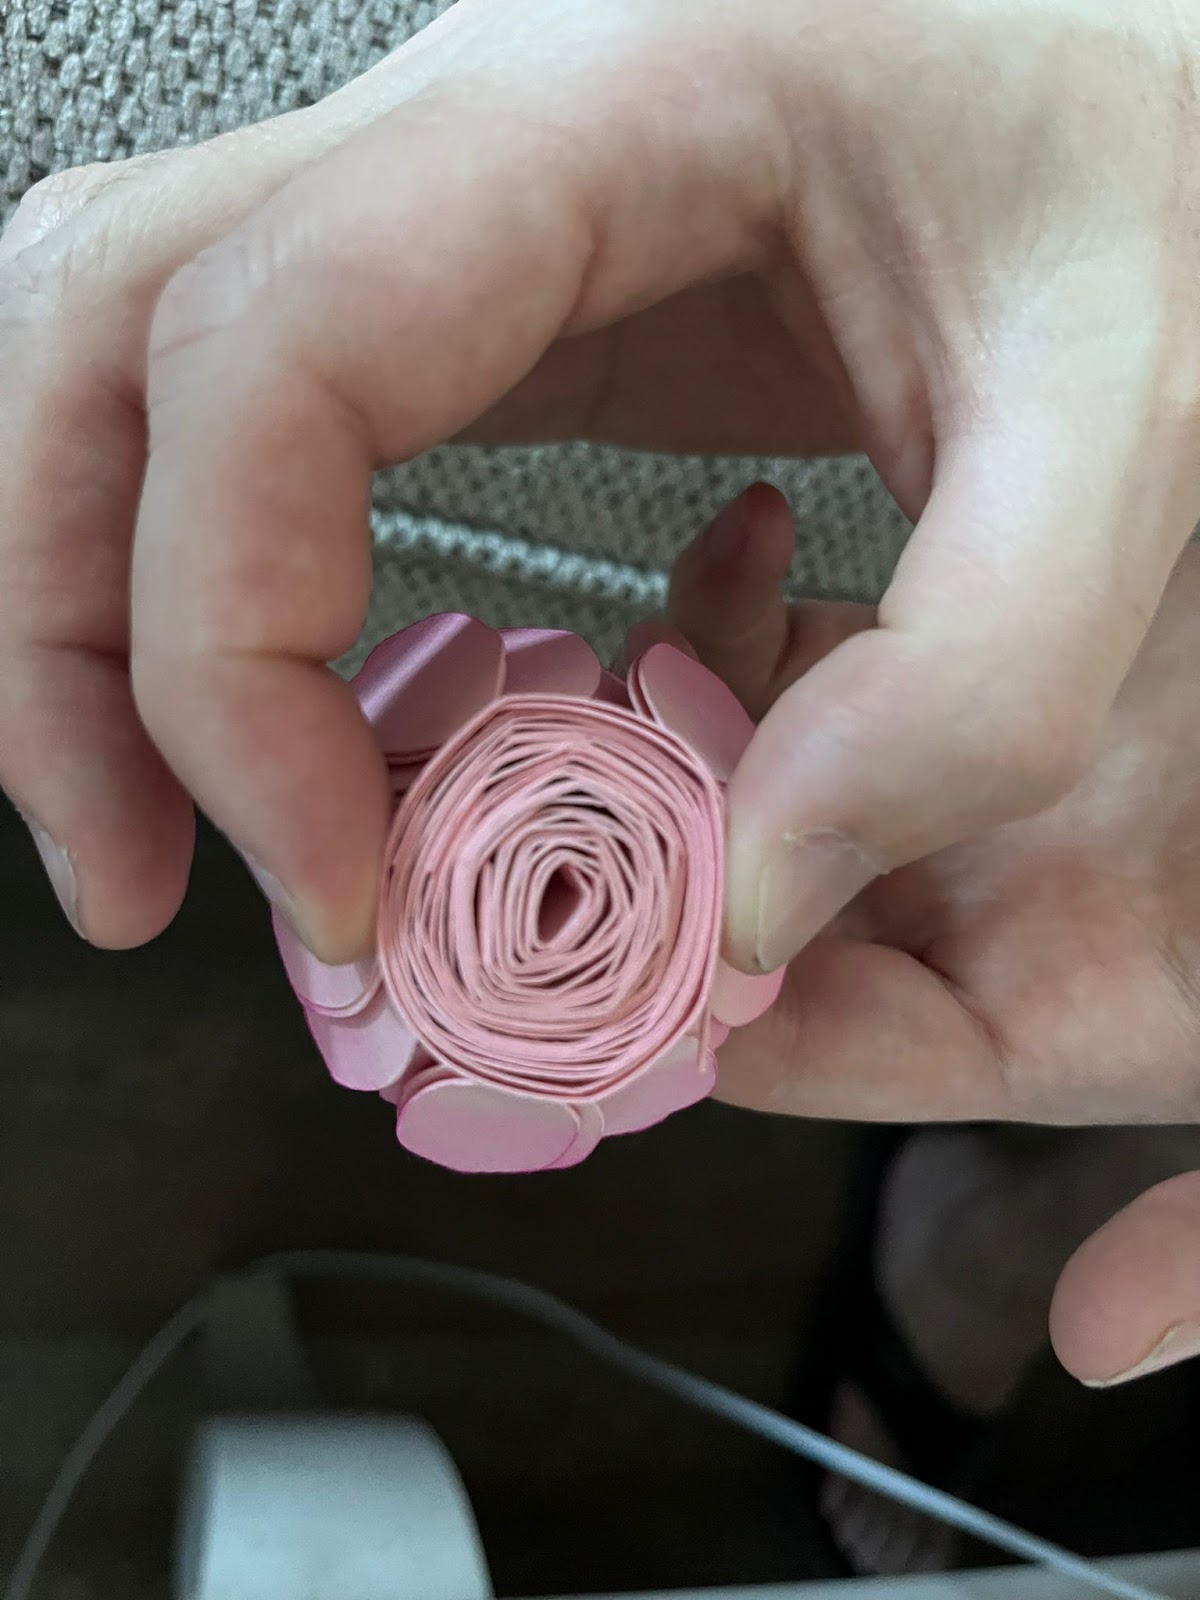
Once you roll all the string, you are going to grab the last 2 petals, and going to glue the at the bottom of the flower:
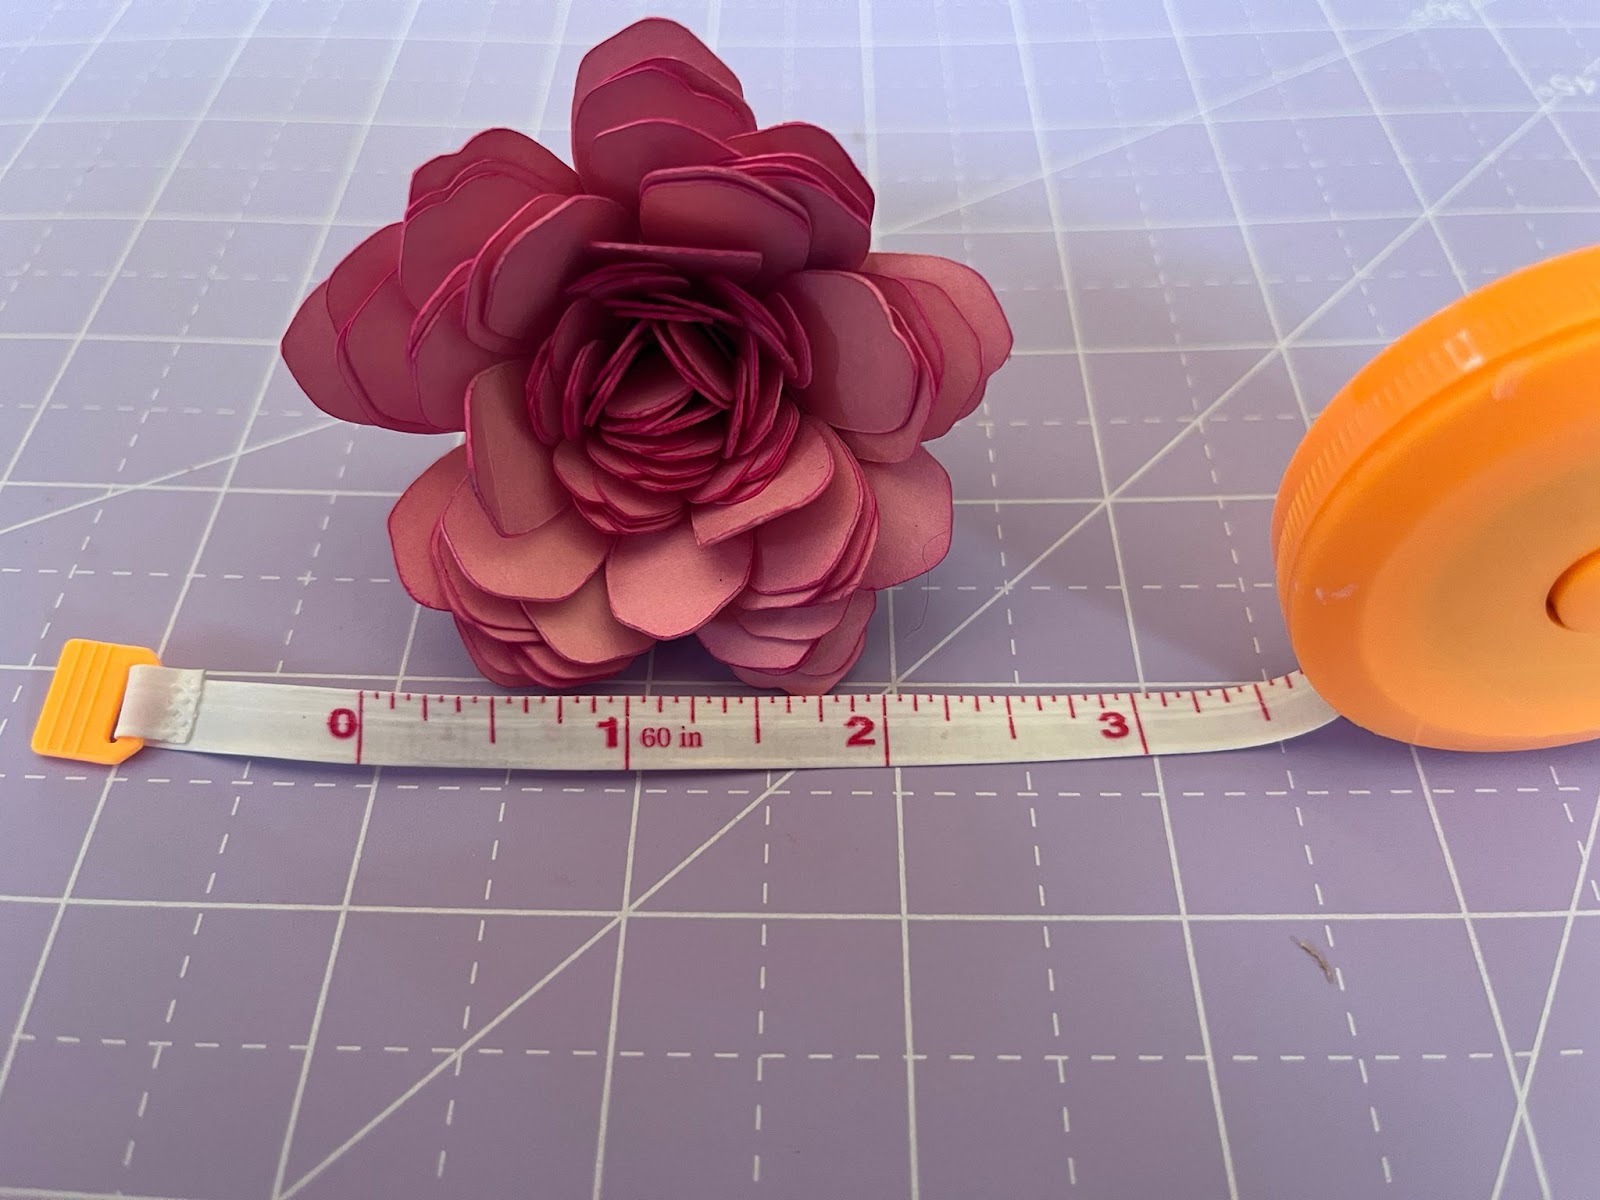
After that with your fingers you can accommodate the petals as you like. The final Gardenia flower is 2 – 2.5” diameter more or less.
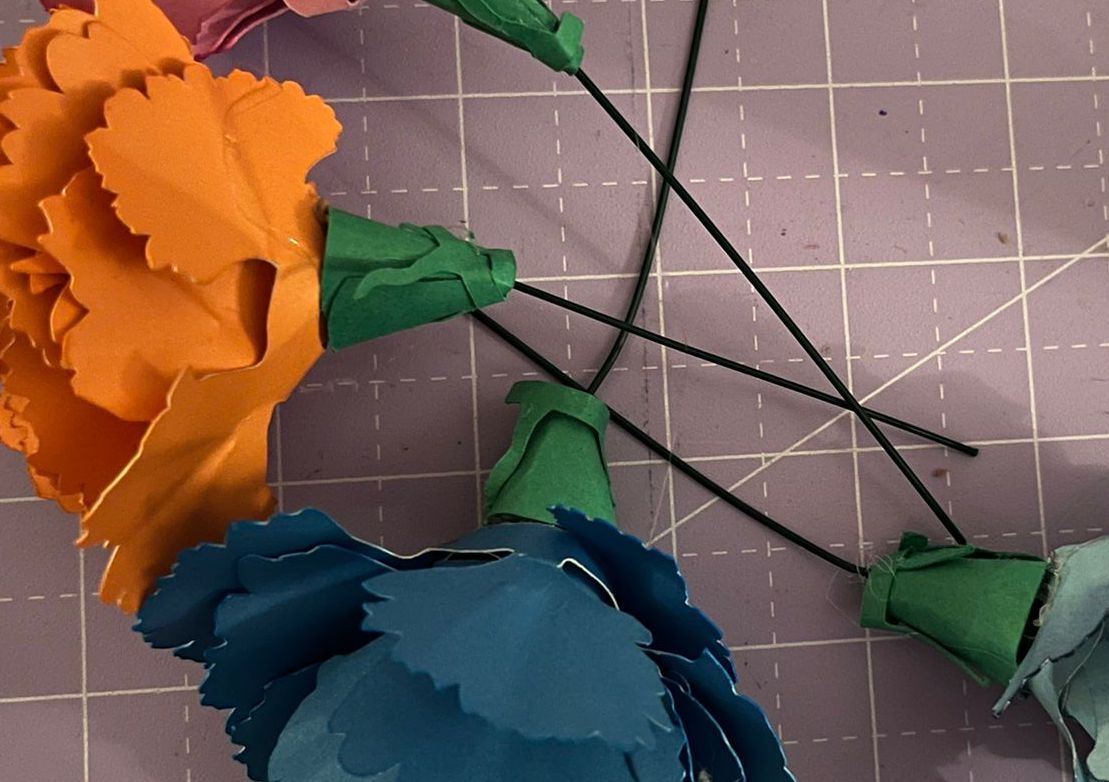
OPTIONAL: You can add a stem to this flower, in order to do this you are going to cut the greenery that is attached to the flower in design space.
A- You are going to cut some flower wire between 3-4” long.
B- You are going to create a little hole into your greenery with the help of your wire and you are going to bend the wire in a 90 degree angle.
C- You are going to apply hot glue all over the greenery and wire and you are going to glue it to the bottom of your flower
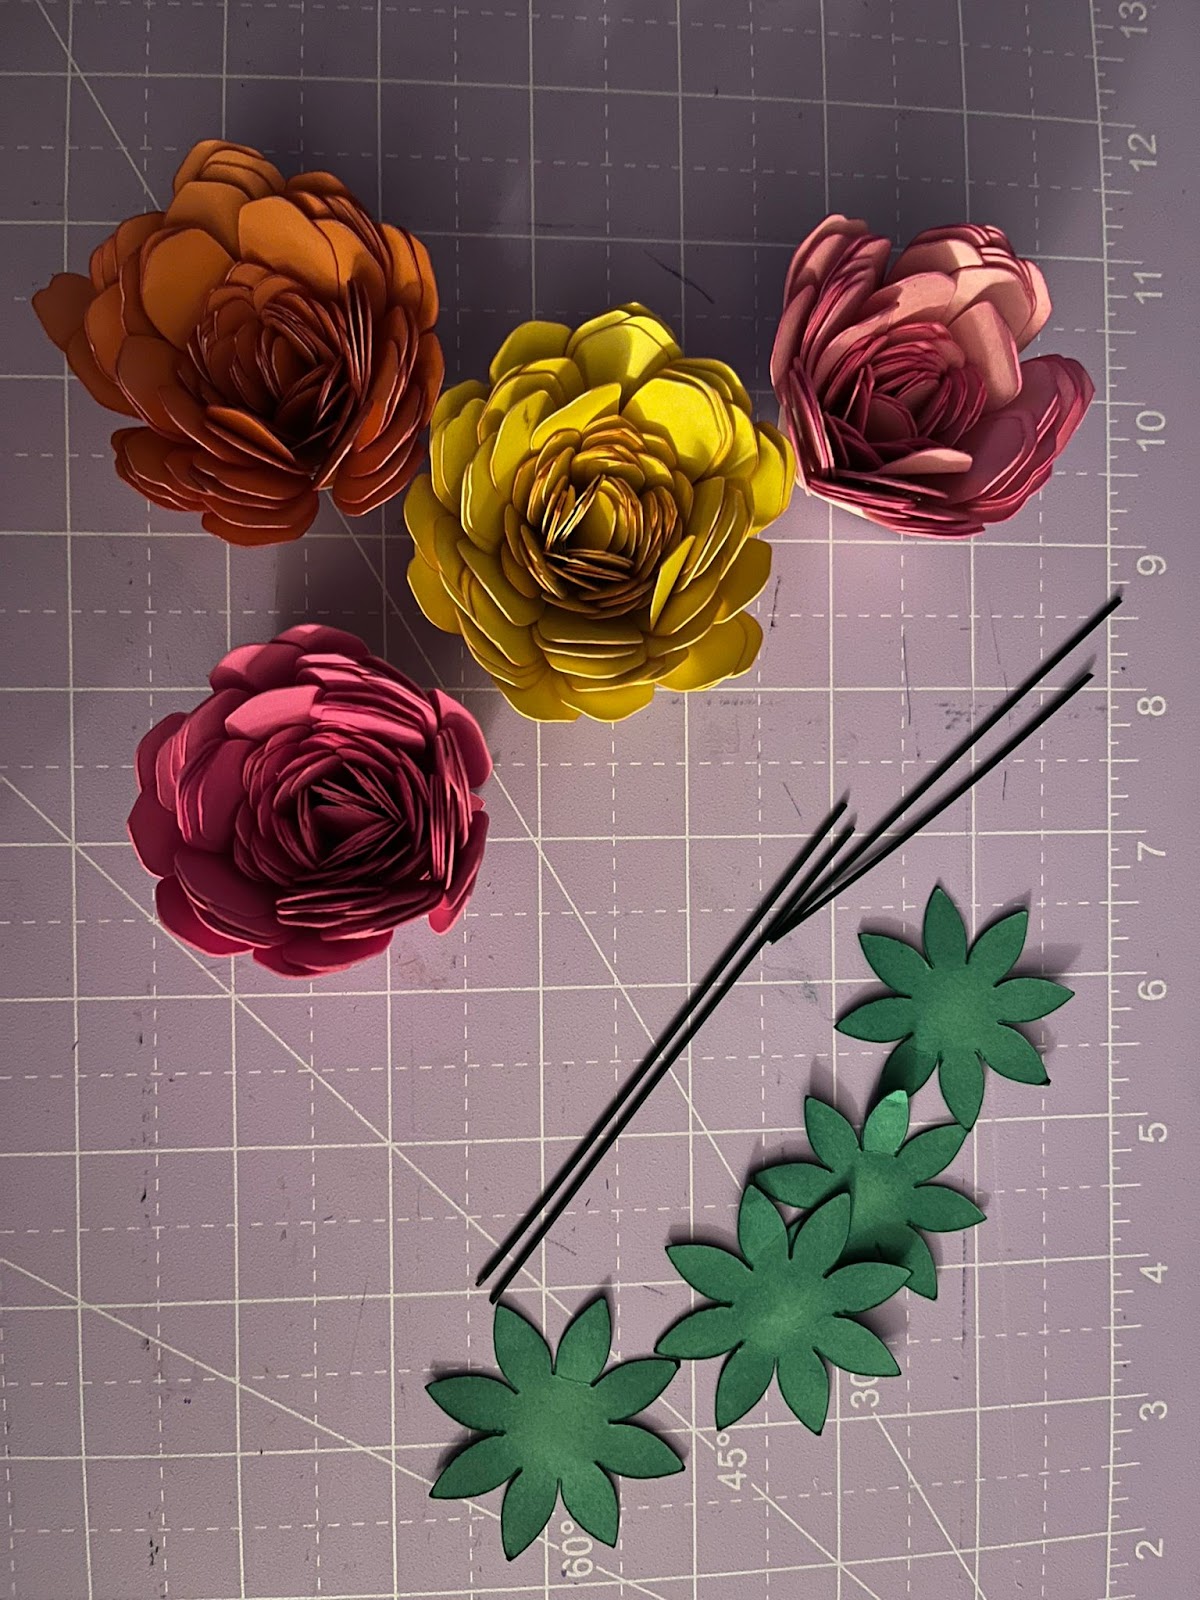
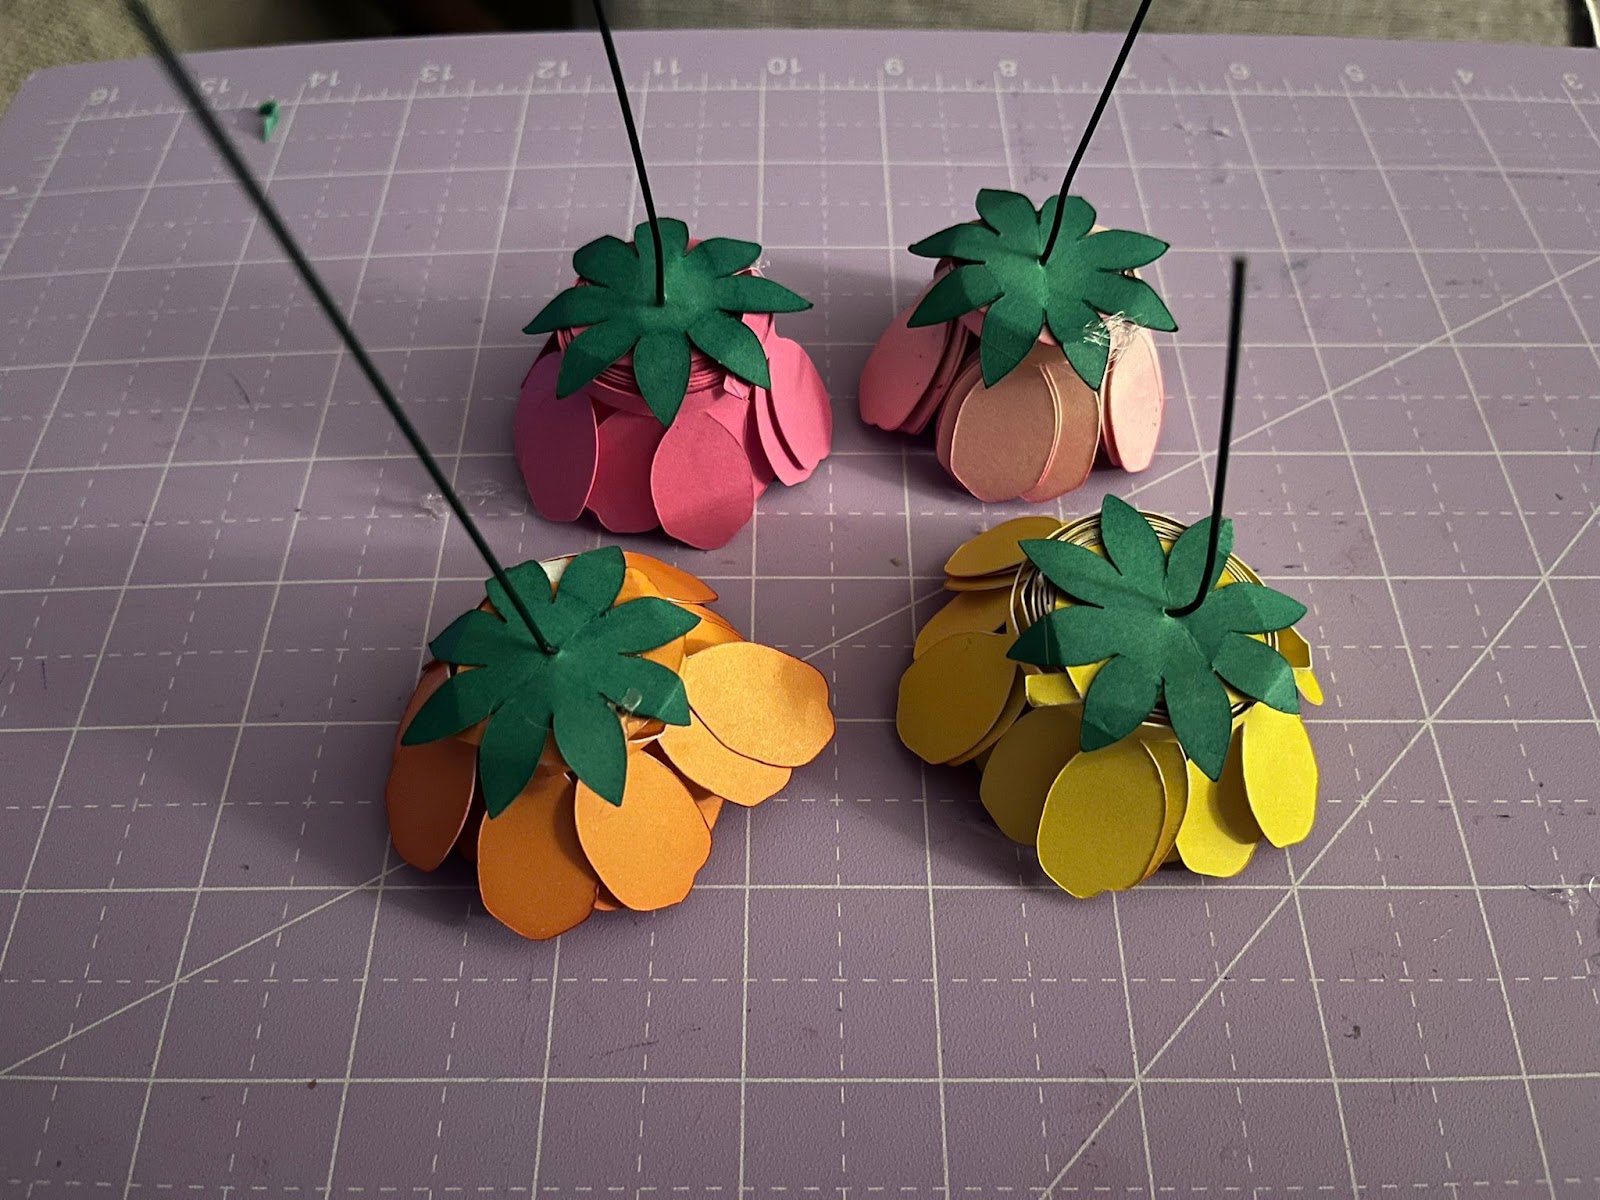
💡Tip: Adding stems to some of your flowers is going to make your arrangement to look more realistic.
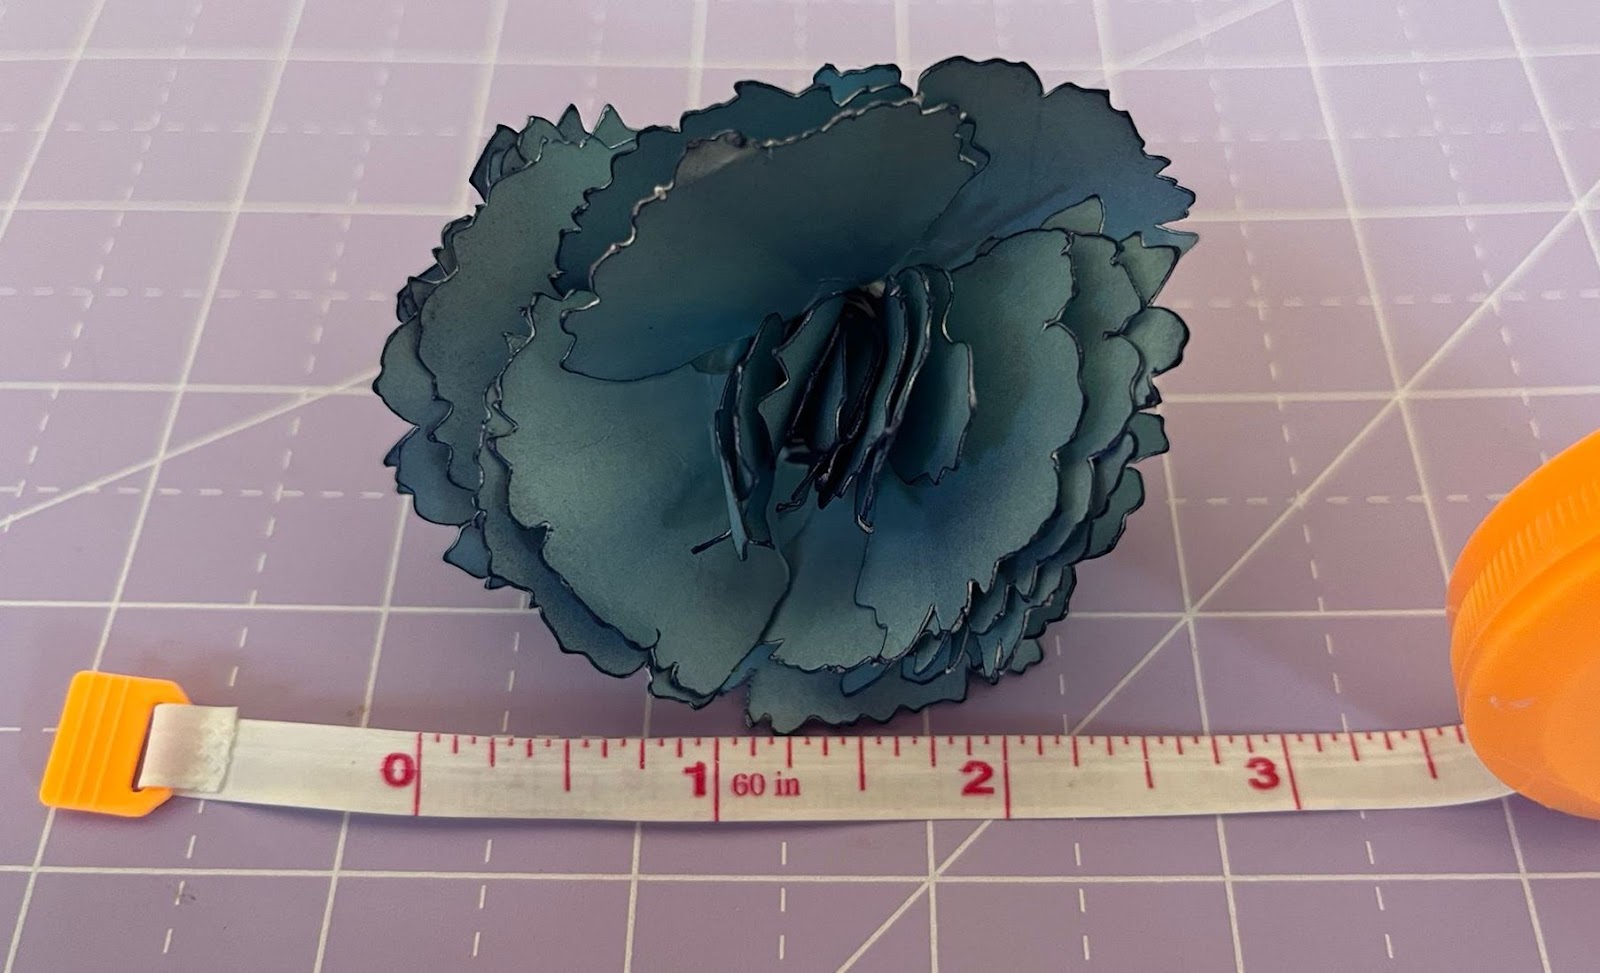
3: We are going to proceed with the Carnation, for this flower, besides any ink that you can apply to the border, we recommend to create some kind of wavy movement on each of the petals, you can create this by using some tweezers on each of the petals.
These are the Carnations just after you cut them:
And these is how the look after adding some ink and create some movement to each of the petals:
After creating the movement on the petals, we are going to roll them (the same way that we did with the Daisies) from the small petals to the biggest ones, and we are going to glue the little circle at the end of the petals with the roll petals:
Each Carnation finals dimensions are between 2-2.5” more or less:
OPTIONAL: You can add a stem to this flower, in order to do this you are going to cut the greenery that is attached to the flower in design space.
A- You are going to cut some flower wire between 3-4” long.
B- You are going to roll your greenery like a U shape to create like a cone and you are going to glue it.
C- You are going to insert the wire and create a hook inside the cone so it is not loose.
D- You are going to apply hot glue all inside the cone and on the border with the flower and you are going to glue it to the bottom of your flower
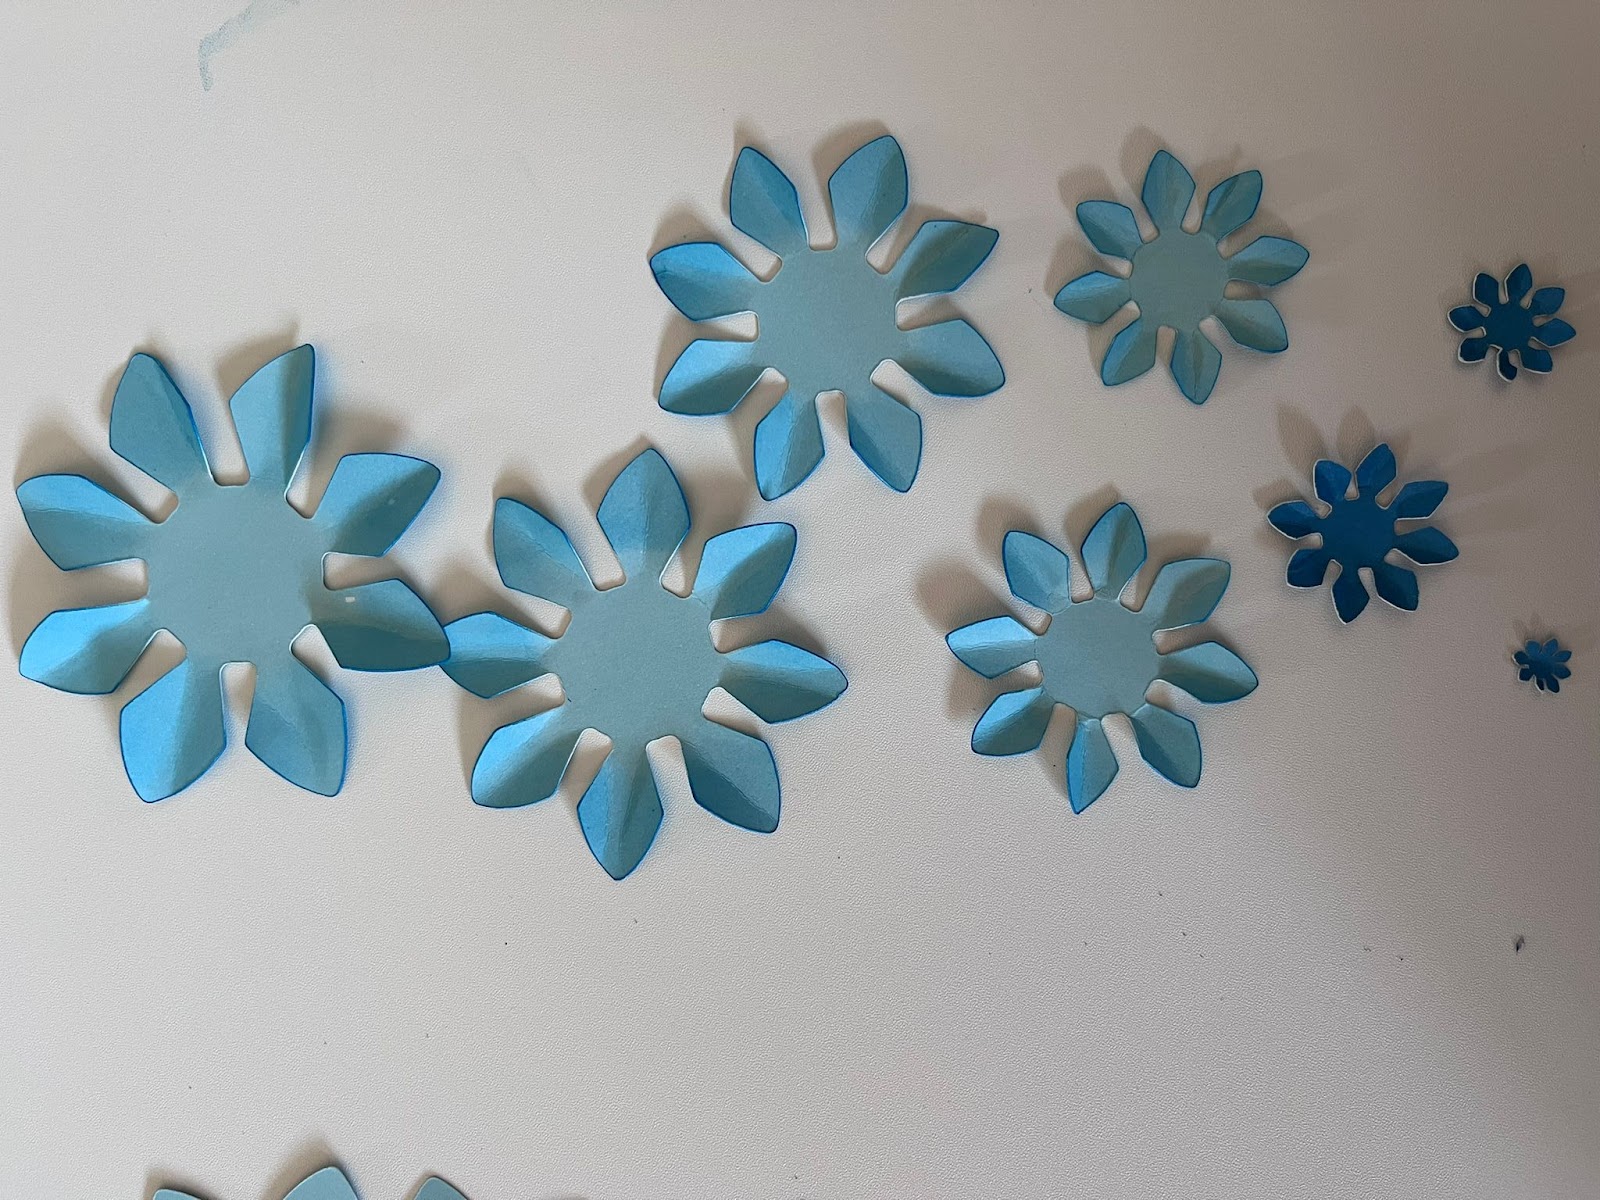
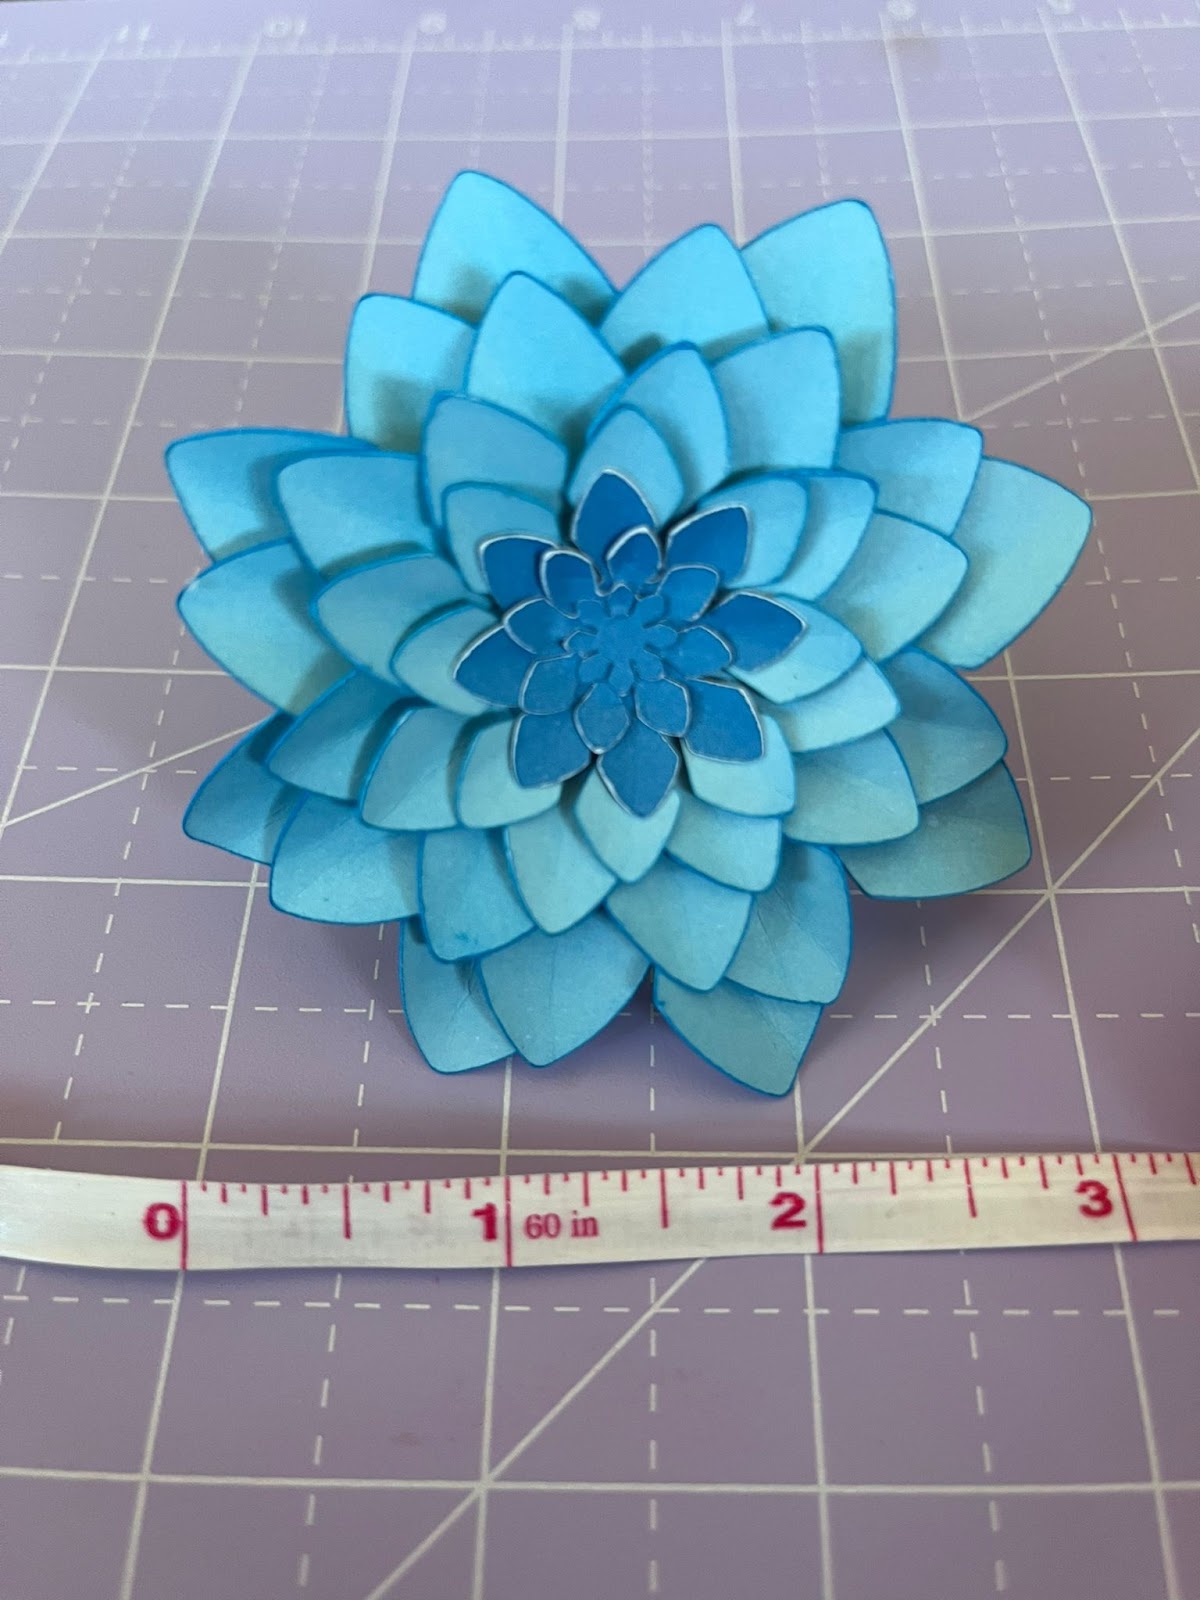
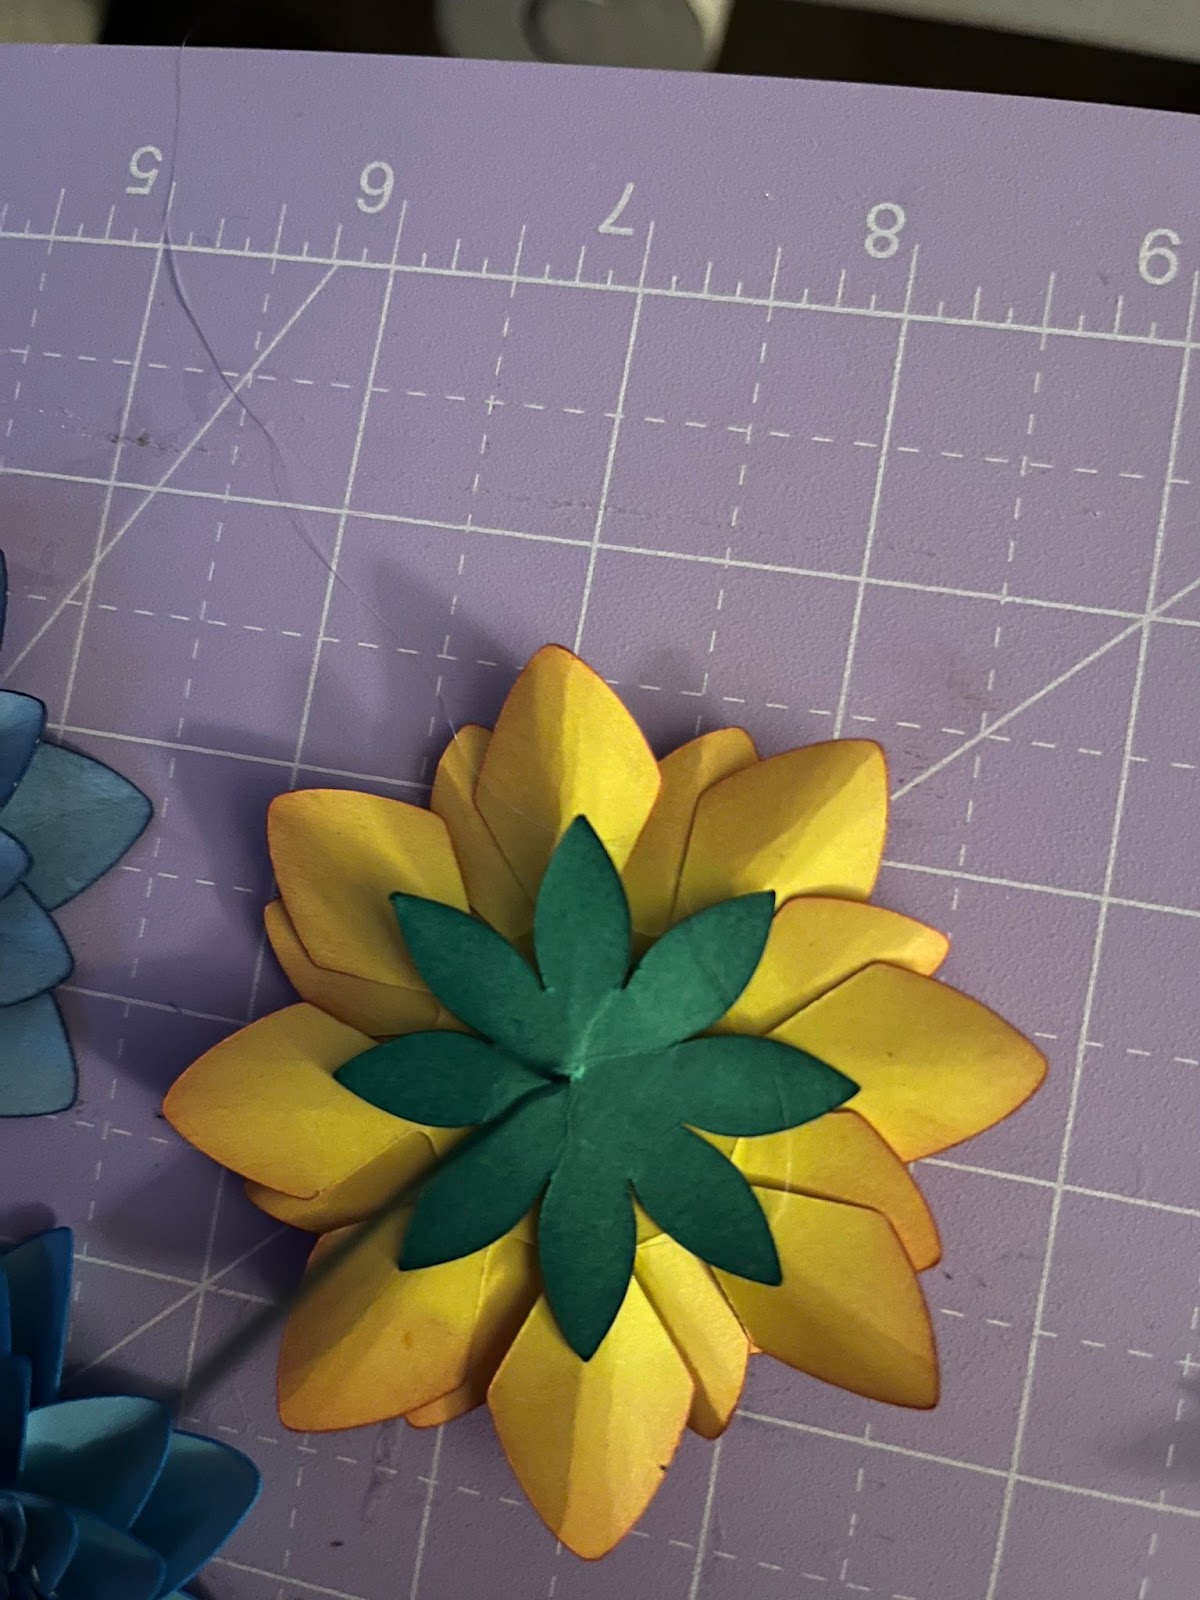
4: Our last flower is the Dahlia. After you cut it, and apply ink if you like, using the tweezers or your fingers you are going to fold / bend the petals to the inside and you are going to do this with all the different layers
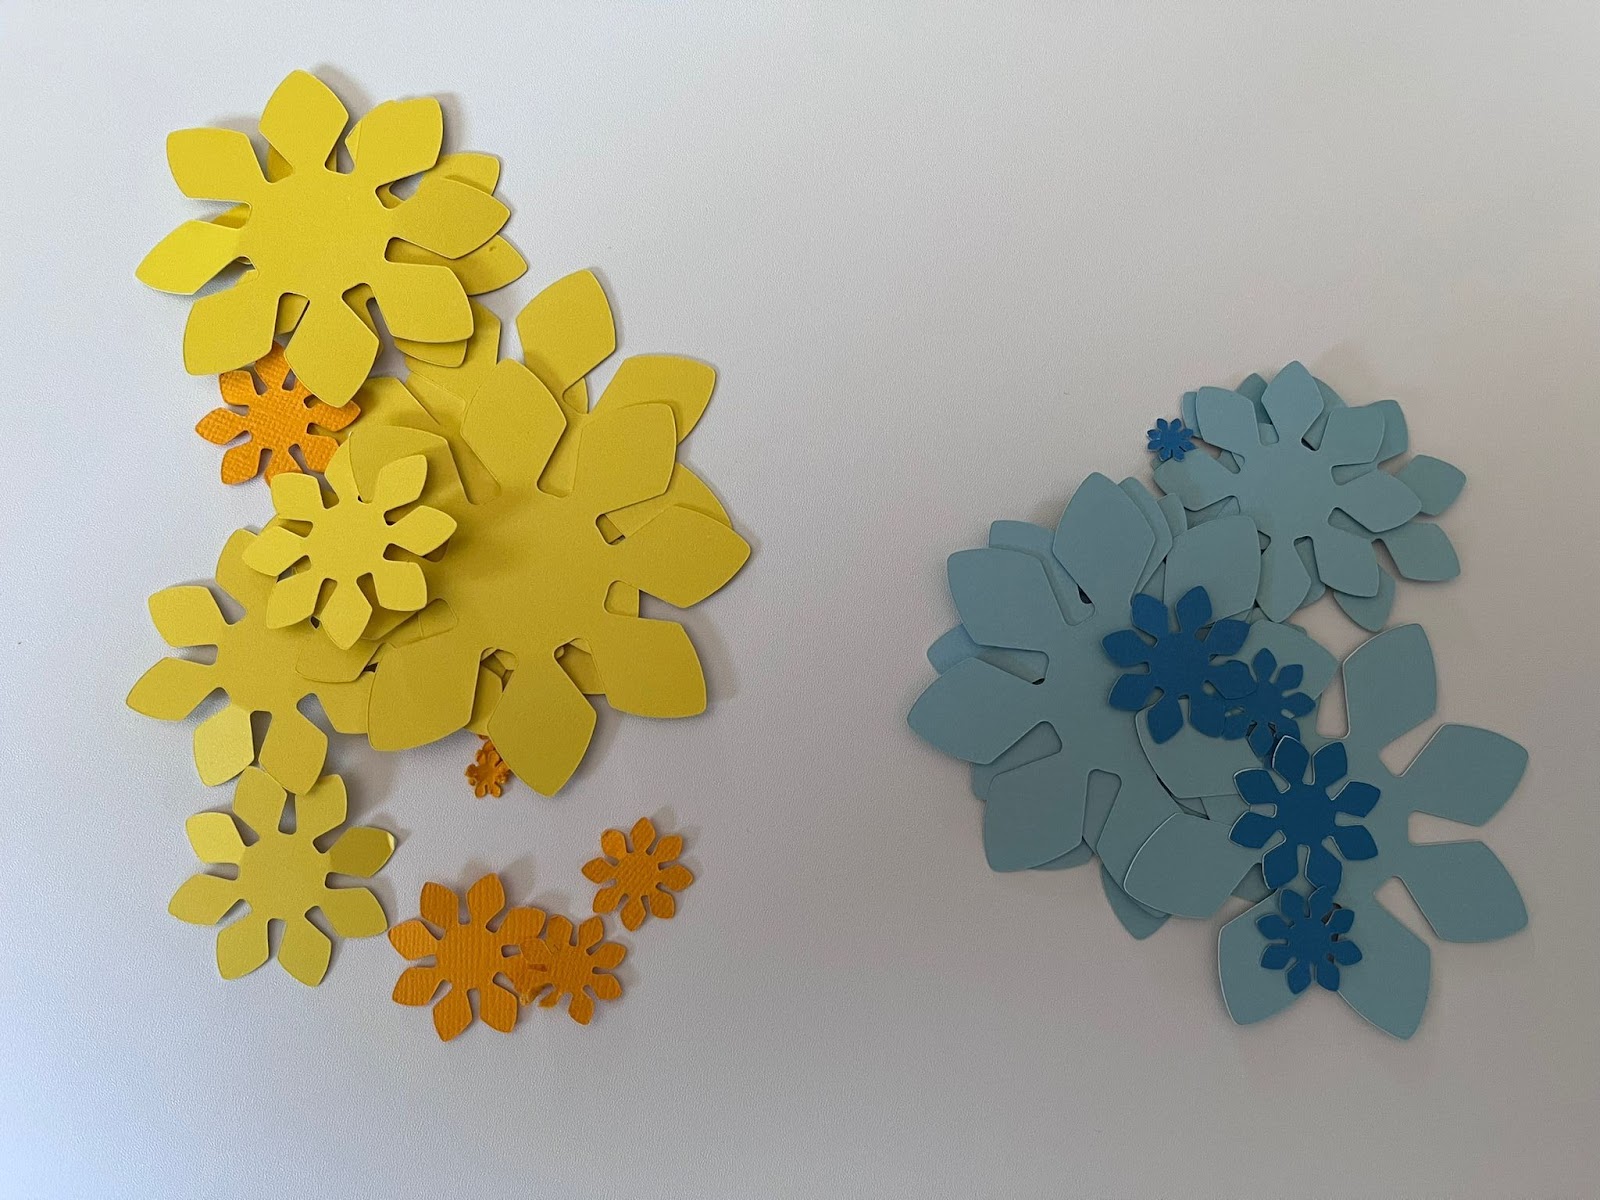
Then you are going to start gluing from the biggest layer to the smallest layer, only in the middle, making sure that the petals from the different layer are al showing and not one over the other one:

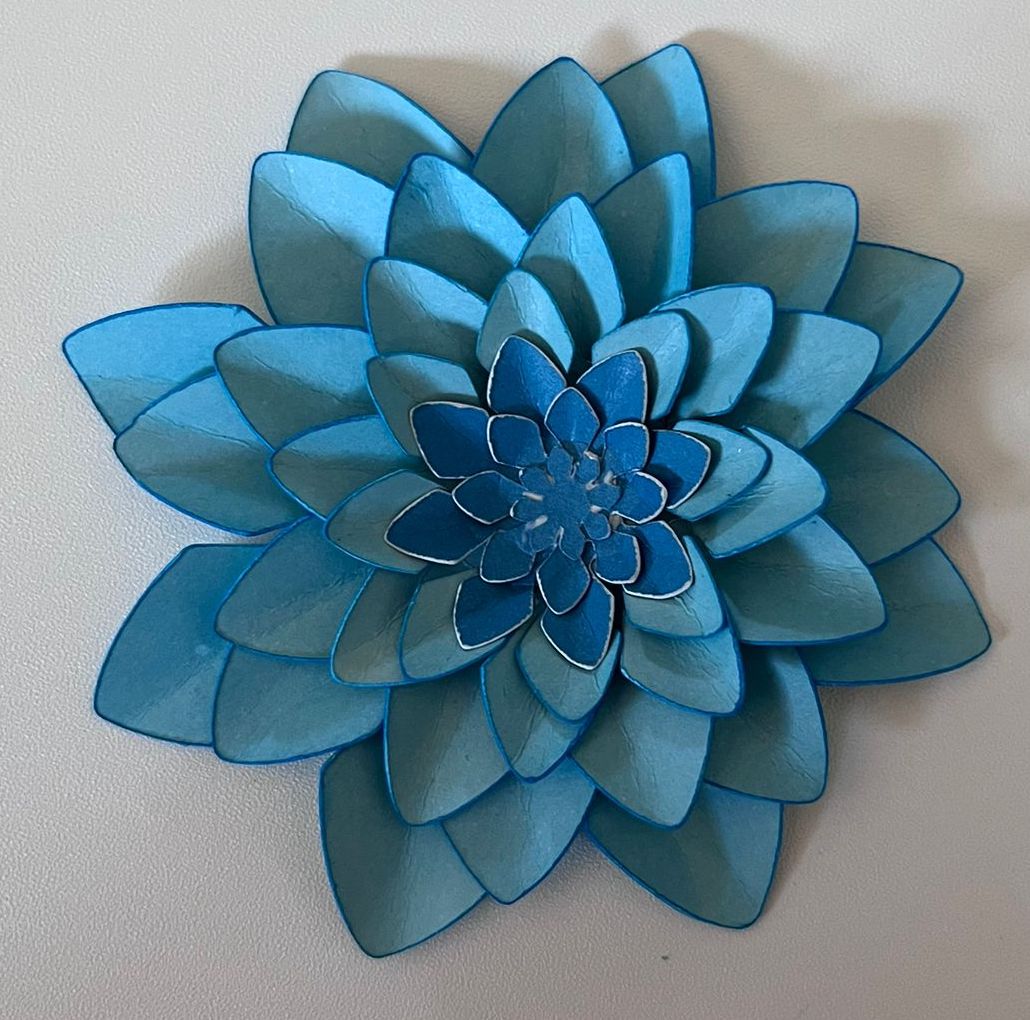
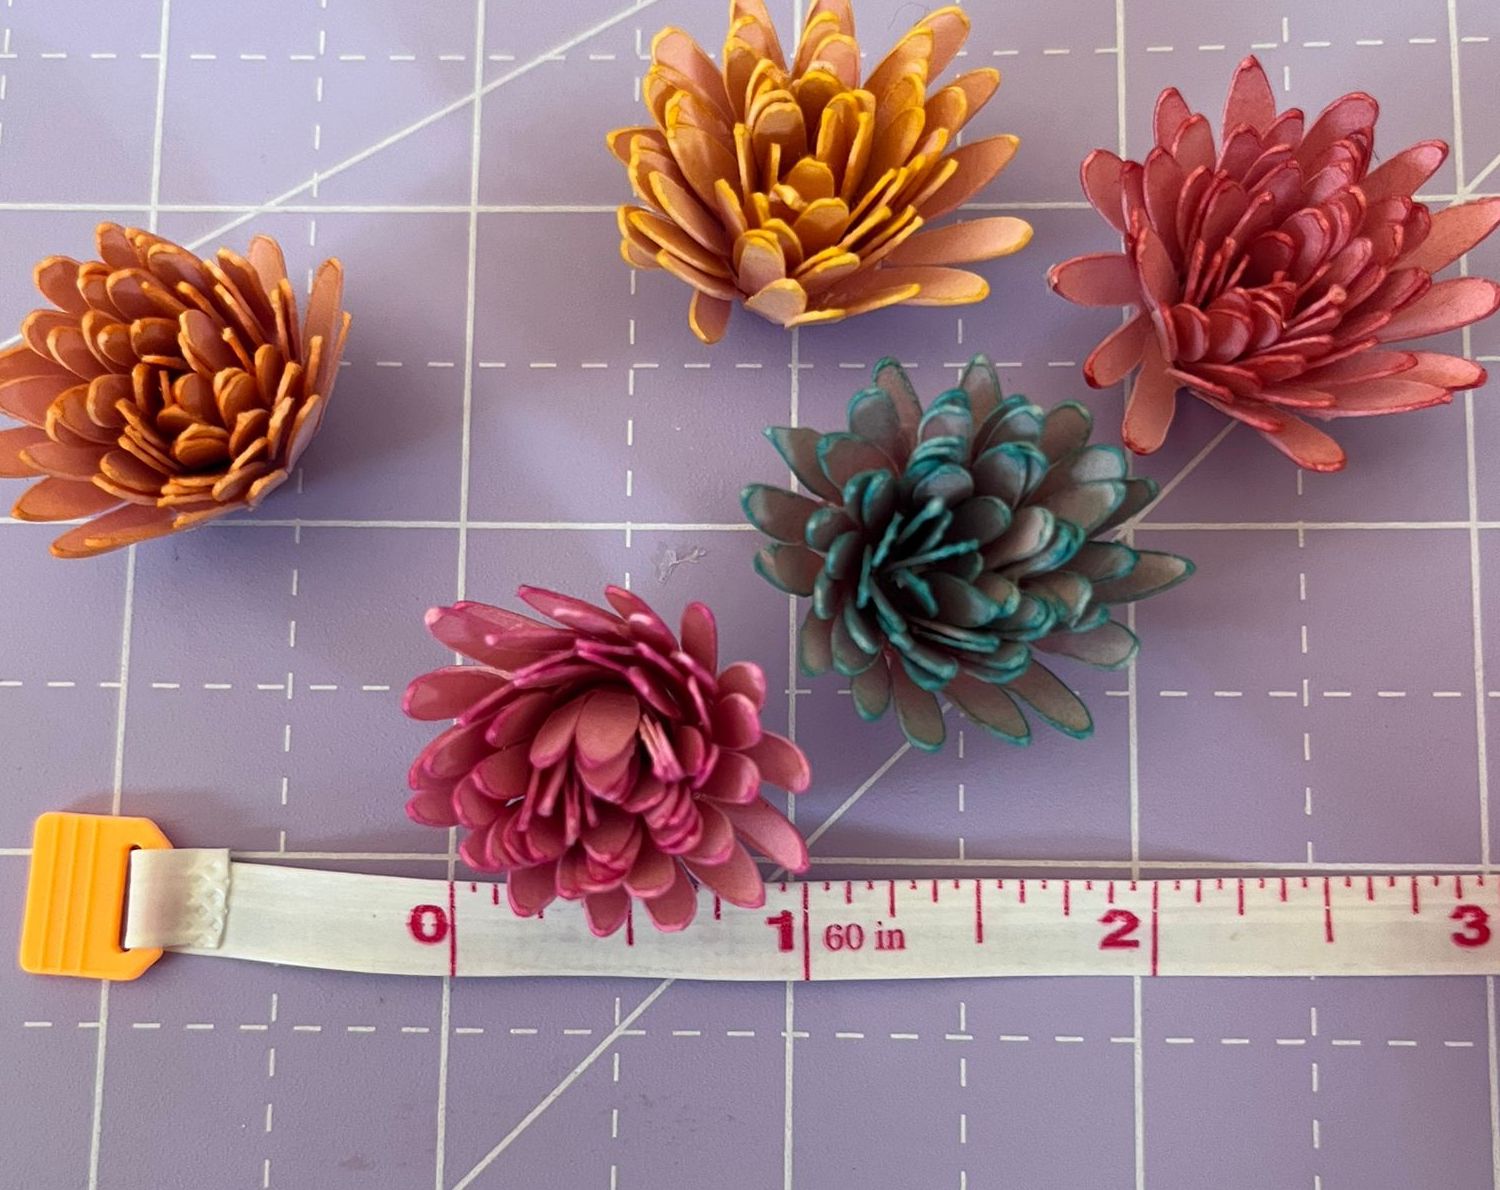
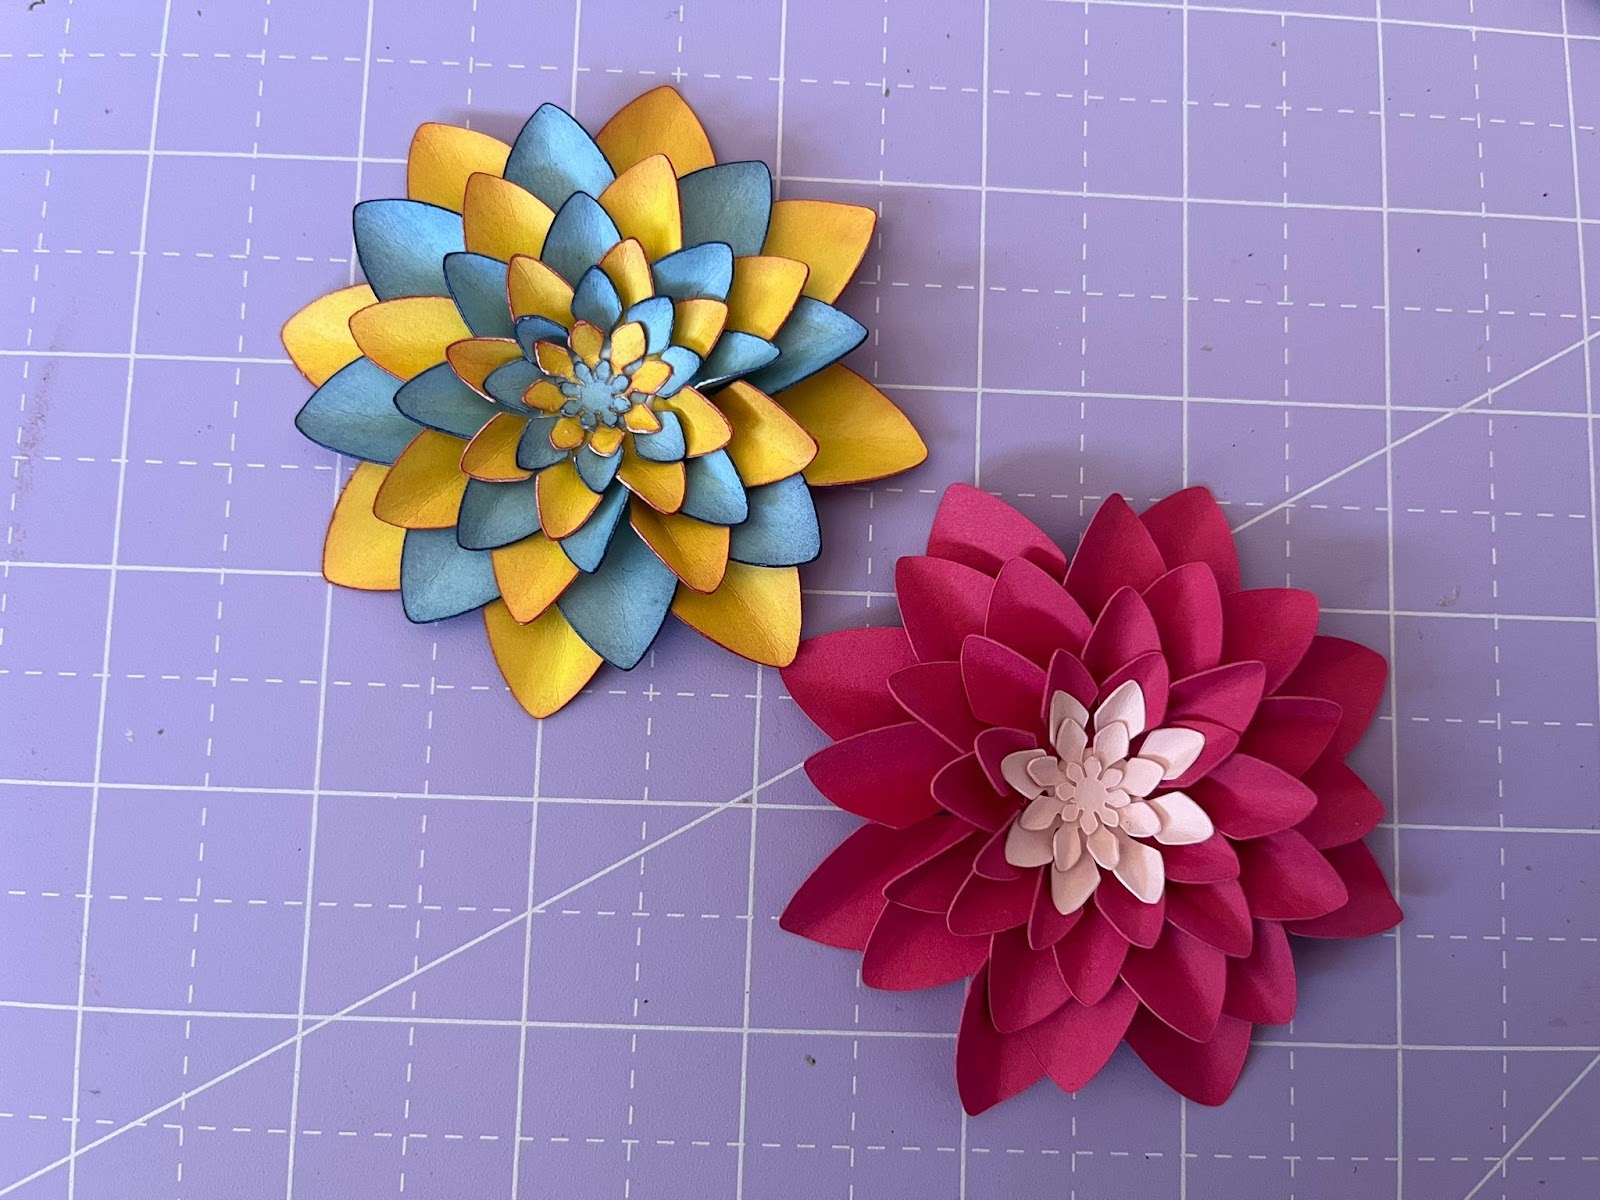
Each Dahlia finals dimensions are between 2.5-3” more or less:
Also, you can play with this flower and create each layer with different colors, something like:
OPTIONAL: You can add a stem to this flower, in order to do this you are going to cut the greenery that is attached to the flower in design space.
A- You are going to cut some flower wire between 3-4” long.
B- You are going to create a little hole into your greenery with the help of your wire and you are going to bend the wire in a 90 degree angle.
C- You are going to apply hot glue all over the greenery and wire and you are going to glue it to the bottom of your flower
5: You have to repeat the steps for assembling your flowers which each one of them. Once you are done with all of them you are almost DONE!